Superhero movies are a pretty big thing these days, and I find little shame in saying that I’m a fan of some of them myself. Even in my childhood days, I remember watching the X-Men, Ninja Turtles, Power Rangers… I even liked the old-school Adam West Batman TV series.
As the years rolled on and high school surrounded me, X-Men was made into a movie and began the string of Marvel films that have been hitting theaters for years. And, sure, the X-Men movies mutilated my favorite character’s personality, but they still brought me joy in themselves, and in sparking a series of movies about characters I admittedly wasn’t overly familiar with — like Iron Man and Captain America. That might sound ridiculous coming from a superhero fan, but I wasn’t really into the comic books — just what TV and movies brought me in my favorite shows (which might be a bit embarrassing!).
Avengers assemble!

I’ve taken such a shine to some of these newer-to-me superhero characters — Avengers!!!
Since that first X-Men movie though, I’ve taken such a shine to some of these newer-to-me superhero characters — Avengers!!! — that I’ve fake-married a number of them in the Game of Life. Now, that is appreciation!
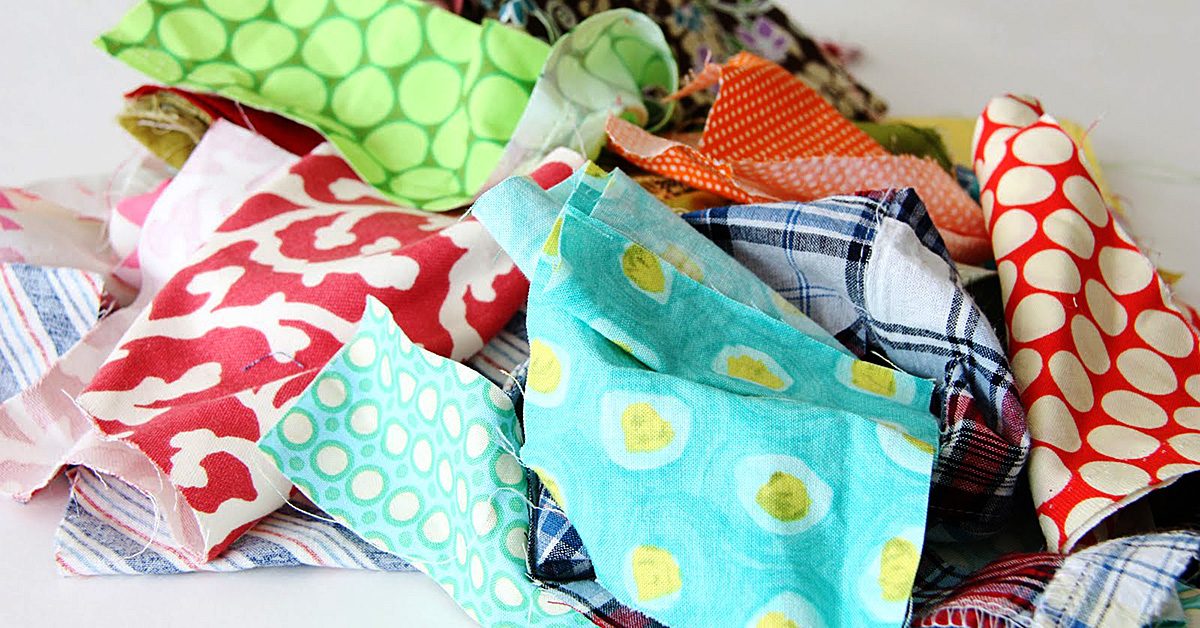
These characters and stories are so remarkable to me that I would love to have some kind of sewing project that’s superhero-related, and I’ve been thinking about my options. As a quilter, I could make a superhero quilt, but I’d want to do something a bit more interesting than just buy collage-types of fabrics and make squares out of them. This week, I was doing sewing research, and I came across a wonderful option: a t-shirt quilt that’s superhero-based.
Hip, cozy, fun!
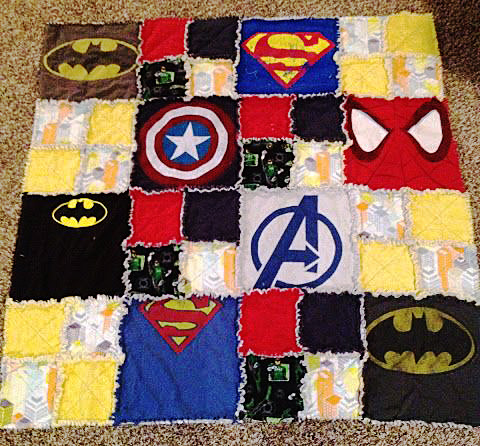
This week, I was doing sewing research, & I came across a wonderful option: a t-shirt quilt that’s superhero-based.
There are plenty of solid reasons for making a t-shirt quilt, not the least of which is that it’s a good use of fabric you might have in your house since it’s created from t-shirts. In fact, having the shirts already is the best strategy because if you don’t have them, buying them brand new could cost you some serious money! Think about how much you’d spend by paying $20 per shirt with maybe one block coming from each. That’s an expensive project!
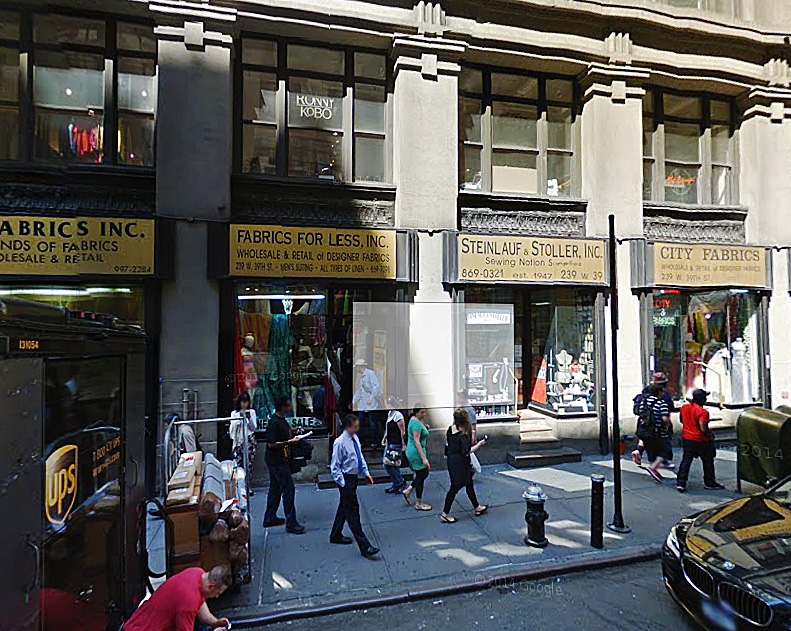
But, there’s an alternative if you don’t have those shirts! You could keep an eye out for used ones at local stores or online shops, like I’m thinking of doing. If you can buy them cheap, maybe one shirt here and one there, you could end up with enough tops for a whole quilt without ever breaking your bank!
If you can buy them cheap, maybe one shirt here & one there, you could end up with enough tops for a whole quilt without ever breaking your bank!
Use what you’ve got
As I said though, having the t-shirts already at your disposal is the best tactic, but not only because there’s no additional fabric purchase for that top layer of the quilt. Another good detail is that you can use this process to declutter your home. How many times do you go through your closet and end up with clothes you never wear? How often do you find yourself needing more room to store your things? If you make use of your graphic t-shirts in a quilt, you’re clearing out space in a productive, creative way that you can use for years to come for practical purposes — and that’s not a bad takeaway from going through your clothes for things to toss!
If you use your own shirts, it also comes with the additional bonus of being able to add sentimental value to the quilt beyond knowing that it’s something you made yourself. Once it’s finished, you could look over your blocks and recall memories that are tied to each piece. Maybe you bought the Iron Man top while on a fun shopping spree with your best friend. Maybe you wore that Black Widow t-shirt to a concert you had a blast at. Maybe you were wearing a Hulk shirt when you got the news that your niece was born. A number of memories could be tucked away in a fun, energetic quilt that primarily came from clothes you had in your closet — low budget, close-to-the-heart, and organization-friendly!
Quilt block paneling
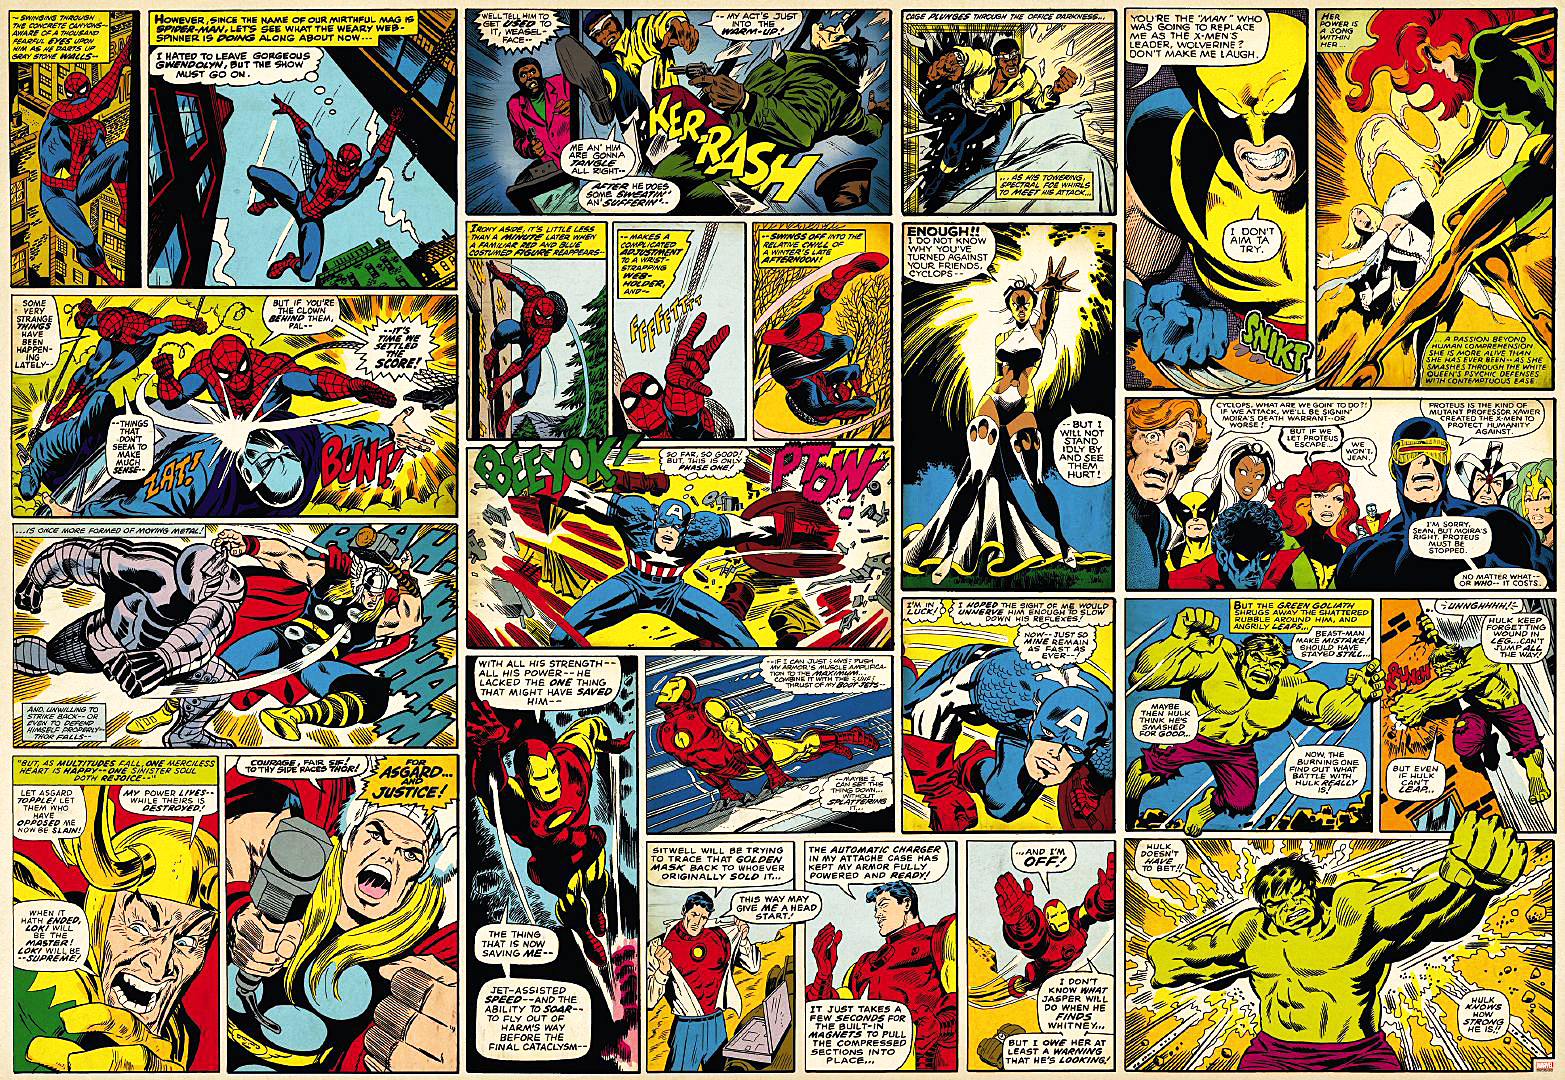
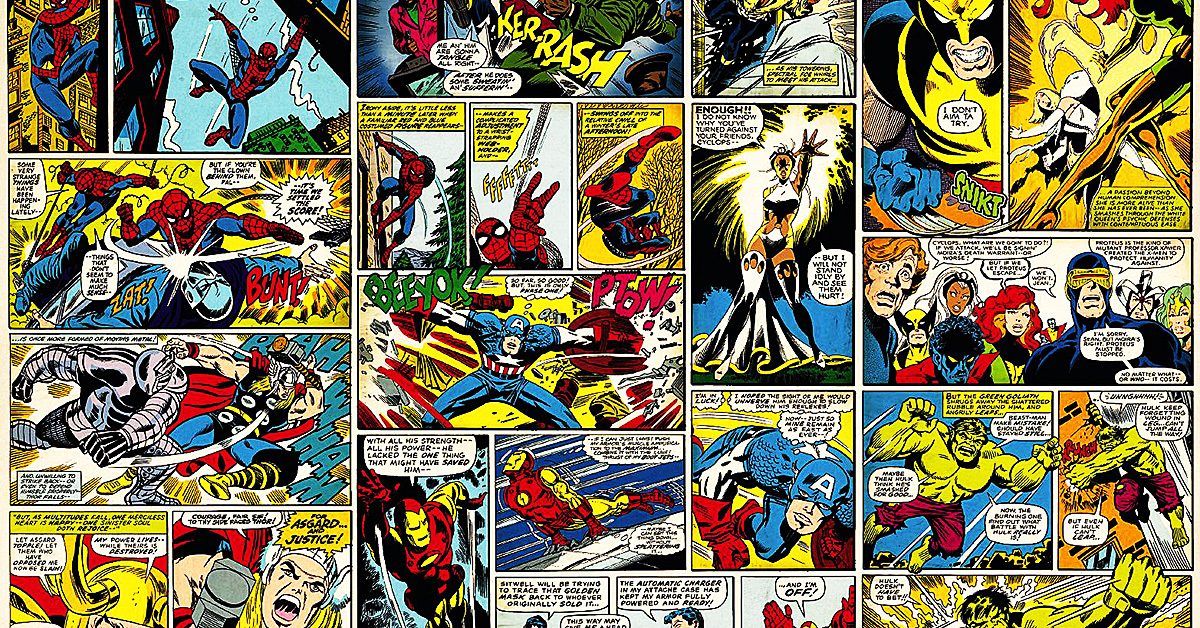
For a superhero t-shirt quilt, you have yet another bonus of the quilt actually mimicking the set-up of a comic book because comic books, too, are given in blocks.
For a superhero t-shirt quilt, you have yet another bonus of the quilt actually mimicking the set-up of a comic book because comic books, too, are given in blocks. Honestly, the connection is so reasonable that making a quilt for comic book superheroes seems like a fairly flawless link. I’m pretty excited to put this idea into action, even if I have to build up my superhero shirts to do it!
For those of you who do have a ton of graphic t-shirts, you could get started on this kind of project in the same way you would for any other quilt. For those of you who don’t, be like me and start keeping an eye out for cheap, used options to buy and store until you get enough to make your crazy-awesome quilt! If you do these things, a superhero quilt could be in your future, and if you’re a nerd like me, that’s a good prospect!