The time has come to explore yet another quilt type, and this one seems a bit less known than your standard patchworks and rag quilts. In fact, until I was doing brainstorm-browsing for this post, I don’t recall having ever heard of this kind of quilt, but the style is noteworthy enough to merit looking into. Through repetition, pattern, and color, quilts of this variety can have an interesting look to them that makes them stand out in similar fashion to the architectural designs of their namesakes.
The type of quilt I’m referring to is a cathedral window quilt.
The type of quilt I’m referring to is a cathedral window quilt, and as distinctive as cathedrals themselves could prove, these sewing products can be straightforwardly identifiable once you know the traits to search for. Those traits, as with the artistic and structural wonder of cathedrals themselves, can catch the eye with their composition and beauty like few other quilt styles — in my opinion — are capable of doing. In this post, we’ll go through a list of typical characteristics that you can spot in a cathedral window quilt that provide evidence of its type so you can more easily identify one in a crowd of variously styled quilts. In particular, we’ll focus on four distinctive features of cathedral window quilts, starting with their…
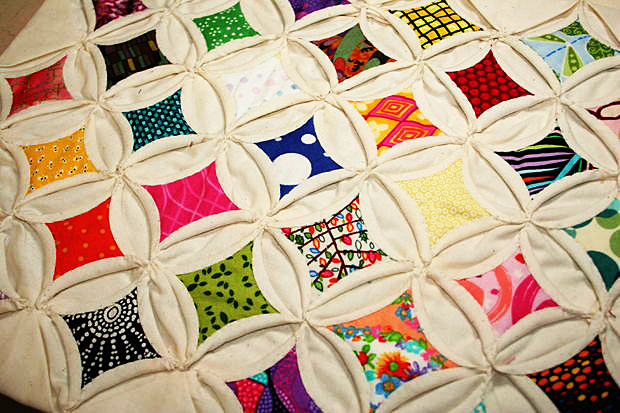
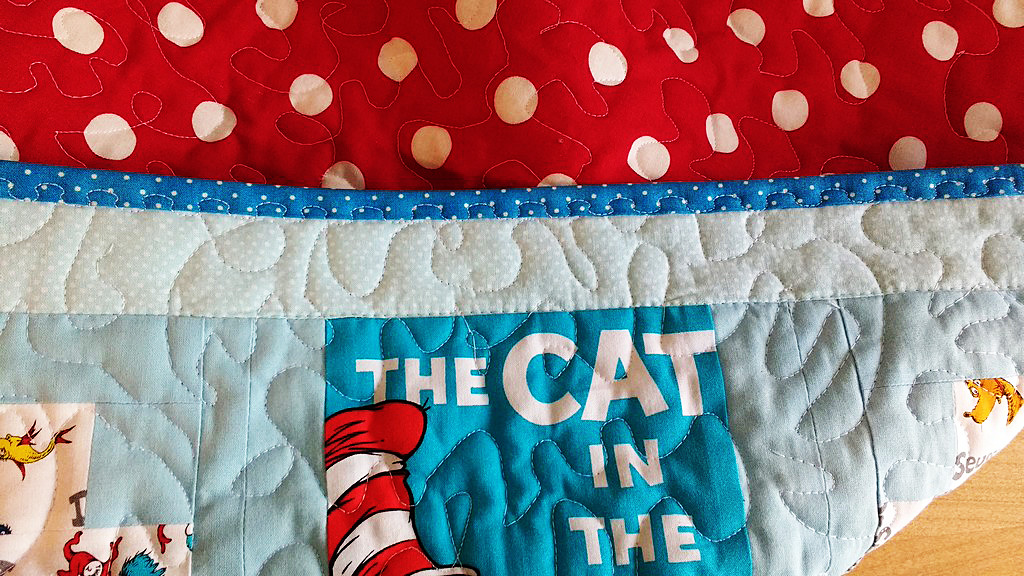
These quilts are not necessarily known for bright coloring.
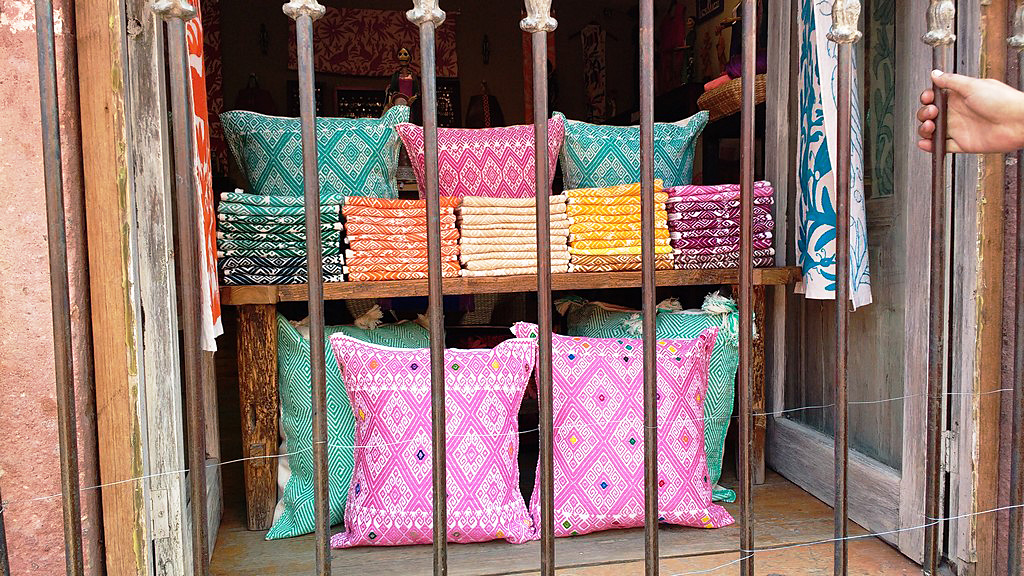
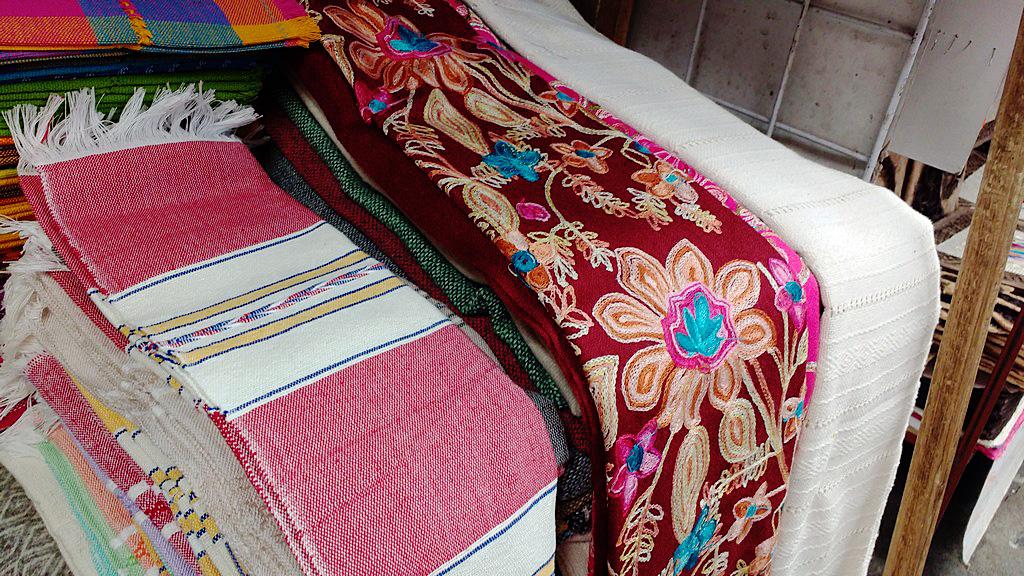
Bold colors
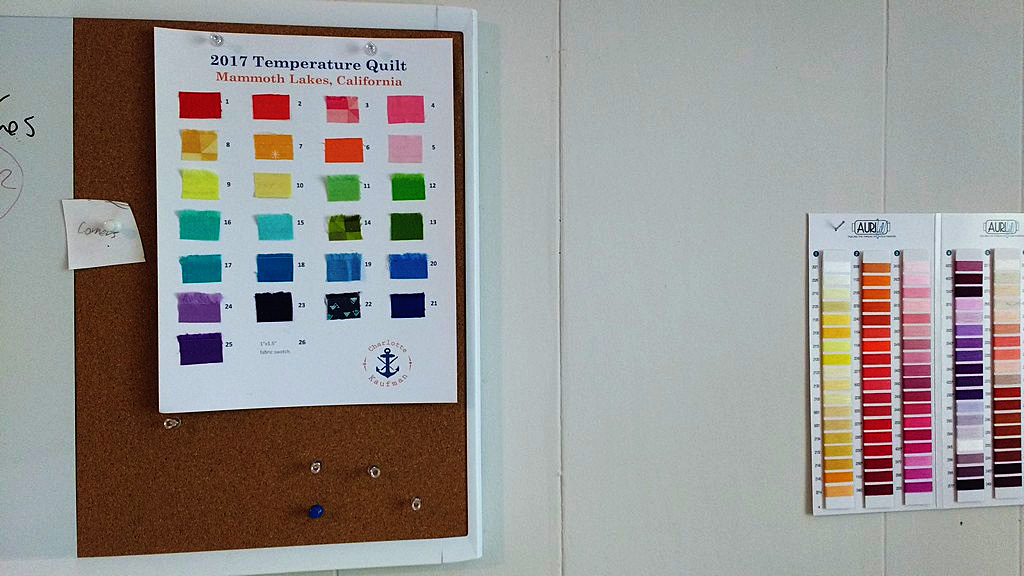
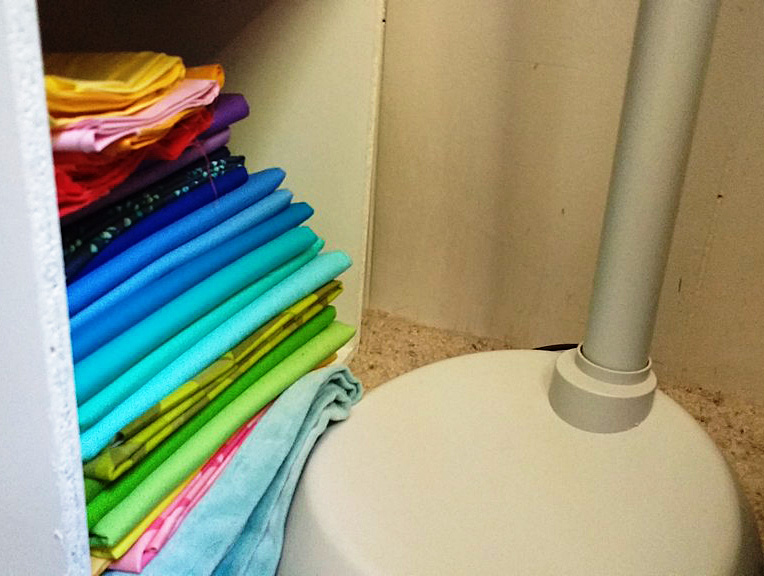
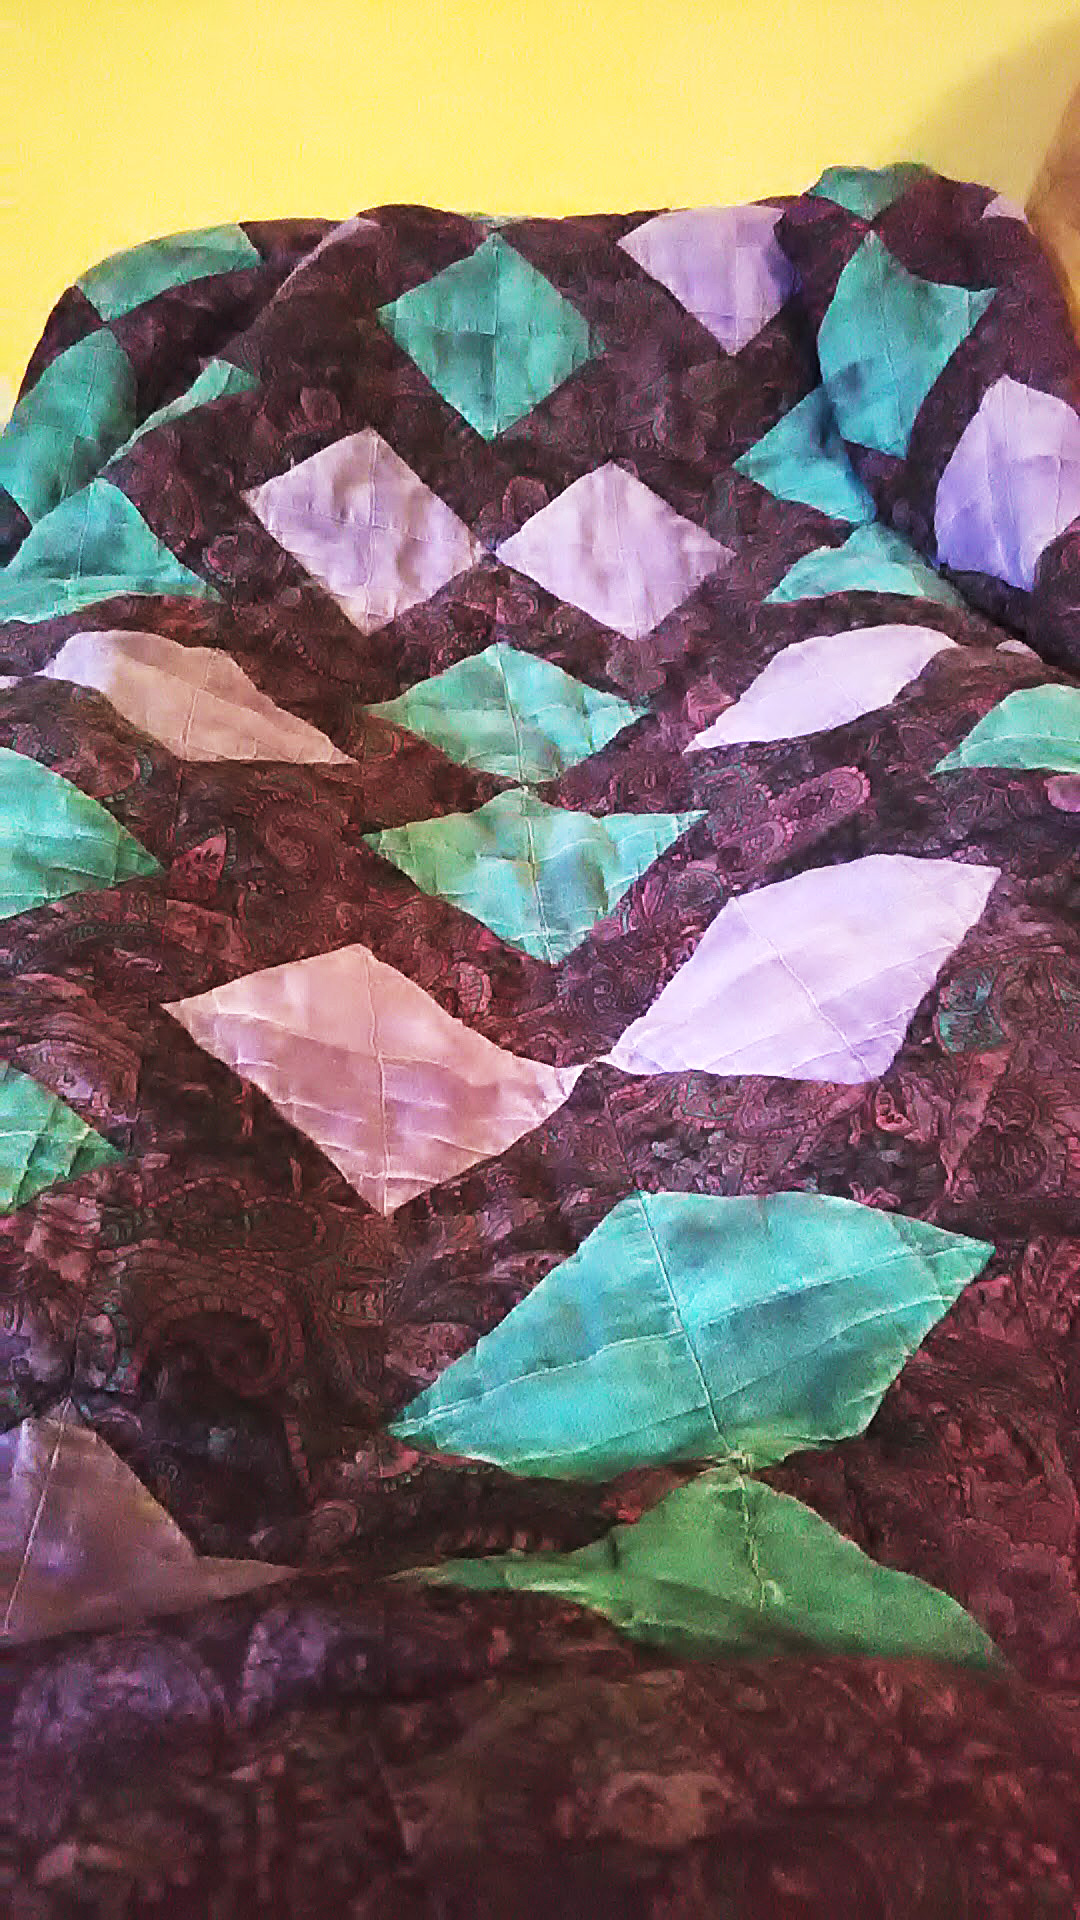
These quilts are not necessarily known for bright coloring, but a good percentage of the fabric used in creating a work of this category could be very bold, like dark blues, greens, and reds that give their sections a real pop. Even with the cathedral window quilts that use more pastel-based colors, those color options are still varied and strong, and they could build centralized sparks of color in certain patterns. If you’re going to make a cathedral window quilt, be sure to include some very dynamic colors to give these defined and robust splashes of color throughout the product. These bits of color, to construct the right design, “are folded precisely and sewn with curves to create small windows,” and “folded blocks are added together until the quilt is the desired size.” This sounds very direct and uncomplicated, but what are those bold-colored fabric pieces added to? That would be…
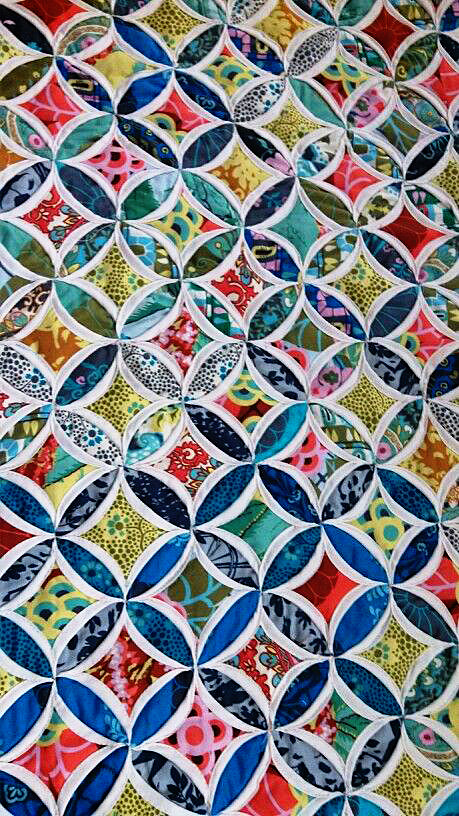
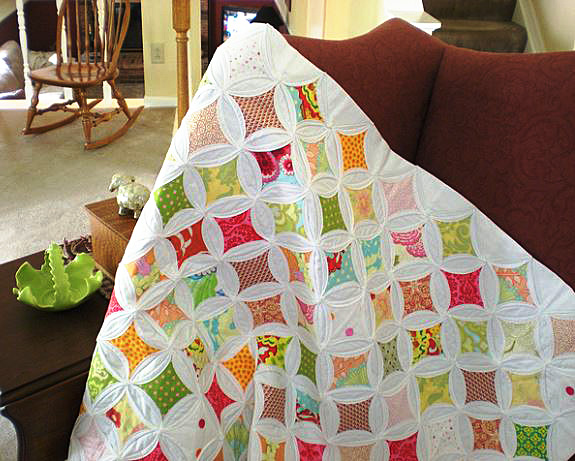
The overall point though is that the juxtaposition of light & dark make each section stand out.
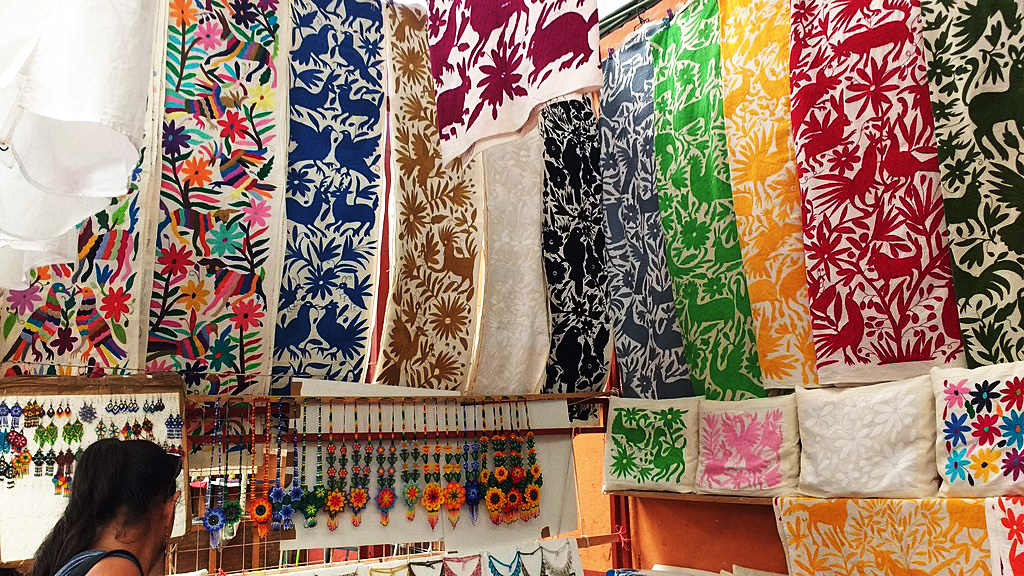
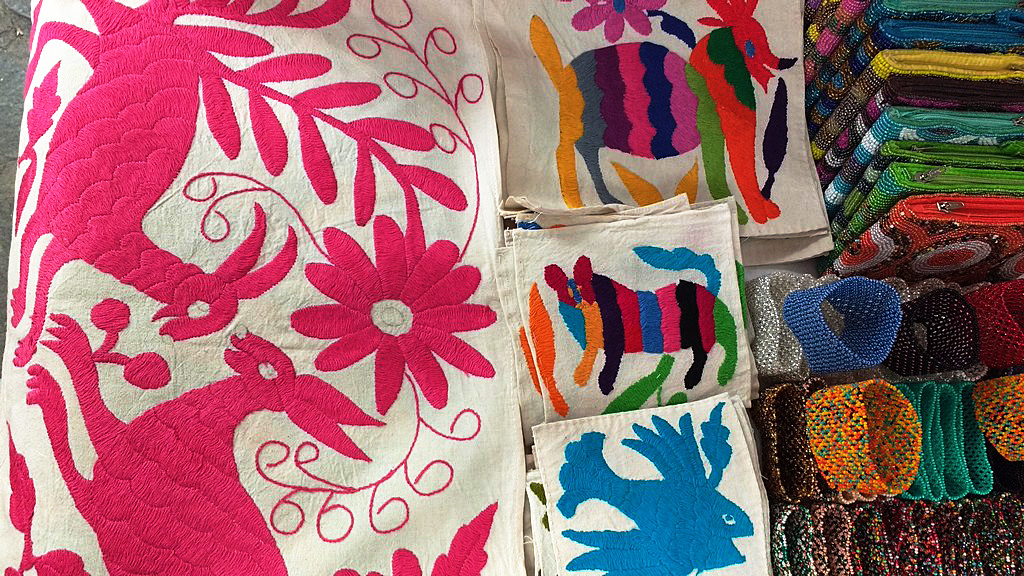
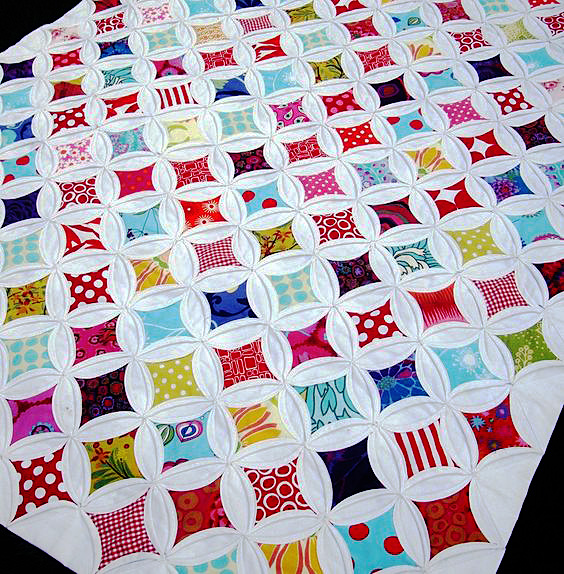
White fabric
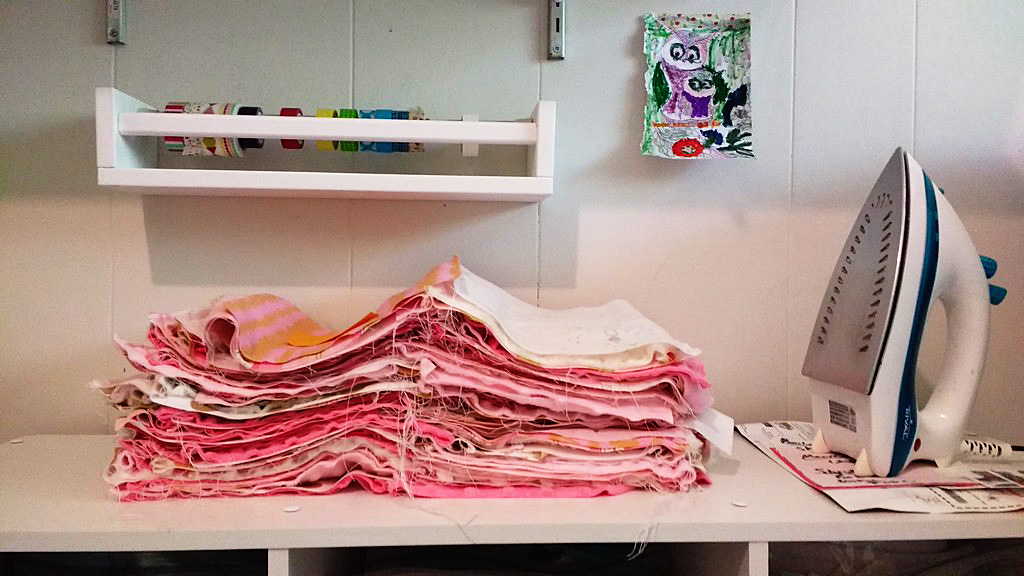
Along with varied colors, it’s also a good idea to snatch up some white fabric if you intend to make a cathedral window quilt. That white fabric added in contrast to the bold colors already mentioned helps to cement the notion of having stand-out sections of color on your quilt. Typically, the white fabric can completely surround portions of bold-colored fabric, but the reverse can be true as well if bold colors appear to surround the white fabric. The overall point though is that the juxtaposition of light and dark make each section stand out — the bold colors and the white sections — to result in a quilt that doesn’t necessarily have a single piece of it that isn’t remarkable and noteworthy. The consequence is a repetitious design that follows a…
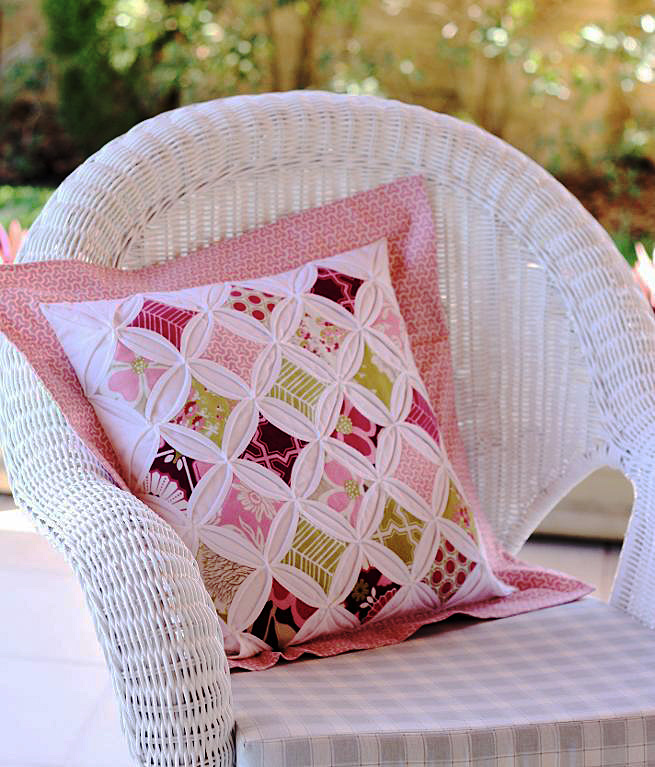
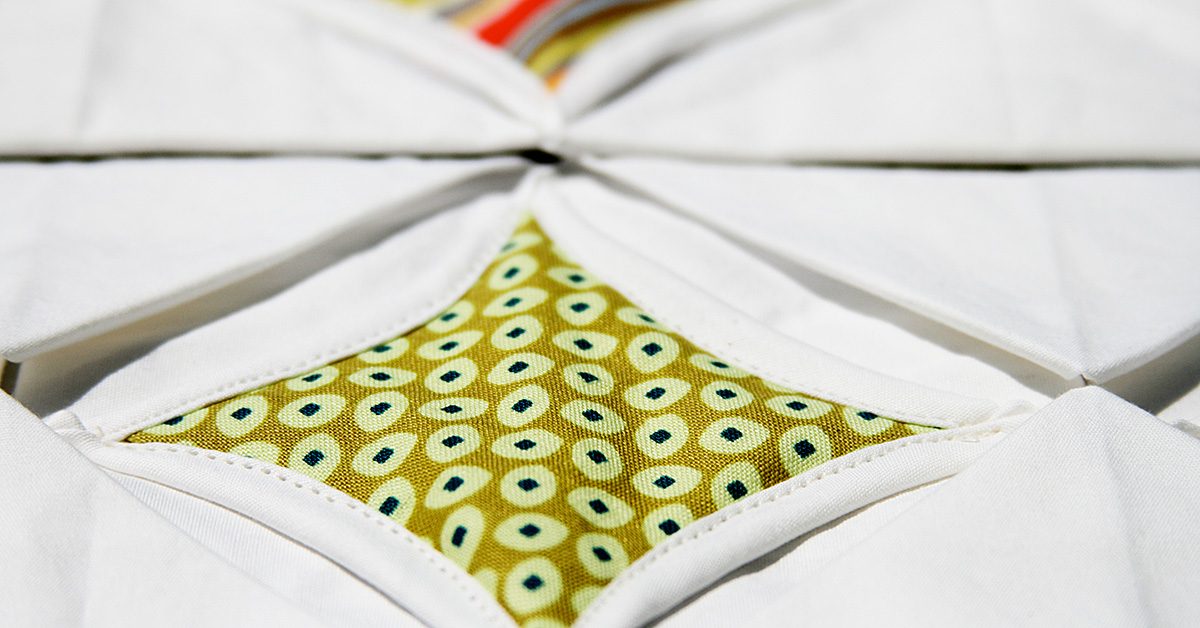
These quilts can employ very specific shapes in their overall design—ones that can be mimicked in pillows.
Definite pattern
Often, these quilts can employ very specific shapes in their overall design — ones that can be mimicked in pillows. Specifically, the bold colors are often in the shape of near-diamonds, but those diamonds’ sides invert inward to create a swooping motion along all four sides. That diamond-esque shape is surrounded by a circle — one that can be ringed — and those circles can overlap throughout the entirety of the project. Is this the only way that a cathedral window quilt can take shape? Well, it’s not set in concrete! But if you see this general pattern, you have very real evidence that you’re looking at a cathedral window quilt since the pattern is so common for the style. Another trademark is that it has…
If you neglect a layer of quilt, that’s a layer of quilt that isn’t available to strategically cover mistakes & such, so the work could feel more vulnerable.
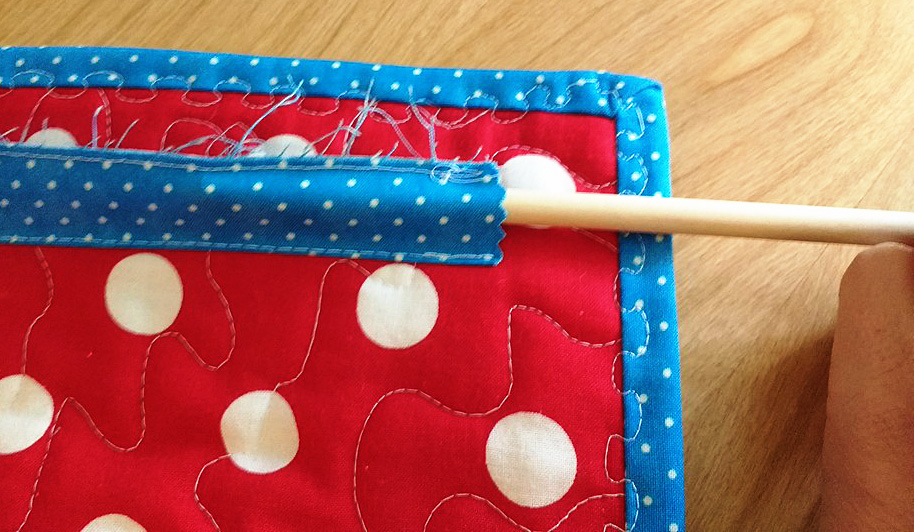
No backing
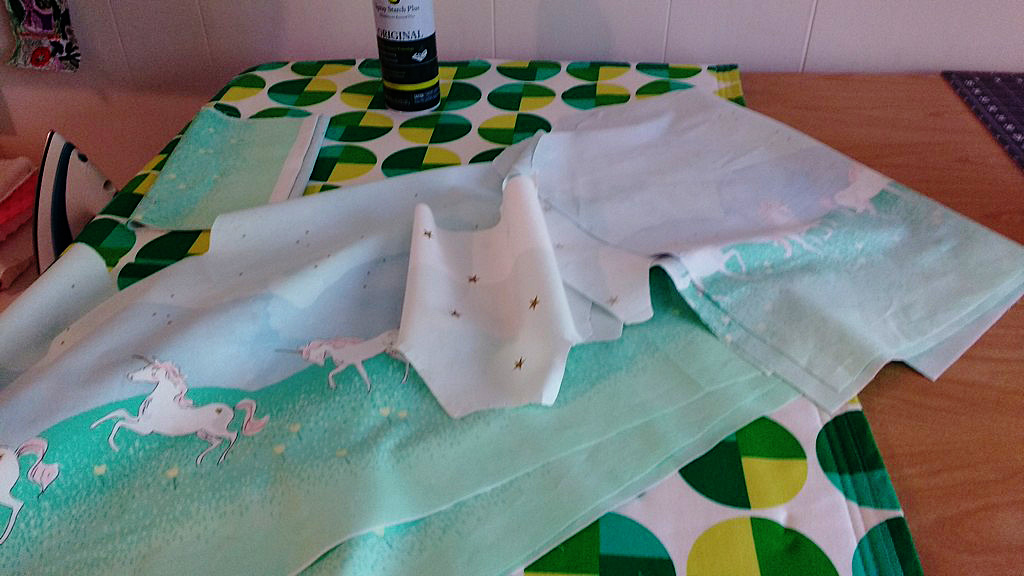
That’s right! With this quilt variety, you can forego the backing detail since the “quilt blocks… stand alone as is” without that extra detail. Does that factor make for an easier project? Maybe not! If you neglect a layer of quilt, that’s a layer of quilt that isn’t available to strategically cover mistakes and such, so the work could feel more vulnerable. Once you get the hang of the process though and make the adjustment, it might actually lead to an easier quilting experience because “you simply iron down your edges and sew.” Considering the level of beauty that these quilts can achieve, it seems like a sensible prospect to push through the confusion of learning to construct a quilt without a backing in order to eventually fashion such a lovely and reportedly easy project.
With these guidelines in mind, you could be able to spot a standard cathedral window quilt among other quilt options with scarce effort. In fact, coming to that conclusion of quilt style could become almost instinct where you look at a product and say, “Yeah! That’s a cathedral window quilt!” since the appearance is so very individual — and lovely!