Posts by Sarah Woodard

Sarah Woodard is a freelance writer based in Southern New Hampshire. She enjoys bringing stories, issues and topics to live with words and pictures. In addition to writing, Sarah is a beekeeper, Reiki Master Teacher and black belt in Muay Thai Kickboxing. In her free time, Sarah enjoys spending time with her boyfriend and playing with their four cats.
Birthday Present Ideas for Sewers

Birthday Present Ideas for Sewers

Birthday Present Ideas for SewersI’m lucky enough to have an October birthday, which is the inspiration for this post. But whether you or the sewer in your life has an October birthday or any of the other 11 months of the year, they’ll love these birthday gifts and use them all year long.

Sewing Machine Needles

If you happen to know the particular brand of machine, or can lay your hands on universal needles, these make a great gift. Get a variety of sizes suitable for many fabric types. Sewers know that machine needles break and get dull, so a package or two of machine needles to replace the ones they’ve gone through will be greatly appreciated.

Dress Form

If the sewer you’re buying a gift for makes a lot of clothes a dress form will be a gift straight from heaven. These aren’t inexpensive so most casual sewers don’t invest in them, but they make the process of sewing a dress much easier and help make sure they’re sized correctly and will fit as expected. Look for one close to the sewer’s size. They’re adjustable, but only to a point.

Self-Healing Cutting Mat

The larger the better. These mats are amazing! If the sewer in your life uses a rotary cutter, a self-healing mat protects the table, floor or other surfaces. Quilters use these a lot and may need to put several together to make a mat the size of the finished quilt. Get a few so they can make whatever size they need.

Straight Pins

Straight pins are essential for every sewer. They hold the sides or pieces of fabric together while they sew over them with the machine. Sometimes, the pins get bent in the process. They also get dull over time. A package of these is inexpensive and will be greatly appreciated by the sewer in your life.
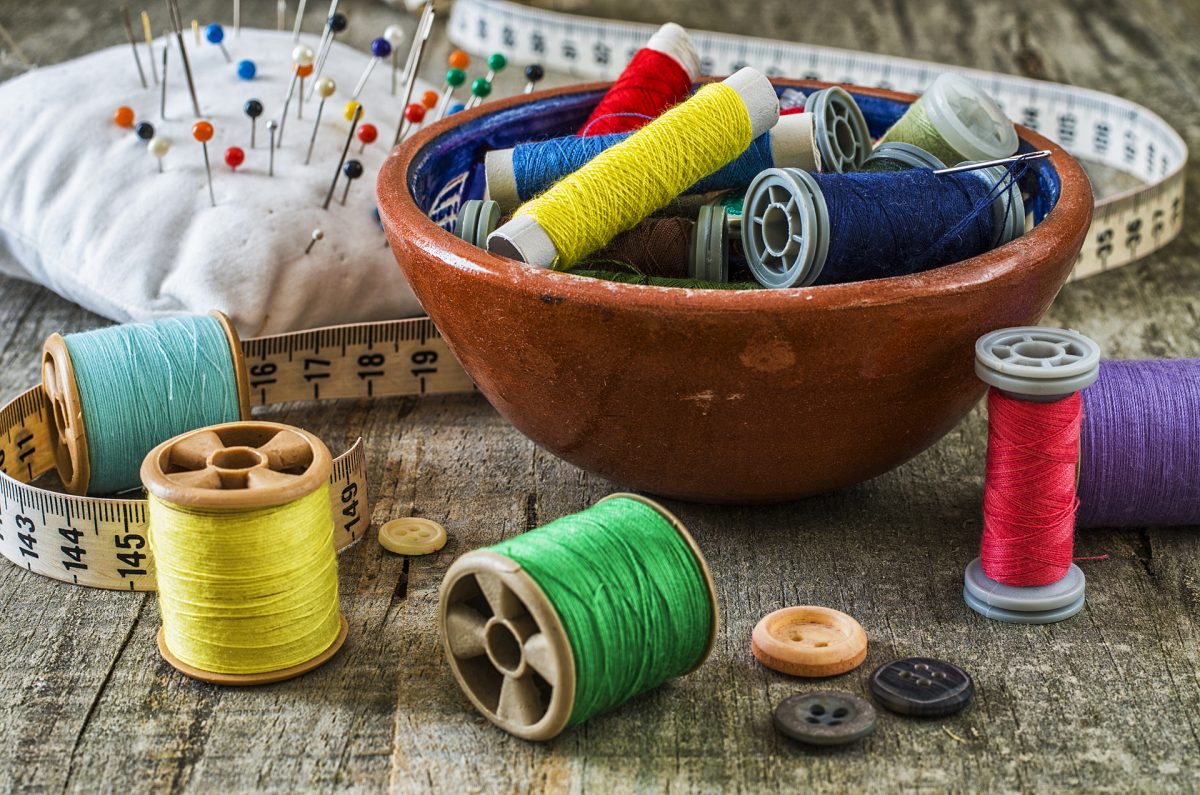
Supply Boxes

Your sewer likely has numerous spools of thread, bobbins, buttons and innumerable other supplies. A set of clear plastic boxes in various sizes will help her organize them while keeping her supplies visible and easily accessible.

Sewing Books

There’s a huge variety of sewing books available. You can get a collection of patterns, tips on fitting, advanced fabric guides or a variety of other sewing related books. Depending on what interests your sewer has, you can find a book, or books, to suit.

Gift Certificate

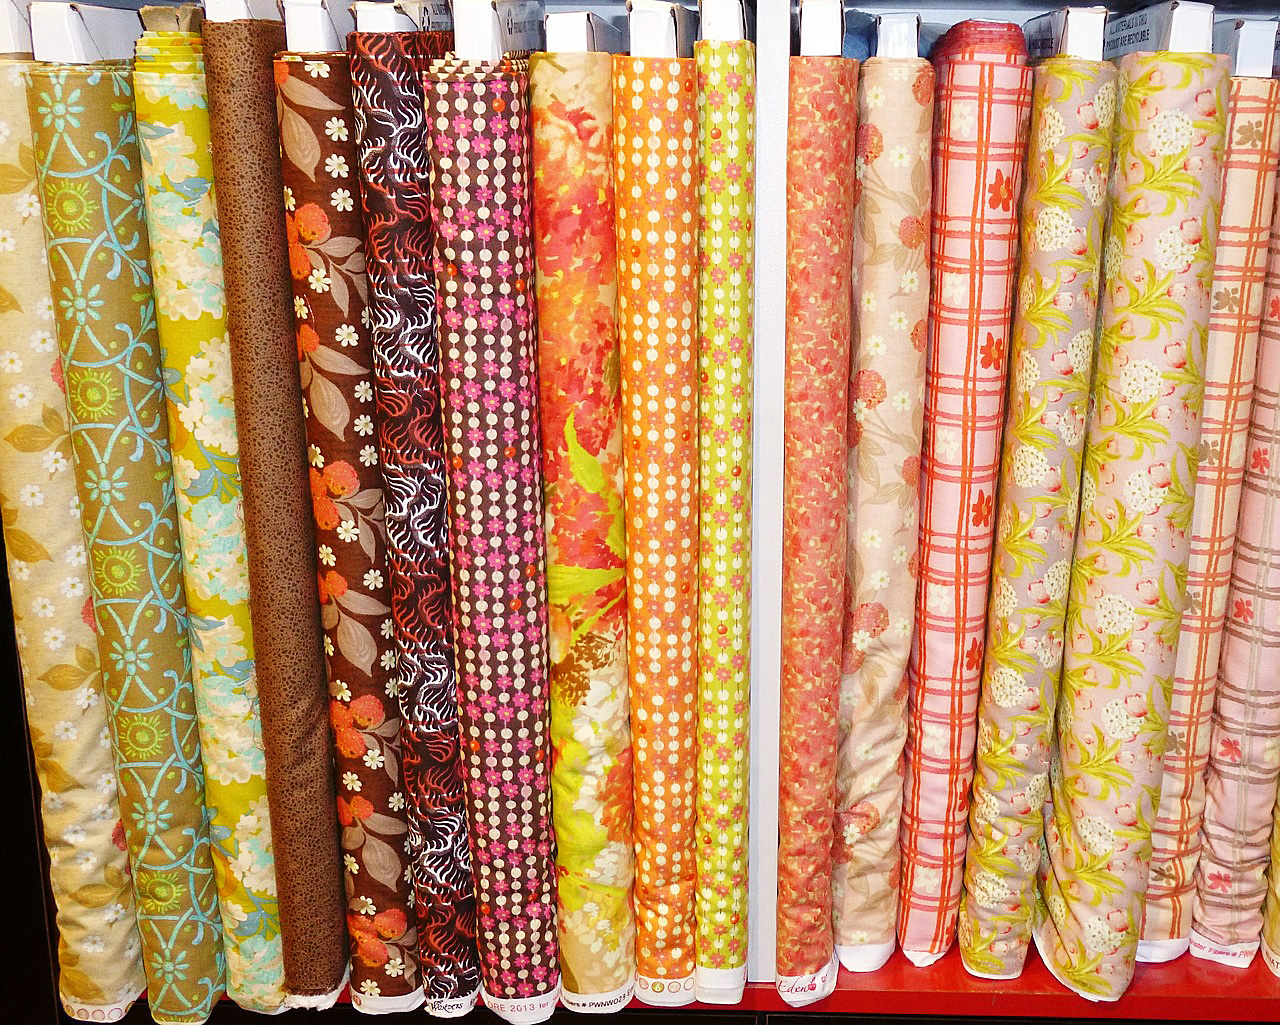
What sewer doesn’t love a craft or fabric store shopping spree? If you’re not sure what to get the sewer in your life, gift certificates to the local craft or fabric store will be greatly appreciated. They can revel in fabrics, poke through threads and notions, and flip through patterns to their heart’s content.

Sewing Class

If the sewer in your life is dreaming about learning a particular technique, sign them up for a class. They’ll love the chance to learn something new and appreciate the thought you put into the gift. And who knows, maybe they’ll make you something to boot!

What other gift ideas do you have?

Halloween Costume Pattern Round-Up

Halloween Costume Pattern Round-Up

Halloween is just around the corner. Plan ahead & avoid holiday headaches.

Halloween is just around the corner. Plan ahead & avoid holiday headaches.

Fall is in the air which means it’s only a matter of time before kids (and some adults) meander neighborhoods in search of candy. Halloween is loads of fun for everyone. I used to love to make my costumes as a kid and I bet your children would love a unique, made-by-you (maybe even with their help) costume too. Here are some of my favorite Halloween Costume ideas for 2016.

Wall-E Costume

I loved this movie and I know a lot of your kids probably did too. The title robot is so cute! I’m also a huge fan of reusing materials whenever possible. This awesome costume on Instructables uses old boxes and some other easily obtained

materials to make the cutest Wall-E costume ever!

Black Umbrella Bat

Bats are such an iconic part of Halloween. There are tons of bat costume ideas out there on the web, but I really love this one from Evil Mad Scientist. It’s fast and easy to make, requires few materials, and has huge wings and ears. Grab a black umbrella you don’t mind cutting up and a black top (sweatshirt for those in colder climates) and you’re ready to start.

Bag of Groceries

No one else on the block is going to have this costume, I bet. Take a look next time you hit the grocery store for some inspiration. This idea from Costume Works is sure to be a hit and it costs less than $5 to make. All you need is some brown bags, a box and save some of those food packages from your normal shopping trip to use as items in the grocery bag costume.

Sheep or Lamb

Baaa! This costume is great for kids and adults of all sizes and the directions are in Spanish and English. You’ll need a few supplies, but once you have them, it’s a quick 10 step process to becoming the cutest sheep on the trick-or-treat patrol. Add a little face paint to complete the look and make sure to say “baa!” at each house!

Monarch Butterfly

Butterflies are always popular. Buggy and Buddy provide great instructions to make kids’ size wings, but you can resize them for any measurements to make a monarch butterfly costume for everyone in the family. Or switch up the colors and be any butterfly you wish.

Kid and Baby Doll

Does your daughter love to dress up like a princess? Does she bring her “baby” everywhere? These costumes by Simplicity are right up her alley. In one pattern envelope you get three princess pattern choices and the matching one for the doll. They’re easy to make and absolutely adorable.

Classic Characters

Childhood is full of classic stories from Little Red Riding Hood to Robin Hood and everything in between. The devil and the joker are always popular too. This set of five classic costumes from Butterick guarantees you’ll be able to make a sweet costume for your kid in just one hour!

What other costumes have you made?

Zentangle Quilting

Zentangle Quilting

Zentangle design flows free like a river of creativity.

Zentangle design flows free like a river of creativity.

Have you heard about the cool art/meditation craze that’s gaining popularity? It’s called Zentangle. The basic concept is using basic shapes in a repeated fashion to create pictures. In doing so, the mind disconnects and enters a meditative state.

Although I enjoy Zentangle and find it fun and relaxing, I also find that my hand cramps holding the necessary pens and pencils for an extended period of time. Instead, I think the same concepts can be used to create gorgeous quilts.

Plain Fabrics

Instead of using fabrics with cool, cute or funky patterns, choose plain fabrics and allow the Zentangle concept of basic shapes in repetition to give your quilt its pattern and character. Instead of a quilt with one pattern repeated throughout, your quilt will be a masterpiece of many patterns that combine to create a unique, gorgeous quilt anyone would be proud to own.

Pick Your Tangles

There are hundreds of Zentangle patterns (tangles) to choose from, with more being created all the time. You can do an image search, or for those of who need a little more instruction try http://tanglepatterns.com/ to find several tangles that appeal to you and that you think would combine well together to make a quilt. Depending on the size of the finished quilt, pick at least seven different tangles. The more tangles you choose, the more interesting your finished quilt will be.

Chart It

You’ve likely got dimensions in mind for your quilt project. To ensure that your Zentangle quilt comes out the right size, draw it out on graph paper first. That will help you know how much fabric you need for each of the different patterns as well as help you know where to stop on each of the patterns to wind up with a rectangular quilt with crisp edges. Plus you get to experience doing a Zentangle drawing.

Templates

Once you’ve gotten this far, and to help you ensure that your quilt comes out as you envision in, create templates for each of the Zentangle shapes (and the varying sizes of them) you plan to use. A manila folder or empty cereal box work well for creating the template shapes.

Cut, Cut, and More Cut

From this point on, the process is pretty much like making any other quilt. Cut out all the tangle shapes and sizes on the appropriate fabrics. If you don’t usually do a dry fit, it may be wise to do so with a Zentangle quilt since they’re more freeform.

Stitch, Quilt, Go

When you’ve got all your tangle pieces cut out and dry fit together, sew them up as you would any other quilt pattern; stopping to check for fit after each pattern section. For the back, depending on the look you’re going for either a solid color or a fabric that combines the colors used in your Zentangle quilt can be used. Complete your Zentangle quilt as you would any other quilt.

A Zentangle quilt may be a bit tougher than other quilts you’ve made, but it also produces a quilt that is more unique and original. Zentangle quilts make great gifts and are sure to be conversation starters in any home.

Have you tried it? Take pictures and share!

Express Yourself

Express yourself.When shopping in a department store or online, you’re stuck with today’s fashions and color trends. If these suit your body style and personality, count yourself lucky! For the creative types among us, these can often feel confining. Sewing your own clothes and accessories is a great way to express yourself.

Fabrics Galore

Whether you like cottons, silks, man-made blends or a unique combination there’s a dizzying array of colors, prints and patterns available online and at your nearest fabric shop. If you like bright, bold designs or something more earth-toned, there’s a multitude of choices available.

Patterns and Freehand

If you’re one of those super talented folks who can create your own patterns, count yourself lucky. You’ve got an additional way to express yourself with your wardrobe. If you’re not one of those people, don’t worry about it – you can still express yourself with a pattern. There are so many patterns available, ranging from simple to complex.

Scarf Dance

Ok, you don’t really have to dance if you don’t want to, but making a scarf, or a number of them, in fabrics that compliment and enhance your existing clothes is and easy and fun way to express your personality with your wardrobe. Scarves aren’t terribly expensive to make and they’re so much fun, you may actually want to dance and spin with them. If you’re not one for scarves, the same project can also be used to make a fabulous belt.

If there’s a fabric or pattern that’s calling to you, go with it.

Go Wild

You don’t have to be a fan of animal prints or bold colors to express your wild side. Polka dots, swirls, paisley and other patterns in a variety of muted hues give your wardrobe the personality and zing it’s been lacking. They work well as scarves or other accessory pieces, or larger projects such as shirts, skirts, dresses or pants. You can even bring your style into the office by using these fabrics to create a business suit or sport jacket.

Don’t Hold Back

If there’s a fabric or pattern that’s calling to you, go with it. If it seems outside your normal style, all the better. Having one or two pieces that stand out from your usual wear means you can express your wild side when it needs to be freed without feeling pressured to show it off all the time. Days you want to stand out from the crowd, you’ll have a couple of unique pieces to show off.

Find Your Balance

We all have a wild side and a more conservative side. Create pieces that allow you to express both sides – or anything in between! If you have more conservative days than wild days (or vice versa), create the appropriate number of pieces and accessories to give you the right balance for your style and your life.

Share some of your favorite pieces – the ones that you feel express the real you.

Picking the Perfect Sewing Notions

Picking the Perfect Sewing Notions

You’ve done it. You’ve got the pattern and the fabric to make a sewing project you’ll love. There’s just one more challenge remaining – picking the notions to compliment it. Whether it’s buttons, zippers, lacey bits or other accent pieces the right notions will give your finished project the final pop it needs to be truly special.

Zippers

It may seem like picking a zipper that matches your material, maybe even an invisible one is the best idea. And in many cases it may be. However, depending on the project and fabric, choosing a zipper that stands out can give your finished project some flair and style. If the fabric has a bright pattern, picking a zipper that matches one of the colors in the pattern can look really great when it’s done.

Buttons

ButtonsButtons can seem like just an easy way to close a shirt or jacket, but they also impact the look of your completed project. A fabric with a simple pattern can sometimes benefits from fancy or flashy buttons while a fabric with a busy pattern may look better with simpler buttons.

Button size also matters. Bigger buttons will draw more attention than smaller ones. If you’re trying to bring focus away from something, say a floppy collar, using big buttons can help. On the other hand, if you want people to see your great shirt or jacket, using smaller buttons will ensure their eyes take in the entire piece.

Lacey Bits or Ribbons

Even if the pattern doesn’t call for them, lacey bits or ribbon strips can add interest to your project. Sometimes cutting apart a larger lace work for specific shapes works really well. You can use these smaller pieces to accent the points of a collar, cuffs of sleeves or pants or the hem of a skirt.

Ribbons can be used in short or long strips to add some color and interest. A long ribbon can go around the edge of a collar or cuffs. Longer ribbon strips also look great as an accent belt around waist lines or as accents on short or pant leg cuffs.

Smaller ribbon bits can be tacked on to the body of the project to create a pattern or letter. You can also use ribbons to create cute bows and strategically place them to add charm to your project.

Other Notions Notions (Ideas)

See what I did there? Haha. But seriously, there’s other cool notions ideas too. Beads or sequins strategically placed can add a bit of sparkle and glitz. Embroidery whether hand- or machine-done adds personalization. And, if you happen to also be a yarn worker, combing your knitting or crocheting skills with your sewing skills creates a totally unique piece. Instead of the fabric collar, you could knit or crochet one. Same with cuffs, waists and hems.

What other notion and accent ideas do you love to use on your projects?

Sew Fine Dress Making

Sew Fine

Need the perfect dress for an upcoming special event? Instead of perusing rack after rack of unimaginative, pricey finery consider making it yourself. Not only will you get exactly what you’re looking for, it’s a sure thing that no one else will be wearing the same dress as you.

Points for Originality

Even if you’re not a someone who designs her own patterns, making and wearing your own dress will definitely get you noticed. You’ll look stunning and you’ll be wearing something completely unique. In this day and age when everyone wants to be recognized for their personality and individual contributions, you’ll certainly earn points for wearing something stunning that you made yourself.

Your Choice

Rather than trying to find something that shows off your style, fits your budget and looks great on you from the limited selections in department store – making a dress yourself means you’ll be able to choose the style, fit and fabric that’s best for you. Show off your natural beauty with a dress that accents your coloring and body type.

Works for Formal Functions Too

Formal events like galas or weddings may not seem like that best opportunity to make your own dress, but it’s actually a great time to do so. Making a more formal dress may take a bit longer, but the results will amaze everyone. If you’ve never taken on something like this, trust me, it’s not as hard as you think!

There are some extra steps like creating the tulle under layer(s), feeding the whale bone (plastic) bodice pieces and/or adding lace or other details. Although these seem intimidating, anyone with basic sewing skills can do them – you just have to be willing to try.

Show It Off

Show It OffAfter all the hard work you put in to making your amazing dress, show it off at the big event. Get up, dance, strut your stuff to and from the buffet table, and when people start complimenting you on your attire, don’t be afraid to say you made it. Although you don’t want to overshadow the guest of honor (unless it’s you, of course) there’s nothing wrong with showing off your finery.

If you can, add some handmade accessories to complete the look. Items like hand made, one-of-a-kind jewelry, scarves or shawls will give your dress the final splash and pizazz it needs. If you don’t make any of these items yourself, maybe you’ve got some crafty friends who do and would like to contribute to your amazing look.

Remember

A few points to remember:

  1. Hem with shoes in mind. If you’re wearing heals to the big event, make sure you have those shoes on when determining hem length so the dress will fall correctly.
  2. Event location. If the event is going to be indoors or outdoors, you may need incorporate layers or a cover up depending on the time of year and your sensitivity to cold/heat.
  3. Make a muslin first. If you’re at all unsure about the dress you’re going to make – how well it’ll fit or will look on you – take the time to make a muslin demo piece first. It does extend the length of time it takes you to arrive at the finished product, but it can also mean the difference between a project you love and one you don’t.

Project Rescue

Oh no! What a disaster!

Oh no! What a disaster!

Oh no! What a disaster! This whole project is ruined! Sound familiar? We’ve all had at least one project we think we’ve truly mangled. Thankfully, there are ways to save it. The best method to rescue your project depends on where the mistake occurred.

Cutting – Take Two

Did you misfold the fabric and now your cut pieces are all wrong? It may not be the giant disaster you think it is. If the fabric store has more of the fabric you’re using, it’s easy enough to get more and begin again. If not, you may be able to find it online or at another store. If that fails, treat this as an opportunity to find a new perfect fabric for your project (Don’t forget to exercise restraint, as we’ve looked at before).

Seams – Take Two

Did you missew a seam or several seams? If you can use your seam ripper to remove them and sew them again, this isn’t a big deal. However, if you’re not able to do that or did more damage to the fabric trying to pull out the seams, there are other options. If the item is too big, simply sew additional seams to make it smaller. On the other hand, if it’s too small you made need a more drastic solution.

Project – Take One and a Half

If your project is basically complete and you realize it’s too small, don’t worry! You may not have to redo the entire thing. Even if you’re not a tailor, it’s possible to alter your project to the larger size you intended. Best of all – you may not even need to buy more fabric to do it!

Remeasure

Figure out how much fabric your need to add to make the project fit and in which areas. For me, it’s usually the sides and/or bust area need an extra ½ inch or so (I blame patterns meant for smaller breasted women!).

No one, besides you, will ever know that it’s not exactly how it was planned to be.

Snip, Snip

Since you’re going to add more fabric, there’s no need to carefully rip out the seams. Instead, take your fabric scissors and carefully cut along the seams you need to alter, say the sides for example.

Add it up

Grab your left over fabric – the stuff that was destined to your stash pile. Making sure that it follows that pattern in your existing project, cut enough to add what you need to make your project fit, plus seam allowance on both sides.

Pinning and Sewing – Take Two

Pin the newly cut fabric additions to your project, right sides together and following the existing curves. If possible, try it on while it’s inside out to be sure it will fit better this time. Head over to your trusty sewing machine one more time and sew in the additional pieces. Viola! You’ve saved a project from the trash. No one, besides you, will ever know that it’s not exactly how it was planned to be. And what they don’t know, you don’t have to tell them, so wear it with pride.

How to Exercise Self-Control in the Fabric Shop

How to Exercise Self-Control in the Fabric Shop

How to Exercise Self-Control in the Fabric ShopWith so many beautiful colors and textures, it can be really hard to resist buying up ALL the fabric in the store. Things like budget, project specifics, and potential use fly away in the midst of gorgeous bolts. If you’re like most people, though, buying every bolt of fabric isn’t actually feasible. Following these tips will help you stay in control of your bolt buying and your bank account.

Bring Your Pattern

Bring your pattern with you, even if you know how much fabric you need. Having it physically in your hands – in the way of grabbing endless bolts – helps you remember why you’re in the fabric shop and actually prevents you from grabbing every bolt you see. It’s a way to ground yourself in the heaven of the fabric store.

Don’t Drop In

It may be tempting when out running other errands to simply drop in to the fabric shop for a break. Don’t do this. Without a specific project in mind, it’s far too easy to buy reams and reams of fabric that will only wind up in your stash supply and may falter there for years without being used. Instead, schedule your fabric shop trips to coincide with specific projects.

Make Fabric Shopping an Event

Instead of making fabric shopping a stop on the tour de errands, make it a special event. Allow yourself lots of time to luxuriate in the bolts of fabric before you have to make a purchase. The more time you spend, the fewer “must have” fabrics will leap off the shelves and tables at you. When you’ve narrowed the selection down, it’ll be much easier to choose just the right one for your project without bringing home a bunch of other options too.

Bring Your Budget

Although it’s not possible to bring your bank or an ATM, you can bring other physical reminders of your budget. Even a piece of paper with a number on it would be sufficient. The goal is the same as with bringing your pattern – having something to hold on to helps you remember you can’t buy every bolt in the store and also keeps your hands busy so they can’t grab every bit of fabric in sight.

What else do you do to control yourself in the fabric shop?

Fabric Stash Ideas

Fabric Stash Ideas

If you’re like me you’ve got a giant bin (or two) of left over fabric from projects dating back to the stone age. It takes up valuable closet space, but you refuse to let it go. Maybe it’s even a point of contention with your spouse/partner. With these fun ideas you can free up your closet space, make some fun projects, and maybe make a little money on the side too.

Fabric Stash Cash Wallet

Fabric Stash Cash Wallet

With just a small bit of fabric scraps, some ribbon, and a quick row of stitches you can make a unique cash or coin wallet. Measure out your scrap so that it is the dimensions of a credit card (2x height), plus seam allowances and room for a ½ inch ribbon. Fold it in half with right sides together and stitch up the sides. Make a pocket for the ½ inch ribbon and sew that up. Feed the ribbon through and turn the cash purse right side out.

The ribbon can be tightened to close the wallet and prevent spillage in a large purse or bag. It’s cute, unique and keeps all credit cards, cash and coins neatly organized. Even better, you can make a bunch and give them as gifts or sell them at craft fairs or on Etsy.

Fabric Stash Rag Clowns

Fabric Stash Rag ClownsTo give credit where it’s due, this is an idea I’m stealing from my great-grandmother. Right up until the day she died, just shy of 100, she made these adorable clowns. They were all over her apartment and each of the grandkids and great-grandkids had at least one. I’m not completely sure how she did it, but the basic idea is this.

Cut a circle of scrap fabric, fold it in on itself so that the edges meet in the center and sew it into the now smaller circle. Make a bunch of these and then string them on wire to create clown legs, arms and body. Add a pre-purchased head and voila! So cute! For extra fun you can add bells on the ends of the arms and legs and/or an accessory like a necklace. Sure to be a hit with any children in your life, at craft fairs, and likely a best seller on Etsy.

What other ideas do you have?

I Didn’t Think It Would Look Like This

I Didn’t Think It Would Look Like This

Oops!We’ve all been there. You spend hours, days even, working on a sewing project. In your mind, you’ve got this image in your head of the gorgeous completed project, but when it’s finally done it doesn’t look anything like you thought it would. You thought it would be a simple one, so you didn’t bother with a muslin mock up, but it’s not at all what you expected or wanted. So now what?

Grumble

If you’re like me, you spend a fair amount of time grumbling and cursing about the “messed up” project or worrying about what you’re going to wear to the event instead. This is helpful short-term. It lets off the stress and and can be cathartic, but it doesn’t really solve anything.

Alter

Once you’ve finished grumbling and worrying, try the piece on again. Take a careful look at the seams. Can you alter them to change the fit so it’ll more closely match your vision? Maybe adding some darts or a tuck at the waist would help?

Accessorize

Often the picture on the front of the pattern package shows people wearing shoes or jewelry. Can you add your own accessories or shoes to make the item more closely match your imagined outcome? Maybe a shawl or scarf would help?

Change it Up

Sometimes, when choosing a fabric, you might choose one that turns out not to flow the expected when it’s all sewn up. In these cases, rather than remaking the entire project, add sections of another fabric in areas that will help the flow. It’s nerve wracking to cut apart a completed project, but since you’re not going to wear it the way it is anyway you don’t have much to lose.

Embellish It

Try adding a little pizazz to change the look of your sewing project. Patches, lace work, embroidery, beading, or other fancy details can completely alter the look of your project and provide it with a touch of class or color that may help it more closely match the vision in your head.

Combine It

Depending on how different your vision is from the completed project, combining two or more of these techniques may be necessary. In most cases, though, it’s possible to save the project and make it work for you – sometimes in ways you didn’t expect.

What other techniques have you tried to make your project work?