San Miguel de Allende, in the state of Guanajuato, Mexico.
I recently traveled to San Miguel de Allende, in the state of Guanajuato, Mexico for a five day writer’s retreat with two friends. Although famous in Mexico proper, many gringos have not heard of San Miguel, located the mountains at 6,200 ft. elevation, at approximately Mexico’s center (200 miles north of Mexico City and about 600 miles from the Texas border).

Although famous in Mexico proper, many gringos have not heard of San Miguel.
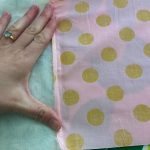
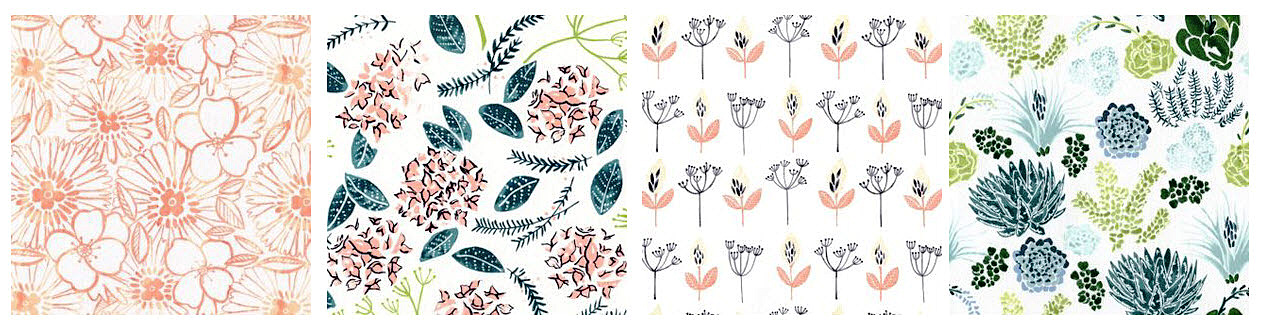
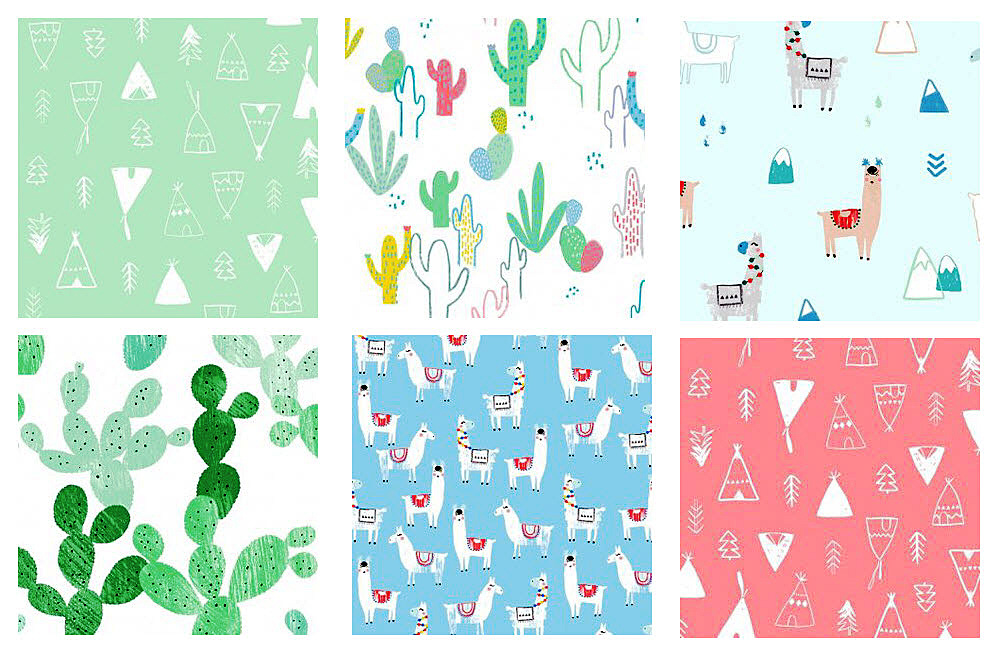
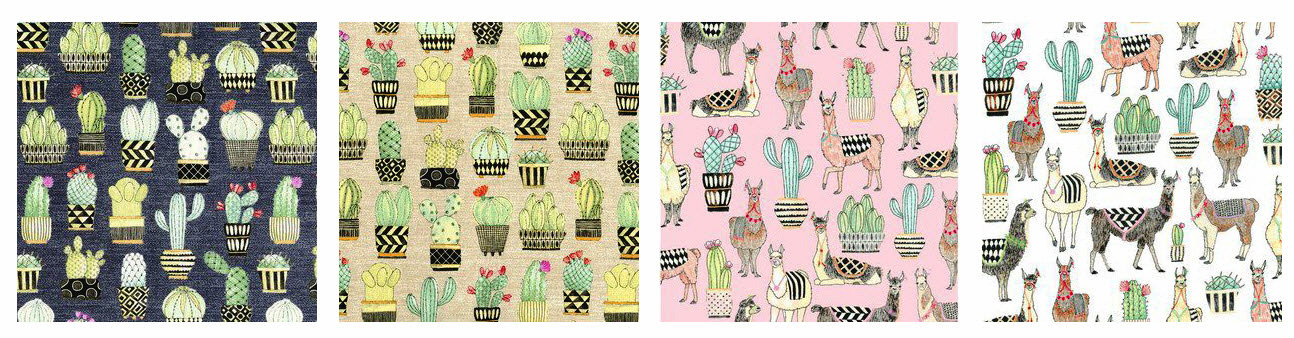
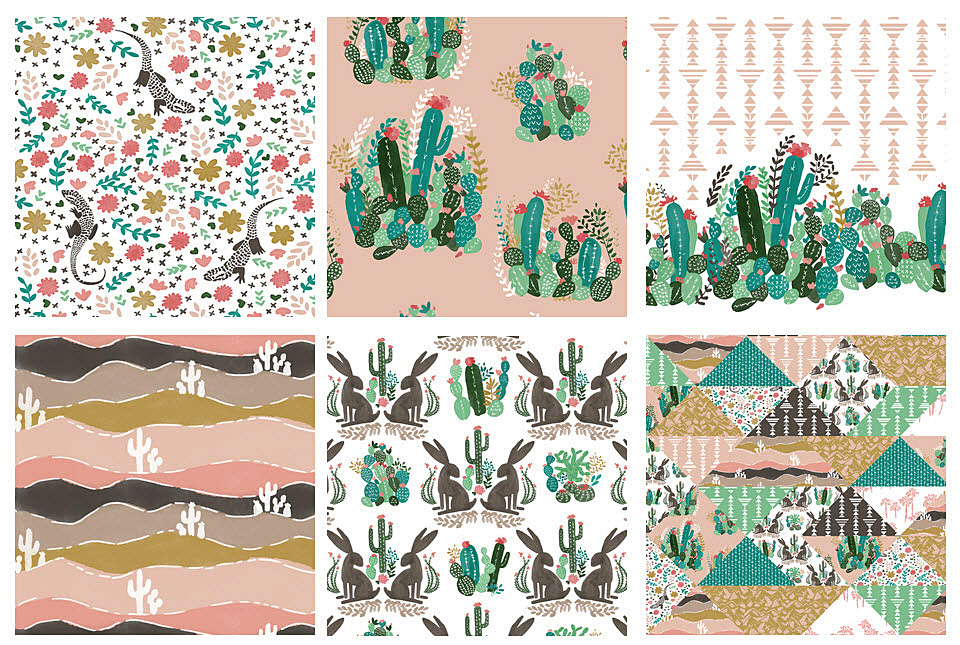
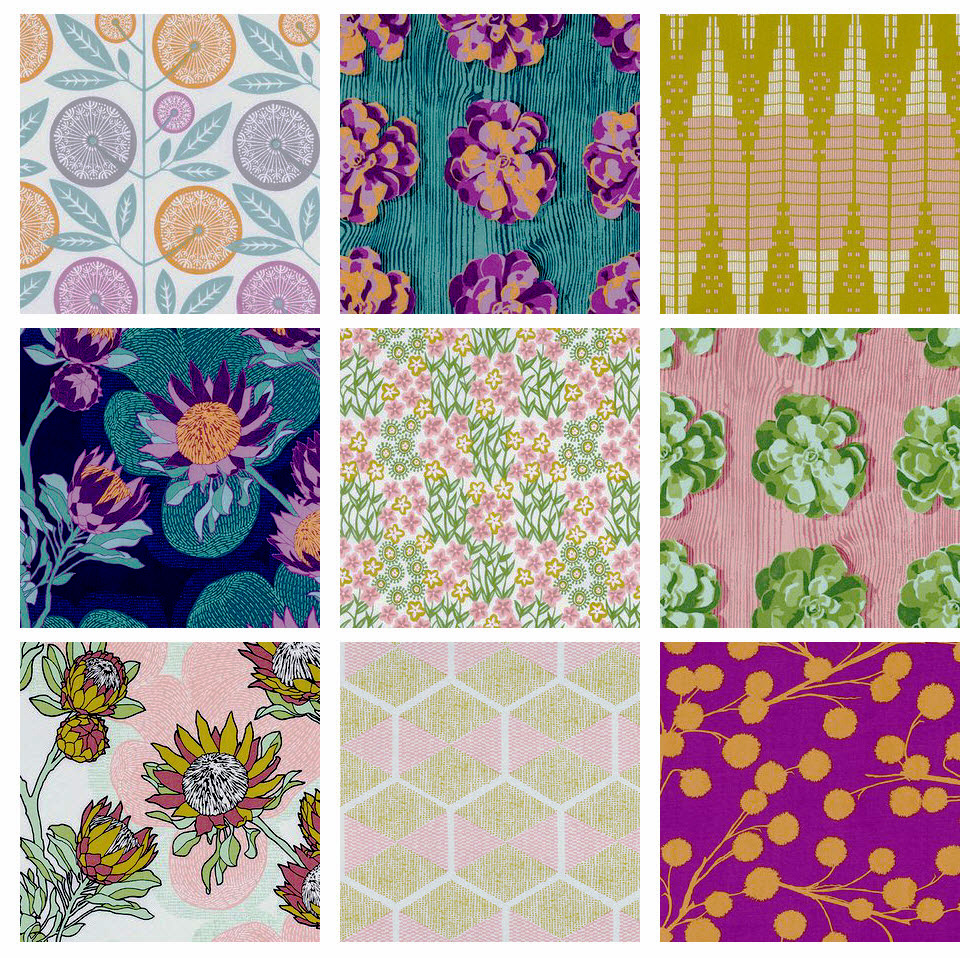
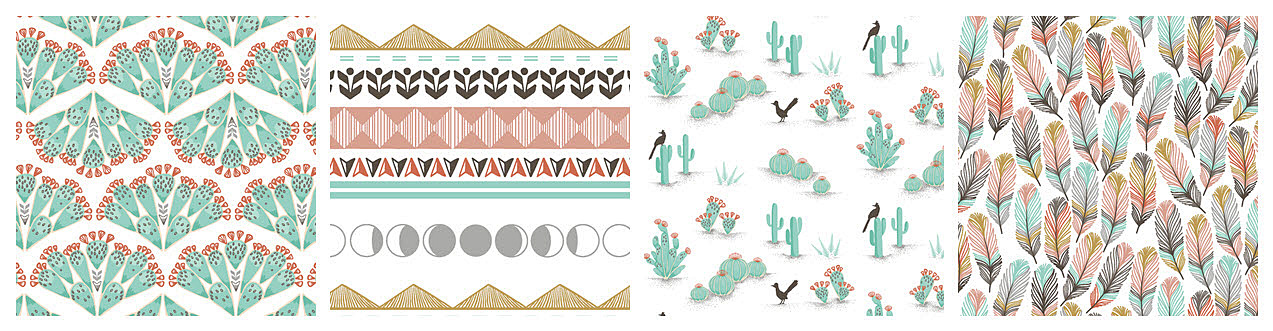
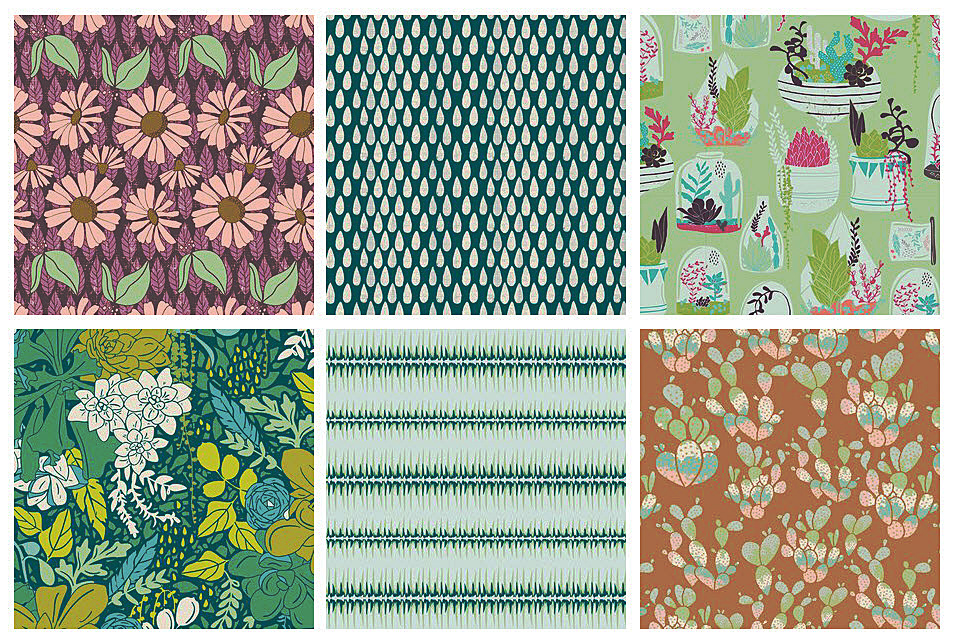
I’m a sewist and a writer and while I was there to work on my book, I could not tear my eyes away from the gorgeous colors of the city and the beautiful fabrics & textiles I found there.
I could not tear my eyes away from the gorgeous colors & textiles of the city.
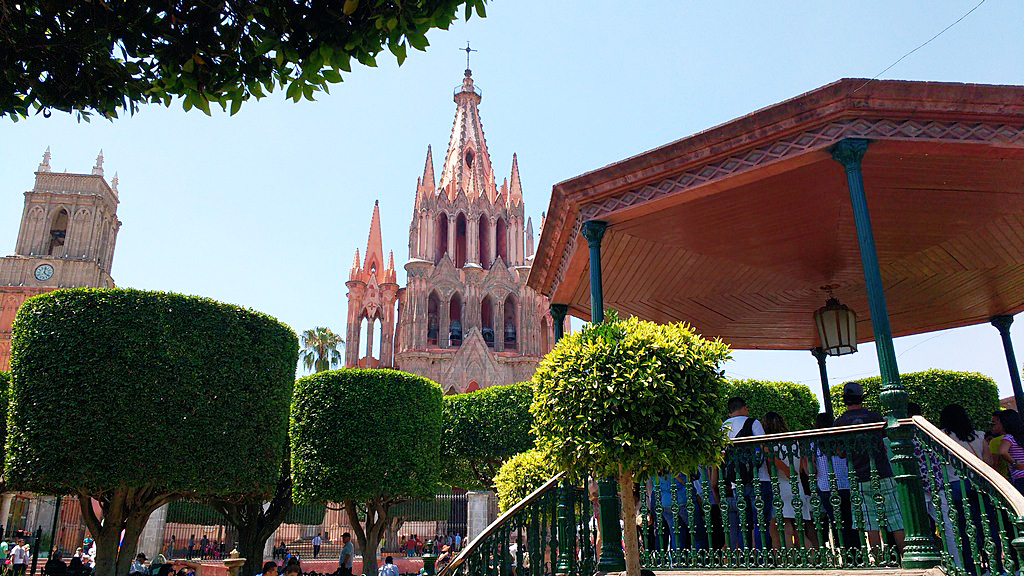
Even the city itself reminded me of a patchwork quilt.
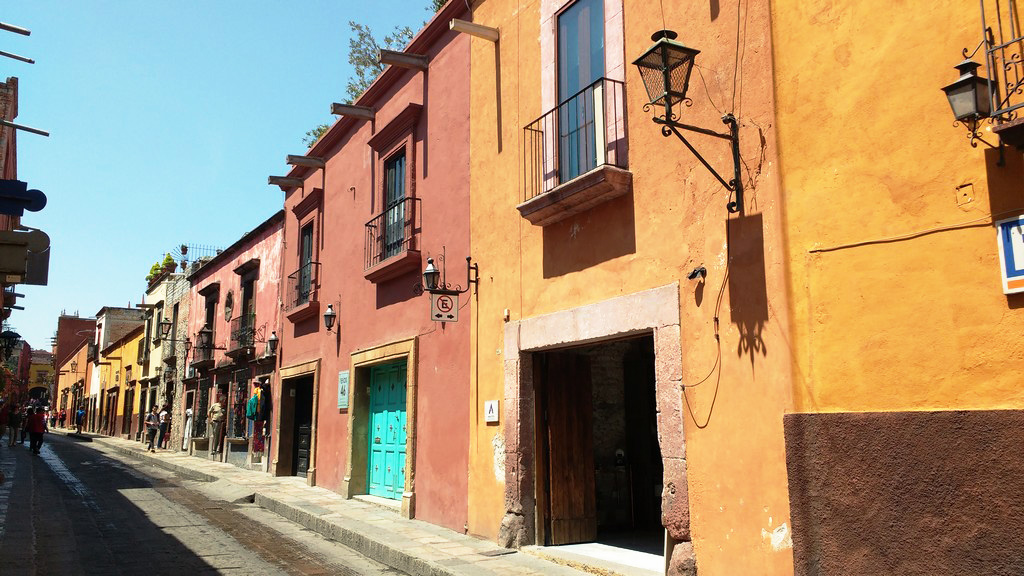
Even the city itself reminded me of a patchwork quilt.
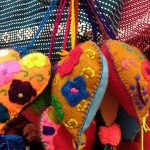
Mexico is not afraid to use color, in fact it embraces bright, vibrant colors in both private and public buildings, art, and culture.
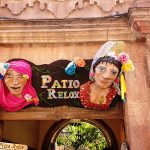

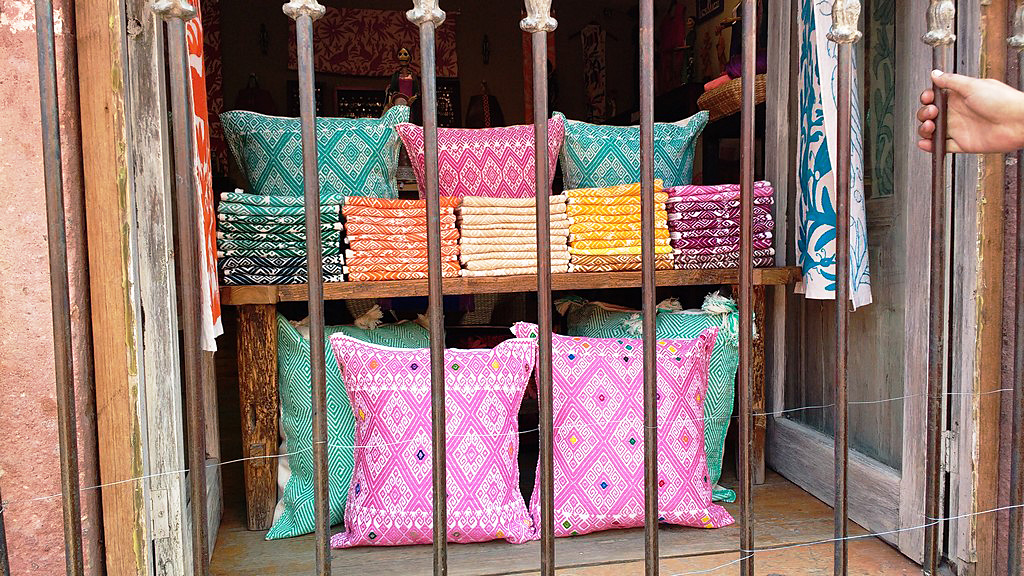
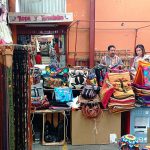
Locals claim that the birthplace of the serape is San Miguel de Allende and I was inundated with options.
Locals claim that the birthplace of the serape is San Miguel de Allende.
Other items on display were rugs, pillowcases, bedding sets, purses, bags, belts, guayaberas, and embroidered and woven fabrics.

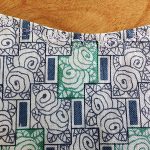
The hand embroidery I found particularly compelling. I bought a bright yellow bag with hand embroidery and my girlfriend, Lizz, bought a hand embroidered panel she plans to hang on her wall at home.
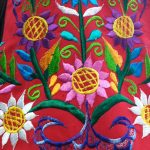
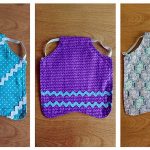
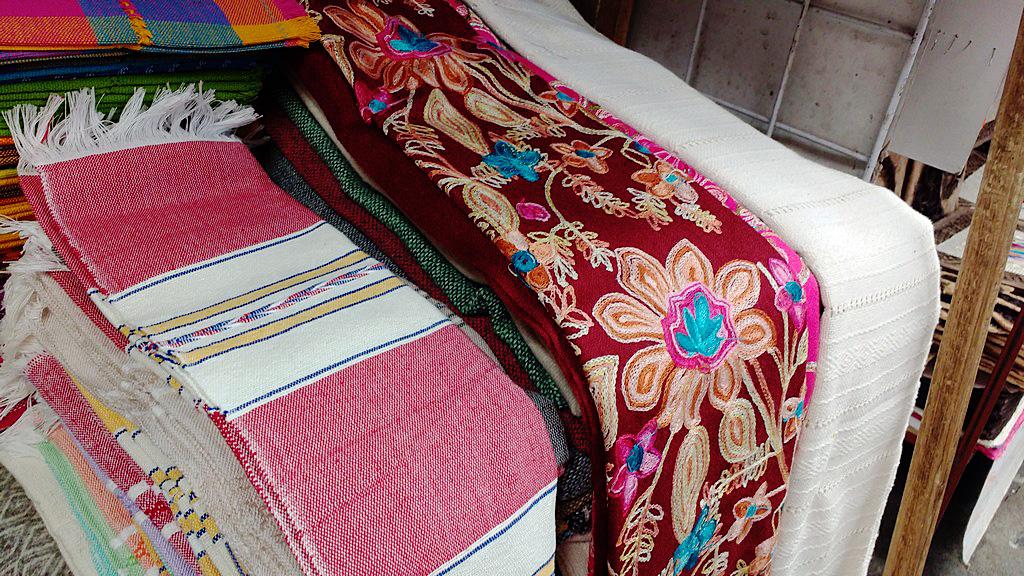
This is the panel she purchased (photo taken with permission).
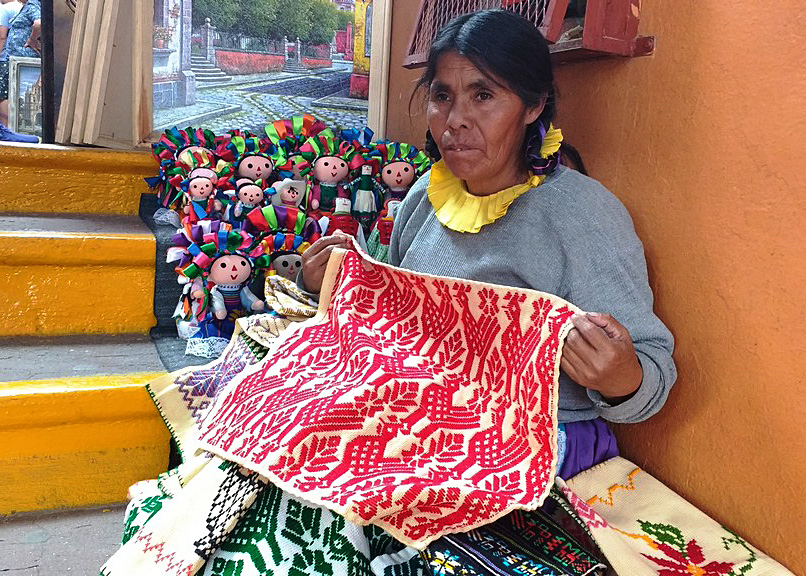
This is the panel she purchased.
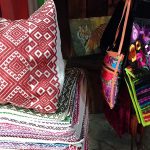
This booth was my favorite. It was located in El Mercado de Artesanías. I was so inspired that I had my pencil and paper out and took notes to plan out quilts I’d love to make with the huge, hand-embroidered panels.
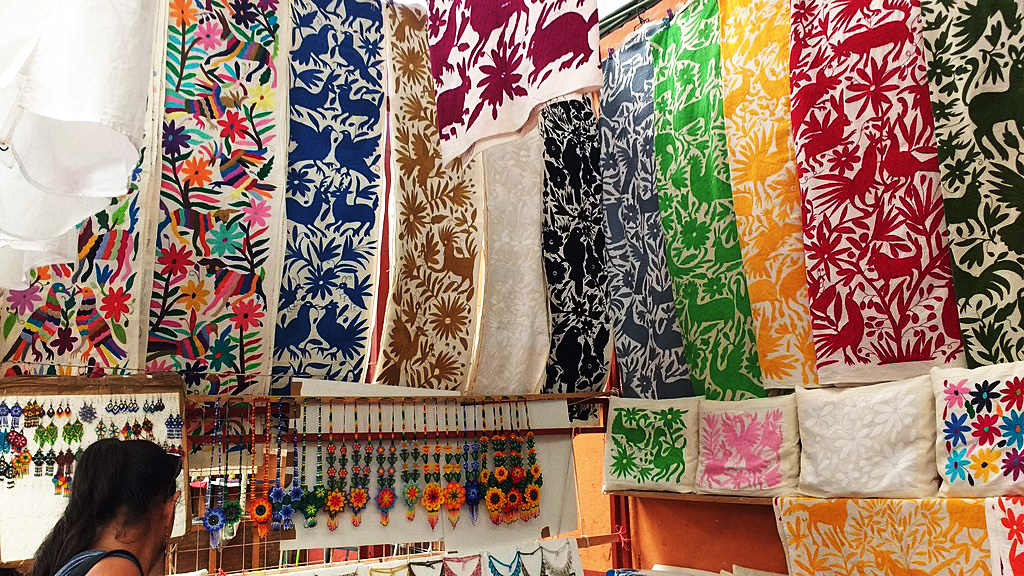
This booth in El Mercado de Artesanías was my favorite.
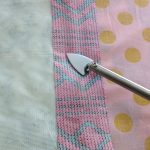
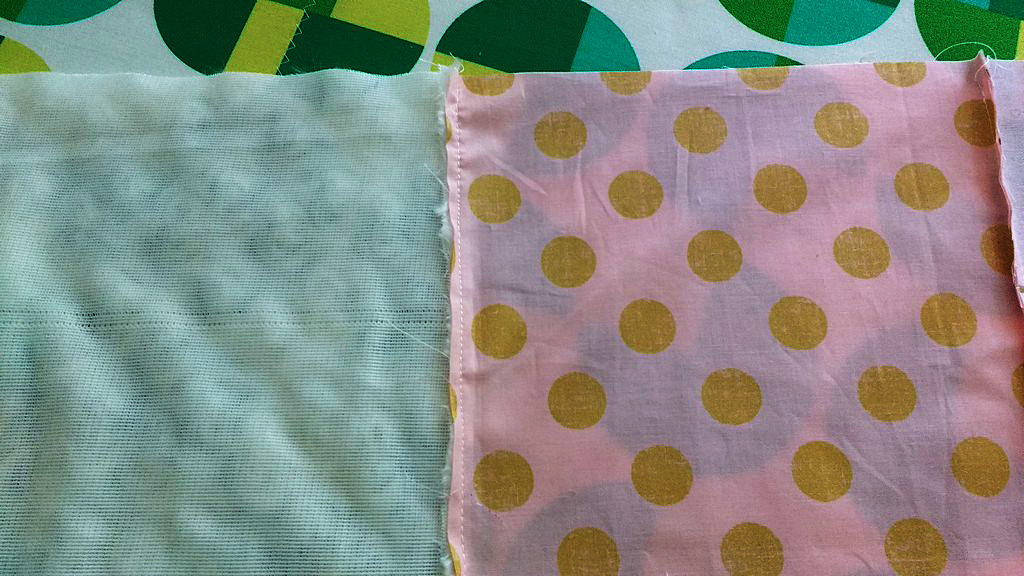
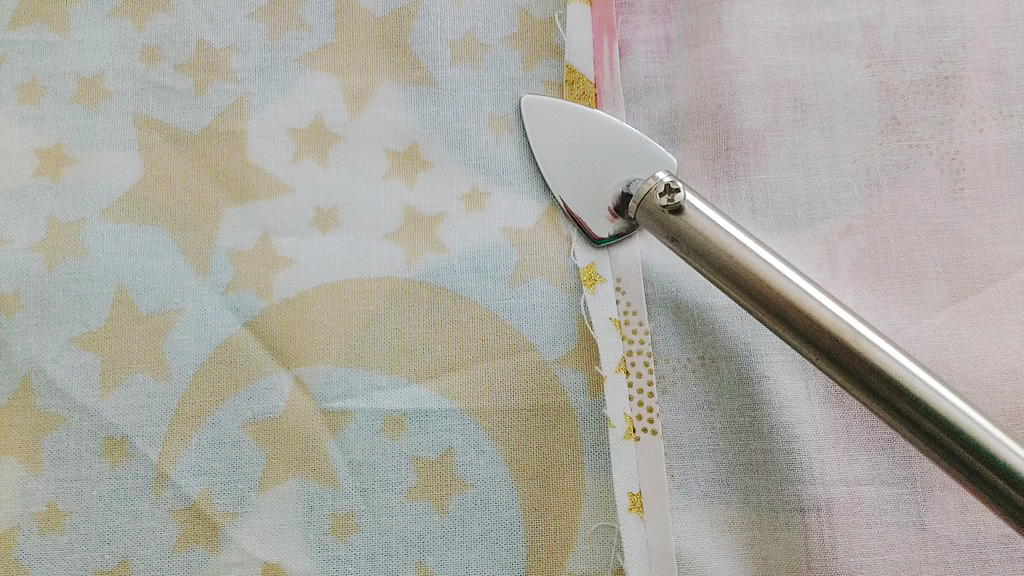
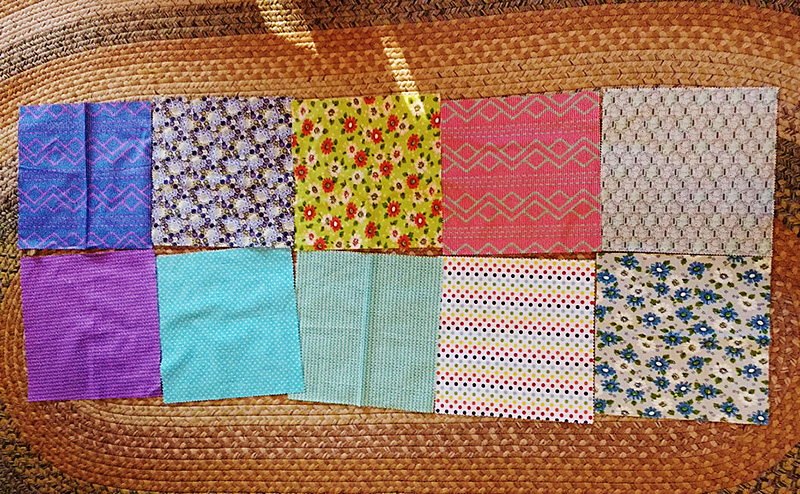
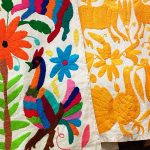
They sold smaller squares too, similar to charm packs and layer cakes. I’ve worked these into some upcoming designs as well.
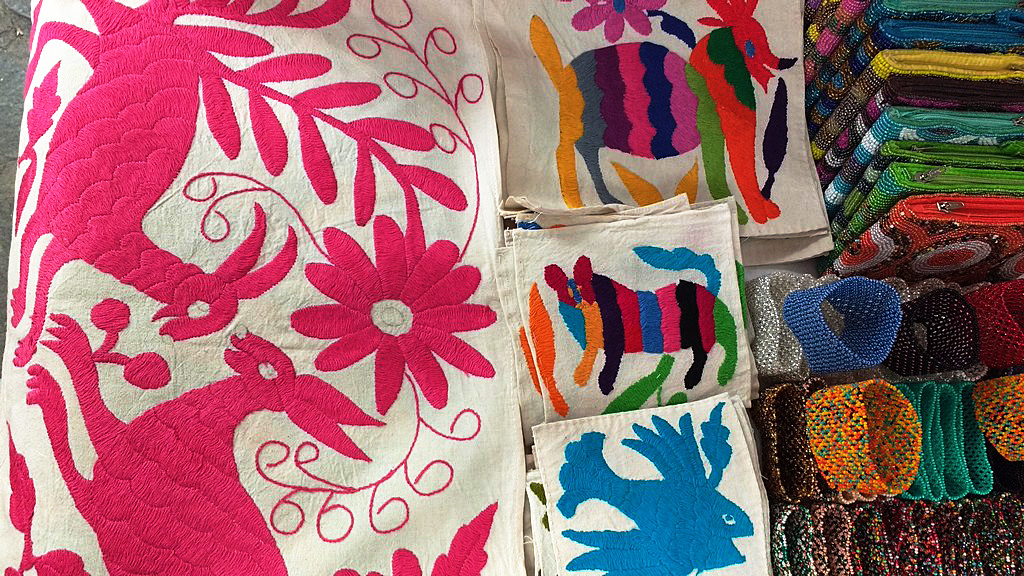
I’ve worked these into some upcoming designs as well.
Mexico also has the best selection of oil cloth fabrics. Make sure to pick up a few yards for your stash whenever you visit.
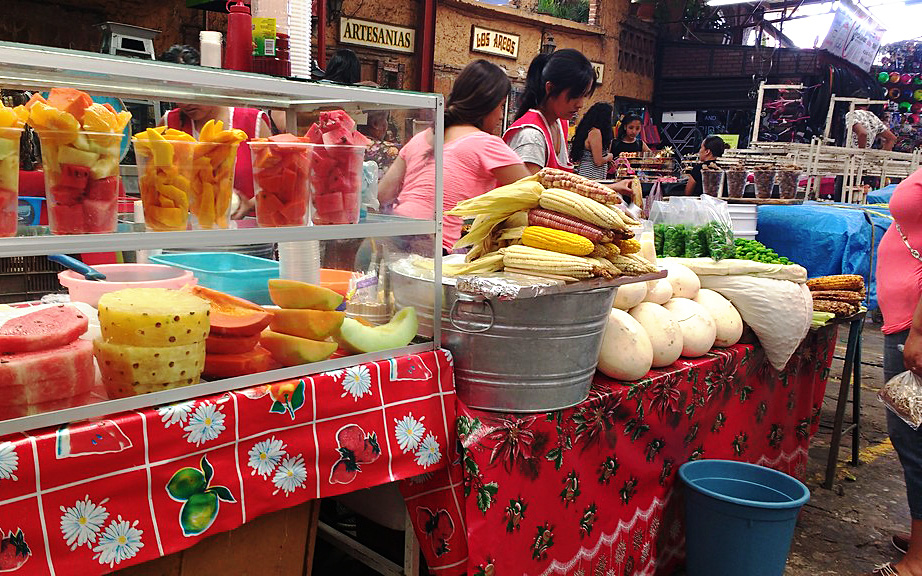
Make sure to pick up a few yards for your stash whenever you visit.
After a long day in el centro, I spotted this Singer sewing table used for display at a local tienda. Sewing is everywhere.
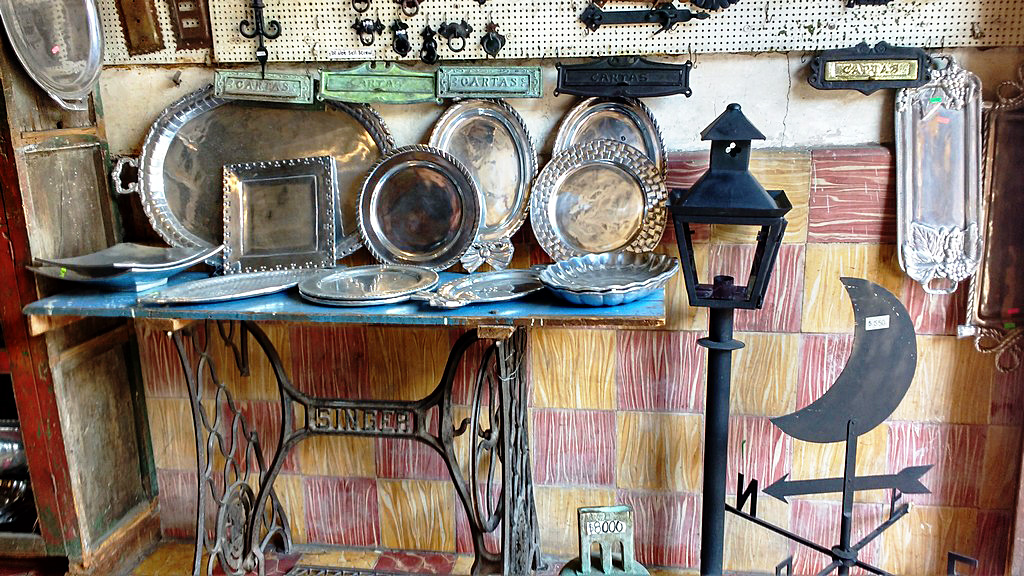
Sewing is everywhere.
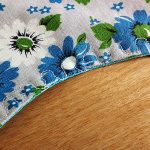
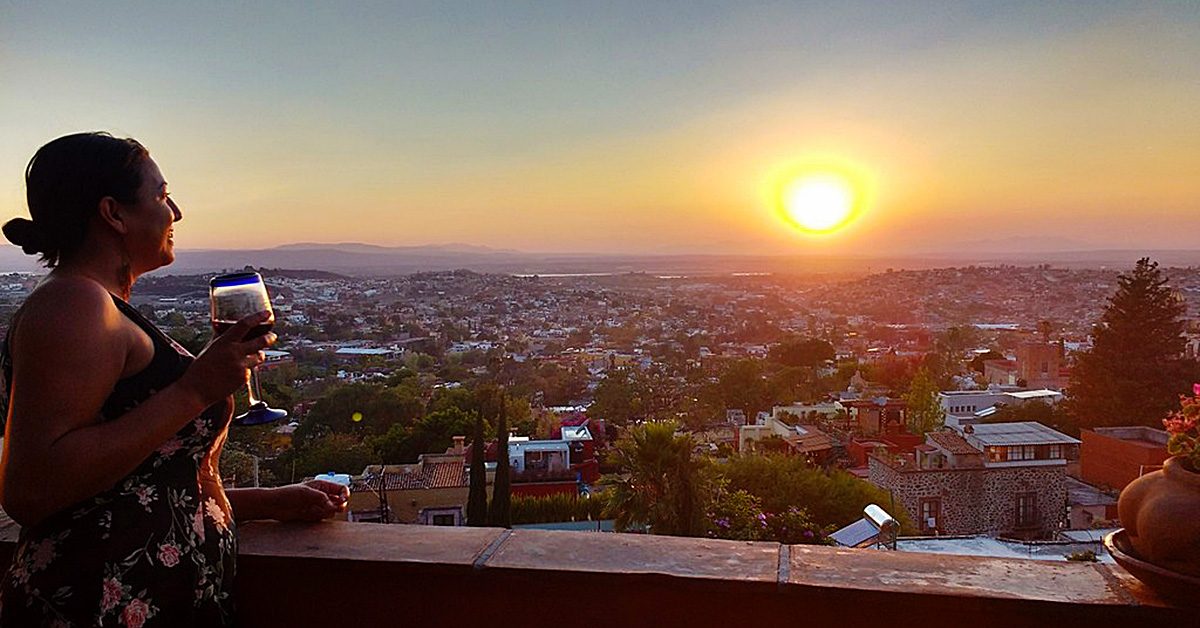
Here I’m enjoying a hard earned beer after a long day of writing, but it’s the bag in the foreground I want you focus on. Check out that embroidery and the stunning color!

Check out that embroidery & the stunning color!
I cannot wait to go back. Have you ever visited San Miguel? Did you buy any fabric while you were there? Share with us your finds in the comments.

I cannot wait to go back.