Time-saving Tips for Quick Quilts
Many sewists want to delve into quilting but are daunted by the amount of work required. It is true that any quilt is a labor of love, however, quick quilts are easier to make than more intricate quilts.
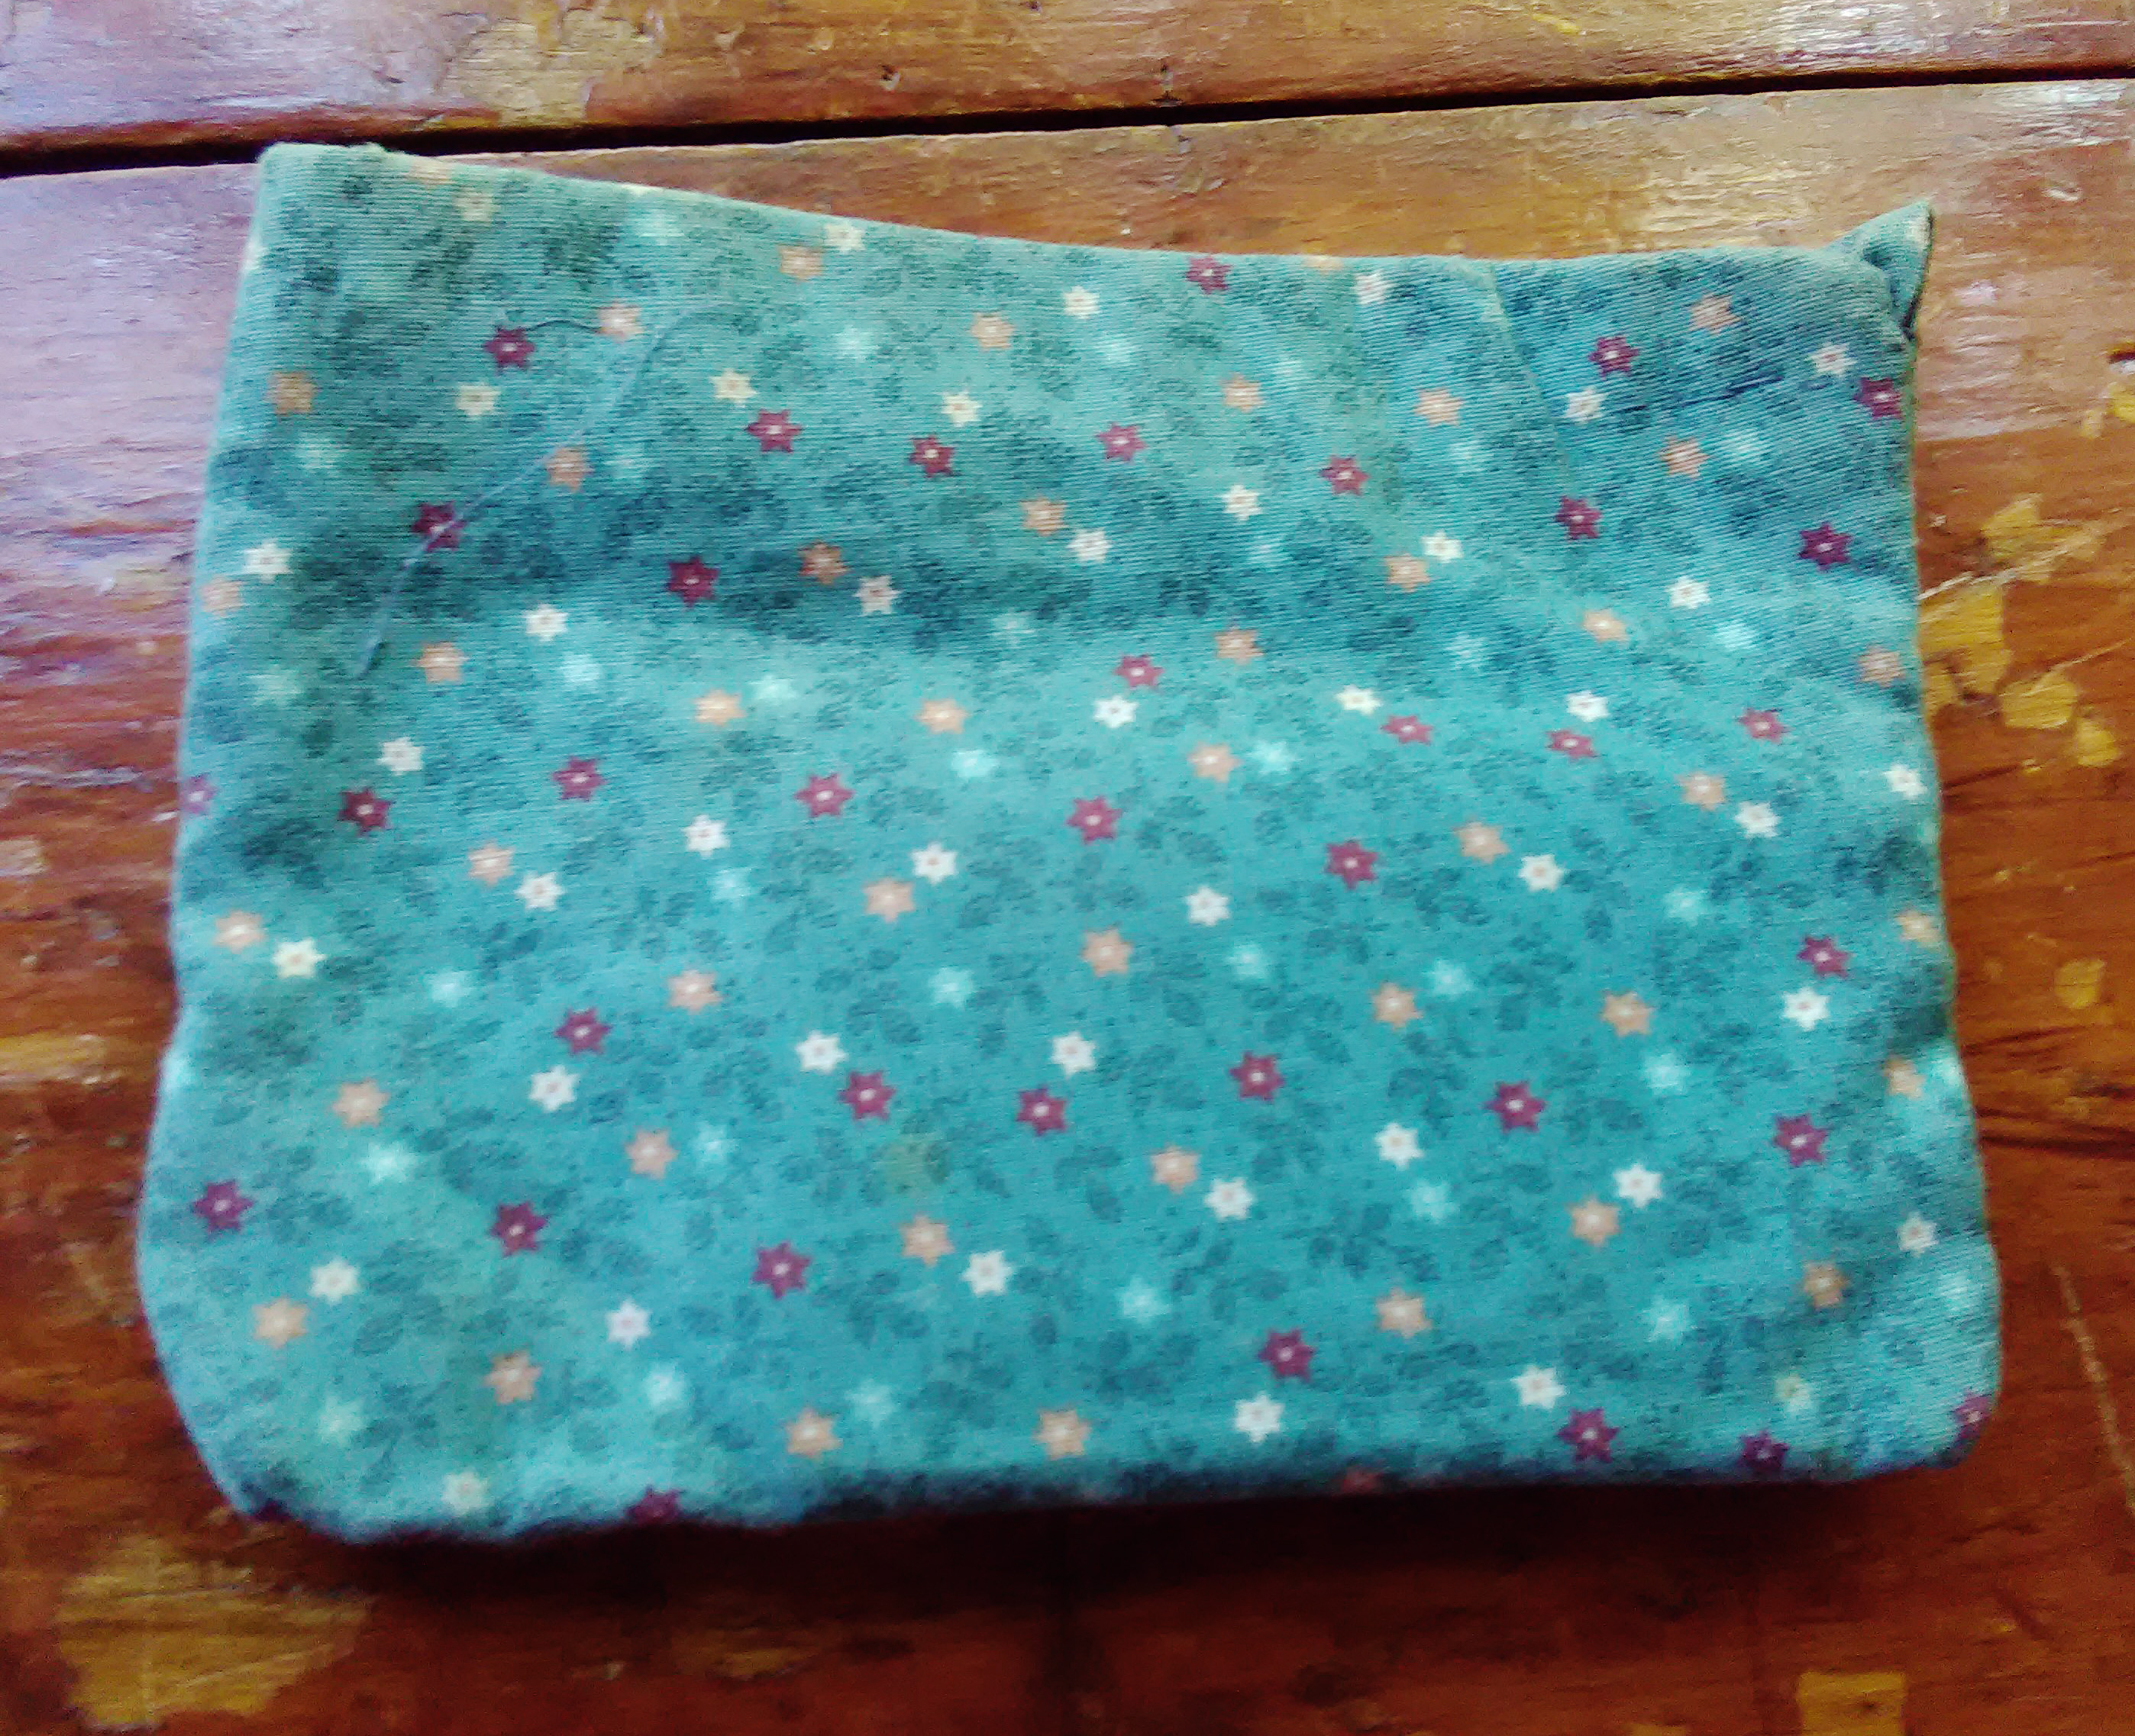
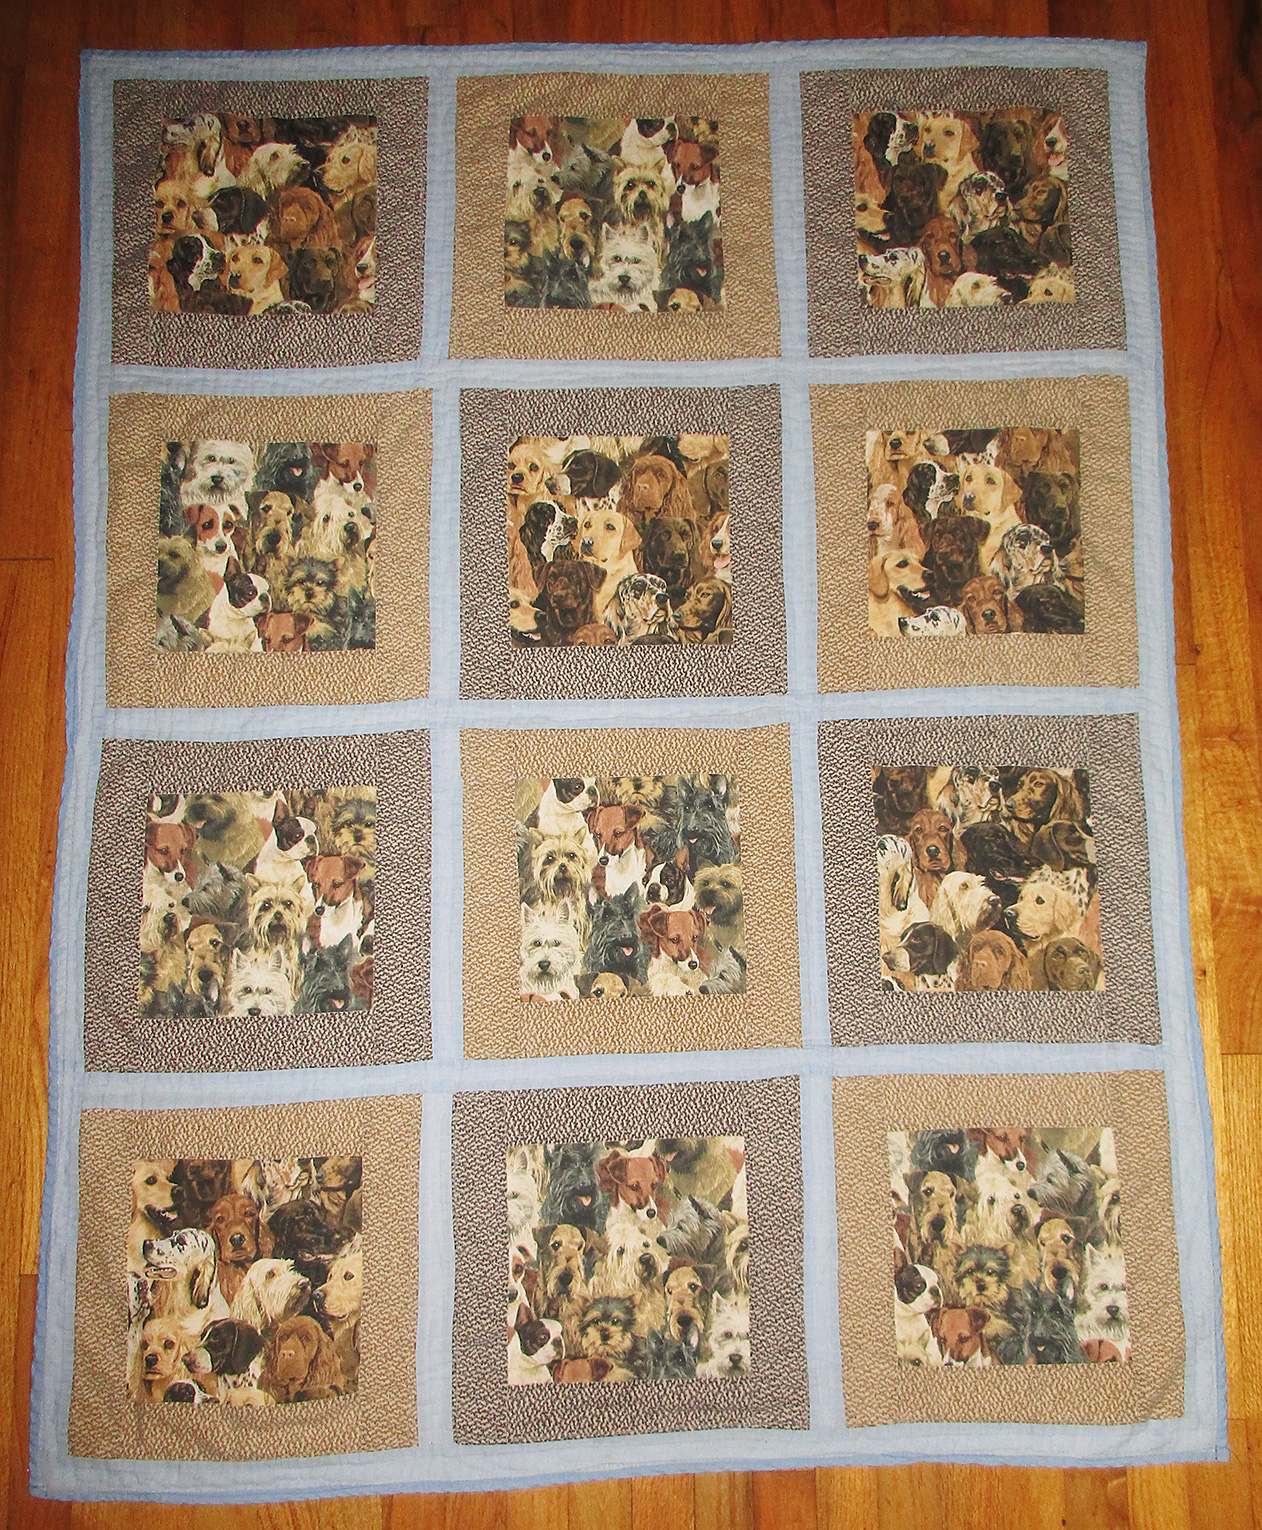
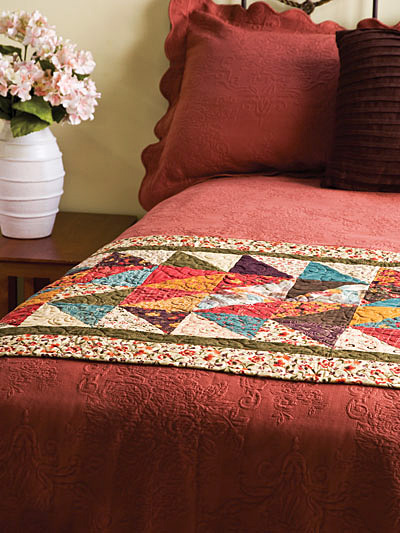
This simple quilt has a super soft flannel backing and may be the most loved and cuddled quilt I have made yet.
Quick quilts start with a simple design, using large square and rectangular blocks, rather than many small or fussy pieces. These easy designs ensure beginners more enjoyment, completion, and success.
Do not choose an intricate star pattern and a bed sized quilt for your first foray into quilting, for example! This would only result in frustration.
Baby, crib, and lap quilts make great first projects, or you can make a small wall or table quilt. Starting small ensures an enjoyable, do-able project that will make you proud.
Quick quilts are not just for beginners, though. Everyone loves quilts and, with these, you can give quilts as gifts more often. Let’s look at some tricks to quick quilts.
Many steps go into “building” any quilt. These are:
- Design
- Cutting
- Patchwork, the “quilt top”
- Making the “quilt sandwich” and basting
- Quilting
- Binding
Quick Quilt Designs
 A quilt begins with the patchwork design. Quick quilts use large square and rectangular pieces for faster completion.
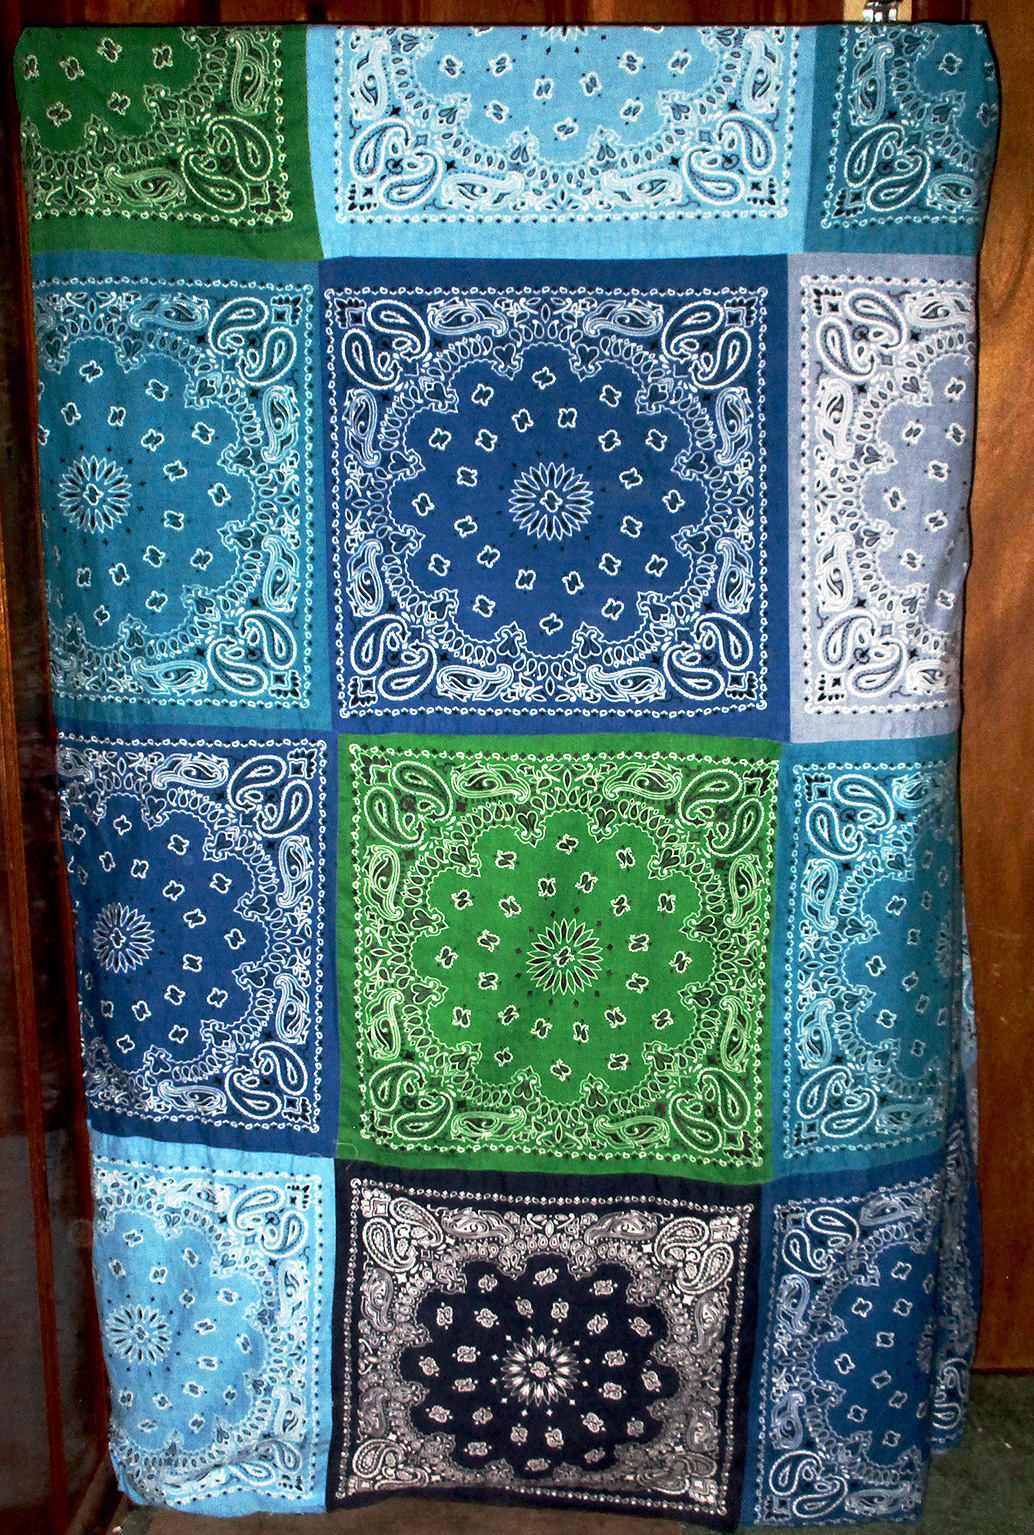
Another option is to just skip the patchwork step. You could use “cheater” patchwork print fabric instead, and quilt along the lines. Or choose a plain fabric and sew your quilt in the “whole cloth quilting” style. These are easy ways to save time and trouble.
But you won’t want to make many quilts using this method, because the patchwork is the foremost fun of making quilts!
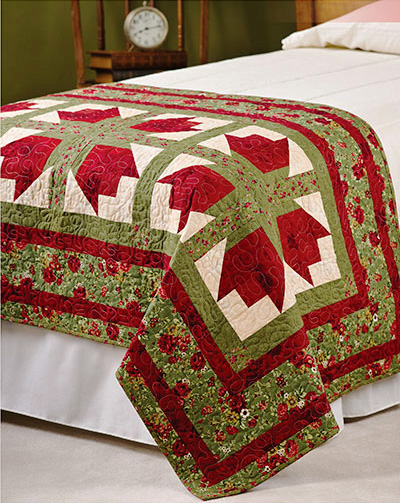
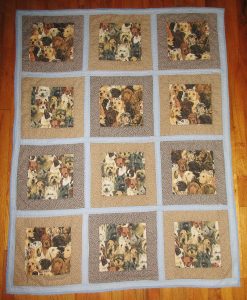
Specialty and novelty fabrics work well showcased in large squares. Add interest and coherence by adding frames or borders between the individual squares.
Here is a simplified, quicker version of the baby quilt I showed how to make here. It uses larger and fewer blocks than I used for that quilt.
Saving Time with Patchwork
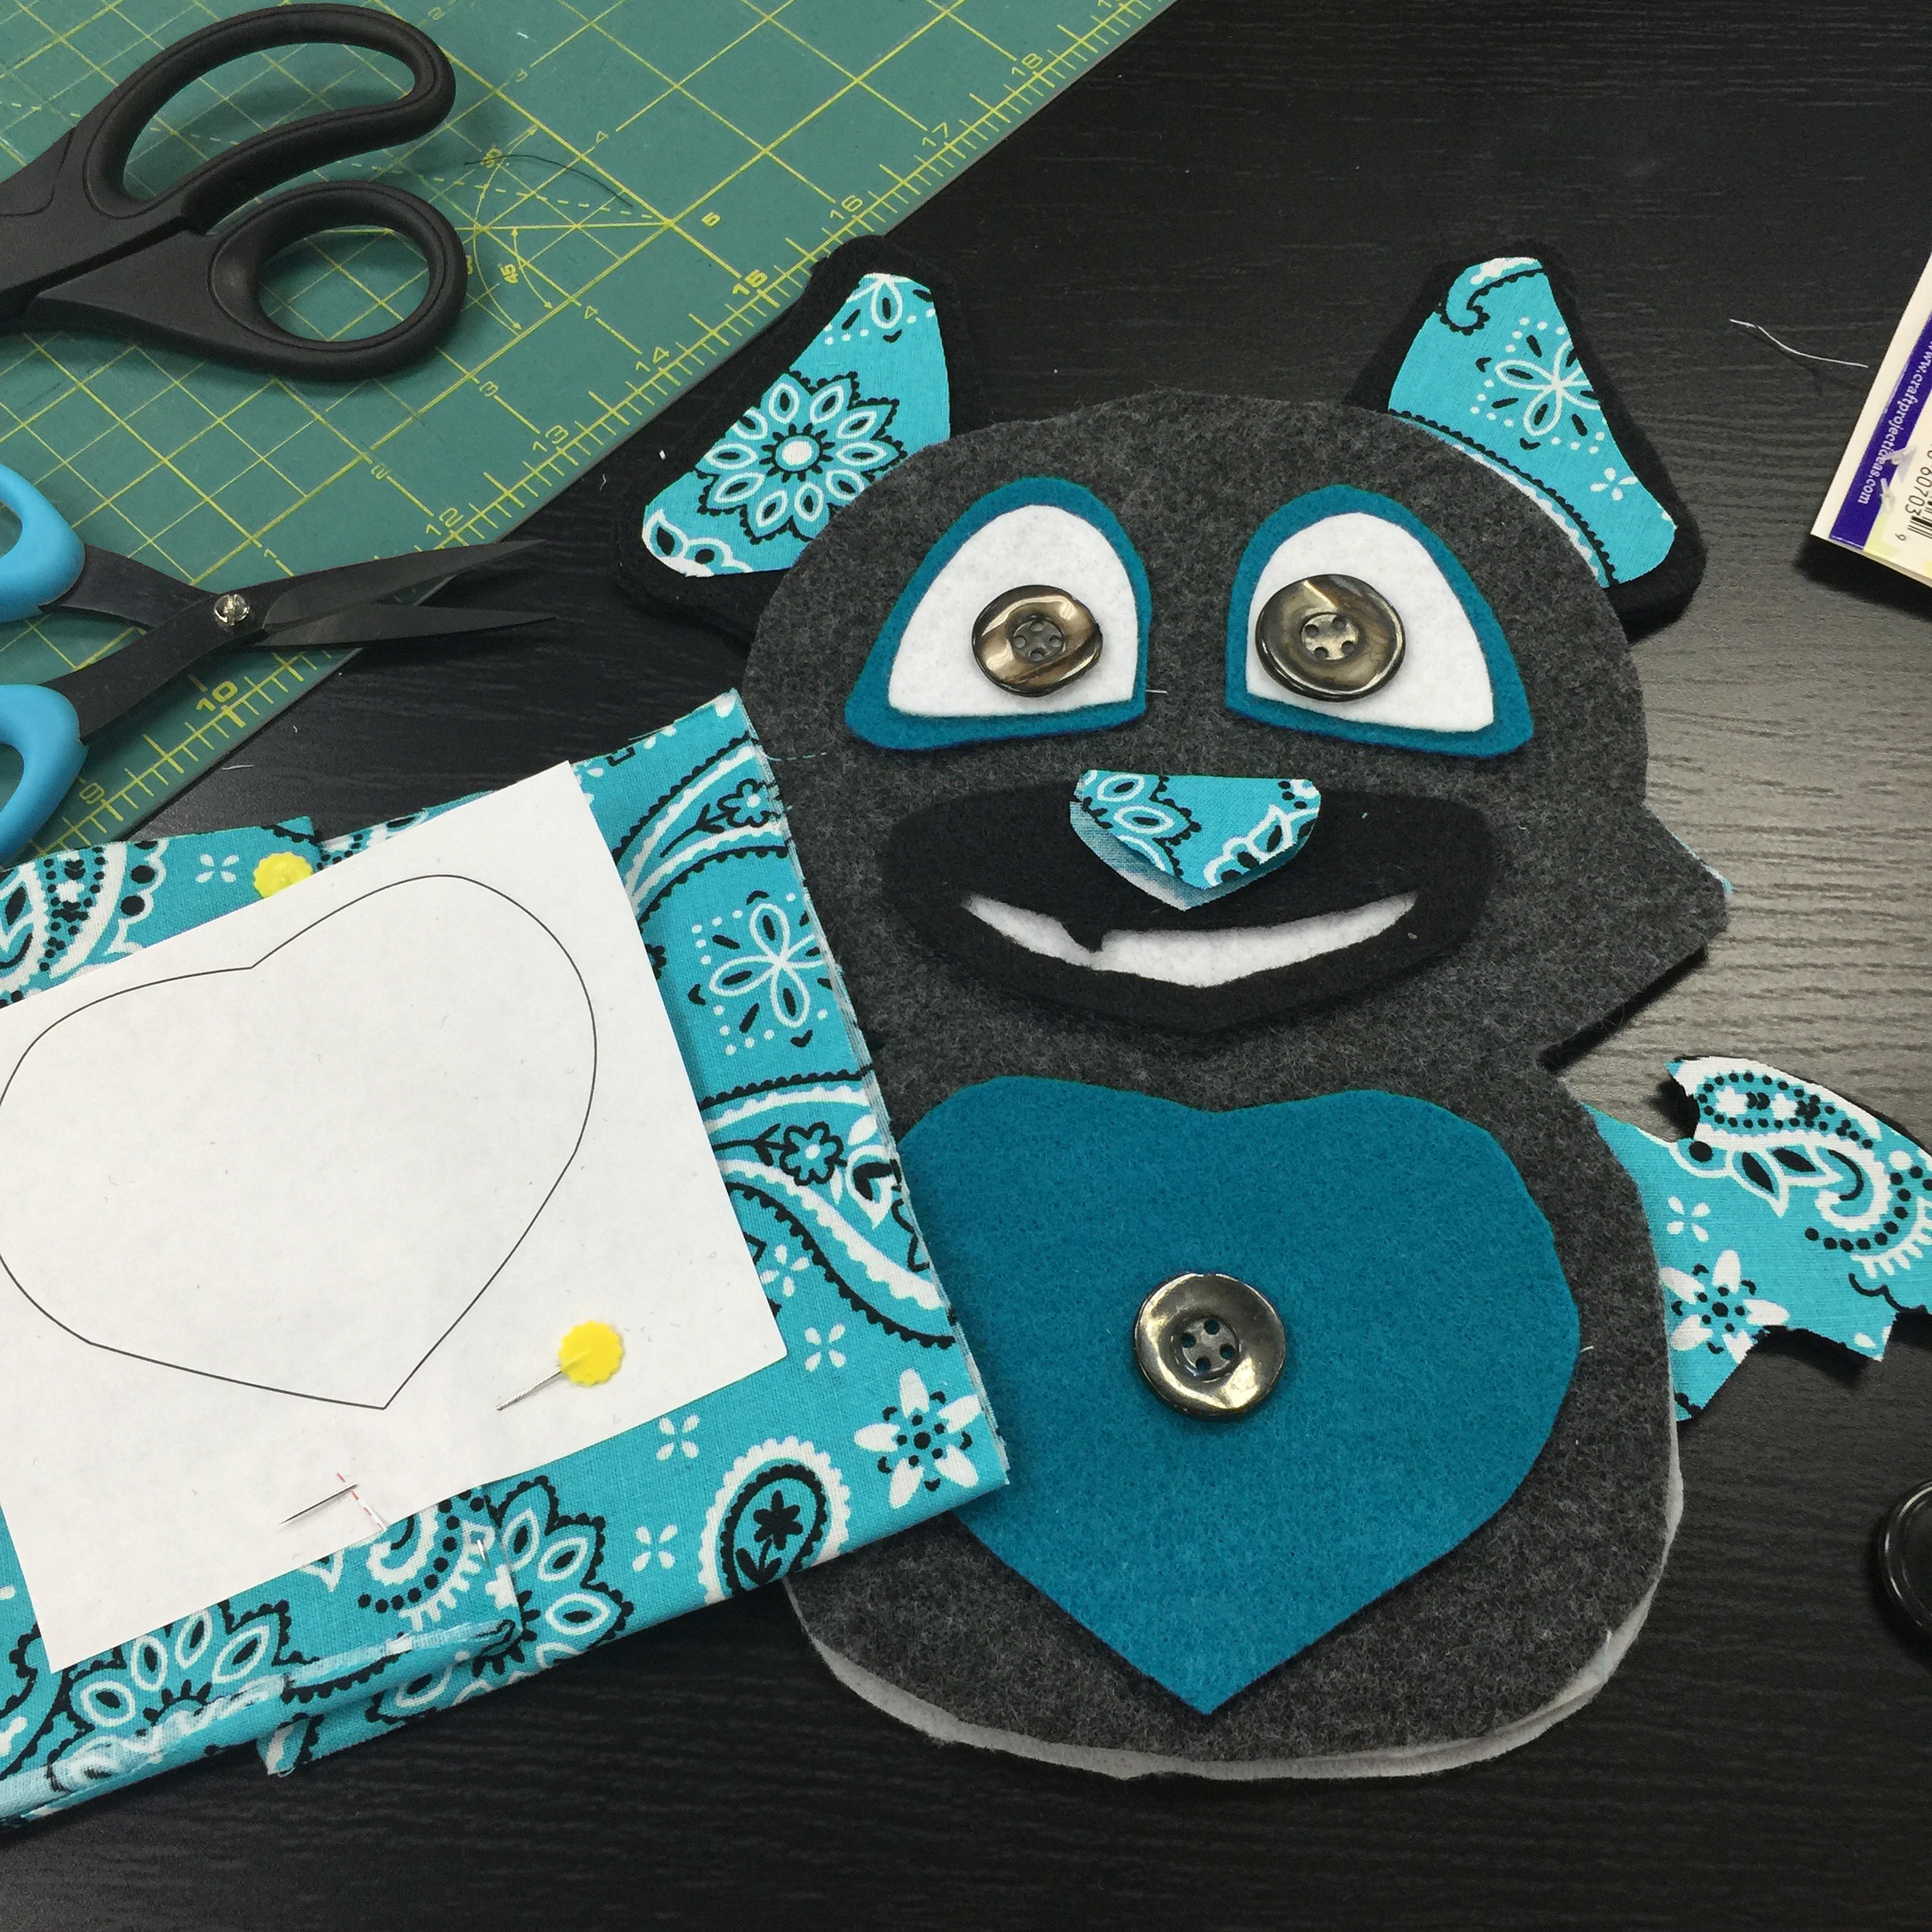
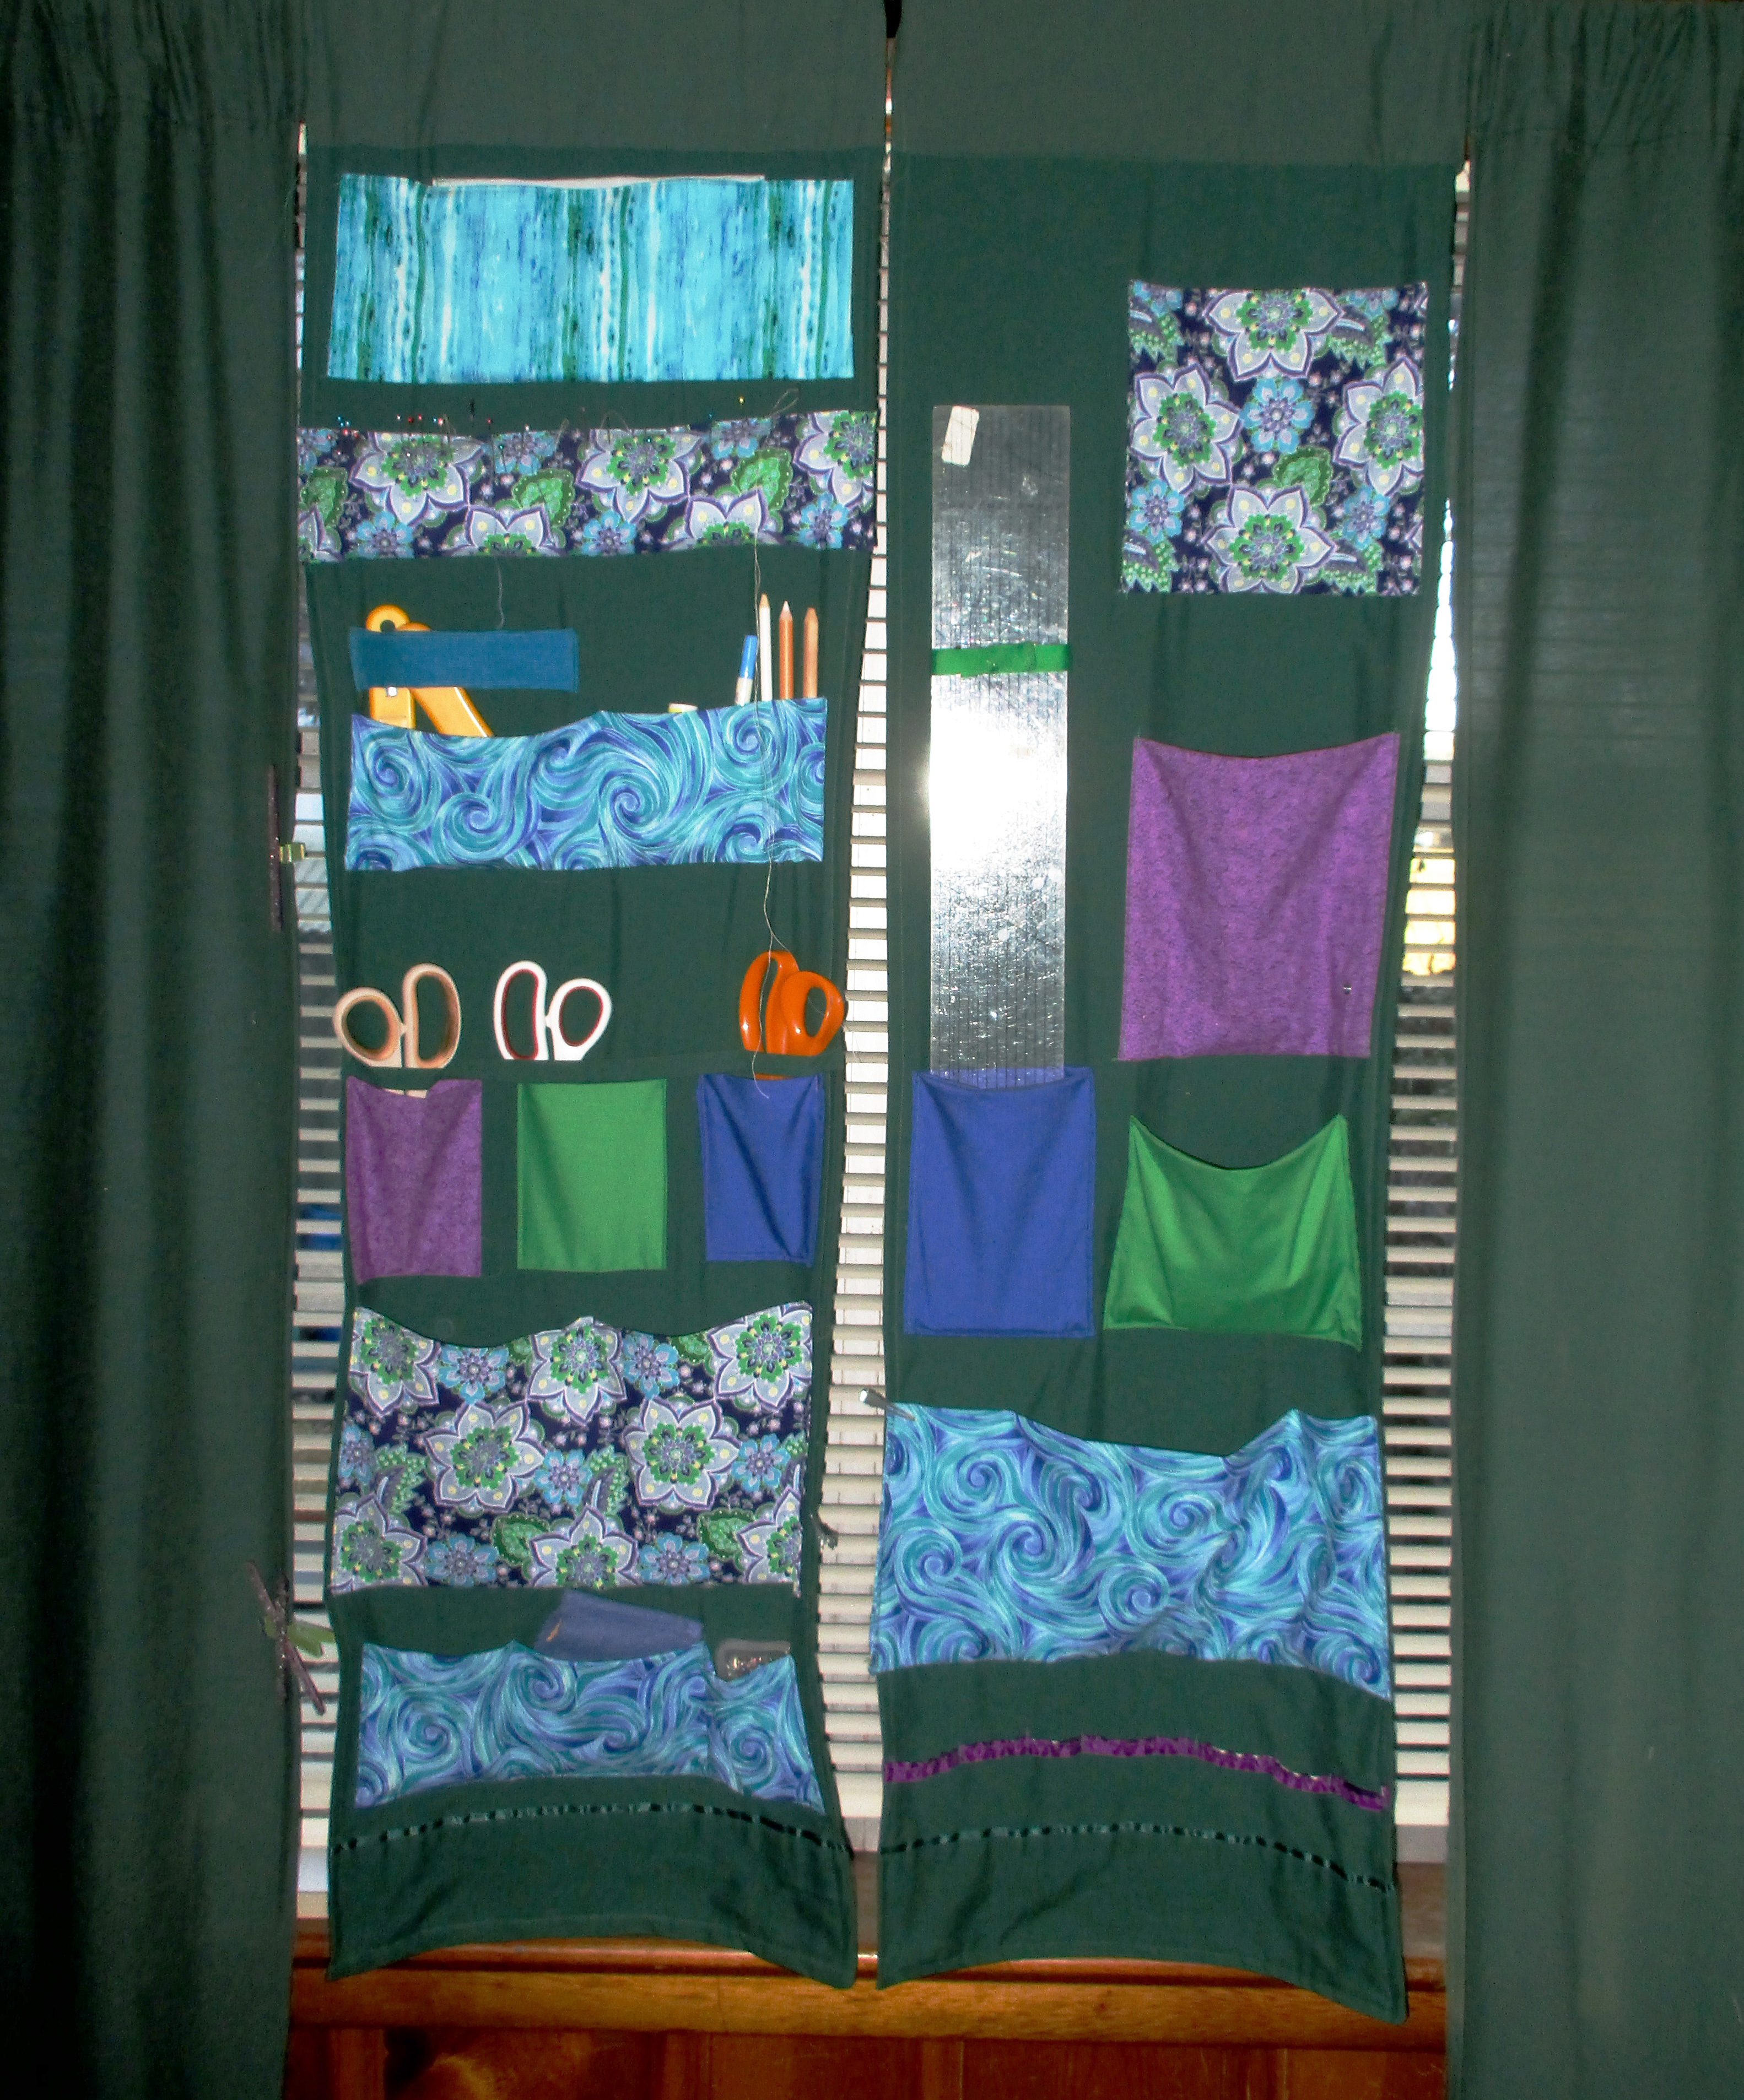
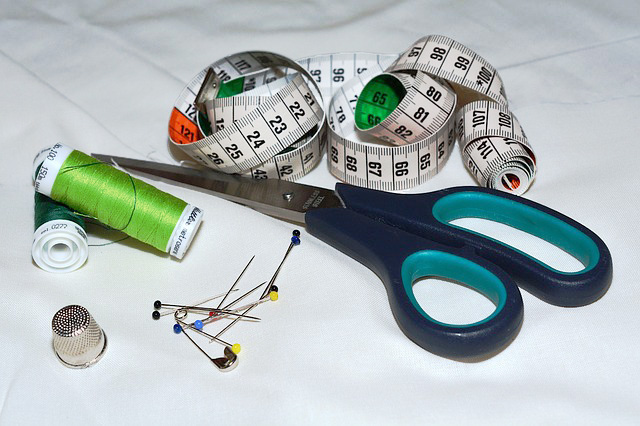
There is one important time-saver that all quilters must embrace: the rotary cutting tool. Every quilter needs a rotary cutter, a self healing mat, and a clear ruler to use in cutting patchwork. These tools make cutting many pieces at a time a breeze, and ensure precision. Perfect pieces are essential for patchwork; this is not easy to achieve using scissors.
The “Quilt Sandwich:” Saving Time in the Basting Step
The quilt sandwich consists of a backing, a batting, and the quilt top. These are usually basted together using long running stitches. I like to skip this step and baste my quilts using quilter’s safety pins. This is quicker than sewing stitches and having to remove them later. Unpinning as needed is faster and saves steps.
An even quicker way to get your quilt layered, basted, and ready for quilting is to use basting spray. Spray this between the layers to hold them together and there will be no need for pins or basting stitches. This can be a huge time saver, but be careful when using this method. Take care to ensure all layers are smooth, and be careful as well not to overspray, because this can be messy. You may like to prepare a place for taking this step outdoors. Otherwise, use a well ventilated room. You might even like to wear a mask or bandana around your face to avoid breathing in fumes.
Saving Time Quilting
The quilting is the actual stitches sewing the three quilt layers together. Quilting can be elaborate or simple, and dense or sparse. Many quilts combine more than one quilting pattern and density.
The easiest and simplest way to begin quilting is the “stitch-in-the ditch” method. Do this by sewing quilting lines along the seams of the patchwork squares. I recommend that you begin your quilting journey using this method, because it is easiest and fastest by far.
Saving Time in Binding
Most quilters make their own binding strips. This is easy to do with a rotary cutter, but as a time-saving measure, you can skip this step and use packaged bias or quilt binding instead. These come in an array of basic colors and you can find them to match most any quilt.
Most books say to sew the binding along the front of the quilt by machine, but to sew the back down with hand stitches. If you are a purist, you will want to attach your binding along the quilt back by hand. There are no quilt police, though, so you can save time by sewing the binding down with your machine. Use the same color thread as the binding, take care with this, and chances are no one will notice or mind.
Skipping the Binding
You could save more time by skipping the binding entirely. One way to do this is to build your quilt sandwich in a different way. Instead of layering the quilt with the right sides out, layer these right sides together. Place the batting layer on top, then sew around the edges, leaving an opening for turning. Clip the corners and turn right sides out, slip stitch the opening closed, then pin and quilt. This takes care to do well, but can save you the entire binding step. The edges of this quilt will not be near as durable and long wearing as a bound quilt.
In addition, I have also cheated on this step by using my serger. I serged decorative thread around the edges of my quilt instead of using binding. This looks great, but again, is not as durable a finish as traditional binding would be. Therefore, this might work better for a wall quilt than a baby quilt, which would be more frequently washed.
Just Do It!
Making quilts is fun and worthwhile. Saving time and frustration by making quick quilts is the best way to get started. If you ever wanted to make a quilt, don’t waste any more time wishing you could and just do it! You surely can and you will be so glad that you did.

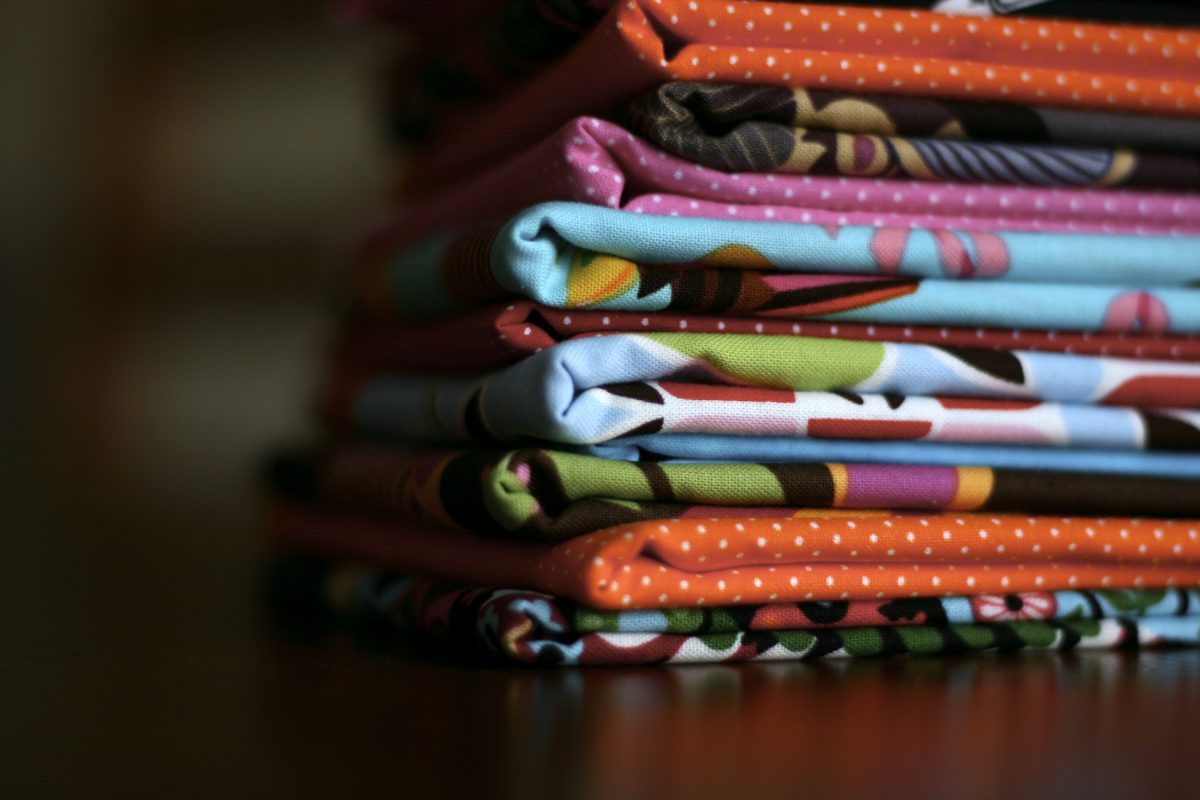
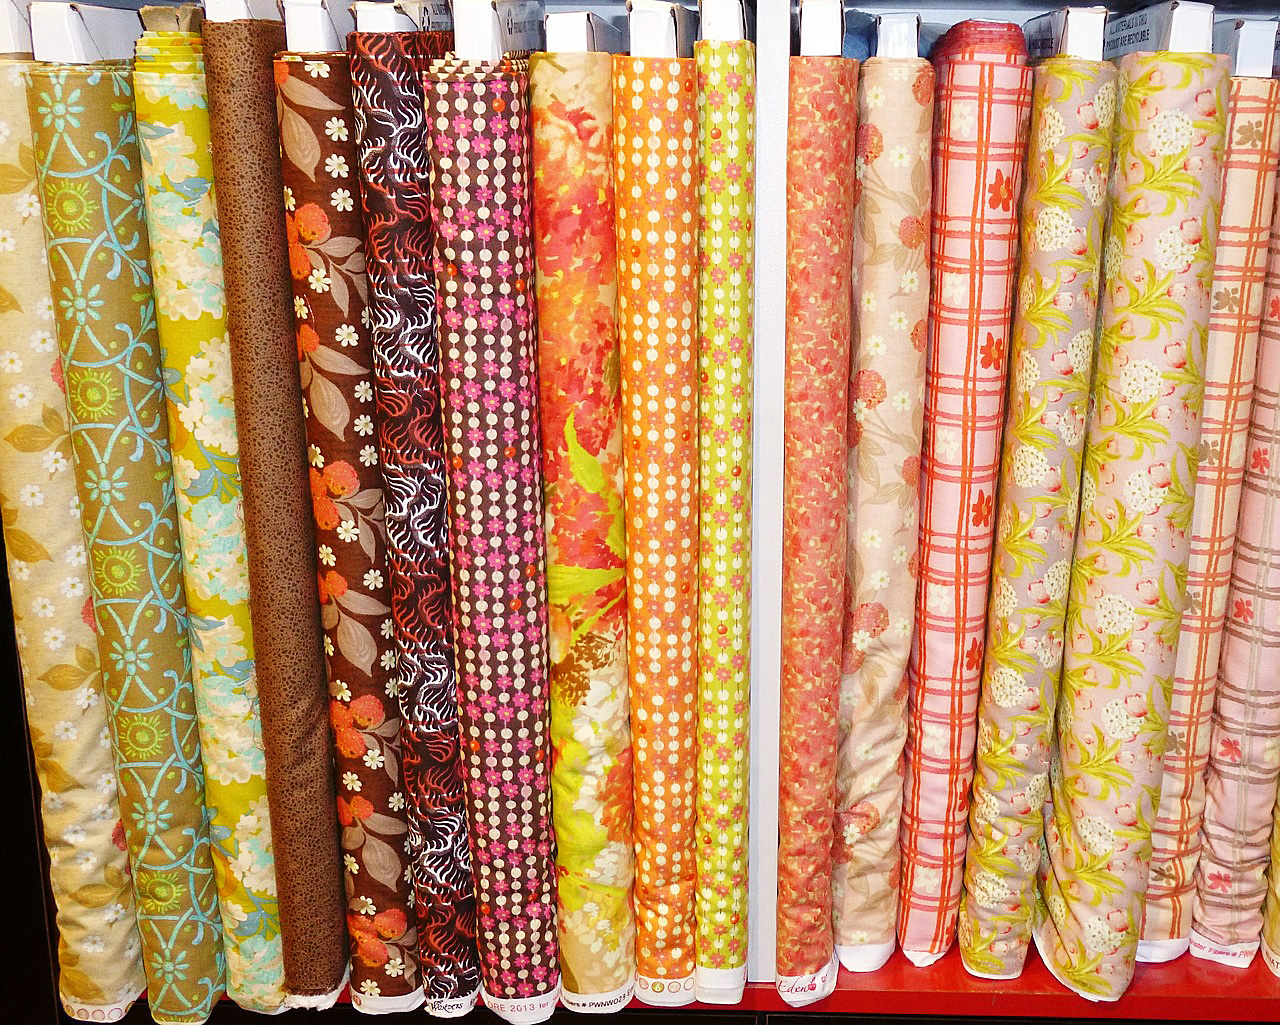 With so many beautiful colors and textures, it can be really hard to resist buying up ALL the fabric in the store. Things like budget, project specifics, and potential use fly away in the midst of gorgeous bolts. If you’re like most people, though, buying every bolt of fabric isn’t actually feasible. Following these tips will help you stay in control of your bolt buying and your bank account.