You can sew a rice pack heating pad to any size at all.
The first one I ever made was a rectangle maybe about four by six inches. Okay, maybe it was a little bigger than that, but in use, it turned out to be silly small and I wanted a larger one.
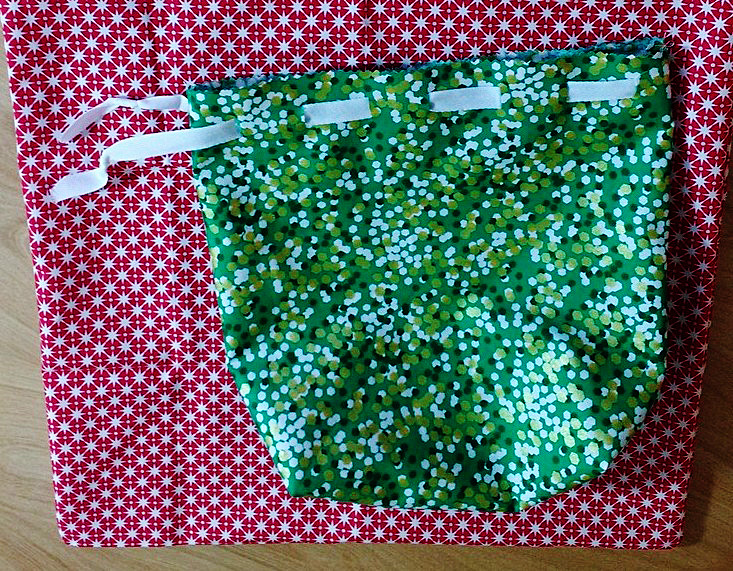
I have made smaller rice packs that serve a neat purpose, though.

These make sweet pocket warmers when stuffed with rice.
For a heating pad, bigger is better. So I made a large one with a folded kitchen towel and a big bag of rice, and this was a helpful friend for some time.
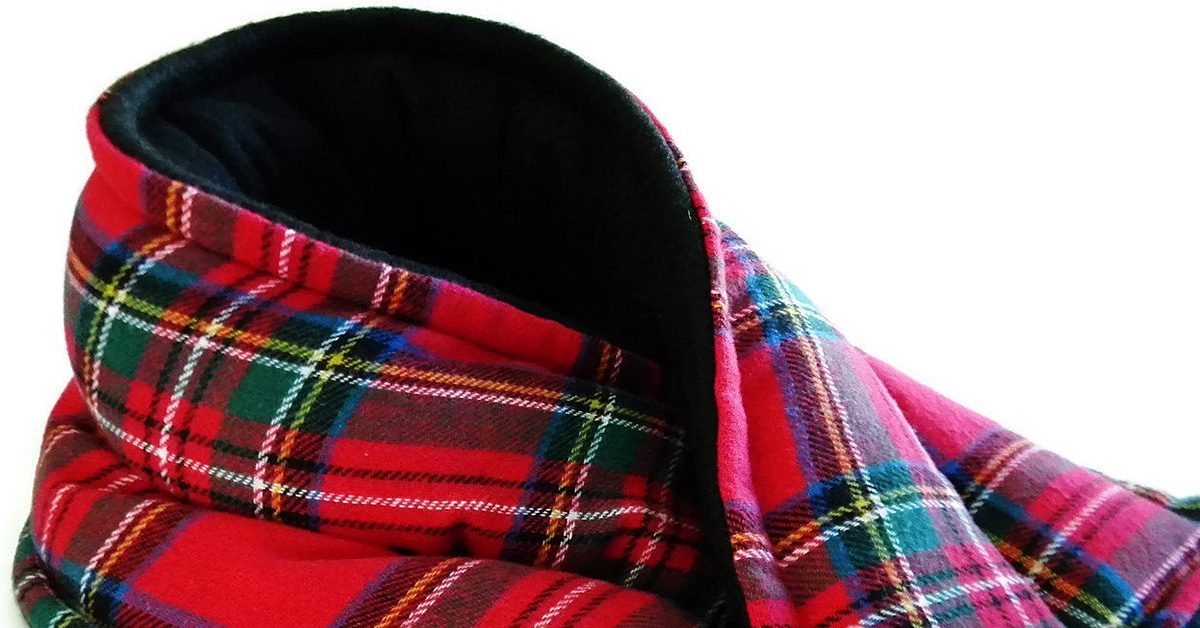
But have you ever wanted a full body hugging heating pad? I have, every month for some time now. I have wanted one to wrap around my tummy, and my dear and I have both wished for something bigger for pains in the neck and shoulders, too.
So I bought a huge bag of rice in bulk and decided to finally sew a rice pack heating pad big enough to wrap around.

So I bought a huge bag of rice in bulk & decided to finally sew a rice pack heating pad big enough to wrap around.
Here’s how I made it:
Materials
- 2/3 yd sturdy fabric
- 20 cups rice
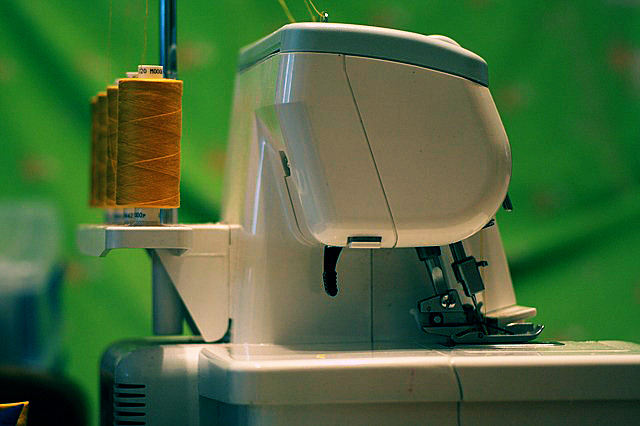
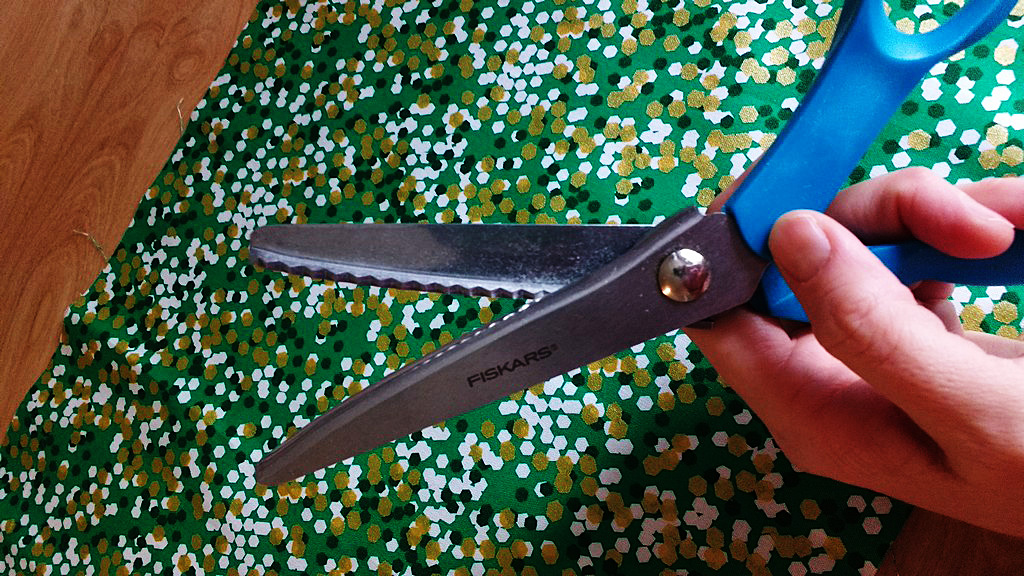
Of course you need a sewing machine, thread, scissors and/or a rotary cutter and mat.
Step one
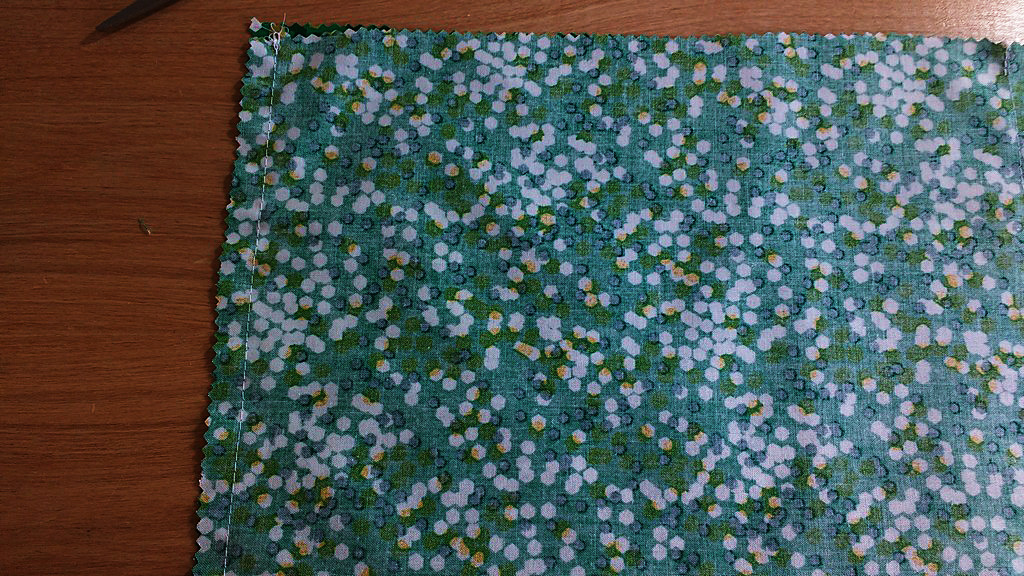
Fold the fabric for your heating pad in half so that it makes a long rectangle approximately 44 inches (it will likely be shorter than 44 inches after pre-washing your fabric) by 12 inches, and press.
Then, make a narrow hem along both of the long (~44”) edges. Or you can serge along these edges with your serger.
Step two
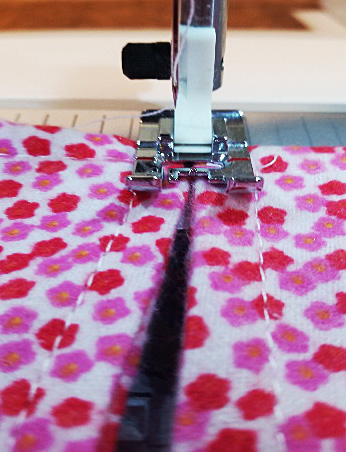
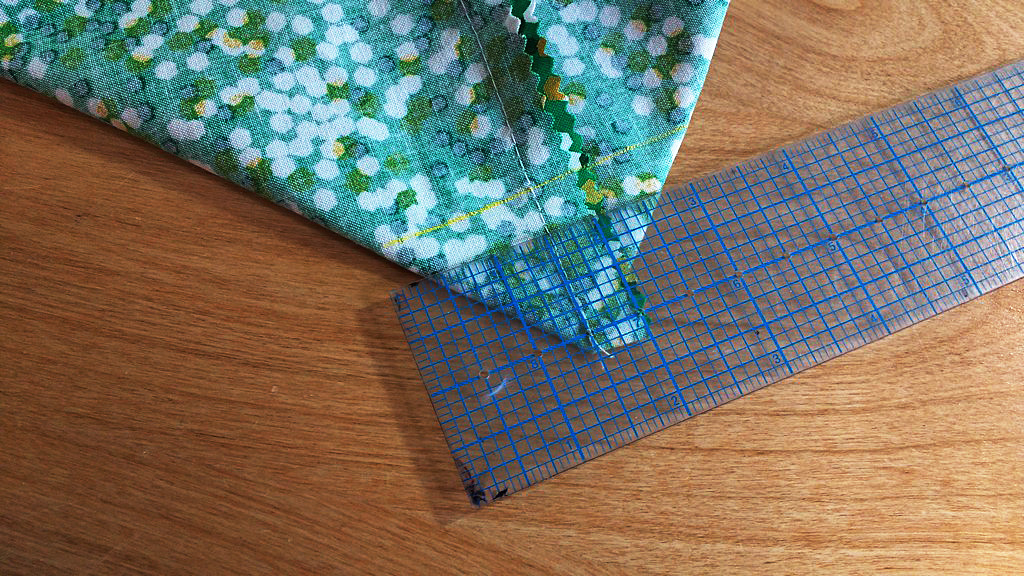
Now fold it again, with right sides together. Sew along both short edges. Leave the long end open.
Of course you can serge these seams, too.
Clip the corners, and turn right sides out.
Step three
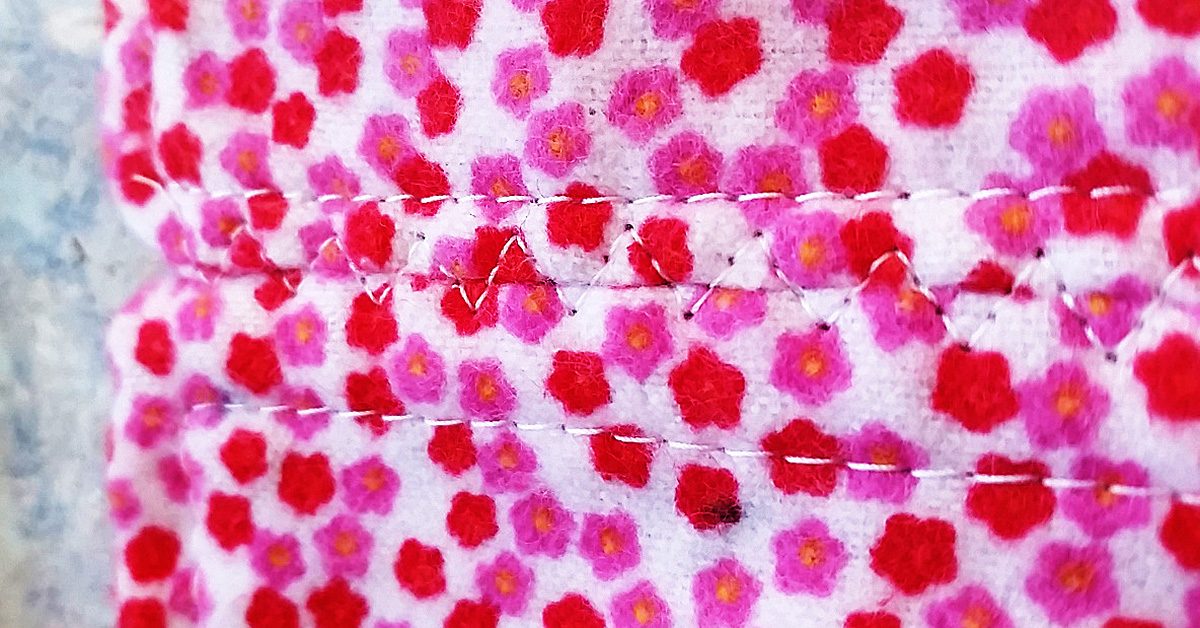
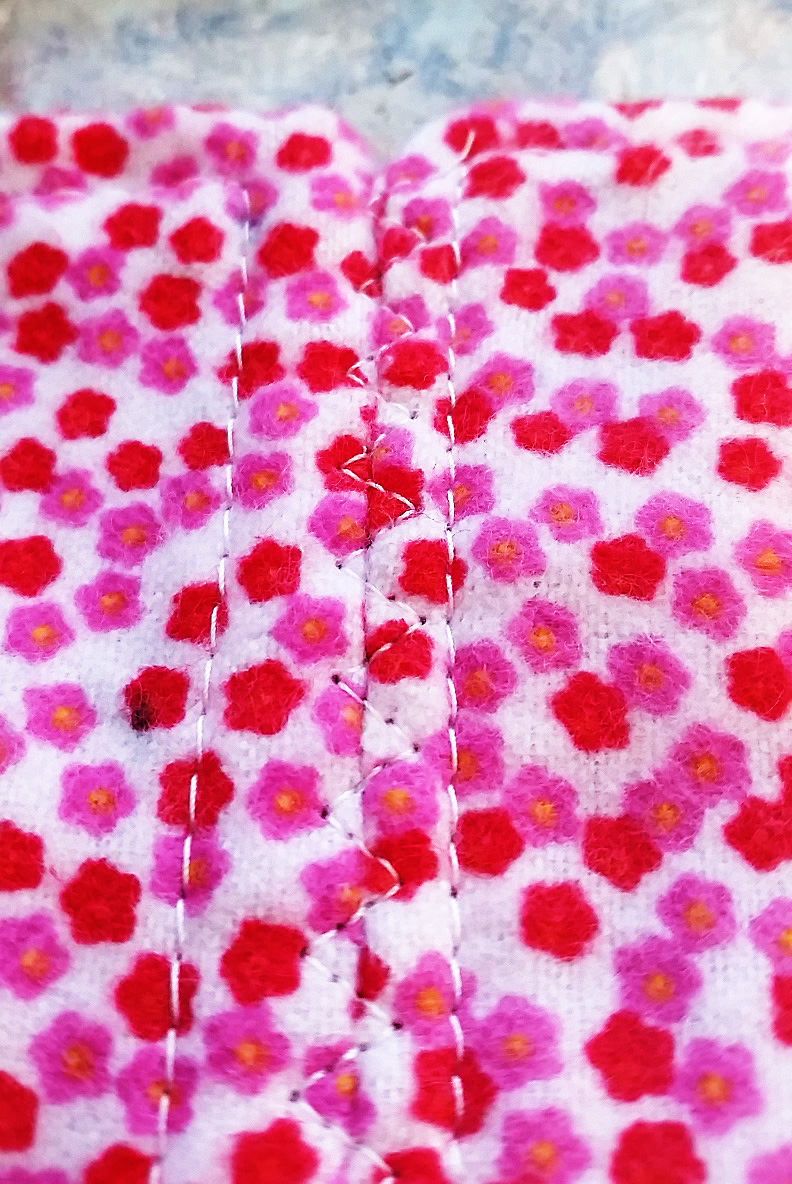
Now you are going to measure and then sew four lines of stitching to section the rectangle into five sections. These lines will run parallel to the end seams you just sewed.
I found the middle, then measured four inches out from there on either side, and marked my first two lines to create the middle section. Then I measured eight inches out from each of these to create the other sections.
Sew these lines from the bottom but end them approximately 3/4 inch before you reach the top.
Step four
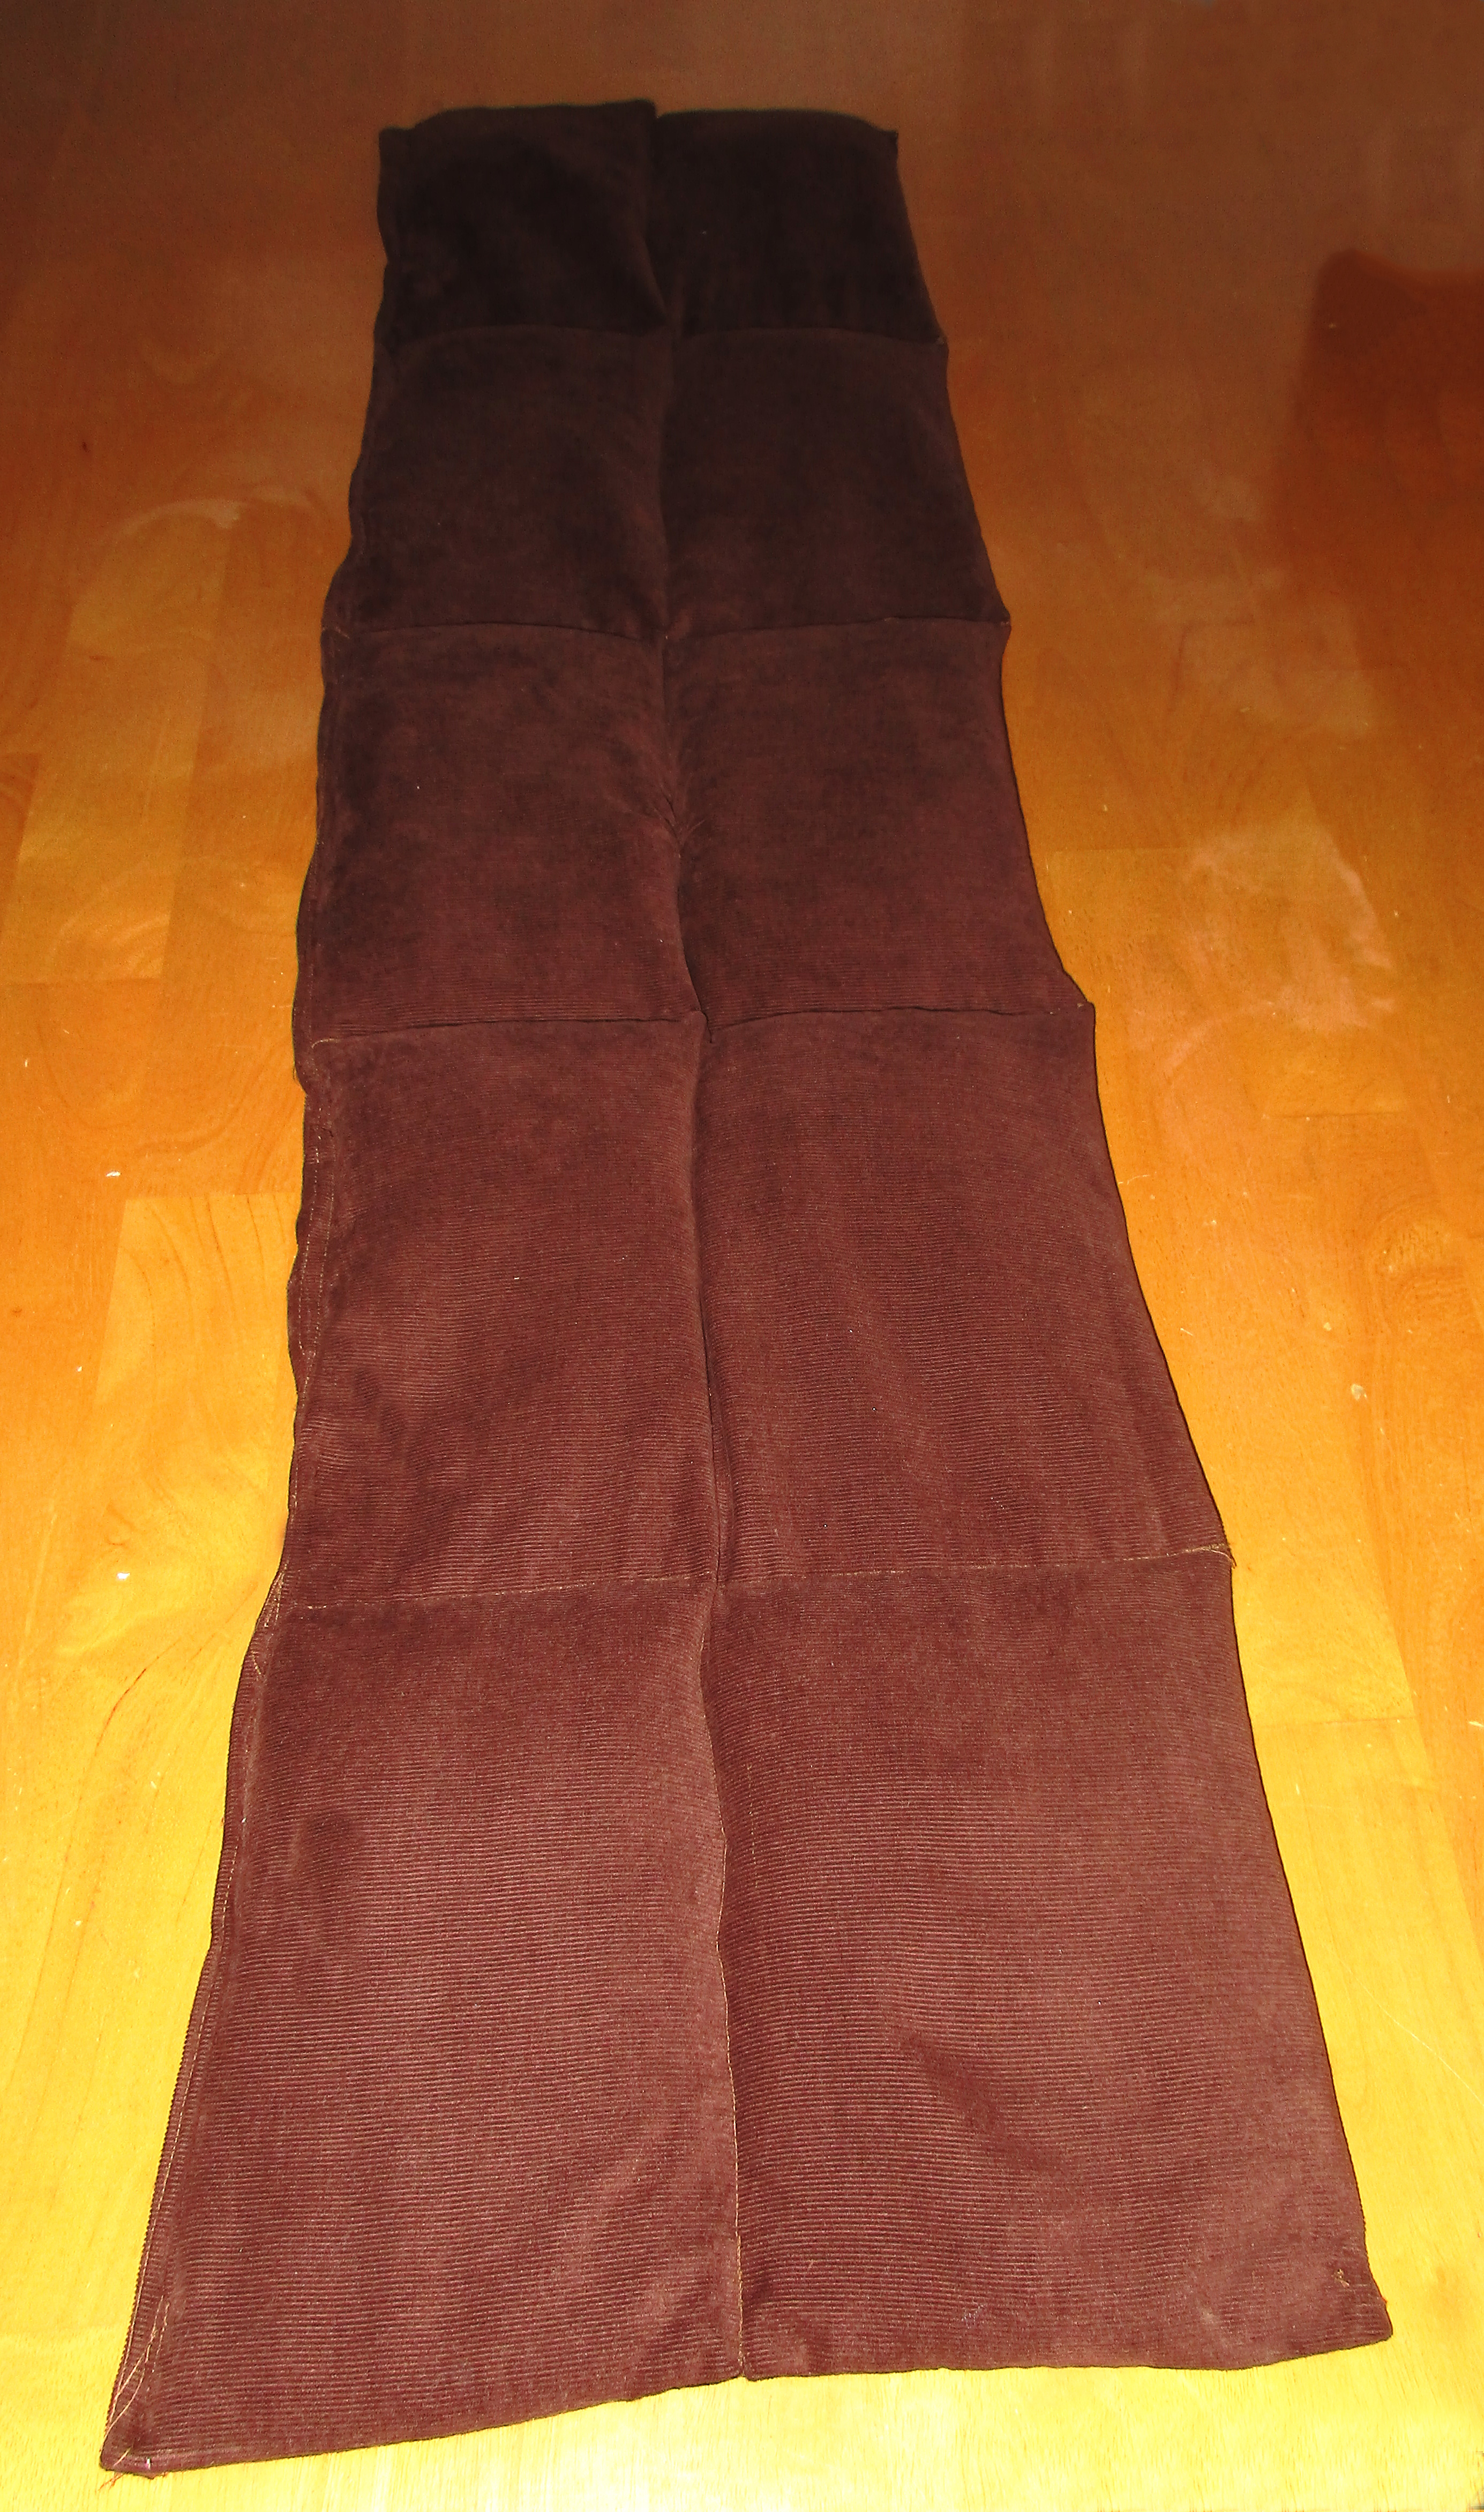
And there is your whole body heating pad, which will wrap all around like a warm & heavy hug when you need it.
Scoop two cups of rice into each opening. Hold the bag and be sure all the rice flows to the very bottom of the pockets.
Now, sew a long line, parallel to the open edges, to bisect the five sections into ten.
Step five
Scoop two more cups of rice into each of the remaining five sections.
Then you can sew the long opening closed. I turned this over and sewed it down again to make this seam stronger, too.
If you want to be extra careful to prevent the rice from spilling out while you sew, then take the extra time to baste the long opening closed with quilter’s safety pins.
And there is your whole body heating pad, which will wrap all around like a warm and heavy hug when you need it.
To use:
Microwave the heat pad to warm. Microwave ovens vary a lot, so you will have to determine for yourself how long you should heat yours. Five minutes seems about right for mine, but be careful not to burn yourself.
Remove the pad from the microwave, shake it up a bit and evenly distribute the heat. Wrap it around your tummy, your shoulders, even your legs. Or lie down and use the whole length along your back from top to bottom. And feel better soon!