
‘Winging it.’
Good morning My Sewing Friends,
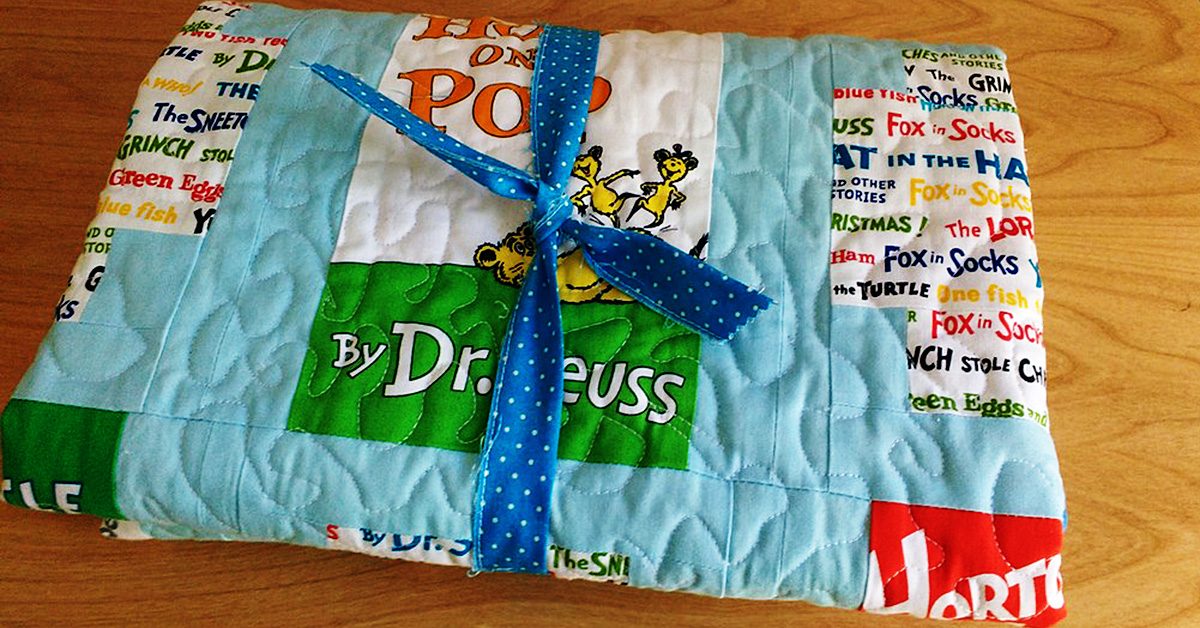
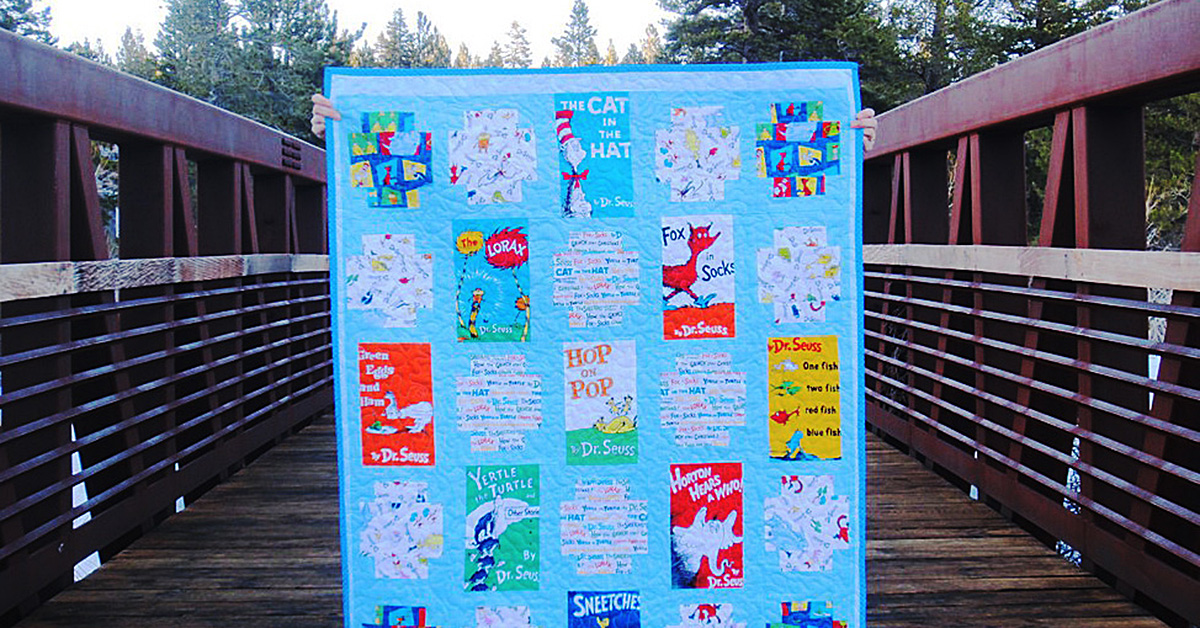
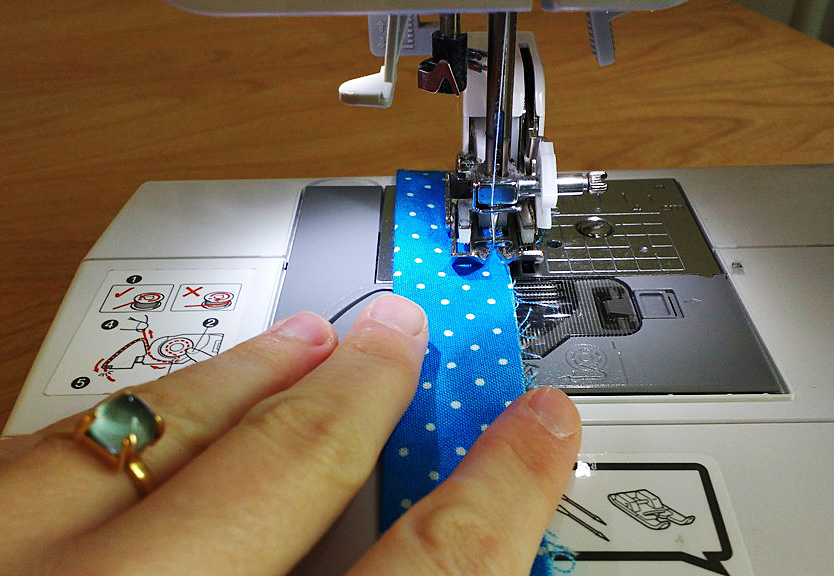
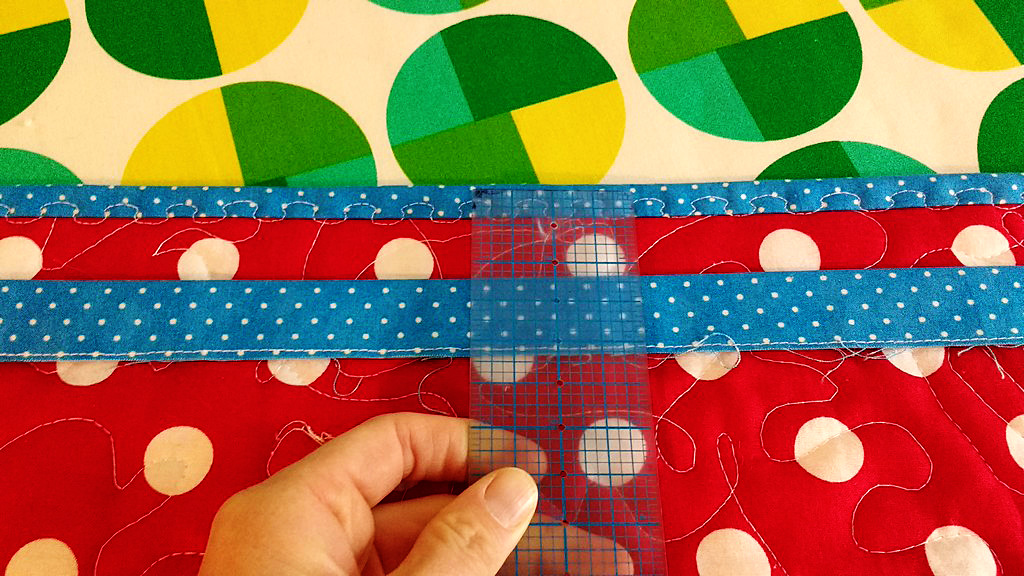
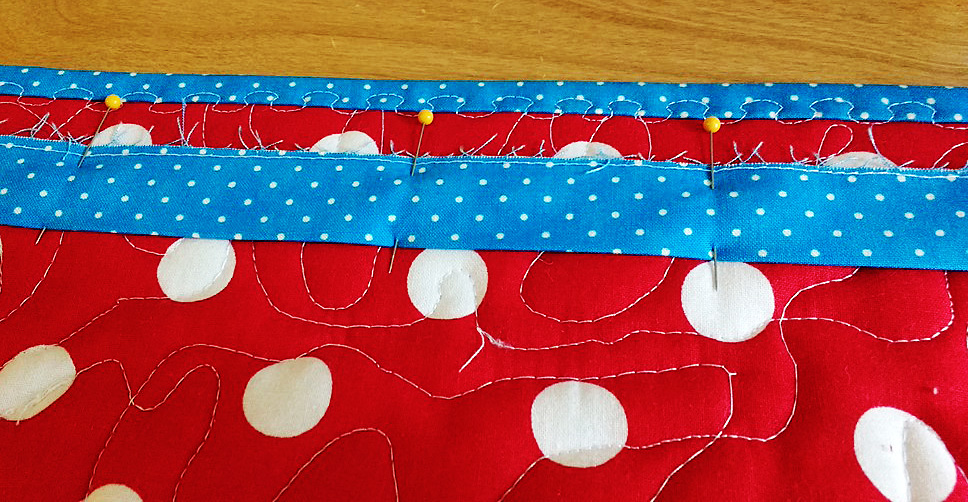
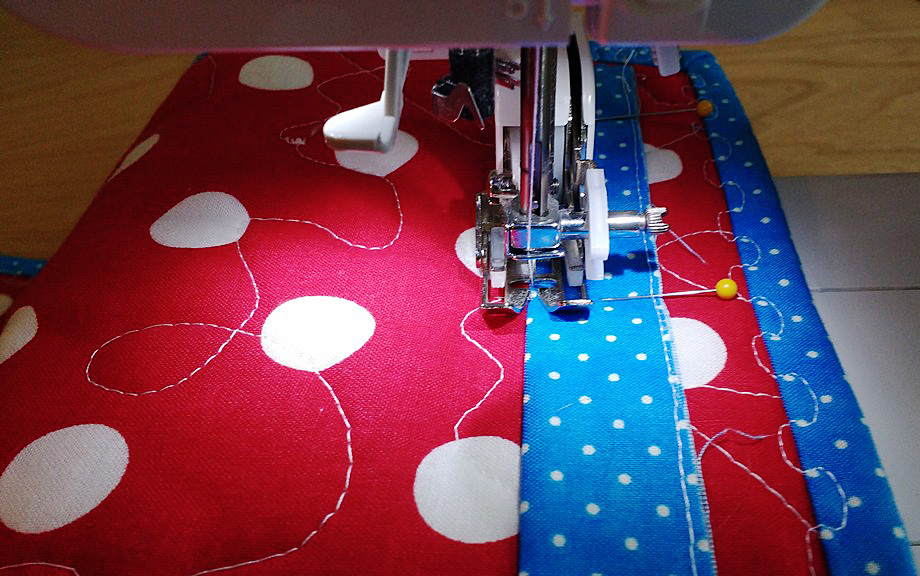
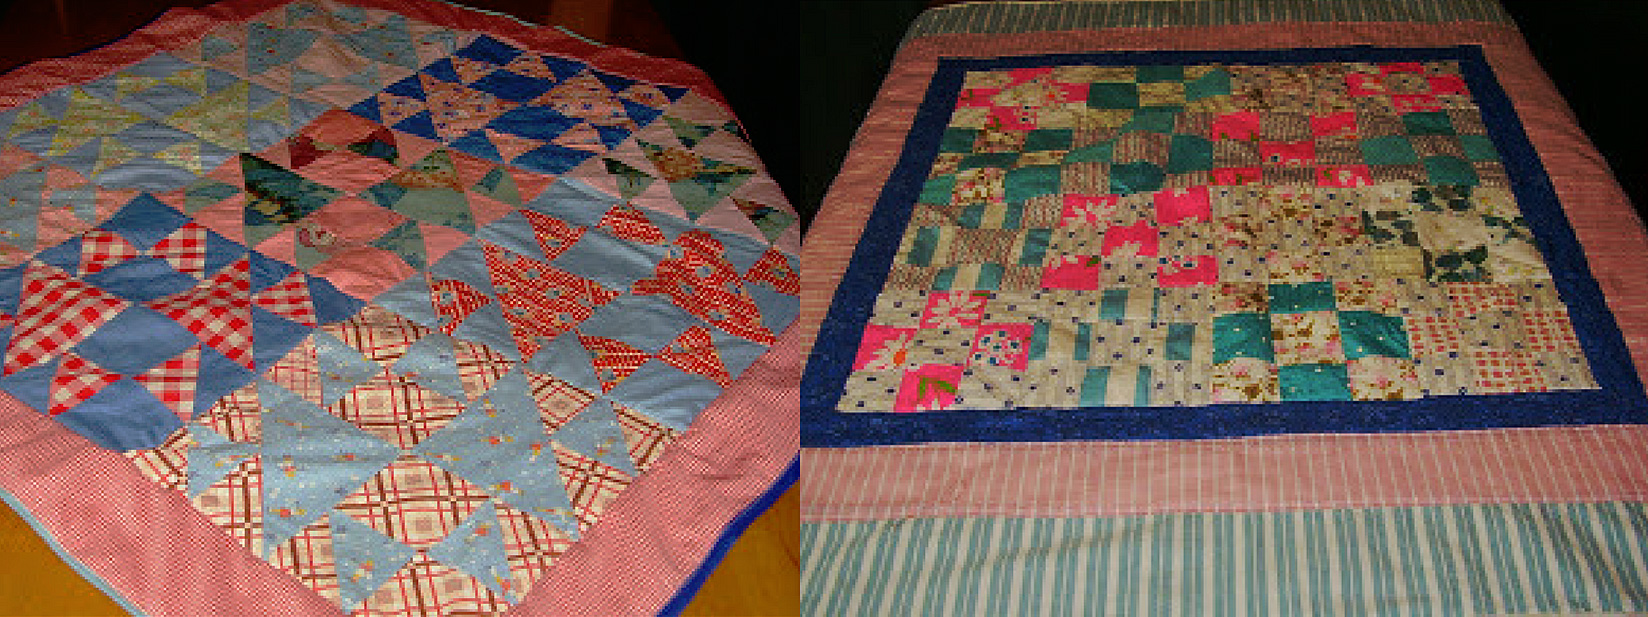
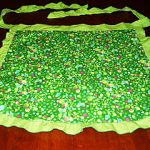
I appreciate all the comments I received from my last blog. I feel the need to preface this one with the explanation that I always try to do the best I can about measuring and sewing seams straight and accurately. I felt a little guilty telling you that I kind of “winged” it in the blog time before last about the scrap quilt made from pieces that were matched not measured in size. I just want to say that I firmly believe anything you attempt to do, do it well, or do it again to make it better. Perfection with sewing comes with practice, but don’t be hard on yourself if it doesn’t turn out the first time. Your time is valuable and the reward of doing something that looks great takes work and focus. But please, enjoy it along the way!
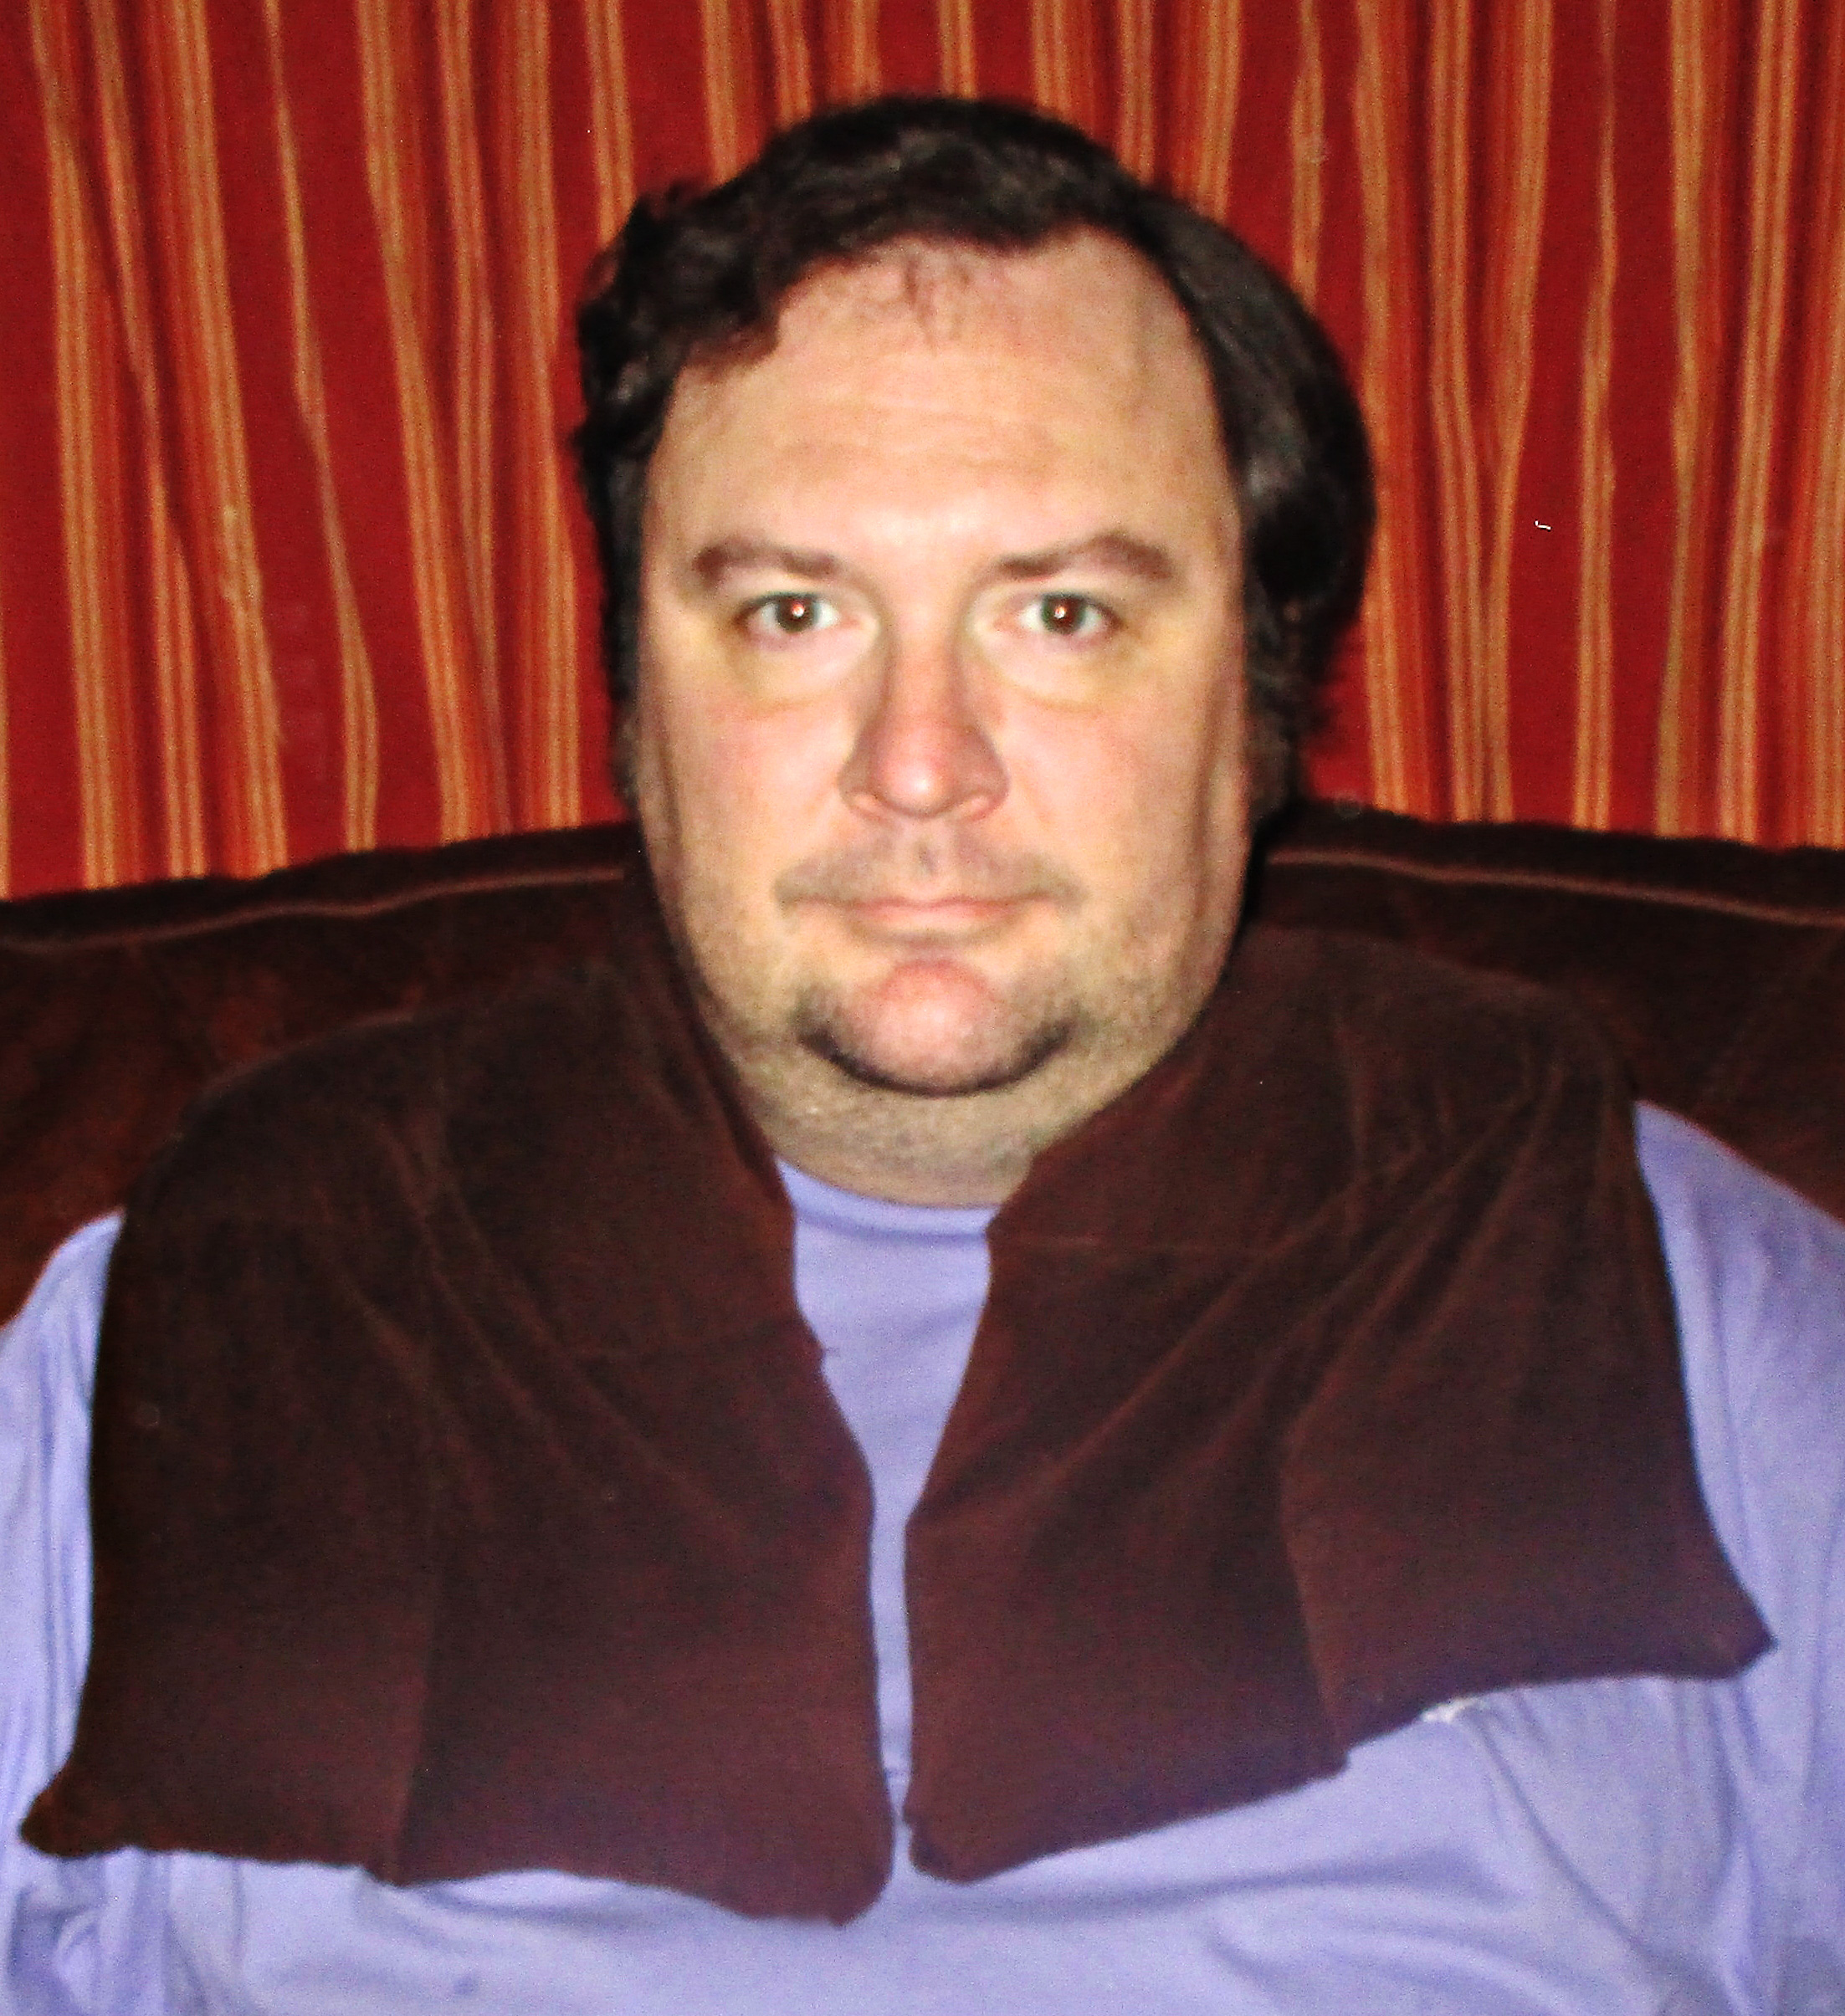
Angela jumps down now!
Today I want to do a product review that saves a lot of time and makes great sense to do when you are planning a quilt. So many ideas are available through quilt patterns and packaged quilt kits. Online stores have a multitude of pattern quilts and instructions.
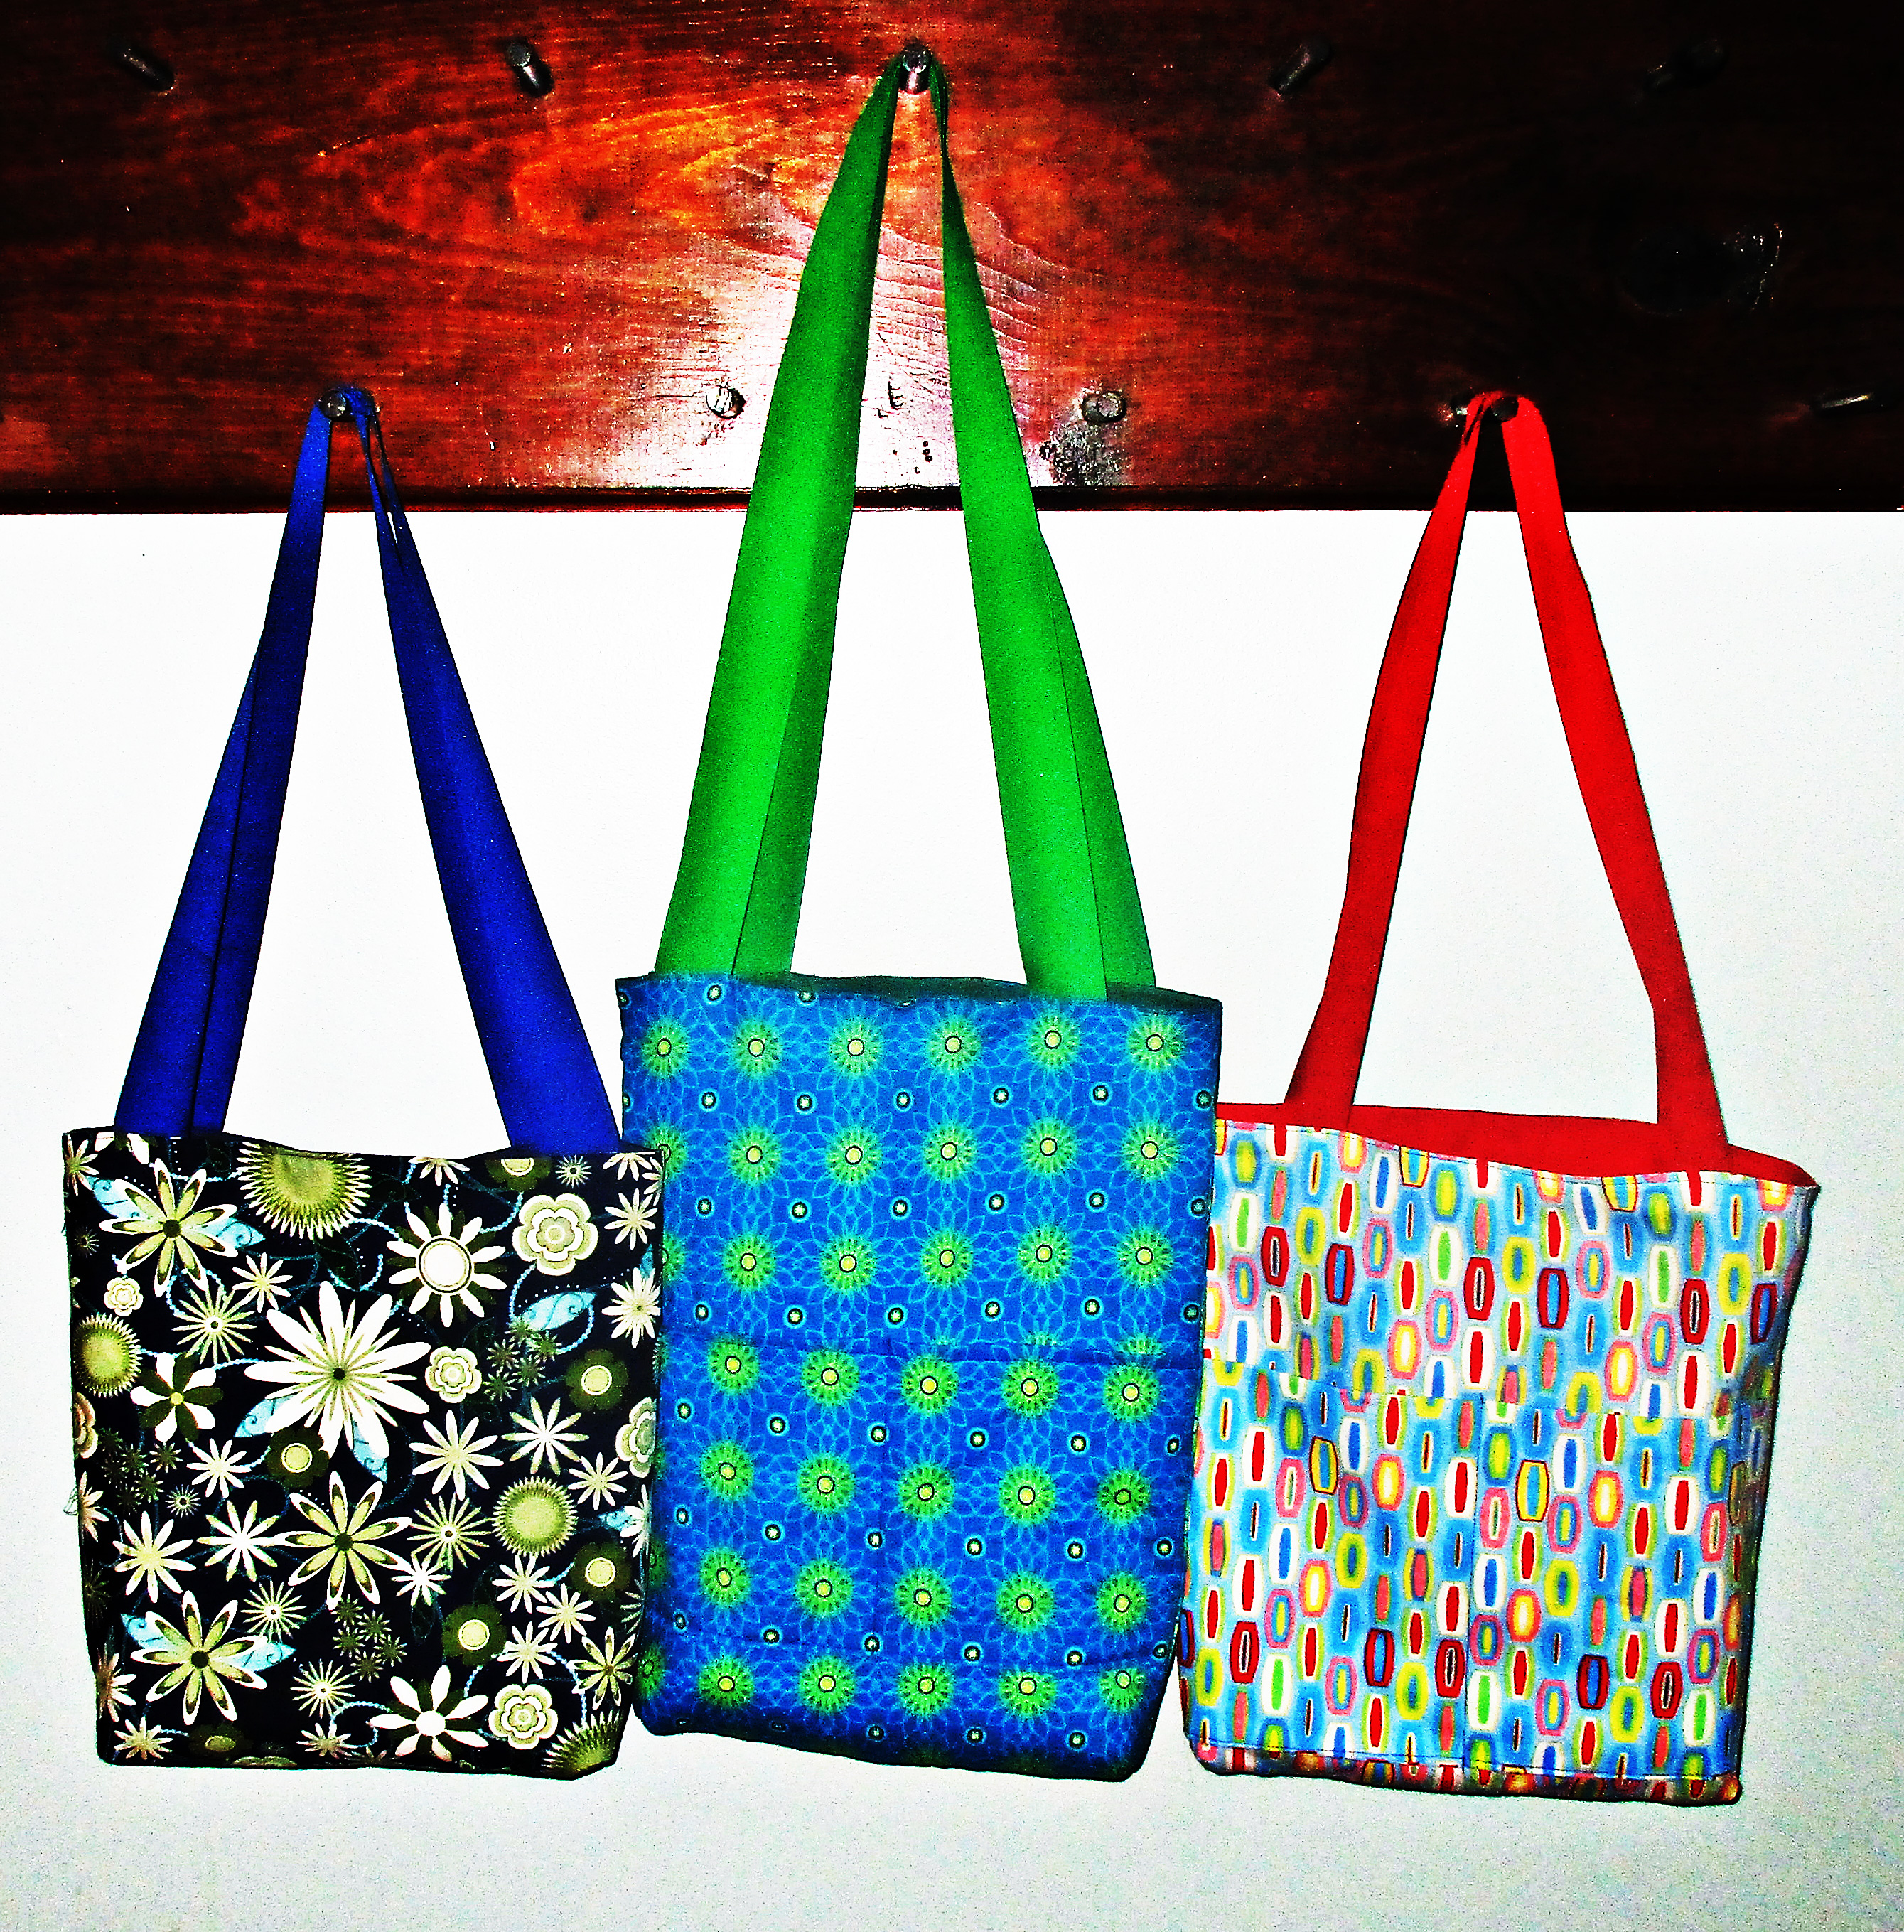
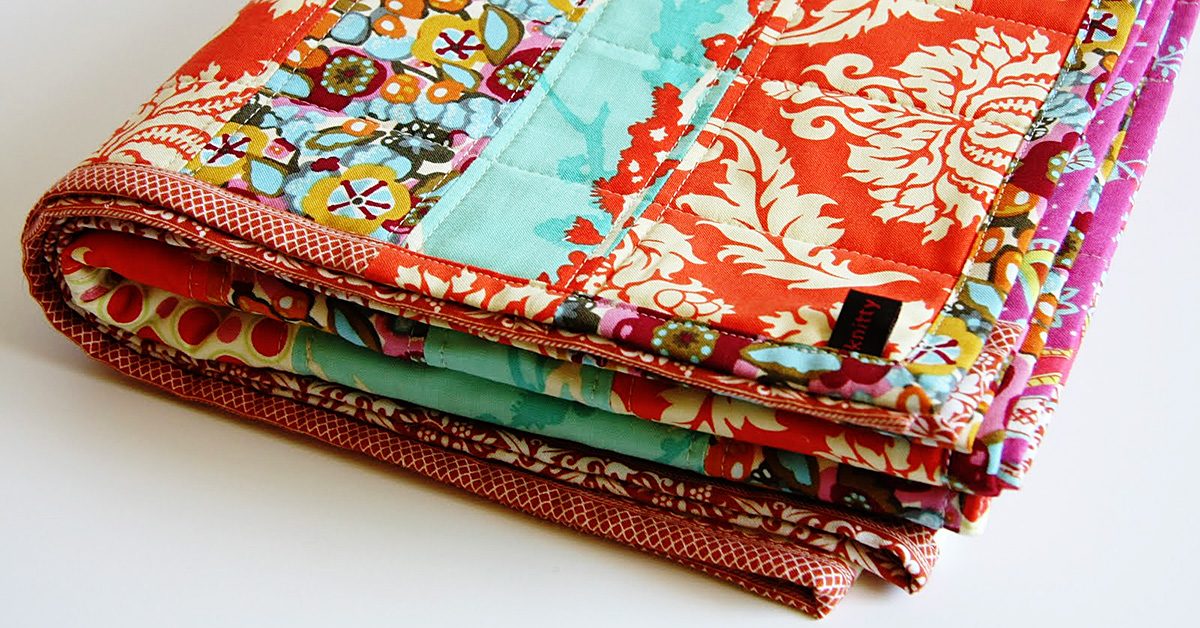
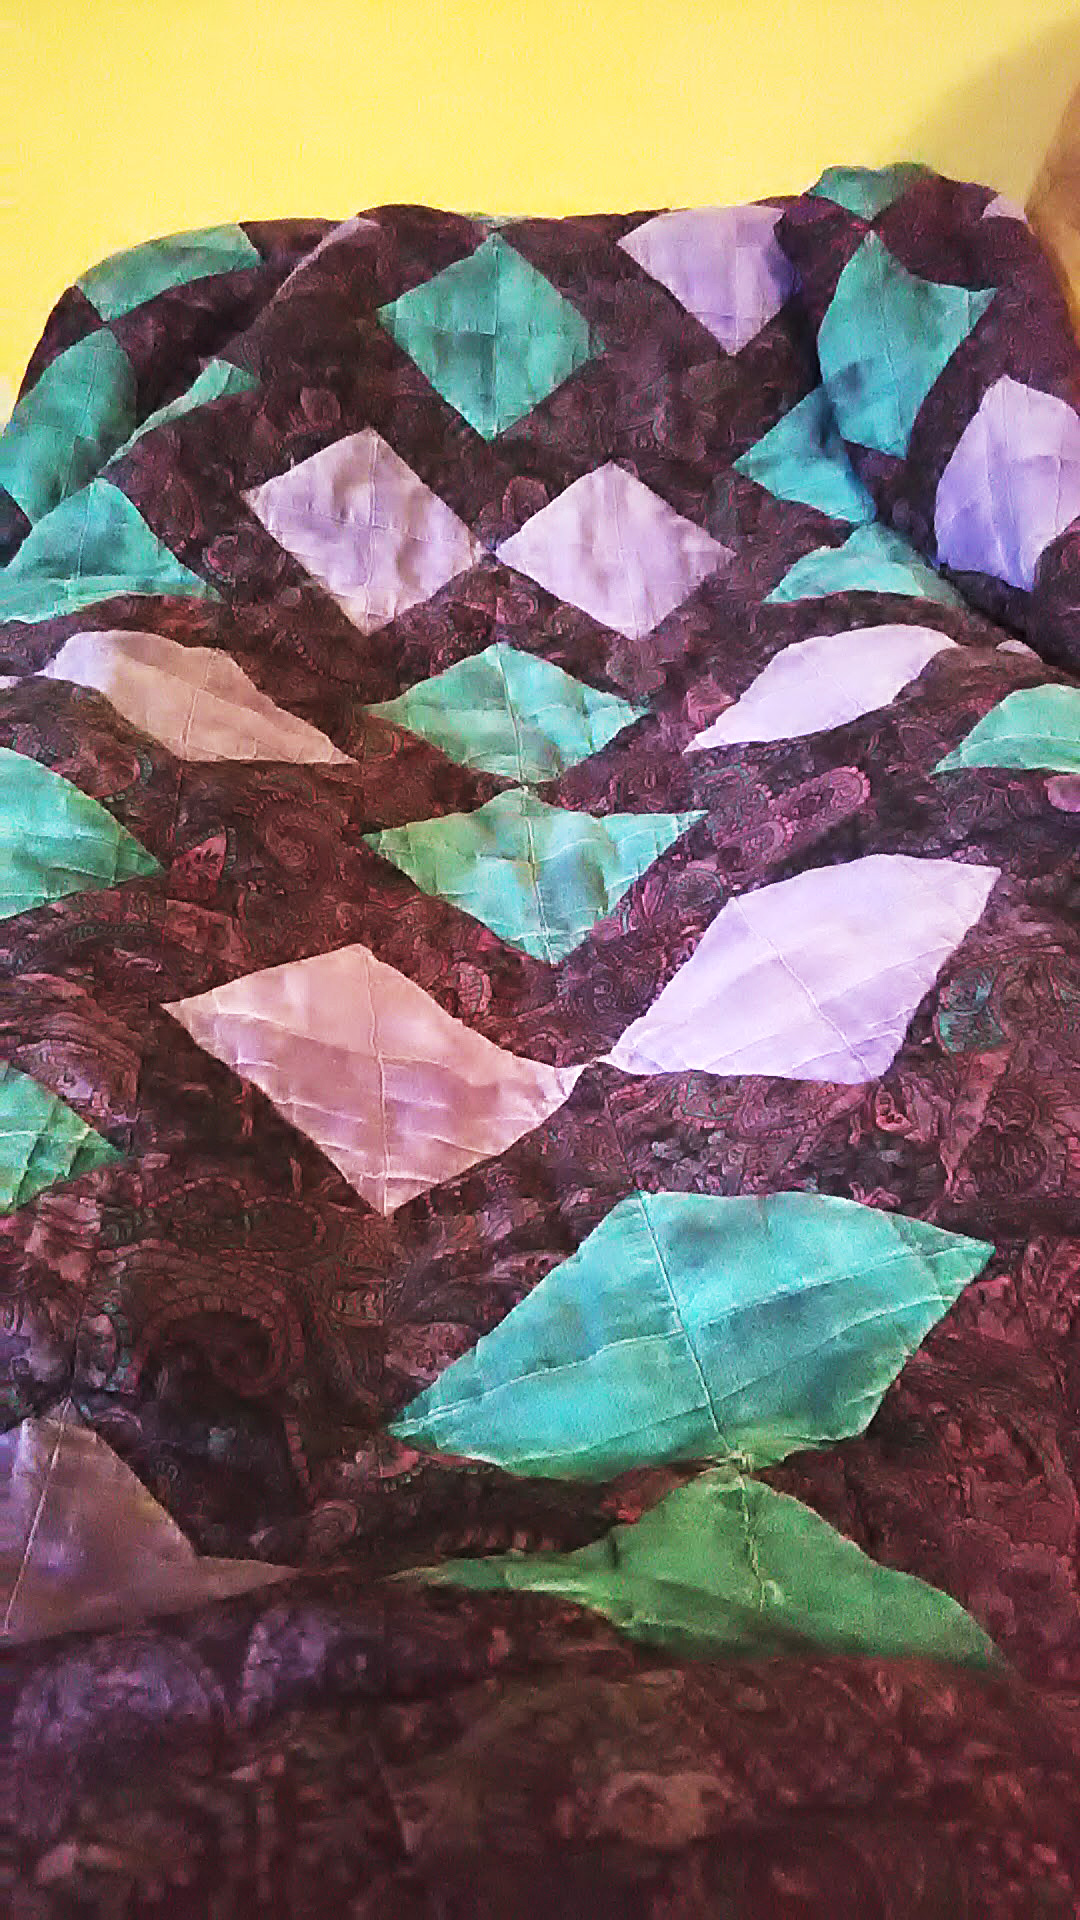
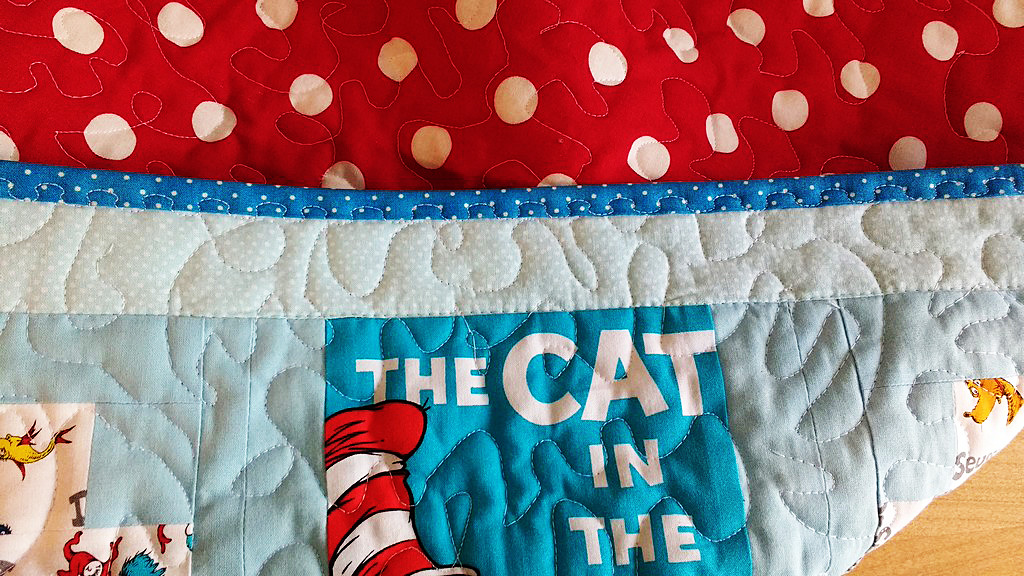
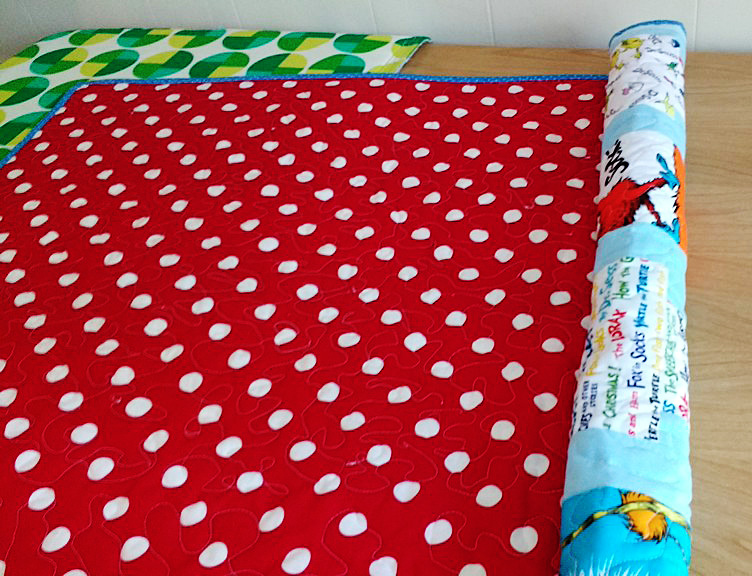
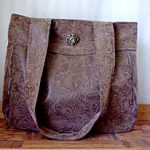
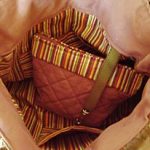
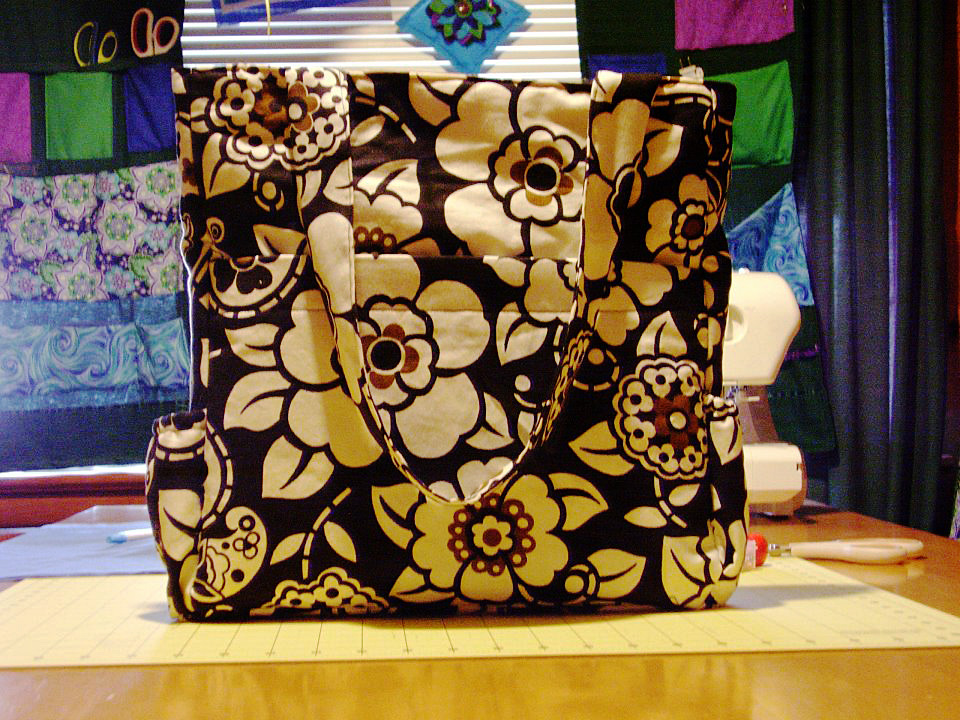
Those are great for ideas, but to me, a quilt designed by the person sewing it, is much more rewarding and showcases your personal style.
Fly into the comfort zone
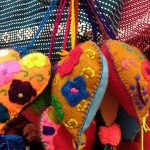
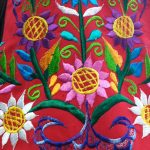
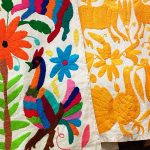
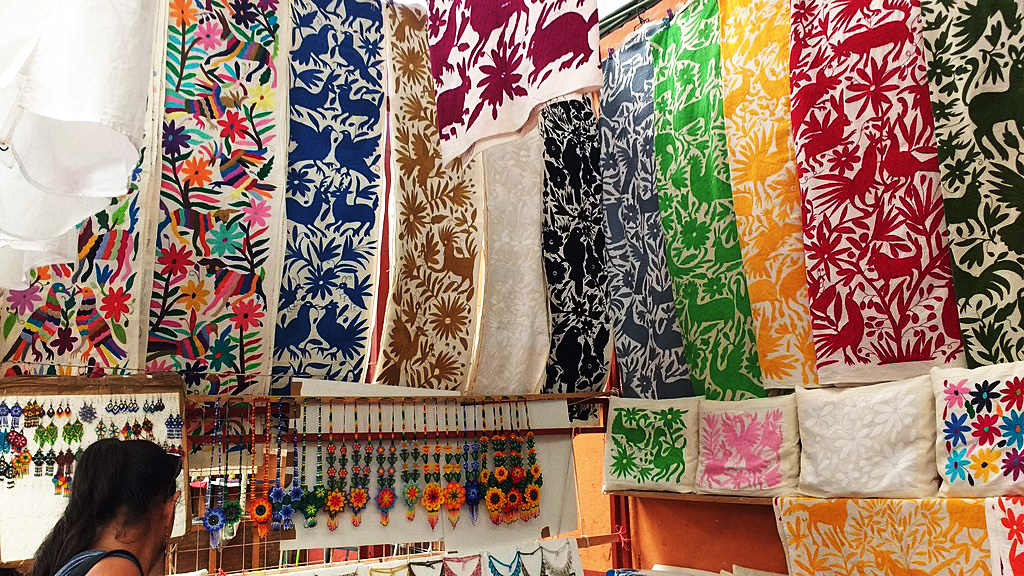
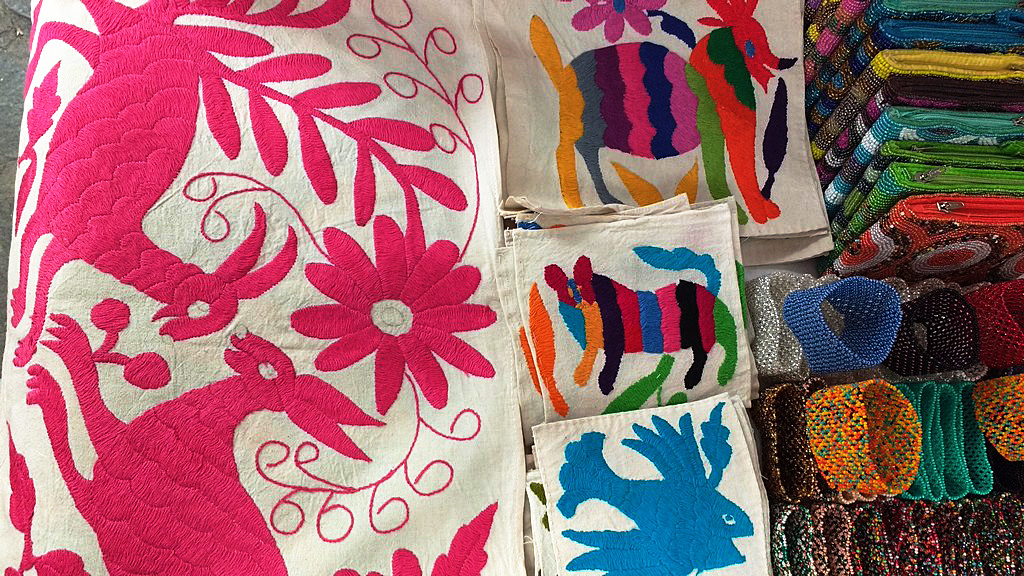
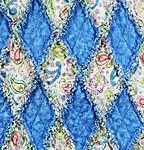
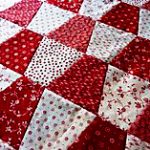
Come out of your comfort zone and design your own patterns using different textures, shapes and colors. Look through quilting magazines for inspiration, Pinterest or other sewing books. Most quilts are made by geometric square, triangles, parallelograms, and blocks of different sizes. Sewn together or apart, so many options are available, but make it your own with your favorite elements.
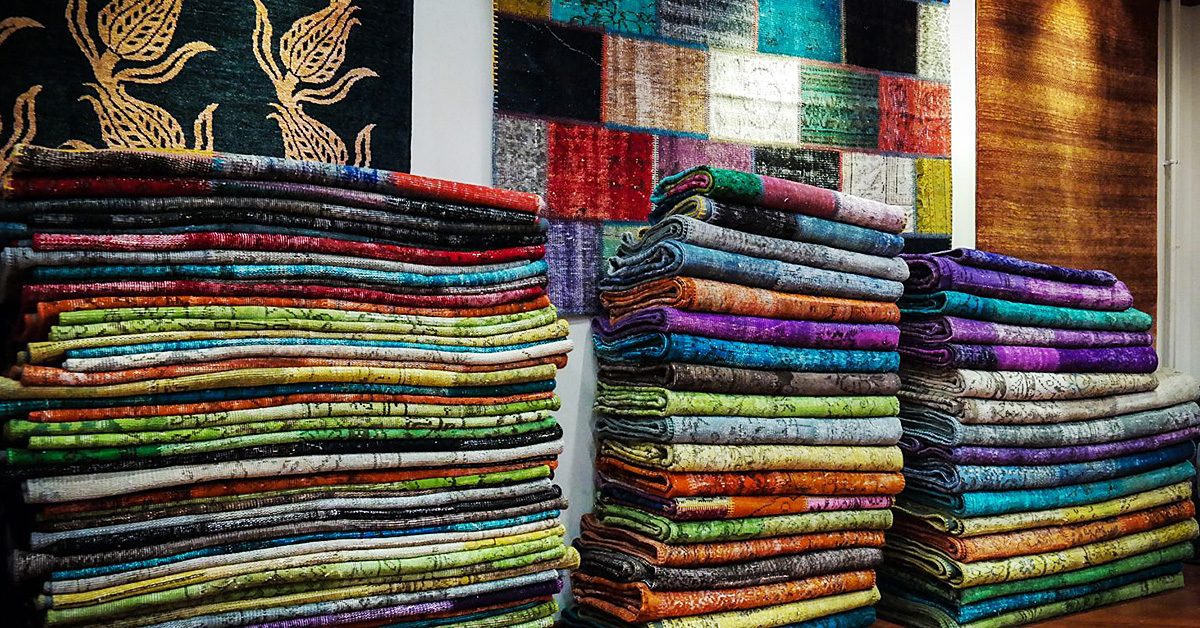
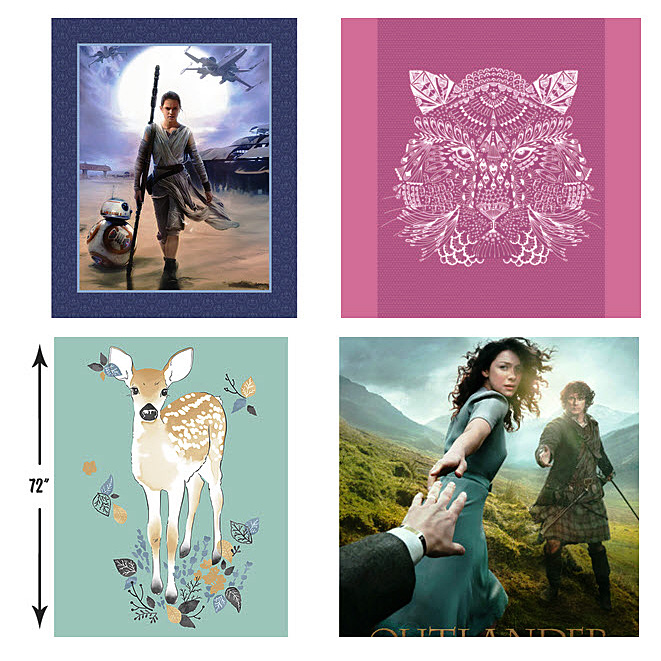
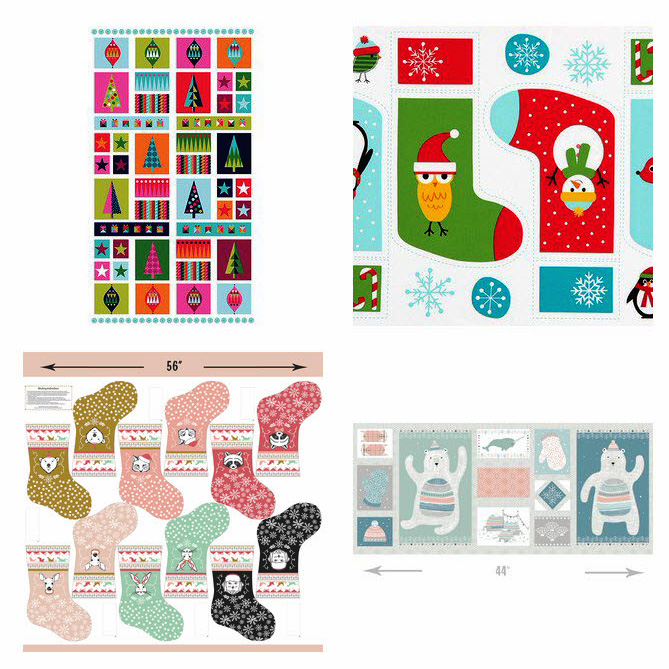
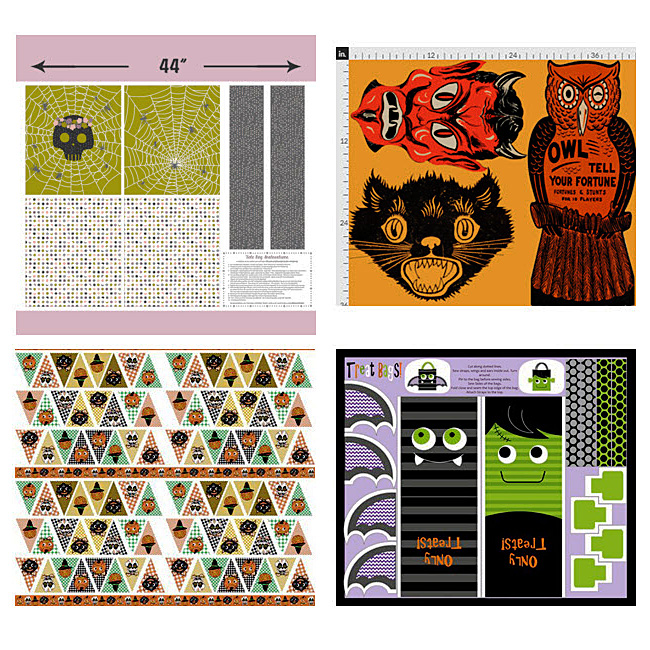
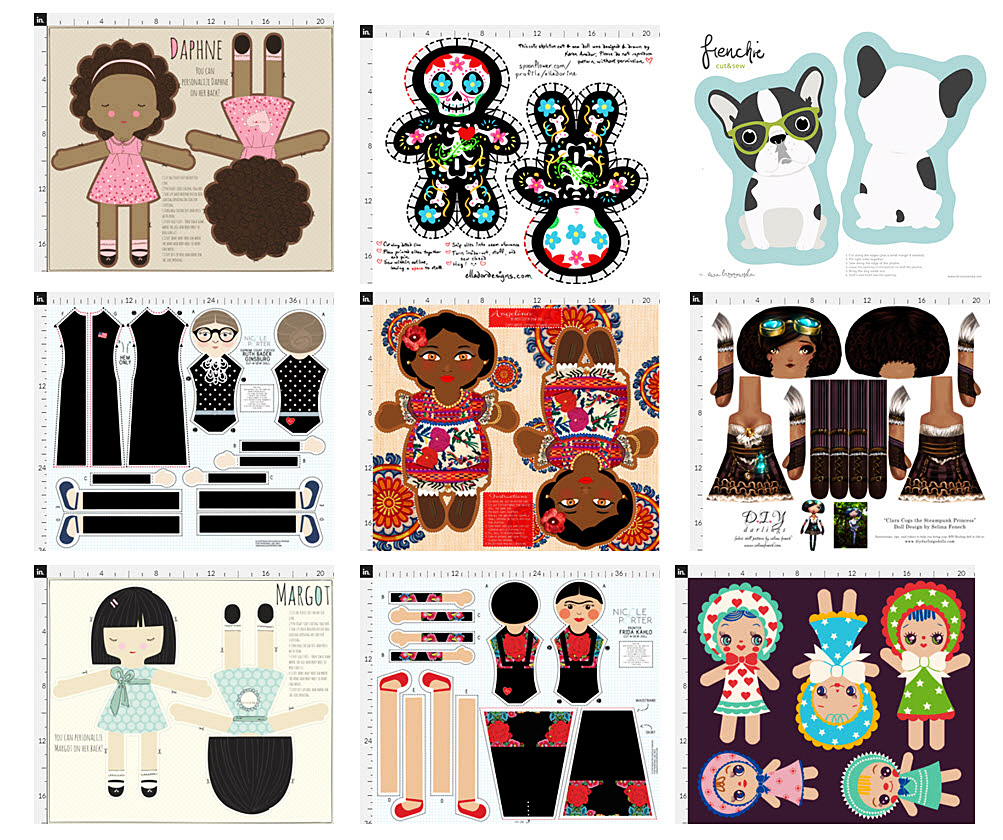
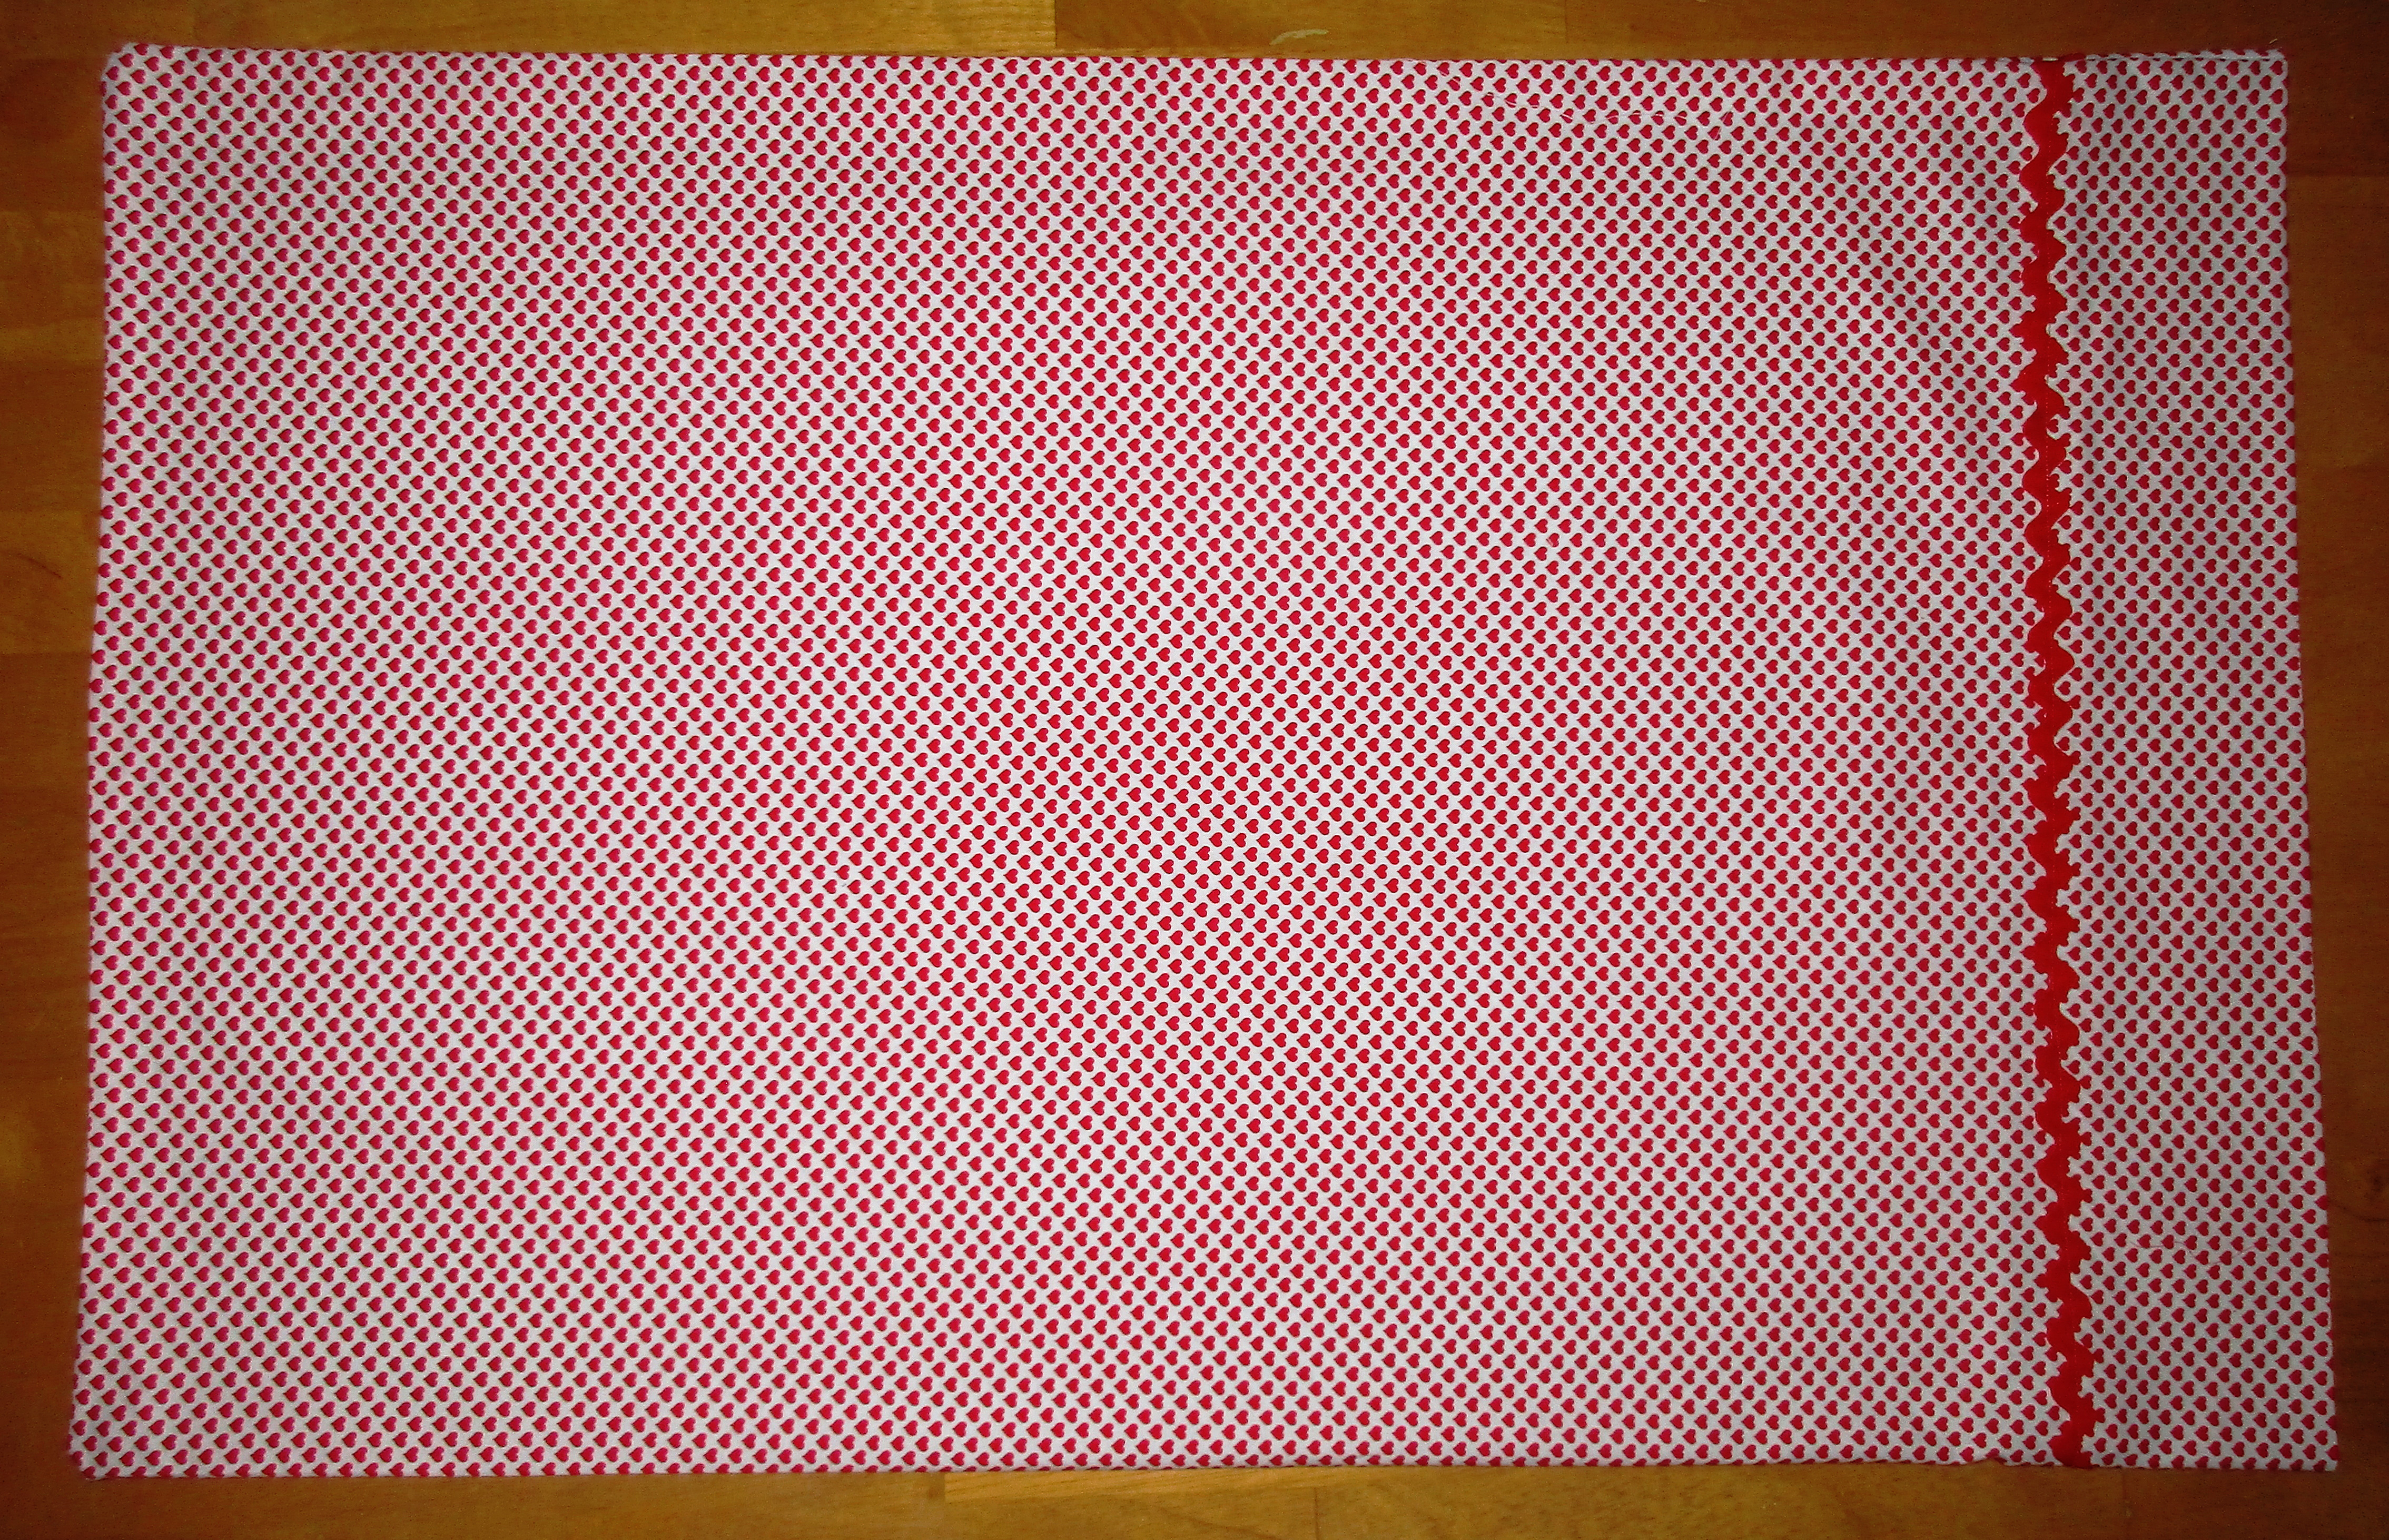
Make a design board of your favorite shapes and colors, then decide which type of fabric designs that you enjoy looking at, and the colors that would blend in your home or those you may make for donations or gifts. All fabric fits into design groups. Learn about which are modern, traditional, tribal, and vintage. Look at the different patterns and discover that most are blocks and triangles, strips and even other cut pieces that when cut from different pieces can form a very sweet quilt made like a picture.
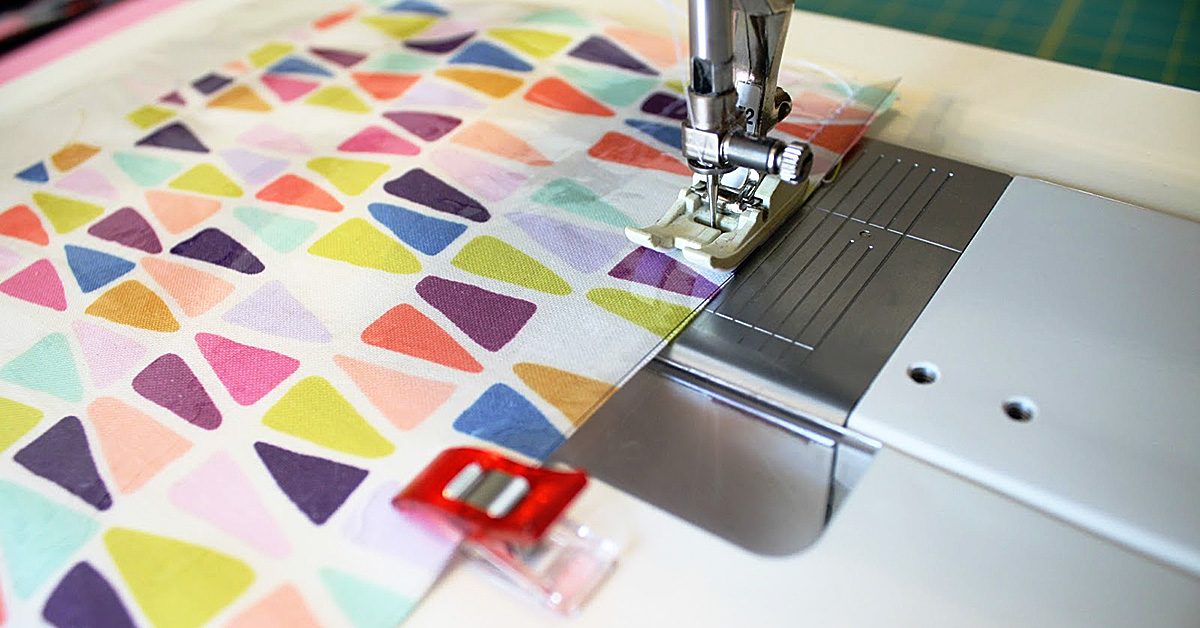
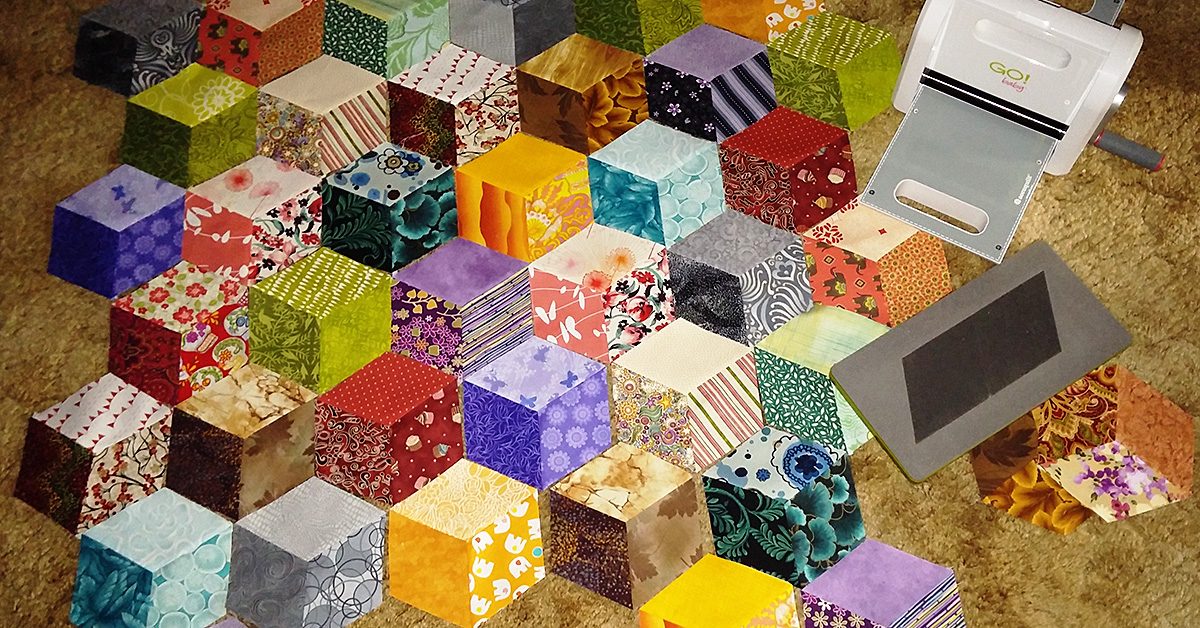
So, let me introduce to you to the product regarding these concepts to build the precisely cut quilt pieces that would you would love making and know that you have the only one like it. The products are the AccuQuilt GO Cutter Line of fabric cutters.
SewingMachinesPlus.com has these products that fit any budget. You can quickly cut accurate blocks, triangles and many other shapes with these fabric cutters. The idea is that a die is in the machine and up to six layers of cotton can be placed on a cutting mat and be cut all at once. What a time saver! No turning the fabric on the mat and measuring again and again and cutting with your rotary cutter. The best part is they have a wide assortment of strip dies, alphabet, parallelogram, rectangles and blocks as well as other small shapes for baby appliques and seasonal shapes.
You can have all your shapes and strips cut to be able to sew a quilt in record time.
AccuQuilt Go includes
In summary, the AccuQuilt Go line of Fabric Cutters have the following to promote beautiful sewing projects.
- Faster than rotary cutters or scissors
- Safe to use
- Portable and lightweight ( See the “Go Baby” and the “Go” Cutter (Great for sewing class or retreats and smaller projects)
- Includes die and cutting mat that last for many die cut pieces
- Additional dies of many types are available for designing patterns besides
blocks and triangles - AccuQuilt “GO BIG” Electric Cutter for larger projects and more die choices
- Ask about financing – you will save so you can purchase the fabric you love (love this one!)
- Ask about Limited Warranty on the machines when you order
- Still can be used when following patterns and with ready made design kits if you are not ready to “plunge in the fabric pool” and design your own patterns
There you have it! Order online from SewingMachinesPlus.com or call them and ask for help to decide which cutter best suits your needs. Then send me a picture in the comments space below of your beautiful personally designed item. I would love to see it. Start small and you will finish projects and love the results!
Ready? One, two, three, AccuQuilt GO!


By the way, tell SewingMachinesPlus.com that Angela sent you!