These Fleece projects will keep you cozy and warm
I don’t know about you, but if you ask me, this Winter can’t end soon enough. I’m dreaming of warm weather and beach trips, but the reality is that it is cold outside. On cold winter days, there is nothing cozier than fleece. So I’ve scoured the net to round up some fun fleece projects for you to sew.
Tips for Sewing with Fleece
Fleece projects are generally easy to sew, but only if you know some tricks for working with this unique fabric:
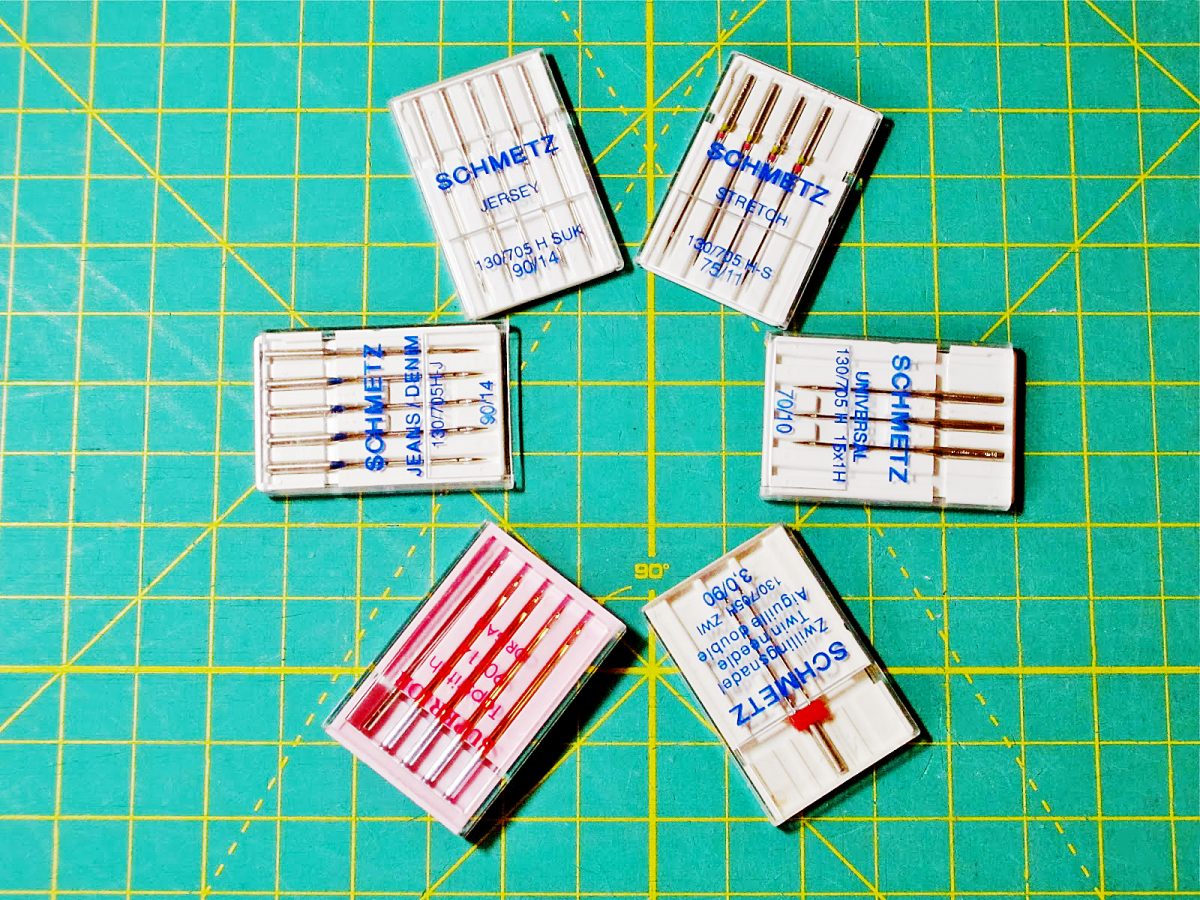
Needles – Some folks prefer to use a universal point needle when working with fleece. If you choose this type of needle, be aware that fleece will dull these quickly and you will need to change needles often. I find a stretch or ball point needle works better and use these instead for sewing fleece projects. Regardless of needle type, I use use size 14 for fleece.
Foot selection – A roller foot or an even-feed foot (also known as a walking foot) will be most helpful. Reduce presser foot pressure to allow for the extra bulk.
Stitching – I prefer to sew with a stretch stitch for fleece. If your machine does not have a stretch stitch, you can use a narrow zig-zag stitch instead. For straight stitching, use a slightly longer stitch length, about 3.5mm, to prevent skipping.
Thread – Fleece is not only tough on needles; it can also be tough on thread. Don’t try sewing fleece projects with cotton or cotton/poly thread, as this may ravel or break. To prevent breakage, use 100% polyester thread.
Other tips –
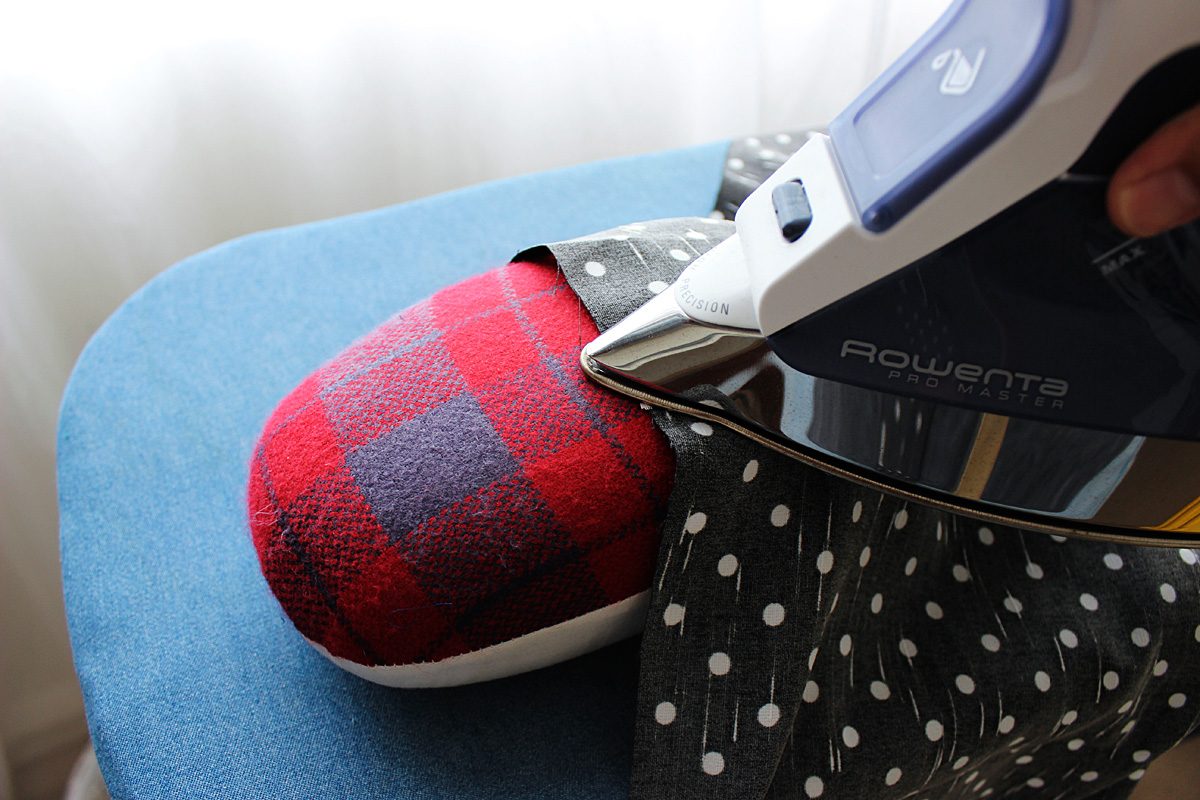
- Don’t use an iron on fleece, as it has a very low melting point.
- To know which side is which, pull the selvedge taut; fleece will roll slightly on the wrong side.
- It is difficult to undo stitches from fleece, so work slowly and carefully to avoid mistakes.
- Clean your machine frequently when working with fleece, as it has a tendency to shed fibers.
And now, for my favorite fleece projects:
Fleece Projects: Hats and Headbands
A U.S. Army survival manual from 1957 claimed we lose 40-45 percent of heat from our heads. There is some controversy about this figure, and this may be overestimated. Regardless, you lose less heat from your head when it is covered! There are many cute ways to cover heads with fleece, here are just a few.
- Martha Stewart shows how to make several styles of fleece hats and includes a handy chart of head measurements for sizing help.
- IKatBag features this tutorial for making fleece hats with ear flaps and cute embellishments.
- Here’s how to make a simple fleece headband, at Crazy Little Projects.
- Delia shows how to embellish a simple ear warmer headband with a huge fleece flower.

Delia shows how to embellish a simple ear warmer headband with a huge fleece flower.
Fleece Projects: Scarves
A fleece scarf can help keep you warm and fashionable, too. You can make one in mere minutes.
- This ruffled scarf is both cute and super easy to sew
- This post shows to make four different variations of a short scarflette.
- Here’s a tutorial for a three layered fringed scarf to keep you extra warm.
- For snake lovers, a scarf that looks like a snake is fun to make and to wear.
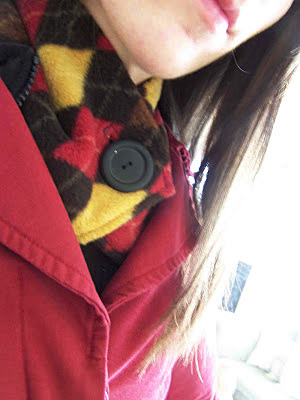
Scarflette, courtesy of Leafy Treetop.
Fleece Projects: Mittens and Gloves
- Make It and Love It shows how to make a pattern for adjustable mittens to fit anyone.
- These fleece mittens are even easier to make and feature two layers for extra warmth.
- Here’s how to make fleece gloves with gussets.
- Ruffled fingerless gloves couldn’t be cuter. These only look complicated; they are actually easy to sew.
Fleece Projects: Footwear
- This instructable shows how to make fleece socks from a blanket. If you’d rather not cut up a blanket, you could use fleece yardage instead.
- Here’s a video tutorial for making dainty, ladylike slippers from fleece.
- These fleece slippers will keep your ankles warm, too.
Fleece Projects: Pants
Nothing is more comfy and cozy than fleece pajama pants. Simply Modern Mom shows to make them using your favorite pants as a pattern. The tutorial is for child’s pants, but you can use this method to make them in any size. If you don’t have a favorite pair to use for making your pattern, of course you can make fleece pajama pants using most any pajama pattern in your stash.
Fleece Projects: Sweater
Here is a tutorial for making a lovely cowl-necked sweater from fleece that is as impressive as it is comfortable. The cowl neck is quite versatile. This can be worn in different ways, depending on the temperature outside.
Fleece Project: Caftan
When it’s really cold and all you want to do is stay cozy indoors, you’ll appreciate this easy fleece caftan. This is even better than the popular snuggies, as it covers both your front and your back sides.
Fleece Projects: Coats and Capes
Fleece outerwear is great because it’s warm, comfortable, and even repels water on wet and drizzly days. You can choose something easy and unstructured, such as a poncho or cape, or go with something more detailed, like a jacket or coat.
- This instructable shows how to make an easy poncho that’s also pretty.
- Here are several ways to make a beautiful long cape, with hood or without.
- This little girl’s cape includes a collar and dressier design details.
- Craftsy has collected 6 different jacket patterns. This link has something for everyone.
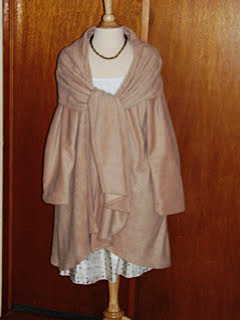
My personal favorite fleece coat is McCall’s pattern 5987. This coat includes a built-in scarf that can be styled several different ways.
My personal favorite fleece coat is McCall’s pattern 5987. This coat includes a built-in scarf that can be styled several different ways. It has an attractive rounded hem that looks great with both skirts and pants. I have made this coat in camel, in charcoal, in navy, and one in red as a gift for my mother. I get lots of compliments on these coats every time I wear them. While they are fashionable outerwear, they are also so cozy that I wear them as an extra layer in the house all the time. Maybe I should make a fleece robe, because I don’t have any robe that feels near as nice over my nightgown as these coats do.
Fleece Projects are Fun
Don’t be afraid of fleece. It is different than other fabrics, but nothing compares to the comfort fleece offers. I also think of this fabric as being more environmentally friendly than many others, since it is often made from recycled plastic bottles. Sewing on fleece is easy if you know the tips and tricks shared here. I hope you will try some of these fleece projects this season and enjoy them for many winters to come.