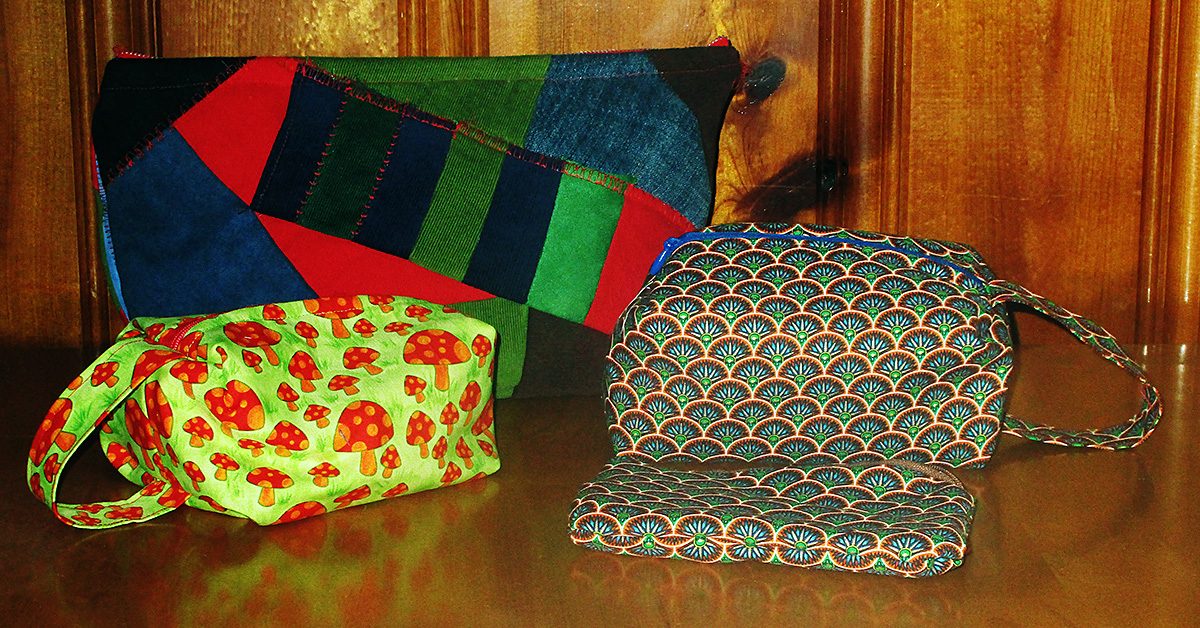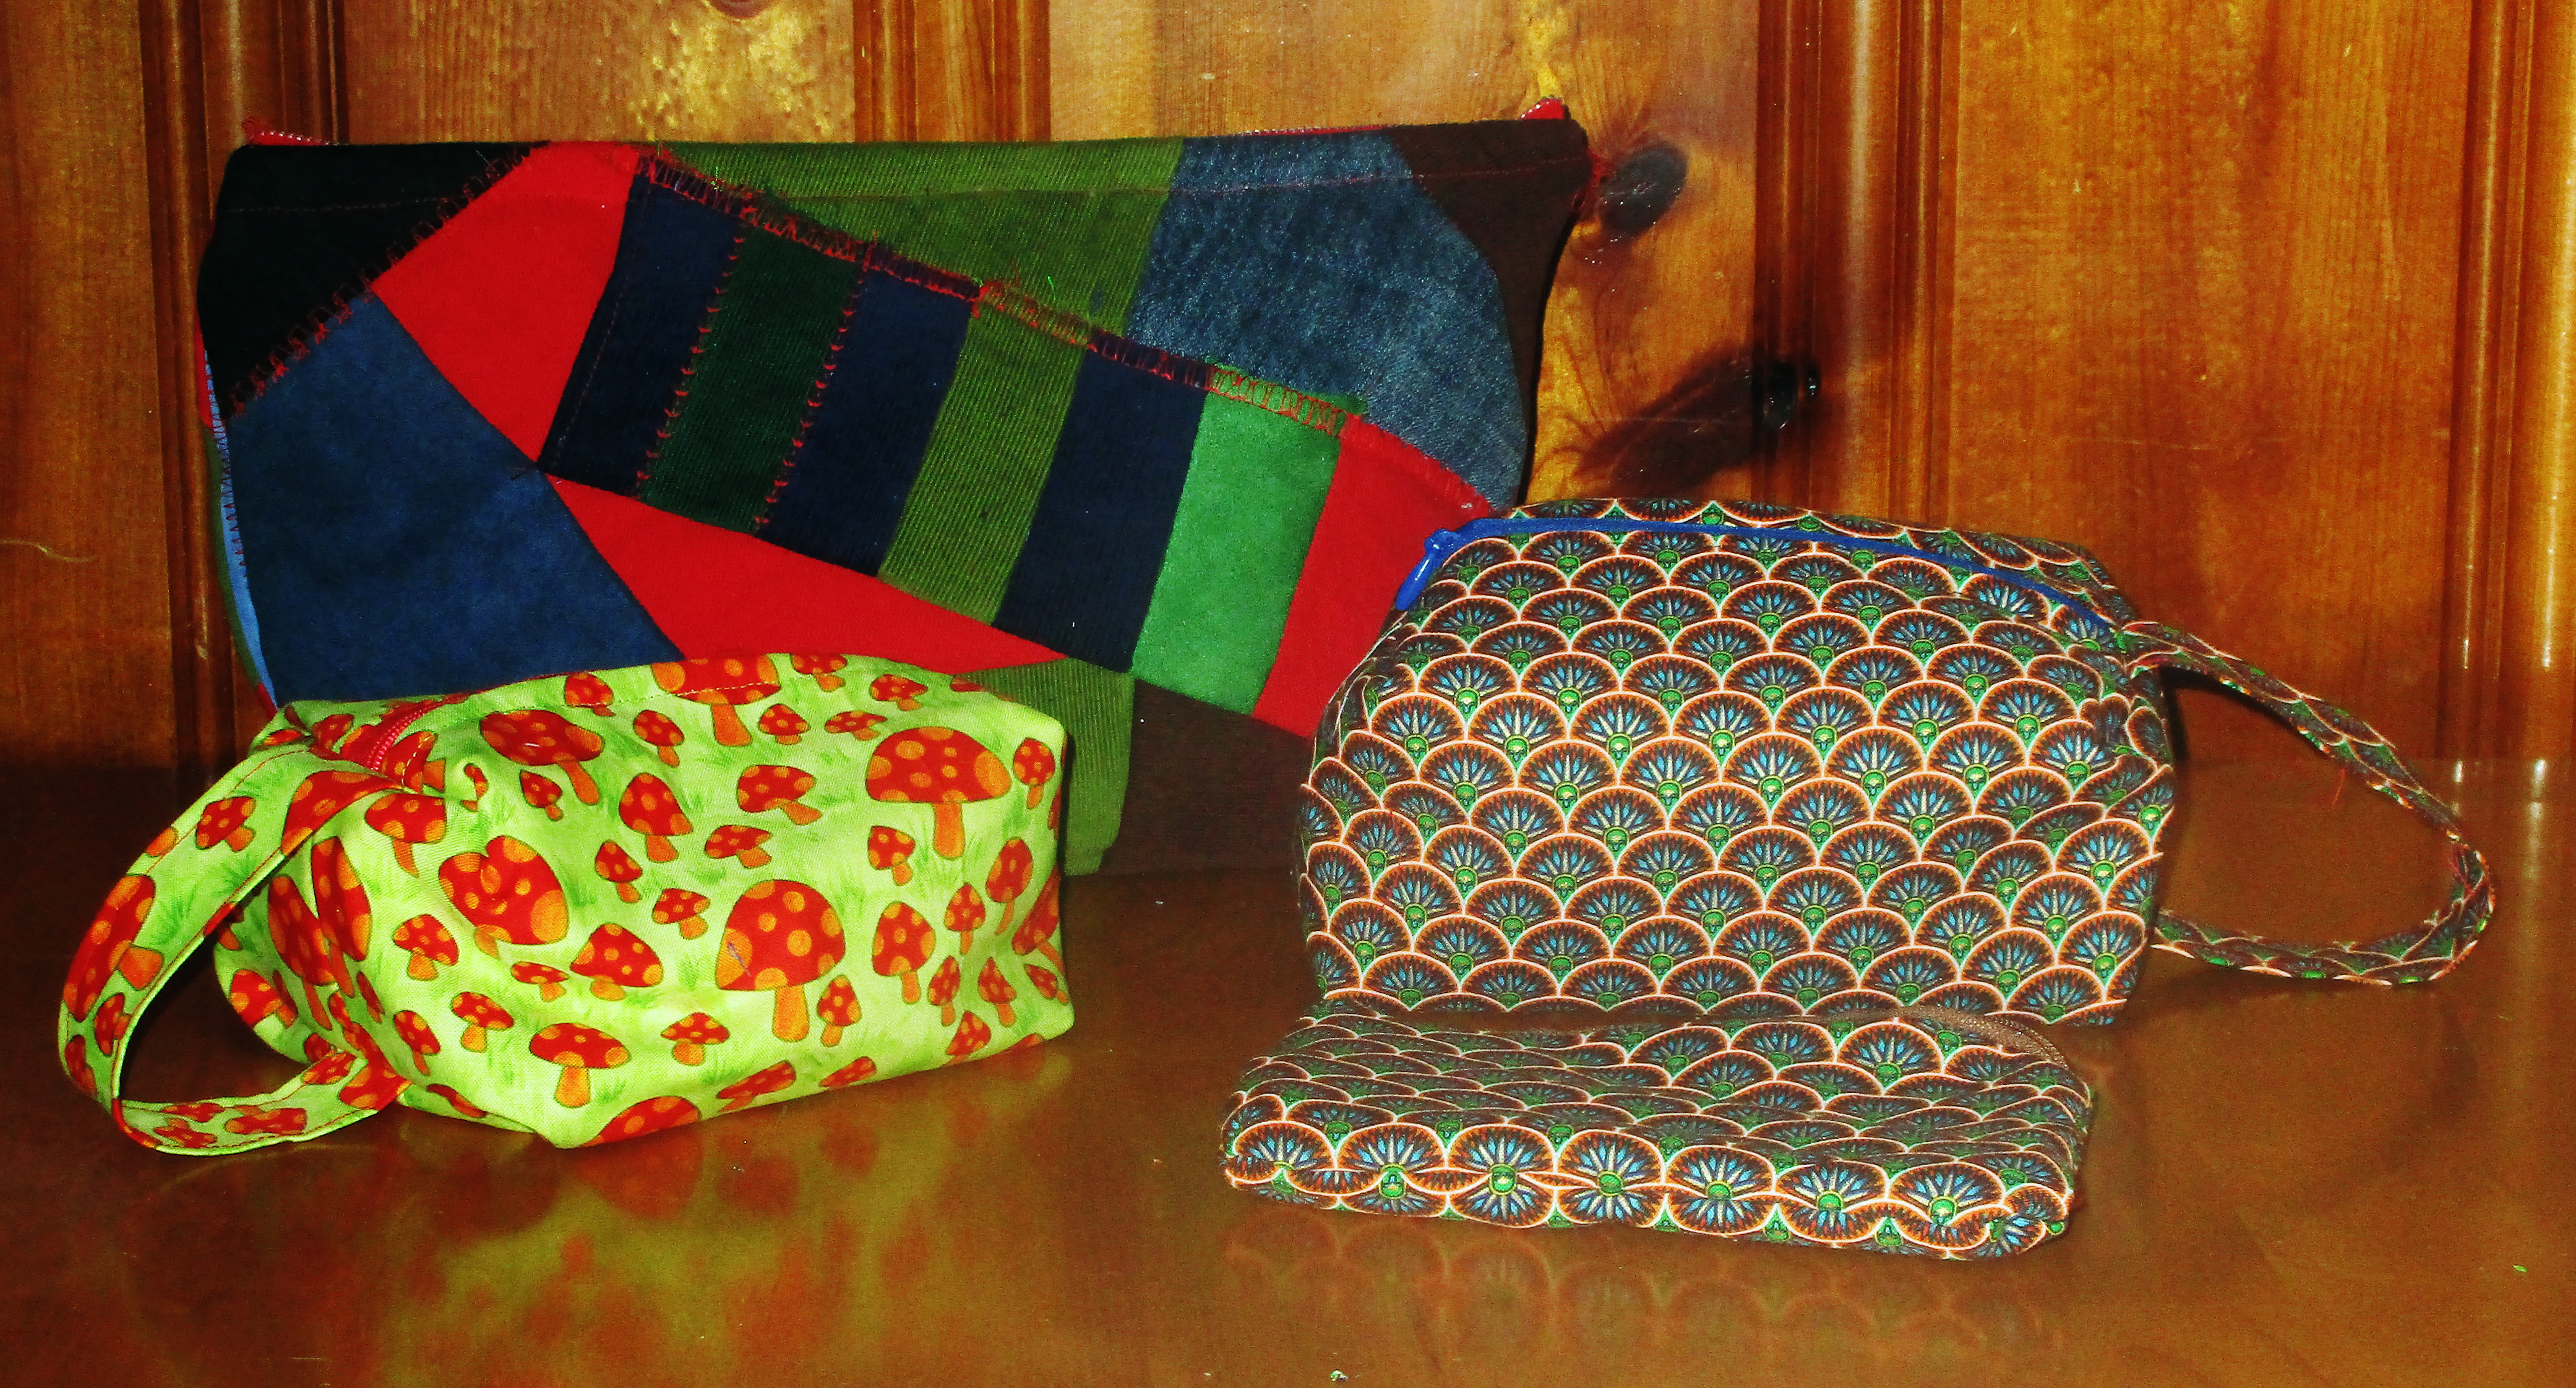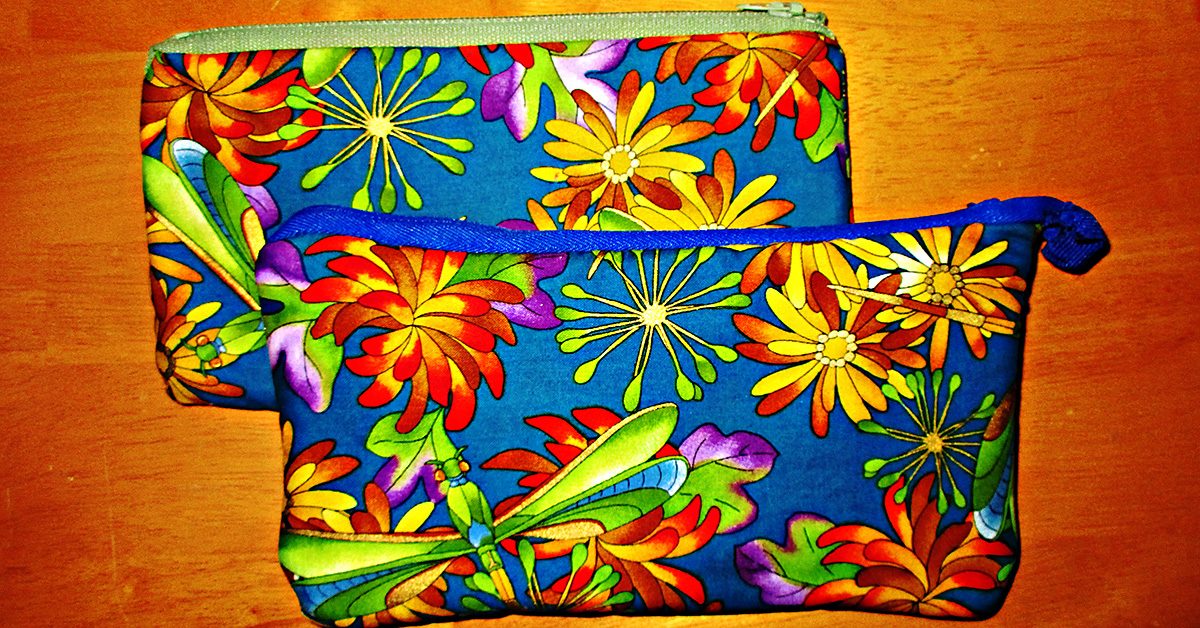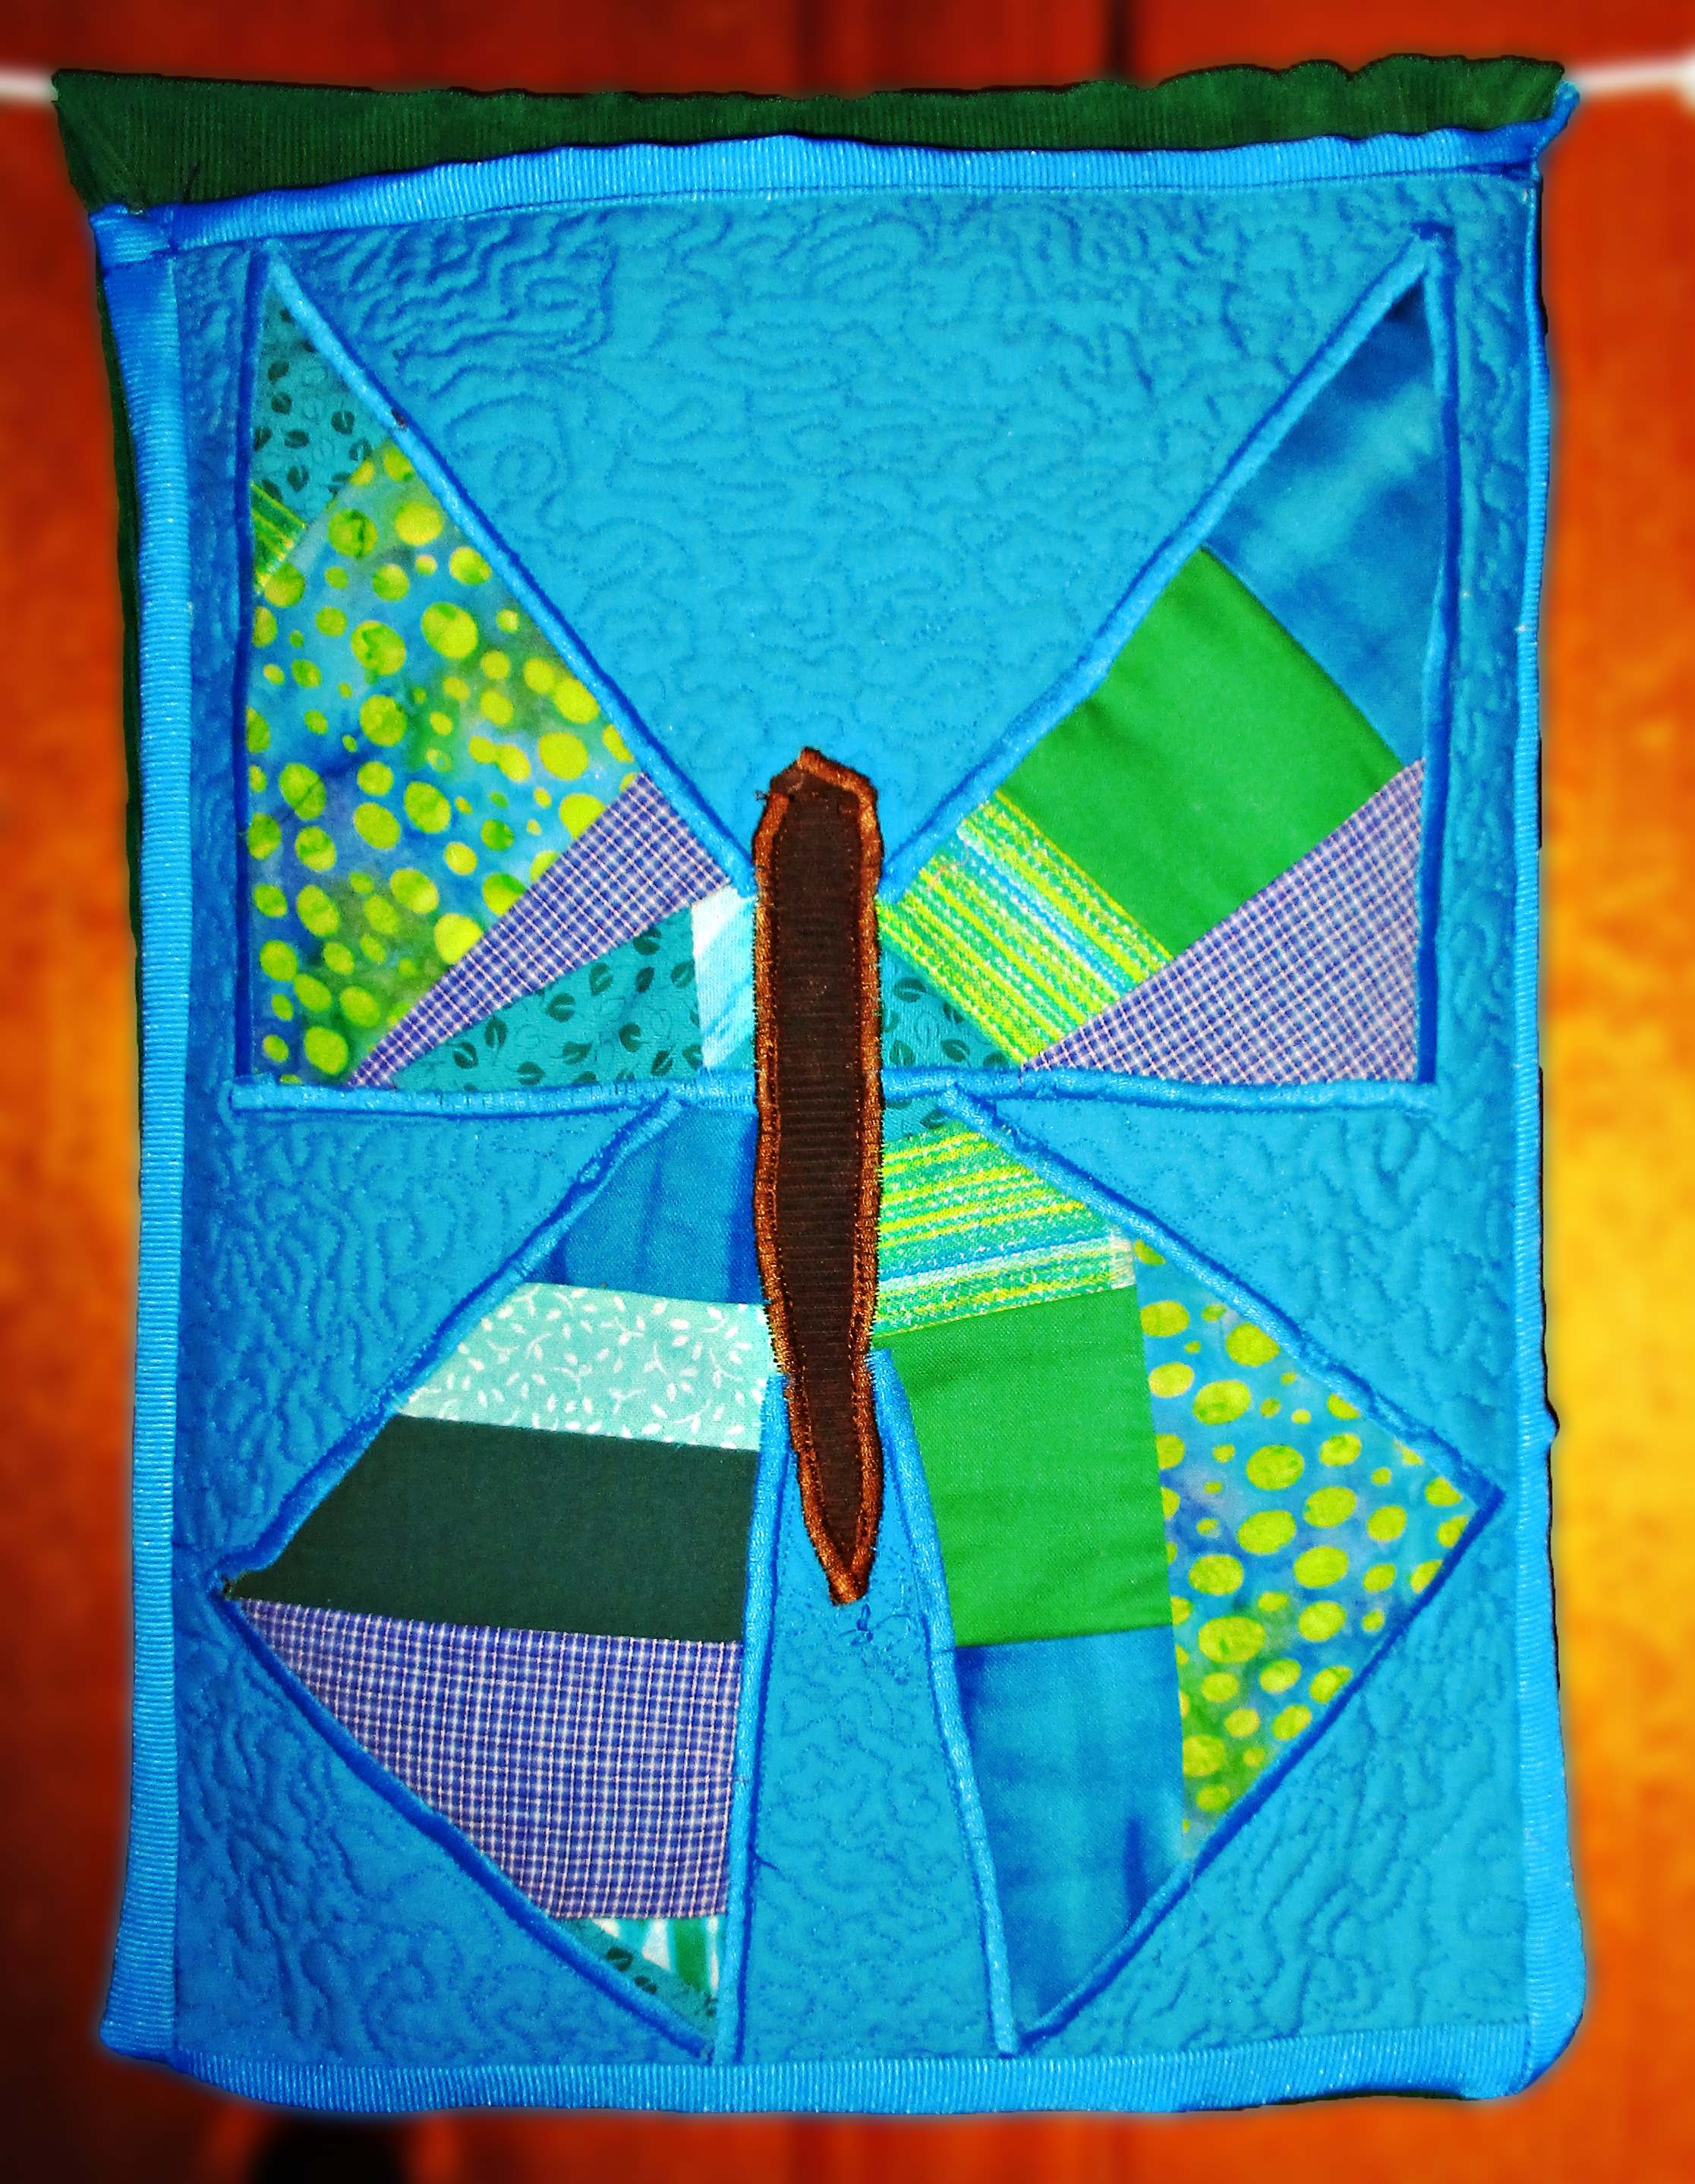
Here’s my own design for a small purse tutorial.
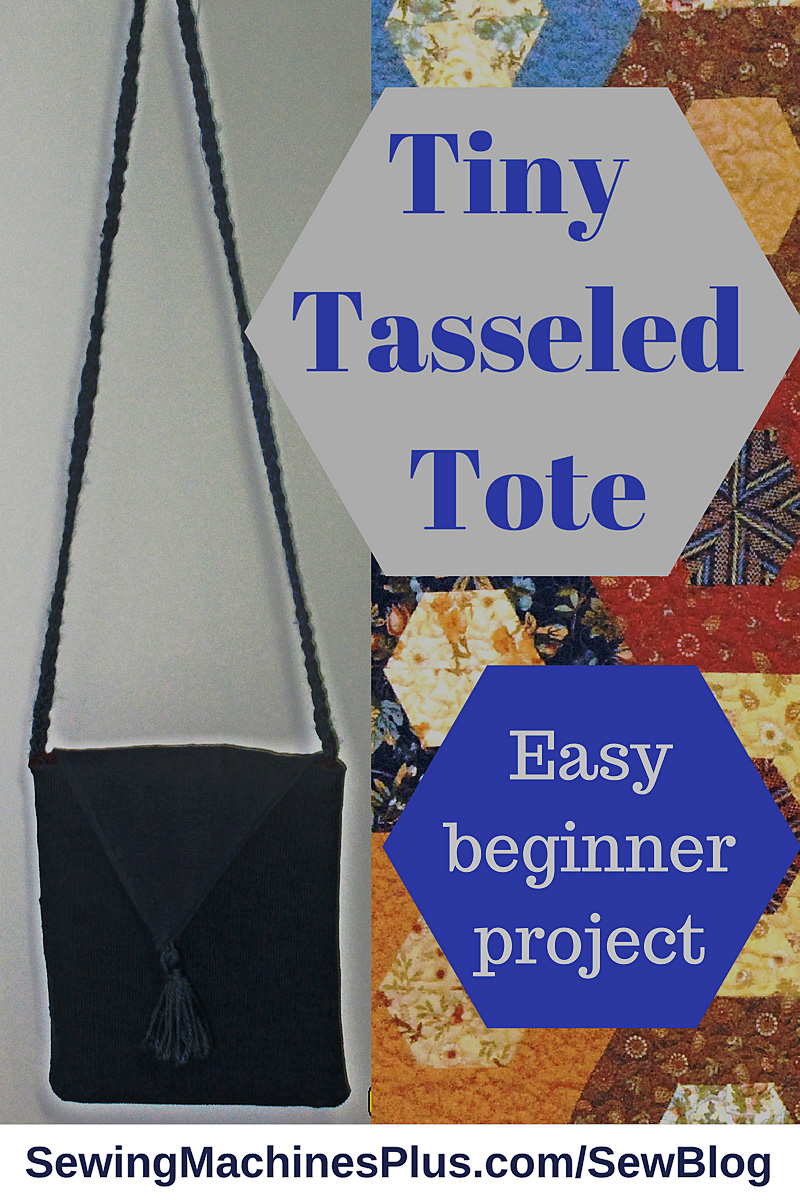
Small purse tutorial.
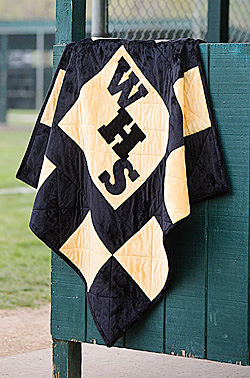
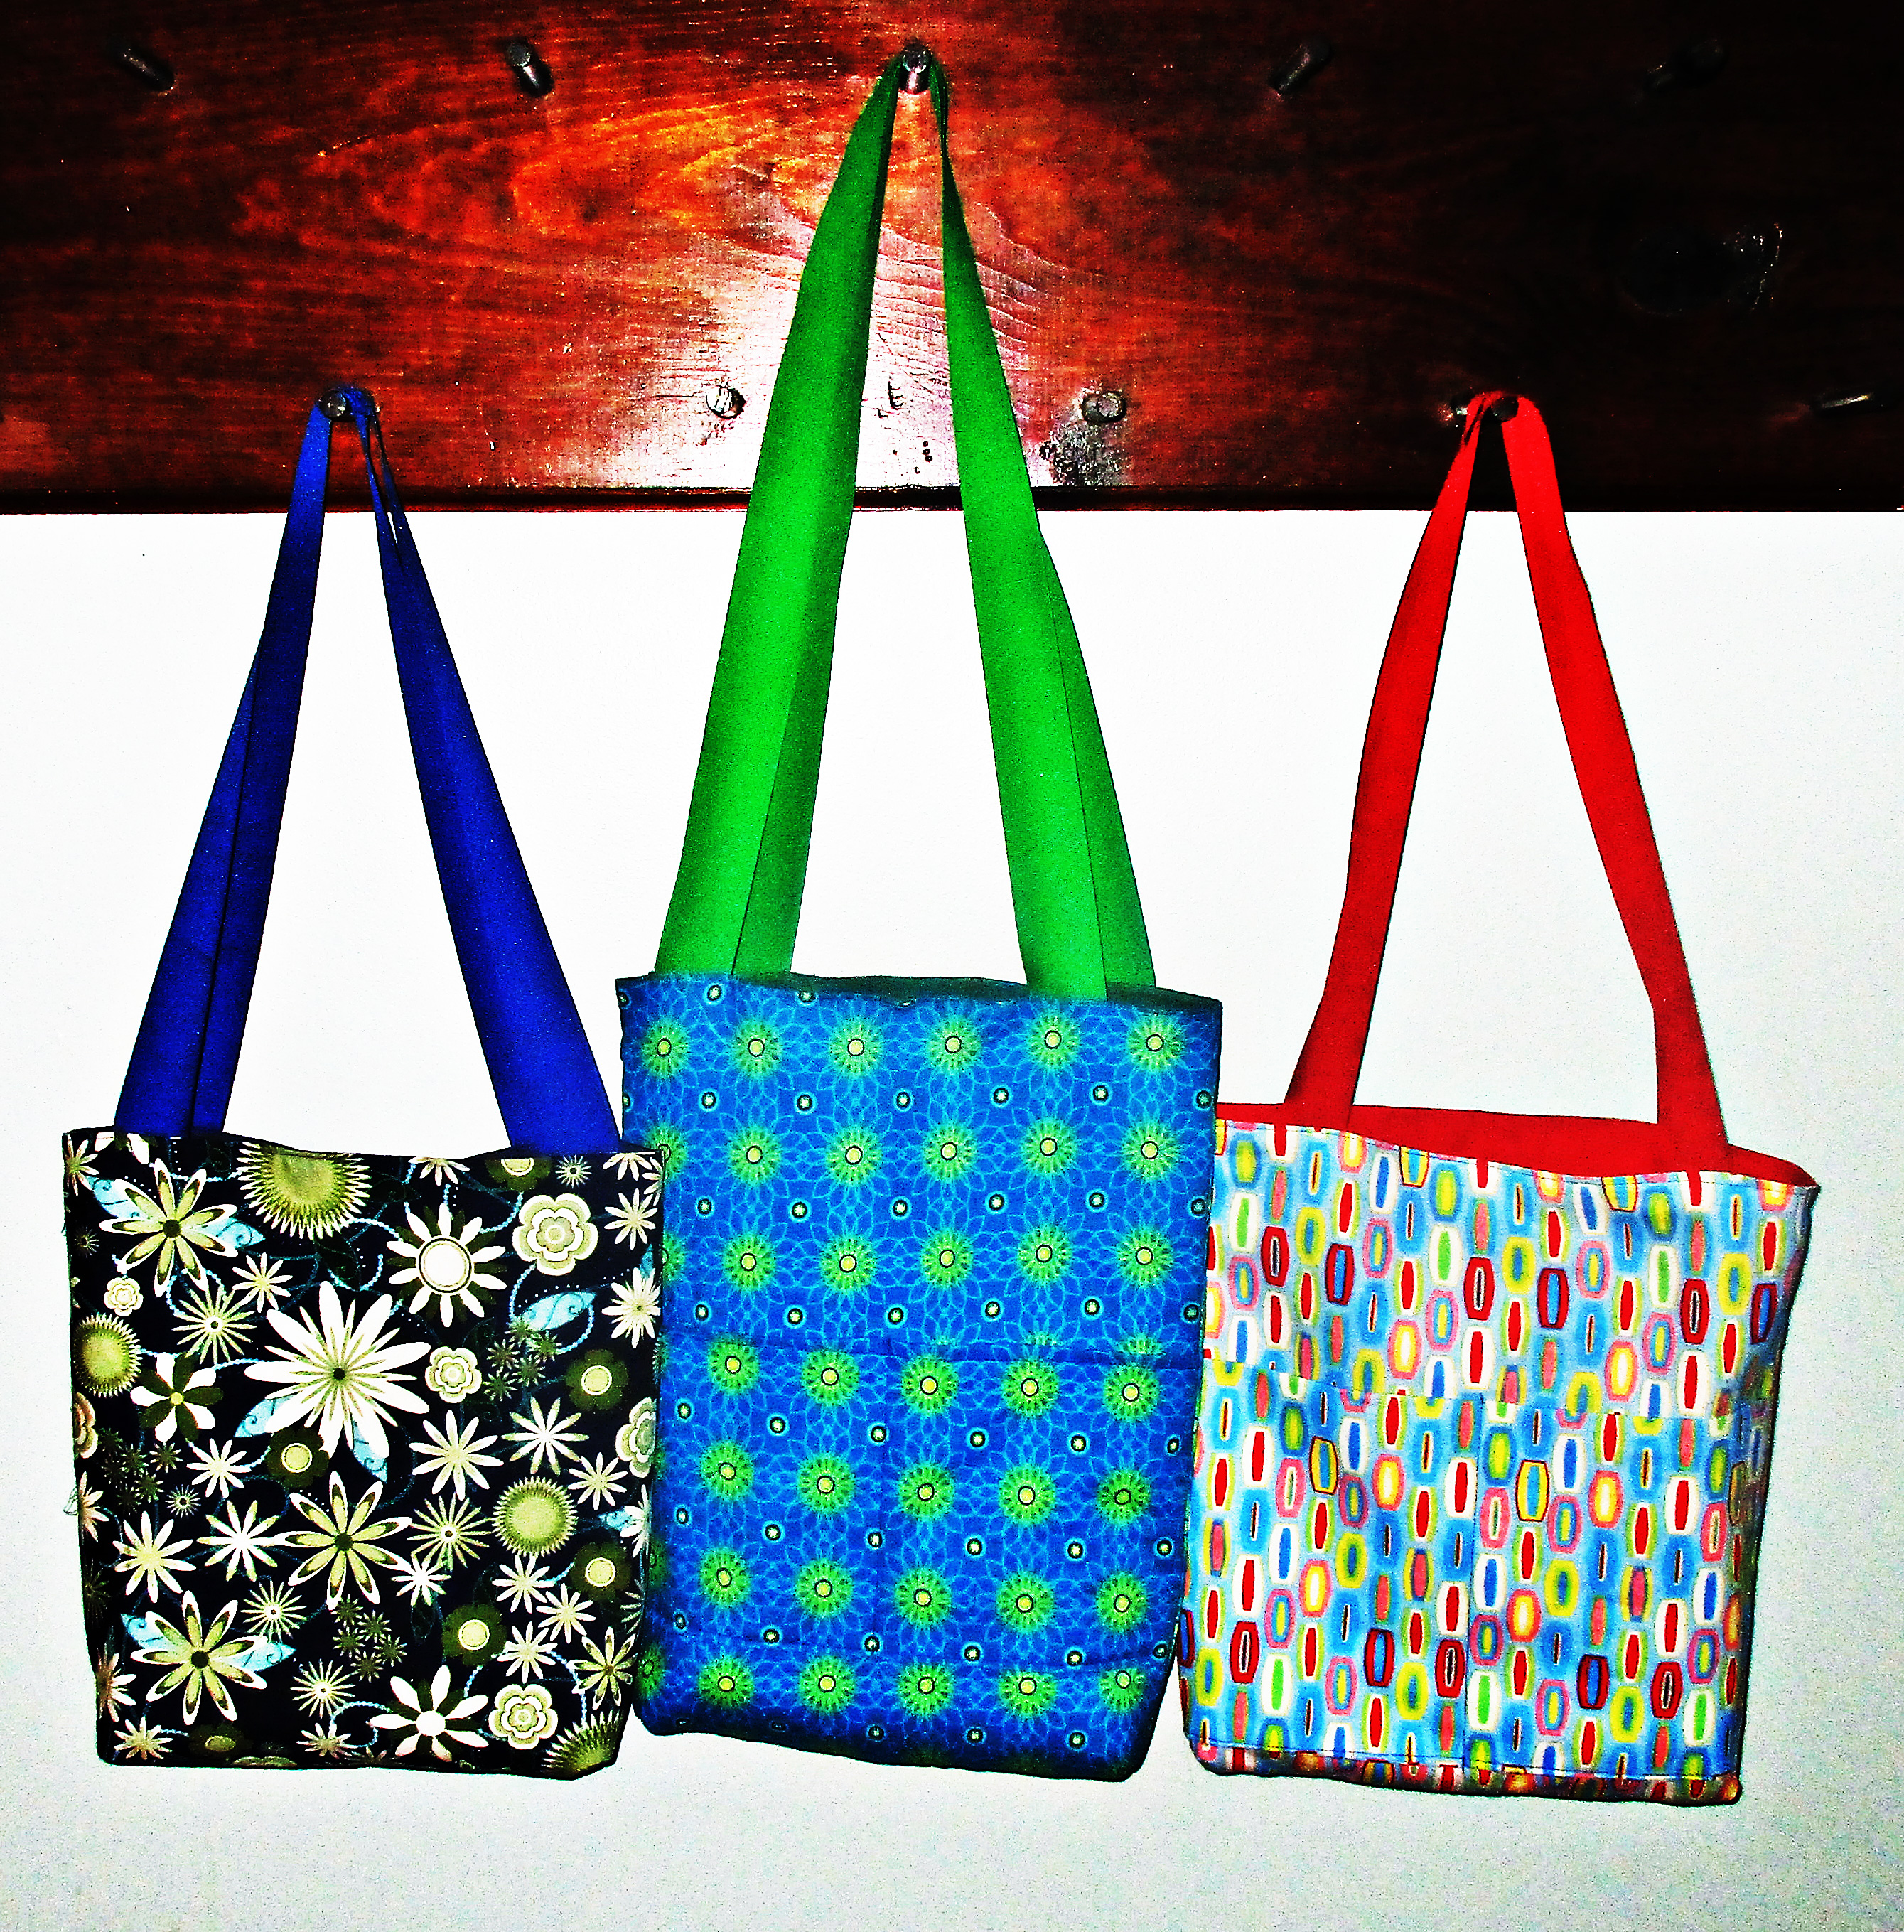
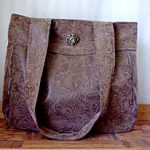
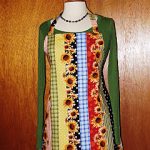
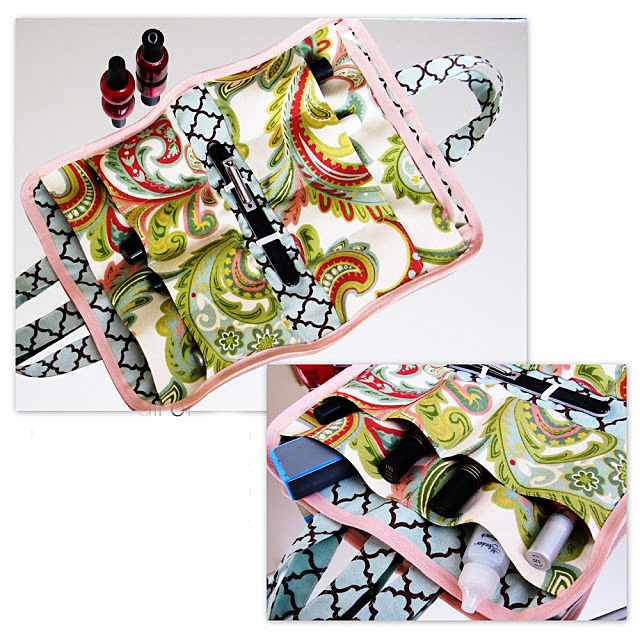
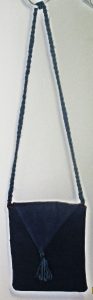
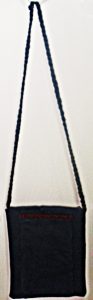
This elegantly simple bag is incredibly easy to sew and offers endless opportunities for embellishment. It is tiny as totes go, but as a small purse it is offers plenty of space for all your essentials, with room to spare. It features an outside pocket big enough for your phone or sunglasses, and two inner pockets, one sized for your ID and debit card.
I really wish I had an embroidery machine; if I did I would completely cover this small bag with colorful embroidery. Since I don’t, I decided to make mine understated and casual in all one color and with minimum embellishment. I think this denim blue corduroy is nearly a neutral color and I know it will go with much of my wardrobe.
I want to buy some silk cord to make the tassel and make a bag like this in a dressier fabric, too. Keep tuned to this blog, as I will soon share another small purse tutorial for a variation on this bag that is a lot of fun to make, too.
Without further ado, here’s this small purse tutorial, suitable for beginner sewists:
Tiny tasseled tote small purse tutorial
You need fabric for the bag body and lining, a little bit of interfacing, and yarn for the strap and tassel.
Cutting instructions
Cut:
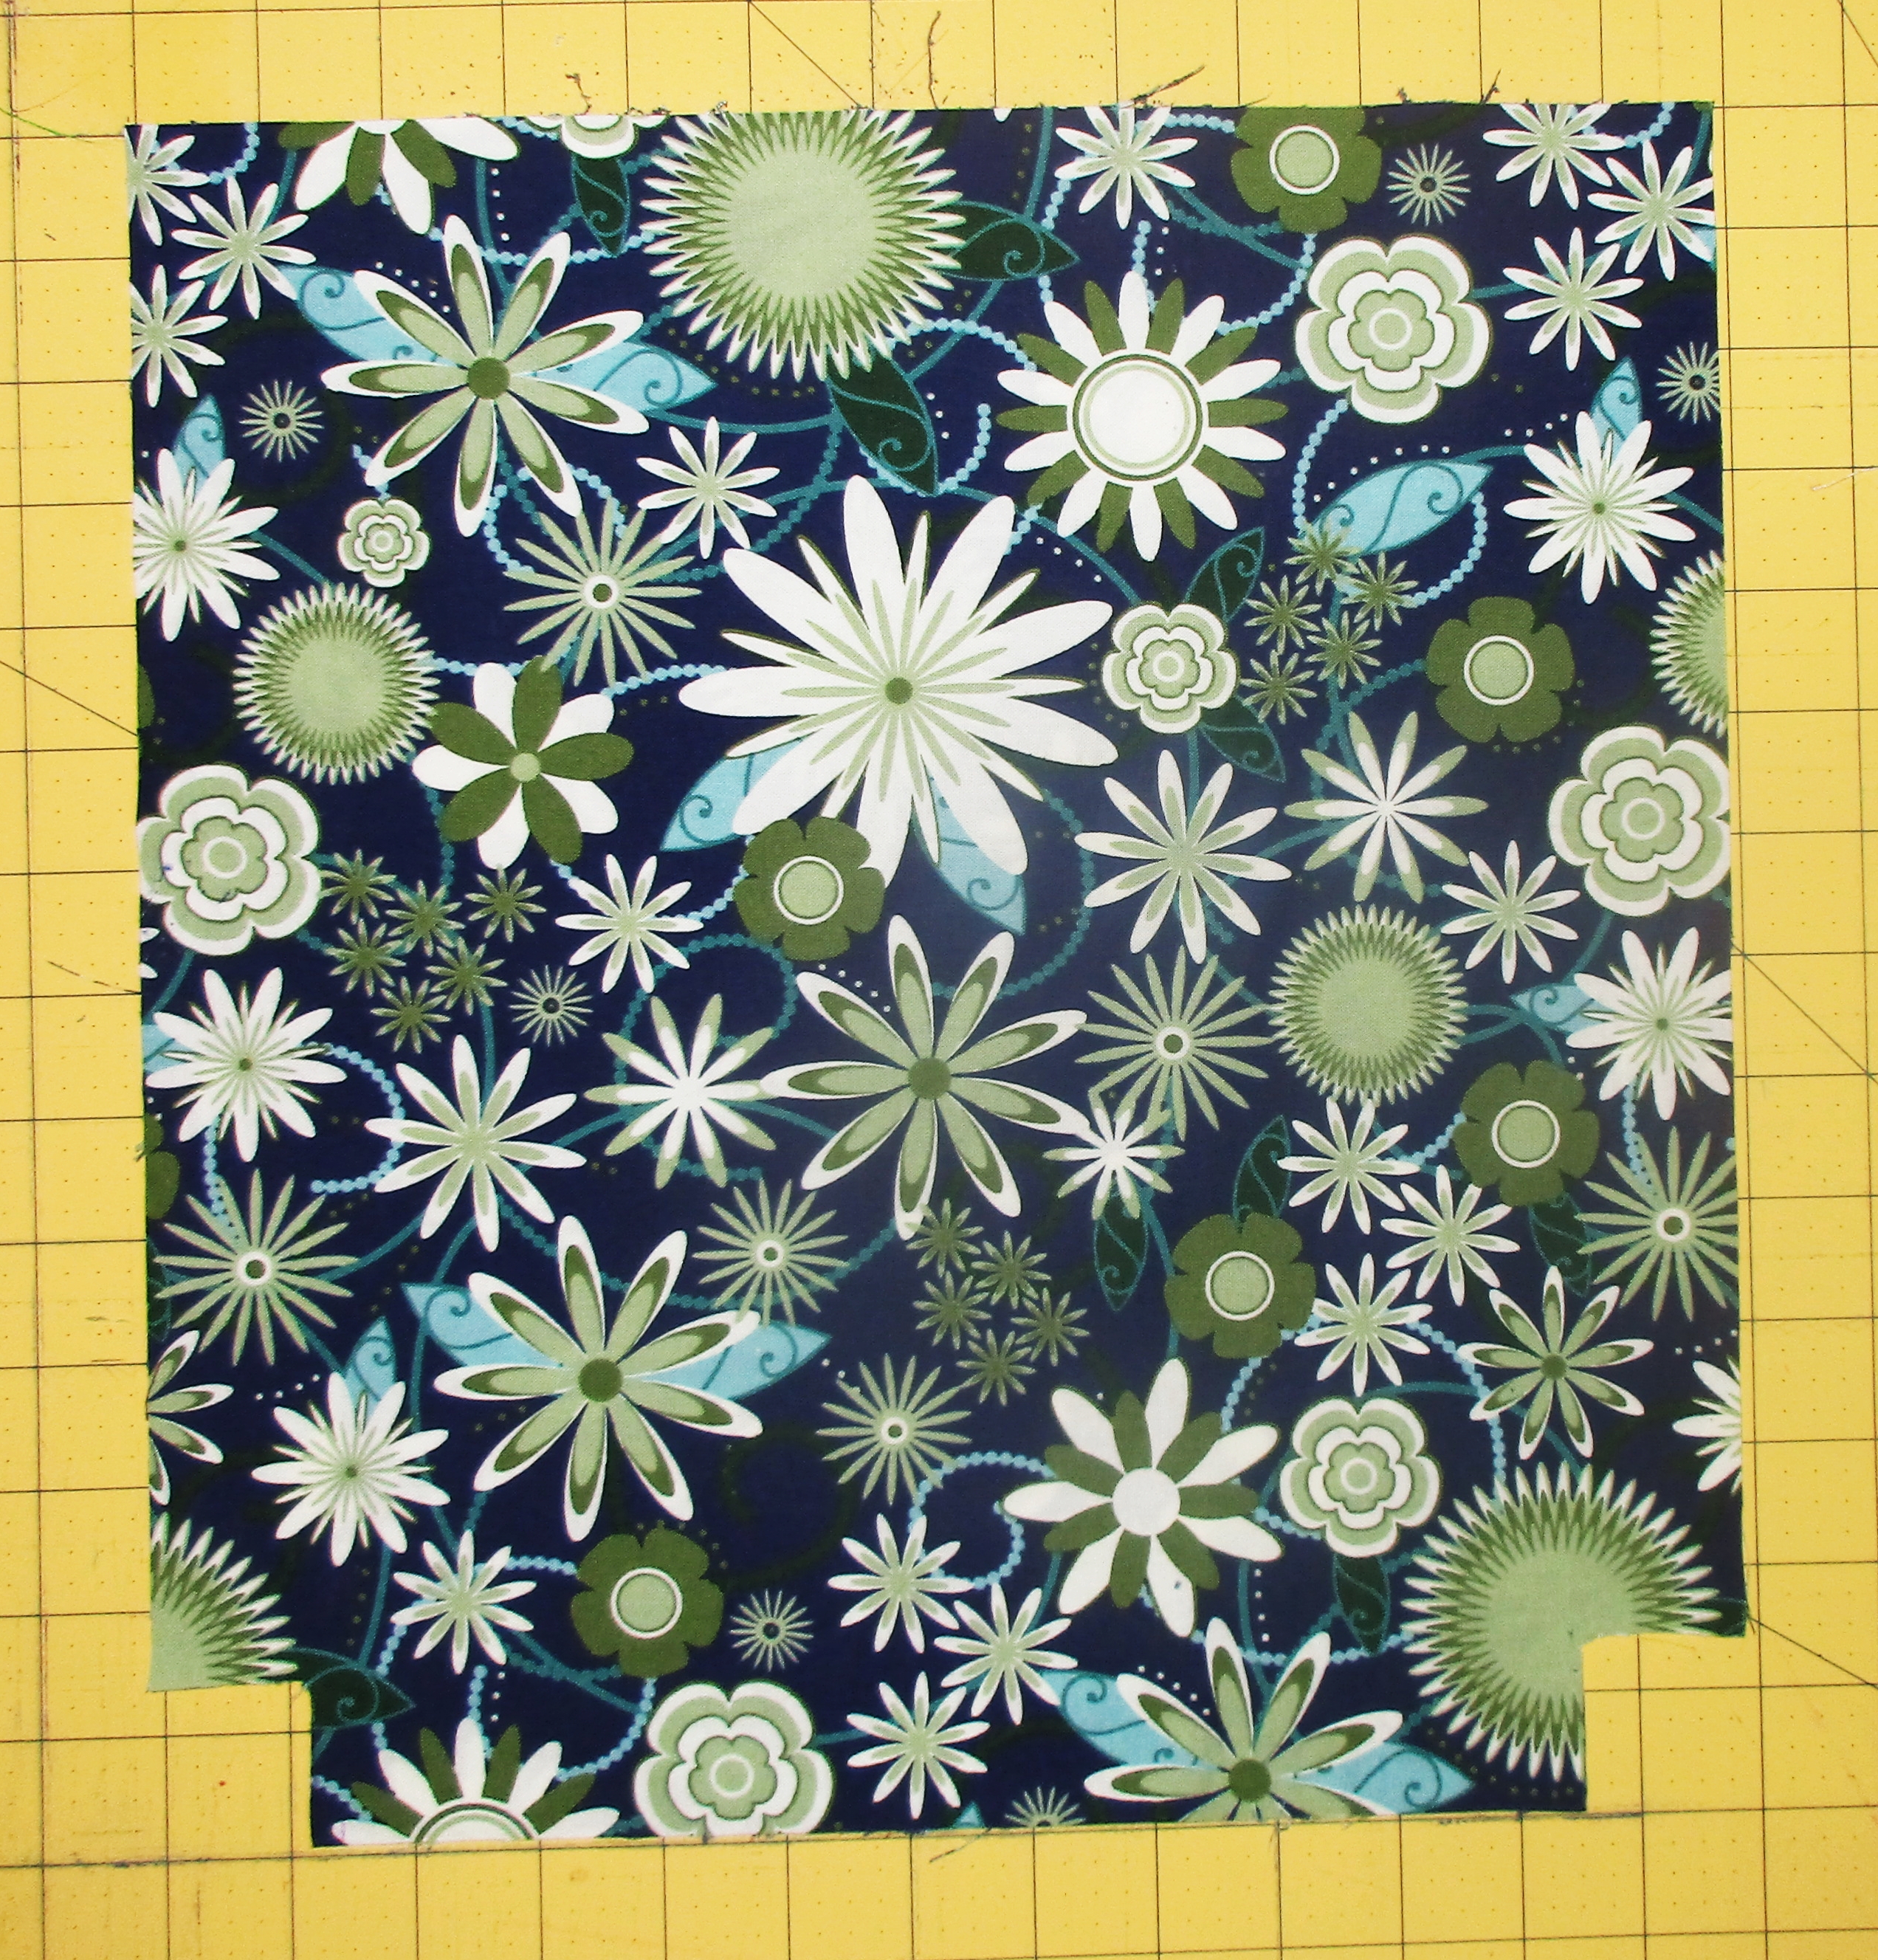
- 2 bag body pieces (main fabric) 7.5″ by 9″
- 2 bag lining pieces (second fabric) 7.5″ by 9″
- (optional) 2 interfacing pieces 7″ by 8.5″
- (optional) 1 interfacing piece 4.5″ by 8″
- 2 main fabric pieces 5″ by 7″
- 2 pieces second fabric 5″ by 7″
- 1 piece second fabric 6″ by 9″
Step one is optional – interface or quilt
If you choose to add interfacing to your bag, do it now. Because my outer fabric was corduroy and the quilter cotton lining fabric less sturdy, I chose to interface the back of my lining fabric (7.5″ by 9″ inch rectangles). If you use quilter cotton or other lightweight fabric for the outside of your purse, then interface that instead. Also apply interfacing to one of the 5″ by 8.5″ rectangles.
Another option is to forego interfacing and quilt one layer of your bag, either the outside or the lining. Just quilt these now, before we move on to construction.
Make the outside pocket
Take one 5″ by 7″ piece of your main fabric, and a matching piece of the lining fabric and align these right sides together. Sew around all four sides, leaving an opening of at least 2″ to turn right sides out. Clip the corners, turn, and press.
Now fold over the top about half an inch, press, and topstitch. I chose to press mine with the lining fabric forward, to show a bit of contrast on the outside of this otherwise plain blue bag. You can fold towards the inside though, if you’d rather not show off your lining fabric on the outside of your purse.
Center the pocket on one of the bag body 7.5″ by 9″ rectangles, with the hem you just sewed at the top of the bag. Sew the sides and bottom of the pocket to the bag body piece about 1/8″ from the pockets edges.
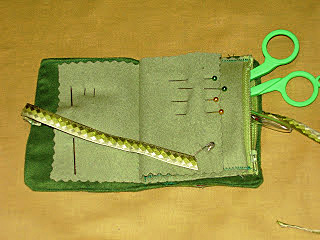
Make the inside pockets
Take the 6″ by 9″ lining fabric, and fold it right sides together to make a rectangle 4.5″ by 6″. Sew with a ¼ inch seam allowance along all three open sides, leaving an opening of at least 2″ for turning. Turn right sides out, press, and top stitch the opening closed.
Now fold one short edge of this finished rectangle upwards about 2 inches and press this fold line well. Then, center this pocket on one of the 7.5″ by 9″ bag lining rectangles, and sew the bottom and sides down on the lining fabric.
Inside pocket image.
Sew the bag body and lining
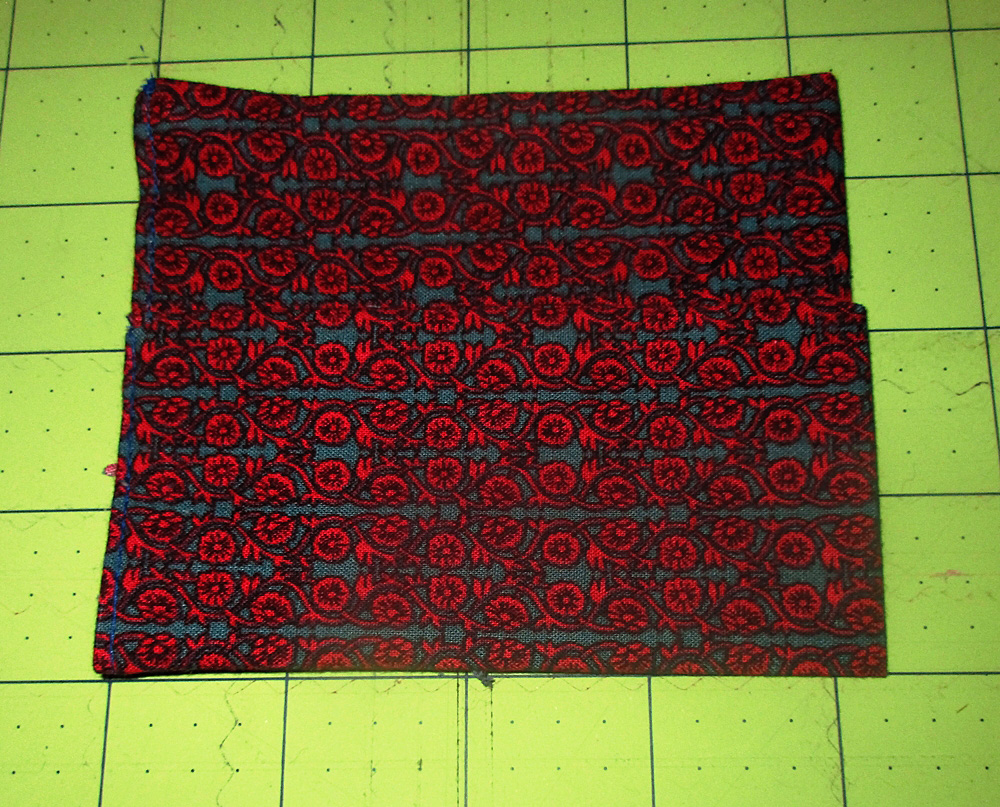
Now take the two main fabric rectangles and put them right sides together. Make sure the outside pocket is facing with the opening pointing up, then sew the side and bottom seams.
Then repeat for the bag lining pieces, again making sure the pocket opening is facing up before sewing the sides and bottom together. Set both bag and lining aside.
Make the tassel
Wrap yarn around the four outstretched fingers of hand about ten times. Tie the yarn together at the top of these loops with a short piece of yarn, then cut through all the loops at the bottom. Take another piece of yarn and wrap it around and around the strands, about half an inch from where you tied the yarn together at the top, then tie. Voila, a tassel!

How to tie a tassel.
Make the flap
Take one of the 5″ by 7″ pieces to your ironing board and place it right side down, aligned with the long edges horizontal and the short edges vertical. Then fold the bottom corners upward to make a point in the middle and press these fold lines well.
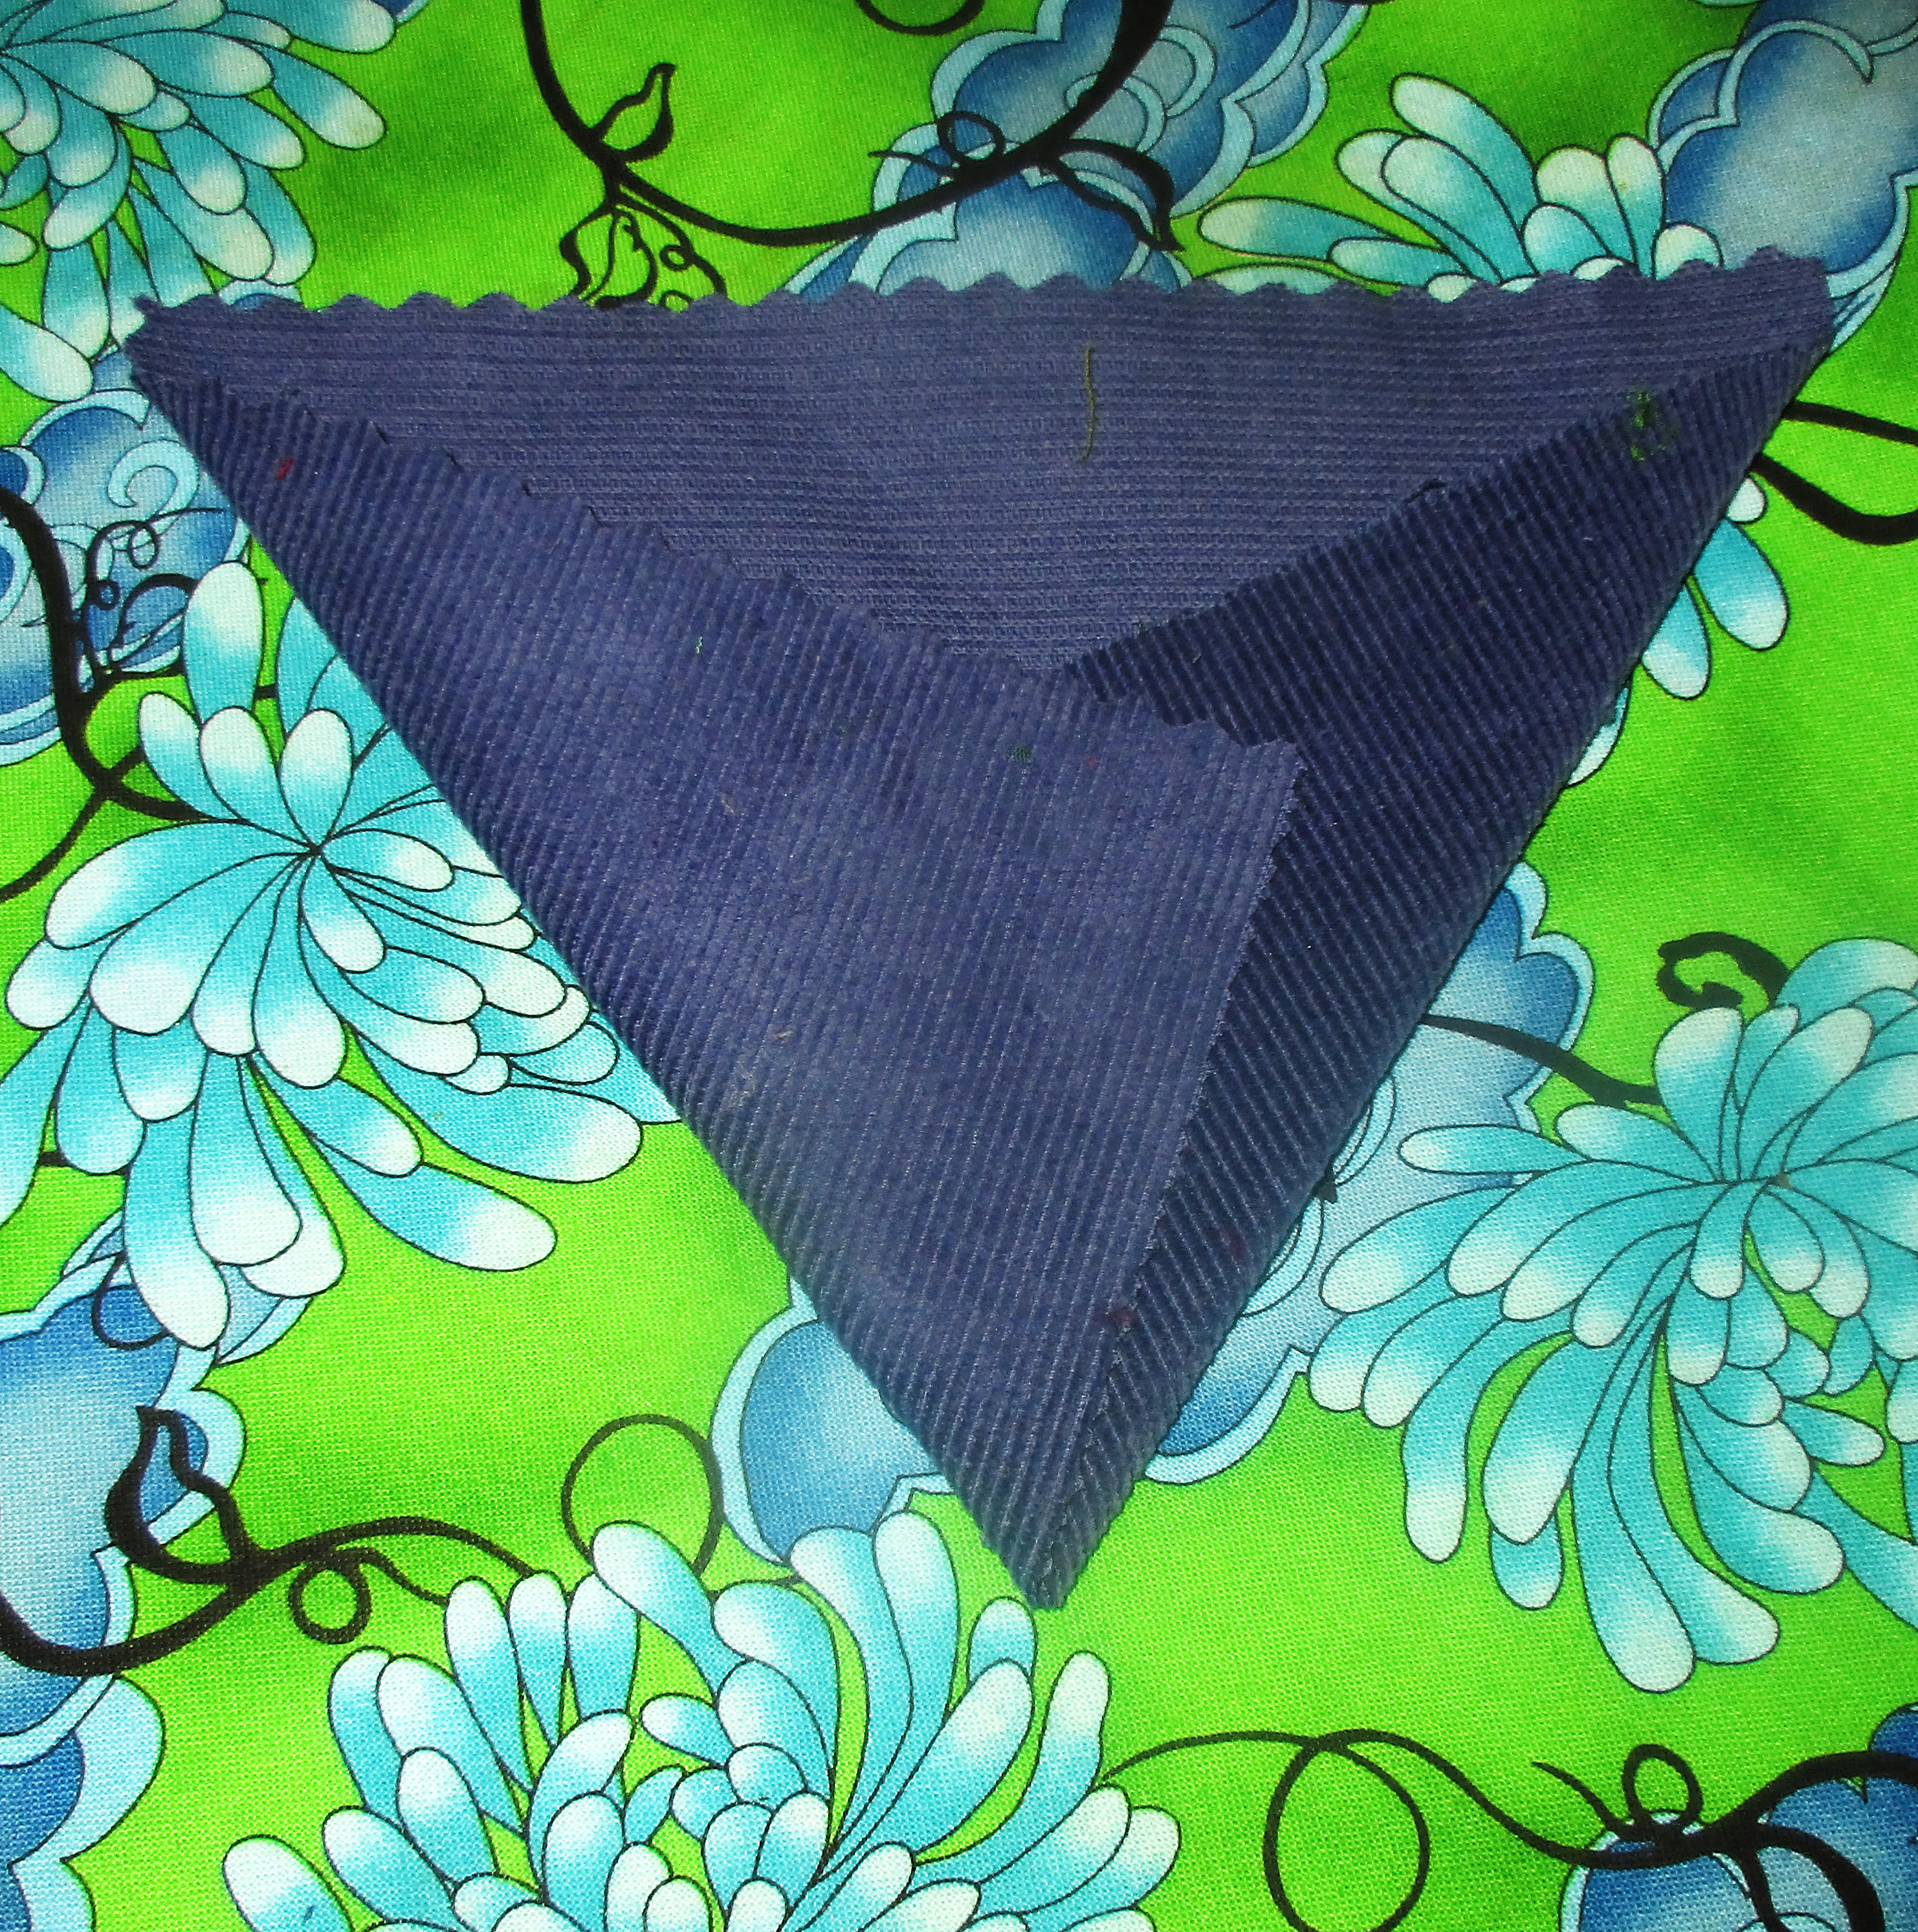
Tassel bag point image.
Then, cut along these pressed lines to make a triangle shaped piece for the flap. Cut a lining rectangle piece to match, too. Now, go back to your ironing board with these pieces. Fold one of the edges you just cut to form the triangle back ¼ inch and crease this well with your iron. Repeat on the second triangle.
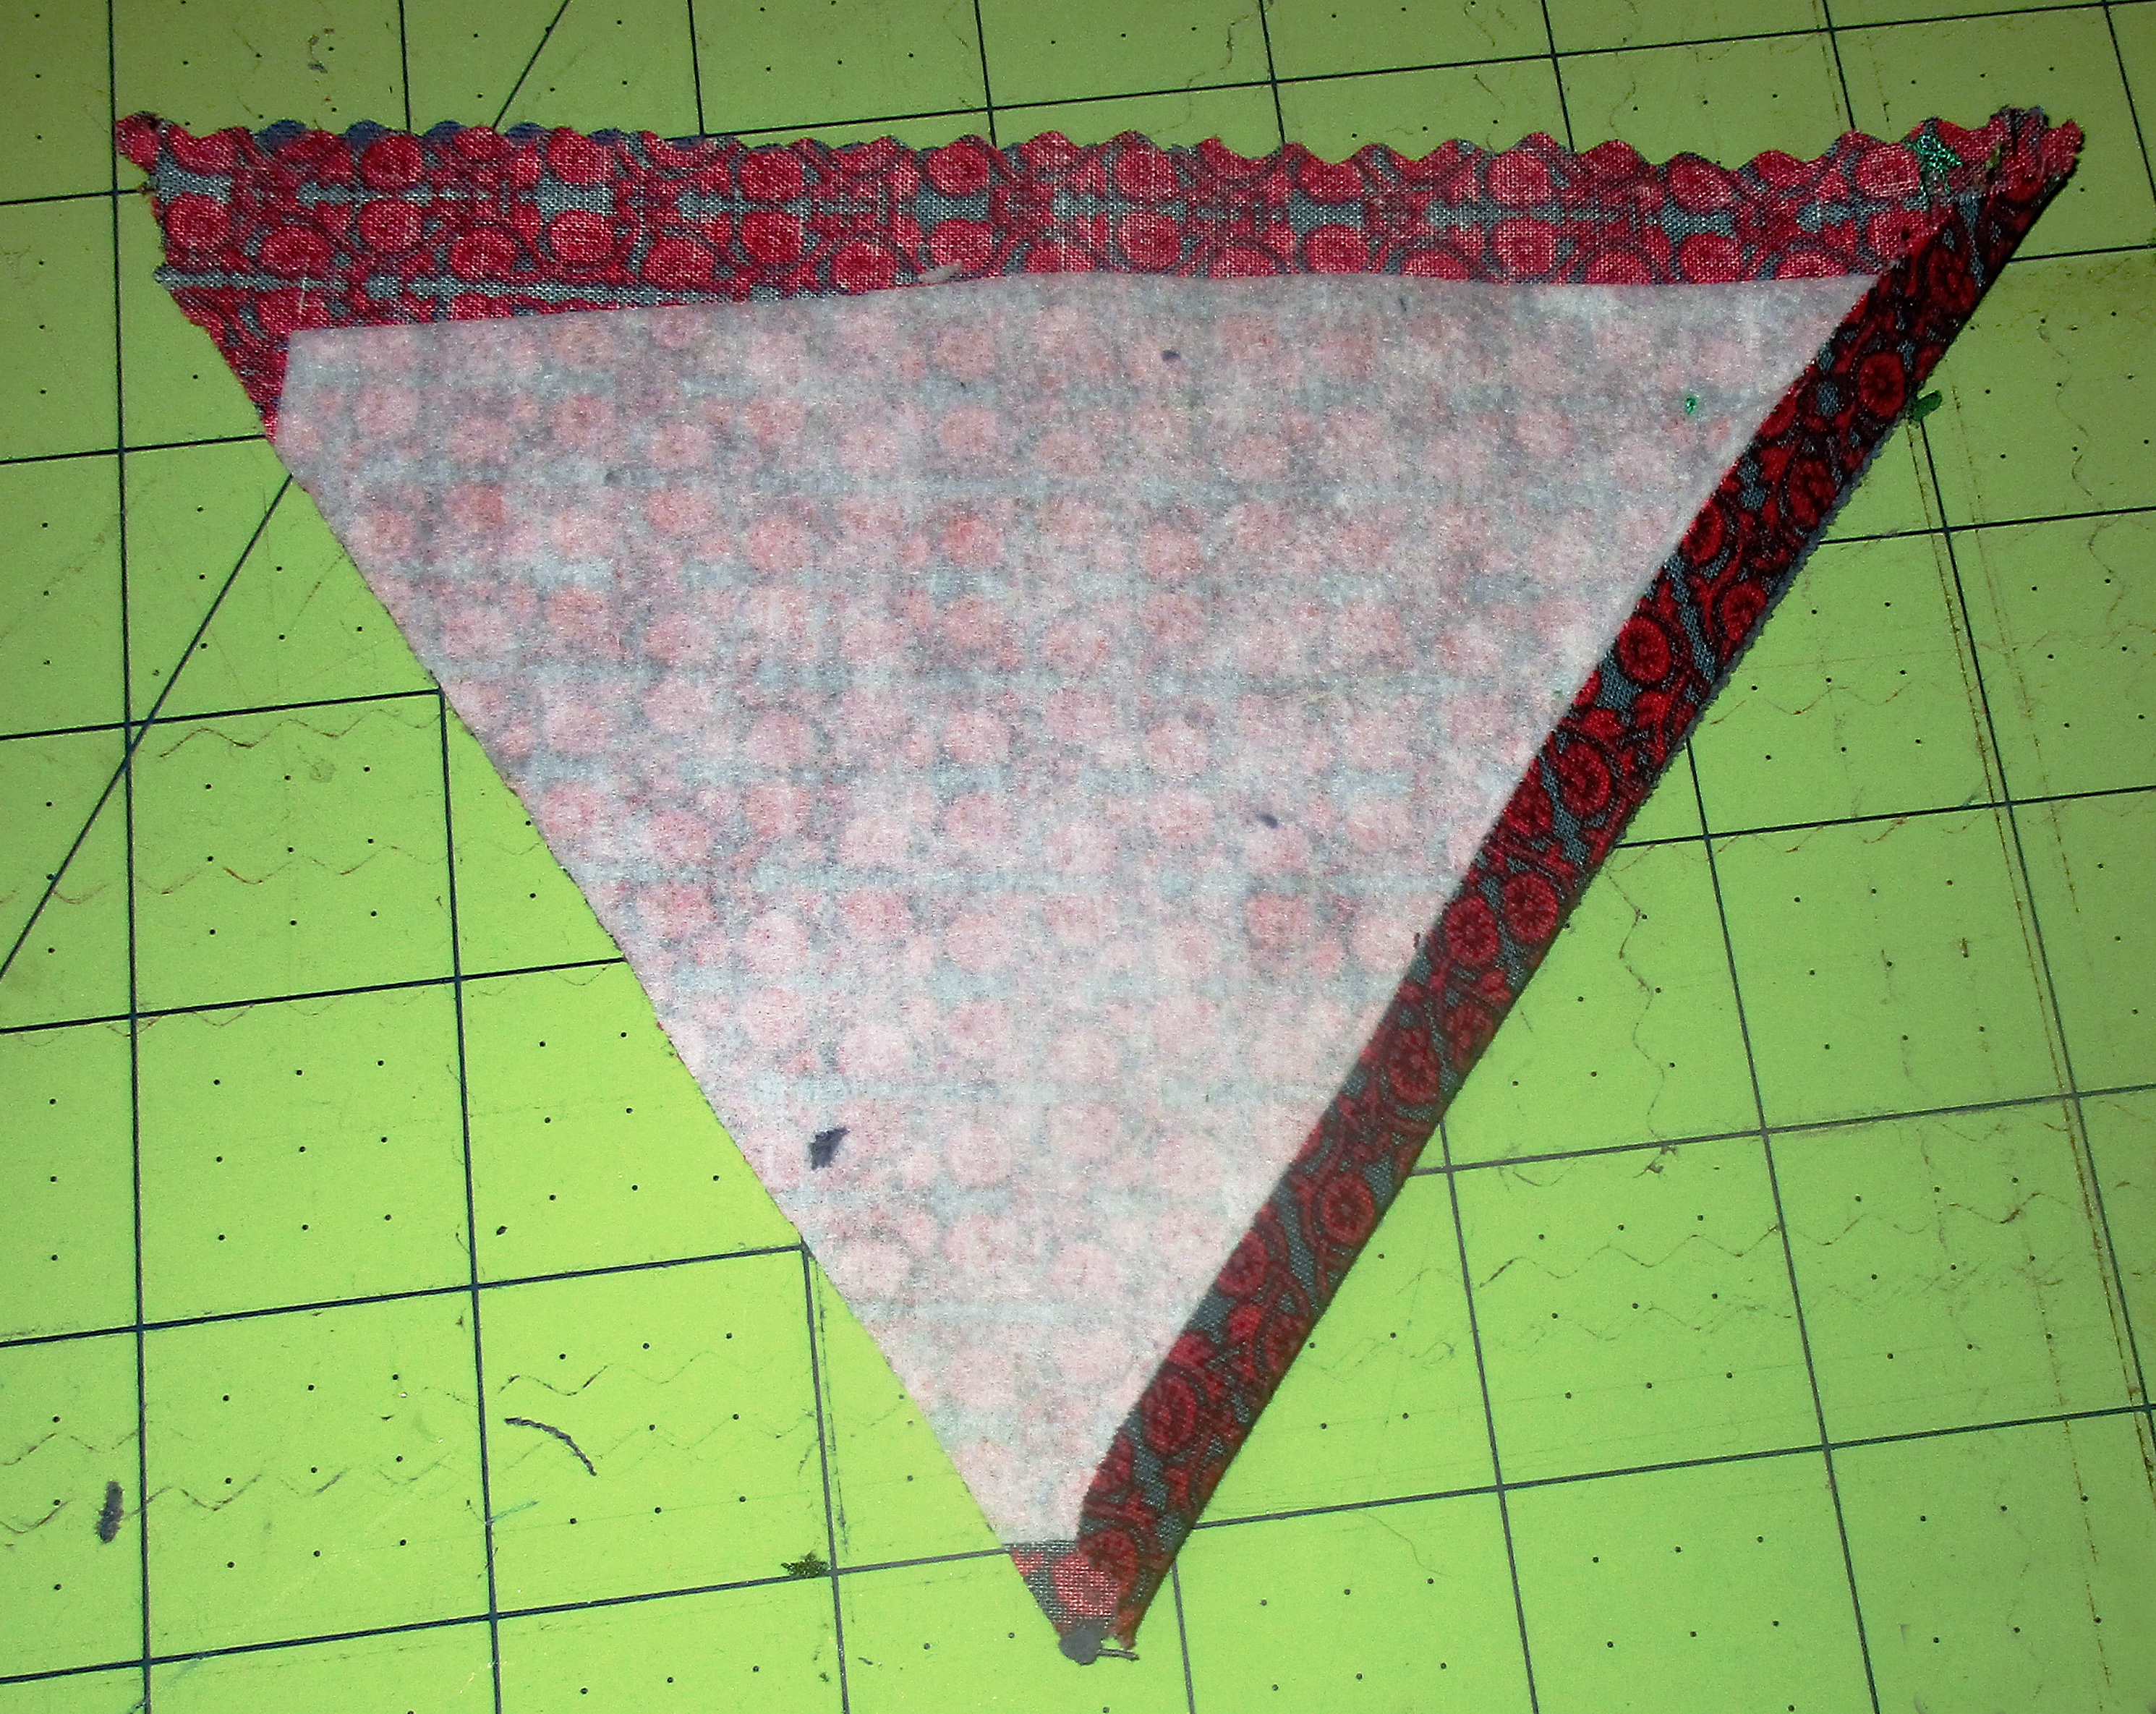
Tassel bag point crease image.
Now place the two triangles right sides together and sew together along the opposite side of the triangle from the side that you just creased. Clip the seam allowance from the triangle point, turn right sides out, align the creased seams you previously pressed, and press again.
Now insert the two short yarn tails from where you tied the yarn together at the very top of your tassel into the triangle point. Topstitch along the seam you just sewed, then topstitch to sew the side with the pressed seams closed, too, being sure to catch the yarn at the top of the tassel inside the seam.
The third side of the triangle flap remains open. Align this open edge with the top edge of the back side of your bag body, right sides together, and sew right along the edge to baste these pieces together.
Make your strap
To make the yarn strap, use 9 pieces of yarn about 4 feet long. Use 3 strands each to make three long braids, then braid these three all together. Secure ends by tying with another piece of yarn. Or opt to use ribbon or make a long fabric strap instead, if you prefer.
Final assembly
Take your main bag body and your bag lining body and insert one inside the other, with right sides together. The flap should be between the two bag bodies. Now place your strap inside, also between the two bag bodies, aligning each end with the side seams.
Use the free arm on your machine, and sew these together, leaving an opening to turn. You will sew the backside with the flap and the straps, and leave the opening in the front. Turn right sides out and push the lining side into the bag body. Now fold the edges of the opening inward, topstitch this opening closed, and you are done.
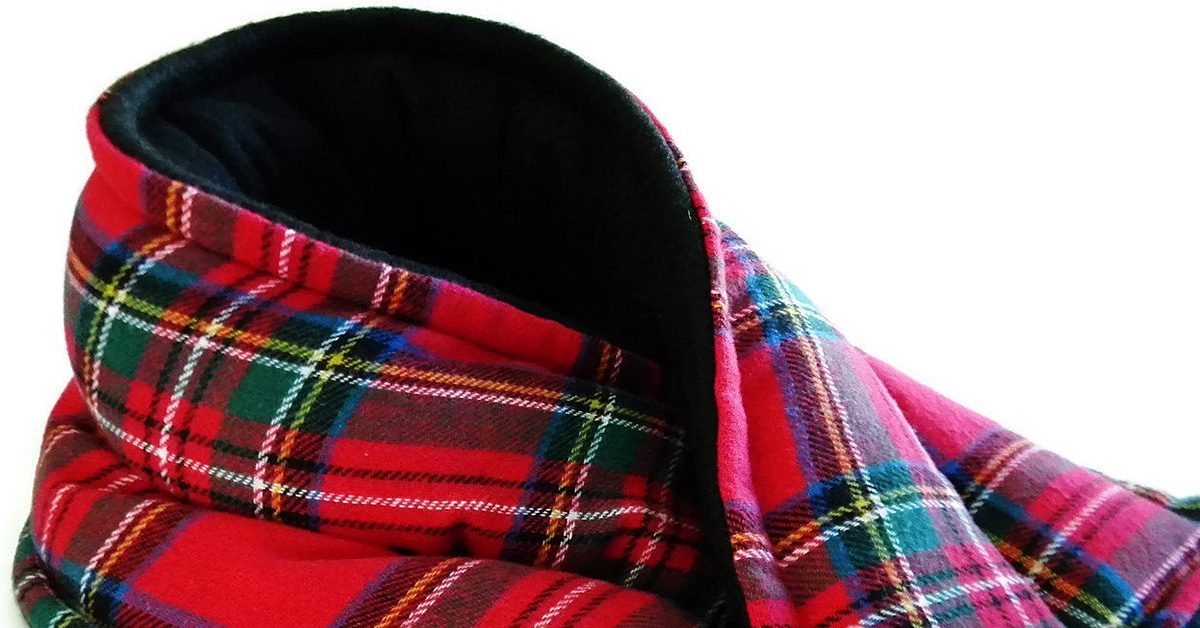
It’s reversible
Technically, this bag is reversible. Although, if I were going to reverse this bag, I would change the construction of the inner pocket. I wouldn’t want a debit card pocket on the outside of my bag. To do this, just omit the step of folding the inside pocket up to create the card pocket. Sew it on as a larger patch pocket instead, the same as you did for the outside pocket.