This is post one of a three part series on storing your fabric. Post two (how to store your works in progress) and post three (how to store your fabric scraps) are coming soon.
I keep my deep-storage and heirloom fabrics stored in a bin. Fabrics I’ll use soon are simply folded neatly awaiting their use.
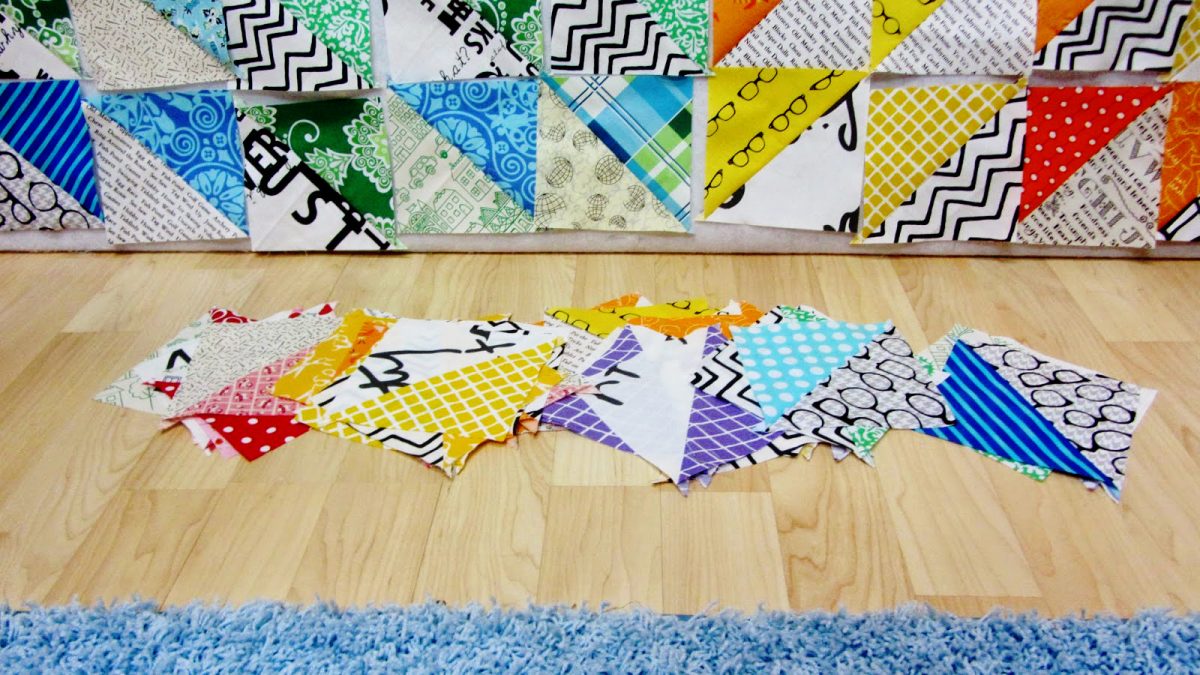
How do you store your fabric stash? I have seen some of the most creative ways while perusing through Pinterest, everything from tucked in the drawers of a dresser, folded neatly on the top of a bunk bed, or deftly displayed in KITCHEN, yes kitchen, cabinets. Who needs to eat when you have beautiful fabric to sustain your soul anyway?
No matter which way you decide to organize your fabric, you will need to keep several things in mind.

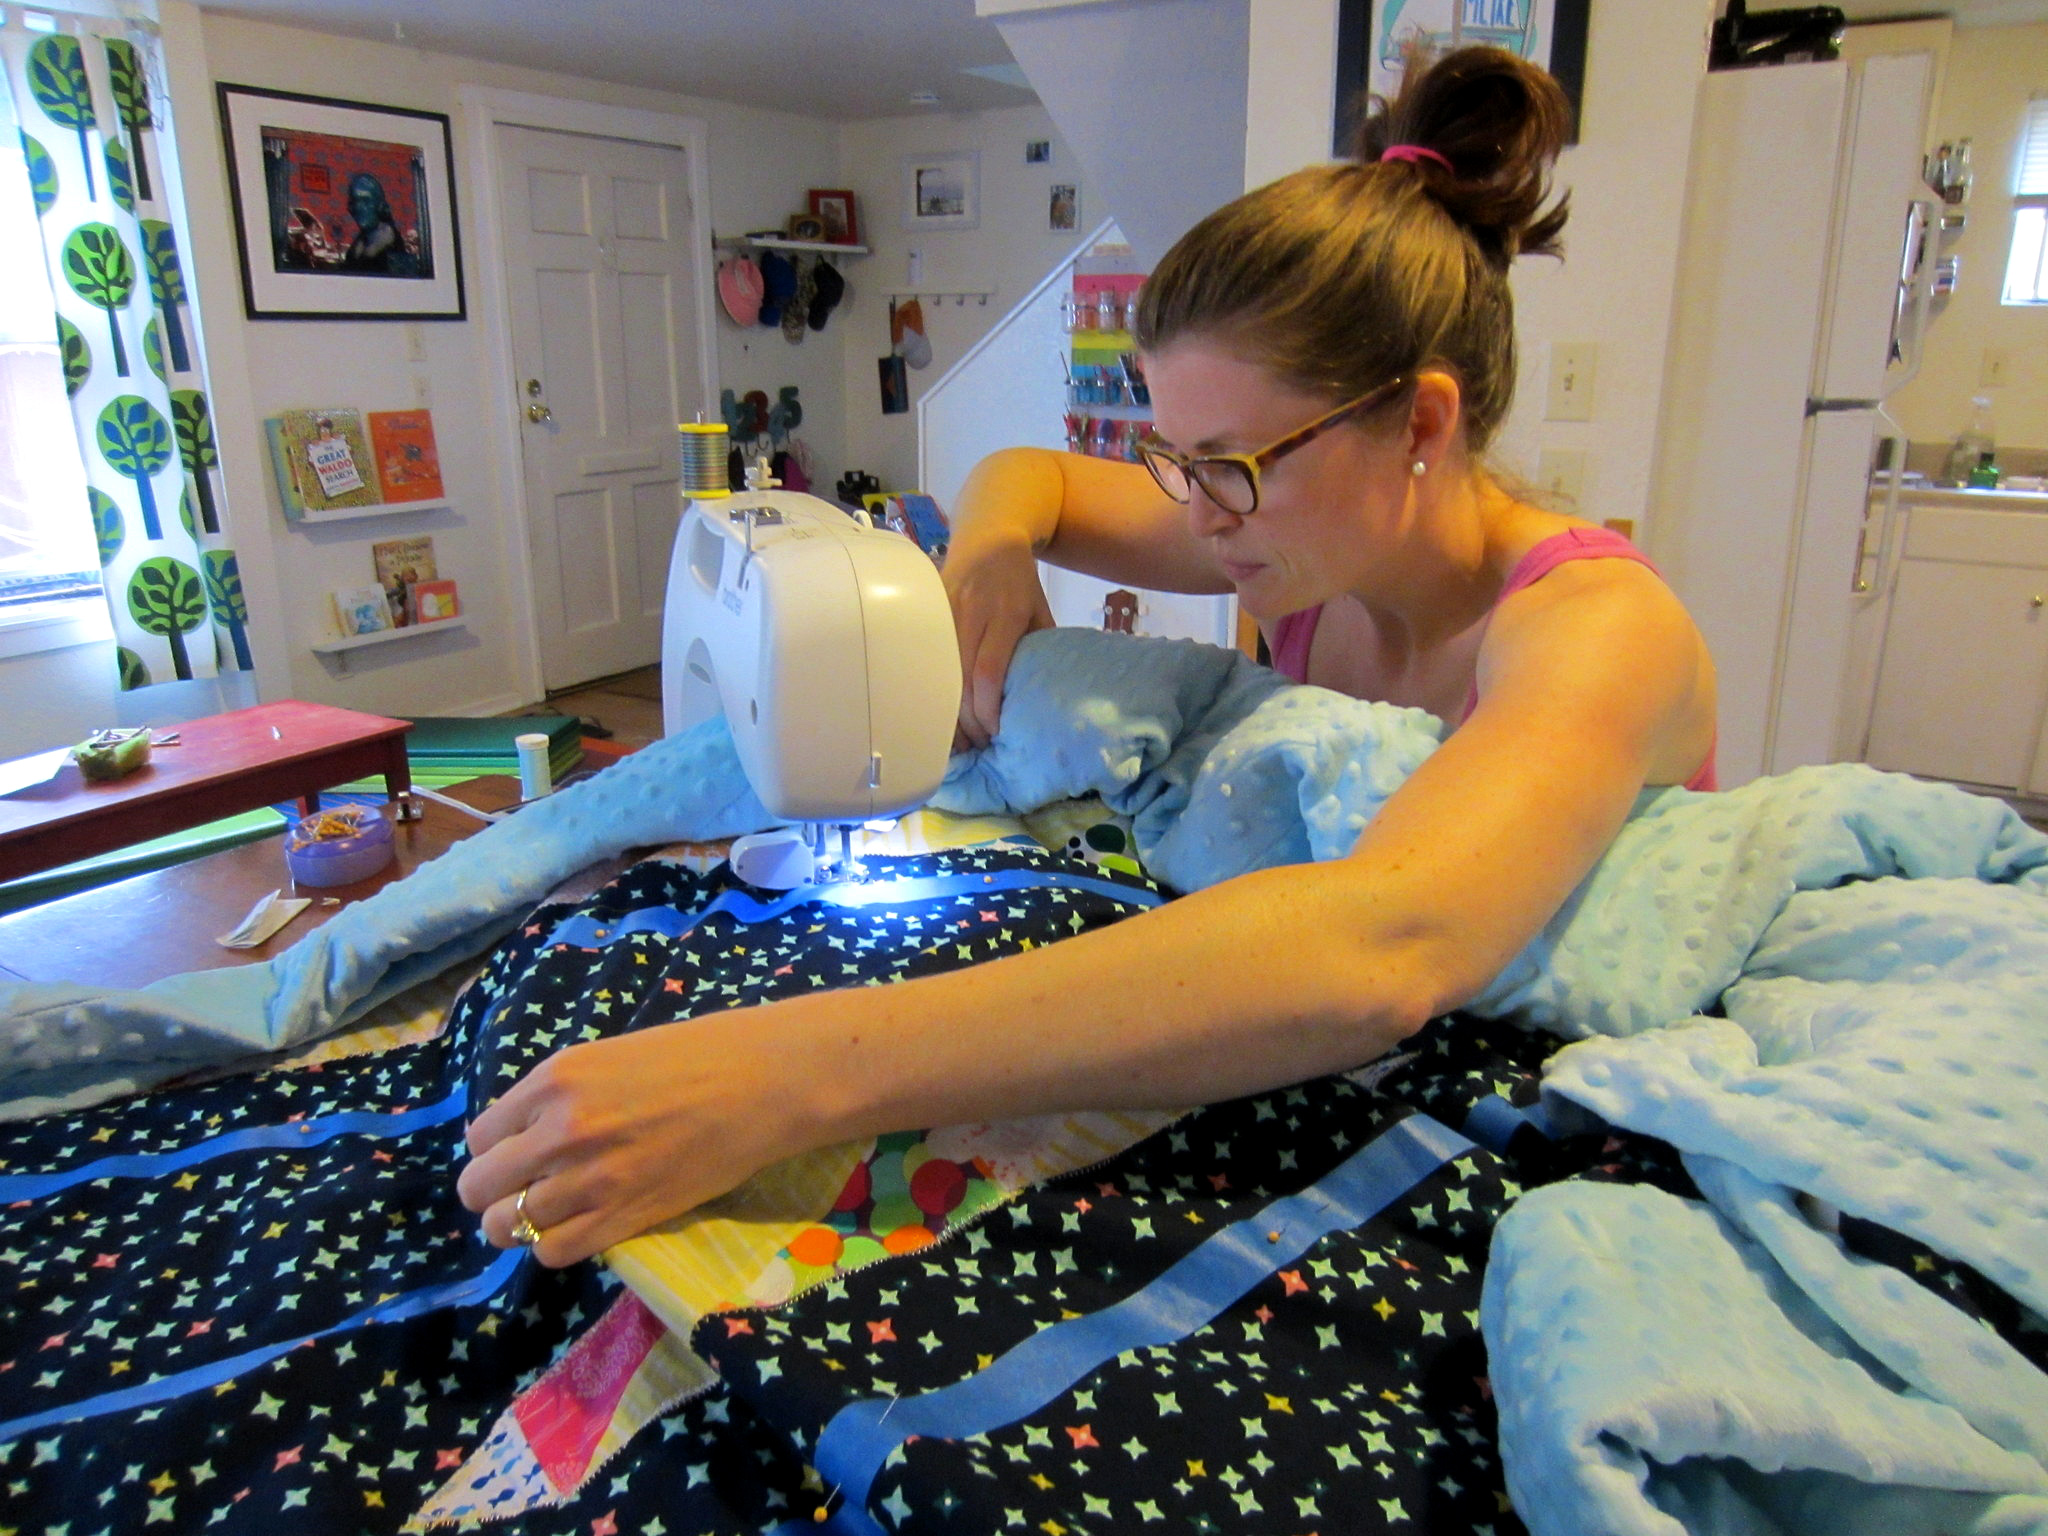
My works in progress are kept in a tall bin and labeled so I know where to easily find them.
Store Covered
- If you decide to store your fabric in bins, consider using plastic instead of paper, or file boxes, or baskets. Keeping your fabric covered will better protect it but consider using a plastic container with tiny holes (or creating tiny holes) to allow the fabric to breathe and to prevent synthetics from yellowing.
- Tape a cedar block inside the container to help prevent moths and other insects from taking up residence.
- Store away from sunlight to prevent fabric from fading.
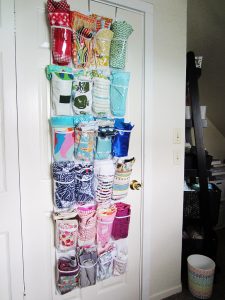
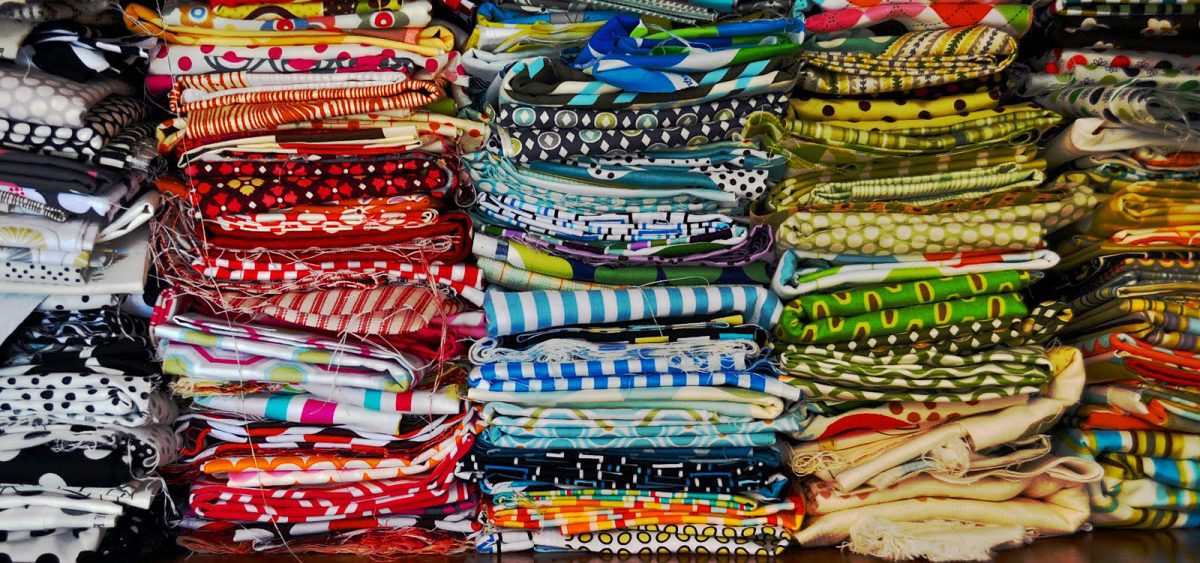
My lovely stash. I do take the time to dust off the fabric about twice a month.

Display It
- I love the quick access that openly displayed fabric offers. However make sure to keep fabric away from direct sunlight.
- Dust! Your fabric will accumulate dust if displayed or left in the open. Keep it tidy with a frequent dusting or airing out.
- Keep it clean – little children love to touch and play with fabric and even some adults can’t help but reach up and touch gorgeous fabric. Be aware of where you display your fabric and how frequently it may be handled by people whose fingers could leave it soiled.
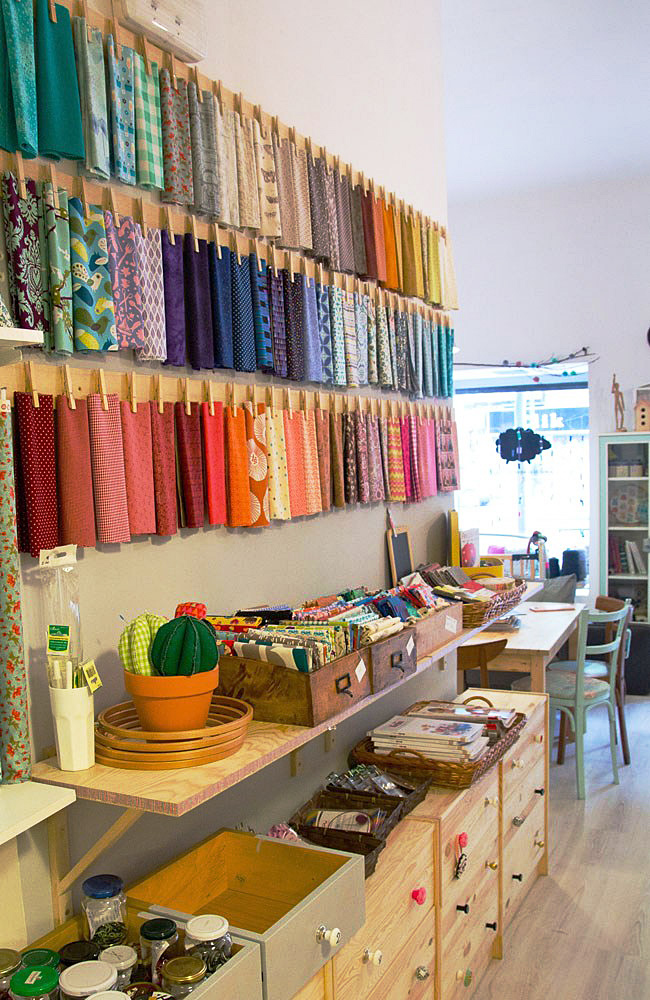
Fabric on display via MuyMolon.com.
Additional Methods
- Color coded – perhaps the most method of organizing is a stash is by color. This is how I do it!
- By Designer or Project – some people also keep their stashes stored by Designer or even projects in progress.
- By Size – big, medium, little, tiny. Sometimes storing or displaying by size is also helpful.

Fabric organized and wrapped around Polar Notion’s organizers.

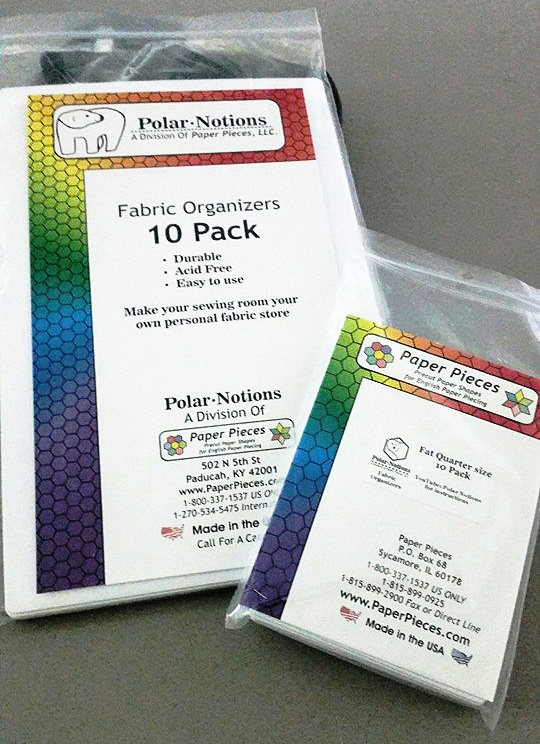
Standout Idea: Acid-Free Fabric Organizers
I just discovered these puppies and as soon as we move to our new home and I start working on my sewing room, I plan on ordering some to start wrapping and displaying my stash. Unlike fabric-store pieces of cardboard, these organizers are sturdy and acid-free. Storing fabric wrapped around cardboard will eventually discolor your fabric since cardboard is not acid-free.

The sad result of what happens when you use regular cardboard to organize your fabric.
I’ve found two brands that offer this acid-free option. Polar Notion’s boards are made from plastic and The Fabric Organizer’s boards are made from an acid-free corrugated cardboard. Both look fantastic.
Think about which product would suit your needs and your stash better.
The larger Polar Notion holds up to 15 yards of wrapped fabric and the smaller one is perfect for fat quarters and smaller pieces of fabric. The Fabric Organizer’s large size holds up to 10 yards. It is also cheaper than Polar Notions. Think about which product would suit your needs and your stash better.
Do you have a favorite method of storing your fabric? Let us know how you do it in the comments below.
Charlotte Kaufman is a writer and sewist in San Diego, California. She specializes in marine and home interiors and continues to fall more and more in love with quilting. You can follow her at charlottekaufman.com.