When the weather gets warmer, weddings and graduation party announcements arrive. This means strapless dresses, tanks, low necklines and open backs that get chilly in air conditioning and cool nights. An evening bolero or cropped jacket sewn with sheer fabric is a terrific solution: Small and light, you can fold it into your purse when the dance floor calls and pull it out again for a walk in the moonlight. Plus you can brag about your sewing skills to anyone who compliments your look.
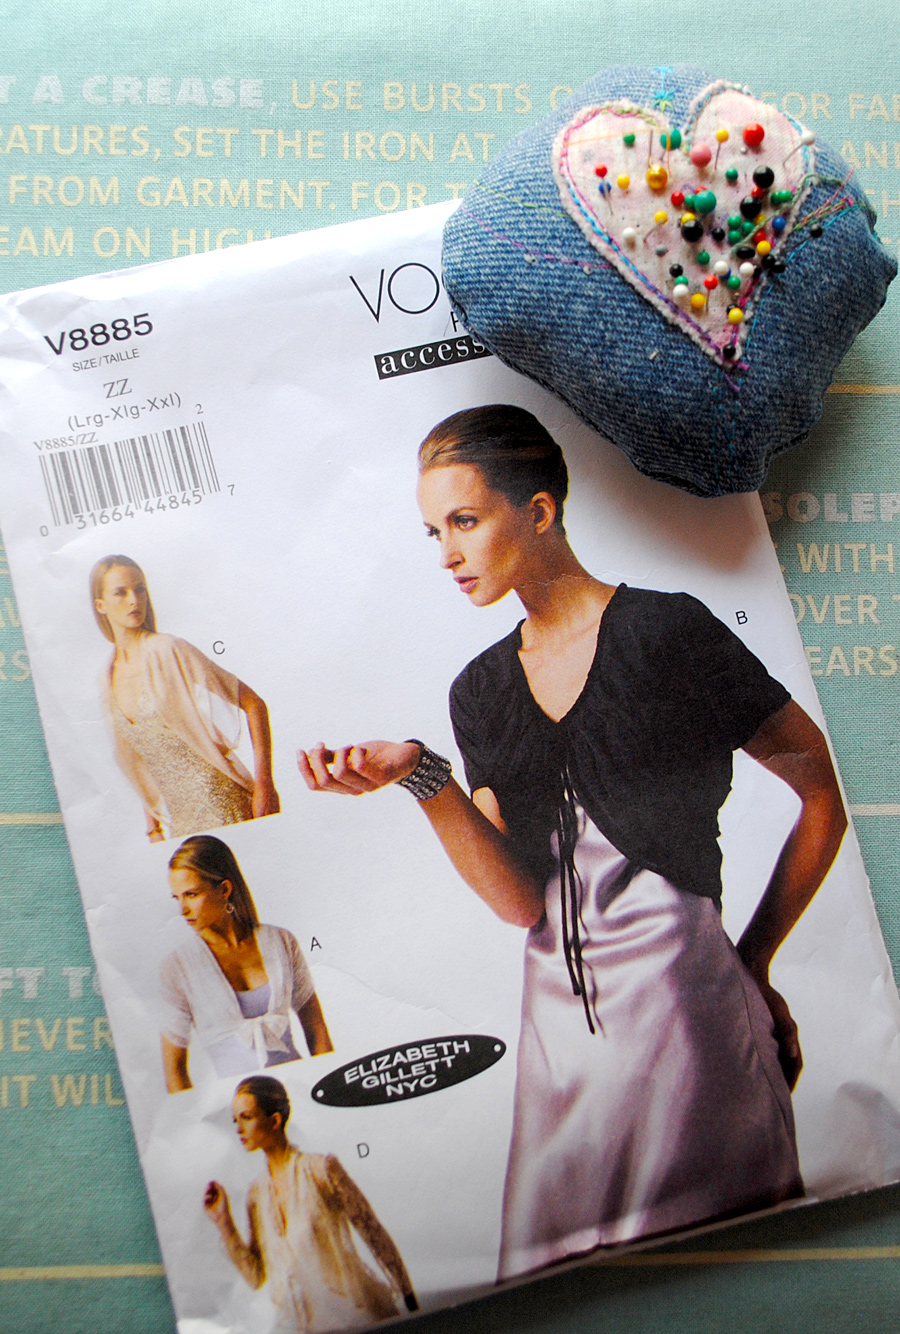
What could be more evening elegant than a bolero by Vogue?
Lace, chiffon, silk voile, and layered tulle are good choices for an evening jacket, but working with delicate fabric often requires French seaming, a couture technique that hides ragged edges and stray threads that would otherwise show through and destroy the elegant effect. The pattern I chose for my bolero, Vogue 8885/View C, required only one French seam (and only one big piece to cut), so I dared give it a try. In my sewing stash I found a few yards of black chiffon from Mood Fabrics. I’d fallen in love with its zigzagging details on a January evening when I’d been strolling their aisles. In retrospect, black wasn’t a good color choice for a first French seam attempt. A light color would have been easier to see and sew precisely.
After cutting the pattern piece – a gigantic parallelogram – with a one-half inch seam allowance and transferring marks with white tracing paper, I was ready to attempt my début French seam. Here’s how it works:
- The first step in sewing a French seam is to put the wrong sides of the fabric together. You must disregard the worry you’re sewing on the incorrect side. You are sewing on the incorrect side. Sew just one-quarter inch from the cutting line, then trim close to stitching.
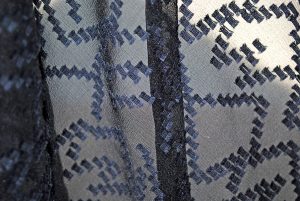
French seams hide ragged edges and stray threads.
- With low heat, press the seam to one side. Then flip to the wrong side. You will see the “right” side of the seam on the wrong side. This is normal, so don’t panic.
- Fold the fabric along the seam and stitch again at one-half inch. This hides the seam inside another seam. The new seam is on the wrong side as it should be. Press the French seam to one side. That’s all there is to it!

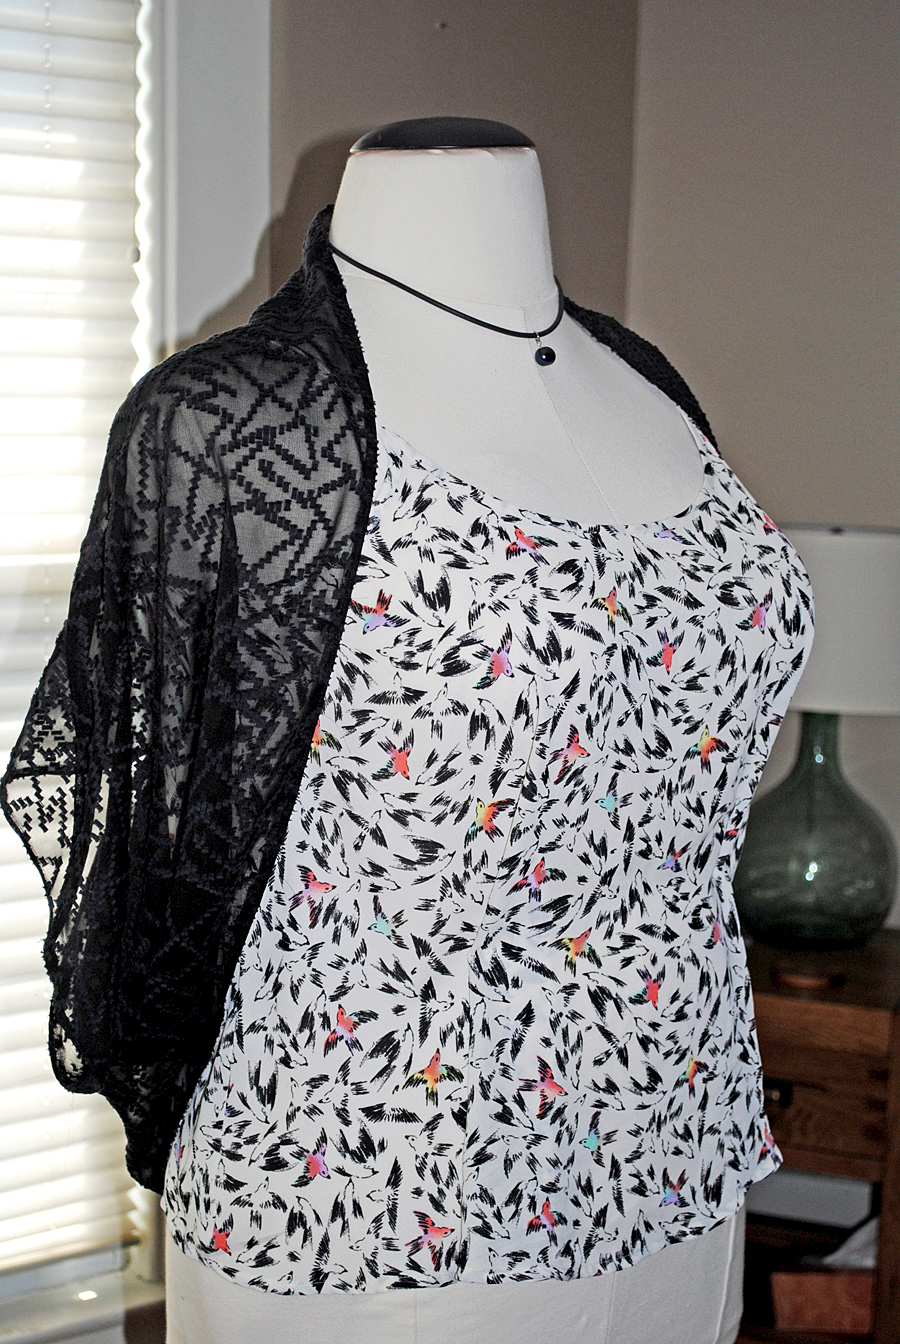
A sheer black bolero compliments a camisole.
With the French seam complete, I had to finish other aspects of the bolero such as stitching a narrow hem along the edges. For this I used a rolled hem foot that came with my Singer Quantum Stylist. Rolling the hem is fun once you get the hang of it and the results are astonishingly professional. If you don’t have a rolled hem foot, you can buy one at sewing shops or online at Sewingmachinesplus.com. I also had to stitch along the back of the bolero and gather a section by pulling along the bobbin thread. The chiffon was uncooperative – I should have used a longer stitch length to make it easier. As a last step, I joined the center back section together to create “sleeves.” Doing this caused the French seam to present itself in a diagonal direction through the back, which looks pretty cool.
As the final step, I tried it on! The loose fit looks a little better on my dress form (her name is Aretha) than it does on me, so here’s Aretha:
I’m happy with the bolero, but I’m curious about some of the other views included with Vogue 8885. It looks like a few yards of lace and more French seams are in my future. Here’s to Paris . . .