How to Sew a French Seam

hero image - french seams

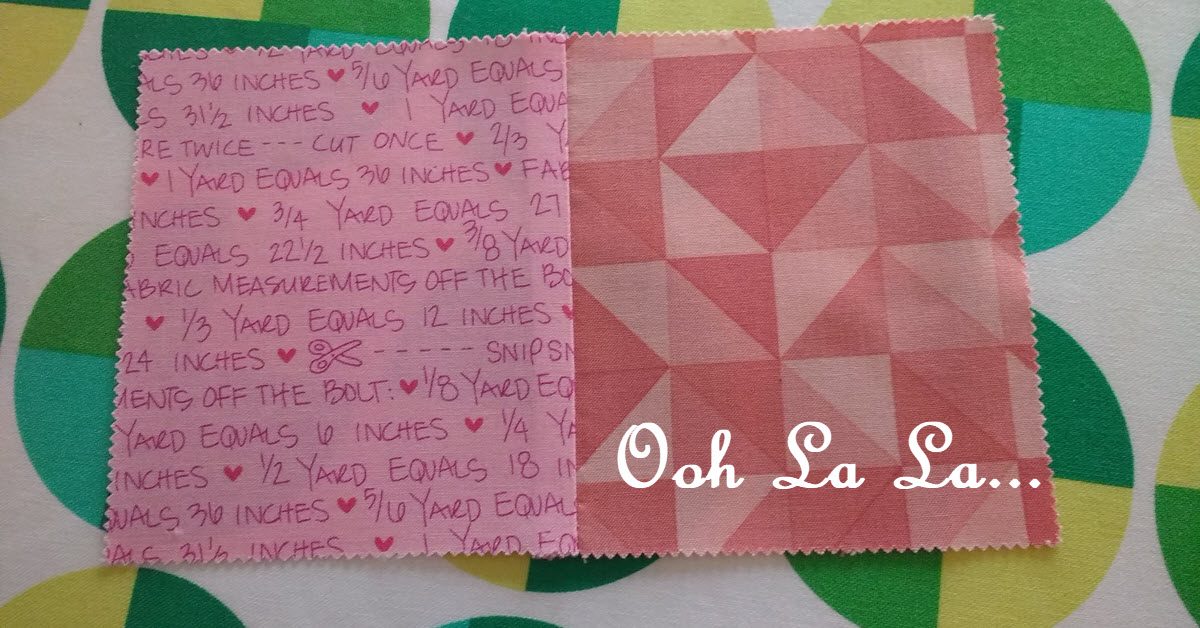
French seams are a way to finish a seam so there are no raw or exposed edges of fabric on the seam. They work great for thin or delicate fabric, or any project where you want both the outward showing and inward showing seams to look good.

1

Some people balk at trying them and I think it’s because it feels like you are sewing in reverse. To start a French seam you have to sew a seam on the right side of the fabric, and that just feels wrong. I get it, I do. But if you trust the process, you’ll love how it all turns out.

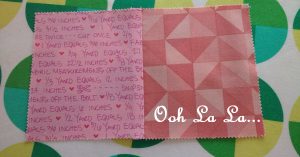
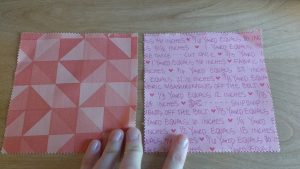
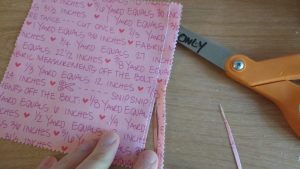
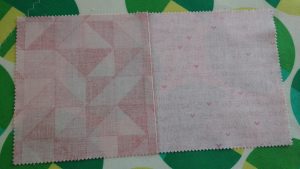
Here is an example on two pre-cut fabric squares. I’m going to join these together with no exposed seams by using the French seam method. First, place the fabric WRONG sides together.

2

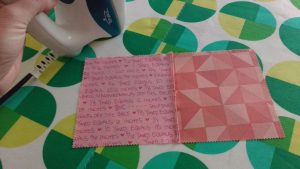
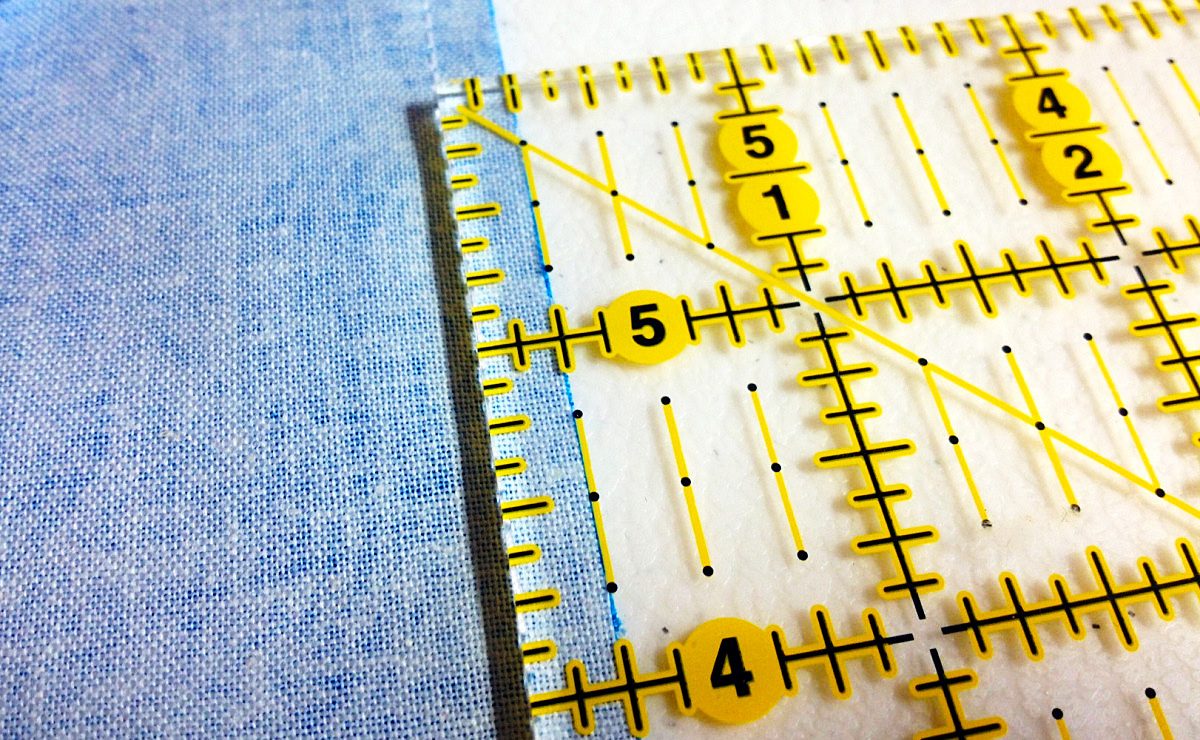
Now sew your seam. Your seam allowance will depend on the fabric you are using and the type of project. For ease of explanation I did a ½” seam.

3

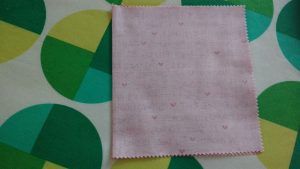
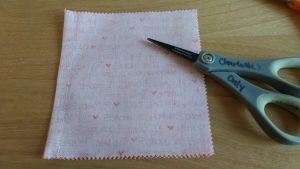
Next, cut down the excess fabric a bit and then head to your ironing board. Do NOT skip ironing when sewing French seams. As with most sewing projects, ironing can make all the difference.

Iron the seam to one side. Flip the fabric over and iron the seam on the reverse as well.

4

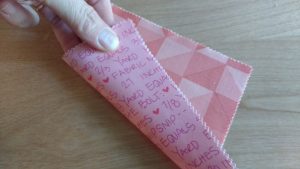
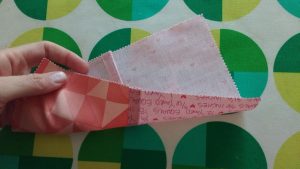
Now fold the fabric on the seam you’ve created. I like to iron this too. For good measure, you can pin the fabric in place so it doesn’t move when you sew again.

Take the fabric over to your machine and sew another seam, this time on the wrong side of the fabric. You want to sew a seam that is wide enough to fully enclose the raw seam on the inside portion. I sewed ½” again (remember I had trimmed down my previous raw edge to about ¼”.)

5

Voilà! Now your seams are completely encased. Très bien.

6

The last and important step is to press once again. Open up your seam and press on the front AND back of your fabric.

7

You’ve done it! THAT is a French seam. The applications are endless, just trust the process and don’t worry about starting a seam on the right side of fabric. Happy sewing!

8

———————————————————————————–
Charlotte Kaufman is a writer and sewist in Mammoth Lakes, California. She specializes in marine and home interiors and continues to fall more and more in love with quilting. You can follow her at charlottekaufman.com.

Sewing Seams That Stay Together

Sewing Seams That Stay Together

There’s nothing that makes more nuts than seams that come apart. I know it’s a small thing and they can easily be fixed, but it drives me nuts when seams don’t stay together. Over the years, I’ve come up with some techniques to keep seams together, even if the thread breaks. It saves my sanity, and my clothes, a lot of stress.

Fabric tape

Sewing Seams That Stay Together

This is my absolute favorite sewing cheat. Don’t get me wrong, I still sew the seams on my Singer, but before I do, I use double-sided fabric tape to hold it down. This way, if the thread breaks and the seam starts to come apart, my hems and side seams stay put. I don’t have to worry about splitting seams in the middle of a work day or outing. And it means I can take my time repairing the seam rather than having to fix it immediately.

Fabric tape doesn’t work with every seam. It works best with hems and cuffs, but I’ve come up with a way to use smaller pieces of it on side seams too. With side seams, I sew the tape right into the seam and cut the excess away while I’m trimming the fabric finishing up the piece.

Double stitches

As sewers, we all sew back and forth over seams at the beginning and end to lock them in. I use this same technique on areas of a seam that are likely to come apart due to stress. Inner thighs on pants, arm pits and elbow areas seem to be places that come apart a lot for me so I’ll often double stitch over them to prevent those areas from coming apart.

Over stitching

I often give those same high stress seam areas some extra attention by hand or using the over stitch function on my machine. By sewing over the fabric of those high stress areas, the seams are less likely to pull apart. There’s also more thread in that area, in different directions. The likelihood of them all breaking is slim to none.

I can’t promise you won’t ever have a seam come apart using these techniques, but I can promise they’ll be less likely to come apart. So if you have broken seams as much as I do, give them a try and let me know how it goes.

Basics of Quilt Maintenance

Maintenance. It can be a big deal in home, car and… quilt upkeep. That’s right. Just like letting your car go well beyond its oil change moment can snowball into a vehicle that isn’t budging without a major repair bill, not maintaining a quilt in the proper way could result in a sentimental treasure that’s good for little else than — maybe — scrap material. Sure, your quilt might not cost as much as, say, an engine to replace, but there’s more value in something handmade than a dollar sign. Maybe it was a wedding gift from a relative or a crib accessory that your mother started making before you slept your first night in said crib. Those types of belongings can have a lot of worth, so preserving them might be a big deal.

Wear, tear & time

Don’t break your own heart by letting this kind of damage happen to something close to it!

Don’t break your own heart by letting this kind of damage happen to something close to it!

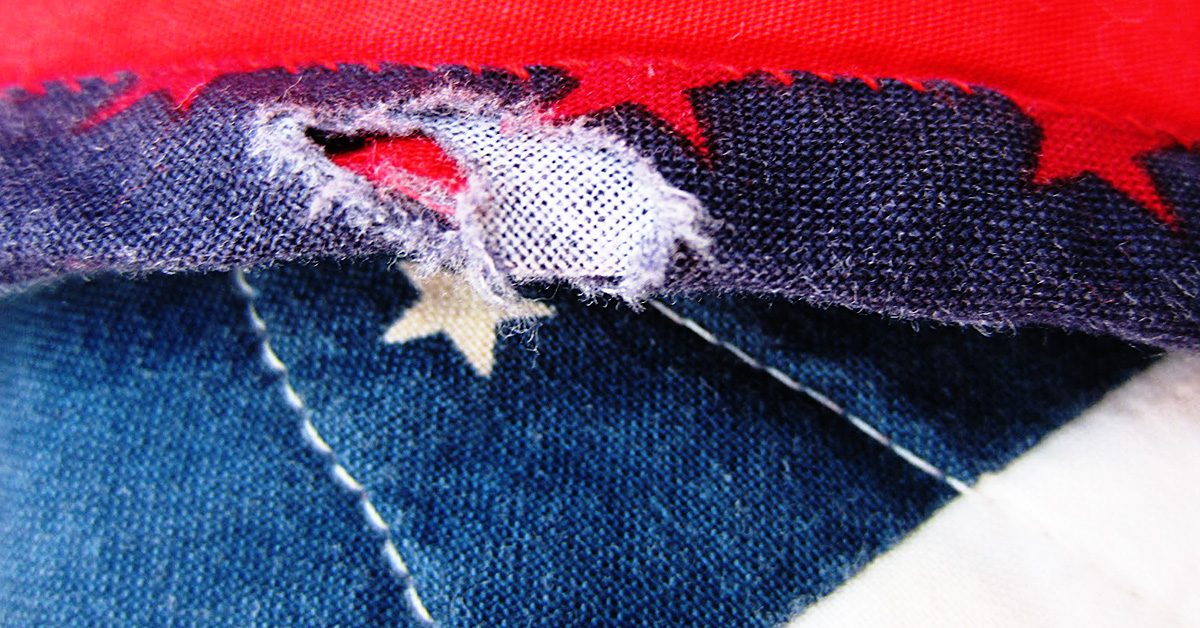
One of the most important details about this preservation is to keep an eye on the products on a regular basis since smaller complications that come from wear, tear and time could be much easier to repair than those that have been expanding for some time. Other important details are to know how to fix the damage and determining if the damage is even fixable. As an example for these aspects, I’ll use a quilt that has some sentimental value to me, but a lack of maintenance has taken its toll. Don’t break your own heart by letting this kind of damage happen to something close to it!

Damage control

Let’s examine this first spot of damage, shall we?

Let’s examine this first spot of damage, shall we?

Let’s examine this first spot of damage, shall we? It looks fairly simple with just two simple holes in the top layer of fabric, so if I begin this examination with the basic question of whether or not it’s fixable, the answer would be yes! The smaller sizes here would allow a little bit of embellishment — maybe a patch — to be placed directly over the damaged area. Since this is a quilt that has a floral design, I could add something like a butterfly there so that it looks like it’s landing on the flower. Sure, it changes the design a bit, but it fits and is corrective. This issue, it seems, was detected in time!

Do away with the fray
The material is showing wear & tear around the seams and that’s not very surprising!

The material is showing wear & tear around the seams and that’s not very surprising!

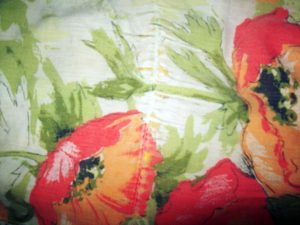
Now, let’s try this one. The material is showing wear and tear around the seams and that’s not very surprising! The damage does extend a bit beyond the immediate area surrounding the seam, but it still seems to stem from that one line where the thread is running through. So, is it fixable? Yes! All I would need to do is add a border around the block to cover the issue, and if I did that for every block, the strategy would be replicated throughout so that this block wouldn’t look out of place. Again, it would change the design of the quilt, but not in a way that would necessarily make it look odd. I could match the border to the colors already present, and the addition could actually create a popping look for each block.

To fix or not to fix
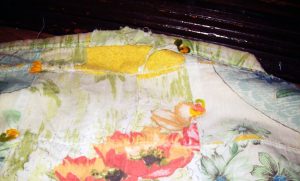
This one is shredded, & the top layer isn’t covering as much material as it did in the prior pictures. But is it fixable? Believe it or not, yes!

This one is shredded, & the top layer isn’t covering as much material as it did in the prior pictures. But is it fixable? Believe it or not, yes!

How about this one? Well, the damage here is much more drastic than a simple tearing from stitching or tiny holes in the fabric. Instead, this looks more shredded, and the top layer isn’t covering as much material as it did in the prior pictures. But is it fixable? Believe it or not, yes! Since this area is at the end of the quilt, changing the size of the quilt could work. I would need to cut off enough material on this side of the quilt so that the damaged territory is done away with and redo the border work. It’s not as easy of a fix as sewing on a butterfly embellishment, and the appearance of the quilt would definitely be altered by the smaller territory. But, if pressed, this would be a fix!

Too far gone?
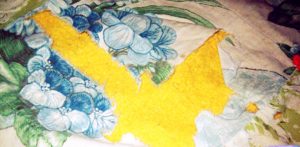
The fabric became too worn, whether from use, washing, time, or some other variable, & without the proper methods to fix the problem, it spread.

The fabric became too worn, whether from use, washing, time, or some other variable, & without the proper methods to fix the problem, it spread.

Now, we get to this one. Here, this looks as if the fabric became too worn, whether from use, washing, time, or some other variable, and without the proper methods to fix the problem, it spread. Of course, there could be another explanation for it. Perhaps someone ripped it, and the damage grew. Whatever the reason, the faulted block is in the midst of the quilt, and this fabric probably won’t go together at this point. This one, dear readers, doesn’t seem to be strategically fixable. In my defense, this damage could have happened before I got into sewing, but if I’d paid attention and caught a small hole in the fabric, I could have embellished it. If there was a tiny rip, I could’ve stitched it. As it stands though, the only ways I can see to fix this would be to add on an embellishment that would be too large to look natural or change the entire block — which would throw off the pattern of the quilt. This one, it seems, has gone too far.

And this is precisely why you should keep an eye out for damage! If you catch the smaller problems, you can fix them. If you let them escalate, you could be looking at a ruined quilt. So to preserve your works, keep tabs on them and — through borders, embellishments, and adjustments — tend to those issues as they show up!

Do My Seams Have to Be Perfect?

I hear this question a lot from my sewing students. Beginning sewers are nervous about their ability to sew along the line without small bobbles. They’re worried that any imperfections will ruin their sewing project. I’m going to tell you the same thing I tell them.

Do My Seams Have to Be Perfect?

Do My Seams Have to Be Perfect?

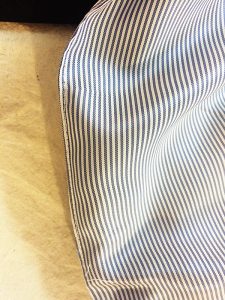
Do your seams have to be perfect? No. Ninety degree jogs in and out probably won’t look right, but a slight wavering here and there usually isn’t a problem. If you’re making something that’s skin-tight kind of fitted, it matters a lot more than if you’re making something loose fitting or flowy.

Since the first project I have my sewing students make is a bean bag or pillow, I tell them to play around with it. PURPOSELY mess up a seam and see how it looks on the finished project. I suggest you try it too. You don’t have to make a beanbag, use a piece of scrap material that’s the same fabric as you’ll be using for your finished project. Pull the seam really tight – you’ll be able to see exactly how any imperfections in the seam line will appear. Most of the time, it’s not noticeable.

A few exceptions: skin tight clothing, spandex or other elastic materials, seams sewn in a contrasting color that are seen on the outside of your completed work. In each of these cases, the seams are quite noticeable. Take your time with them.

Don’t forget, if you sew a seam and discover you’re not happy with it, you can always rip it out. I know it’s not ideal, but one of the things I love about sewing is there’s nothing that’s not correctable. For me, it takes away some of the stress.

If fear of not having perfect seams has been holding you back from starting a sewing project, or learning to sew at all, set that fear aside and give it a try! You’ll be glad you did.

What I Do At Work All Day (Part 2)

What I Do At Work All Day (Part 1)

Just a view of my shop.

Just a view of my shop.

I’m currently the Key Tailor on a New York City based major network crime-procedural drama television show (Blindspot on NBC). I work mainly out of one of the Brooklyn studios with occasional on-set last minute fittings. Most of the work I do each day is for things that need to be ready for the actors to wear the next day on camera. What this means is that, over the years, I’ve become pretty fast at doing a variety of alterations (as well as patterning and constructing from thin air). In my industry, there are certainly a lot of excellent tailors but there aren’t all that many excellent and fast tailors. Here are a few of the tricks I’ve discovered along tQuhe way that help speed up some common alterations.

Shortening the Sleeves of a Men’s Suit Jacket (without fancy functioning buttonholes)

Topstitching on sleeve lining.

Topstitching on sleeve lining.

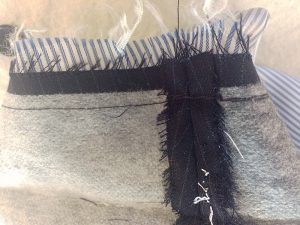
First, just go ahead and remove all the buttons. They’ll just be in your way. Turn the sleeve inside out and find the topstitching along the sleeve-lining seam. This is how the sleeve was originally put together. Open up that seam and turn your sleeve inside out. Take apart the mitered and straight corners but do not undo the lining from the rest of the hem. (Go ahead and release any stitching holding the actual hem up though.) Undo any fake buttonhole stitching that you need to. These should be on a chain stitch and easy to undo.

Press miter corner with point turner inside out.

Press miter corner with point turner inside out.

Measure up or down the distance you want to shorten or lengthen at your corners and redraw your miter line if you need it.

Re-stitch all corners at new hem marks. I flip everything back right side out at this time and press my corners and the new hemline. Use a handy point turner

Don’t undo original stitching at hem.

Don’t undo original stitching at hem.

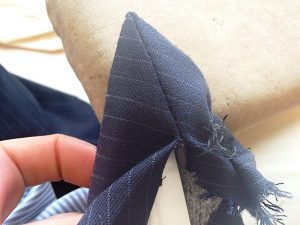
and please don’t trim anything away from the mitered corner. If you press inside out first with the point turner inserted the fabric will go where it needs to. No need for trimming. One of the most annoying things is to go and alter a jacket sleeve only to find that someone has trimmed the miter corner, meaning I can’t lengthen the sleeve properly.

(Still don’t unattach the lining)

Redraw miter line.

Redraw miter line.

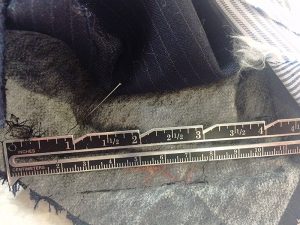
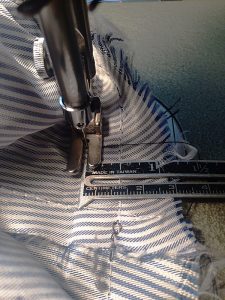
After pressing, turn inside out again. Then simply measure up or down (I use an old fashioned metal seam gauge) from the current stitching line the desired amount and sew along that line. If you are shortening, there is no need to undo the original stitching line. If you are lengthening, you will need to. Machine tack the seam allowances together at the seam to keep the hem up.

Sew new stitching line shortening hem.

Sew new stitching line shortening hem.

Turn everything back right side out and topstitch the seam of the sleeve lining closed, put your buttons back on and you’re done!

There are of course a few situations that will make this alteration a bit more challenging – such as functioning buttonholes or having to add fabric to the hem seam allowance because of lengthening. If I’m having a good day and nothing strange is going on inside the sleeve, I can usually do this alteration in 30 minutes.

Center Back or Side Back Alterations on a Suit Jacket

The time saving trick on this one is pretty simple. Open up the under vent seam and turn everything inside out through there. When done, just topstitch the vent closed again, no opening up the lining and sewing it back by hand.

Men’s Vest Alterations – Center Back or Side Seams

I’m a huge fan of bagging things out. Men’s vests are one of my favorite things because you can bag everything out through a mere 2 inches on one of the side seam linings. First, find the opening where the vest was bagged out originally, probably a small hand stitched couple inches on one of the inside side seams. If its not there (if the vest was bagged through the neck, make your own. Then pull the entire vest inside out through those two inches. It will fit.

Vest side seams are most usually put together with one stitching line through all 4 layers (fronts and backs with linings). On the side without the opening just stitch a new line taking in (or out, though most commercial vests don’t have a lot of seam allowance to let out) the desired amount. If the amount is significant, you may need to re-stitch the arms eye curve so that everything lines up properly under the arm.

If you need to take in the center back seams, undo at the neck and bottom hem, alter as desired, the re-sew what you released.

On the side with the opening, stitch in two sections, above and below the opening. In the 2 inch gap, sew through all layers except the back inside lining.

Pull everything back through your opening, press and voila!

I just topstitch my opening from the right side of the vest, hiding the stitches in the seam line.

Check out Part 2 here!

My next post will tell you about the one of the sneakier men’s suit alteration tricks – the old dart and drop! So keep a look out for the follow up and as always – keep sewing!