Sewing for Harvey and Irma

September has REALLY been a month for Texas and Florida so far! Mother Nature has once again chosen to fill the lakes and streams, and even the streets and houses with her life sustaining water, wind and rain. Unfortunately, it has left many, many thousands of people stranded without power, water, food and many families with lost animals and family and worse than that, the roof over their heads is gone.

Such devastation is certainly overwhelming even to those with a strong purpose to ride out the storm. My prayers go out to all affected.

image1

Andrew

I was living in Florida through Hurricane Andrew, and it had to be was one of the most stressful events in my life. I was about 90 miles from Homestead, but the weather forecaster reports were very certain it would make landfall on my community. It did not, however, but the fear was still strong.

Also, in many areas of California, from time to time, dry land and fires ravish the wonderful trees and expensive homes. It simply occurs out of our control. We have to survive and rebuild.

As the reality of these catastrophes hit our homes, and friends and families, my heart hurts to see people’s possessions on the curbs of streets, ruined and wet and unsalvageable. But, there has been an awesome power of giving and helping and a true blessing to my fellow Texans and those in Florida.

How to help

So, to make this article a positive one, rather than a stark reality check, I have been brainstorming ways that one can make a difference to help these people in distress.

Of course, there are agencies that help people with the general necessities, such as water, and food, and shelter in these areas.

But.. most want donors to send cash. But with short notice to evacuate, many people with small children have little chance to gather baby things and comfort items for themselves and even their pets. They won’t have transportation to go shopping either in many cases until the water lowers enough to leave shelters.

I was happy to hear that pets were included in the evacuations; however, some were transported to separate shelters with other displaced pets. I hope their families will be able to retrieve them once they are able to return home or find a new home. But they need comfort too! After all, they are our families.

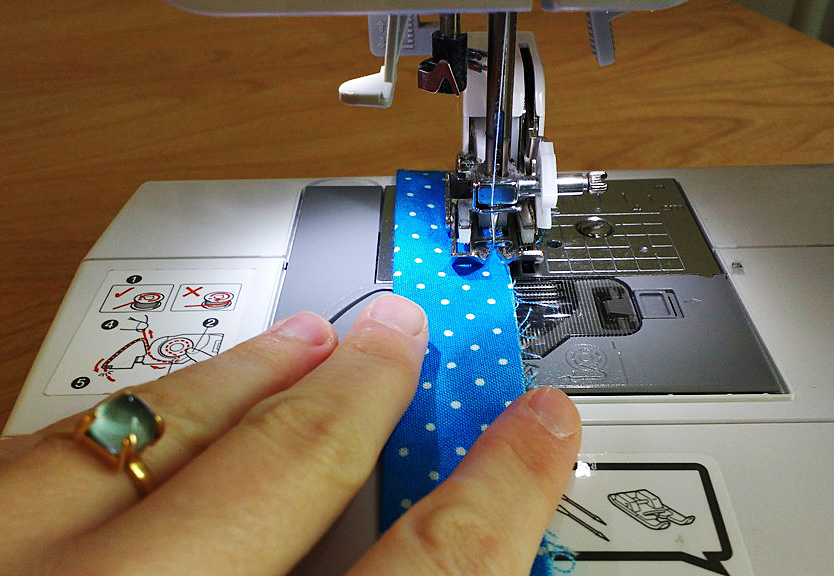
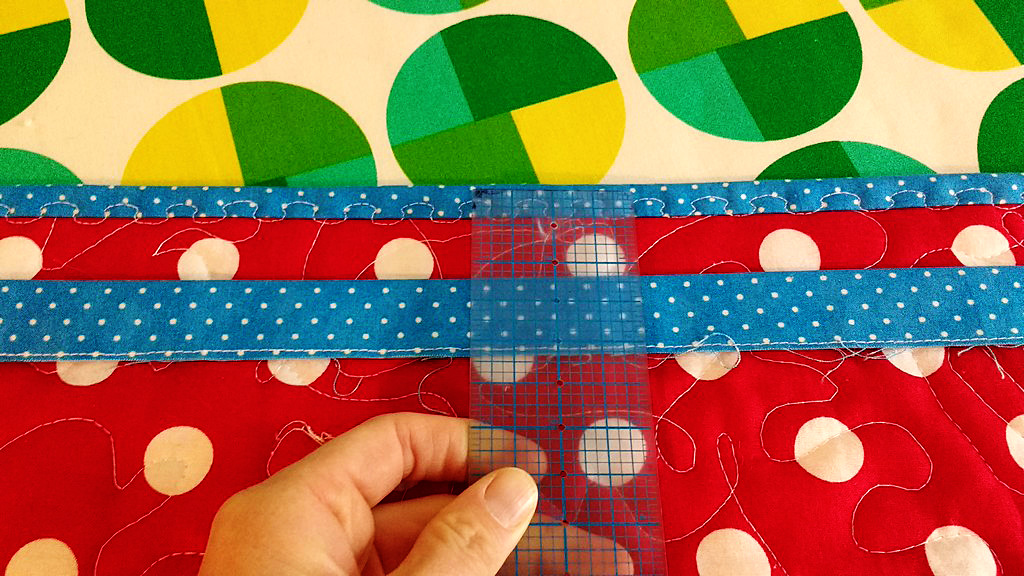
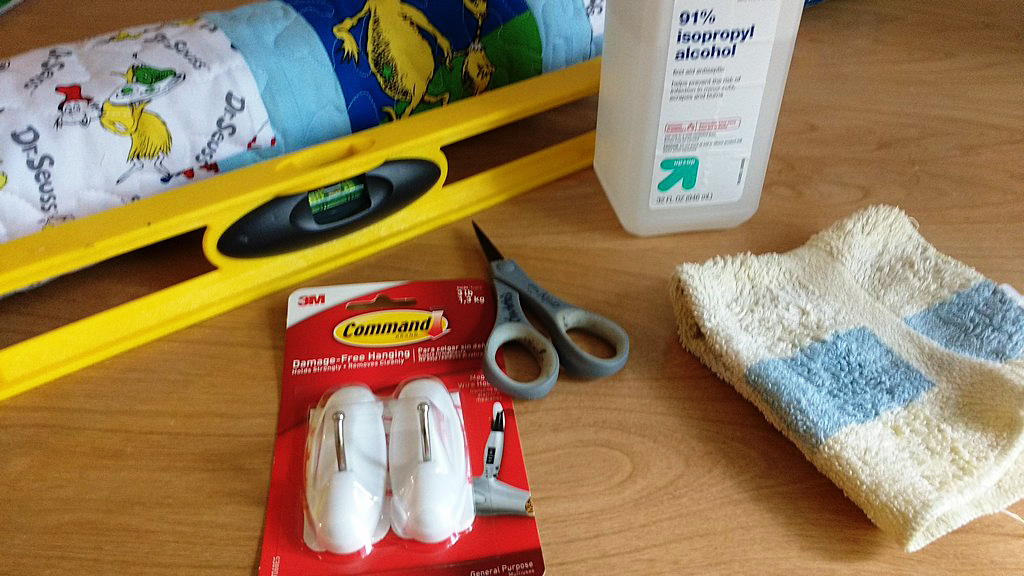
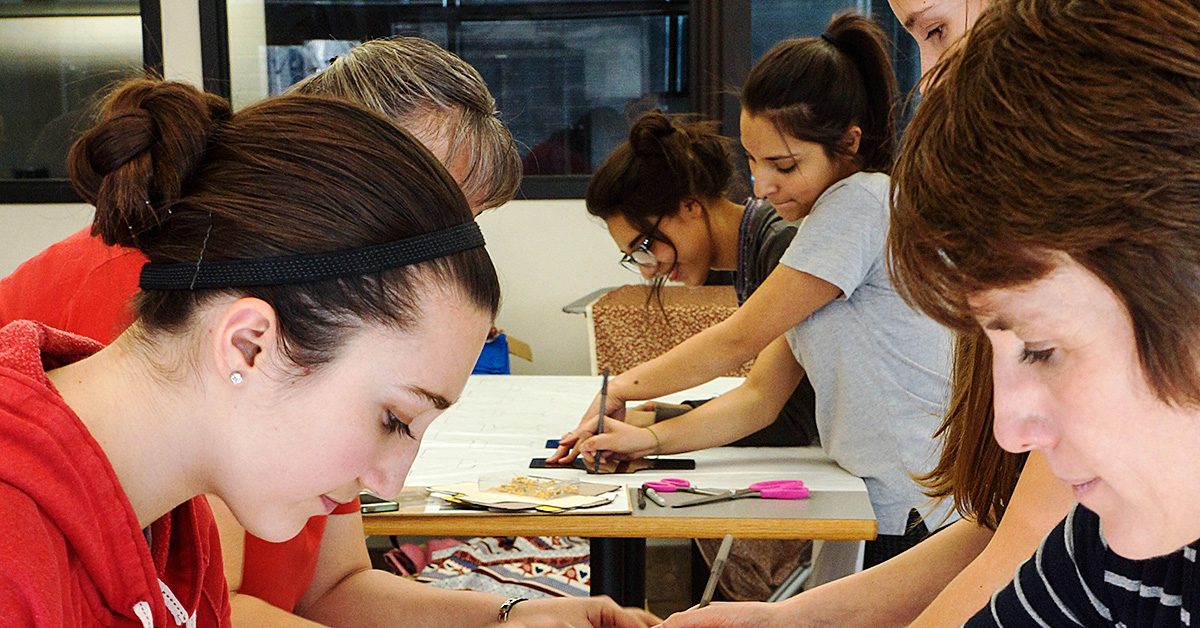
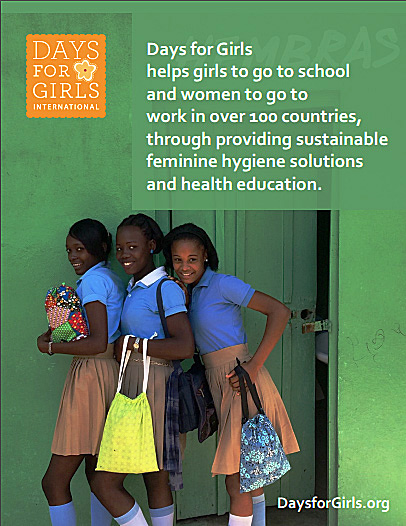
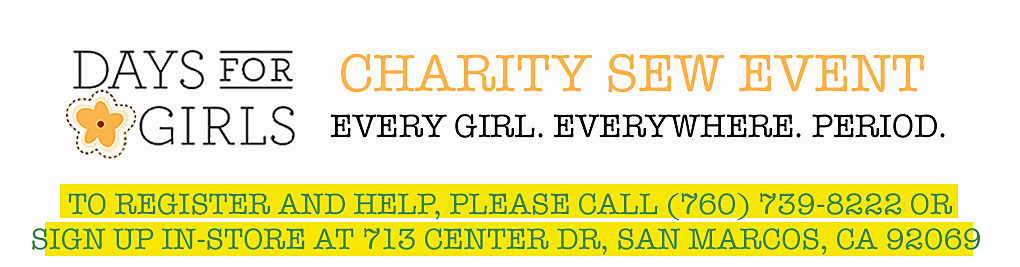
Anyway, I am researching companies that will take handmade clothes, blankets, hats, burp cloths and other things that I have made for my online shop. I have discovered several charitable agencies and particularly church groups, classes at schools, some women’s shelters, hospitals, even families of our neighbors who may be located in the Houston or Florida area. Check online for these groups. If there is not one, form one from your sewing circles and sewing class students!  Form a group and make small packages together. Include paper diapers, and other essentials, and a handmade toy perhaps.  Sew small things, make sweet surprises and you will make a huge difference for a family and their children.

“It takes a whole village to raise a child” – H.R. Clinton

Here are some suggestions that came to mind:

  • Small blankets
  • Bib cloths
  • Bibs
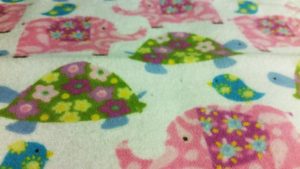
  • Snuggle blankets (small blankets with satin edging) or Minky fabric
  • Swaddles
  • Diapers
  • Dog mats and blankets – don’t leave them out! (Dallas Animal Shelter is temporarily boarding Houston animals)
  • Soft towels, perhaps small ones, sewn together
  • Soft flannel sheets for the crib
  • Sewn hats or capes
  • Small toys for babies (or dogs) made of soft, safe materials

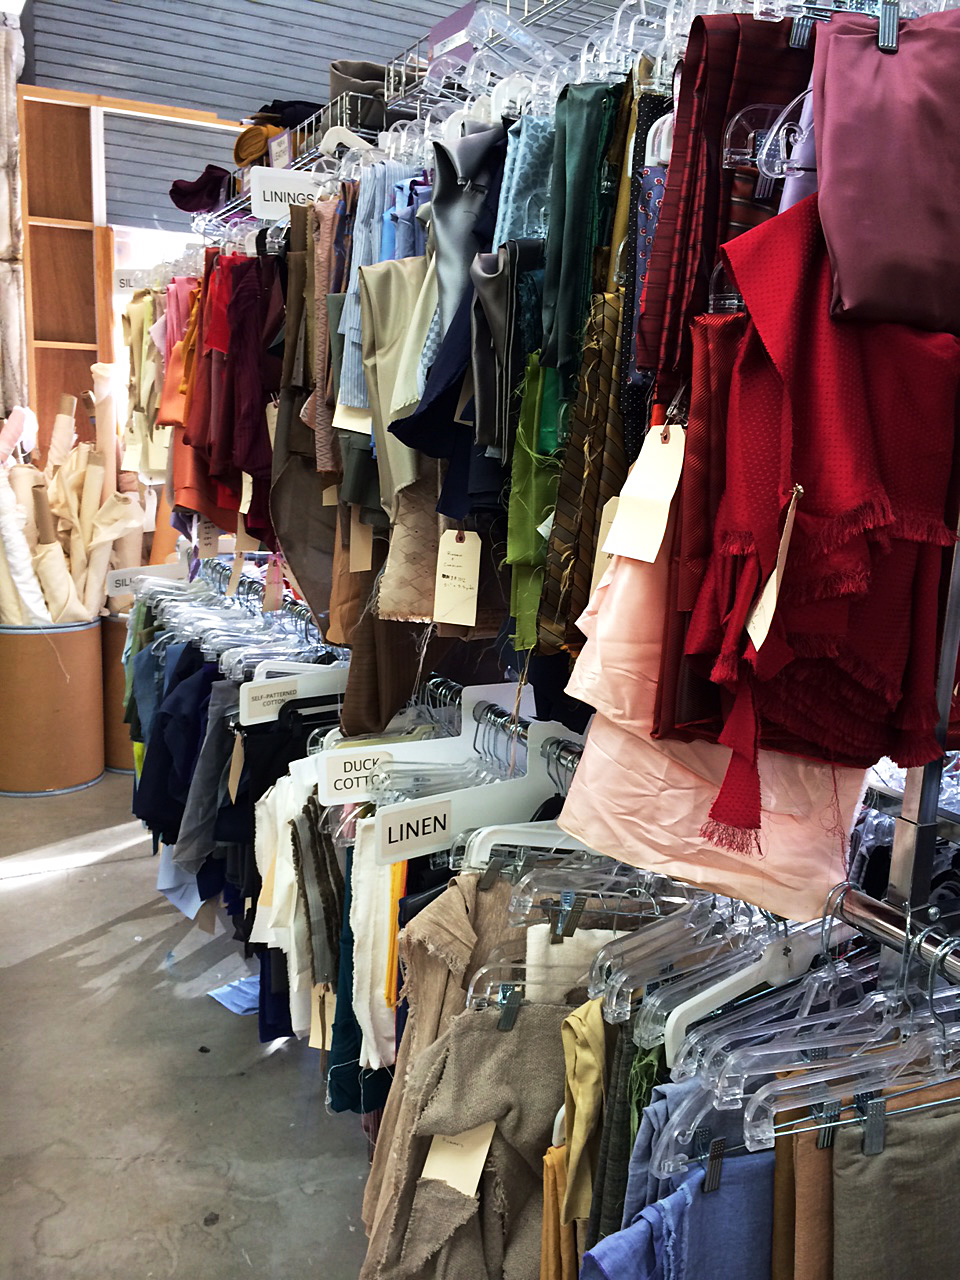
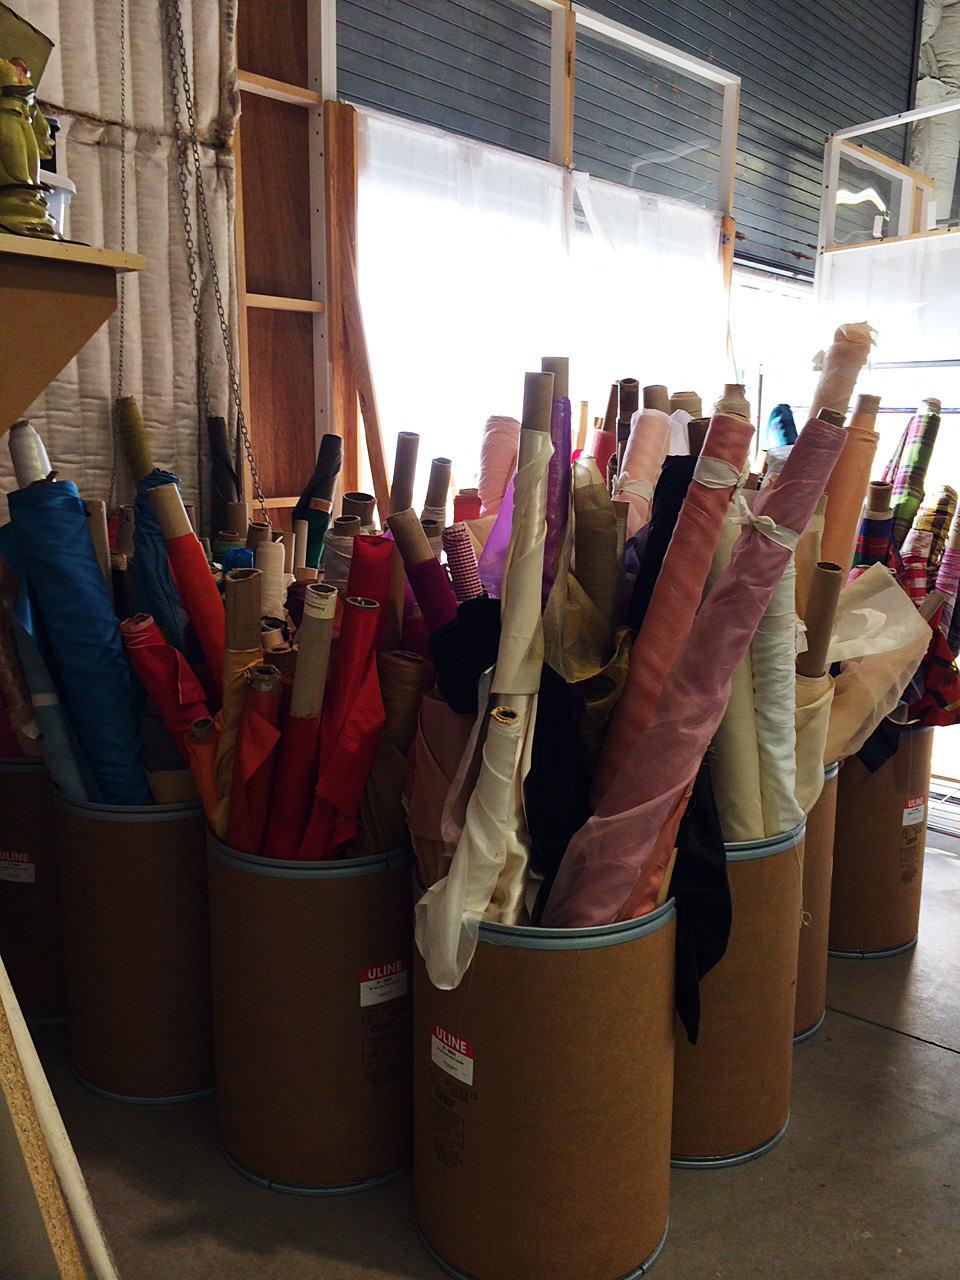
Use fabric you find on sale, and then you can use other leftover scraps from previous projects (SewingMachinePlus.com now sells fabric in their brick and mortar store. One day, I hope to shop there).

How to Hang a Quilt

How to Hang a Quilt

I recently wrote about this Dr. Seuss Quilt I made to donate to our local elementary school’s annual gala. Most of my donations have been made online so I hadn’t thought in advance about hanging or displaying the quilt at an event.


Dr. Seuss Quilt

Dr. Seuss Quilt

I poked around the internet and looked at the best way to consider hanging a quilt after it had been made. Many showed how to sew triangle pouches or hanging sheaths during the process of adding on the back of the quilt but not many talked about what to do after the fact. Here is what I decided on.

Let’s get started

There were still a few strips of my binding fabric on hand because I always tend to make too much.

There were still a few strips of my binding fabric on hand because I always tend to make too much.

I headed to our local hardware store and bought a small dowel. I was pretty sure that if I doubled over the binding strip, the dowel would slip in perfectly to the tube I created.

I was pretty sure that if I doubled over the binding strip, the dowel would slip in perfectly to the tube I created.

I sewed the top of the tube in advance of sewing it onto the quilt.

I sewed the top of the tube in advance of sewing it onto the quilt.

OK, easy part is over…

This part was the trickiest. I really didn’t want a super visible stitch on the quilt’s front so I measured front and back to align the fabric tube as perfectly as I could with a main seam on the front.

This part was the trickiest.

This part was the trickiest.

I pinned it and double checked on the front to see if I had gotten it right.

I pinned it and double checked on the front to see if I had gotten it right.

Then I used a basting stitch and sewed the bottom of the tube to the back of the quilt.

Then I used a basting stitch & sewed the bottom of the tube to the back of the quilt.

Nicely done

Moment of truth! And I nailed it almost perfectly. The seam is pretty invisible on the front.

The seam is pretty invisible on the front.

The seam is pretty invisible on the front.

Next up I slid the dowel into the fabric tube and voilà, it fit in just right.

Next up I slid the dowel into the fabric tube & voilà, it fit in just right.

Here’s how it looked from the front.

Here’s how it looked from the front.

With the dowel in place, I could roll the quilt for easy transportation.

With the dowel in place, I could roll the quilt for easy transportation.

Showtime

I contacted the hotel where the event would be happening and went in advance to see where exactly I could hang the quilt. The management let me know I could use Command Hooks on the wall so I brought the hooks, some rubbing alcohol and a cloth wipe (to clean where I’d be placing the hooks), a level to make sure I hung them evenly, the quilt, and some scissors to trim any stray threads.

I contacted the hotel where the event would be happening & went in advance to see where exactly I could hang the quilt.

The hooks needed an hour after being hung to attain their full strength so I brought the quilt back home until the actual event.

The hooks needed an hour after being hung to attain their full strength so I brought the quilt back home until the actual event.

And here is the finished product hanging at the gala that night. Lovely, no?

Here is the finished product hanging at the gala that night.

After the gala I brought the quilt back home to remove the fabric tube on the back. The basting stitch I had used made it quick work to take off.

The basting stitch I had used made it quick work to take off.

I then recycled the tube of fabric and used to wrap up the quilt for gifting.

How to Hang a Quilt

Have you ever donated something you’ve sewn to benefit an organization you cared about? Let us know in comments!

———————————————————————————–
Charlotte Kaufman is a writer and sewist in Mammoth Lakes, California. She specializes in marine and home interiors and continues to fall more and more in love with quilting. You can follow her at charlottekaufman.com.
Charity Sew Event

Charity Sew Event

Sewing is great. Sewing with others is even better. Sewing with others to benefit a great cause is the best! Lucky for you, there’s an event happening on April 8, 2017 where you can sew to help a great cause – sustainable feminine hygiene!

Days for Girls

Days for Girls International helps girls go to school & women go to work in more than 100 countries.

Days for Girls International helps girls go to school & women go to work in more than 100 countries.

Days for Girls International helps girls go to school and women go to work in more than 100 countries. They provide sustainable feminine hygiene solutions and health education in areas where women and girls would otherwise be isolated during their monthly period.

So far, their work – and the work of great volunteers like you – has been shown to give back six months of living for just three years of use. That may not seem like much to you, but to girls and women in areas where they’d otherwise be confined during their period, this is huge!

It’s not just six months of life; it’s six months of living, of thriving. It’s six months of dignity and safety and its progress towards educating the community and changing the perceptions about women around the world.

What You’ll Make

The feminine hygiene kits are assembled by great volunteers! Here’s a quick look at what’s inside.

  1. A fashionable drawstring bag. This is durable and stylish so she can carry her feminine hygiene kit to school or work for up to three years.
  2. Moisture barrier shields. These shields hold the liners in place and stop leaks. They’re pre-loaded to demonstrate how to adjust based on flow.
  3. Travel size soap. The distributing organizations provide more soap in the country of distribution. Travel size saves on shipping costs and weight.
  4. Instruction sheet with pictures.
  5. Two pairs of panties girls’ sizes 10 – 14.
  6. Wash cloth. In addition to being used to cleaning, it’s a great way for educators to introduce hygiene topics.
  7. Eight absorbent trifold pads. These are washable and reusable. They don’t look like pads in the U.S. and can be cleaned without girls risking exposure or crossing taboos.
  8. Two one-gallon size Ziploc freezer bags. These are used for transporting soiled items and washing them discretely using very little water.

How to Get Involved

This amazing project that provides security and cleanliness to women across the globe needs your help! Sign up in our store beforehand. On the day of the sew event, bring your machine and come ready to share the experience with other women. When you sign up, we’re happy to give you information on fabric and other items you can donate to further help with the cause. We appreciate all your help!

Click image to go to event page!

Click image to go to event page!

Sewing Circles for Charity

Sewing Circles for Charity

Many people have items related to charitable donations on their new year’s resolutions list. If you’re one of them, you can use your sewing skills to spend more time with other sewers and achieve your charitable donation goals for the year by having a charity-focused sewing circle. Here’s how to get started.

Get out in your community and find a cause to support.

Pick a charity

Sewing Circles for Charity

Are there local organizations that would appreciate handmade items? Perhaps a shelter would appreciate clothing items or hospital would appreciate baby hats? Animal rescues may appreciate blankets or pet shirts. Get out in your community and find a cause to support! Ask to speak to the director or someone in charge of community relations. Tell them you want to contribute handmade items on a regular basis and see what they can use. Once you find a charitable organization in your community and understand their needs, you can get started planning and promoting your group.

Find a pattern

Once you know what the charity needs, find an easy to make pattern. It should be simple enough for a beginner to make while interesting enough to engage more experienced sewers. Make sure you have numerous copies and bring them with you to each sewing circle so newcomers or anyone who forgot theirs can get a copy without hassle.

Pick a date, time, location

Will this group be in your home? Do you have space for several sewing machines to run simultaneously? If not, you’ll need to find somewhere more suitable. Local libraries, churches or community centers may be able to host your sewing circle. Make a few calls, send a few emails. Most people and organizations rally around good causes so it shouldn’t take long to find a suitable place.

Working with their availability and yours, pick a recurring date for the sewing circle. Once a month is a good frequency. It’s often enough to keep people interested and excited, but not so often as to feel like a burden. Decide what time of day you’d like to meet and get that room booked with your site.

Invite and promote your sewing circle

Facebook and other social media outlets can be a great way to promote your sewing circle. Create a public event and include all the details about the charity as well as meeting time, location, etc. Invite your friends who sew and encourage them to invite others. See if the location hosting your charity sewing circle is willing to promote the event too. Ask the charitable organization if they’re willing to promote it to their members and donors.

Post fliers (with permission) in community centers, craft stores, fabric stores, senior centers, etc. Include an appealing photo or graphic along with the text information to entice people to look at it.

No matter how you promote it, make sure people understand what they need to bring (fabric, sewing machine, etc.) Also, be sure to include contact information as well in case people have questions.

Collect finished projects

As the charity sewing circle meets over the course of several weeks or months, projects will be completed. Collect them and deliver them to the designated charitable organization. Be sure they understand about your sewing circle – they may promote it to their members and donors now that they’ve seen results. Keep doing this on a regular basis and provide any feedback from the charity to group members. This will keep them engaged and motivated to continue donating.

All I Want for Christmas

All I Want for Christmas

There’s not all that much I need these days. Often, I feel as if I have entirely too much stuff. A year and half ago, I bought my apartment in New York City moved from Brooklyn (where I had lived for fifteen) up to Harlem.

There’s not all that much I need these days.

There’s not all that much I need these days.

I had accumulated a lot of stuff in those fifteen years and almost half of it seemed to be sewing related. This wasn’t even counting the storage space I had. Storage spaces are quite common in NYC as the apartments are notoriously small and no one ever seems to have enough room to keep all their stuff.

I literally had more fabric than I could ever, ever, use in my lifetime.

I literally had more fabric than I could ever, ever, use in my lifetime.

It’s not a problem

I decide that instead of moving all of my stuff, I was gong to get rid of some of it and I was going to empty my storage space so that everything I owned actually fit in one 800 square foot apartment.

I managed to get everything I owned to fit in one 800 square foot apartment.

I managed to get everything I owned to fit in one 800 square foot apartment.

It took some doing but I managed to accomplish this task. The biggest challenge was figuring out what to do with all the sewing related things. I really didn’t need fifteen pairs of scissors, four bins of bias tape, an entire box of rick rack and eight foot by ten foot cubicle packed to the ceiling with box after box of fabric.

Good places to donate fabric to are universities or schools with arts’ programs or assisted living homes.

Of course, I kept some things. I do, after all, possess that fabric-hoarding tendency that most tailors and pattern makers do. But I literally had more fabric than I could ever, ever, use in my lifetime – even if all I did for the next thirty years was sit in my apartment and make things. I kept the truly special stuff, the pieces that I might never be able to find (or afford) again. But the bulk of it I donated.

Giving back

Good places to donate fabric to are universities or schools with arts’ programs or assisted living homes. Even some prisons accept fabric donations.

One of the best organizations like this in New York City is Material For the Arts. They accept unneeded items from businesses and individuals, and make the donations available for free to nonprofit organizations with arts programming, government agencies and public schools. If you have a large donation (like an entire SUV full), call ahead to schedule a time to drop off.

Some other places that accept fabric donations are GrowNYC and Quilts of Valor.

The Humane Society and the ASPCA will take linens and clothing for bedding and bathing animals – especially towels.

GrowNYC used to take bags of fabric scraps of any size (that’s where most of the small scraps from Boardwalk Empire ended up) but their website now says they only want large usable pieces.

Quilts for Valor makes quilts for service members and will take most remnants as long as they are clean and free from oil stains & the like.

A few companies that offer take back and reuse options are:

  • Design Tex can provide ship-to information for recycling or reclamation of many of their upholstery, panel and drapery fabrics.
  • The Nike Reuse-A-Shoe Program recycles the rubber, foam and fabric from any brand of used sneakers into padded flooring.
  • The Patagonia Common Threads Garment Recycling Program recycles Polartec fleece, Patagonia organic t-shirts and Capilene Performance Baselayers into new Patagonia clothing.

If you’re doing some clearing out of your fabric stash this season, there are lots of opportunities to send your unwanted textiles somewhere they’ll be wanted. Please donate.

I do have to confess though, that there is one sewing related thing I’m hoping to purchase in the next year: A Juki MF 7923 Coverstitch Machine.

I figure I’ve donated just about enough fabric and other supplies to make room for a new machine.

And so the cycle continues 🙂