On Being Genuine and Working with Children

On Being Genuine and Working with Children

I’m currently working on a little six episode new series for Amazon. The main stars of the show are three young actors ranging in age from 10 to 16. People often ask me if working with child actors is difficult and how it differs from working with the regular full sized, adult actors.

I honestly enjoy working with kids, especially the three on my current job. I’ve made quite a few garments for our leading young actor, who is all of 10 years old. And he’s one of the most professional, intelligent, and appreciative actors I’ve ever worked with. Last week he told me that the pair of pants I had made him were, “the best pair of pants he’s ever put on.”

Of course, he’s only 10 so he has quite a few years of trying on different pairs of pants ahead of him. But, he meant it. He’s an extremely genuine young man. Which got me to thinking about the ways in which people interact with each other, especially when it comes to clothing and style, and even sewing.
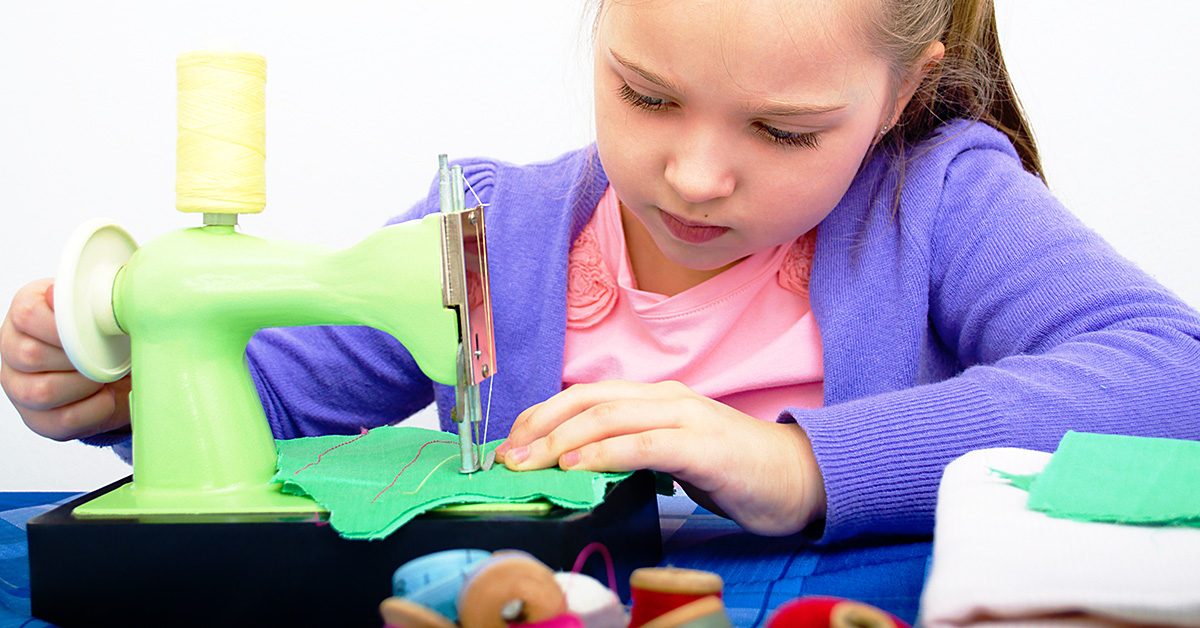
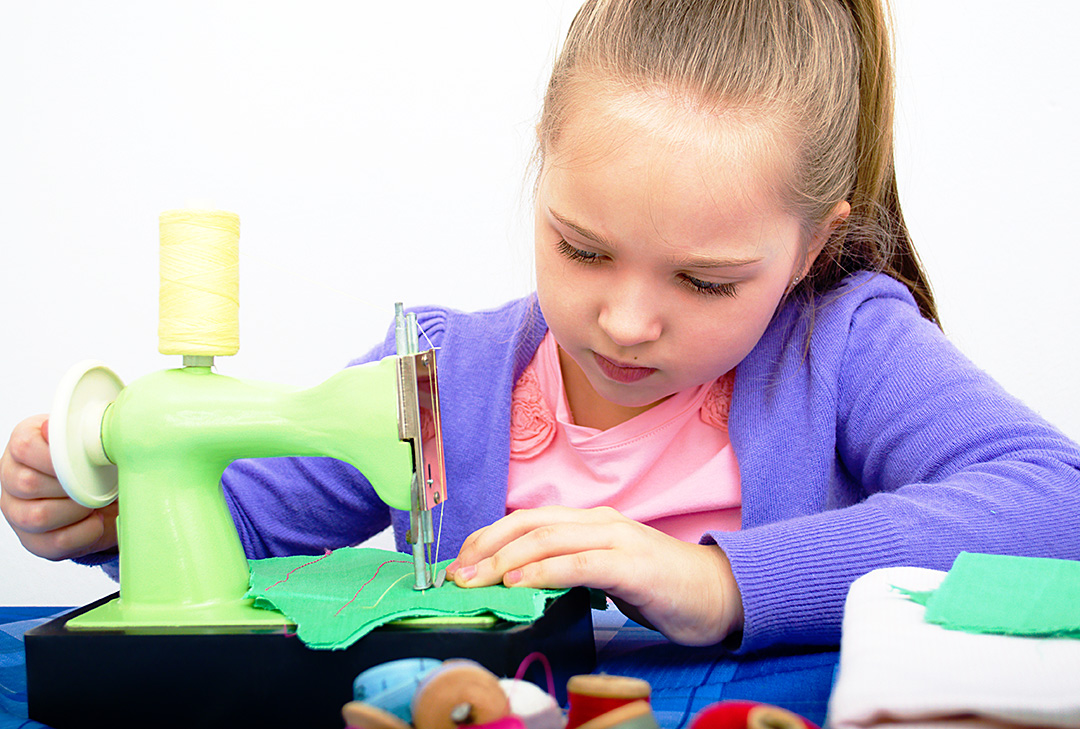
Starting early

Sewing is something I’ve been doing for most of my life, at least ever since I was about 8 or 9 (and I’m getting dangerously close to 50 these days), yet I can probably count on two hands and maybe one foot the number of genuine accolades I’ve received from others in regards to my work. Not that I do this tailoring things for the compliments. God knows the television and film business is pretty much the last place you’ll find that type of thing (unless you’re someone like an actor or a producer or a director.). And most of the time it’s all okay. I don’t need a lot of recognition or (really, any) glory.

But, I’m not going to lie, receiving appreciation and actual, true admiration for something I made, even coming from a 10 year old, was quite wonderful. Actually, I think I should amend that sentence to say, especially coming from a 10 year old.

On Being Genuine and Working with Children

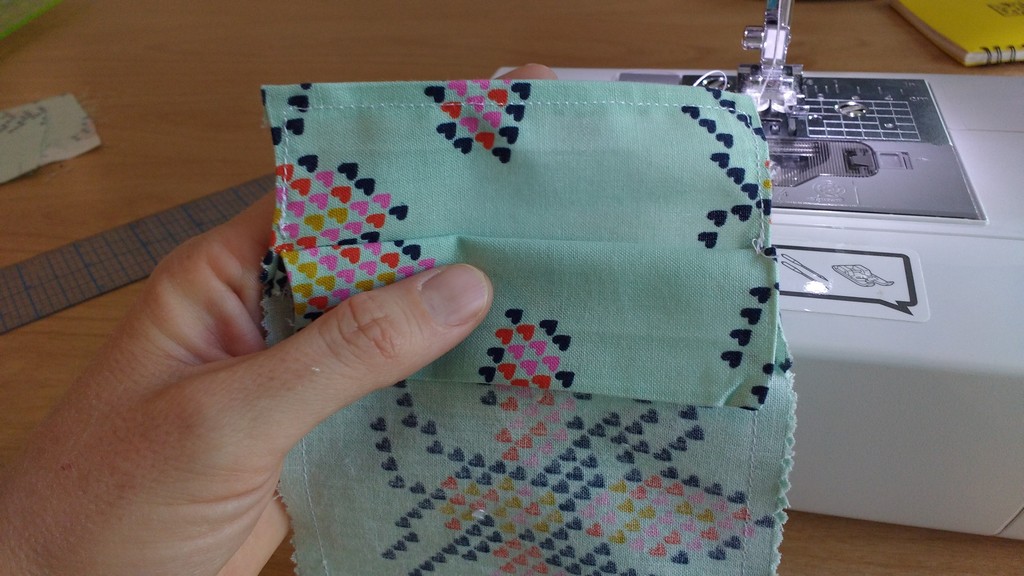
Drafting patterns for children is no more difficult than for adults, once you get used to the different proportions. One thing I learned early on in regard to making kids clothes is that they (the kids) can sometimes experience growth spurts in the middle of the run of a show or even during the time it takes to film a television season or a movie.

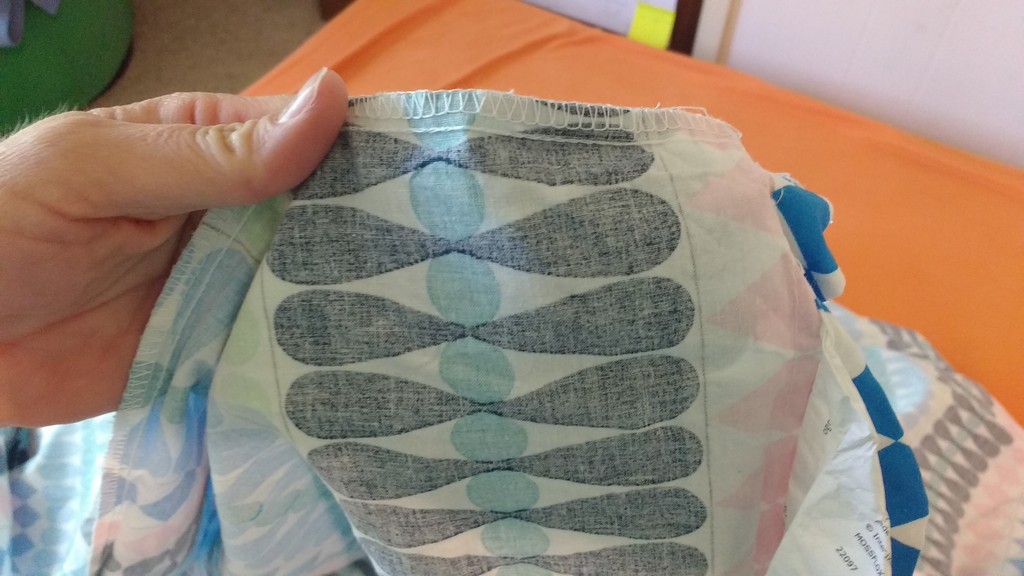
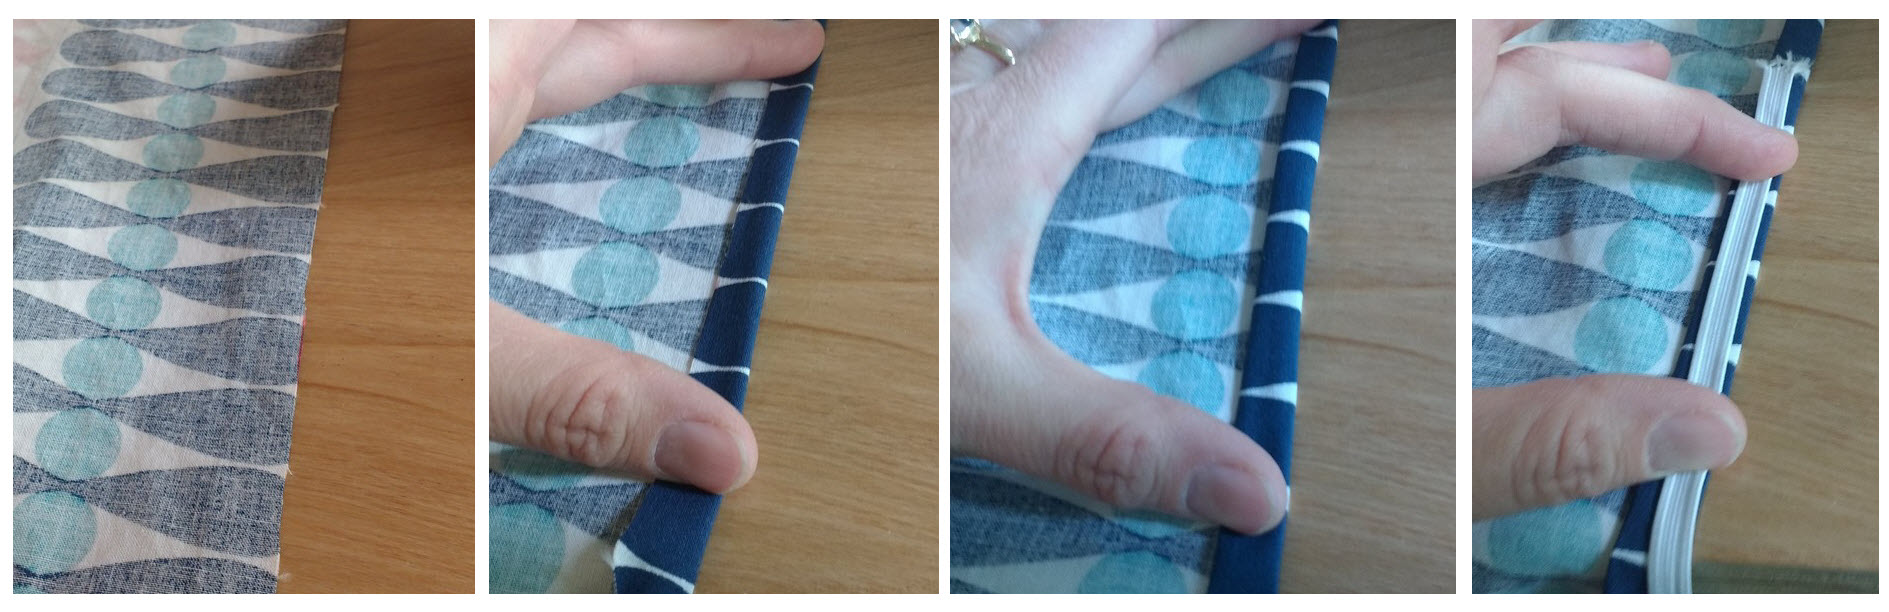
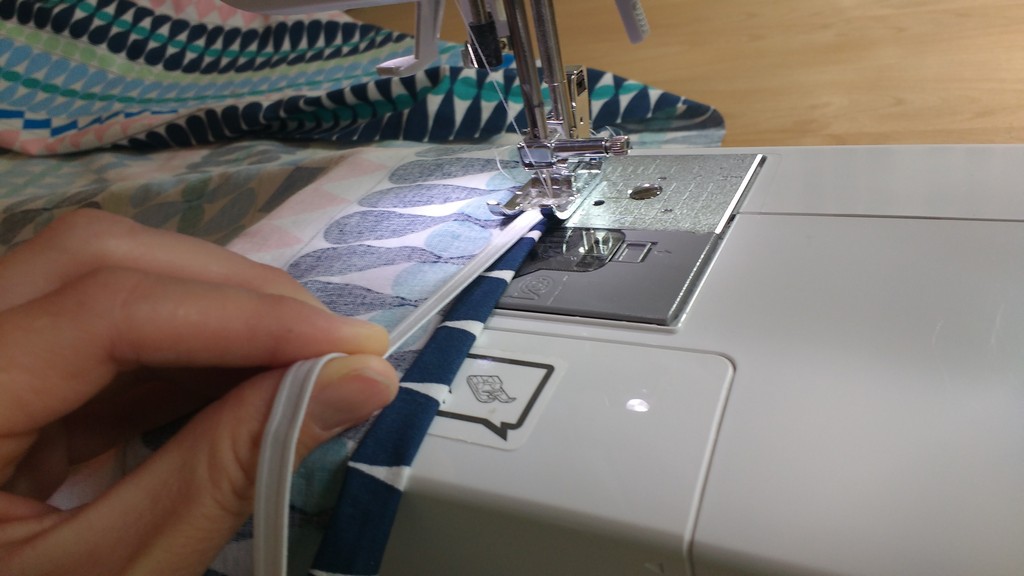
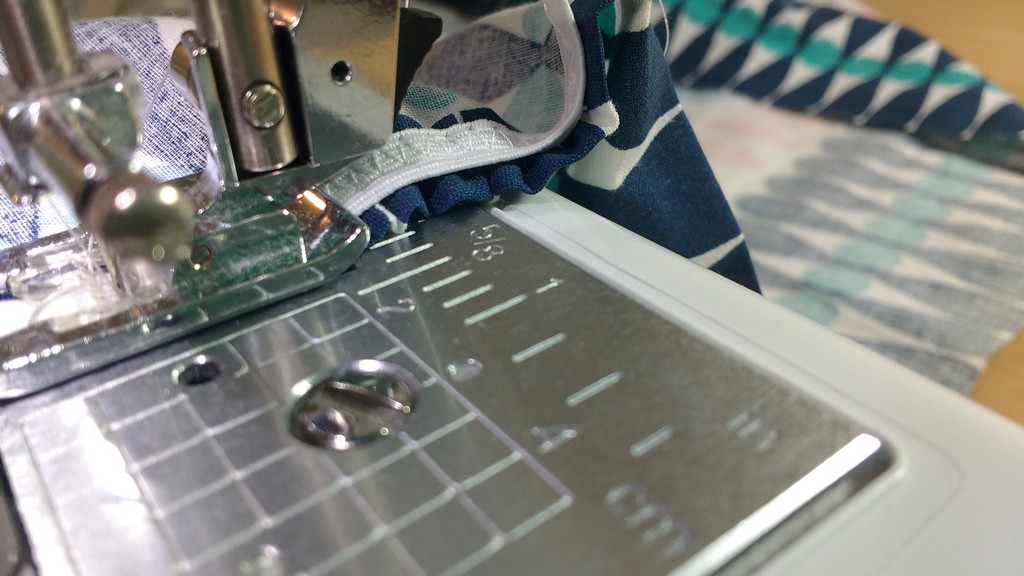
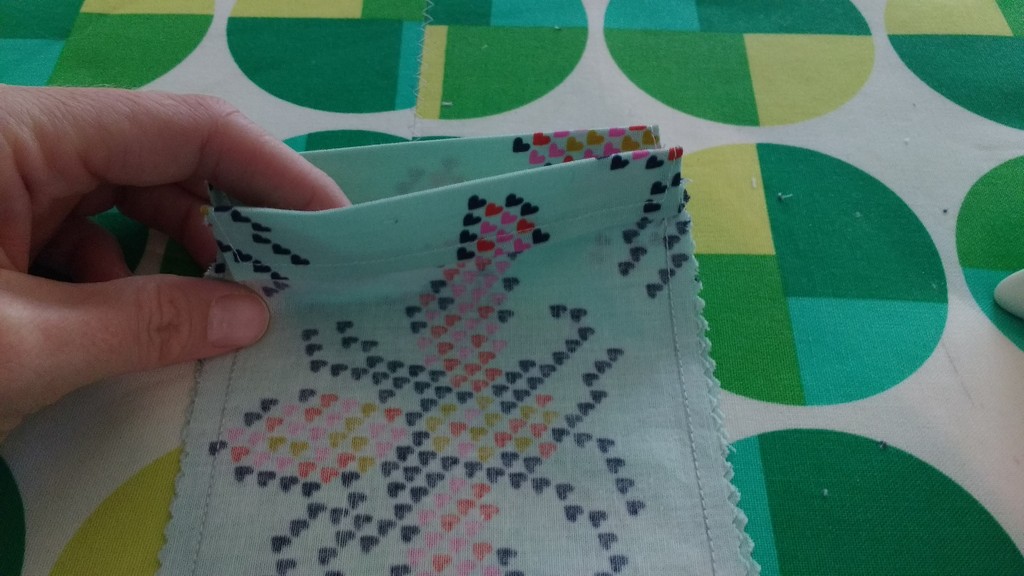
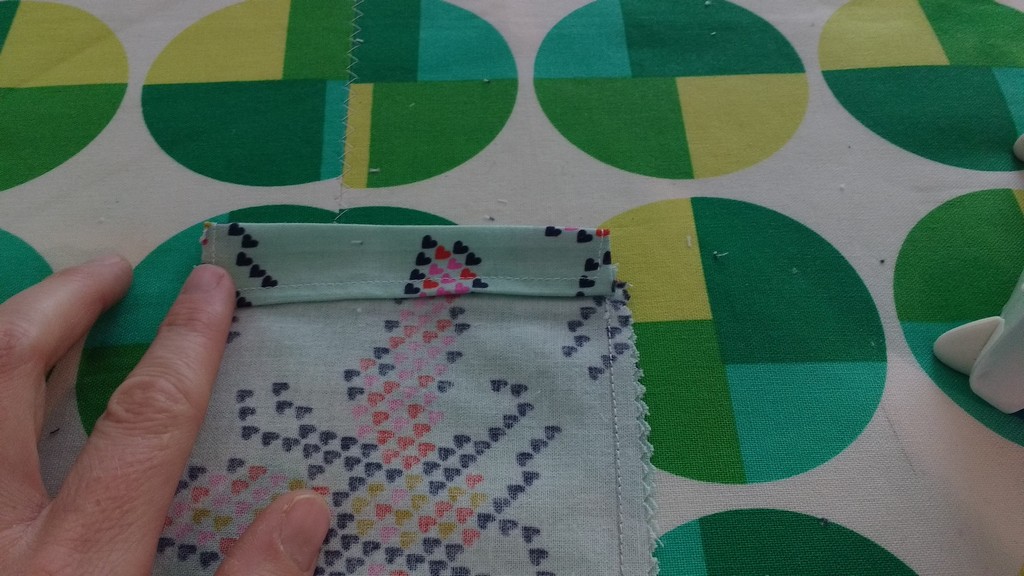
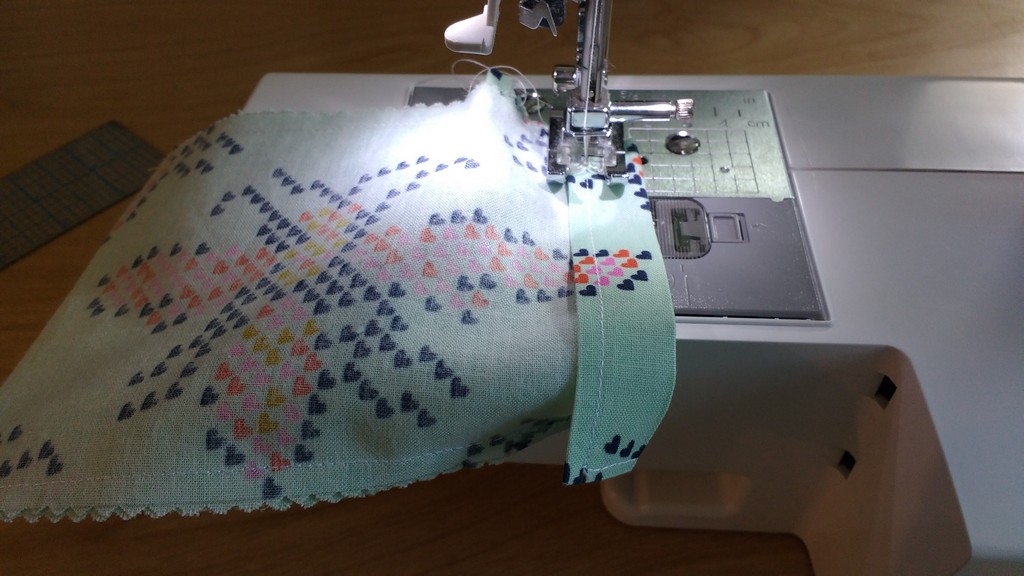
I always leave extra seam allowance in the hems and center backs of things, something I’m sure Moms who sew for their own kids do all the time too. Back in my Alley Theatre Christmas Carol days, we had a stock of clothing we used every year for the urchins. They often had hems that came all the way up to the knees and center back seams that extended more than half way to the side seams.

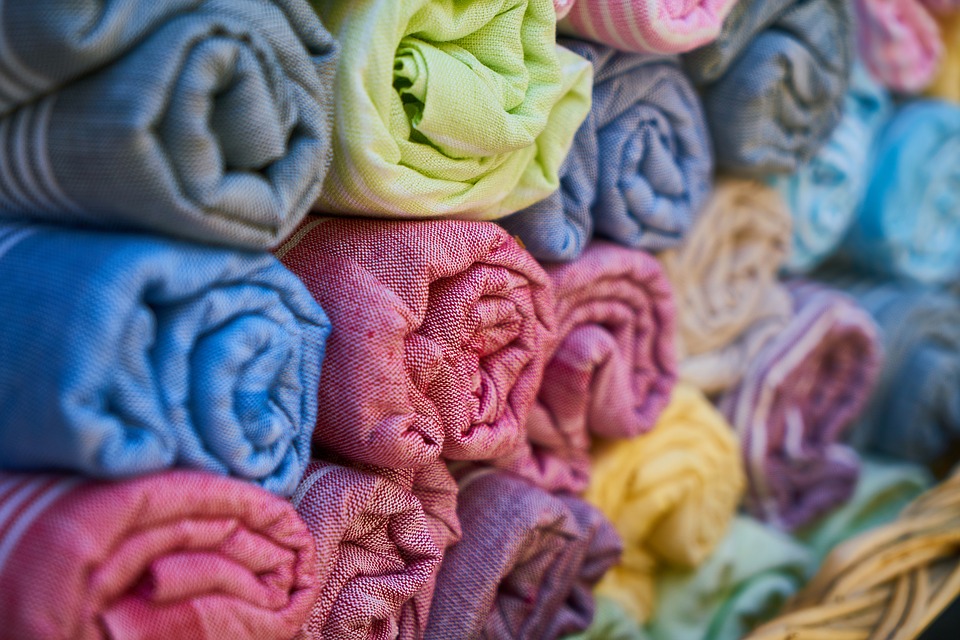
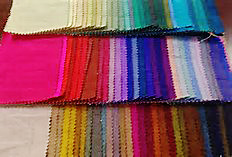
Fabric – choose wisely

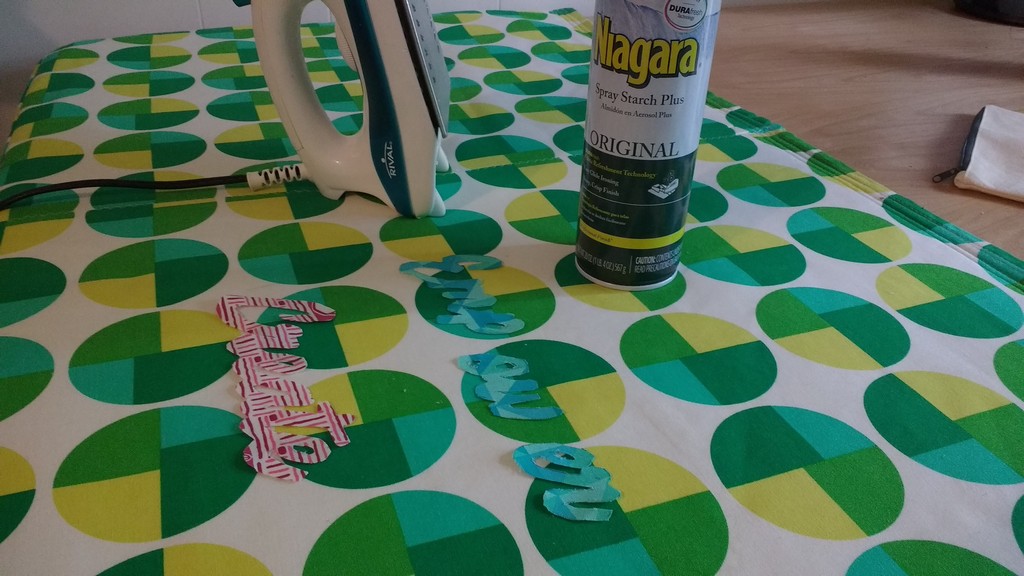
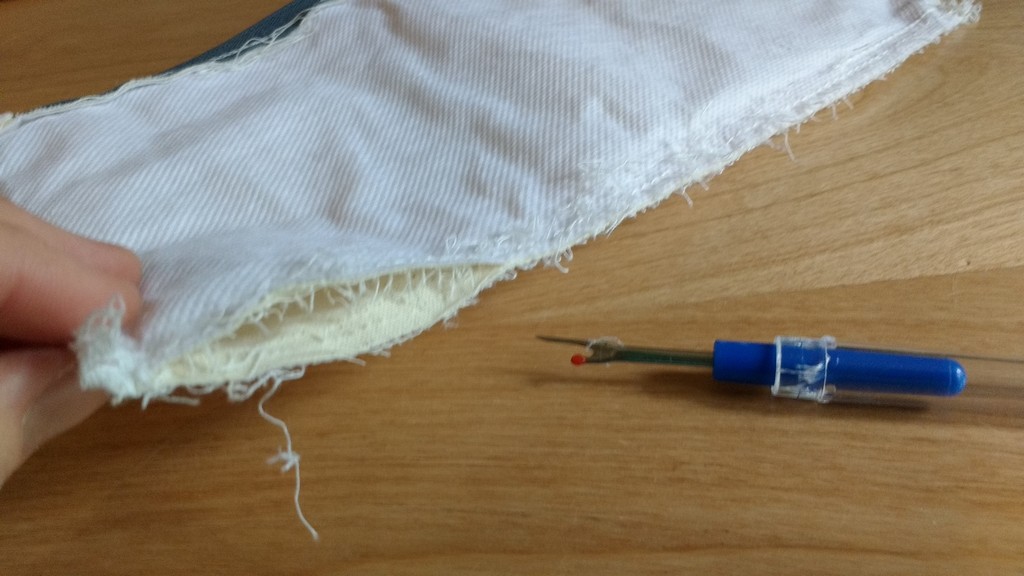
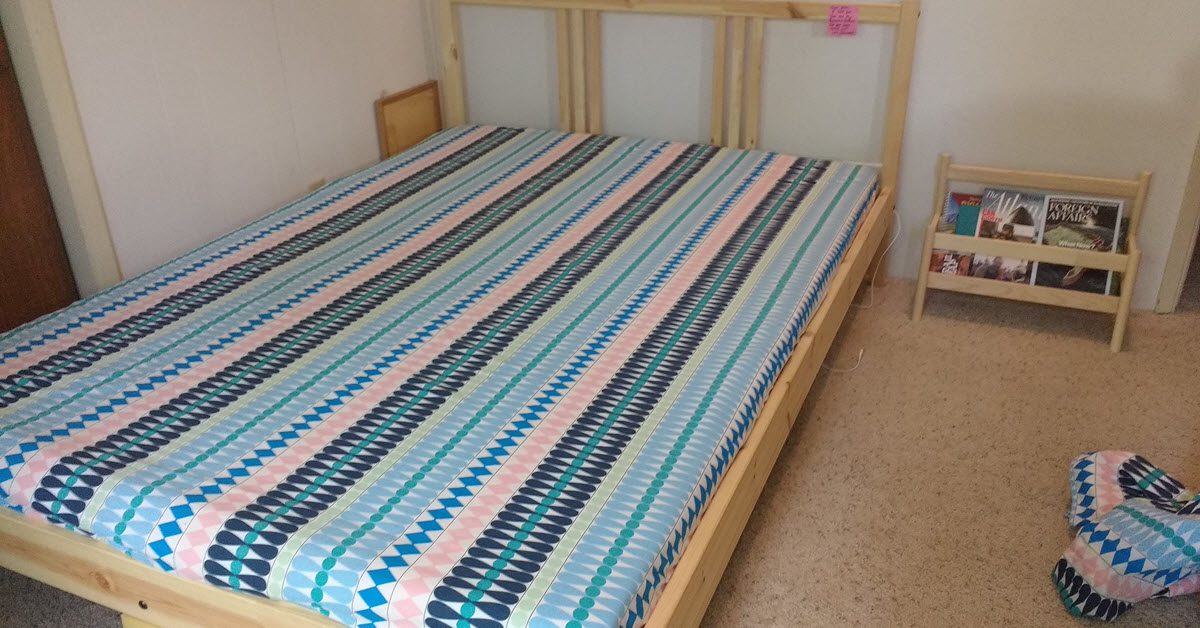
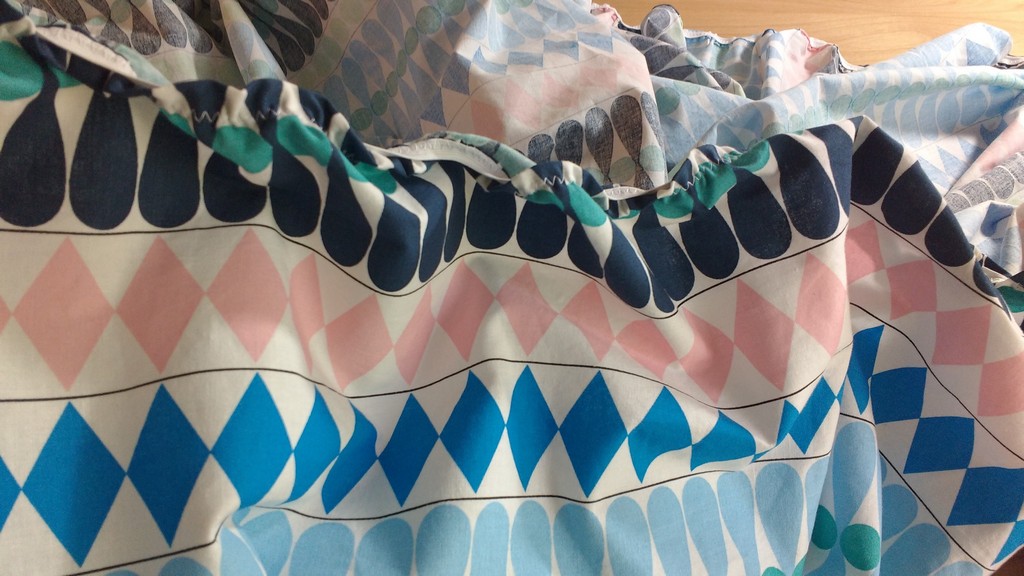
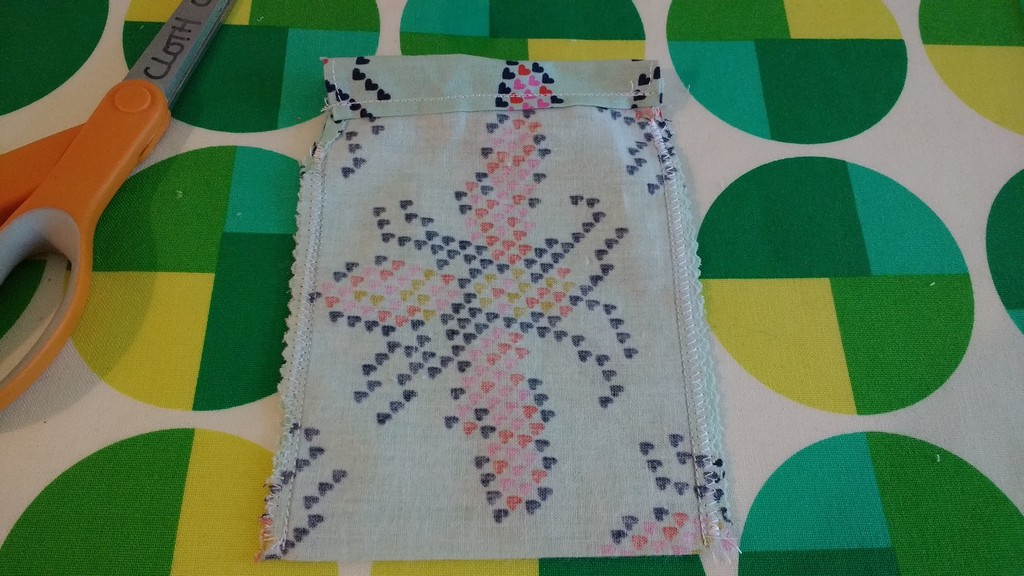
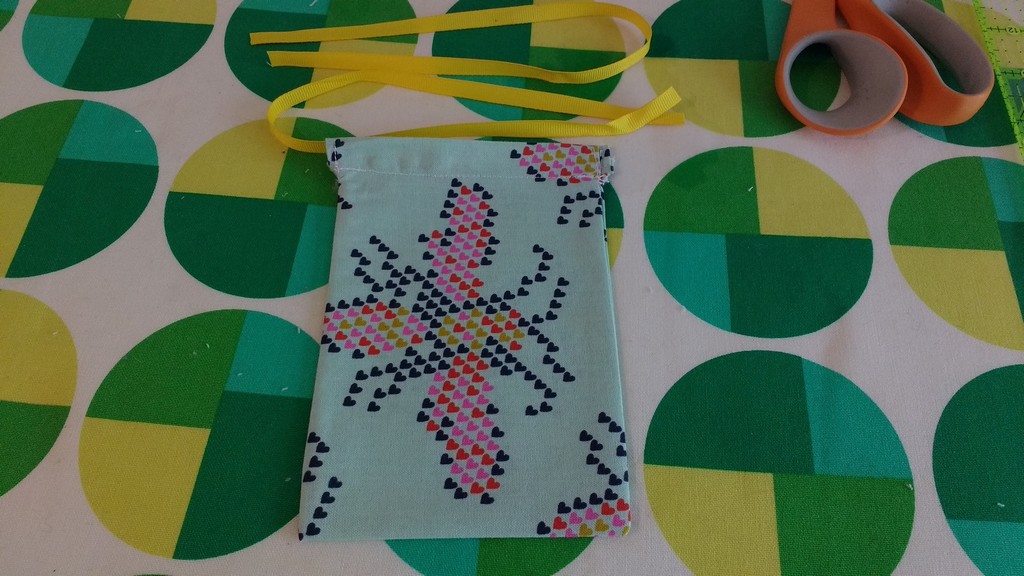
Something to keep in my mind when making children’s clothes is fabric choices. You want to make sure you don’t use anything that might be itchy or rough against their skin. And the more durable it is the better. I always reinforce any seam that’s going to get a lot of strain. Another little thing that we do often in the television business is to buy more than one of any particular clothing item. That way, if something happens to the shirt an actor or actress is wearing, like a chocolate or grass stain, the set costumer just needs to switch it out for new one. On the show I’m currently on, we usually have at least three multiples of all the kids’ wardrobes.

Of course, this means I have to alter three of everything we use. But, it’s all fine. Kids clothing is not very big and, for some reason, everything seems kind of adorable when its small.

The one really great thing about working with children, though, is that, for the most part, they still have a sense of awe and wonderment for the fact that they’re getting paid to spend all day playing make believe and dressing up in costumes made especially for them. And, although they get tired and occasionally grumpy (just like adults do) they definitely exude an infectious joyfulness that makes me truly happy to make them all sorts of fun and unique clothing.

Because, when a 10 year old (going on 40) tells you that “I bet even something you make when you’re having a bad day will be awesome,” you can’t help but smile.

So, spread some joy if you can this week. Give someone a genuine compliment. Make something special for a young person that makes them feel as if they can do and be anything. The world can always use more of that.

The Paradox of Fabric Markers

The Paradox of Fabric Markers

I’m just a simple girl trying to navigate her way through the quilting world, and on this journey, things sometimes strike me as odd. I might find a blog post saying that information that seemed fairly cut-and-dry for me is way more complex than I thought, and recently, I’ve taken to looking into a topic that doesn’t comparatively seem to be the basis of very much discussion online.

I mean, people talk about it, but not to the level that I think the topic merits.

If you look up websites that give you information about using markers on fabric, you’ll probably see a whole lot of results that have to do with markers designed to trace patterns or cutting lines to give you a more polished finish. This is a topic that makes absolute sense because having the right marker in that scenario means you can effectively use it, then wash it out so that it’s not a permanent part of your design.Picture 1

What strikes me as odd, though, is that sometimes people would probably want their markings to show on their quilt.

Specifically, you would want a more permanent set of markings if you were drawing or coloring a picture right onto the fabric, and you meant that drawing to be the décor for the quilt.

Now, you might be thinking that this is a very cheap and amateur way of doing things, but let’s not forget that some people are fantastic artists with this kind of thing. If that weren’t the case, how many cartoons would we have missed out on over the years? And the bottom line is that if a part of your skillset is drawing, you should be able to add hand-drawn and hand-colored details to your quilt to let that skill shine through for something that goes beyond adding an iron-on design.Picture 2

Another benefit of bringing this element into the equation is how much sentimental value it can place on a quilt. If you’re grandmother not only sewed a quilt, but drew or colored the designs by hand, how much higher does that boost the personal value of that final product?Picture 3

In addition, this drawing your designs on fabric opens plenty of doors about what you can showcase on your quilt because all you need is for someone to be able to draw it. As your primary objects to display, those drawings can act as the stand-out qualities so that the actual fabrics and block placements can be basic. You don’t need special fabrics and tricks—just general fabric and a person with great drawing skills.Picture 5

One of the best things I’ve found that you can do with markers and materials though is to begin with a blank surface, and then hand over the markers to two or three children. I currently have curtains in my room that are the product of two of my nieces tackling the project with happiness and a package of Crayola fabric markers. Sure, the child-friendly nature of the markers has led to the images softening a bit, but you can still get a sense of the original artwork so long after the curtains were decorated by my nieces.Picture 4

As I said though, you don’t hear too much about marker possibilities that are built for staying on the fabric, so it’s a bit harder to come up with recommendations in regard to what markers you should use for what purpose. Currently, I can recommend those Crayola fabric markers because the designs are still visible on the curtains. When allowing children to do the decorating, that fuzziness of the image design over the passage of time is worth knowing that they’re using markers that are age-appropriate. I have a younger niece now, and you can bet I’m not handing her a permanent marker to fancy up material in the near future!

There are other types of markers out there—ones that are non-toxic, ones that are Sharpies, ones that are metallic… I’m fairly convinced that since so little was found in my search of fabric markers for this kind of project that I’ll be the one who explores different types of markers that work well and can last through their time spent in the washing machine. Whether for sentimental reasons or just because you love the design, once you put your marker to fabric for these projects, you sensibly won’t want your design going away bit by bit every time it needs to be washed!Picture 6

So to begin this journey through fabric markers, I would give the Crayola brand 3 out of 5 stars. As I said, they did their job to get the images on the curtains, and I can still see the images there. The markers were child-friendly, and that was definitely something that I wanted for that project. But since the images have faded somewhat over time, it’s hard to give them a 4 or 5 rating since it means that over time, I might lose all traces of the images—which wasn’t what I was going for!

I look forward to exploring the possibilities involved in this marker fiasco, determined to find one fabric marker that suits each of these purposes: Marking fabric with my nieces (must by kid-friendly) and taking on these drawing assignments alone (more lenient with regulations). Stick around while I sort through the options, one at a time!

DIY Embroidered Pencil Case

Recently I saw this set at Costco that includes 50 colored pencils, a pencil sharpener and a plain zippered pouch. I nabbed two but I think I’ll go back and grab some more because I turned them into something cool and I want to do it again.

1

Here’s what I did. I printed out two words, one for each case, and then used them as patterns to draw the words onto fabric. The font is a free font I downloaded from dafont.com called Painted Paradise.

2 3

Empower printed out in three sections and I was able to place them on a charm square from my fabric stash. Create printed out as one word so I used a layer cake precut for it.

4

I used a freshly sharpened pencil and held the paper down as I traced.

5

For this fabric, it was easier to flip the words upside down and draw on the backside of the fabric (I eventually chose a pink fabric instead of the purple you see above).

6

Use some sharp scissors, and patience, and cut out the words.

7

I ironed and starched the words to get them very crisp.

8

Next up: taking out the seams of the pencil case. This actually went pretty fast as I ran my seam ripper along the serged seams and then opened the fabric and pulled out the inner seams.

9

I did this to both cases and then took a moment to pull out as many of the remaining threads as possible to create a clean working space on the fabric (and my table).

10

This is my handy quilt basting spray. I placed the words wrong sides up on a piece of paper and then sprayed fabric glue on them. Then I positioned the words on each pencil case where I wanted them.

11

My plan was to basically embroider the words onto one side of the pencil cases. I learned a great embroidery stitch, called a satin stitch, on my machine. You create this look by selecting a zig zag stitch and then reducing the stitch length to almost zero. You can play with the numbers/look to find what you like.

12

I practiced on some scrap fabric and then got to work.

13

Here’s what it looked like from the back when I was done. It even looks cool inside out!

14

After I finished embroidering each case, I pinned each one closed and resewed the cases back up. Then I turned the cases right side out, pressed them, and look at these beauties!

15

The Create case is for me. It’s rare I make something for myself and I’ve been in a really creative mood lately so I thought it appropriate. The Empower case is for my friend, Kate, who empowers other women. I definitely think I’ll be making more of these personalized cases in the future.

16

———————————————————————————–
Charlotte Kaufman is a writer and sewist in Mammoth Lakes, California. She specializes in marine and home interiors and continues to fall more and more in love with quilting. You can follow her at charlottekaufman.com.

The Basics Photo Quilts

Once again, we come to the point on this blog where it’s reasonable to look into a new quilt type. The reason for this specific interest for this post is because I happened to figure out that making a certain type of quilt is a lot less difficult than I expected. In fact, I’m toying with the option of making one of these for a Christmas present this year.

But I’m getting ahead of myself. First, let’s look at the quilt type I’m referring to, and then we’ll go into the ease and benefits of making one.

The type of quilt in question is a photo quilt, and it gets its name in the way you might expect—it includes photographs in its design. Now, you can order a printed throw like this through a store, but if you’re going to own or gift something that’s as sentimental as a series of personal photographs, it makes sense to add in that additional personal touch of sewing it yourself.Picture 1

Up until recently, I never realized how simple this prospect could be because I couldn’t grasp how printed photographs made their way to a quilt—unless, of course, you bought the quilt that way. As it turns out, the process is actually simple. You can treat it like a general patchwork quilt—so long as you have printable fabric at your fingertips.

With that one addition to your sewing supplies, you can browse through your pictures to find the perfect ones for your project.Picture 3

If you’re going to create a photo quilt for a wedding gift, for instance, concentrate on images of the right couple together. Once you find enough fitting photographs for the prospect, scan them if you only have print copies and get to printing on that fabric! From there, you’ll need to rinse it and iron it to keep the ink from ruining in the wash or bleeding where you don’t want it to go. You can find those details here.

You can pick and choose other fabrics that complement the theme and look of the images to build the rest of the quilt, and you can tend to the trimming and sizing of the photo blocks in the same manner that you would any other fabric style. Essentially, you’re doing nothing differently expect printing and preparing some of your fabric rather than purchasing all of the fabrics already printed.Picture 1

This is a simple prospect, but it’s a wonderful idea to add personalization to quilts for your own home, for a nursery, for a gift… The process shows care because you searched for the right pictures and because you took the time to piece everything together yourself rather than run to a store to have it printed for you. In a world so technologically advanced, this is one of the ways to use technology to bring a personal quality to something homemade.

Remember that the fabric you pair your photographs with can add value to your work in that they can carry out a particular theme that you’re going for. If you’re creating a graduation quilt (like in the link provided) and you want to showcase all of the graduate’s high school friends for a keepsake to take to collage, choosing fabrics that represent their school’s colors or mascot would be useful, as would ones that reflect typical graduation items—like caps or diplomas.Picture 1

For a Mother’s Day present, you could consider what your mom’s favorite colors and items are and use them for inspiration in regard to other fabric choices. If she adores light blue and lilac, pairing the photographs with those hues can add a level of care to the overall product since it’s another bit of evidence that you know the recipient well enough to pattern the design for them.

You could also use these for your own purposes as well, such as printing off photographs from your trip to Rome or Venice for a European-themed work that showcases the pictures you took during your stay. Even a moment that might seem trivial could be represented through one of these quilts, like the first time you baked with your children. Just take enough photographs to commemorate the experience, then pair your printed photographs with colors that reflect the baked goods you created together. It’s a big way to remember in detail such a small moment.Picture 1

Overall, I’m very much interested in trying my hand at this quilt type, and you can expect updates as I go through the process of trying to construct one. It’s so personal, and I look forward to testing the waters on the matter—especially to see how well the ink stays in place through my own personal experience.

Have any of you ever tried a photo quilt? Suggestions? Let me know!

Make a Set of Sheets from a Duvet Cover

I’m a huge fan of custom bedding. In this post I’d like to show you how to turn a duvet cover into a set of fitted bed sheets. You will need a duvet cover that is the size of your mattress or larger. Our mattress is a queen and so is this duvet cover from Ikea. First, I prewashed the cover and then turned it inside out.

2

I don’t waste time trying to unpick the seams of the covers. I take my scissors and simply cut off all the seams around the three sides that are sewn.

3

Iron the large rectangular piece of fabric that you’ve created by chopping away the seams.

4

You should have a nicely ironed and very long piece of fabric now. Turn to your mattress and find its length and width. My mattress is a custom size. It’ dimensions are 53” x 75”.

The width is 4”. I add an extra 2” for a fitted sheet to wrap under the mattress and an additional 1” for seams (½” plus ½” for turning). To find the total length and width I need for a fitted sheet then, I add 7” + (width or length) + 7” = total width or length needed. In my case I needed a large rectangle 67” x 89”.

5

First I mark the shorter side of the sheet and cut the long strip of extra fabric away. Then I mark the length of the first sheet and then the length of the second sheet. For the second sheet you will often be a few inches short. If this happens I take fabric from the long side piece I discarded and sew it onto the ends to elongate it.

6

Now cut out 7” squares (or whatever your measurement is which will depend on the depth of your mattress). If you did your math right, the rectangle formed between those cut out squares will equal the same length/width as your mattress.

If you want to make the second sheet right away, then sew any fabric you need to make it long enough, and then repeat the process, cutting out the 7” squares. I made two fitted sheets because we don’t use top sheets but you could make the second sheet a top sheet.

7

Take your fabric to your sewing machines and sew the corners together. I sew first a straight stitch and then finish with a zig zag. Do this for all four corners.

8

There are many ways to finish the edges of a fitted sheet. I like to finger fold over the fabric by ½” then another ½”, then place the elastic on top. I move that over to the machine and begin sewing a zig zag stitch.

9

Once I’ve secured the elastic, I begin to hold it taught (but too tightly) and sew around the entire sheet this way. I finger fold over the fabric, hold the elastic taught, sew and repeat over and over until I’ve made it completely around.

10

Soon the seams will look like this as you keep working.

11

And here’s what it will look like when you are done.

12

Take it over to the bed and try it out. If you’ve done your math right, and not pulled your elastic too tightly, it will fit like a dream. Make the other sheet now and you’ll have a spare.

13

———————————————————————————–
Charlotte Kaufman is a writer and sewist in Mammoth Lakes, California. She specializes in marine and home interiors and continues to fall more and more in love with quilting. You can follow her at charlottekaufman.com.
Back to School and My First Alteration

Back to School and My First Alteration

It’s the middle of August and, according to the Internet, Back to School time.

It’s the middle of August and, according to the Internet, Back to School time.

I was such a geeky, nerdy kid that I always loved going back to school in the fall. And I always liked autumn clothing better than summer clothing. Probably because I have a soft spot for anything plaid and earth toned, both of which tend to be predominate in fall fashions.

Turn back the clock


I grew up in the 70s and 80s when J. C. Penney and Sears still put out their big book catalogues. I spent hours going through those, ear marking the pages that pictured the clothing items I most wanted. We never actually ordered anything from the catalogues. My mom was a big proponent of in-person shopping. Even to this day, she’s not so keen on ordering things from the internet.

Instead, on a Saturday or Sunday in August, she’d load all four of us kids into the van for a trip to Midway Mall or, if we were feeling fancier, Great Northern Mall. Midway Mall is in Elyria, Ohio and it had a Penney’s and a Sears. (I suspect it still does.) Great Northern Mall is in North Olmstead. We always thought of it as being a bit more high end the Midway Mall though I have no idea if that was true or not. Great Northern had a Penney’s and Sears as well but, it also had a Macy’s.

I would spend hours searching the racks for the garments I had identified in the catalogues, or something as similar as I could find. Then I’d try on a pile of clothing in the dressing room. I always wanted much more than Mom’s budget would allow so then I’d go through a lengthy editing process until my choices added up to what Mom was able to spend. Every year there was one thing I desperately wanted that Mom didn’t want to buy for me because she thought it was too trendy and I’d lose interest in it after a month or two.

Every year there was one thing I desperately wanted that Mom didn’t want to buy for me because she thought it was too trendy and I’d lose interest in it after a month or two.

Every year there was one thing I desperately wanted that Mom didn’t want to buy for me because she thought it was too trendy and I’d lose interest in it after a month or two.

Pin striped adventures

When I was 12 or 13 and in junior high school, I was obsessed with pin striped pants and ties. Mom agreed to buy me one pair of pin striped jeans but told me if I wanted any more, especially the wide legged, pleated pair, I’d have to figure out how to make them myself. As for the ties, she had some old ones from her father I could have.

I had no idea at this time how to go about making a pair of pants. I also didn’t happen to have any pinstriped fabric lying around.

But my Dad did, at least he had some pinstriped pants shoved deep into his closet that he never wore. The pair I liked the most were rust and brown and one Saturday afternoon when both he and my Mom were at work, I extracted them from the closet.

They were, of course, humongous on me but I knew how to sew so I figured I could alter them to fit. I was afraid that someone would come home and stop me mid alteration so I didn’t bother taking anything apart first. I just started adding pleats to the waistband, two to each side that I topstitched all the way down the legs. Then two in the back. I chopped off the hem, unintentionally rendering the pants capri-length. When I put them on, I decided the capri-length made them more fashion-y and I was going to wear them to school the next day.

Zero photo evidence

I wish there was a photo of me in these pants but there is not.

I wish there was a photo of me in these pants but there is not.

I wish there was a photo of me in these pants but there is not. I did put them on Monday morning, along with a brown turtleneck, a brown belt, and my flat brown capezio lace up shoes. The pants were bulky since I hadn’t trimmed any of the fabric out when I altered them and the legs stuck out because of the same but I thought they looked cool. When I walked into the kitchen, my Mom did a double take. She opened her mouth to say something then closed it again. I waited for her to yell at me or, worse yet, to give me the “I’m so disappointed in you” look.

But, instead, she stifled a laugh and said, “Well that explains why there was brown thread all over the sewing room. Next time, you really should trim out some of the excess fabric. That waistband wouldn’t be so bulky then.”

“You’re not mad?” I asked.

I’m not. I’ve been telling your father for years to get rid of those pants. But we should probably ask him if it’s ok.”

And there marked a three or four year period of me altering my father’s 1960s clothing to fit me. My mom was happy that I didn’t ask her to buy me as much at Penney’s and Sears. I was happy that I had clothes that were not like everyone else’s. And my dad was just happy that me repurposing his old trousers gave my mom one less thing to nag him about (my father was never very good at throwing “perfectly good” old items away).

I don’t know what the other kids at school really thought about my vintage dad wardrobe. I was already considered weird before I started donning old pinstriped pants so I suspect it just solidified that sentiment. I am, though, forever thankful to my parents for letting me develop my own little bizarre fashion style, and for encouraging my sewing habit.

Whoever would’ve thought it would turn into a lucrative career.

Sewing with Confidence

Sewing with Confidence

Whether you’re a beginner or an advanced sewer, there will always be projects that seem too tough, that are hard to feel completely confident about taking on. Without a way to approach projects confidently, it can be tempting to skip doing them all together. What a shame it is when we miss out on making something special simply because it seems too hard. Instead, try using these tips to build your confidence and get that project done.

self-confidence-2121159_1280

Break it Down

Often, I find myself feeling overwhelmed by a project if I try to look ahead at all the directions. With simpler projects, I can do that and picture the whole thing coming together in my mind. With more complex projects, reading ahead sometimes makes me feel like it’s too hard. I won’t see the project. Instead, I get lost in the words of it and panic at the sight of terms I’ve not seen before.

The simplest and quickest way to overcome my fears and boost my sewing confidence is to take it one step at a time. Instead of reading through the whole thing, I only focus on the step I’m currently working on and the move on to the next. This makes it easy to look up any terms I’m not familiar with and complete each step successfully. And, of course, doing this generates more confidence. I have a hunch it will be the same for you. Give it a try and let me know how it goes.

Ask for Help

Although sewing is largely a solo hobby, that doesn’t mean you have to work through every project on your own. If you’re stuck, bring your fabric and the pattern to your local fabric or sewing machine store and ask their experts to help you out. They may be able to give you an explanation that’s easier to understand than the one written in your pattern instructions. Also, having the corresponding fabric pieces may help to show you a way to pin or cut the pieces to match what the instructions are asking you to do. And once you’ve learned it, you can apply it, confidently, to future projects.

These two tricks have helped me tackle everything from a sundress to a wedding dress with confidence and wind up with gorgeous completed projects that I’m proud to wear. The next time you’re feeling overwhelmed by a project, don’t fret. Try these two tips and get the confidence you need to complete the project without stress.

Building Creative Confidence

Building Creative Confidence

Building Confidence

I have been away for awhile packing and moving into our new home. Unable to do any sewing with so many other things taking priority, I have missed my time with you.

The first thing I did is set up my office, so I can begin to feel productive again. Although I cannot offer an alternative method to sew a project this week, I want to create awareness of something we may take for granted. Its still about sewing, but sewing psychology!

I have gained a whole new respect for people who use their talents to produce window coverings. It is labor intensive and costly for the buyer. Naturally, today’s modern new builds will be designed differently than the earlier built homes. I always think of the difference between mid-century designs and what is popular today. Things you have to consider now are tall and narrow windows. Half arch windows above doors, double and triple wide windows in family rooms and bedrooms. I see French doors instead of sliding glass patio doors, and particularly windows to the floor versus horizontal windows high on the wall.

Times change

Times have changed and the fabric design and methods of making draperies have given us so many wonderful options. The awesome part is you can find companies that have talented people machine stitch and finish them by hand, stitching the hems and tacking the pleats, grommets, tabs, or other headers. Can you even comprehend what a huge job that is?

Shoot for the sun, the moon, and the stars, and then we will go from there.

1 panel 40” wide by 108” long, cutting the fabric perfectly straight and carefully sewing the seams by machine and stitching the header and hem by hand. I understand why it takes six weeks for the completed project.

1 panel 40” wide by 108” long, cutting the fabric perfectly straight and carefully sewing the seams by machine and stitching the header and hem by hand. I understand why it takes six weeks for the completed project.

Secondly, if you have been following my blog, you already know how much I love fabric. We have only been here a week, and my sewing studio is not operative yet, but I have been basking in my product samples from a few different shade and drapery companies. I thought, new home, new life, so I will make it exquisite by professionally made drapes and roller shades. A few weeks ago, I began order sample swatches to see quality and color to design a cohesive, interesting theme.

Overload

Overwhelm Overload!!

Overwhelm Overload!! I wasn’t even in the house yet and I was stressed about the overall look I wanted to achieve. I just knew I loved every color and sample I received. Does this sound like anyone else you know? I feel this same emotion when looking for fabric for sewing and quilting as well. (I imagine others do too.)

Similar to how I have described “improvisational” sewing in the past, you have to start somewhere to “dress” several windows in a newly built house. You just have jump in and play with the samples, and the colors, and find your taste. Take a break for awhile, read design magazines, think about how you live and what makes you happy. You are a designer, its your choice!

Okay, we are here, moved in and windows bare! Its decision time. Because I wanted our window treatments professionally measured and hung, I invited a design consultant who was very experienced and had exceptional reviews on her work. She only does window coverings and I had many options to consider. Even though I had a good idea what I wanted to accomplish, her comments and mostly her product knowledge opened new doors for an even greater creative experience.

She had very good advice when we started the process.

She said, “Shoot for the sun, the moon, and the stars, and then we will go from there.”

She said, “Shoot for the sun, the moon, and the stars, and then we will go from there.”

She said, “Shoot for the sun, the moon, and the stars, and then we will go from there.” Basically, she meant what is your ultimate vision of your home to suit the needs of your family? (That was an open door to all the ideas I had thought about all these months.) Of course, some ideas I knew were not obtainable, but also, the hope of a future goal was there. So, we went over the design, the samples, rods and finials. The roller shades, the Roman blinds, and the solars. But she reminded me, “Its about you not what others think you should do”.

Yes, I was almost to the moon when I saw the value of my dreams. Needless to say, with my financial advisor’s advice, (aka hubby), we came down to earth and comprised on a plan with the promise of continuing our dreams down the road. However, now, I have a vision of making panels myself for one or two of the smaller size windows. I know I can do it! My ulterior motive is to save that money for that crystal chandelier I have been admiring!

The moral of this story is not about sewing techniques, it is about the pleasure you get from coming out of your comfort zone, finding yourself and your tastes, and being courageous enough to feel confident in moving forward in your goals. Sewing is being creative!

Sewing is about making beautiful things, like silk draperies, and Roman blinds. Sewing and fabric in today’s world is earthy and organic. Sewing is also for fashion, and quilted blankets, warmth, and clothing. It is my therapy. It makes me happy!

SewingmachinesPlus.com has what you need to get started with your creations! Tell them your dream! They will help you get started.

The Lace-Maker by Tropinin

The Lace-Maker by Tropinin

Once more, we’re turning to an artist’s rendering of a sewing topic for exploration and analysis, and this time, it’s coming with a couple of twists. Before we dive into those twists, let’s go ahead and introduce you to the painting that’s the focus of today’s post.

The Painting: The Lace-Maker

The Artist: Vasilii Andreevich Tropinin

The medium: Oil on canvas

The year: 1823

Picture 1

Masterpiece

This is an eye-catching piece, and one of the most immediate concepts that separate it from works that have already been explored on the blog can be noted in its title. The topic isn’t just sewing stitches or making repairs, but rather the very specific task of making lace, which might require different tools than general sewing. The woman in the painting isn’t using a regular needle, clearly, which provides a unique view into the world of sewing.Picture 4

In fact, this entire painting is varied from some of the ones that historically came before it since it’s showing an average woman tending to the lace’s creation rather than someone from high class (“Vasilii Andreevich Tropinin: The Lace-Maker,” n.d.). This woman looks like someone you might see working on a sewing project in the comfort of home, and that quality creates a similarity between the average viewer and the painted woman. You can relate to her because it’s so akin to your approach—sewing in your own home.

Both of these aspects are showcased specifically in the painting—the tools and the woman—through the triangular configuration that’s been noted on other artistic works. Within the triangle of focus, you have the woman and the tools she’s using, allowing your eye to primarily be drawn right to them.

Picture 6

It’s about the passion, not the project

It’s also worth noting that we don’t see much of the actual lace being made. We see the woman. We see her working. But the project is mostly facing toward her, so our view of it is limited. It can be interpreted that the lace-maker herself and the process of making the lace are, to the artist, more significant than the actual project.

By extension, you could continue this logic to assume that the woman in the work is a beginner or early lace-maker, and that the process doesn’t need to be tarnished by seeing a newer lace-maker’s mistakes and missteps. This notion can be argued as mirrored in the idea that her hands look dainty as she tends to the process, which might lead the viewer to assume that she’s treading lightly into the field. She isn’t gripping the tool firmly, and the overall result can look like the carefulness and hesitance of a beginner.Picture 4

Personality and disposition

One could argue as well that the smile on her face is another detail that brings this new-lace-maker quality to life, as if the woman is happy to give this process a try and perhaps pleased with her progress. Unfortunately though, her face is the main spot where the argument could shift in favor of the woman being very secure in her craft, as if she’s done this again and again over the years. There’s no uncertain furrow in her brow or any lines of tension on her face like you might expect from someone struggling to get the hang of such an activity. Rather, she looks calm and relaxed, and that mind frame can be labeled as out of place for a new lace-maker being caught on canvas.

Picture 2

If you consider that detail—that her face is so free of lines of tension—the other elements can suddenly take a new turn as well. Maybe those hands aren’t dainty with hesitance. Maybe they’re loose from comfort with the process, like the casual grasp she has is enough to professionally finish the task. If you decide on this method of logic, the project being pointed toward the woman can mean that her comfort with the task is what’s supposed to be shown. You don’t need, from that point of view, to see the project. The woman is too at-ease with the process to be creating anything less than successful through her endeavors.

Light and shade

This notion of comfort can be seen in the lighting of the painting as well since, for the most part, everything is well-lit and in the spotlight. Other than the shady corners at the top, the space under the table, and the area underneath the platform the project is on, little is dark about this work. That sustained level of lighting speaks to an overall bright experience, and the similarity of color throughout adds to that calmness. No hue drastically sticks out, and other than the handful of dark places, nothing severely falls into the background in regard to those hues. Everything is neutral or placid enough in color to create an overall image of cohesion and balance.

With all of these elements combined, it’s sensible to interpret this as Tropinin’s attempt to showcase an average woman tending to a very specific task with so much expertise that she’s calm and tranquil throughout the experience. It’s a primarily bright experience that she feels comfort in, with little dynamism about the process due to her ease with the task while she works on a project that the viewer doesn’t need to see to know it will be a success.

References
“The Lace-Maker.” (n.d.). Russian Art Gallery. Retrieved from http://russianartgallery.org/famous/tropinin_lacemaker.htm
“Vasilii Andreevich Tropinin: The Lace Maker.” (n.d.). Rollins College. Retrieved from https://myweb.rollins.edu/aboguslawski/Ruspaint/troplace.html
DIY Drawstring Fabric Bag

DIY Drawstring Fabric Bag

I use fabric drawstring bags to organize everything. My girls have a set I created for them for traveling; the bags hold their socks, underwear, and toys. I used a separate set for my own travels and also have a bag I use to transport my gym shoes in my backpack (so the shoes don’t get the interior of my bag dirty.)

Any time I have a new need, I whip up a bag or some bags for the job. For this project, I wanted a small pouch to hold my ear plugs and eye mask. I’m a writer and I spend a lot of time writing in coffee shops and libraries (yes, sometimes libraries can be loud). And when I travel overnight, I also bring my sleep mask.

Don’t throw that away!

This is a piece of scrap fabric a girlfriend sent to me. “I bet you could use this,” she said. And she was right.

I drew a rectangle 15.5”x 5.5” (centering the pattern.)

2

I cut out the long sides of the rectangle with pinking shears and regular fabric scissors on the shorter ends.

Next, I folded the fabric over, right sides together and drew a ¼” seam on each side. (If you can eyeball this, go ahead). The seam stops on each side 1.75” from the top. Start at the bottom and sew to that spot, back tacking at the end of the seam (on both sides.)

3

I snipped just a tiny bit on all four sides of the bag and then folded the seams in all four sides. First I finger pressed, then I ironed and starched them down.

4

Let’s straighten this out

Next I folded the top of the front and back down ¼” inch and ironed and starched as well.

5

Now I did a supporting seam starting at the side seam and going around the top of the fabric to the other seam. Do this on both sides.

6

Now fold each top down to meet the top of the sewed side seam. You should see how the drawstring casings will be formed now. Iron and starch each folded side down.

7

8

Sew across each side from the side seam across to the other side seam. I used the stitching I did prior as a guide for where to sew. Make sure you don’t catch the other side of the bag while you sew.

9

Lovely! Look how nice it looks inside out. Imagine how great it will be when you turn it right sides out! First I zig zag stitch the sides and trim the bottom corners before turning.

10

Now to tie it all together…

Whoohoo! Give it one more iron and starching to take it to the next level. Then measure out enough ribbon for a double drawstring.

11

I used a safety pin to feed the ribbon through each side and around.

12

Tie a not on the end of each piece of ribbon, use pinking shears on the end of the ribbon, and you are finished!

13

This is perfect for slipping in my bag when I’m going out to write.

14

And my eye mask fits in beautifully too.

15

———————————————————————————–
Charlotte Kaufman is a writer and sewist in Mammoth Lakes, California. She specializes in marine and home interiors and continues to fall more and more in love with quilting. You can follow her at charlottekaufman.com.