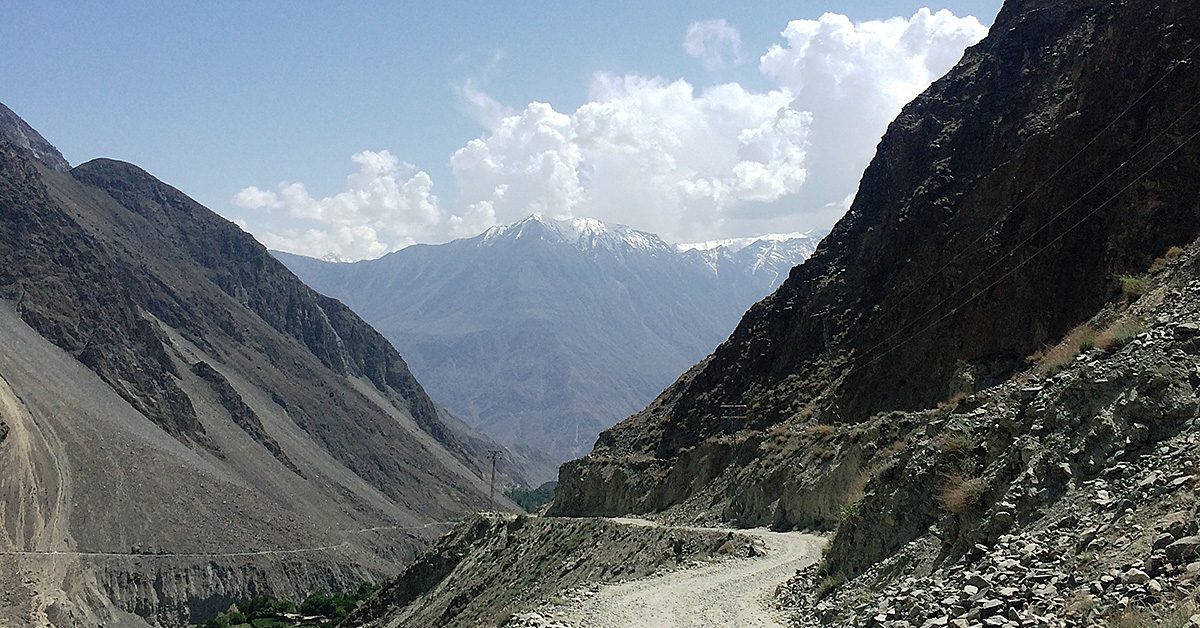
The road on the way to Chirah.
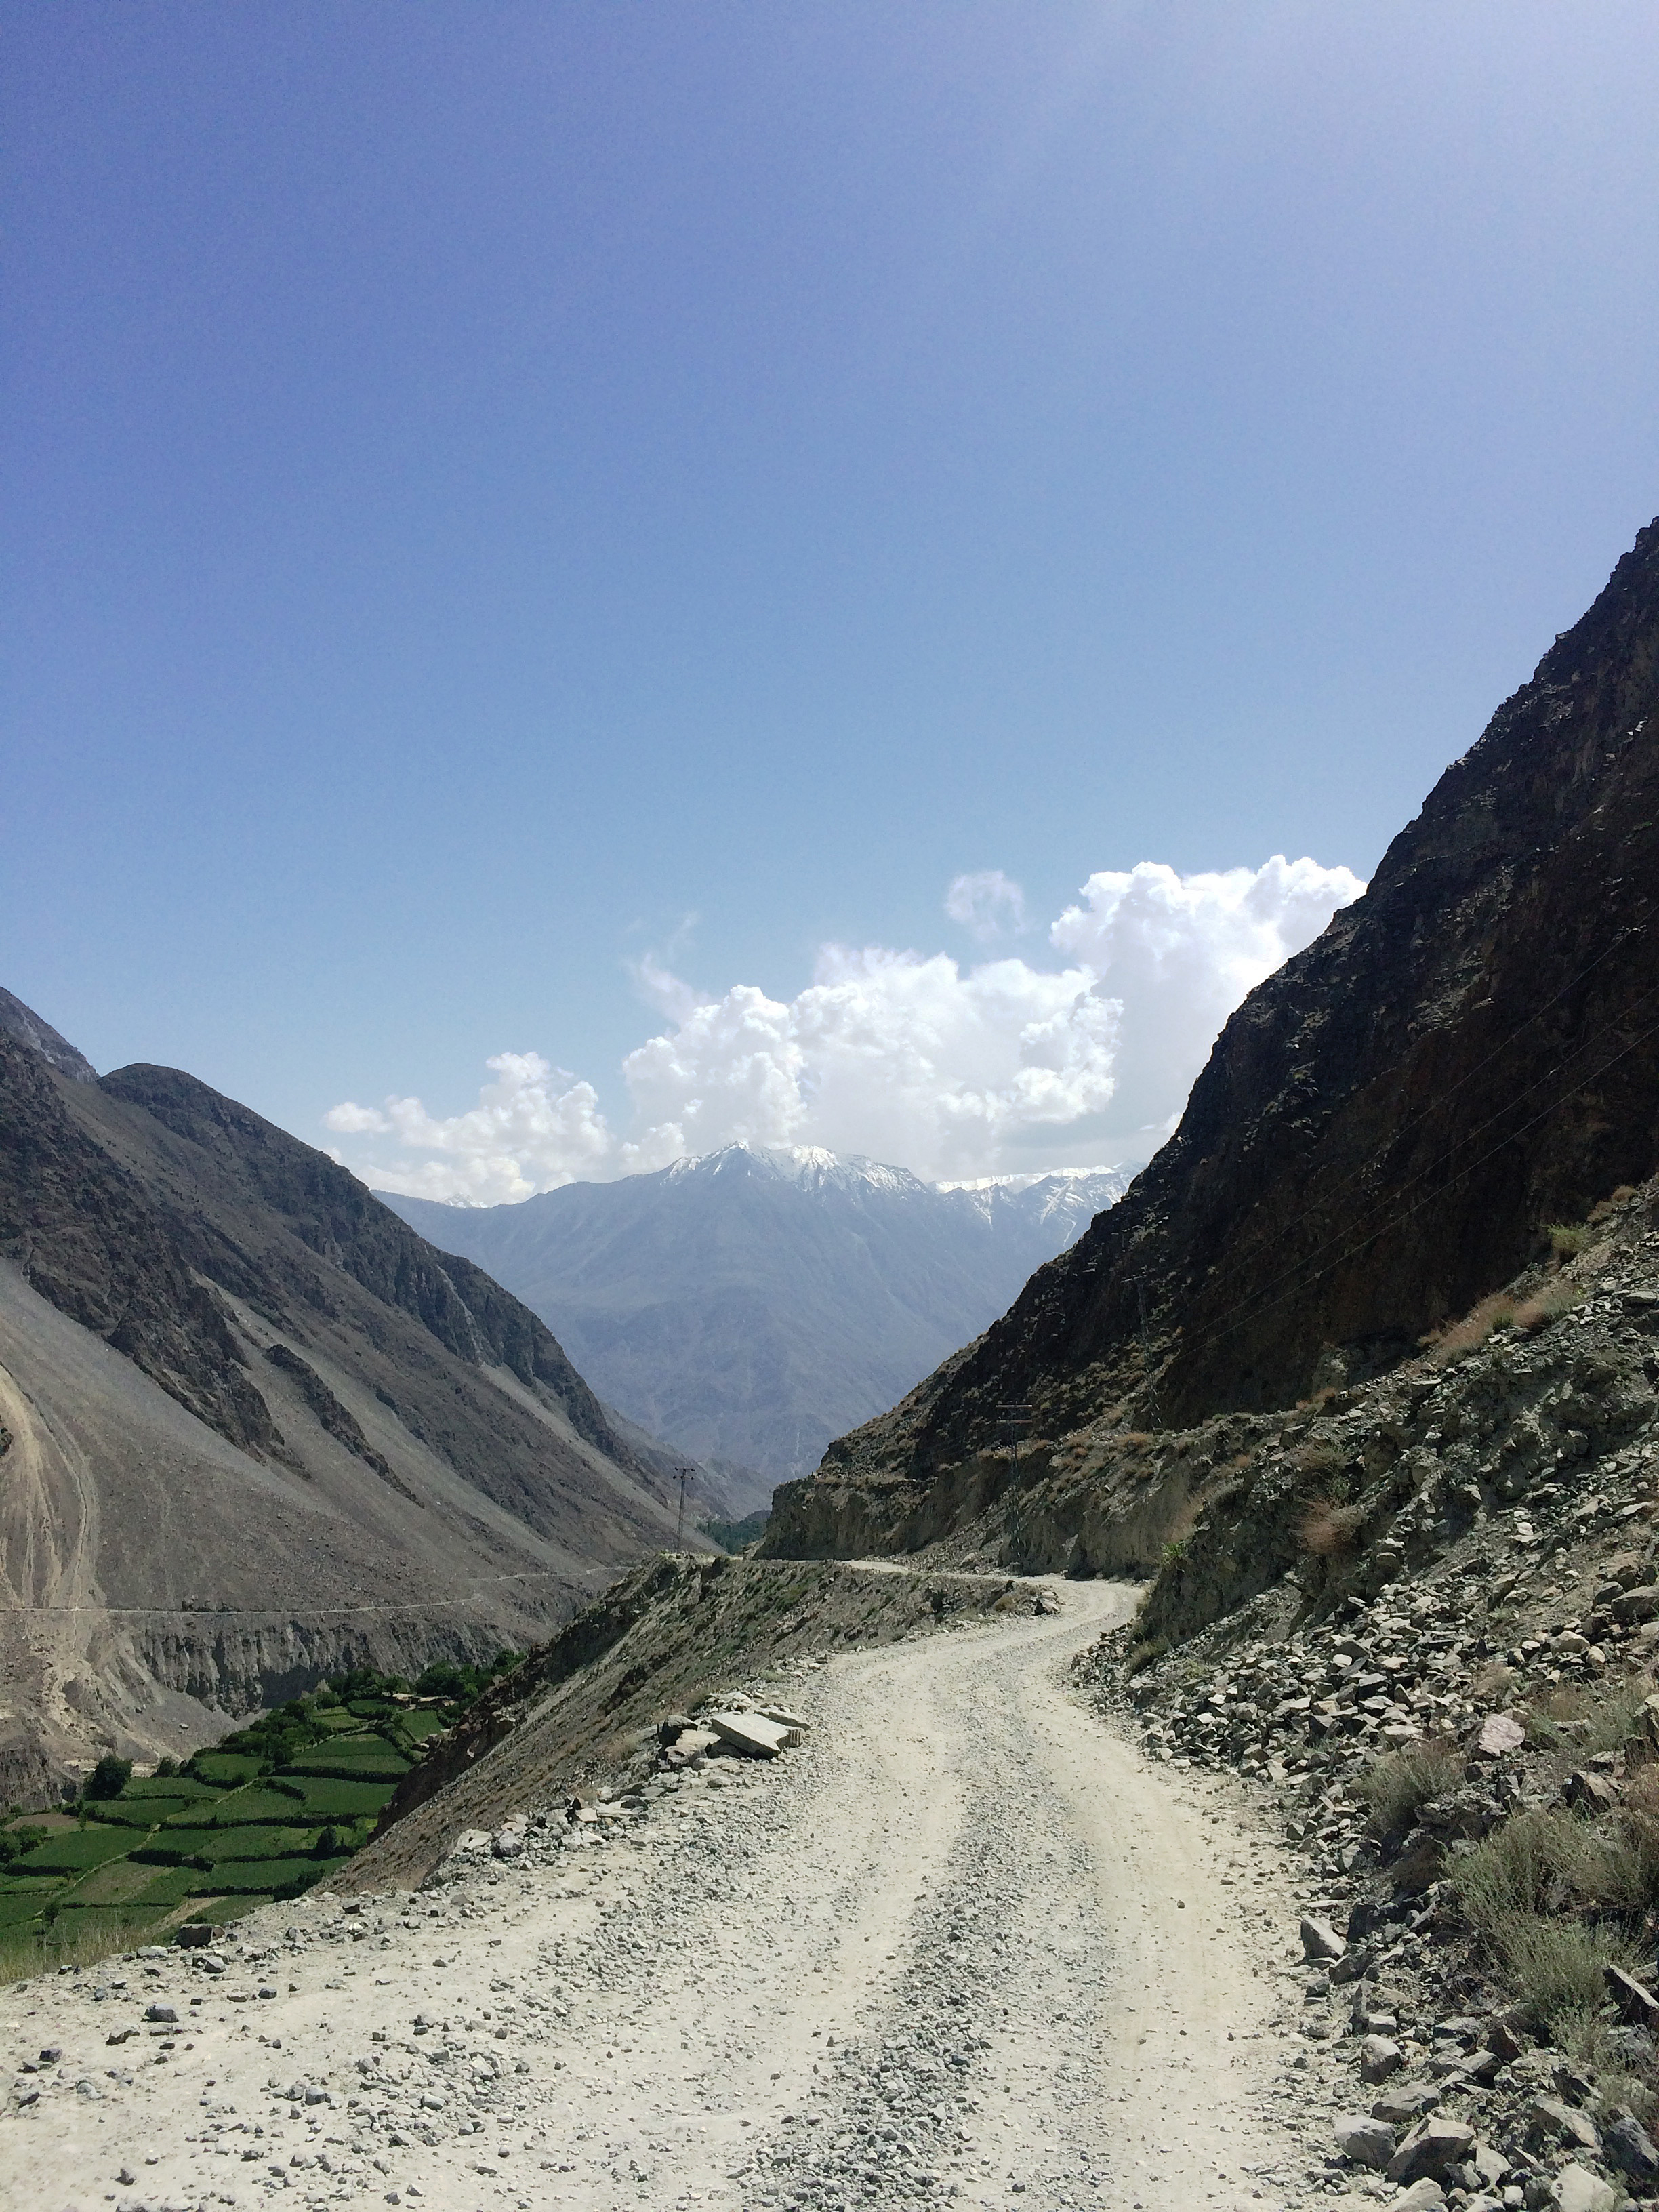
The road from Gilgit, Pakistan to Chirah in the Bagrote Valley is not an easy one. It starts out easy enough: along the paved Karakorum Highway. But, a few kilometers outside of Gilgit, you take a left directly into the mountains. And then the road is dirt, gravel, large rock, and sand – and steep. Lung wrenchingly steep, if you’re on a bicycle as we were. It winds up and around the mountain, free of guardrails, devoid of almost all traffic except the occasional motorbike. There is nothing to filter the searing sun. The air is heavy and hot and the path always, always, leads upward.
Until finally, the road evens out, becomes almost flat. And green appears – grass, trees, gardens, rows and rows of vegetables spread out on both sides. The air becomes a bit cooler and the winds whistle down from the peaks, circling through the valley in a refreshing heavenly respite.
Chirah Sewing Centre
Chirah is a small village in the Bagrote Valley in the Gilgit-Baltistan region of Pakistan. The region, self-governing, receives very limited support from the central Pakistani government.
The Chirah Sewing Centre, opened in April of 2012, provides six month courses to the women of the region to learn sewing skills so that they may, if they wish, earn their own income.

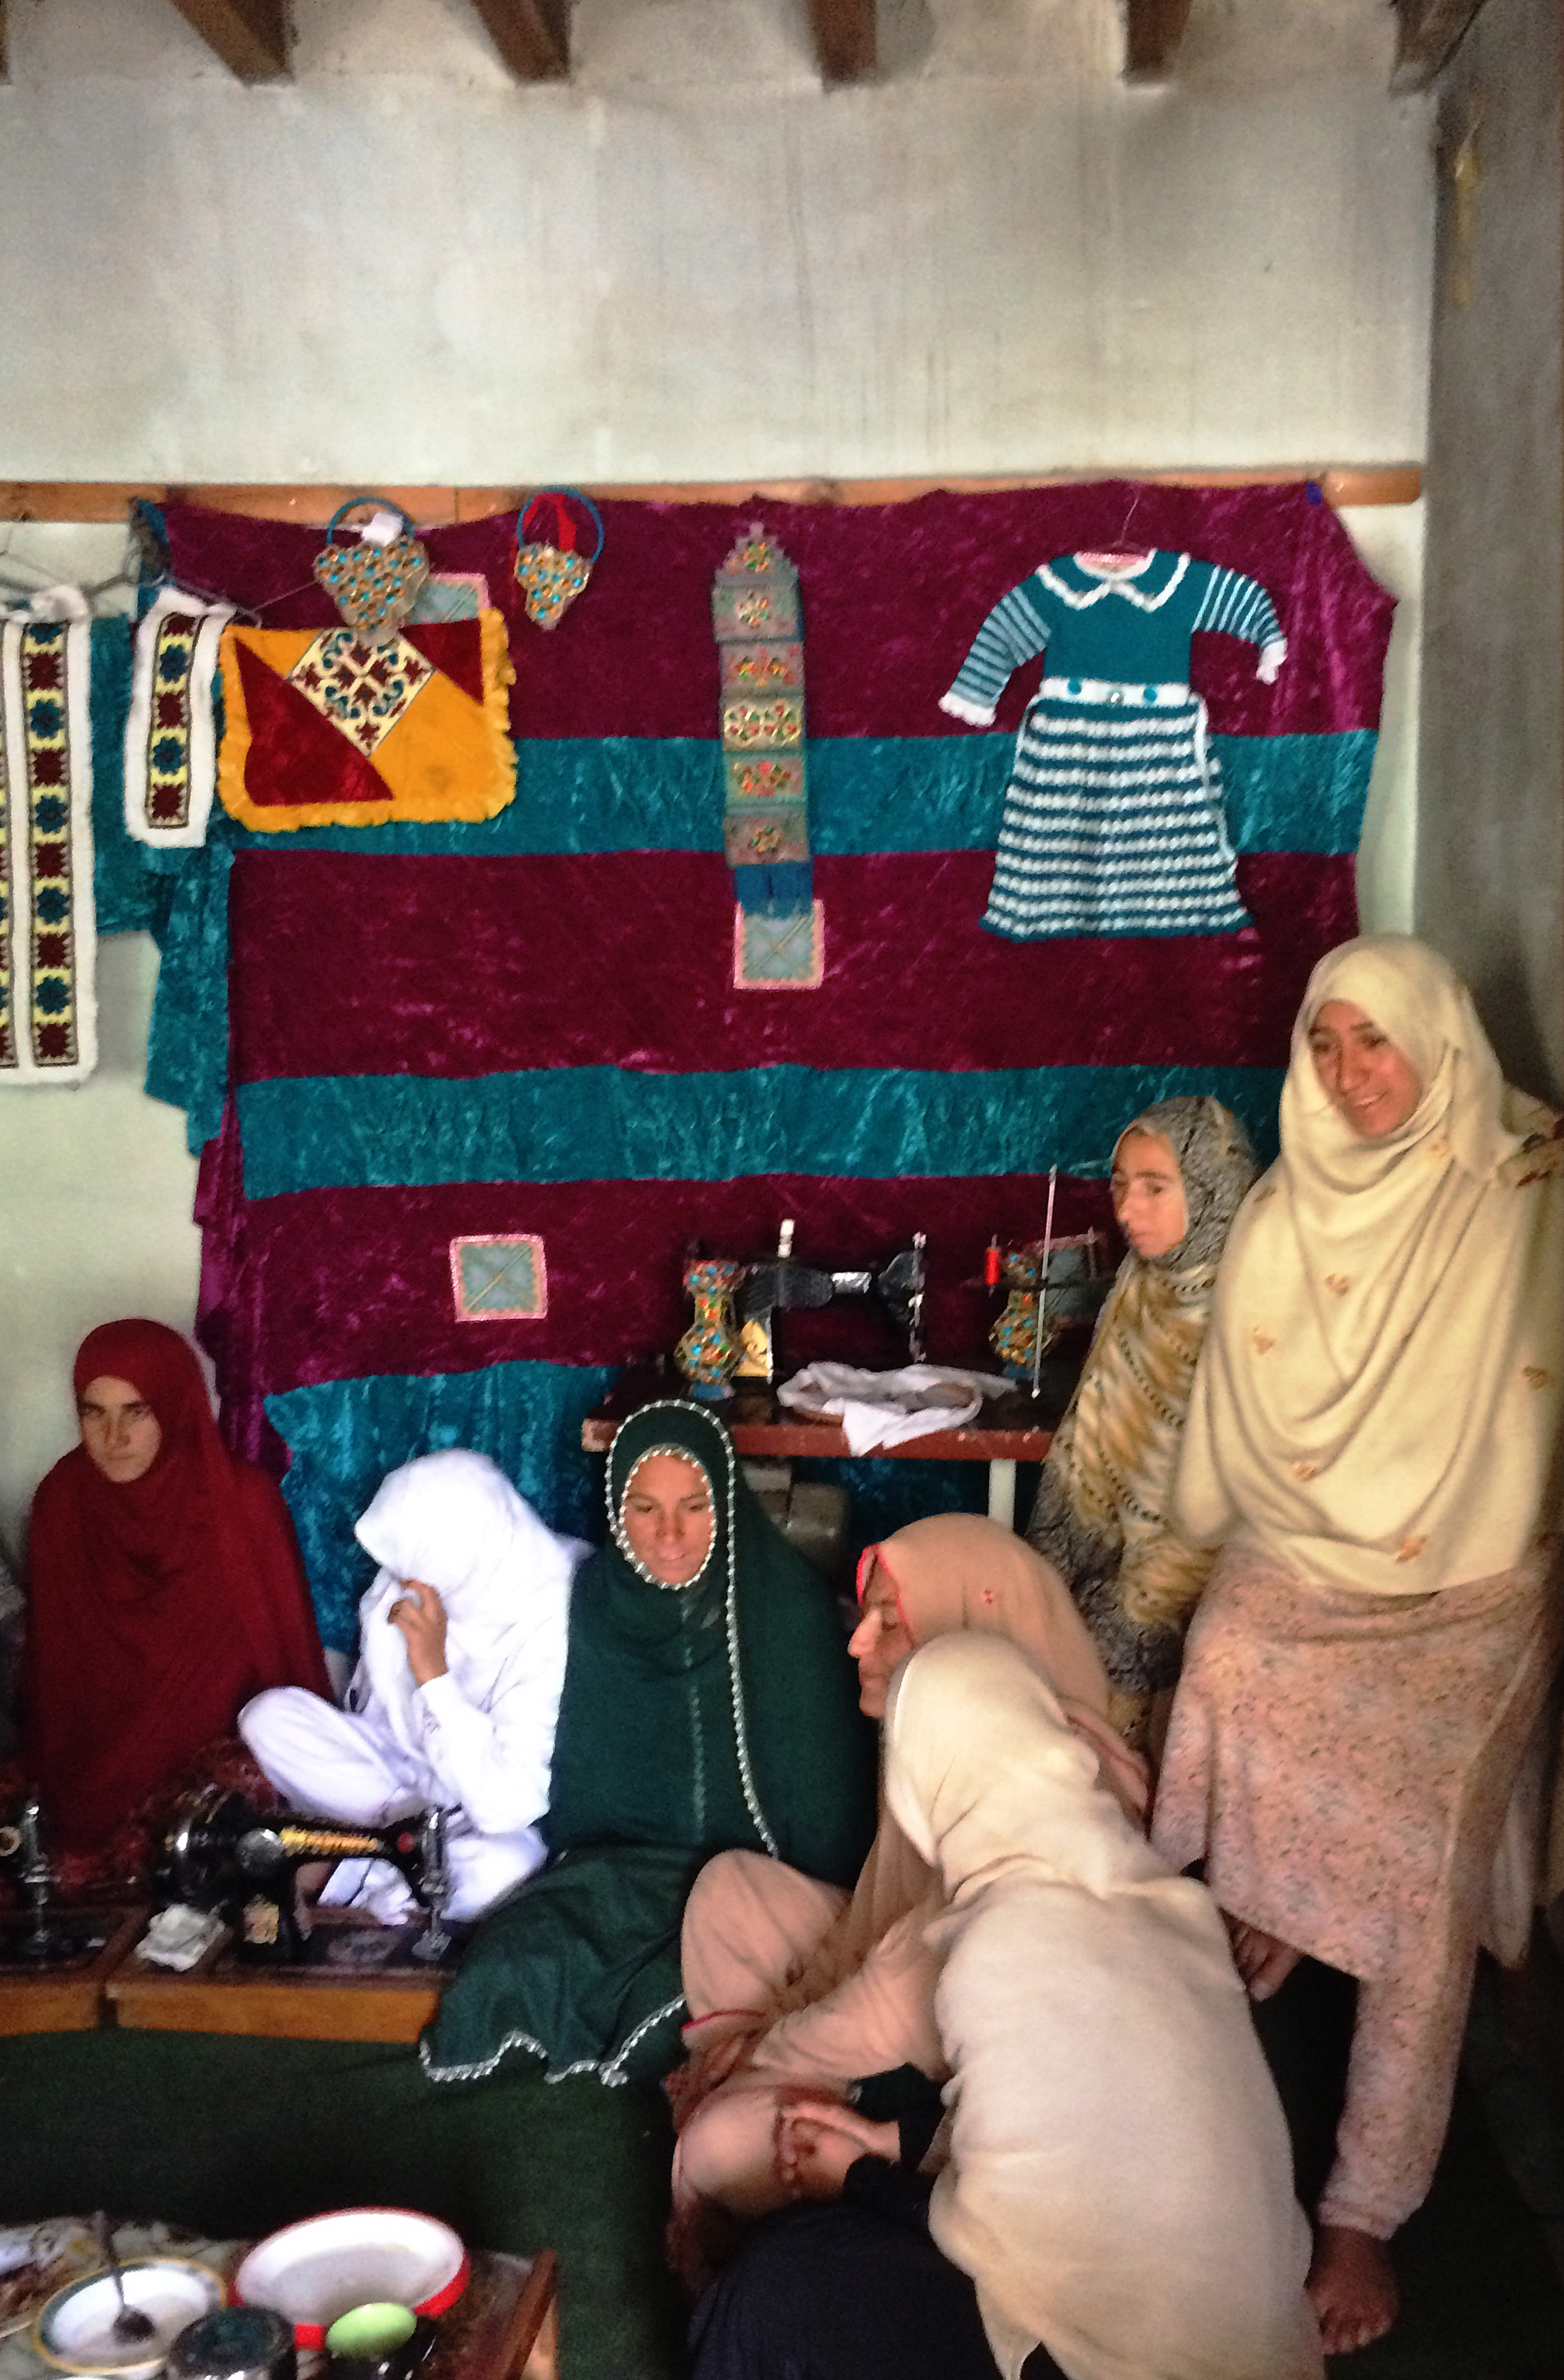
The Sewing Centre is housed in a small space provided by a village resident.
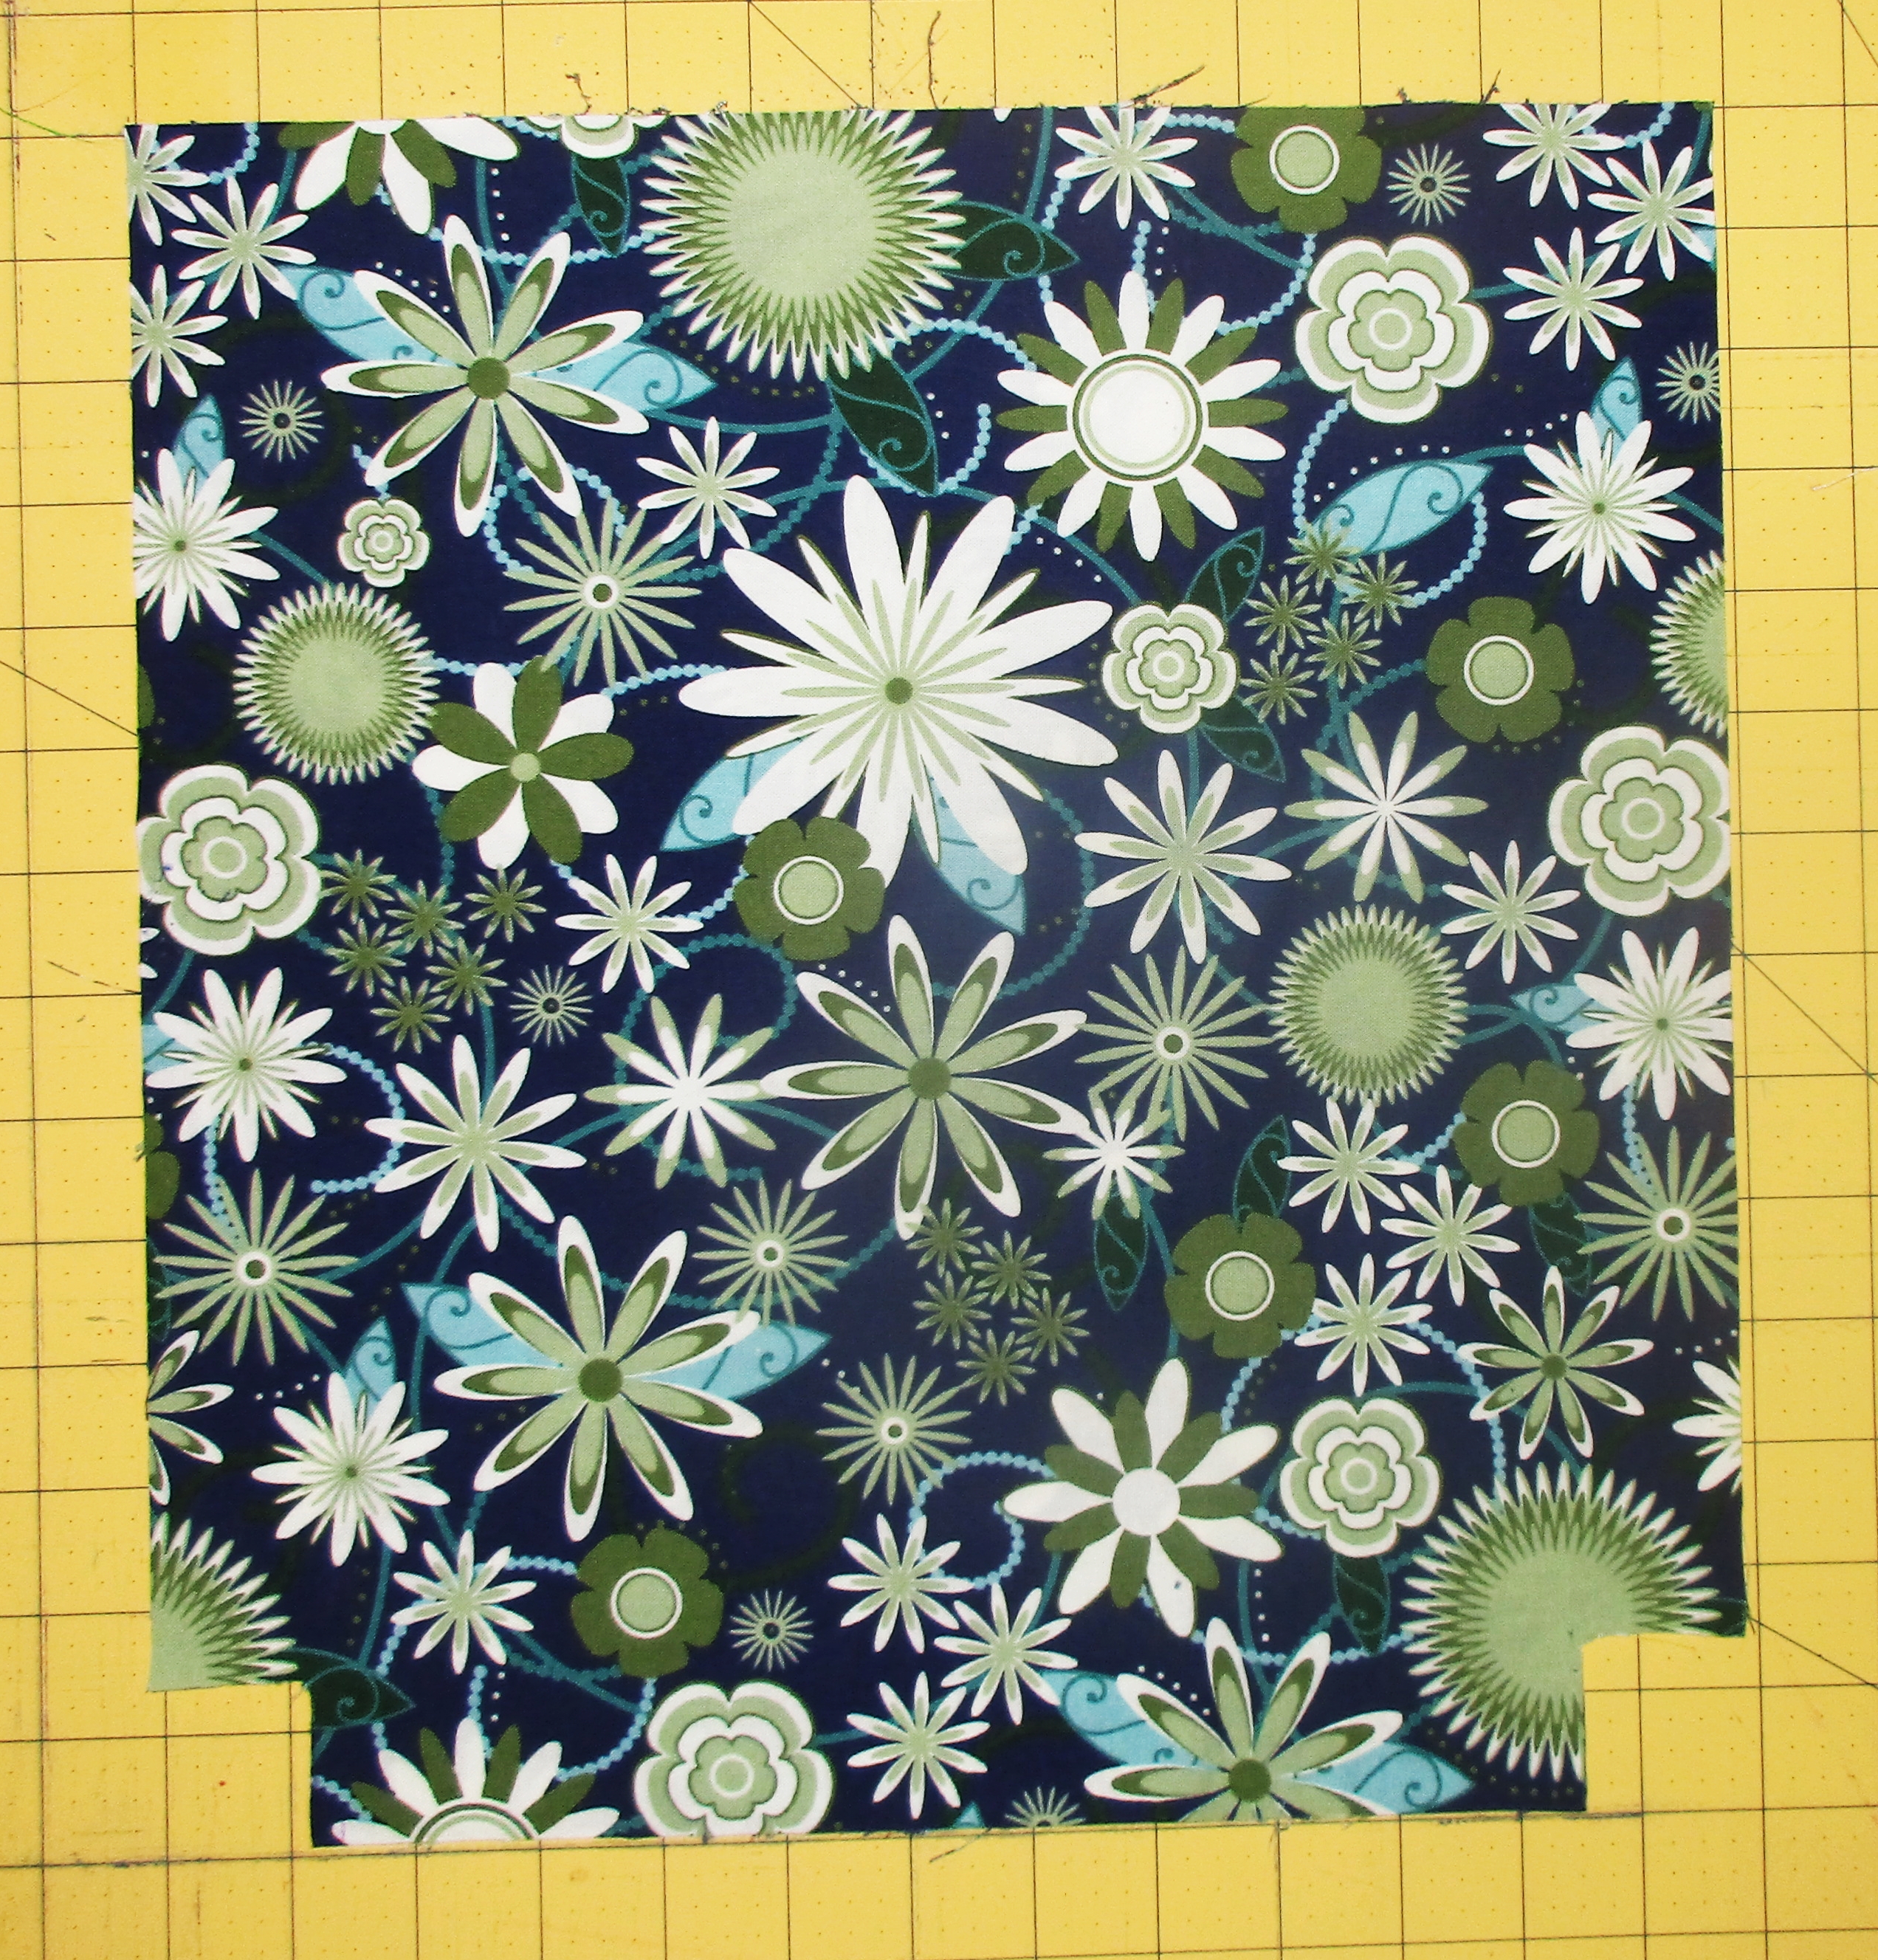
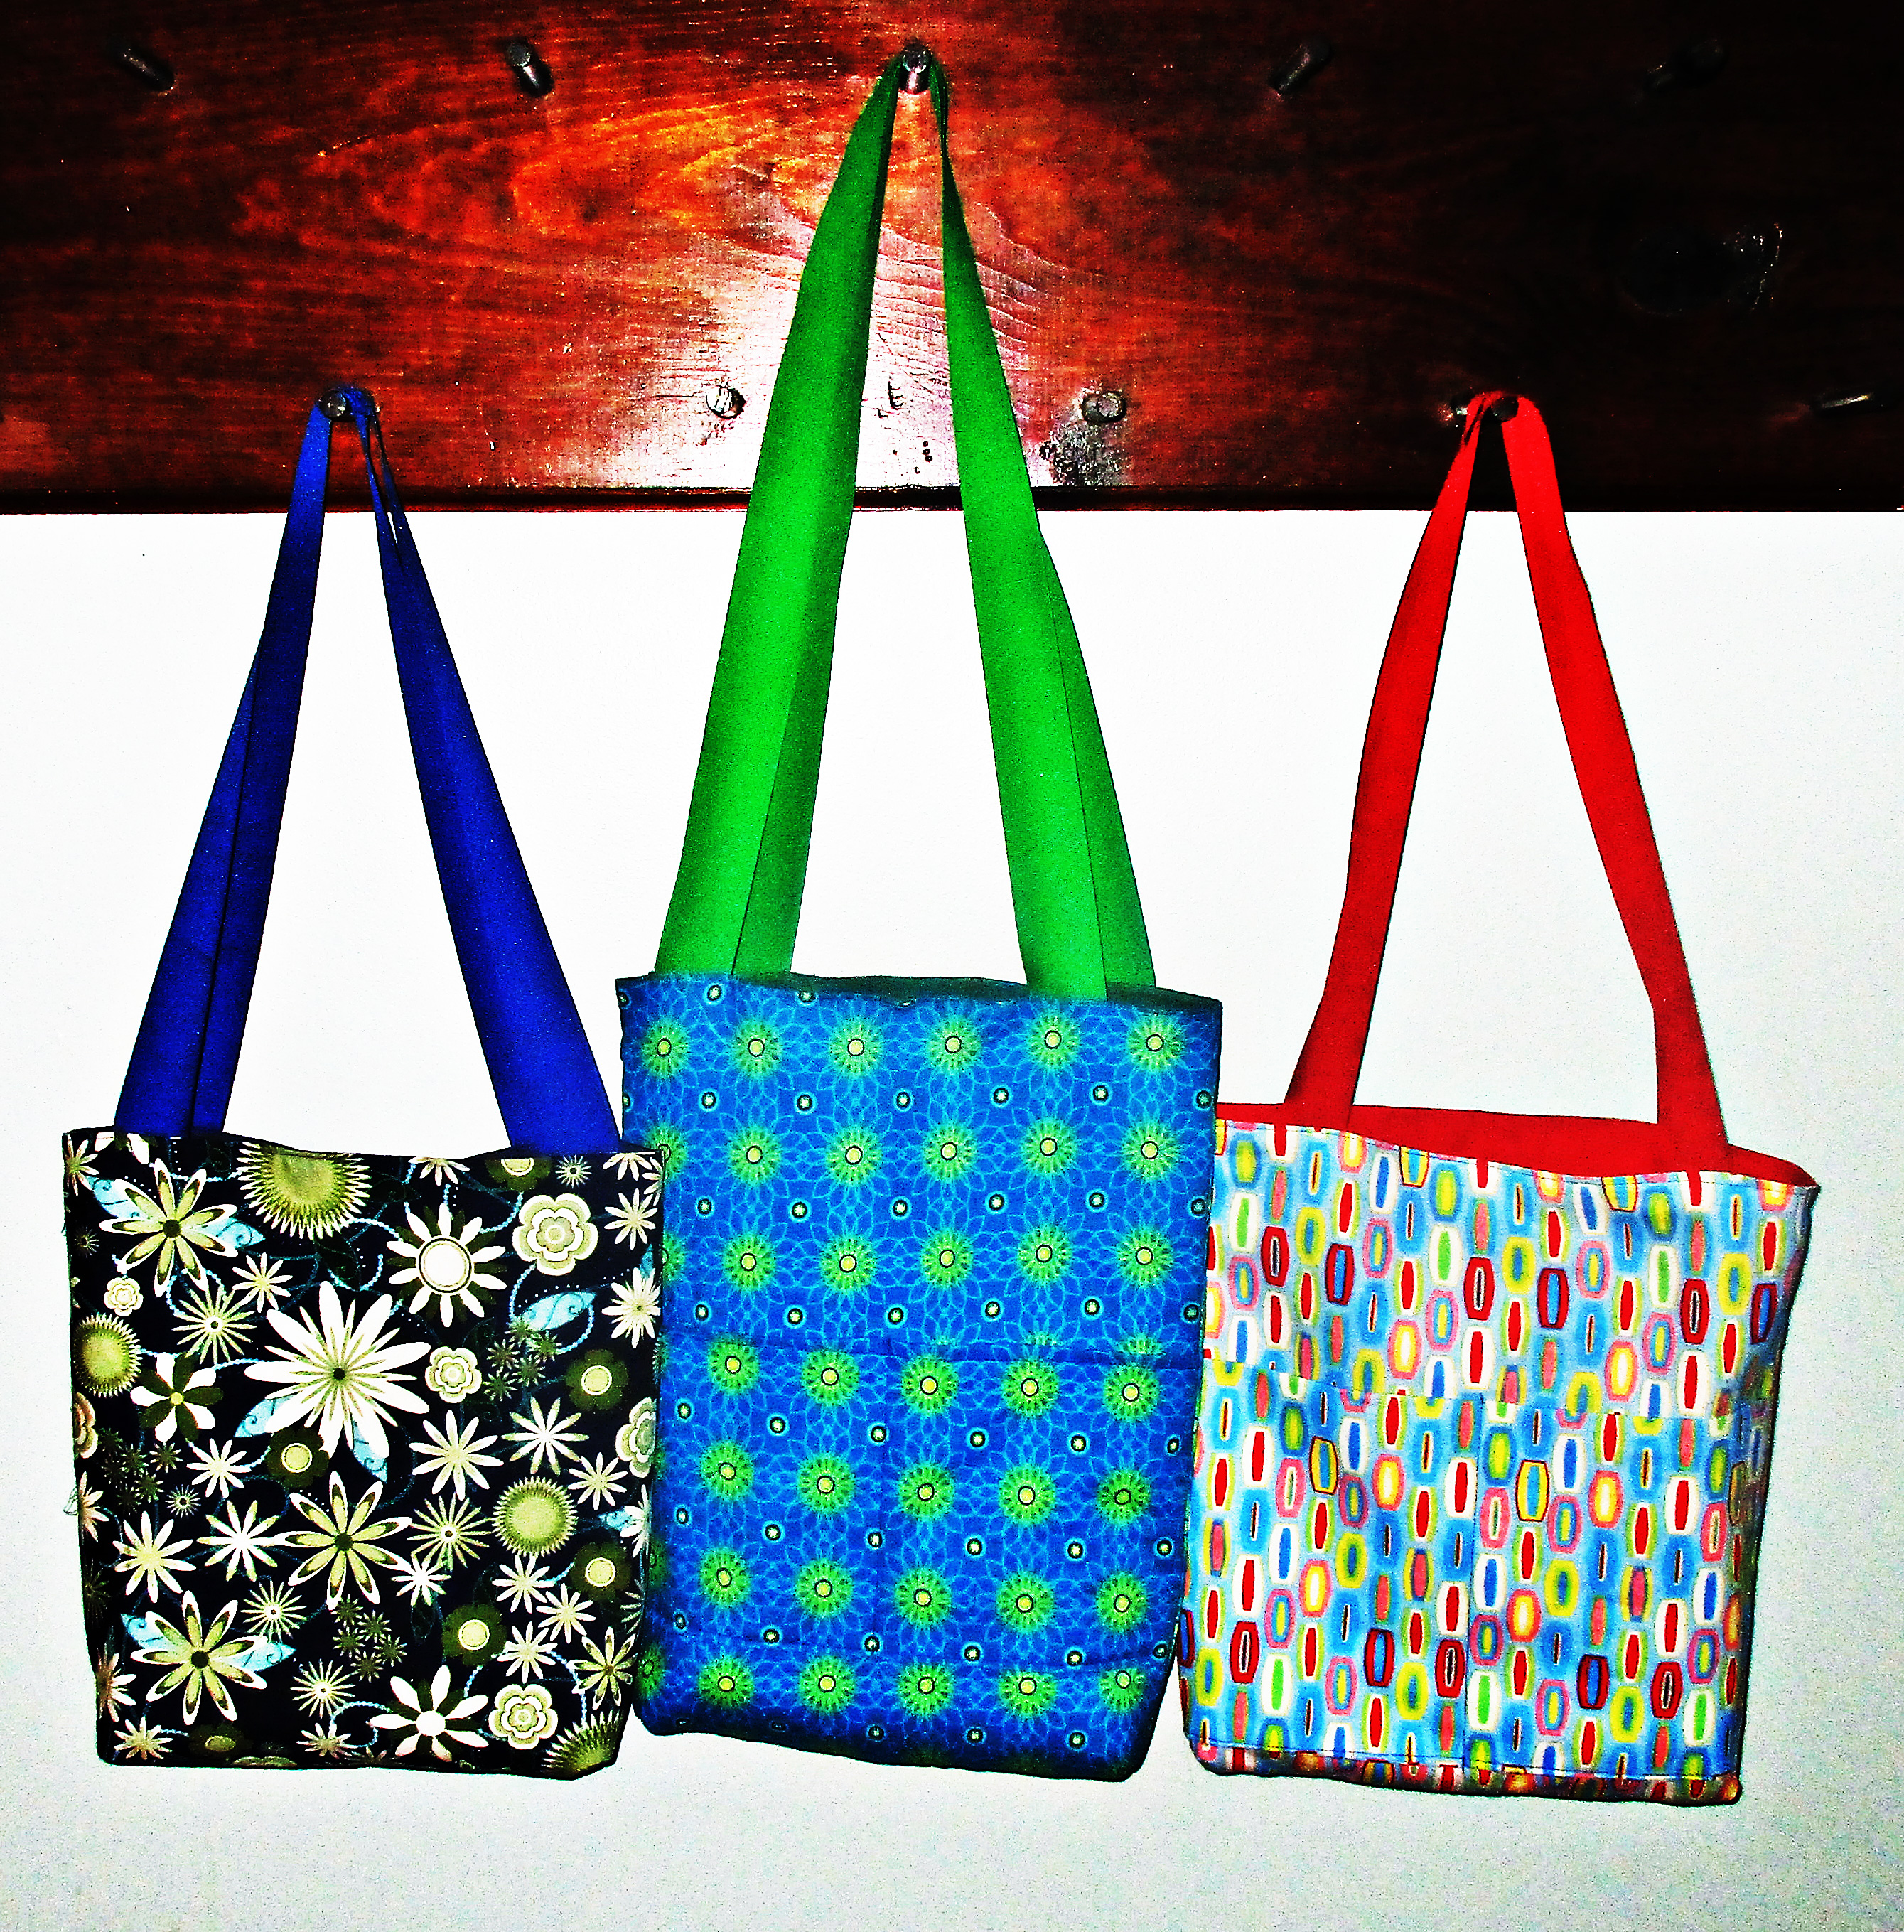
The Sewing Centre is housed in a small space provided by a village resident. The room is not very large at all, probably about 12-14 feet by 6-8 feet and there is no electricity. All the machines are treadle or hand operated. Only two of the machines were in cabinets – the rest were on the floor. They were all the old black Singer style machines in wooden cases. The women sit on the floor (or at the limited available tables) to sew, creating all kinds of garments and decorative textiles, a sampling of which hung on the walls of the room.
Little women
The women cooked breakfast for us the day we visited and we ate on the floor surrounded by their machines and sewing projects. The director of the Centre, a man, told us that they were hoping to acquire an overlock machine in the future. I wondered how that would work without electricity but didn’t get a chance to ask my question. Two of the women, the teachers we were told, sat in the corner of the room while we ate. They spoke quietly to each other from time to time but, as is often the case in Pakistan, they never directly addressed us.
I was the only woman in the cycling group of 7 plus 2 male Pakistani guides. We made eye contact, me and the two women in the corner, and they grinned at me when I waved.
After we ate, all the women who were enrolled in the sewing course, filed into the room to sit behind their machines. Everyone took pictures and the Director continued to talk about the women and the centre and what they were learning and what kinds of things they made.
Cultural differences
I tried to convey how I really enjoyed meeting the ladies at the Sewing Centre.
The men in my cycling group stood at the doorway and took photos of the women and their machines. I took some too but, after the men had gotten all the pictures they wanted, I went in to talk to the women directly. None of them knew much English and I, unfortunately, know very little Pakistani.
I did have pictures of my sewing machines and my studio on my phone though and I showed them those. One by one, as they scrolled through my photos and realized I sewed also, they smiled and grasped my hands, laughed, and talked excitedly with each other. I desperately wished we could communicate better. I wanted to talk to them about sewing, about the garments they made on machines without electricity. I also sort of wanted to apologize for all of my male companions taking photos of them as if they were in a zoo though I knew that none of them meant it that way. I also wanted to say that I wished they could tell me about the Centre in their own words, without the editing of a male spokesperson. But I couldn’t. So I had to settle for showing them as many pictures as I could and trying to convey how I really enjoyed meeting them and how much respect and admiration I had for them.
I wished that we could all sew together. I wished they were allowed to have their own voices in rooms full of men. I wished there was a way I could tell them how amazing I thought they all were. I wished they lived in a world where it was ok for women to talk to men freely, where they could look anyone they wanted in the eye, speak their minds. I wished they didn’t have to stay silent while someone described their lives. I wished I could spend more time with them but the group was getting ready to cycle on.
And so I got up to say goodbye. And every single one of them got up as well, hugged me as I left, and looked me directly in the eye, one tailor to another.