Hi Ya’ll, good to see you!
I hope you are well and staying out of the heat! It is definitely summer in Texas today!
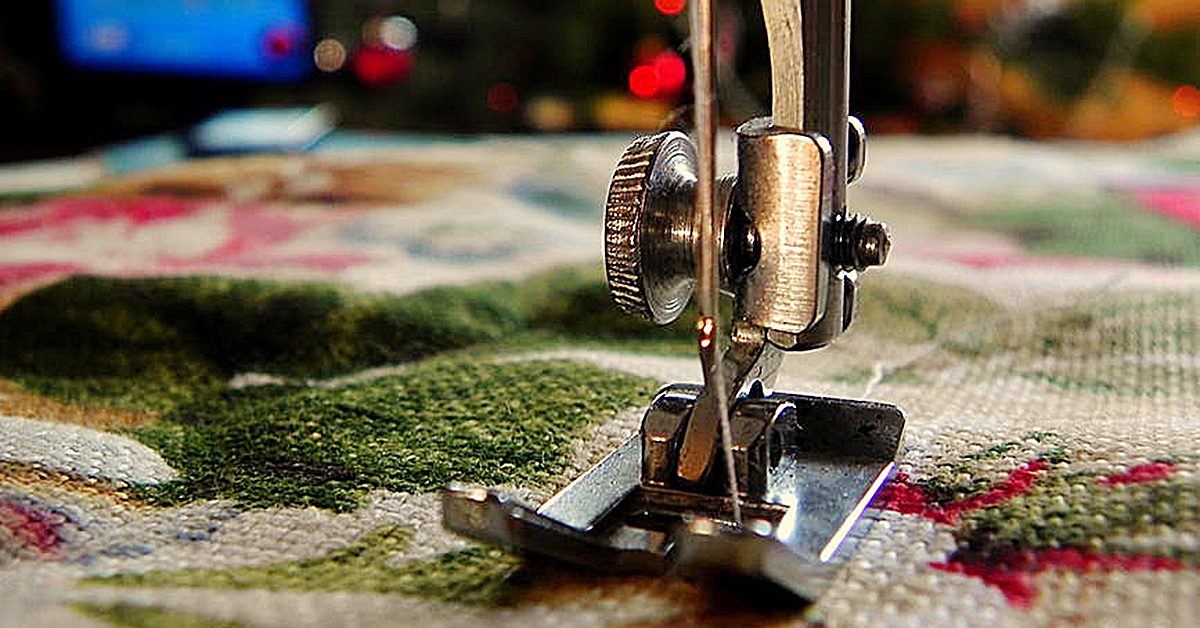
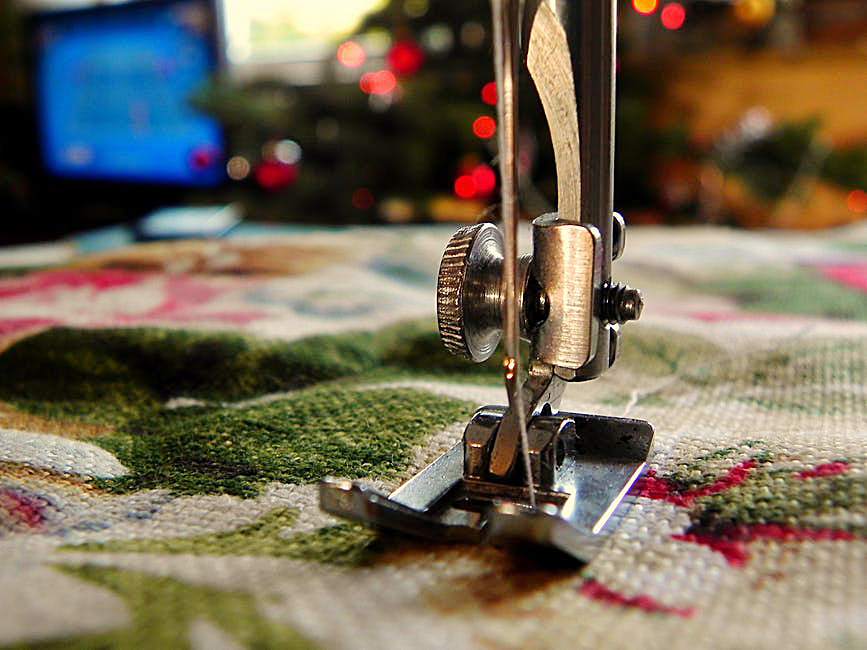
The last time I wrote I hoped to inspire you to take a step or two out of your comfort zone and try some applique projects with a great tool called the AccuQuilt GO Fabric Cutter. I hope you checked them out here at SewingMachinesPlus.com for the one that would suit you the best.
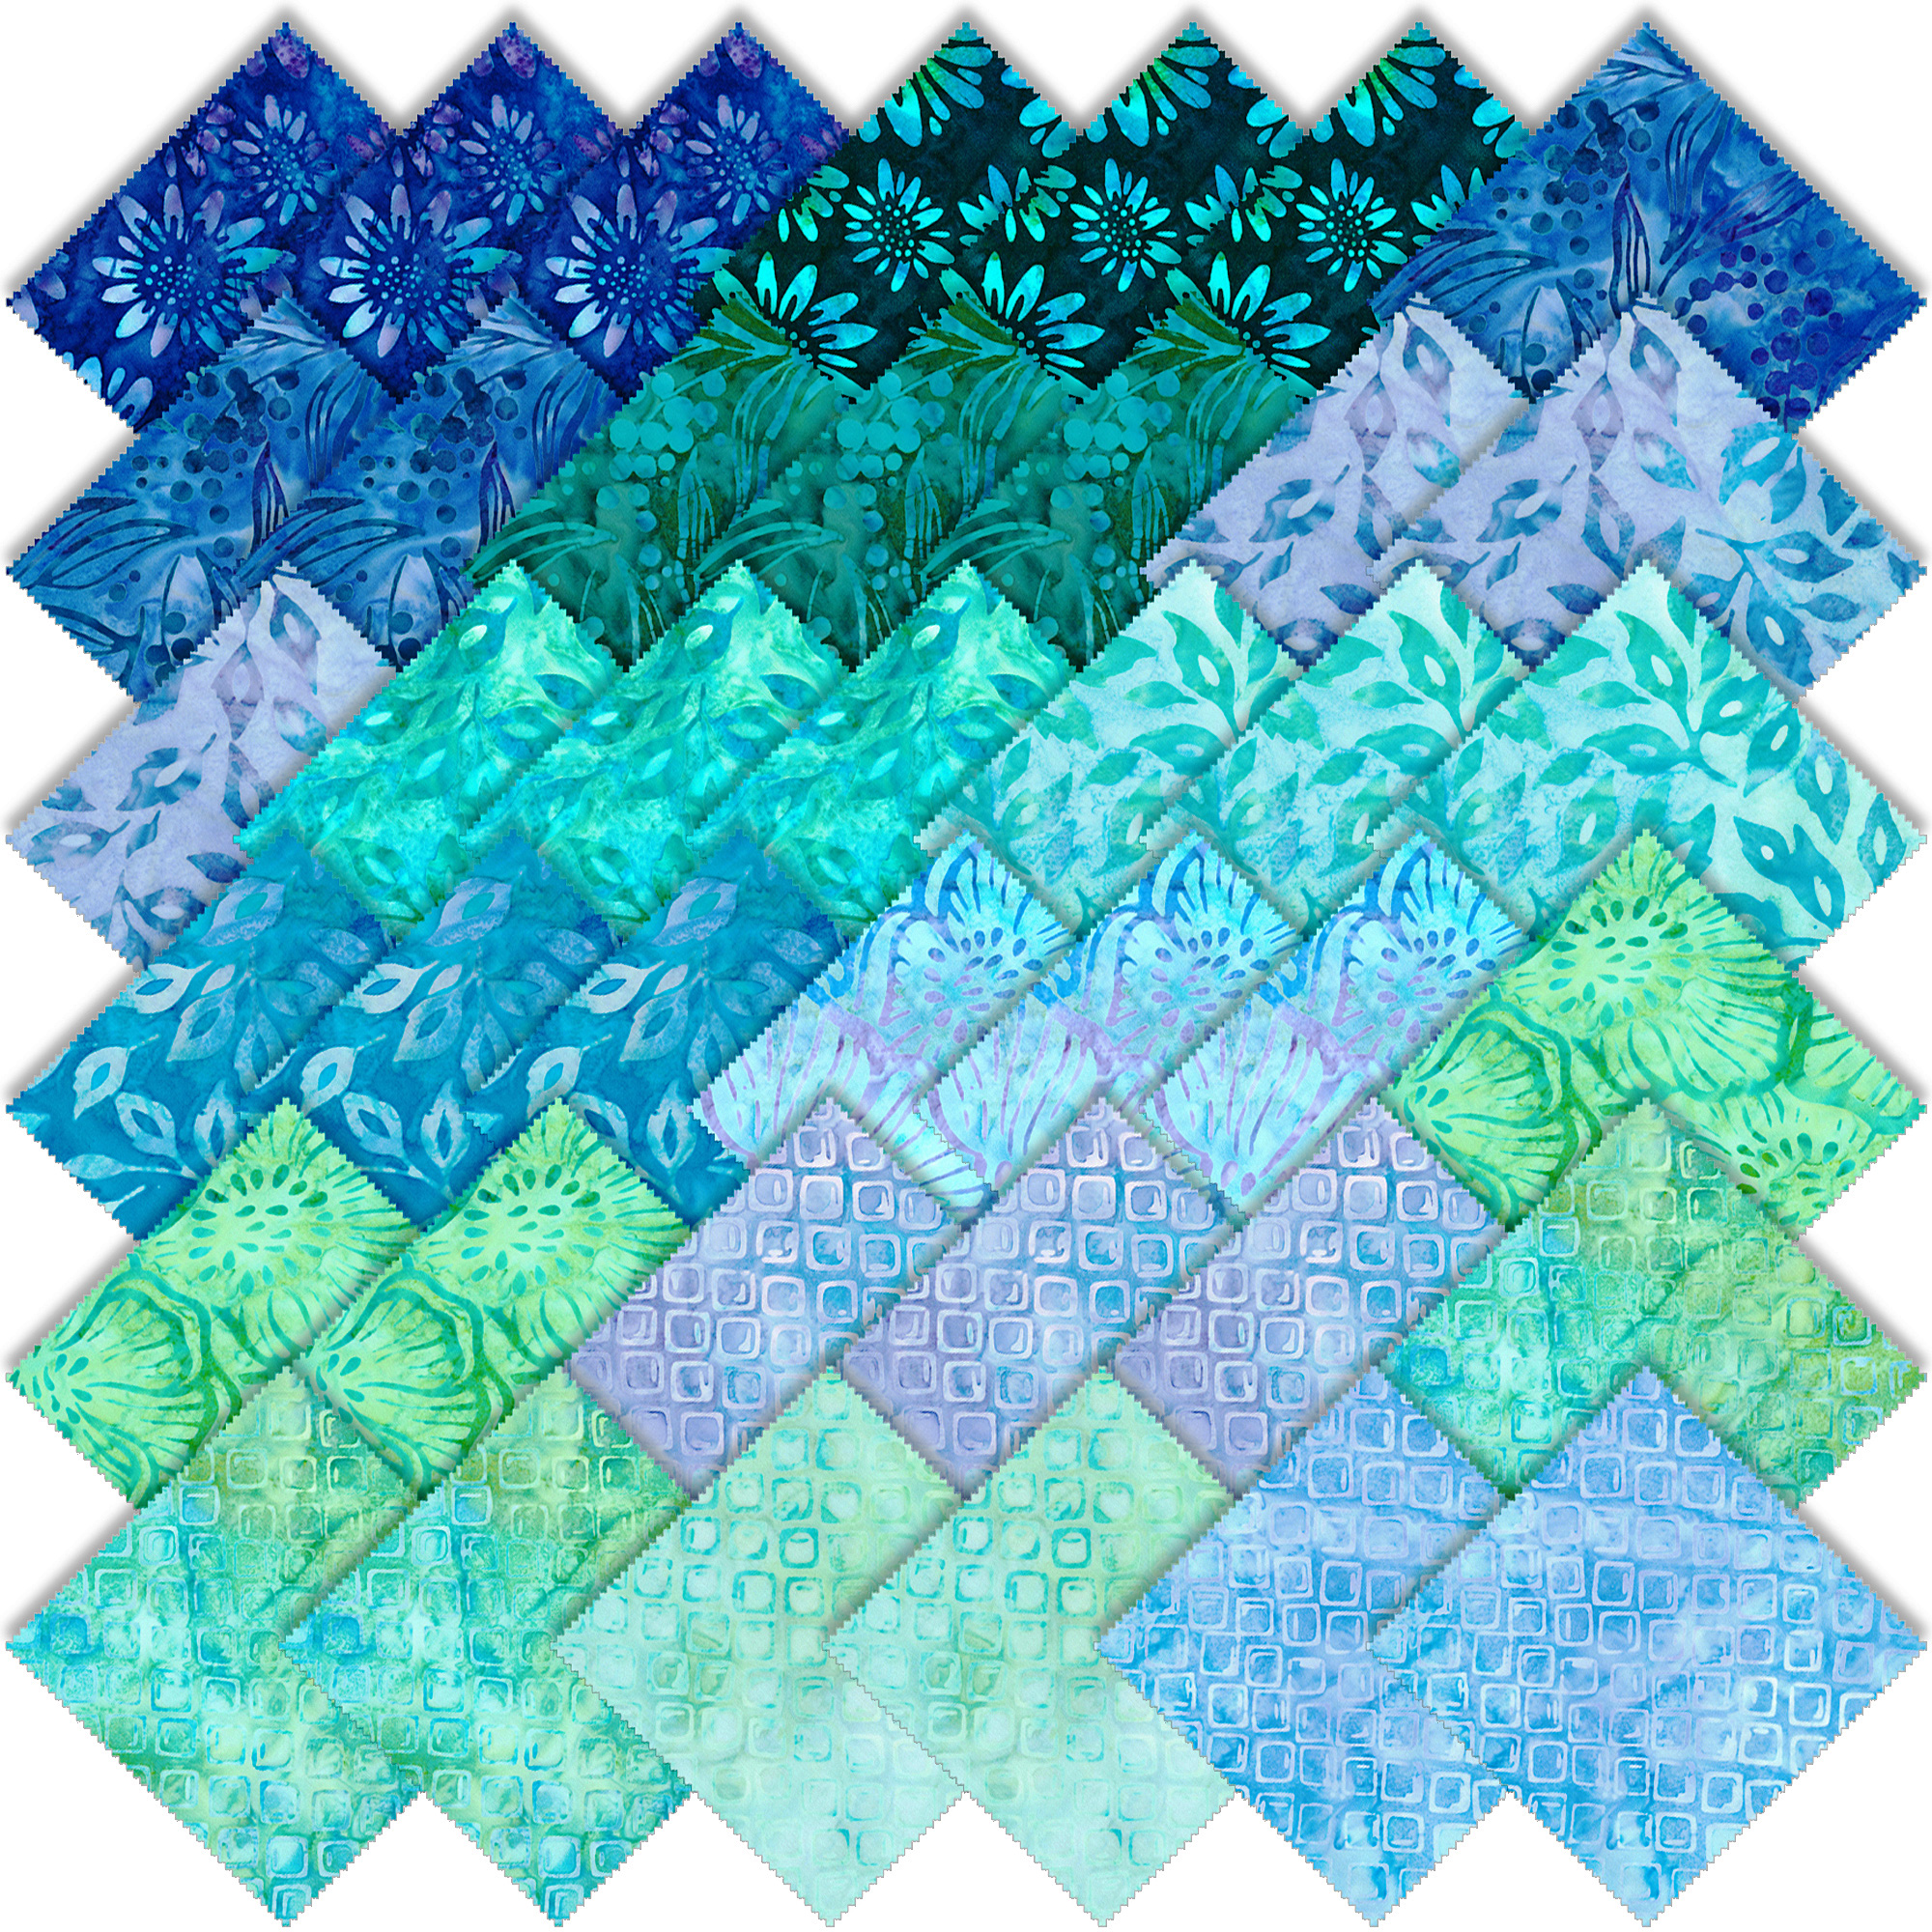
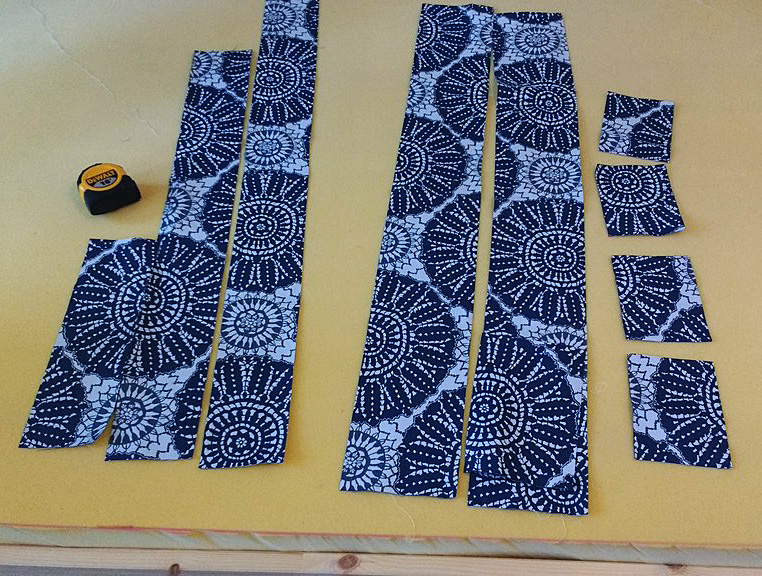
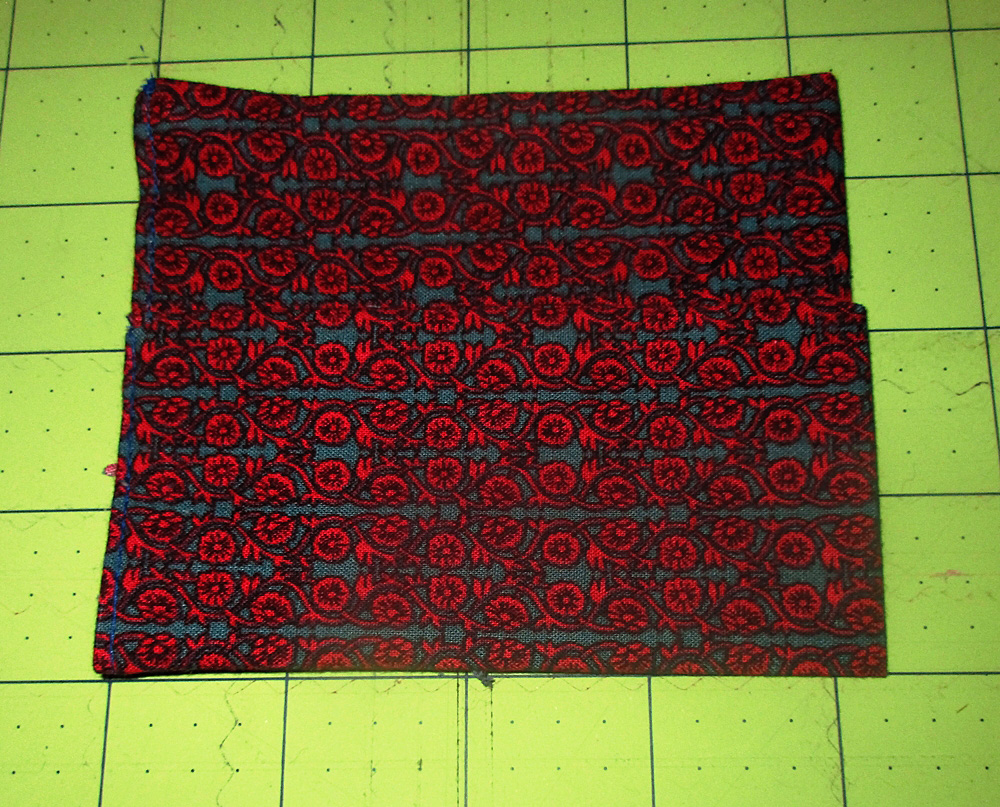
Let us talk about my fabric obsession today. It is called Batik!
The reason for my suggestion of trying “improvisational” quilting or one that you create yourself, is that it brings much satisfaction knowing that no one else has put together the fabric combinations that you love. the best.
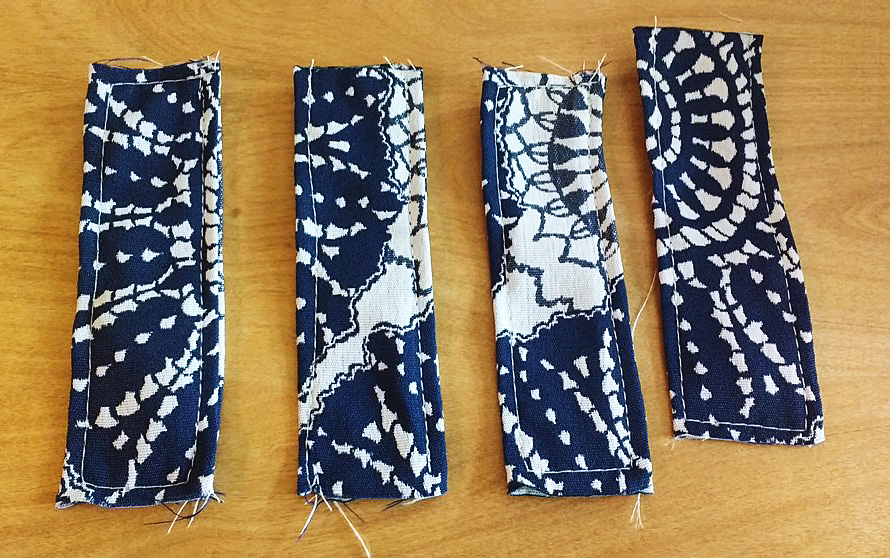
Let us talk about my fabric obsession today!! It is called Batik!
What is Batik?
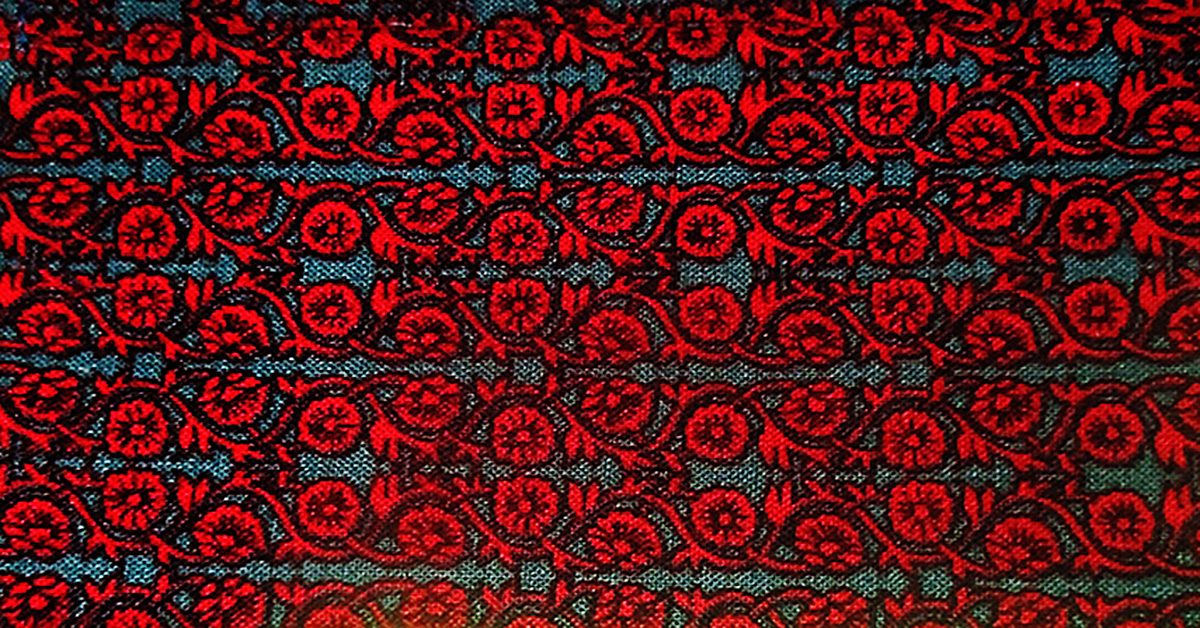
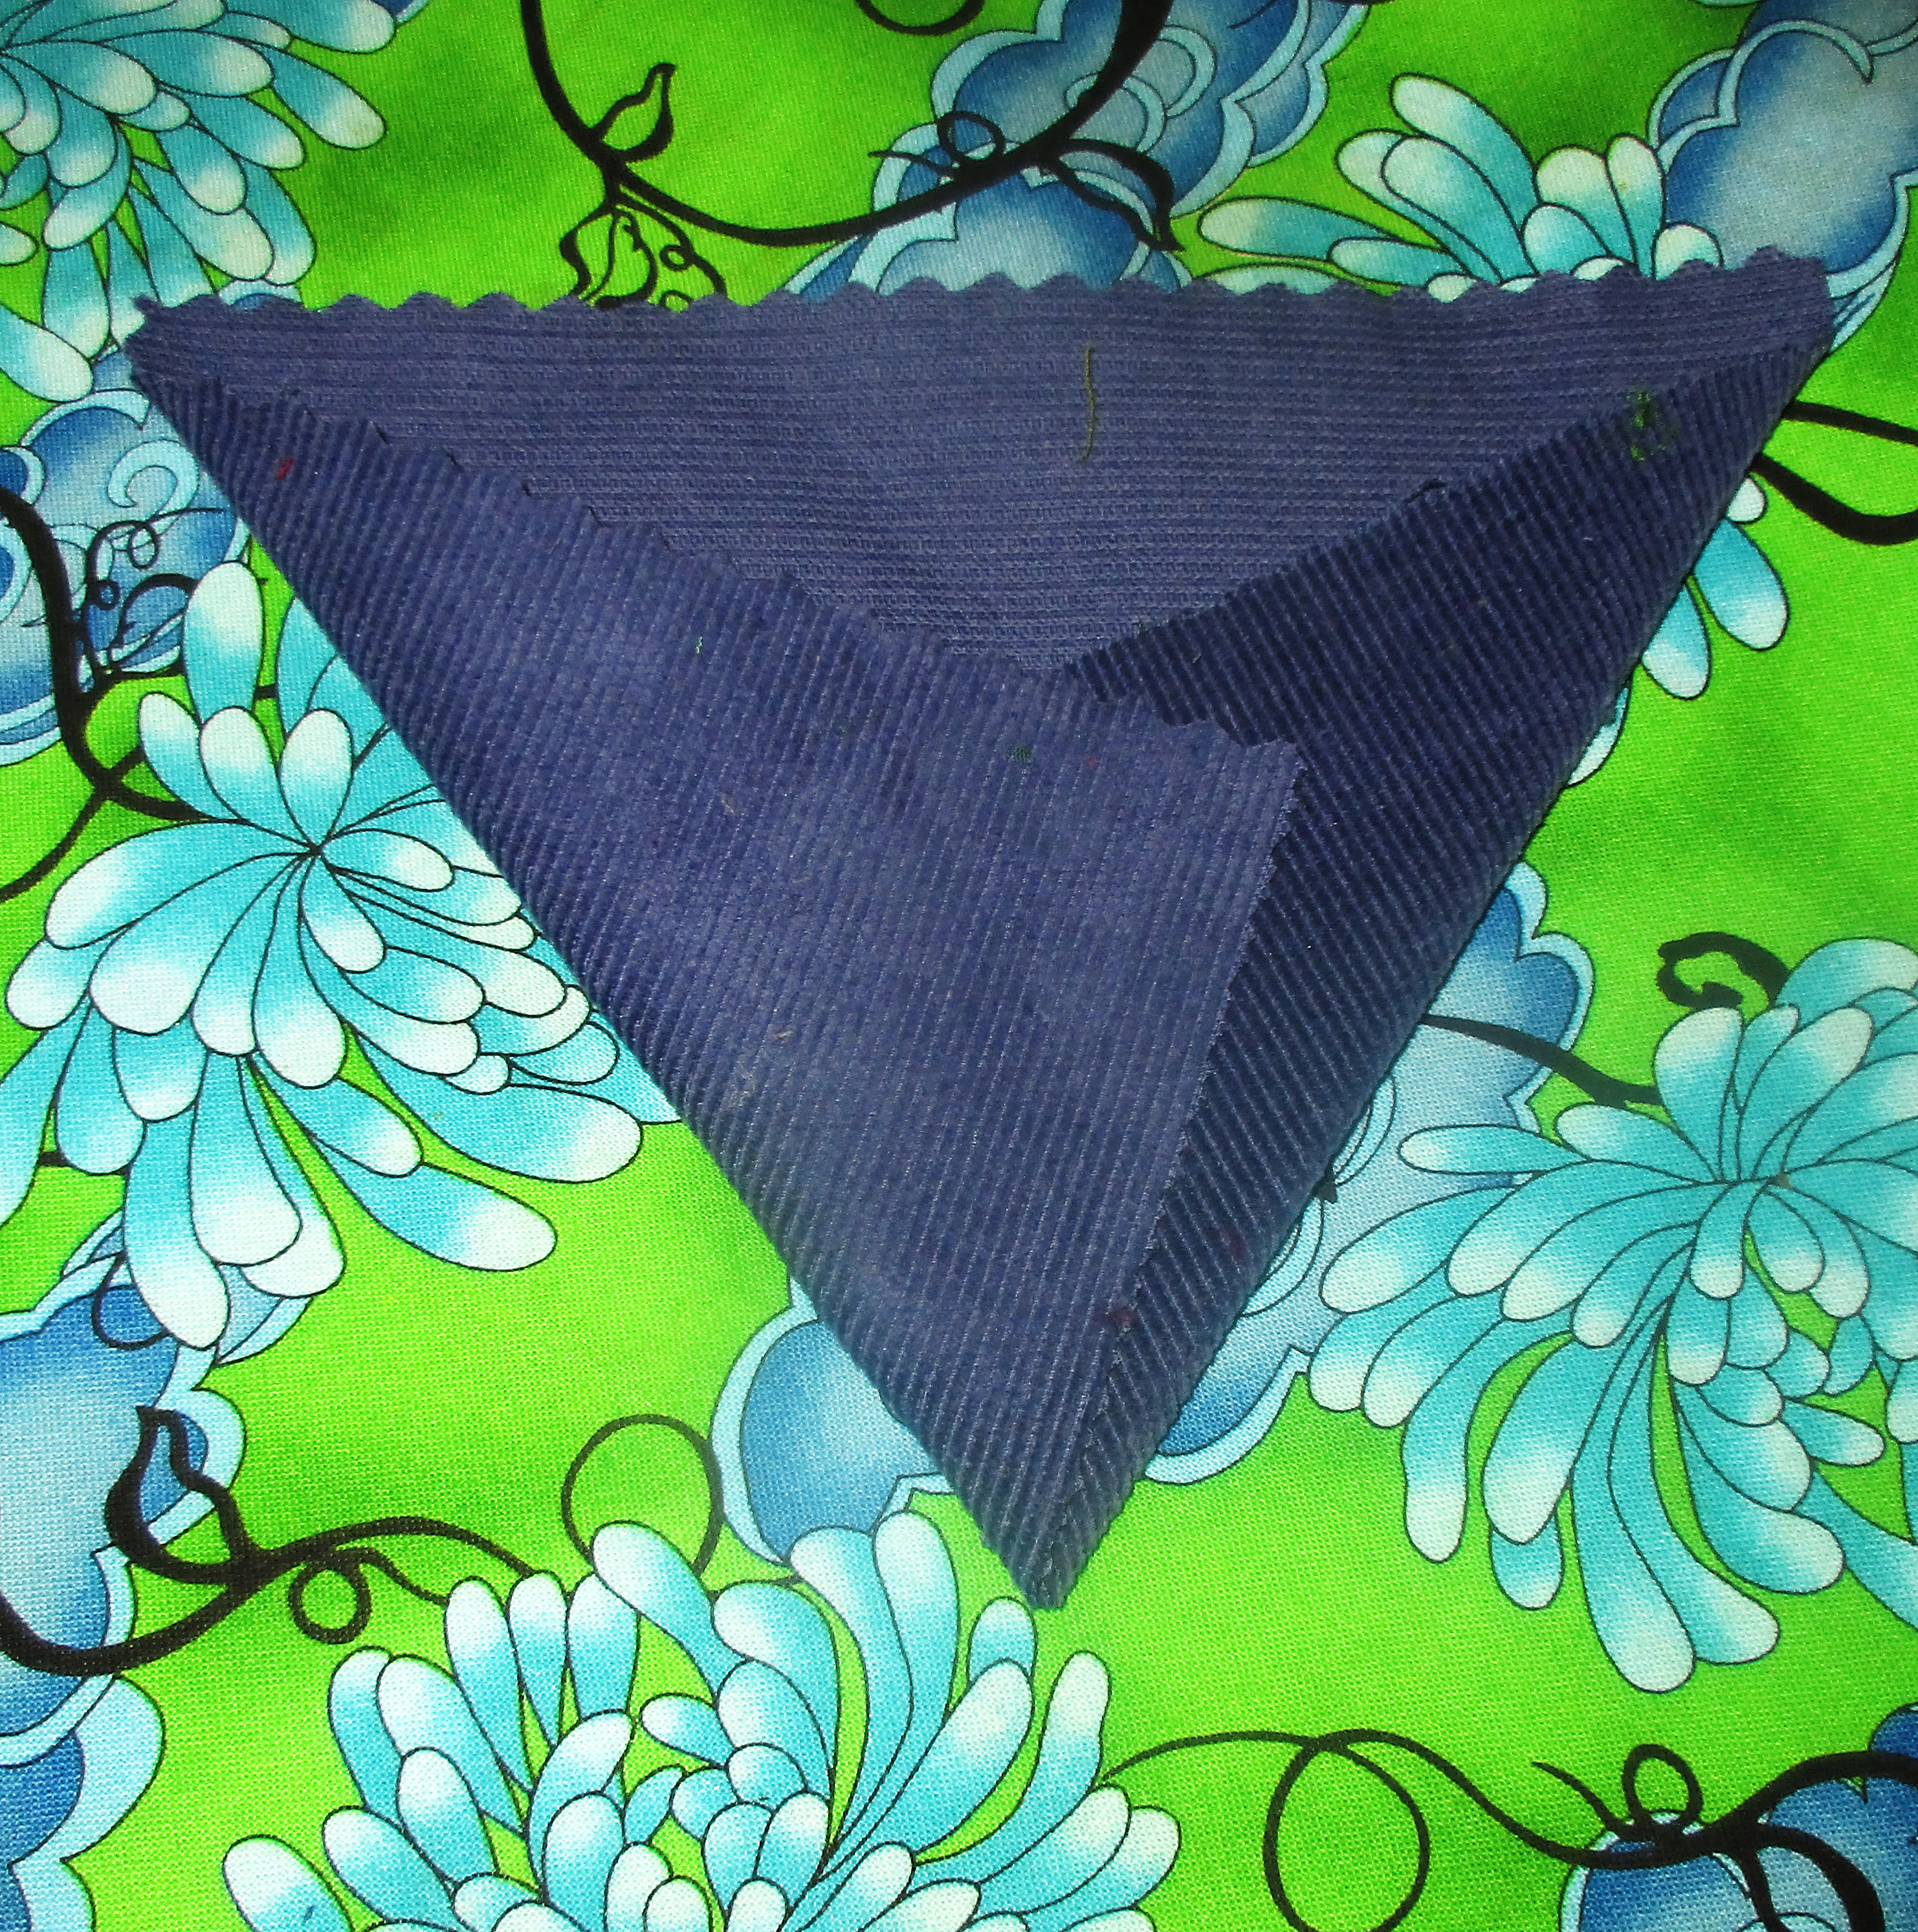
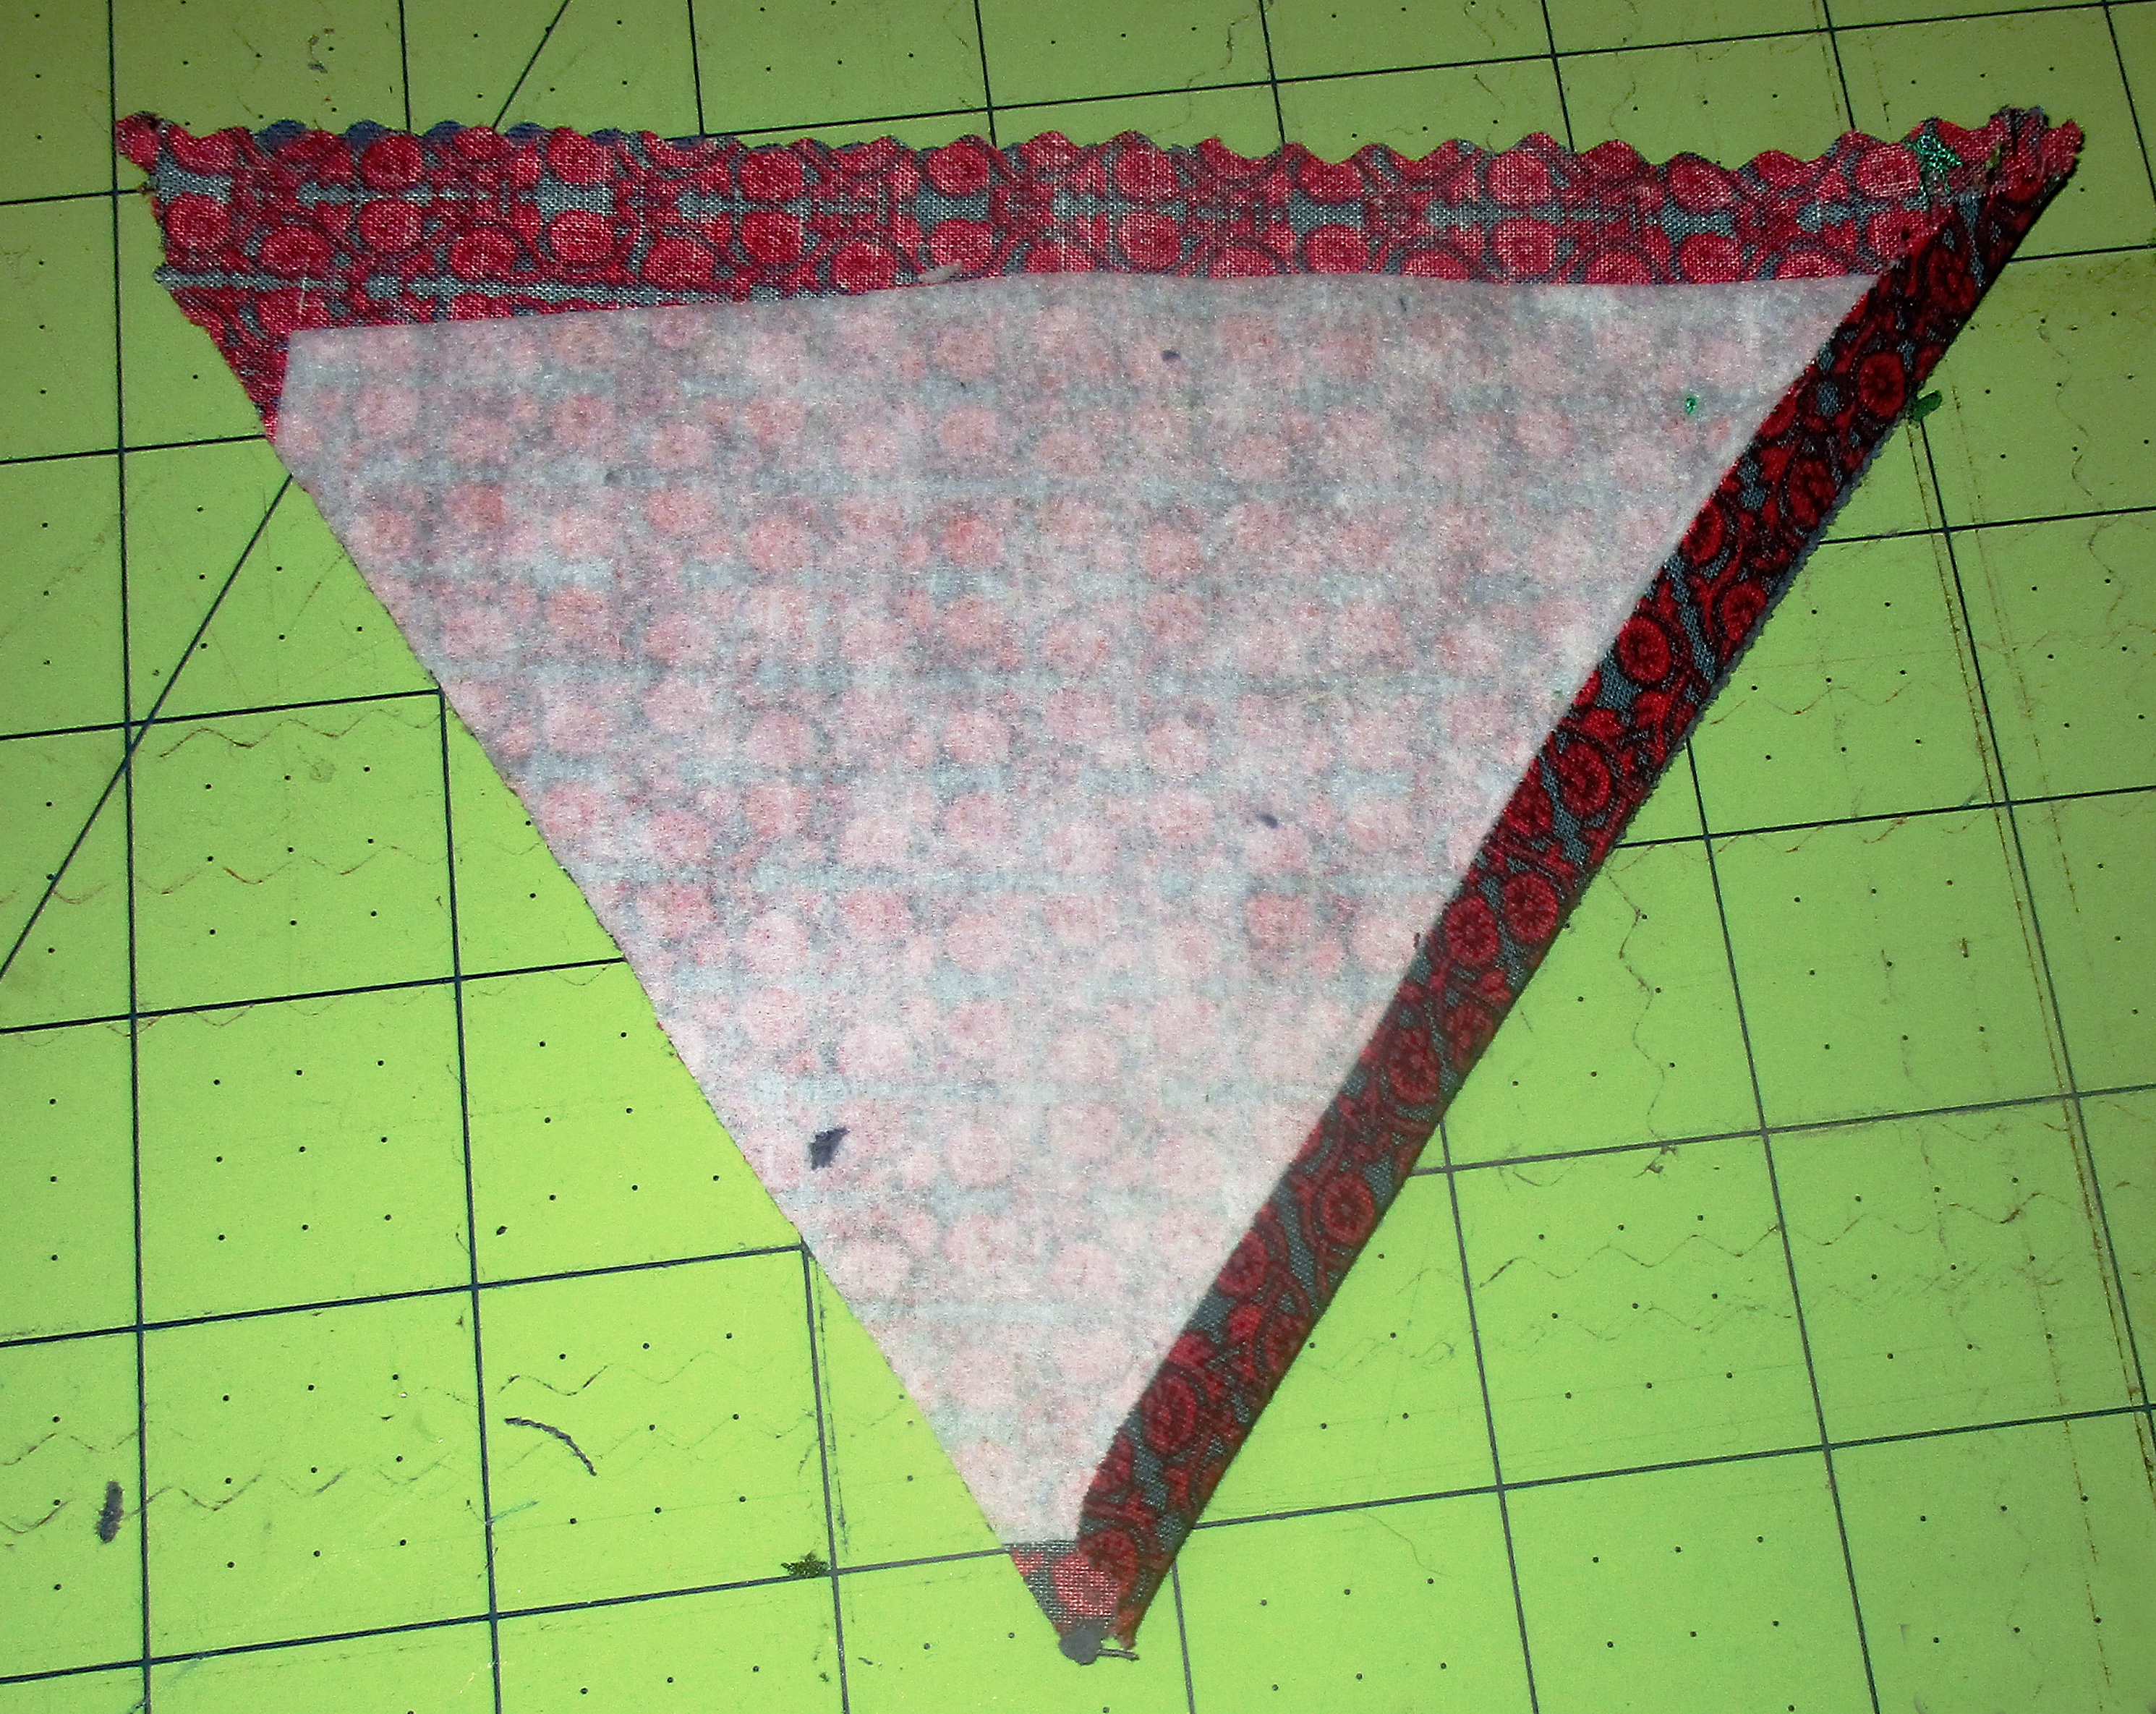
It is a hand dyed textile that is made using a wax resist technique to cover some parts of the fabric so they are not dyed with the color. Selected areas of the cloth are blocked out by drawing or brushing wax over them and the cloth then several colors are used to dye the fabric.*
Contemporary batik, may have etching, stencils and different tools for waxing and dying and use things such as leather, paper, wood, silk or cotton to use in techniques to make the most expressive and subtle of wax resist projects. Note from the pictures above, some look like the fabrics tie dyed and others have small details. Using various amounts of colors, the textile looks printed, but in fact it is hand drawn places of wax resist, it becomes a unique piece of art.*
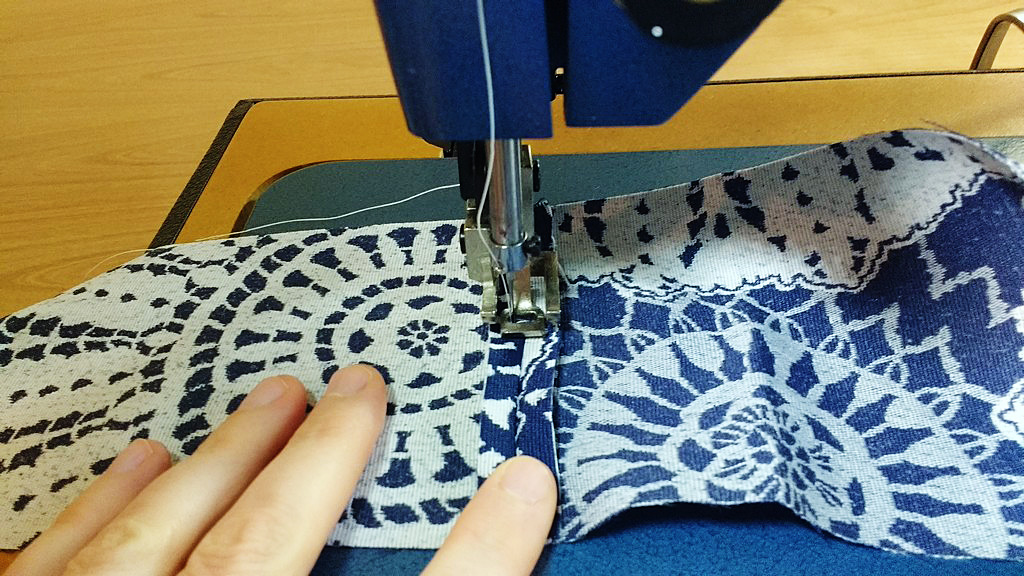
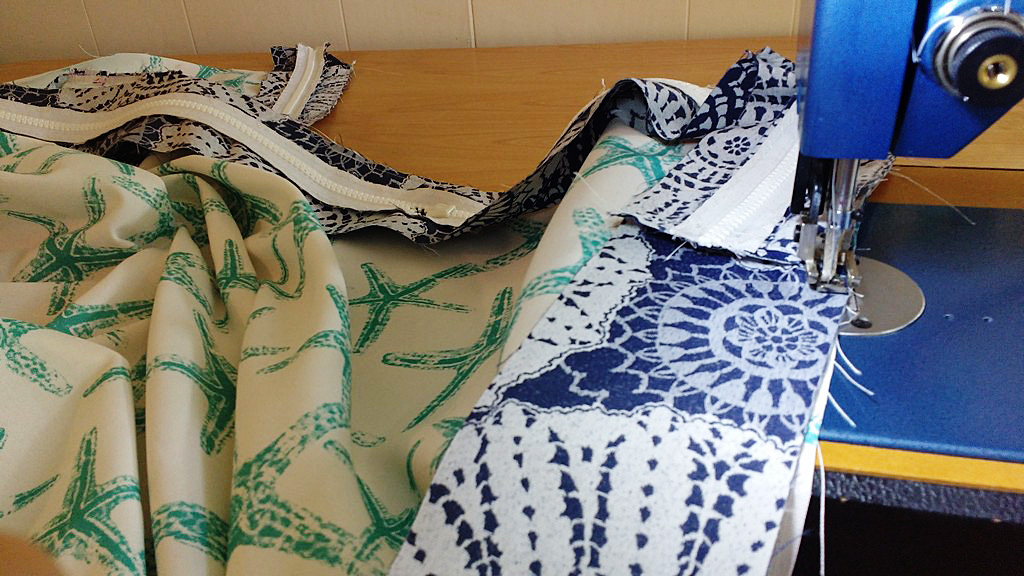
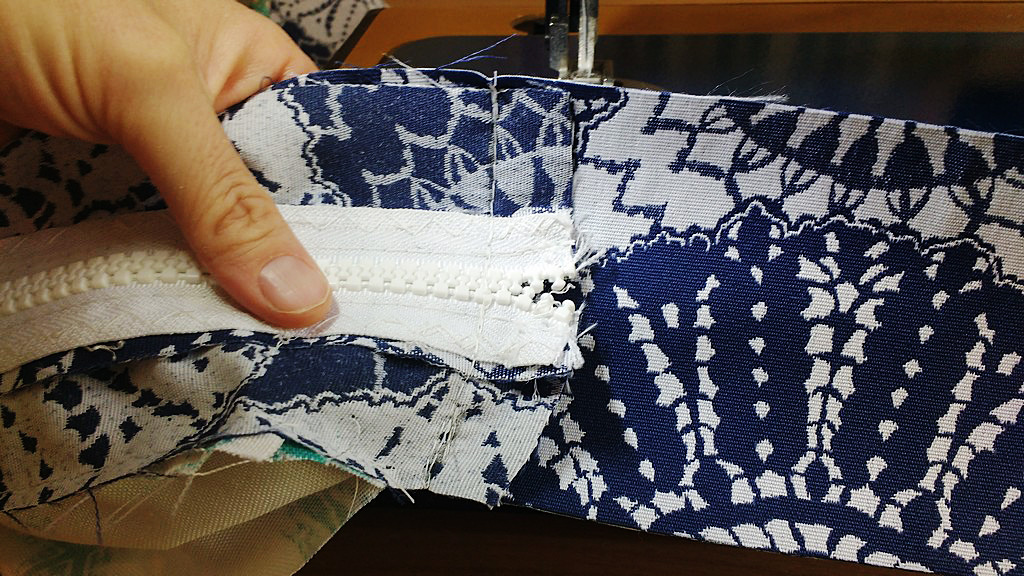
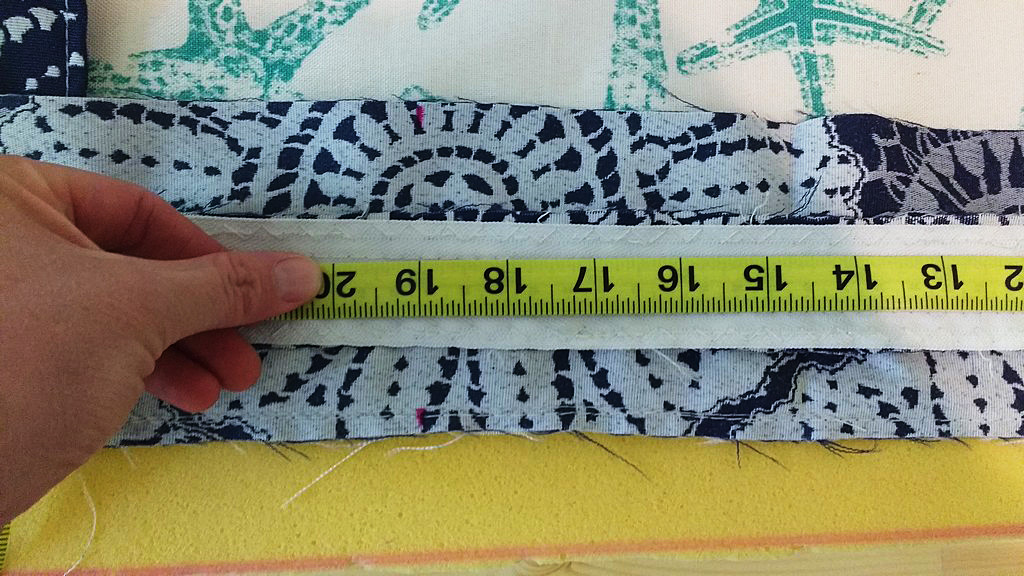
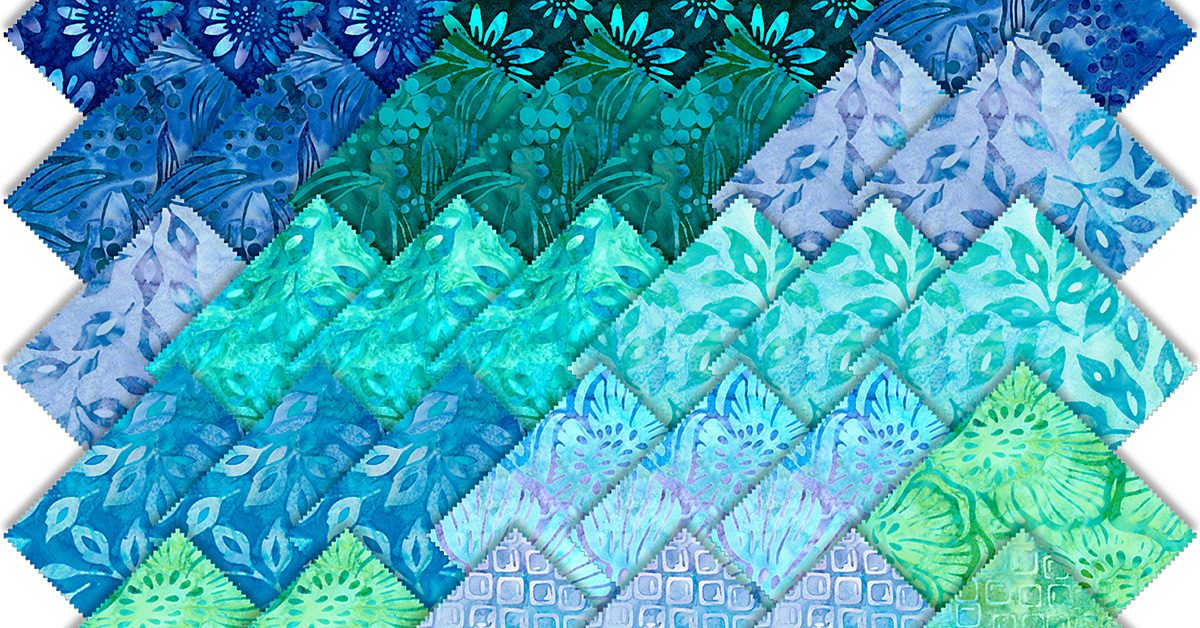
Today, keeping in line with those thoughts, I want to share with you some beautiful fabric that would be a great choice for these fabric cuts to design a beautiful quilt, utilizing the shapes you can make with the AccuQuilt Fabric Cutter. To keep it simple at first, just blocks or basic shapes or strips can be easy to cut and sew in patterns that you can replicate for your own taste.
Let’s go through the design stages. That’s the most fun!
- Check out the internet for new ideas about quilts
- Purchase magazines on quilting at the bookstores or online
- Many of the patterns look complicated, however don’t get discouraged. They are only for inspiration right now
- Depending on your quilting experience, play with paper and pencil and come up with a simple pattern using a few different basic shapes. Perhaps blocks and triangles or perhaps all strips
- Perhaps all squares or rectangles, it’s all your design
- Study the batik fabrics available in online fabric stores and curate your own choices on a design board. It is good to make notes on the particular fabrics so you can go back and order the ones you really like. Depending on where you live, you may be able to find fabric you love in the local fabric stores (I personally have purchased many yards of fabric and precuts online with no problems. It is like Christmas every time I order. Sometimes I get surprises!)
- Then play with how these colors look good together. There is no right or wrong. It is your creation, your taste
- Leave the palette alone and come back to it to see if your color choices still suit you. If not, play some more
- Cut out color combinations from magazines that you admire. Once you are happy with your plan, look for fabric, order online or purchase
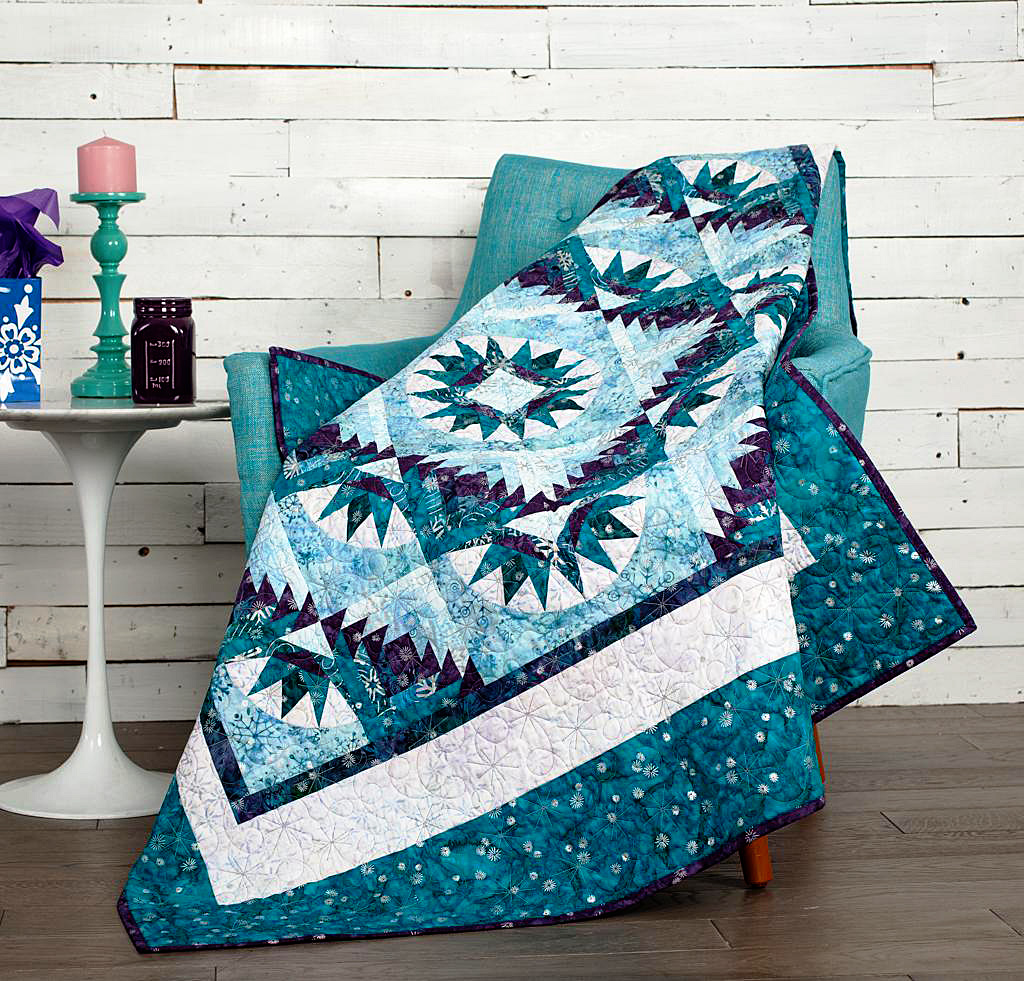
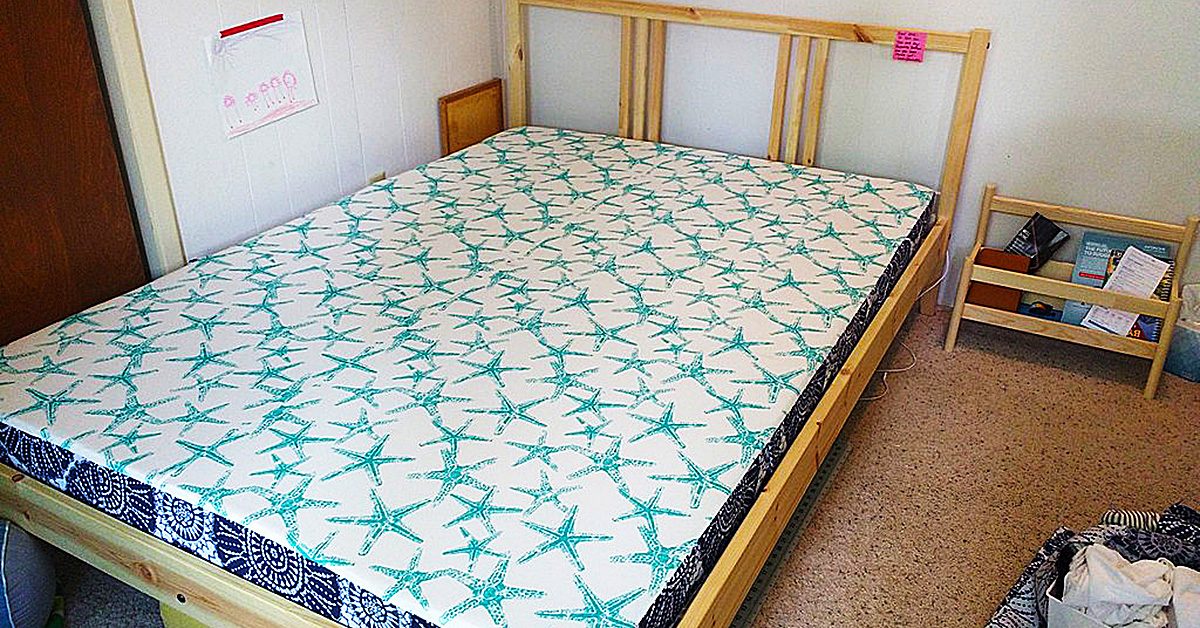
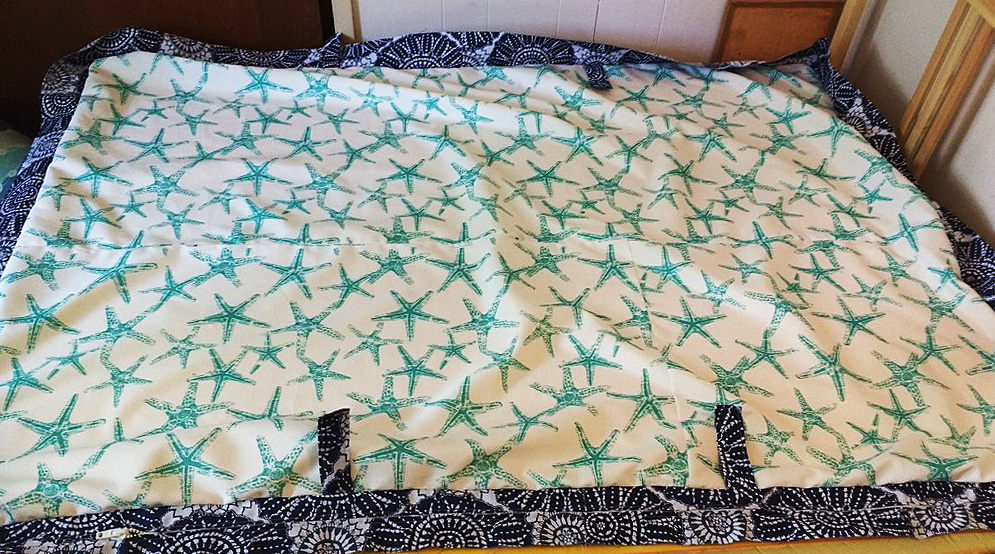
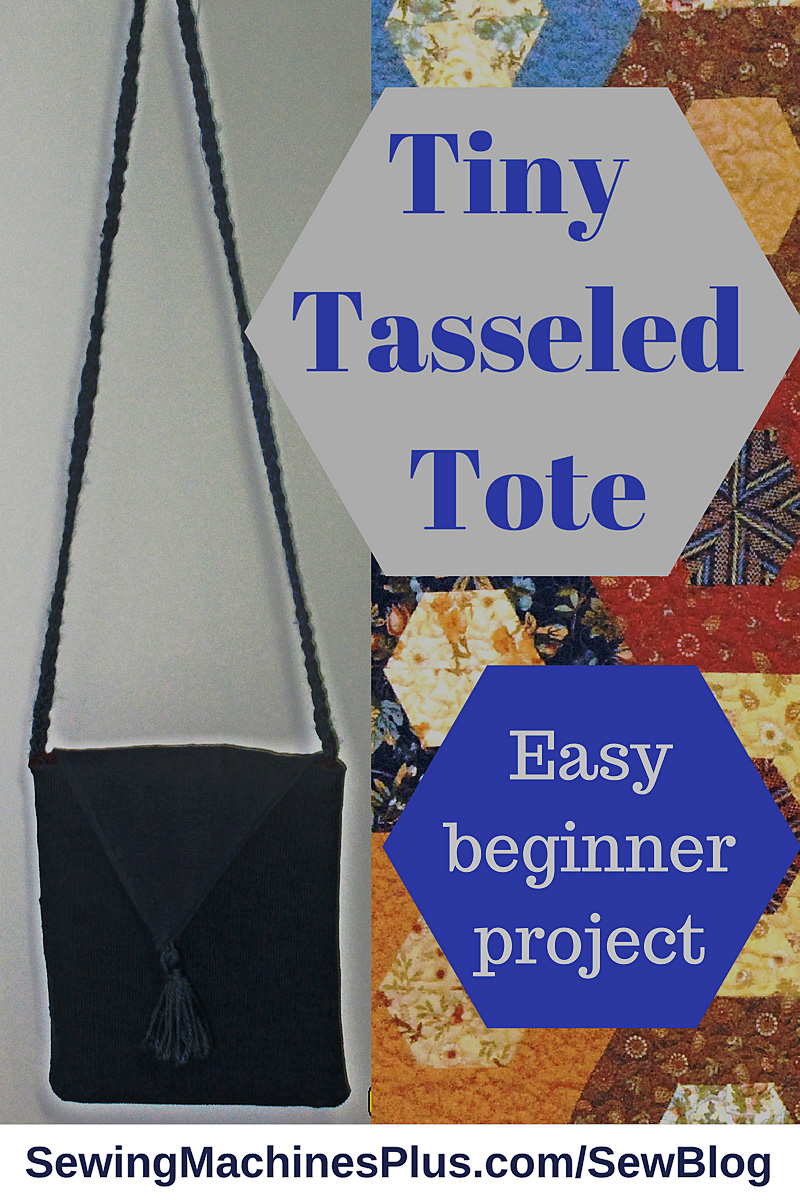
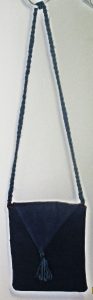
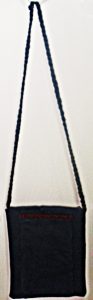
Start a small project, a table runner, a pillow, a tote bag or go for a quilt.
Start a small project, a table runner, a pillow, a tote bag or go for a quilt. Any of things will be something beautiful using Batik.
Now would be a great time to check your sewing supplies!
Take a look at your rulers, scissors, pins, rotary cutter blades, and other tools you frequently use. SewingMachinesplus.com has everything you need to make your next project look precise and professional. Besides the AccuQuilt Go, I value my collection of acrylic rulers and cutters for time saving cutting and more time for designing and sewing. Having the necessary tools makes the project more enjoyable as well!
As I said last time, I believe that if I strive to keep an attitude of “I am proud to use this, because I made it with my own design and it shows a part of me”, my positive attitude brings positive results. Find your Happy Place in sewing!