The Basics Photo Quilts

Once again, we come to the point on this blog where it’s reasonable to look into a new quilt type. The reason for this specific interest for this post is because I happened to figure out that making a certain type of quilt is a lot less difficult than I expected. In fact, I’m toying with the option of making one of these for a Christmas present this year.

But I’m getting ahead of myself. First, let’s look at the quilt type I’m referring to, and then we’ll go into the ease and benefits of making one.

The type of quilt in question is a photo quilt, and it gets its name in the way you might expect—it includes photographs in its design. Now, you can order a printed throw like this through a store, but if you’re going to own or gift something that’s as sentimental as a series of personal photographs, it makes sense to add in that additional personal touch of sewing it yourself.Picture 1

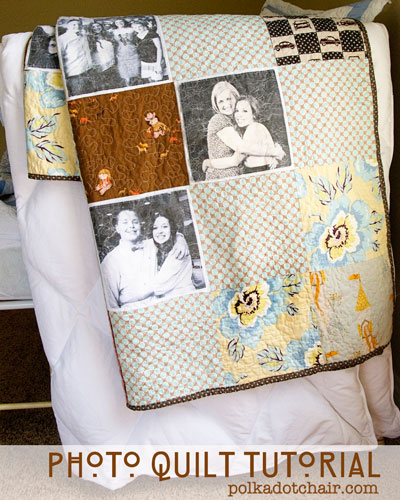
Up until recently, I never realized how simple this prospect could be because I couldn’t grasp how printed photographs made their way to a quilt—unless, of course, you bought the quilt that way. As it turns out, the process is actually simple. You can treat it like a general patchwork quilt—so long as you have printable fabric at your fingertips.

With that one addition to your sewing supplies, you can browse through your pictures to find the perfect ones for your project.Picture 3

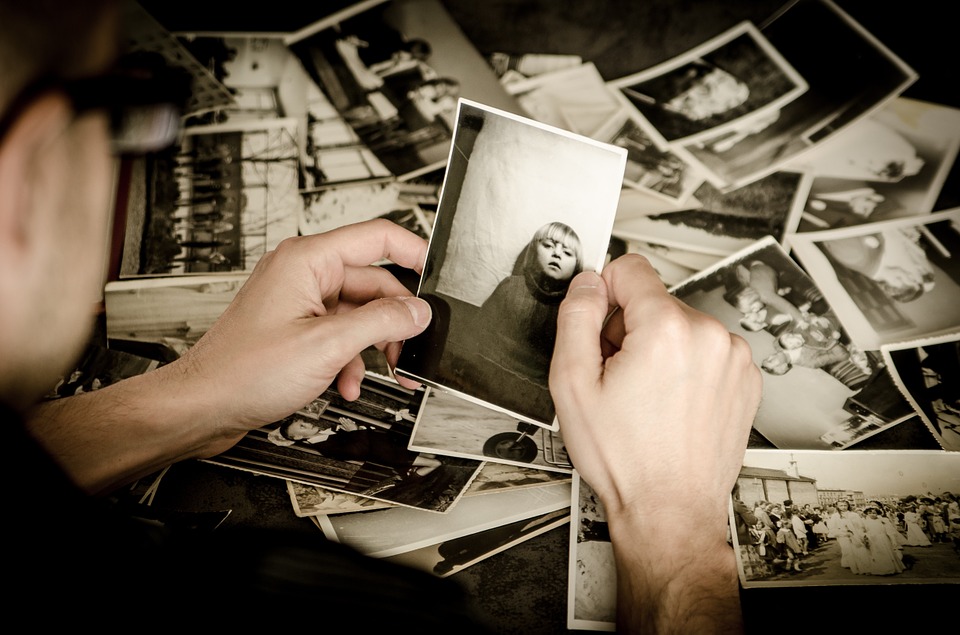
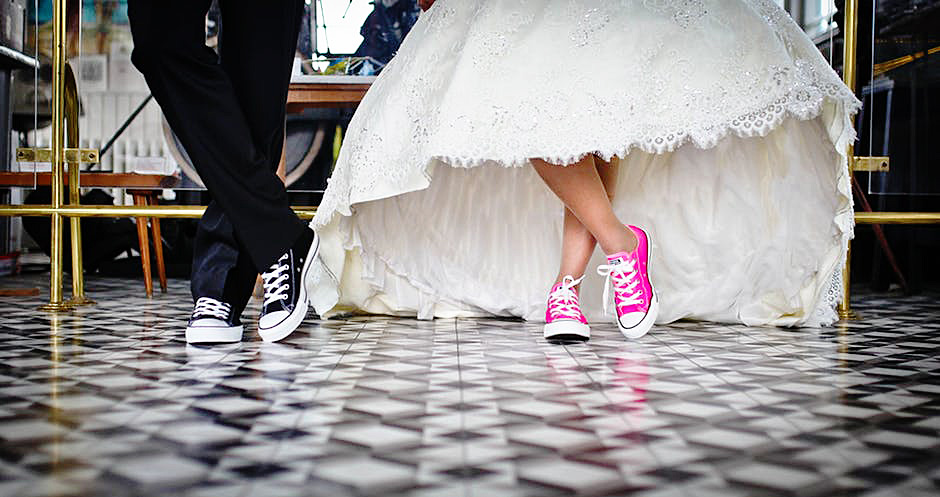
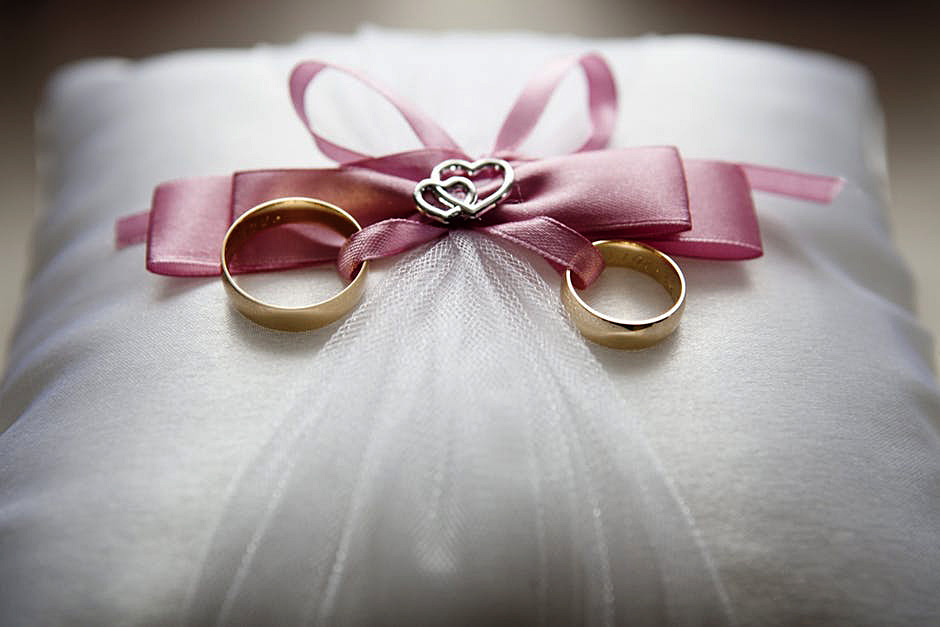
If you’re going to create a photo quilt for a wedding gift, for instance, concentrate on images of the right couple together. Once you find enough fitting photographs for the prospect, scan them if you only have print copies and get to printing on that fabric! From there, you’ll need to rinse it and iron it to keep the ink from ruining in the wash or bleeding where you don’t want it to go. You can find those details here.

You can pick and choose other fabrics that complement the theme and look of the images to build the rest of the quilt, and you can tend to the trimming and sizing of the photo blocks in the same manner that you would any other fabric style. Essentially, you’re doing nothing differently expect printing and preparing some of your fabric rather than purchasing all of the fabrics already printed.Picture 1

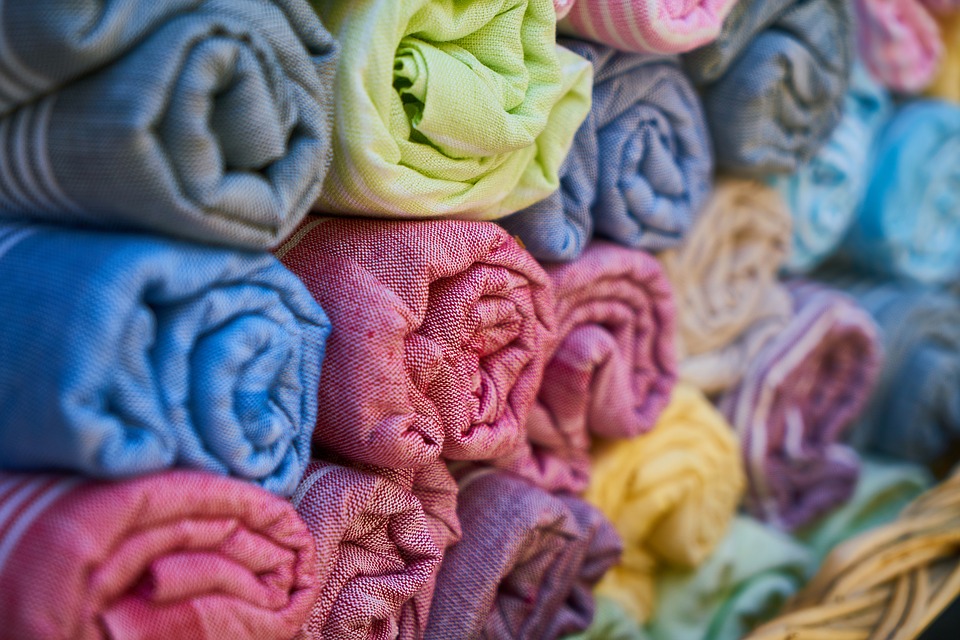
This is a simple prospect, but it’s a wonderful idea to add personalization to quilts for your own home, for a nursery, for a gift… The process shows care because you searched for the right pictures and because you took the time to piece everything together yourself rather than run to a store to have it printed for you. In a world so technologically advanced, this is one of the ways to use technology to bring a personal quality to something homemade.

Remember that the fabric you pair your photographs with can add value to your work in that they can carry out a particular theme that you’re going for. If you’re creating a graduation quilt (like in the link provided) and you want to showcase all of the graduate’s high school friends for a keepsake to take to collage, choosing fabrics that represent their school’s colors or mascot would be useful, as would ones that reflect typical graduation items—like caps or diplomas.Picture 1

For a Mother’s Day present, you could consider what your mom’s favorite colors and items are and use them for inspiration in regard to other fabric choices. If she adores light blue and lilac, pairing the photographs with those hues can add a level of care to the overall product since it’s another bit of evidence that you know the recipient well enough to pattern the design for them.

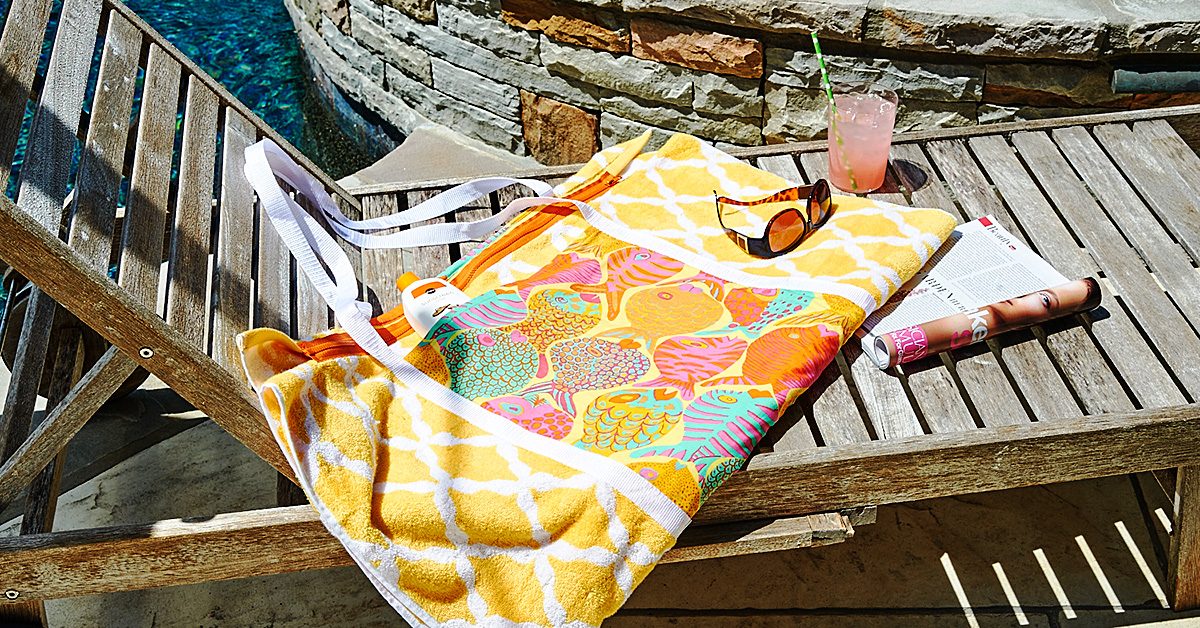
You could also use these for your own purposes as well, such as printing off photographs from your trip to Rome or Venice for a European-themed work that showcases the pictures you took during your stay. Even a moment that might seem trivial could be represented through one of these quilts, like the first time you baked with your children. Just take enough photographs to commemorate the experience, then pair your printed photographs with colors that reflect the baked goods you created together. It’s a big way to remember in detail such a small moment.Picture 1

Overall, I’m very much interested in trying my hand at this quilt type, and you can expect updates as I go through the process of trying to construct one. It’s so personal, and I look forward to testing the waters on the matter—especially to see how well the ink stays in place through my own personal experience.

Have any of you ever tried a photo quilt? Suggestions? Let me know!

No Bridezillas Here

No Bridezillas Here

I’ve gotten a few inquiries lately to do wedding dress alterations and creations. Some tailors don’t like working on wedding dresses. They say brides are the most difficult customers there are. I don’t mind so much and, honestly, don’t find brides any more demanding than actors and actresses, which makes sense as brides are (and should be if that’s what they want) the stars of their own little wedding day movies.

Here comes the bride…

Classic pillbox.

Classic pillbox.

A lifetime ago, when I lived in Austin, TX, I did a lot of wedding dress alterations. I had a partnership with a bridal store there. The store referred all of its brides to me and I paid a small monthly fee to them for the referrals and use of their fitting rooms. On account of the University of Texas being in Austin, the city has a huge young adult population, many of whom get married there.

Most of the alterations were your straight forward hems, take in the side seams, add a bustle, kind of stuff. But a few them stick out in my mind, even all these years later, as being especially unique and fun to do.

One of my favorites was the girl who bought a dress with a tiered skirt. It was a relatively narrow skirt of about six 7” or so flat ruffled tiers that got slightly bigger as they got nearer to the hem. The dress was floor length but she wanted to be able to remove the bottom three tiers to make it knee length and easier to dance in once the reception rolled around. I bought a heavy duty separating zipper and hid it under the fabric tier that began just above her knee. It worked perfectly; you couldn’t tell it was there at all and she was able to easily zip off the bottom half of her dress skirt, like those hiking pants you can zip off the bottom of to make shorts. But a lot better.

I also did a lot of adding straps to topless dresses. Topless dresses are always good in theory but not so much in many practical situations. One client, a computer graphics and design professional, even created her own unique strap shape she wanted me to build for her. I didn’t even have to make my own pattern!

Strap design.

Strap design.


Bridal hats

I made quite a few bridal hats too. Some of them were your classic covered pillbox shapes. A pillbox is really just an oval or circle with a 2 and a half to 3 inch band made from buckram and wire, then covered with fabric. A little trick to pillbox making I learned at the very beginning of my millinery career is to first cover the shape with a thin layer of baby flannel. Stitch it on as you would the fabric, then use Sobo glue to smooth and ‘mush’ the edges. This gives the hat a little bit of weight, softens the wire on the edges, and makes your outside layer (often a light weight silk if its bridal) look much smoother and nicer. Pull the baby flannel down and around the wire on the bottom edge and into the underside of the hat.

You can use this baby flannel technique to cover any buckram framed hat you make. I created this wide brimmed hat for another bride in Austin. You can see in the photo that the edge of the brim has some substance to it even though the silk covering it is fairly light weight. That’s because there’s baby flannel under there too. It just gives a hat a much more professional finish.

Wedding hat.

Wedding hat.


Another one of my favorite unique bridal embellishments was just the addition of a fun ruffle around the neckline. This is just your basic gathered ruffle collar but it made the dress one of a kind and added a lot of interest to the top of the dress.

Ruffle neckline.

Ruffle neckline.


And that’s the thing about brides from my experience; they just want their dress to be special and one of a kind. Many of them can’t afford to pay for a completely custom dress. But with some creativity, you can make most any wedding dress unique. And if you’re able to understand and do that, you’ll find that working with brides isn’t really all that difficult at all.

Tips for Dazzling up a Ring Bearer Pillow

Tips for Dazzling up a Ring Bearer Pillow

I can’t recall the first time I heard the phrase, “June bride,” but it’s something that’s stuck in my mind as the years have passed. While, to me, other months might present better options for a wedding (Sue me! I don’t like 90-degree weather!), June has somehow become what could arguably be the staple month for wedding ceremonies. Since we’ve entered that month, it seems fitting to target those ceremonies for a post or two. For this particular one, we’ll focus on a tiny wedding detail that can be handmade for that extra bit of sentimental value, and that’s the ring bearer pillow.

The ring bearer's pillow.

The ring bearer’s pillow.

For instructions on how to make a throw pillow in general, you can check out this link. But because pillows can be treated as such simple projects, I won’t discuss how to construct the actual pillow. Instead, I’ll concentrate on more decorative details in regard to the pillow’s appearance. These are aspects of the pillow that could come into play while you’re selecting fabrics and such—little concepts that you can do to construct something that stands out for your big day!

Choose your fabric wisely

The most important thing to consider for your ring bearer pillow is your fabric choice, and the most obvious option would fabric that has a bright white look to it. This matches the bride’s ensemble and showcases the brightness of the day, but if you want to go with something less traditional for your wedding, you might think a little outside of the box in regard to color.

You might think a little outside of the box in regard to color.

You might think a little outside of the box in regard to color.

For instance, I adore fairies in fiction and movies. If I were to have some kind of fairy garden theme to a wedding, it might make sense to use fabric options that are more creatively colored than basic white. Maybe a pale blue or a light green would work, or perhaps even a combination. It’s worth considering, overall, how your theme and wedding colors could be represented in the pillow for a unique look.

Fabric additions can be applied to the basic pillow structure to give it a more distinctive, lively look—things like lace, ribbon or tulle.

Fabric additions can be applied to the basic pillow structure to give it a more distinctive, lively look—things like lace, ribbon or tulle.

Time to accessorize!

You might also want to consider accessories for the ring bearer pillow, and I don’t just mean the rings that will be carried on it! Fabric additions can be applied to the basic pillow structure to give it a more distinctive, lively look—things like lace, ribbon or tulle. Again, you can go with the basic white, or you can better pair the accessories’ hues with your theme or wedding colors if doing so feels like the right option.

Not only can these accessory decisions make your ring bearer pillow stand out that much more, but they can also be used as ways to fix technical errors. If you sew lace around the ends of the pillow, as an example, you might find that a spot where your stitches weren’t that fantastic on the actual pillow can be covered by the lace. If you accidentally punch a smaller hole on the top of the fabric, you can make sure that ribbon you have meeting in the middle to create a bow covers the error. Essentially, while prettying up your ring bearer pillow with visual elements, you could improve its appearance as well by making your mistakes less visually obvious!

And in regard to those accessories, don’t limit your options to fabrics either! Sometimes the smallest trinkets and gems can push a normal-level work into more amazing territory, and things like gems speckled around your ring bearer pillow or a pin that looks like a heart can create a simple elegance that adds a level of sophistication to the project. Another similar idea would be to use sequins that could catch the light of the event and shimmer to again mimic the brightness of the ceremony. Each of these embellishments are options that, if used in the right amounts and ways, could lead to a ring bearer pillow worth talking about at the reception!

Structure is key

Structural details that you could vary would be the shape of the pillow - maybe use a heart, oval, or star shape.

Structural details that you could vary would be the shape of the pillow –
maybe use a heart, oval, or star shape.

Keep in mind that even the construction of the pillow could highlight a particular quality that you want to embrace in your wedding if you’re going for something more modern and less traditional. Structural details that you could vary would be the shape of the pillow—maybe use a heart, oval, or star shape—as well as the face of the pillow itself. Instead of thinking, “How can I decorate this simple pillow,” you could make the top of the pillow its own design that doesn’t need any décor at all because the design is the décor—like a large flower, made of fabric, that covers the top. These decisions are structural elements that could create the unique, one-of-a-kind ring bearer pillow that you’re searching for to spice up your wedding!

So to give a sentimental touch to your wedding, turn this traditional addition to the ceremony into something homemade, unique, and fitting! It could add a splash of perfection to an already perfect day!

Beach Towels for Sewing Projects

Beach Towels for Sewing Projects

Much like the aforementioned buttons on a previous Pete the Cat related post, trends can show up for a while and eventually become memories. As they’re in the mainstream of their field though, it can be fun to jump on board and partake in them! These trends can bring brand new concepts, images, and characters to life, or they can just offer a new twist on something that’s familiar and ordinary. Those familiar and ordinary details are the case for the trend that will be explored in this post: Beach Towel Sewing Projects.

When I first saw that this was actually a thing, I was perhaps a little interested, but maybe just as uncertain. I’m not even sure what would lead to this trend beyond a creative eye that’s often looking for new possibilities. Whatever the reason for the trend’s existence, you can find a number of projects that are beach-towel based through some online browsing time or the links given in this post.

I think this beach towel concept is such a unique option for sewing projects, and I guess that’s for two reasons. One, using extra beach towels for projects could be a wonderful way to get your creative mind going while clearing out your closet space. Two, the end results to these possible products are so fluffy that they draw my attention like a child going after a stuffed animal! Maybe you share that appreciation, and maybe you don’t! Still, these are good options for how to put no-longer-used (or brand new) towels to use for your sewing hobbies!

This quirky accessory could stand out on your next beach adventure.

This quirky accessory could stand out on your next beach adventure.

First on the list, how about a beach towel tote? This quirky accessory could stand out on your next beach adventure, and it would be large enough to hold your sunscreen, your Frisbee, your sunglasses, and whatever else you could fit into this decently-sized bag! You can use something plain-colored like what’s shown in the image, or you can choose a more dynamic print on the beach towel to increase its stand-out quality! The needed supplies are few, and the unique look of it could be worth your sewing time! Why not give it a try?

While they lack the larger size of a tote, these can still be spaces to hold some of your beach bring-alongs.

While they lack the larger size of a tote, these can still be spaces to hold some of your beach bring-alongs.

But, then, maybe you’re more of a backpack person? If so, no worries! You can make one of those using a beach towel as well! While they lack the larger size of the tote, these can still be spaces to hold some of your beach bring-alongs, like sunscreen and a book to read in the sun. And, obviously, the use of these products wouldn’t need to be limited to the beach. Anywhere that you might think to bring a purse, these could be options if it’s a setting you’re comfortable using it in. Considering the site says this project can be finished in less than 24 hours, it might be worth your time to give it a shot!

If you’re looking for an option that deals a bit less with the carry-stuff-along-with-me aspect, there are possibilities to explore in other categories as well—like stuffed animals! These toys are a wonderful fit for this beach towel option because of that fluffy quality I mentioned earlier. If you’re going to make a stuffed animal toy—maybe a dog—it makes sense that the dog has fur, right? I personally like this elephant idea, but it’s very possible that I never got over the spotted elephant on Rudolph! If you prefer a different animal to make into a toy, browse through your options and find the right colored beach towel to match the standard coloring of that animal—unless you really do want a spotted elephant or something as out of the ordinary!

An intriguing option for creative towels use.

An intriguing option for creative towels use.

There’s also the option of creating something from a beach towel for the sake of gift-giving, if towels are a part of a gift you have planned for someone. One such option that stuck out to me was a bridal shower cake. True, this might require something less bulky than a beach towel and wouldn’t necessarily help to clean out your closet, but it’s still an intriguing option for using towels in general for creative endeavors. This cake is a method of giving very typical housewarming gifts, like towels and other items, in a lovely and out-of-the-box manner. It’s unique and striking, and a way to show the gift recipient that you cared enough to craft something artistic with your gift just for the sake of presentation. A towel cake, after all, is more memorable than some towels and utensils waiting in a box or a gift bag!

This cake is a unique twist on giving very typical housewarming gifts.

This cake is a unique twist on giving very typical housewarming gifts.

For a beach trip, a random toy, or a bridal shower, there are interesting projects that can make use of towels! These are just a handful of them, but maybe they’ll get the ideas rolling in your head enough to spark your interest!

Sew Fine Dress Making

Sew Fine

Need the perfect dress for an upcoming special event? Instead of perusing rack after rack of unimaginative, pricey finery consider making it yourself. Not only will you get exactly what you’re looking for, it’s a sure thing that no one else will be wearing the same dress as you.

Points for Originality

Even if you’re not a someone who designs her own patterns, making and wearing your own dress will definitely get you noticed. You’ll look stunning and you’ll be wearing something completely unique. In this day and age when everyone wants to be recognized for their personality and individual contributions, you’ll certainly earn points for wearing something stunning that you made yourself.

Your Choice

Rather than trying to find something that shows off your style, fits your budget and looks great on you from the limited selections in department store – making a dress yourself means you’ll be able to choose the style, fit and fabric that’s best for you. Show off your natural beauty with a dress that accents your coloring and body type.

Works for Formal Functions Too

Formal events like galas or weddings may not seem like that best opportunity to make your own dress, but it’s actually a great time to do so. Making a more formal dress may take a bit longer, but the results will amaze everyone. If you’ve never taken on something like this, trust me, it’s not as hard as you think!

There are some extra steps like creating the tulle under layer(s), feeding the whale bone (plastic) bodice pieces and/or adding lace or other details. Although these seem intimidating, anyone with basic sewing skills can do them – you just have to be willing to try.

Show It Off

Show It OffAfter all the hard work you put in to making your amazing dress, show it off at the big event. Get up, dance, strut your stuff to and from the buffet table, and when people start complimenting you on your attire, don’t be afraid to say you made it. Although you don’t want to overshadow the guest of honor (unless it’s you, of course) there’s nothing wrong with showing off your finery.

If you can, add some handmade accessories to complete the look. Items like hand made, one-of-a-kind jewelry, scarves or shawls will give your dress the final splash and pizazz it needs. If you don’t make any of these items yourself, maybe you’ve got some crafty friends who do and would like to contribute to your amazing look.

Remember

A few points to remember:

  1. Hem with shoes in mind. If you’re wearing heals to the big event, make sure you have those shoes on when determining hem length so the dress will fall correctly.
  2. Event location. If the event is going to be indoors or outdoors, you may need incorporate layers or a cover up depending on the time of year and your sensitivity to cold/heat.
  3. Make a muslin first. If you’re at all unsure about the dress you’re going to make – how well it’ll fit or will look on you – take the time to make a muslin demo piece first. It does extend the length of time it takes you to arrive at the finished product, but it can also mean the difference between a project you love and one you don’t.