Among my group of friends, I’m the only one that sews. We all figure it’s a skill that they’ll all turn to me for after the Zombie Apocalypse. Kidding! I am the only one who sews and it is a valuable skill, but since I don’t have a group of friends to sew with, I’ve made my own sewing buddies. Really, they’re just stuffed animals I’ve made, but they sit in my swing area and keep me company when the cats take off at the sound of the sewing machine. If you need some sewing buddies too, check out these cute stuffed animal patterns and make some for yourself.
Stuffed Fox Sewing Pattern
Made from fleece, these little guys work up quickly and are loved by kids and adults. When finished, they’re about 15” tall and have the sweetest faces. I used buttons for the eyes and nose, since there aren’t young children playing with them in my house, but the applique idea is great for homes with kids. Make a girl one and a boy one so they can keep each other company.
Sock Monkey Pattern
I’m not sure why, but people seem to give me wild sox for birthday or Christmas gifts. I don’t wear crazy socks, never have. I re-gift them when I can, but that’s not always possible. So, this sock monkey sewing pattern is the perfect way to use those crazy socks and get myself a sewing buddy. Make two and they can cuddle with intertwined arms. Add some Velcro to their hands to keep the cuddle pose in place.
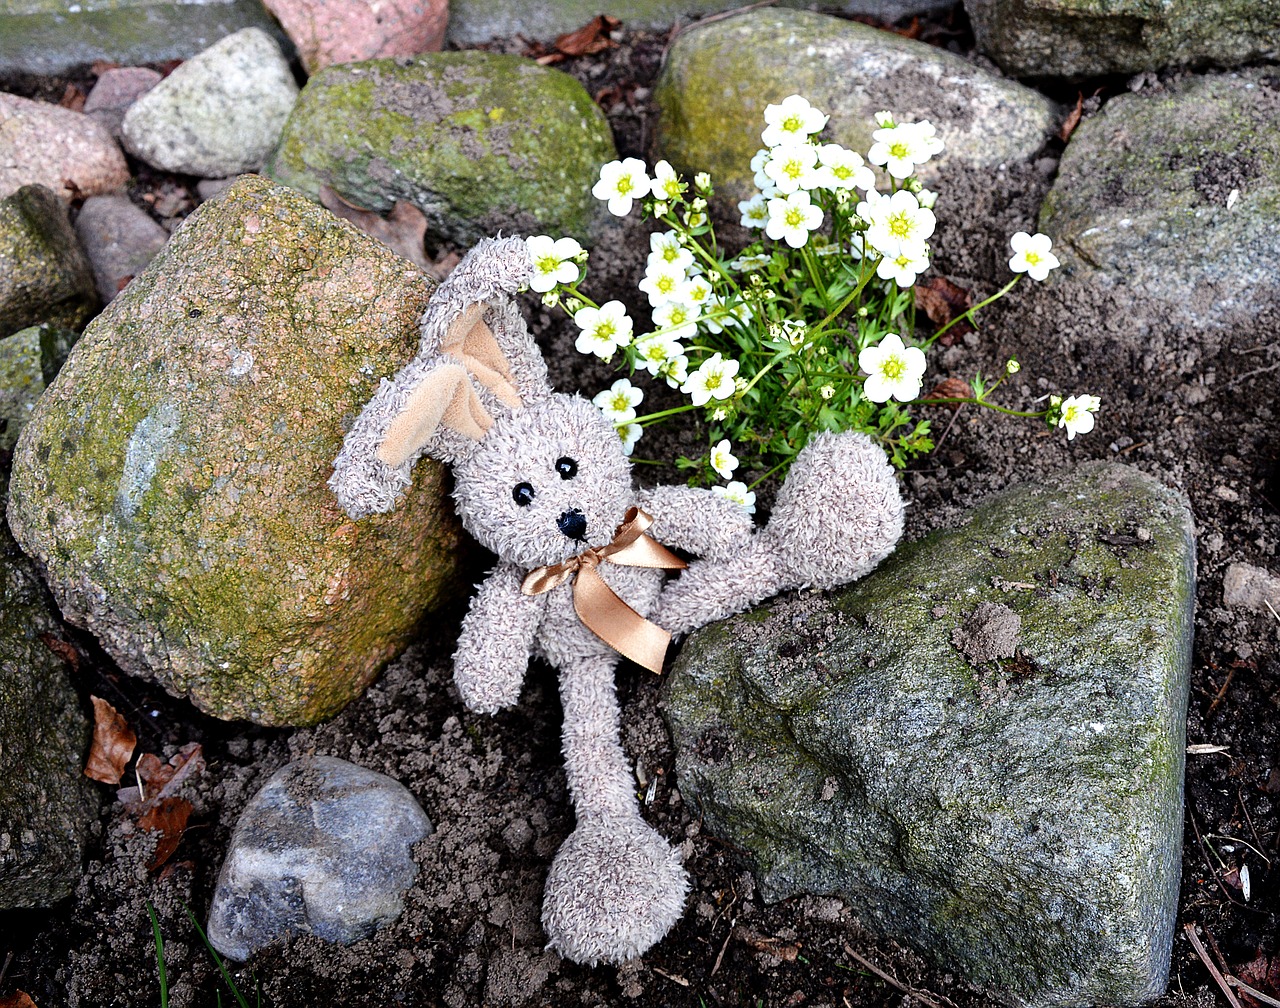
Fat Quarter Bunnies
I love these! So often when I’m at the fabric store, I see fat quarters and want to buy them, but typically, they’ll wind up sitting in my fabric stash, never used. These sweet bunnies are the perfect use for those fat quarters and they’re so cute in my sewing area.
Sock Dragon Sewing Pattern
Yet another awesome use for all those crazy socks I seem to get. The sock dragon is a bit more challenging than his cousin sock monkey, but it also uses an additional pair of socks! I love dragons, so having one, or several, in my sewing space is great company.
If you’re looking for some sewing buddies, these stuffed animal patterns are a great way to make some company for yourself. Try them and let me know what you think!
Much like the aforementioned buttons on a previous Pete the Cat related post, trends can show up for a while and eventually become memories. As they’re in the mainstream of their field though, it can be fun to jump on board and partake in them! These trends can bring brand new concepts, images, and characters to life, or they can just offer a new twist on something that’s familiar and ordinary. Those familiar and ordinary details are the case for the trend that will be explored in this post: Beach Towel Sewing Projects.
When I first saw that this was actually a thing, I was perhaps a little interested, but maybe just as uncertain. I’m not even sure what would lead to this trend beyond a creative eye that’s often looking for new possibilities. Whatever the reason for the trend’s existence, you can find a number of projects that are beach-towel based through some online browsing time or the links given in this post.
I think this beach towel concept is such a unique option for sewing projects, and I guess that’s for two reasons. One, using extra beach towels for projects could be a wonderful way to get your creative mind going while clearing out your closet space. Two, the end results to these possible products are so fluffy that they draw my attention like a child going after a stuffed animal! Maybe you share that appreciation, and maybe you don’t! Still, these are good options for how to put no-longer-used (or brand new) towels to use for your sewing hobbies!
This quirky accessory could stand out on your next beach adventure.
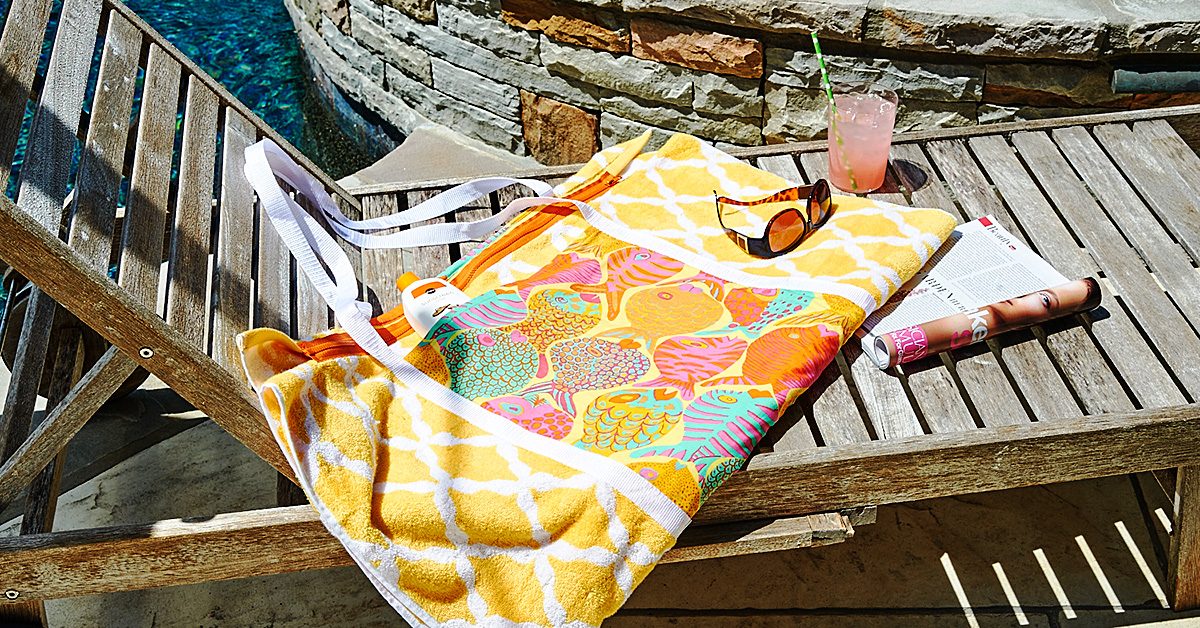
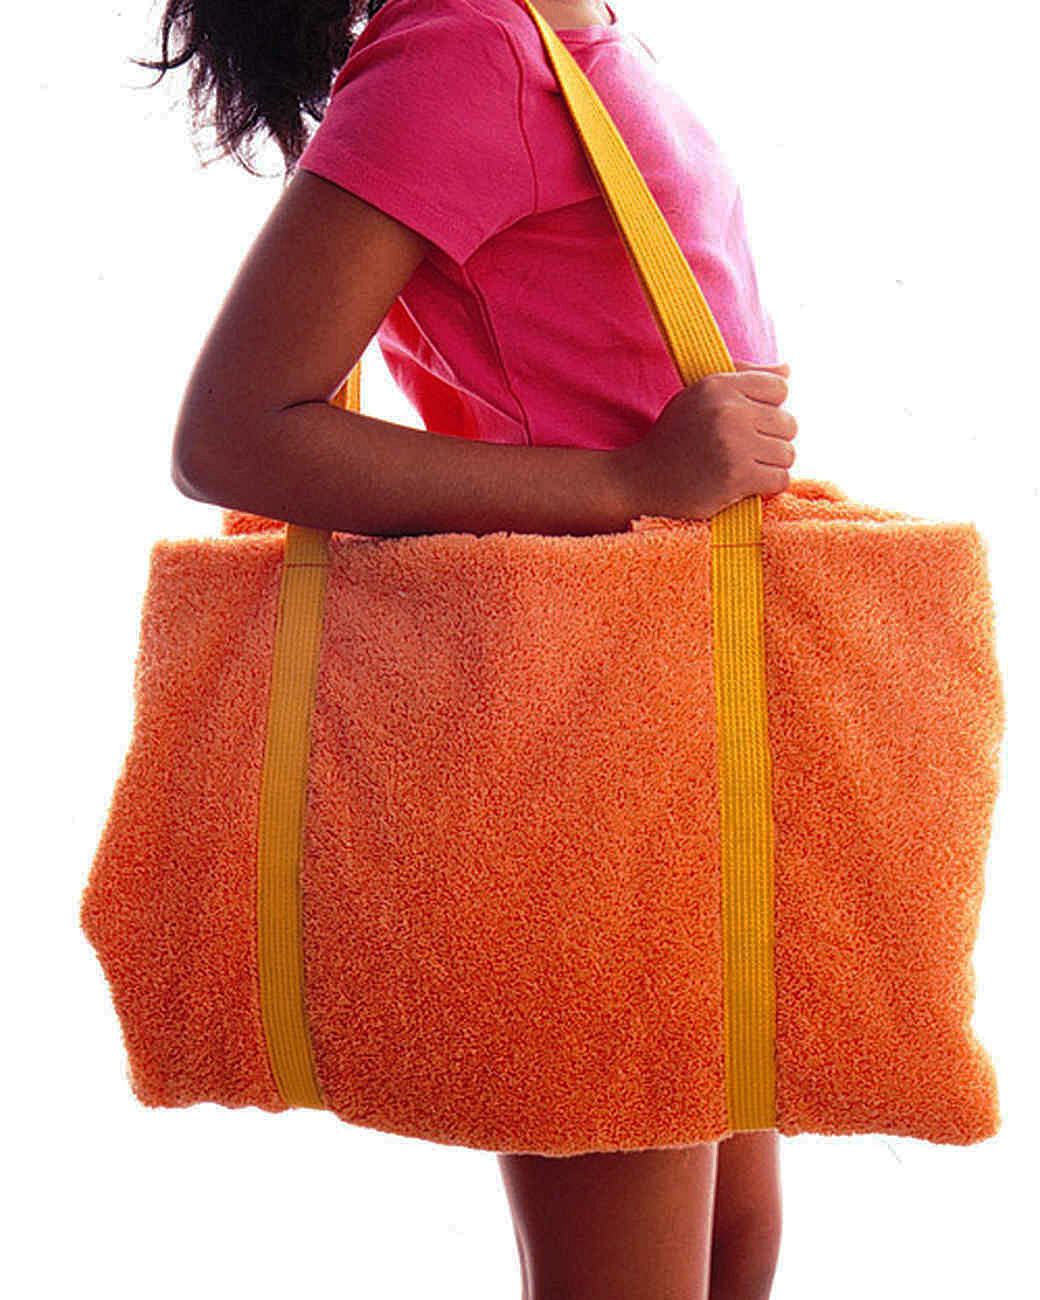
First on the list, how about a beach towel tote? This quirky accessory could stand out on your next beach adventure, and it would be large enough to hold your sunscreen, your Frisbee, your sunglasses, and whatever else you could fit into this decently-sized bag! You can use something plain-colored like what’s shown in the image, or you can choose a more dynamic print on the beach towel to increase its stand-out quality! The needed supplies are few, and the unique look of it could be worth your sewing time! Why not give it a try?
While they lack the larger size of a tote, these can still be spaces to hold some of your beach bring-alongs.
But, then, maybe you’re more of a backpack person? If so, no worries! You can make one of those using a beach towel as well! While they lack the larger size of the tote, these can still be spaces to hold some of your beach bring-alongs, like sunscreen and a book to read in the sun. And, obviously, the use of these products wouldn’t need to be limited to the beach. Anywhere that you might think to bring a purse, these could be options if it’s a setting you’re comfortable using it in. Considering the site says this project can be finished in less than 24 hours, it might be worth your time to give it a shot!
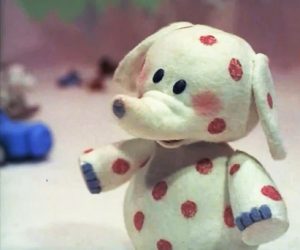
I personally like this elephant idea.
I never got over the toy elephant from Rudolph. Adorable!
If you’re looking for an option that deals a bit less with the carry-stuff-along-with-me aspect, there are possibilities to explore in other categories as well—like stuffed animals! These toys are a wonderful fit for this beach towel option because of that fluffy quality I mentioned earlier. If you’re going to make a stuffed animal toy—maybe a dog—it makes sense that the dog has fur, right? I personally like this elephant idea, but it’s very possible that I never got over the spotted elephant on Rudolph! If you prefer a different animal to make into a toy, browse through your options and find the right colored beach towel to match the standard coloring of that animal—unless you really do want a spotted elephant or something as out of the ordinary!
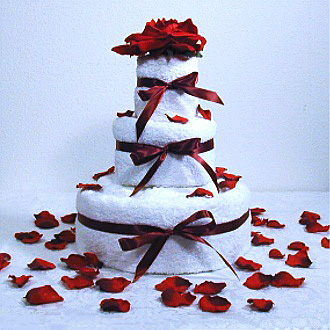
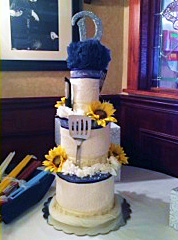
An intriguing option for creative towels use.
There’s also the option of creating something from a beach towel for the sake of gift-giving, if towels are a part of a gift you have planned for someone. One such option that stuck out to me was a bridal shower cake. True, this might require something less bulky than a beach towel and wouldn’t necessarily help to clean out your closet, but it’s still an intriguing option for using towels in general for creative endeavors. This cake is a method of giving very typical housewarming gifts, like towels and other items, in a lovely and out-of-the-box manner. It’s unique and striking, and a way to show the gift recipient that you cared enough to craft something artistic with your gift just for the sake of presentation. A towel cake, after all, is more memorable than some towels and utensils waiting in a box or a gift bag!
This cake is a unique twist on giving very typical housewarming gifts.
For a beach trip, a random toy, or a bridal shower, there are interesting projects that can make use of towels! These are just a handful of them, but maybe they’ll get the ideas rolling in your head enough to spark your interest!
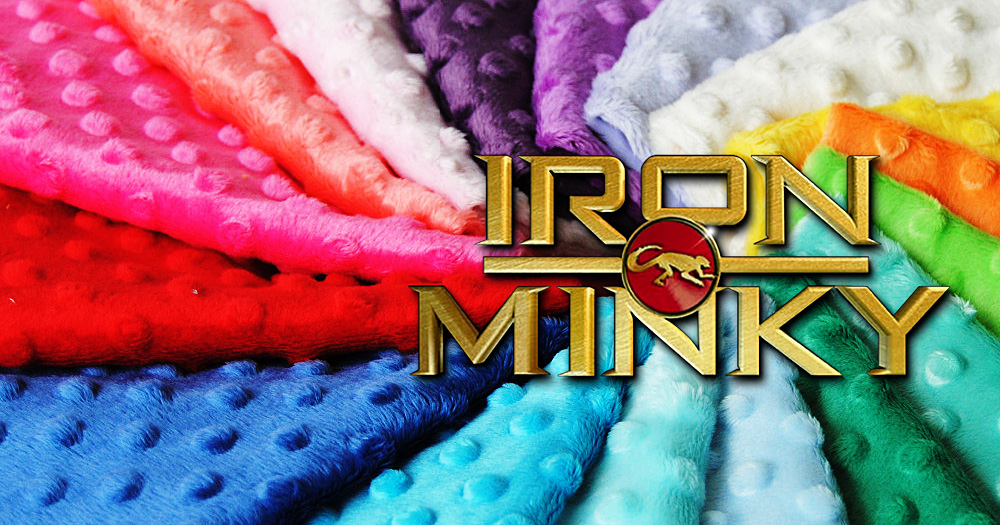
I know a lot of people that shy away from sewing or quilting with minky but I’m here to tell you that minky is not the bogey-woman some people make it out to be, as long as you follow some important tips to make your sewing with it a success.
1. Pre-washing is not needed. Well, at least for the minky that is. Plush fabrics are made from polyester so they don’t shrink. If you’ll be pairing with fabrics that do shrink, then pre-wash the other fabrics in advance.
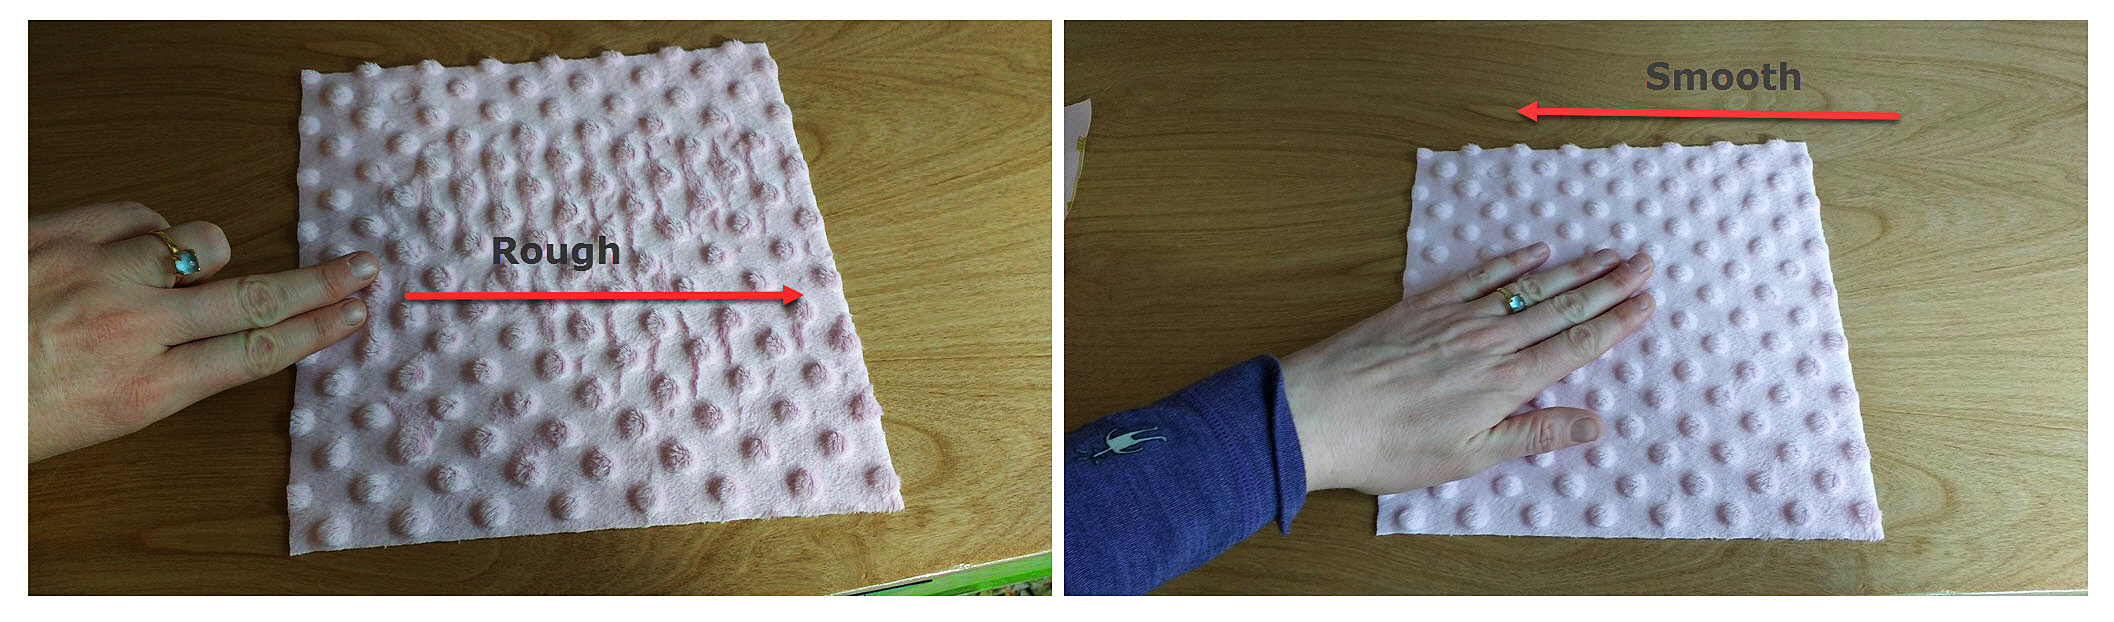
Minky bumps
2. Nap! Minky has a nap. Nap is the raised or fuzzy/bumpy parts you find on certain fabric (think velvet). If you brush your hand one way on minky, it will be soft, if you brush it the other way, it will be rougher. Take the direction of the nap into the consideration when cutting out your project.
Take the direction of the nap into the consideration when cutting out your project.
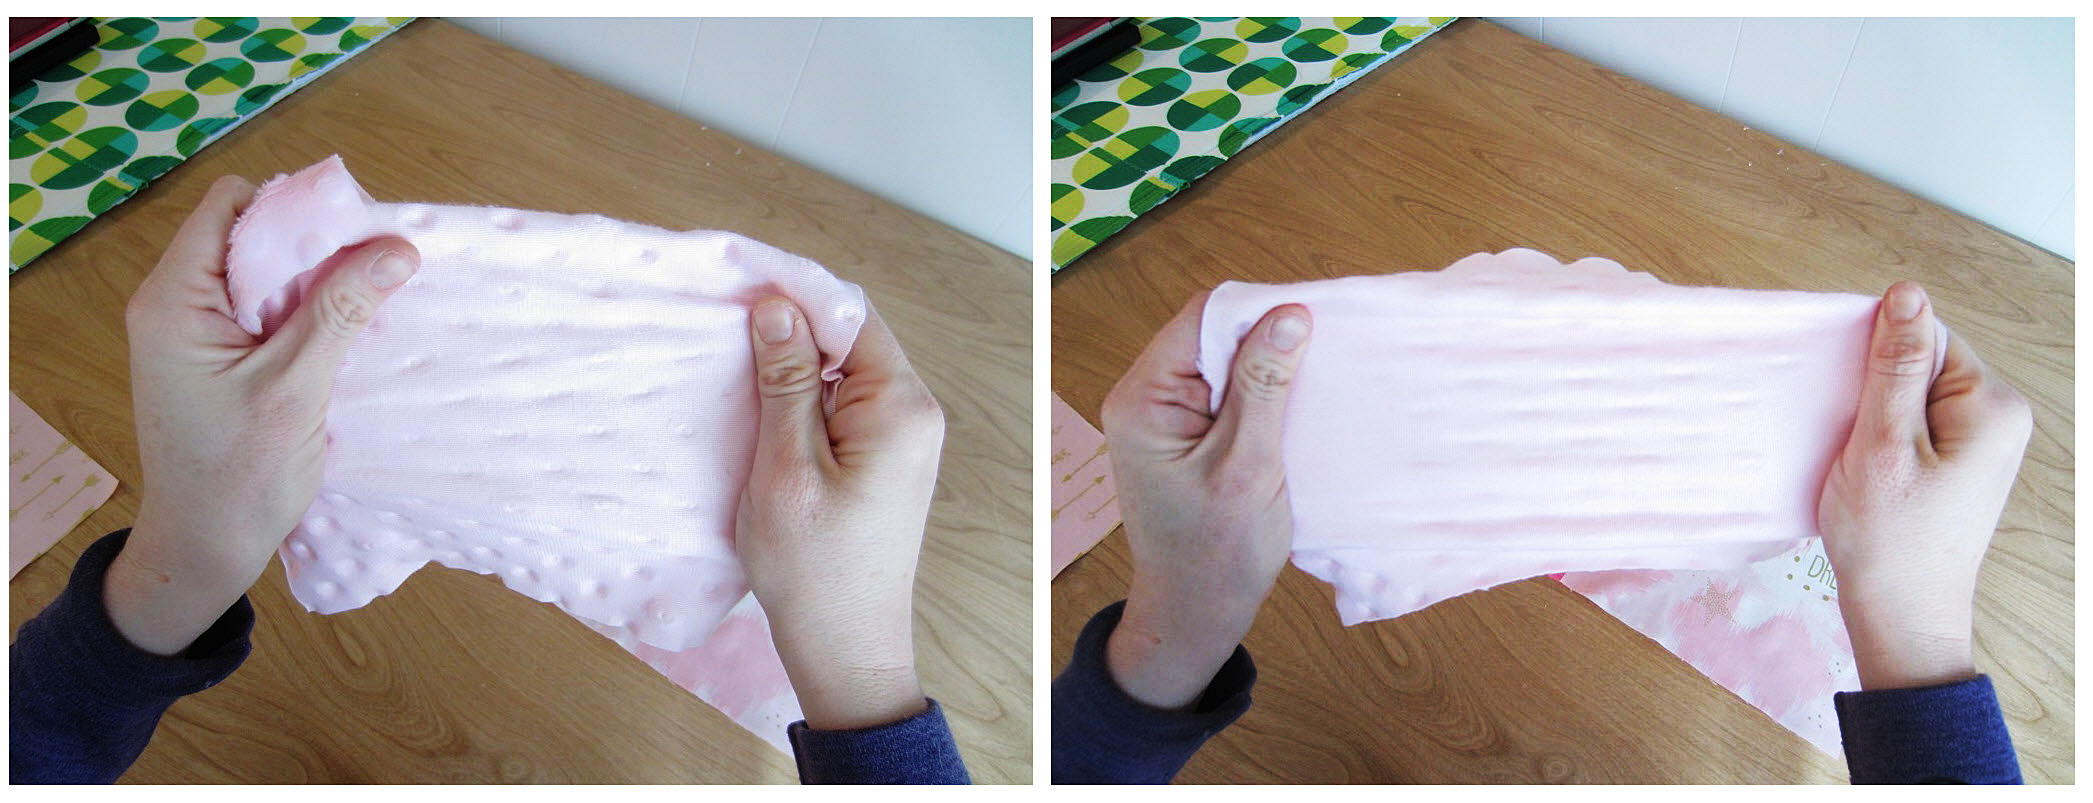
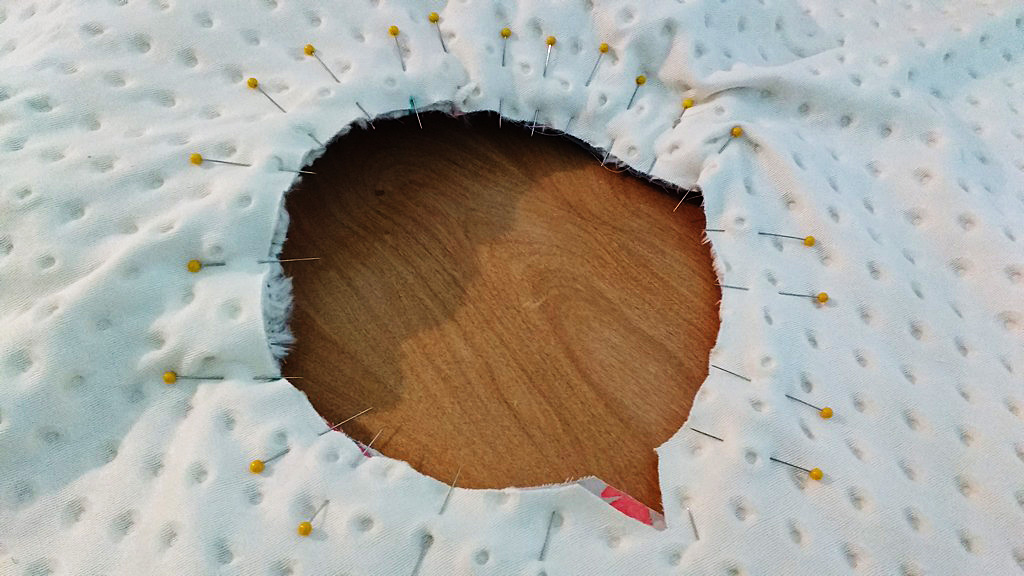
3. Minky can STRETCH! But only from one direction. Take a piece of the fabric you are working with and stretch it one direction and then the other. You’ll find the stretchy side very quickly. I make sure to not ever leave my hole for turning on the super stretchy side.
Minky can STRETCH! But only from one direction.
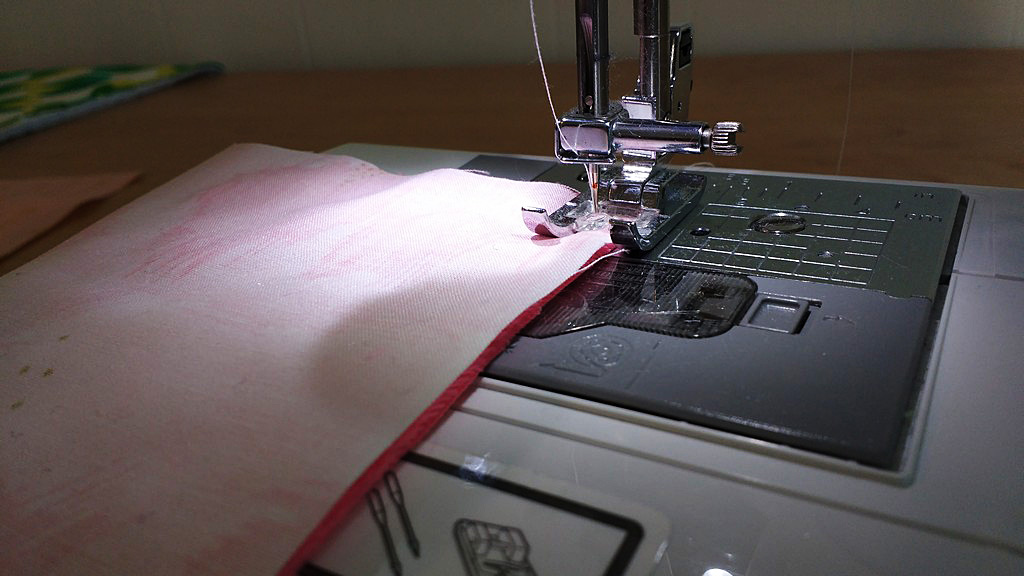
4. Use the right needle and correct sewing foot. A lot of guides will recommend a universal needle size of 12. I prefer size 14, but find what works for you. Additionally, if you have a walking foot, use it! If you are too lazy to use your walking foot (or don’t have one), I find minky sews better when you place it on the bottom and the regular fabric on the top.
Use a walking foot. I find minky sews better when you place it on the bottom and the regular fabric on the top.
5. Seam allowance and stitch length – I tend to give myself more room with minky and usually use a 1/2” seam allowance. I also use a longer stitch length, around 4.
6. DO NOT IRON MINKY DIRECTLY. It will melt. I promise you. You need to even be careful ironing with another fabric placed on top as pressing too hard or with too much heat will ruin the nap or little bumps of the minky underneath.
7. Pins, clips and washable basting spray or this Wash-A-Way Wonder Tape are your friends with minky. Use them excessively and you’ll get much better results.
Pins, clips and washable basting spray or this Wash-A-Way Wonder Tape are your friends with minky.
8. Top stitch!! Top stitching minky will really help to remove bulk, keep the seams in line and make your project look more professional.
Top stitching minky will really help to remove bulk, keep the seams in line and make your project look more professional.
9. Use a rotary cutter and a vacuum. Rotary cutters help make very exact cuts with minky. I also suggest having your vacuum nearby to clean up after cutting and to clean out your machine as you sew. SewingMachinesPlus.com has a variety of vacuum cleaners for your sewing room.
10. Practice! You’ll get better the more you use it. Soon, you’ll be wondering what all the fuss is about when others say they shy away from sewing with plush fabrics.
Do you have any tips for making sewing with cuddle fabrics a success? Let us know what works for you in comments!
———————————————————————————– Charlotte Kaufman is a writer and sewist in Mammoth Lakes, California. She specializes in marine and home interiors and continues to fall more and more in love with quilting. You can follow her at charlottekaufman.com.