Life Lessons for a Life Skills Class

When I was younger, I had a thing for books. Somewhere along the way, though, two things happened. One, I kept hearing from other people that it basically wasn’t normal to like to read, but what might have been a bigger issue was the second thing that happened.

I had to deal with school-assigned books that could be a chore to wade through, and by the time I graduated, I honestly did not care for reading. In fact, it wasn’t until college that my interest picked up again, and the reason that I dove head-first into the hobby was likely linked to reading things that I enjoyed. That, friends, makes a big difference.writing-book-novel-reading-rose-romantic-944135-pxhere.com

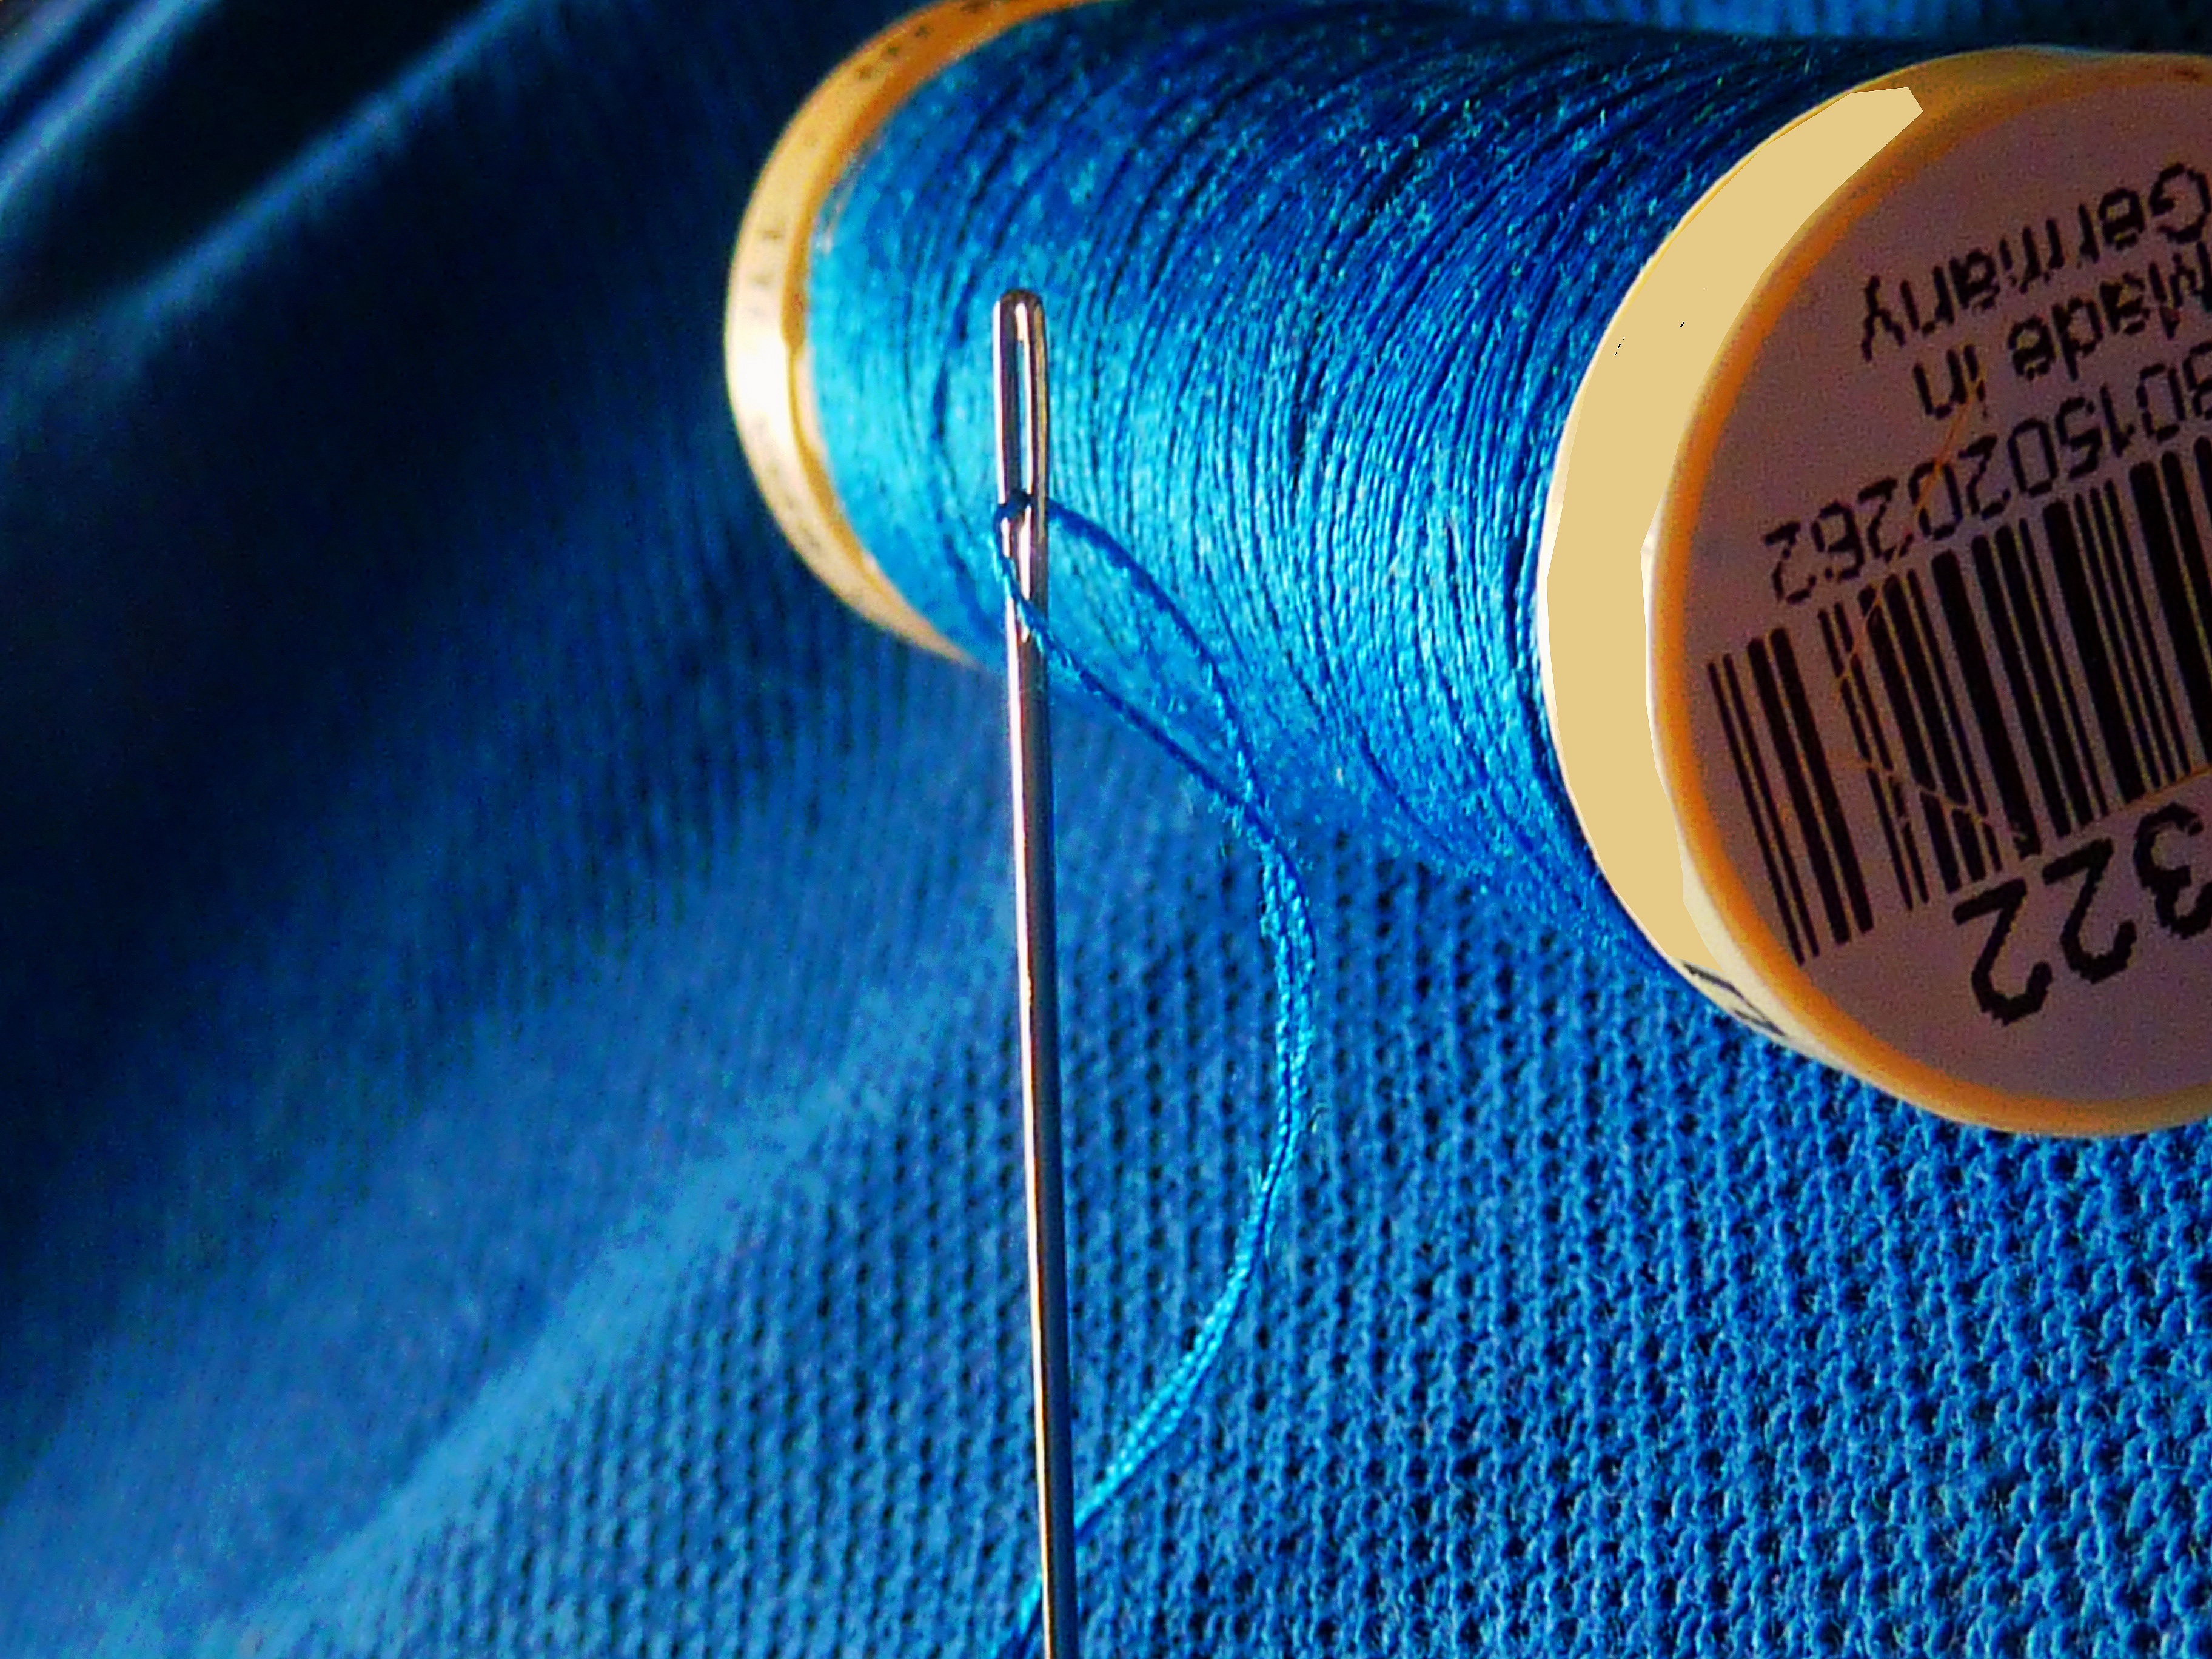
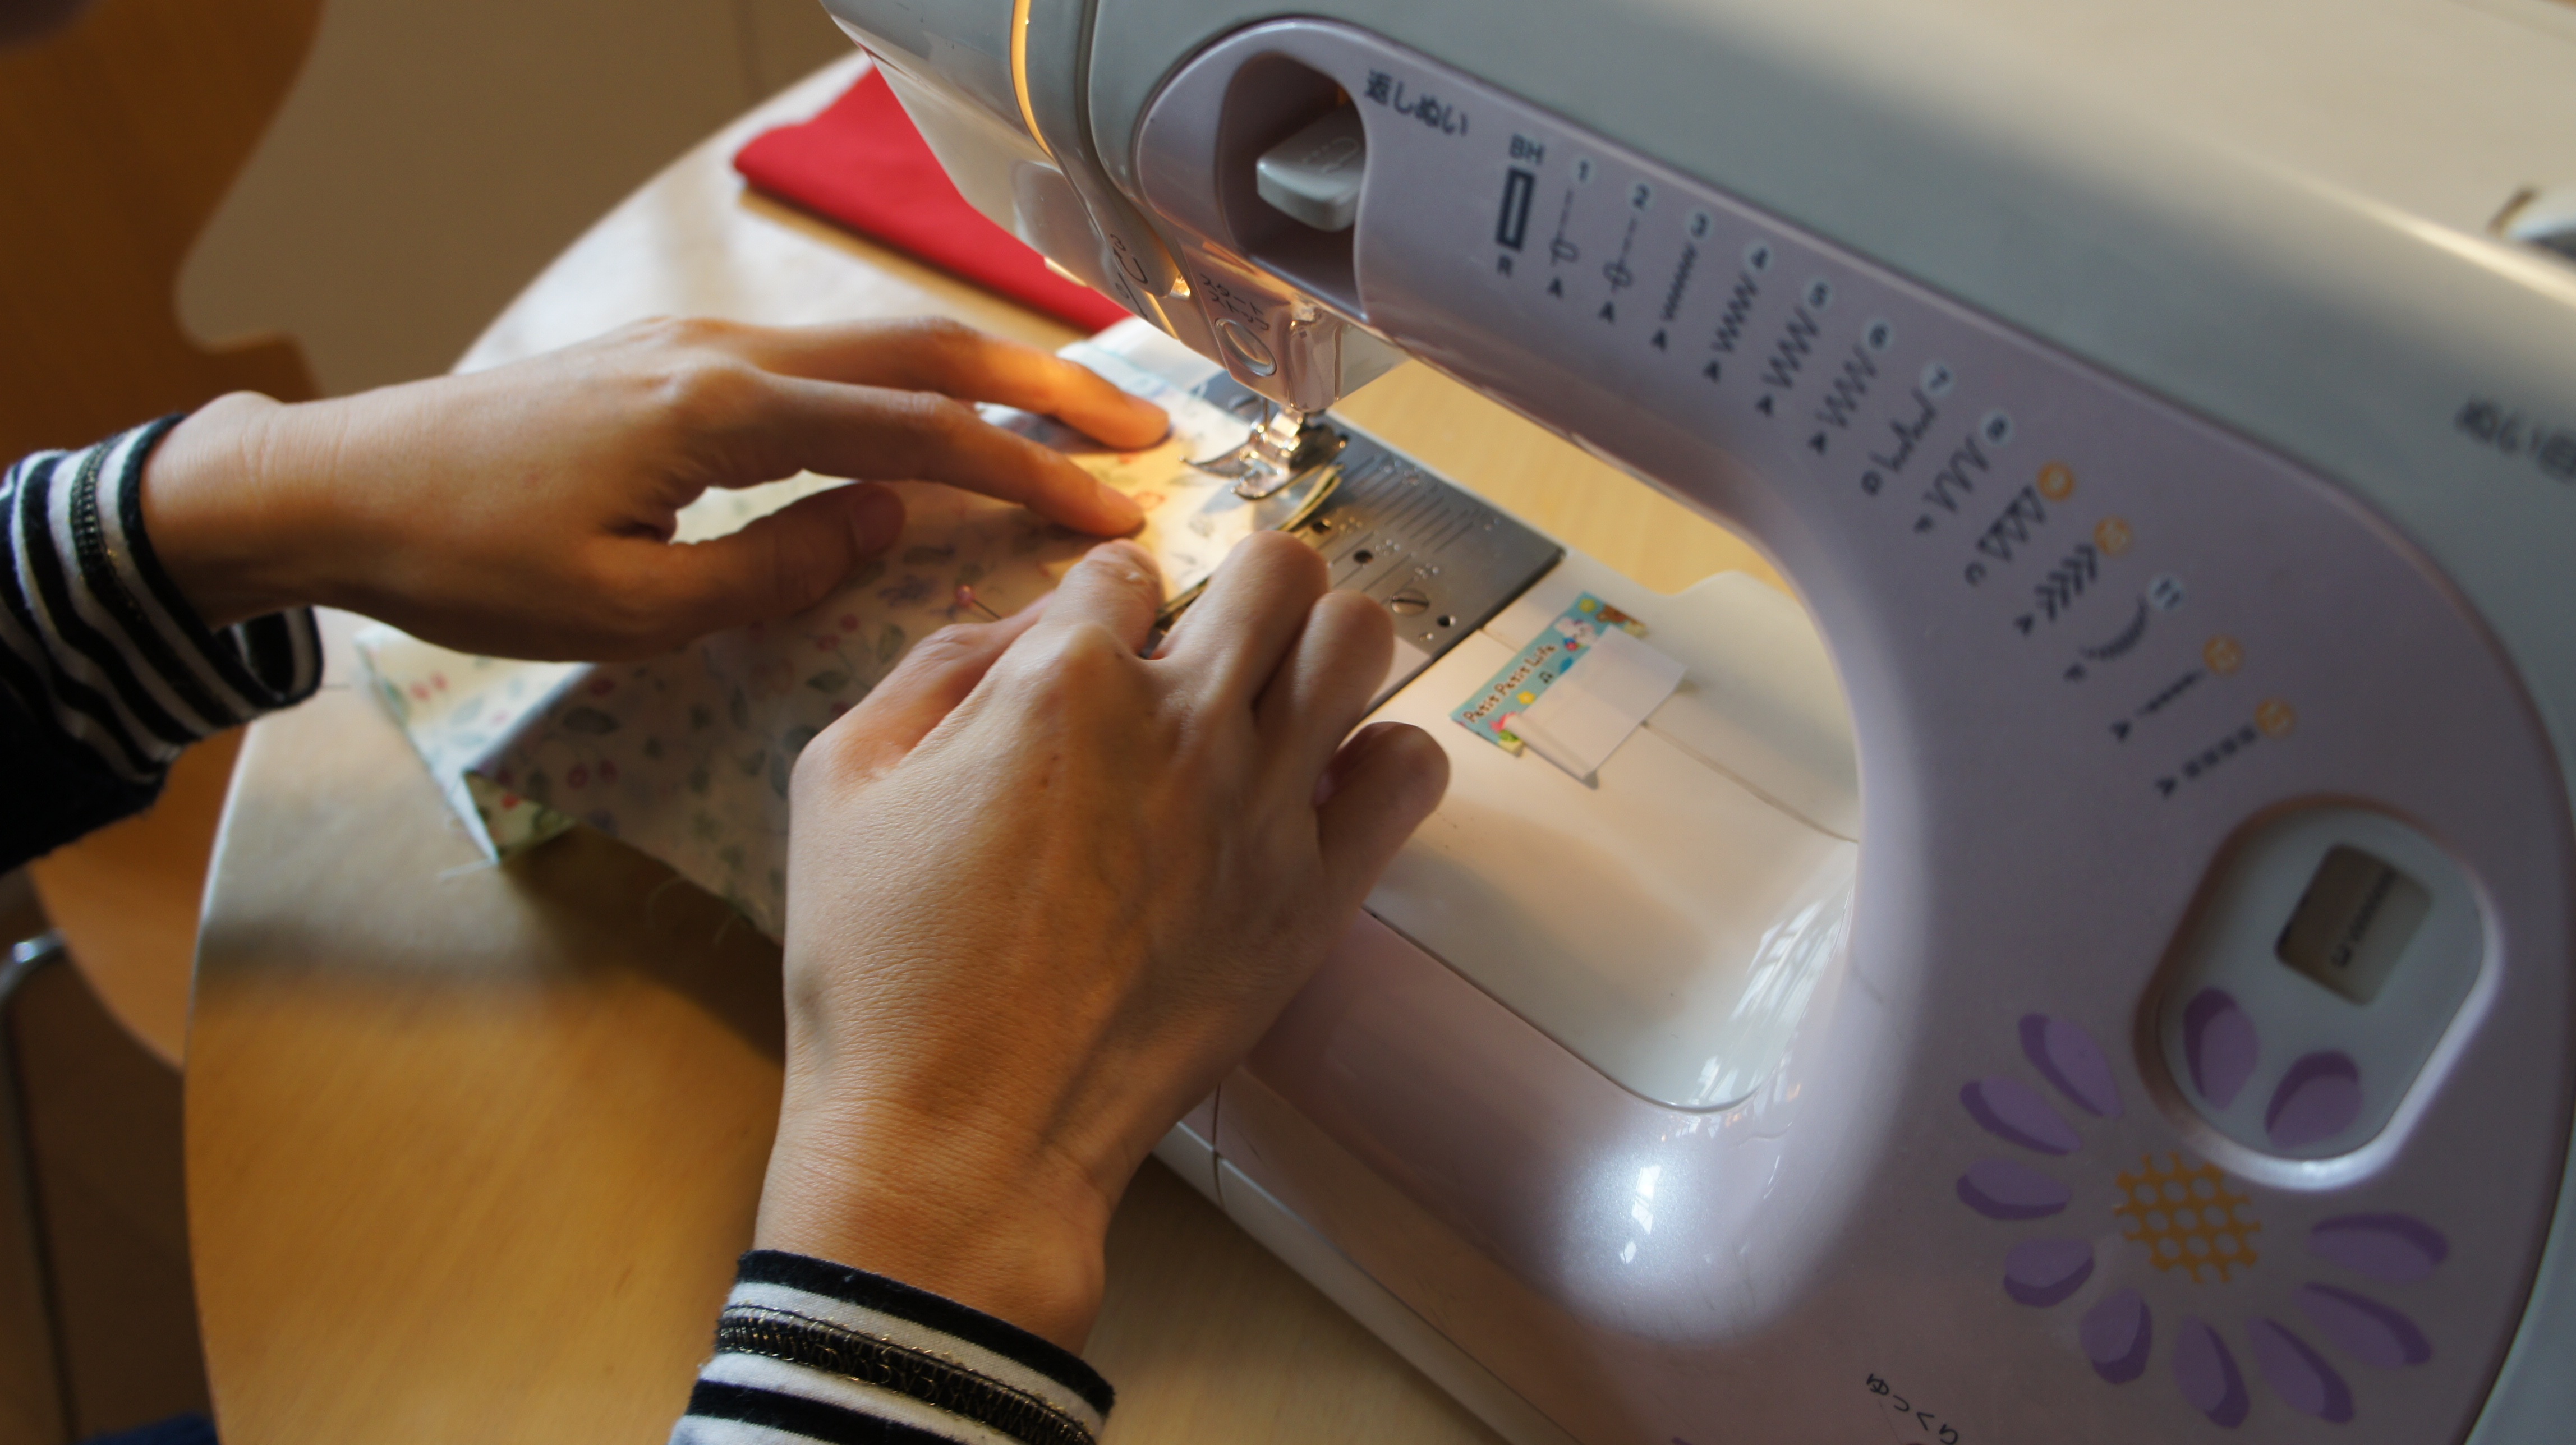
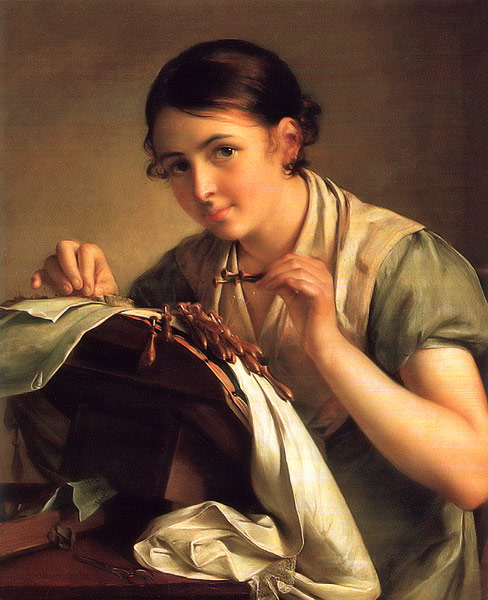
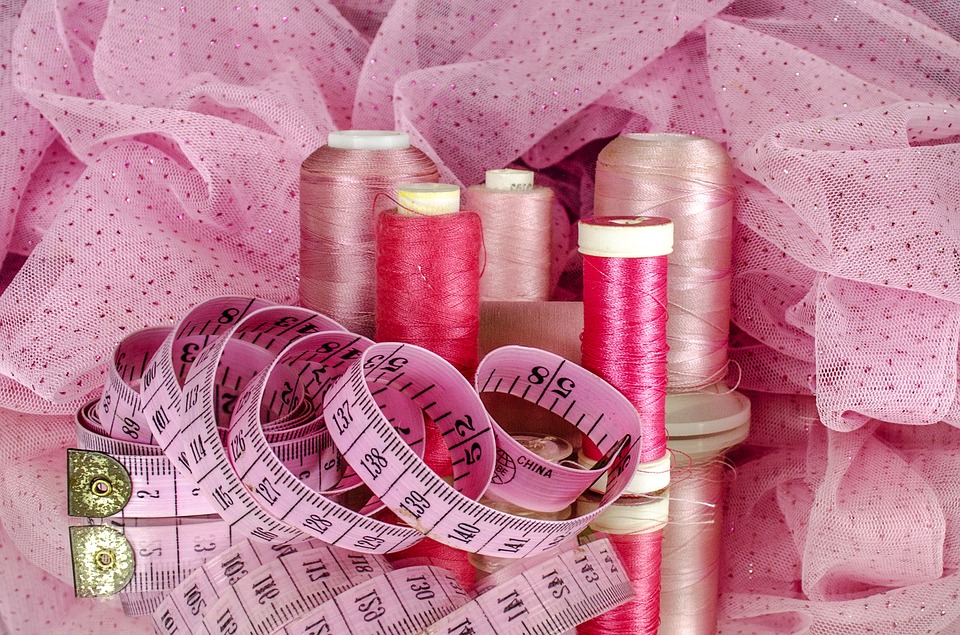
This concept makes me wonder how much I would’ve enjoyed sewing at a younger age if my Life Skills class (kind of like Home Economics) would have given me a more interesting sewing project to focus on. An answer of, “Probably a lot more,” builds momentum when I really focus on what I remember from sewing in that class, which more or less boils down to frustratingly learning to thread a machine, staying after school to finish my project, and choosing the fabric—and only the fabric—for the boxer shorts we had to make. We had the specific pattern selected for us, and we even had guidelines to follow in connection with the fabric.

Now, all of those restrictions made sense. Cotton is easier to work with for a beginner than something like silk, and it probably was easier for the teacher to help us with our projects if we were all working on the same pattern.

But what if the creative door had been opened just a touch more, and we were allowed to explore something a bit… well, more?open-wood-white-game-floor-wall-386881-pxhere.com

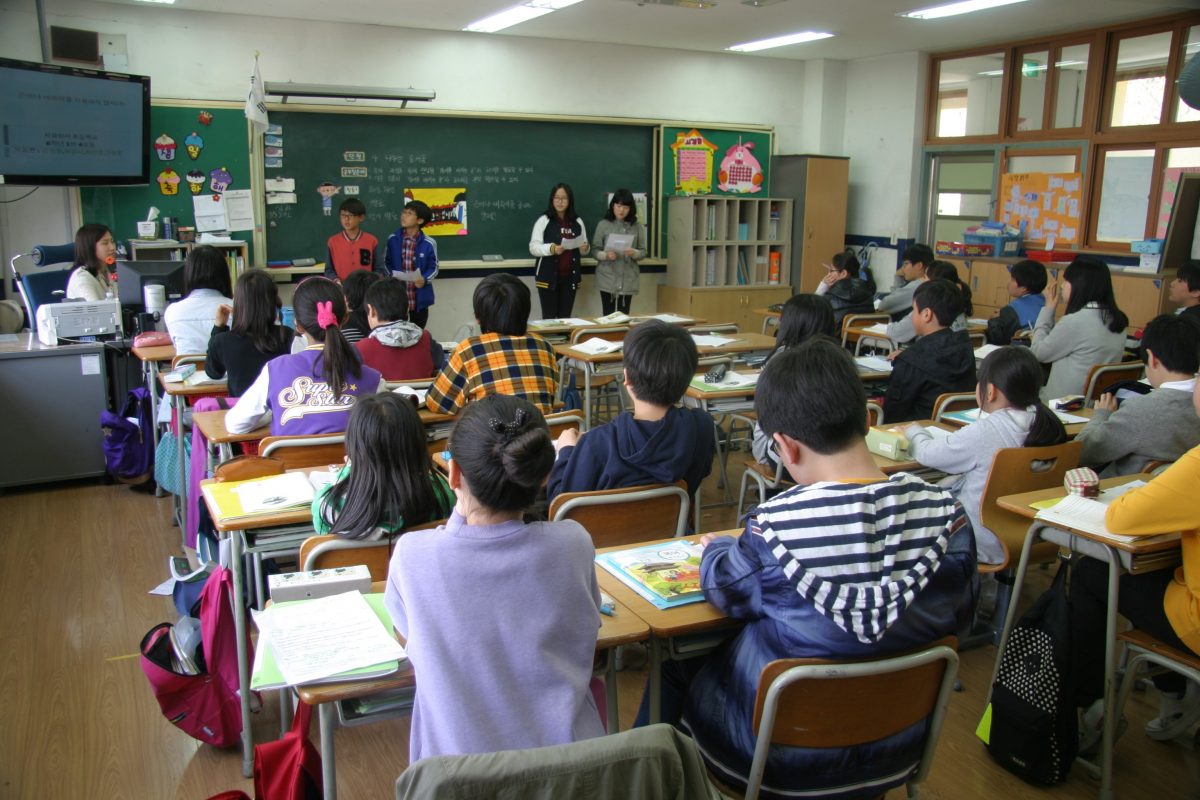
So from a person who only re-liked books in her college years and didn’t get into sewing until potentially her late 20’s, here are some tips for high school teachers that might spark students’ interest earlier in regard to the world of sewing.

Have a series of projects for students to pick from

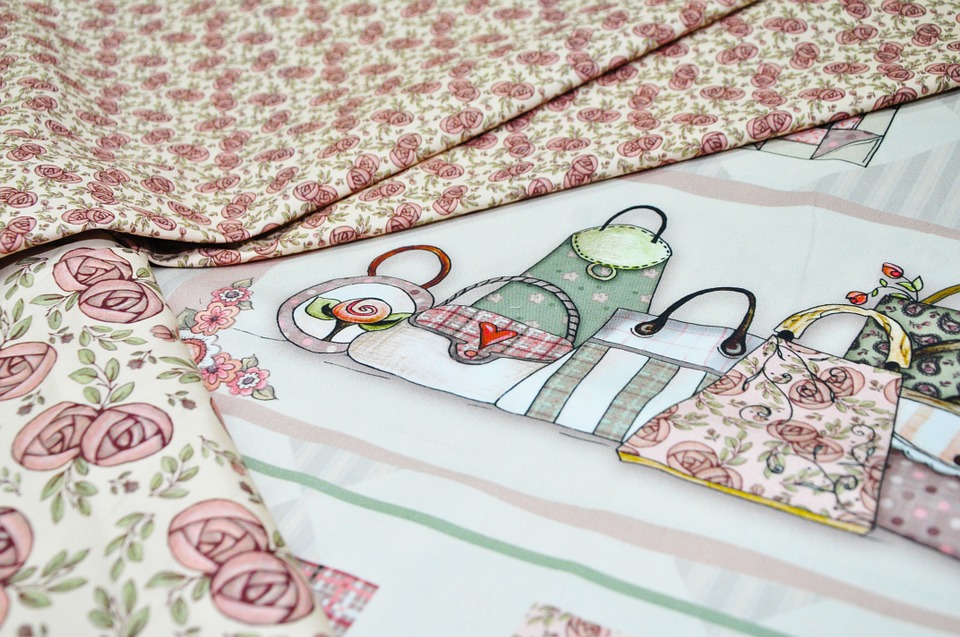
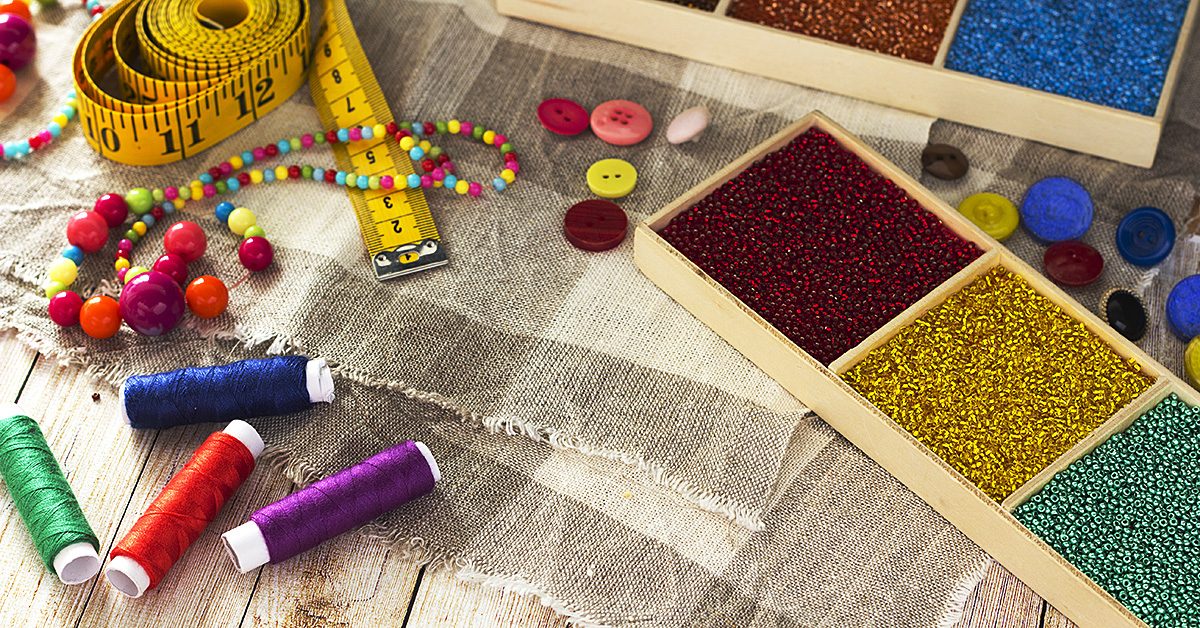
I know; I know. I said earlier that it makes sense for a teacher to only have one pattern to best assist students, but hear me out! Maybe there could be a handful of projects and patterns that students can browse to choose their perfect project. This way, the teacher would have a low enough number of possibilities to be familiar with all of them, but students wouldn’t be limited to just *one* pattern. The choices could range different project styles as well—perhaps one pattern for boxer shorts, one for a tote, one for a throw pillow… This way, students could involve more of their interests in the process to keep them engaged with sewing in a more genuine way.seat-furniture-colorful-sofa-pillow-material-967373-pxhere.com

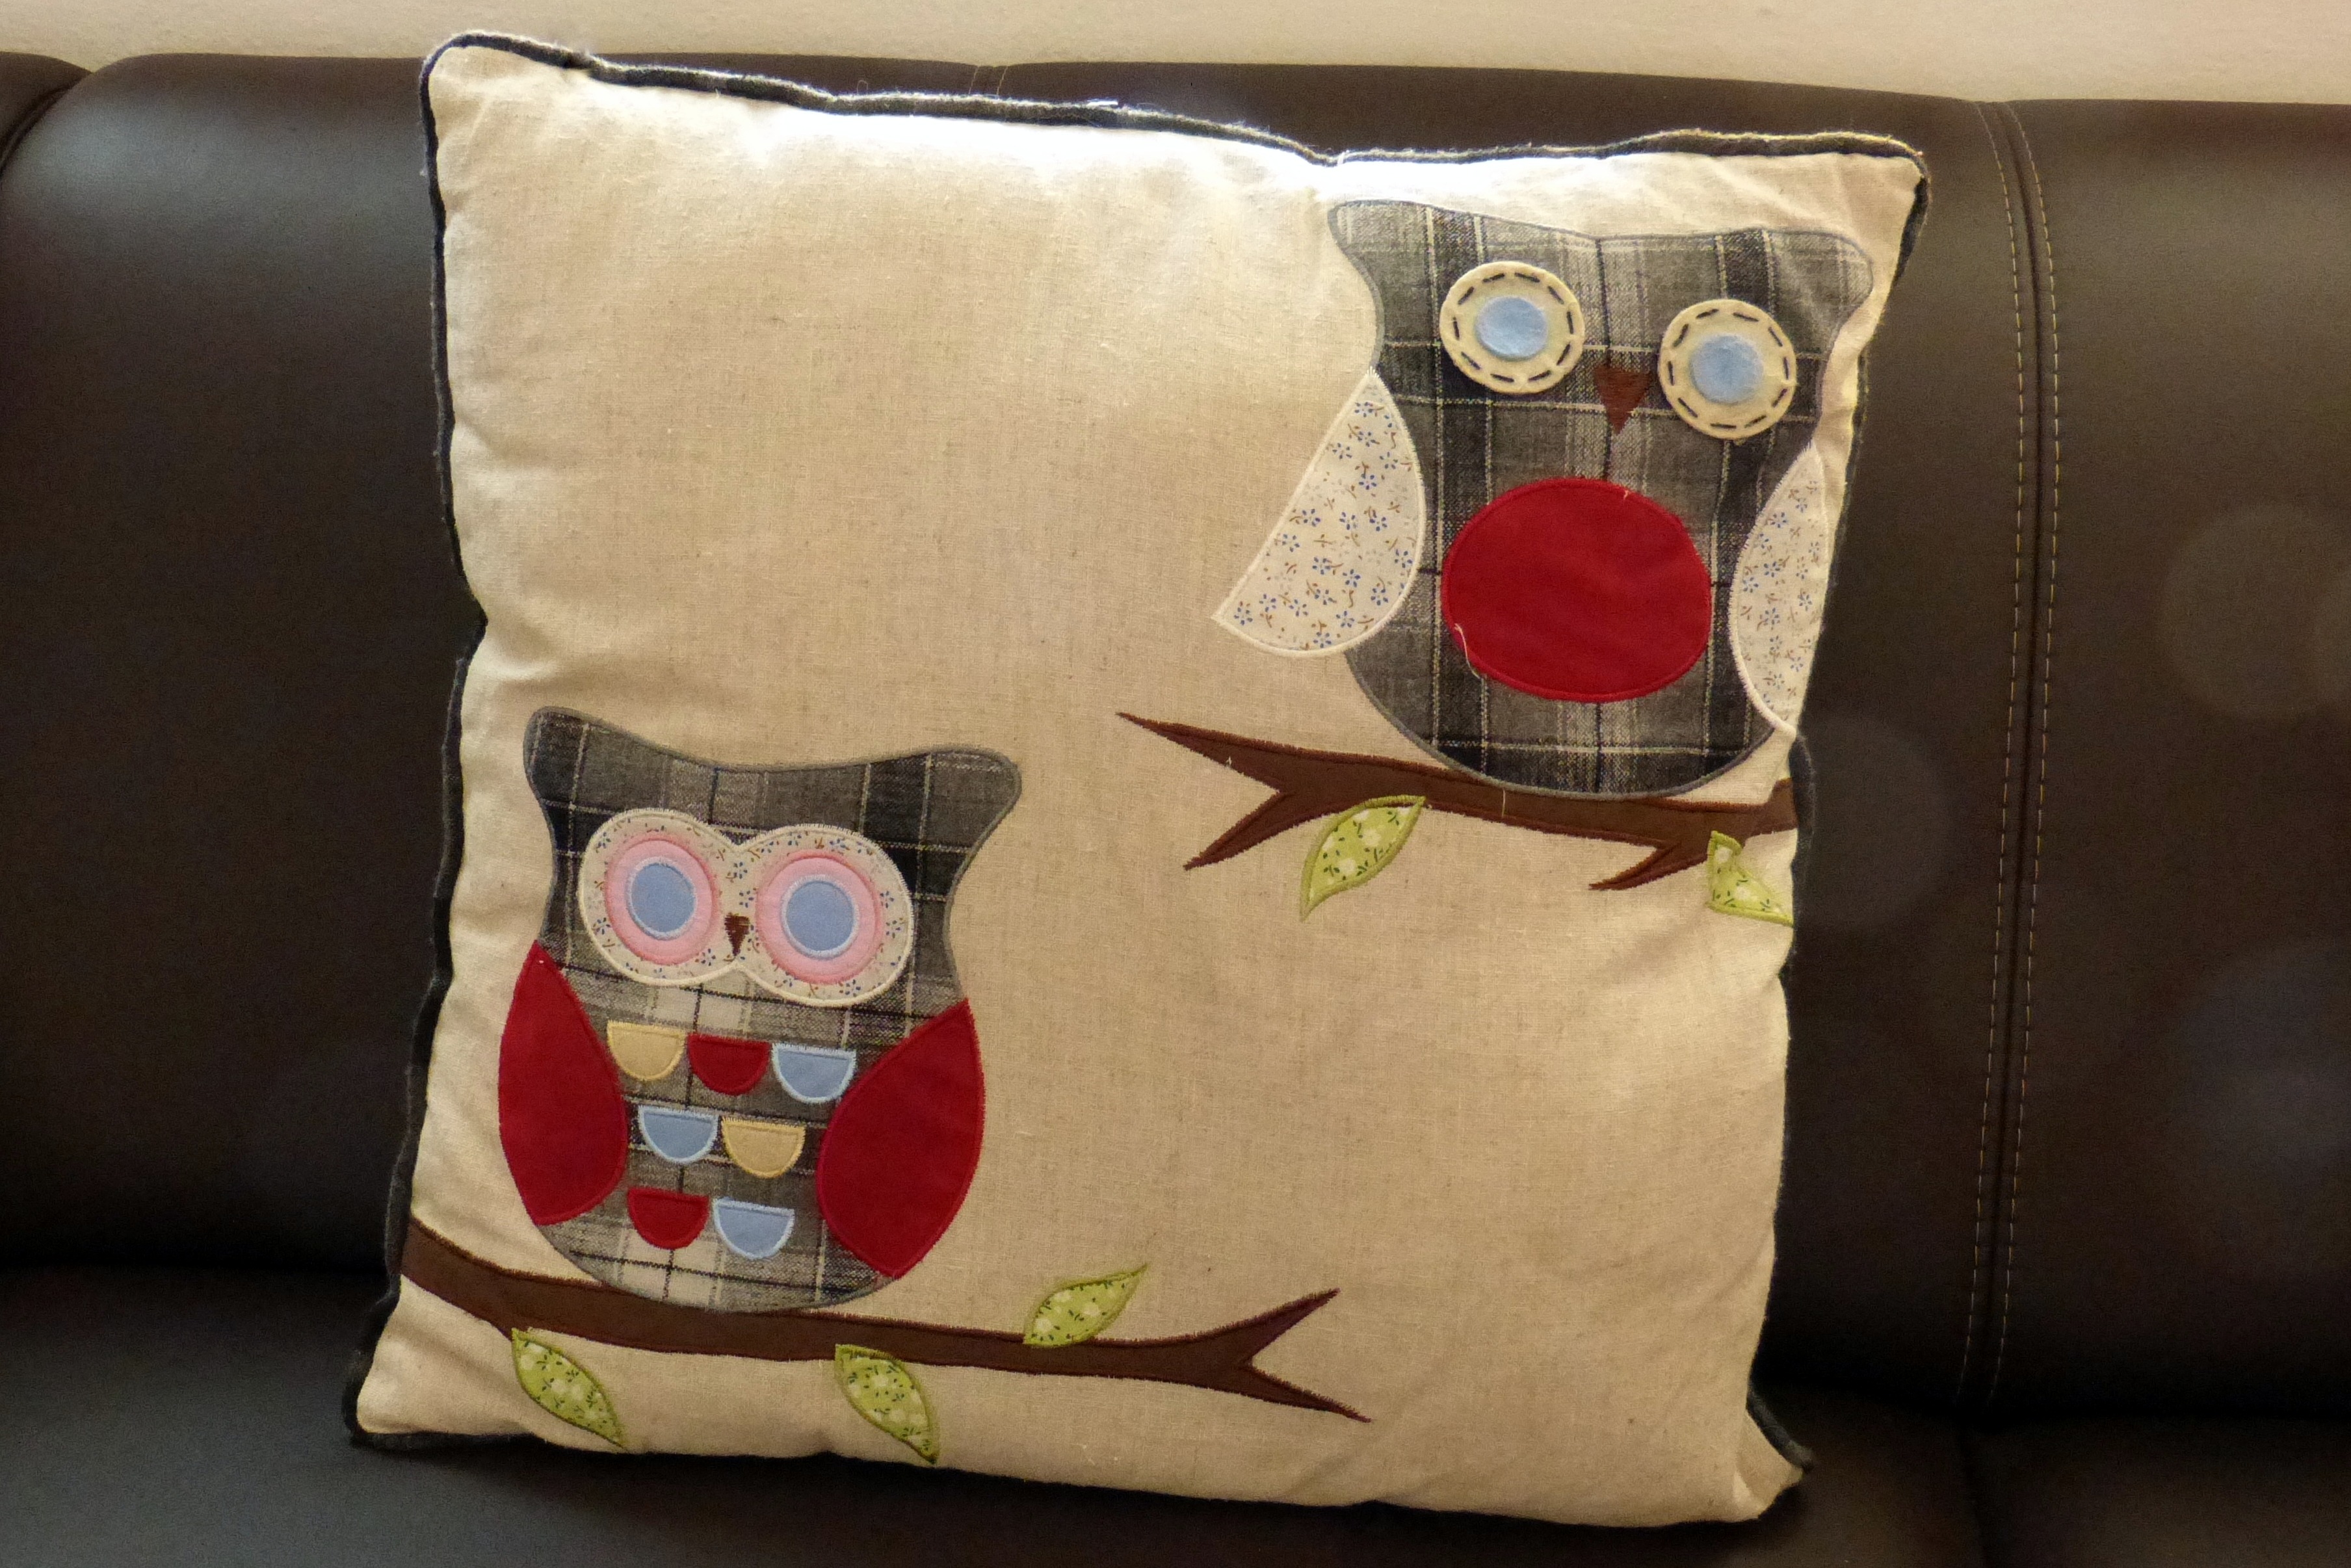
Plan a field trip to buy fabric

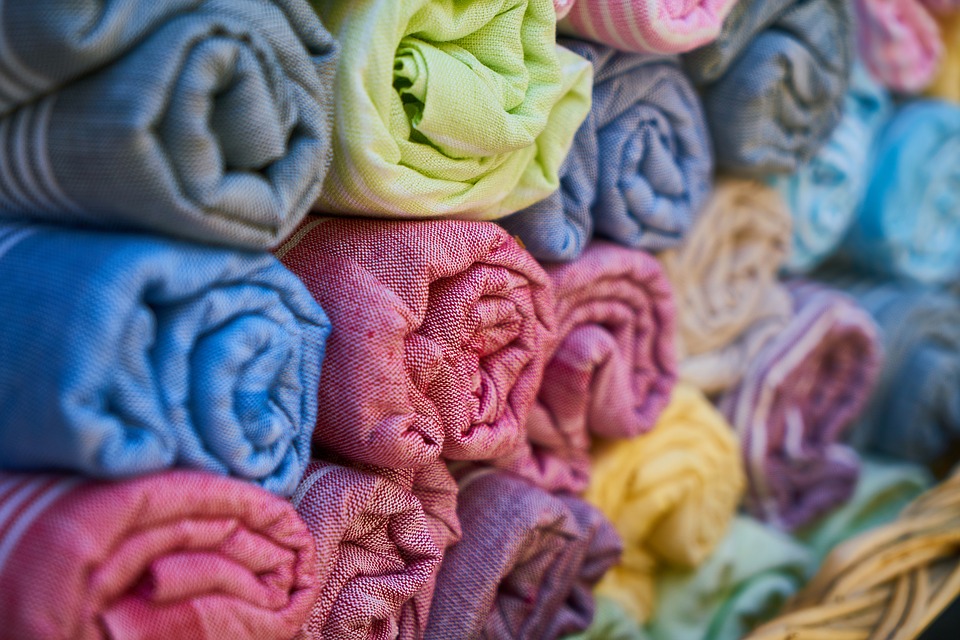
Sewing can be more fun when it’s done in groups, and choosing fabric is a step in the process that showcases that quality. If all of the class is gathered at the same fabric store, friends could browse together and have fun conversations about which fabrics stick out—the good and bad. This strategy would build a good memory for those students to bring to mind in the years to come of when sewing was fun, and friends were near. It’s a connection with the social side of life, and that can make the process stand out as something worth continuing.hand-sand-girl-photography-leg-love-973233-pxhere.com

Allow the students to add their own touches

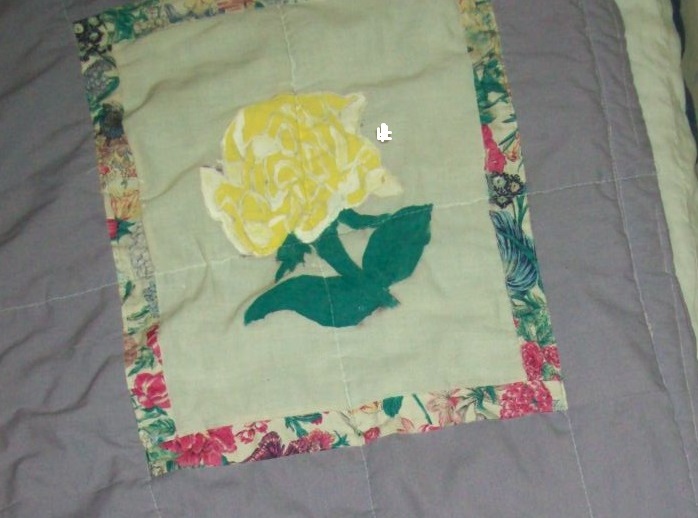
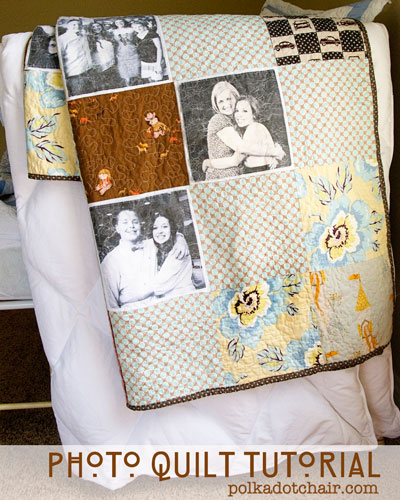
While the early stages of sewing aren’t necessarily the best times for reworking a pattern, there’s still room to personalize projects with the little details. These tiny details of personalization can allow the students to create projects that feel more individualized, things that they might find more pride in. Examples of these little details can include iron-on patches, fabric paint, gems, or other embellishments to take a work that’s completely fabric-based to something with a more dazzling effect. Remember, teachers, that the more personality students can put into creative products like this, the more they might enjoy the process. The more they enjoy the process, the more likely they are to continue it in the future.writing-hand-creative-white-pen-thinking-736147-pxhere.com

Picture Credit to https://samedaypapers.com/

And, well, isn’t that a goal for teaching someone to sew in the first place?

For me, I wish I would’ve latched onto sewing a decade or so before I did, but I’m glad that I did find it in myself to start at some point. Still, if it would’ve caught my interest back then, how much farther could I have been in the hobby?

Well, it’s not just a hobby anymore. It’s something that’s actually become a piece of my income, and I want to continue that in 2018 with the opening of a rag quilt shop. It’ll take time and effort to get the shop off the ground, but I’m hopeful for good things. These things will be highlighted on my personal blog in the future, so for updates, feel free to follow me there, on Twitter, or on Facebook.

Till then, guys. Keep on sewing!

Should Your Child Learn to Sew on a Machine or by Hand?

Should Your Child Learn to Sew on a Machine or by Hand?

Recently, more or less, my oldest niece has shown an interest in Chess, and it’s been a learning experience for me as well as I play games with her. Given how little I knew about Chess going in, honestly, I almost had to learn something along the way, but we’re both growing as players—which is fairly awesome. She’s come a long way from the girl who played with a toy phone in the kitchen floor, and now, she’s exploring more advanced hobbies.Sewing and Chess

Chess, as it happens, is just one of the latest. She’s also tried making stepping stones, baking, and sewing.

Once upon a time…

Sewing, like you might have guessed, is the topic of this particular post since once upon a time she found herself wanting to explore the territory as a hobby. That hobby was encouraged when she got a toy sewing machine, but what I assumed would be the case turned out to be accurate. Those toy machines aren’t good strategies to teach your children how to sew. Even with all of the hours that I’d spent sewing, I couldn’t get the toy to work right, and I ended up encouraging her to just forget the machine and sew by hand. That strategy actually led to her progressing a bit, and it turned out better than if I’d left her alone to the machine.

But that brings up an interesting question. Sure, this toy wasn’t a good machine for my niece to learn sewing, but what about a real machine? Essentially, which is the better strategy to teach your children to sew: on a machine or by hand?Sewing with Kids

By hand

The answer, to me, is two-fold. If you want your child to finish an early project on a more individual basis, the sewing by hand method works better because there’s less chance for injury while working alone. Sure, the child might stick themselves with a needle, but it won’t be with the force and repetition that a machine can deliver. This would make the overall process safer, and even though you might argue that it could slow the project’s completion, keep in mind that if you were dealing with a child on a machine, you probably wouldn’t get the full speed that’s possible through using the machine because of safety and the child’s hesitance during the learning process.Sewing by Hand

Children can learn concepts that can benefit them later in life through this by-hand process, like how to tie off the thread or make consistent stitch sizes, and they’re doing so with less chance of serious injury. Still though, keep in mind that any needle can cause injury, so always supervise and only allow the child to try sewing in this method if they’re old enough—and mature enough—to handle it.

By machine

If you want your child to be at their safest rather than their most individual, it might be a good idea, believe it or not, to break out the sewing machine since the needle stays in the same vicinity during the process. Regardless, guidelines for these early sewing machine moments should definitely be in place to lessen the chance of serious injury. Although other people probably disagree, as an example, if my niece (who’s 12 now) sat down with full control of a machine and fed the fabric through, I’d be paranoid that she’d accidentally get her fingers caught under the needle because she’s never tried it.Sewing by Machine

There is a way to combat this complication, fortunately, and that’s a guideline to only allow your child to do certain things on the machine—as in either work the pedal or the feed the fabric through. This way, while your child is smaller, they can focus their attention on learning how the speed of the machine works through operating the pedal without getting near the needle. Once your child is older, you can switch places and let them feed the fabric through while you’re in charge of the pedal to make sure the fabric feeds slowly enough for their fingers to be in the right places every time the needles comes down. This keeps the child from learning to feed the fabric through at a too-fast pace and lessens the chance of injury. That’s a good combination to pass on sewing to your kids!Sewing Generations

If you choose not to decide – you still have made a choice

Basically, there’s room for both hand sewing and machine sewing. To make the call, you should consider child’s needs and capabilities, and always—always—think of safety first. Always supervise and guide your child through the process, whether it’s more individual-centered through a by-hand method or tag-team through dividing the sewing machine labor. If you plan these things right though, your child can blossom in the sewing world, and the roots to their success can trace back to these moments you shared over their early interests.

It's National Sewing Month!

It’s National Sewing Month!

As a writer, I was well aware there’s a National Novel Writing Month (NaNoWriMo) that happens in November. As a person who sews though, I had no idea there was a month dedicated to sewing, until this week. Imagine my surprise to find that not only does National Sewing Month exist, but it’s this month — September! Essentially, I found this detail out with less than a month left to officially celebrate, but I suppose learning late in the month is better than having to wait until next year to utilize the concept.

I was surprised as well that this status isn’t something that a random sewing fan made up. Rather, this is something that Ronald Reagan declared back in the 1980s. That’s right. This is a former president’s declaration, and it pretty much boggles my mind that something like a sewing month would be noted by a President of the United States. It seems solid evidence that the world of sewing is more far-reaching and popular than what I might have thought when I first dove into it.

Now that I’m aware — and maybe you are too because of this post — that this month is dedicated to sewing, the question arises about how to celebrate it. There are plenty of options to do so, but seeing as how over half of the month is already gone, whatever celebrating you do would have to be fairly quick-paced! Regardless, there are still ways to fit your celebration into your end-of-the-month schedule, like with these possibilities!

Make a quick project

While some sewing projects can take a long time to make, other projects can be done in a day or less — and these are great prospects at this point for celebrating National Sewing Month before it ends. This concept can vary depending on how fast you are with sewing. For instance, something like a quilt might be a project that one person can finish in a week while another person requires longer. A guiding factor for this possibility then is your own ability and time frame. If you can manage a bigger project, go for it! But if you feel more comfortable with something smaller, like a fabric coaster or throw pillow, choose one of those options. As long as you have enough time to wrap up the loose ends before October 1st, you’re in good shape!

A great idea for this project would be to work on a homemade gift that you can give someone later in the year for a Christmas present. This can give you space to craft that gift and an excuse to revel in a month dedicated to sewing. Win/win, right? If you’re looking for sewing projects, Sewing Machines Plus has free project ideas available here that you can browse through to find a National Sewing Month project.leaf-flower-petal-celebration-heart-food-1250761-pxhere.com

Take a sewing class

Sure, a number of programs that you can take have specific start and end times, and you can’t just decide for those options that you’re going to start a class right now. For other possibilities though, there’s room to maneuver, particularly if you take a class you can finish in a virtual setting with timed videos. Craftsy, for instance, has classes with videos of certain lengths, and if you schedule your time effectively, you can finish one of them by the end of the month.hand-needle-girl-woman-vintage-tool-706616-pxhere.com

One other option would be to start a program this month even though you know it’ll extend farther than the beginning of October. Penn Foster programs, as an example, can allow you that kind of freedom to simply decide to register for a class today and work your way through at a personal pace. It’ll extend beyond September, but September can still be the month that led to you making the choice to enroll.

Buy a new piece of equipment

If you want to treat this month as something worth celebrating, why not go all out and buy yourself a gift for the prospect? You could even extend the prospect outward by buying small sewing supplies for friends and family who enjoy sewing as much as you do, like new thread or fun pattern kits. This way, you can spread the enjoyment of National Sewing Month beyond your own personal collection.hand-sewing-sewing-machine-art-design-handicraft-759263-pxhere.com

That doesn’t mean you should feel bad about adding to your own sewing stash though, and there are plenty of ways to build your supplies in honor of the month. If you need a new sewing machine and can splurge just a bit, celebrate Sewing Month by bringing your dream sewing machine home. Check out Sewing Machine Plus’s site for possibilities on the matter!

Smaller details, like a new sewing kit or interesting fabric, can also be ways to celebrate the month if your budget won’t allow for a new sewing machine, and a few extra dollars can lead to a tiny contribution to your sewing supplies in honor of the month. If you can work even a new pack of straight pins into your budget, it’s a method of celebration!

In any event…

I feel a bit of camaraderie with my fellow sewing fans this month, given our shared interest that was valid enough for a president to declare a month for it.

So to these fellow craftsmen, happy National Sewing Month!

Confetti Quilt-Art for Your Walls

Confetti Quilt-Art for Your Walls

Speaking of fall projects, I’ve recently come across a quilting technique that would be fantastic for creating a beautiful piece of autumn to use for wall décor. The problem, though, is that the technique used to build this work is a bit advanced, so it’s something I’m going to have to put on the back-burner for a bit until I potentially get the hang of more intricate workings of specific sewing processes.

The overall idea is out of my comfort zone right now, but it’s still something that seems like a great enough idea to share with those reading this blog post. Maybe you’re more advanced than I am in the sewing world, and this would be a simple project to you to bring fall coloring to your home’s interior. If so, gather your fabric and tulle, and get to working!


Project: Confetti-Quilted Wall Hanging


Tools and Supplies:

Sewing machine, scissors or rotary cutter, fabric (some for shredding purposes), tulle, and straight pins

The Idea:

Creating a work of art from bits of fabric
Mulberry Patch Quilts

See all of these leaves? Those are tiny bits of fabric placed on the piece, or confetti fabric!

It would be easy to label this a mosaic-type project, and in a way it is because it’s a bigger picture that’s being constructed by smaller pieces. But the incredibly small sizes of these pieces are tiny enough to compare to confetti being tossed in the air, so the confetti name is actually more fitting than the mosaic title—especially since the confetti can bunch up and overlap on your design in contrast to the side-by-side nature of a mosaic piece.

This is an idea that can be put in practice to make a full quilt, but the number of times you’d have to go through the process to create enough blocks for a quilt sincerely escalates the amount of time you spend on a project. Considering fall is so close, using the one-block notion for a wall hanging is more reasonable—and it’ll create a one-of-a kind piece to show off to your home’s guests.

The advantage of confetti

The beauties here are that you can pick the size of the confetti art work, you can choose the image you want to depict, and you can even use scrap material from other projects that have little to no value for other concepts. These confetti dots are tiny, so it doesn’t take extended amounts of fabric to create them. You might want to keep that in mind as you trim up your fabric for other projects and stash away the scraps and remainders in some kind of a confetti-quilt container. That way, you can build your supply for a confetti project that pops in your head, giving you the ability to start constructing immediately rather than having to search for fabric bits.

plant-leaf-flower-petal-decoration-red-830896-pxhere.com

For a fall project, this is a good option because autumn comes with a great deal of outdoor imagery, like trees filled with colorful leaves or pumpkins placed in front of haystacks. Through the outdoor elements comes the prospect of movement and wind, so having the confetti scraps present to drizzle across your project can give the viewer that sense of movement in a display that’s random enough to highlight the notion.

Working with layers

You can layer the colors and fabrics to boost that realism until you have a strong tree covered in a series of leaves that are dropping to the ground and flying away, a pumpkin patch with dust and leaves blowing past it, a scarecrow that’s caught up in seeds that are breaking away from crops and sailing by… Lots of ways exist to put this idea into practice, and each has a look of intricate realism that’s sparked from the confetti approach.

tree-light-bench-night-photography-sunlight-1234-pxhere.com

The process to perform this task seems basic, if intricate, and so long as you keep the confetti pieces in their places with straight pins, tulle, and early sewing, you can make sure everything stays close enough to the arranged order to highlight the scene as you intended it above your mantle or over your couch—or wherever you choose to place the finished work!

Inspiration is key

If you want to find inspiration for what to depict in your confetti project, try going for a nature walk to look for signs of autumn’s approach, and when something particularly seasonal catches your eye, freeze that memory in your mind (or snap a photo) to remember it. As the month rolls on, nature itself can give you plenty of sights to choose from to be the main scene of your confetti project!

hand-screen-man-person-technology-camera-948351-pxhere.com

So, if your skills allow you to handle this intricate of a project, start looking for that autumn image to commit to a wall hanging!

Bringing the Autumn Vibe into Your Home

Bringing the Autumn Vibe into Your Home

Out of all four seasons that we experience throughout the year, my absolute favorite in regard to nature is autumn. A part of the reason for that is I live in mountain territory, and when the leaves start changing colors, it’s hard to find something that compares to how beautiful that is. It’s enough to try and think of ways to embrace the same visual within my home so that the beauty of fall can decorate my inside world as well.autumn-1072827_960_720

Because of my love of the season, I took to the Internet to find projects that would create that autumn vibe, and my initial thoughts about it seem to be backed up again and again through other sites.

All you need to do is to make sure you’re bringing the right elements into your sewing projects to represent fall. Sure, there are more specific notions of pumpkin-shaped pillows, but even something as basic as choosing the right fall traits to add as embellishments can make an ordinary throw pillow, blanket, or wall hanging represent the season.

Color pallet

For one thing, you should definitely consider your colors for fall projects since those bright, vivid hues melded together are synonymous with the season. Orange, yellow, red, and remnants of green are all a part of the typical fall-grasped leaf, so make sure you choose fabrics and embellishments that showcase those colors. Remember that fall leaves are often a series of these hues, so mix and match them in your projects to have a full autumn experience with your sewing project.fall-foliage-1740841_960_720

If you only have white fabric, try dying it to create the autumn theme. Anyone who has seen the final product of a tie-dye shirt knows the process leads to a series of patterned and blended colors, so you can use that general idea to mingle autumn colors on your fabric. You can blend the tips of orange in with the beginnings of the yellow, with little spots of green throughout, and the inconsistent spacing of the colors can really drive home the look of fall leaves.tie-dye-510230_960_720

Beyond your color choices, think of other seasonal elements that you can use to display autumn throughout your home. Pumpkins, candy corn, acorns, haystacks—all of these things can be used as inspiration for your projects through finding ways to represent their likenesses in sewing projects. A new quilt could look lovely with a scene that’s covered in fall elements, like pumpkins lining the area where haystacks and classic barrels are stationed. If you ground that setting in fall colors and embellishments of candy corns and acorns surrounding it, you’d have a creation to bring out of storage every fall to embrace the season.pumpkin-991825_960_720

You can shape your throw pillows, as mentioned, like pumpkins—or candy corn, acorns, fall leaves—and these little additions of autumn can boost the fall vibe in your home.

Reason for the season

One specific fall project is this leaf table runner. All you’d need to do is cut out fabric with a leaf pattern using fall colors—maybe dying them for that mixed feel—then sew them as individual leaves. You can add in the details of lines and spots of variation with fabric pens to give your leaves a more realistic feel than just a series of plain fabric. From there, you can sew them together in this slanted pattern to bring a bit of fall from one side of your table, mantle, or shelf top to the other. With the right skill and effort, this project could be finished well before the official beginning of fall later this month!Felt-Leaves-Table-Runner_Medium_ID-456743

This idea of embracing fall in your home can be applied to your kitchen as well by thinking of fall themes for potholders, in your bathroom through an autumn-inspired wall hanging, and any other room where a fabric splash of fall goodness would be fitting. Just let your imagination run with you, and you can come across a way to embrace the beauty of autumn in every single room of your home through the right colors and right embellishments!halloween-72937_960_720

Better still, once it’s time to put away your fall decorations, you can be clearing space to make room for your Christmas decorations, meaning you can trade one seasonal method of décor for another without having to do much rearranging. Keeping with the seasons by using beautiful, self-made details—with little fuss—equals a great situation from beginning to end!

Be sure to start brainstorming what elements represent fall to you, and go get the right fabric and supplies for bringing those projects to life!

The Dos and Don’ts of Sewing: Cinderella Style

The Dos and Don’ts of Sewing: Cinderella Style

One of the most classic Disney movies is Cinderella, the 1950’s cartoon version of the popular fairy tale. In this story, we see Cinderella go from being a young girl who loses her mother and has to live with an unloving step-family to a woman who’s optimistic enough to take a chance by going to a fancy ball and catching the prince’s eye.

Every detail about this story line isn’t perfect—if she’s Prince Charming’s love, why can’t he recognize her without this shoe business?—but it’s still a staple for a lot of people in regard to movies they adored as children.

For a person who grows to appreciate sewing, the film can have another level of intrigue because sewing is a part of the story. Before the Fairy Godmother comes by to provide Cinderella her glittering, beautiful gown, she goes through the process of planning her own dress, which will be constructed from tools and materials within her home. The actual dressmaking happens at the hands of a team of friendly rodents once they realize Cinderella is too busy to finish the project herself, and the musical scene connected to their sewing is one of the most recognizable ones from Disney.Disney4

Beyond those aspects of familiarity and youth, there’s unique sewing advice happening within that dressmaking scene that you could apply to sewing endeavors. All it takes is a little consideration and a bit of imagination to find those gems of guidance within the lighthearted scenes of sewing.

For instance, these mice have applicable tools at their disposal to see this dress come to life. There’s no machine in sight, but you do see other sewing essentials, like needle, thread, scissors, and chalk, all of which can at least be representations of things that are useful for sewing. The chalk, as an example, can be replaced by soluble pencils to trace your cutting lines, and like the bulky chalk the mice are using, you can wash out the remnants later. With that strategy, you’re making sure you’re sewing in a more precise way without forever damaging the fabric. Good strategy, mice!Disney5

As the dress is being assembled through pulley systems and such, the mice have a dress form setup to keep the fabric in its most natural wearing position. This detail cannot be overstated if you’re going to sew clothing like Cinderella’s dress because it makes you able to see the dress as it should be rather than bunching it up or expanding it unnaturally on a flat surface. You can tell how the dress will look, and you could prevent a time or two of accidentally sewing your dress sides together in the wrong places. Like the mice, make sure you have that form for these purposes!Disney3

Unfortunately, though, the mice didn’t quite get everything right, and it makes sense to note those things as well. For example, you probably want to use a better method of organizing your supplies than a simple wicker basket that you can dive into. Even if you’re just tossing all of your supplies into a container like this and reaching in to gather what you need, if your organization is lacking, you could end up getting a sewing needle or straight pin in your hand. For the mice, this is particularly bad since the needle is about as tall as they are, but even for human-sized sewing fans, a straight pin in the hand can hurt!Disney2

For this reason, you should consider organizing your sewing utensils better than our Cinderella mice friends! Use different containers for different items, have shelves to display them, use chest drawers to keep them stored… Whatever your strategy, do yourself the favor of not piling everything into one area that’s dooming you to minor injury!

One more detail the mice get wrong is how simple they make assembling this dress seem. Sure, they employ pulleys that you probably won’t work with, but let’s be honest. Cinderella simply points out a picture in a book that she wants her dress to look like and gives very basic instructions about what needs to be done, and the mice infer all of the in-between information even though there are no measurements listed at all in the book.Disney

Fortunately for the mice, the foundation of this dress is already assembled since Cinderella is intending to alter something that she already has—another good tip from the mice: use what’s around you!—but if you take this at face value, the process is too simple. Without having measurements, at least, you could be setting yourself up to fail.Disney6

So rather than just picking a picture, use a pattern or at least take the measurements of the person who’s supposed to wear the finished product. Remember, after all, that the dress Cinderella intends to alter is her mother’s—not hers. There could’ve easily needed to be some redefining done to make it fit Cinderella just right, and the mice take a risk by not being more specific. On this, don’t be like the mice! Be measure-specific!

In the end, while the mice got some things very right and some things pretty wrong, it’s a catchy scene with an upbeat song that embraces sewing in a youthful manner. So, embrace the mice’s optimism, apply their useful techniques, and learn from what they did wrong.


Reference for all photos
Disney, W. (Producer), & Geronimi, C., Jackson, W., & Luske, H. (Directors). (1950). Cinderella [Motion Picture]. United States: Walt Disney Company.
The Paradox of Fabric Markers

The Paradox of Fabric Markers

I’m just a simple girl trying to navigate her way through the quilting world, and on this journey, things sometimes strike me as odd. I might find a blog post saying that information that seemed fairly cut-and-dry for me is way more complex than I thought, and recently, I’ve taken to looking into a topic that doesn’t comparatively seem to be the basis of very much discussion online.

I mean, people talk about it, but not to the level that I think the topic merits.

If you look up websites that give you information about using markers on fabric, you’ll probably see a whole lot of results that have to do with markers designed to trace patterns or cutting lines to give you a more polished finish. This is a topic that makes absolute sense because having the right marker in that scenario means you can effectively use it, then wash it out so that it’s not a permanent part of your design.Picture 1

What strikes me as odd, though, is that sometimes people would probably want their markings to show on their quilt.

Specifically, you would want a more permanent set of markings if you were drawing or coloring a picture right onto the fabric, and you meant that drawing to be the décor for the quilt.

Now, you might be thinking that this is a very cheap and amateur way of doing things, but let’s not forget that some people are fantastic artists with this kind of thing. If that weren’t the case, how many cartoons would we have missed out on over the years? And the bottom line is that if a part of your skillset is drawing, you should be able to add hand-drawn and hand-colored details to your quilt to let that skill shine through for something that goes beyond adding an iron-on design.Picture 2

Another benefit of bringing this element into the equation is how much sentimental value it can place on a quilt. If you’re grandmother not only sewed a quilt, but drew or colored the designs by hand, how much higher does that boost the personal value of that final product?Picture 3

In addition, this drawing your designs on fabric opens plenty of doors about what you can showcase on your quilt because all you need is for someone to be able to draw it. As your primary objects to display, those drawings can act as the stand-out qualities so that the actual fabrics and block placements can be basic. You don’t need special fabrics and tricks—just general fabric and a person with great drawing skills.Picture 5

One of the best things I’ve found that you can do with markers and materials though is to begin with a blank surface, and then hand over the markers to two or three children. I currently have curtains in my room that are the product of two of my nieces tackling the project with happiness and a package of Crayola fabric markers. Sure, the child-friendly nature of the markers has led to the images softening a bit, but you can still get a sense of the original artwork so long after the curtains were decorated by my nieces.Picture 4

As I said though, you don’t hear too much about marker possibilities that are built for staying on the fabric, so it’s a bit harder to come up with recommendations in regard to what markers you should use for what purpose. Currently, I can recommend those Crayola fabric markers because the designs are still visible on the curtains. When allowing children to do the decorating, that fuzziness of the image design over the passage of time is worth knowing that they’re using markers that are age-appropriate. I have a younger niece now, and you can bet I’m not handing her a permanent marker to fancy up material in the near future!

There are other types of markers out there—ones that are non-toxic, ones that are Sharpies, ones that are metallic… I’m fairly convinced that since so little was found in my search of fabric markers for this kind of project that I’ll be the one who explores different types of markers that work well and can last through their time spent in the washing machine. Whether for sentimental reasons or just because you love the design, once you put your marker to fabric for these projects, you sensibly won’t want your design going away bit by bit every time it needs to be washed!Picture 6

So to begin this journey through fabric markers, I would give the Crayola brand 3 out of 5 stars. As I said, they did their job to get the images on the curtains, and I can still see the images there. The markers were child-friendly, and that was definitely something that I wanted for that project. But since the images have faded somewhat over time, it’s hard to give them a 4 or 5 rating since it means that over time, I might lose all traces of the images—which wasn’t what I was going for!

I look forward to exploring the possibilities involved in this marker fiasco, determined to find one fabric marker that suits each of these purposes: Marking fabric with my nieces (must by kid-friendly) and taking on these drawing assignments alone (more lenient with regulations). Stick around while I sort through the options, one at a time!

The Basics Photo Quilts

Once again, we come to the point on this blog where it’s reasonable to look into a new quilt type. The reason for this specific interest for this post is because I happened to figure out that making a certain type of quilt is a lot less difficult than I expected. In fact, I’m toying with the option of making one of these for a Christmas present this year.

But I’m getting ahead of myself. First, let’s look at the quilt type I’m referring to, and then we’ll go into the ease and benefits of making one.

The type of quilt in question is a photo quilt, and it gets its name in the way you might expect—it includes photographs in its design. Now, you can order a printed throw like this through a store, but if you’re going to own or gift something that’s as sentimental as a series of personal photographs, it makes sense to add in that additional personal touch of sewing it yourself.Picture 1

Up until recently, I never realized how simple this prospect could be because I couldn’t grasp how printed photographs made their way to a quilt—unless, of course, you bought the quilt that way. As it turns out, the process is actually simple. You can treat it like a general patchwork quilt—so long as you have printable fabric at your fingertips.

With that one addition to your sewing supplies, you can browse through your pictures to find the perfect ones for your project.Picture 3

If you’re going to create a photo quilt for a wedding gift, for instance, concentrate on images of the right couple together. Once you find enough fitting photographs for the prospect, scan them if you only have print copies and get to printing on that fabric! From there, you’ll need to rinse it and iron it to keep the ink from ruining in the wash or bleeding where you don’t want it to go. You can find those details here.

You can pick and choose other fabrics that complement the theme and look of the images to build the rest of the quilt, and you can tend to the trimming and sizing of the photo blocks in the same manner that you would any other fabric style. Essentially, you’re doing nothing differently expect printing and preparing some of your fabric rather than purchasing all of the fabrics already printed.Picture 1

This is a simple prospect, but it’s a wonderful idea to add personalization to quilts for your own home, for a nursery, for a gift… The process shows care because you searched for the right pictures and because you took the time to piece everything together yourself rather than run to a store to have it printed for you. In a world so technologically advanced, this is one of the ways to use technology to bring a personal quality to something homemade.

Remember that the fabric you pair your photographs with can add value to your work in that they can carry out a particular theme that you’re going for. If you’re creating a graduation quilt (like in the link provided) and you want to showcase all of the graduate’s high school friends for a keepsake to take to collage, choosing fabrics that represent their school’s colors or mascot would be useful, as would ones that reflect typical graduation items—like caps or diplomas.Picture 1

For a Mother’s Day present, you could consider what your mom’s favorite colors and items are and use them for inspiration in regard to other fabric choices. If she adores light blue and lilac, pairing the photographs with those hues can add a level of care to the overall product since it’s another bit of evidence that you know the recipient well enough to pattern the design for them.

You could also use these for your own purposes as well, such as printing off photographs from your trip to Rome or Venice for a European-themed work that showcases the pictures you took during your stay. Even a moment that might seem trivial could be represented through one of these quilts, like the first time you baked with your children. Just take enough photographs to commemorate the experience, then pair your printed photographs with colors that reflect the baked goods you created together. It’s a big way to remember in detail such a small moment.Picture 1

Overall, I’m very much interested in trying my hand at this quilt type, and you can expect updates as I go through the process of trying to construct one. It’s so personal, and I look forward to testing the waters on the matter—especially to see how well the ink stays in place through my own personal experience.

Have any of you ever tried a photo quilt? Suggestions? Let me know!

The Lace-Maker by Tropinin

The Lace-Maker by Tropinin

Once more, we’re turning to an artist’s rendering of a sewing topic for exploration and analysis, and this time, it’s coming with a couple of twists. Before we dive into those twists, let’s go ahead and introduce you to the painting that’s the focus of today’s post.

The Painting: The Lace-Maker

The Artist: Vasilii Andreevich Tropinin

The medium: Oil on canvas

The year: 1823

Picture 1

Masterpiece

This is an eye-catching piece, and one of the most immediate concepts that separate it from works that have already been explored on the blog can be noted in its title. The topic isn’t just sewing stitches or making repairs, but rather the very specific task of making lace, which might require different tools than general sewing. The woman in the painting isn’t using a regular needle, clearly, which provides a unique view into the world of sewing.Picture 4

In fact, this entire painting is varied from some of the ones that historically came before it since it’s showing an average woman tending to the lace’s creation rather than someone from high class (“Vasilii Andreevich Tropinin: The Lace-Maker,” n.d.). This woman looks like someone you might see working on a sewing project in the comfort of home, and that quality creates a similarity between the average viewer and the painted woman. You can relate to her because it’s so akin to your approach—sewing in your own home.

Both of these aspects are showcased specifically in the painting—the tools and the woman—through the triangular configuration that’s been noted on other artistic works. Within the triangle of focus, you have the woman and the tools she’s using, allowing your eye to primarily be drawn right to them.

Picture 6

It’s about the passion, not the project

It’s also worth noting that we don’t see much of the actual lace being made. We see the woman. We see her working. But the project is mostly facing toward her, so our view of it is limited. It can be interpreted that the lace-maker herself and the process of making the lace are, to the artist, more significant than the actual project.

By extension, you could continue this logic to assume that the woman in the work is a beginner or early lace-maker, and that the process doesn’t need to be tarnished by seeing a newer lace-maker’s mistakes and missteps. This notion can be argued as mirrored in the idea that her hands look dainty as she tends to the process, which might lead the viewer to assume that she’s treading lightly into the field. She isn’t gripping the tool firmly, and the overall result can look like the carefulness and hesitance of a beginner.Picture 4

Personality and disposition

One could argue as well that the smile on her face is another detail that brings this new-lace-maker quality to life, as if the woman is happy to give this process a try and perhaps pleased with her progress. Unfortunately though, her face is the main spot where the argument could shift in favor of the woman being very secure in her craft, as if she’s done this again and again over the years. There’s no uncertain furrow in her brow or any lines of tension on her face like you might expect from someone struggling to get the hang of such an activity. Rather, she looks calm and relaxed, and that mind frame can be labeled as out of place for a new lace-maker being caught on canvas.

Picture 2

If you consider that detail—that her face is so free of lines of tension—the other elements can suddenly take a new turn as well. Maybe those hands aren’t dainty with hesitance. Maybe they’re loose from comfort with the process, like the casual grasp she has is enough to professionally finish the task. If you decide on this method of logic, the project being pointed toward the woman can mean that her comfort with the task is what’s supposed to be shown. You don’t need, from that point of view, to see the project. The woman is too at-ease with the process to be creating anything less than successful through her endeavors.

Light and shade

This notion of comfort can be seen in the lighting of the painting as well since, for the most part, everything is well-lit and in the spotlight. Other than the shady corners at the top, the space under the table, and the area underneath the platform the project is on, little is dark about this work. That sustained level of lighting speaks to an overall bright experience, and the similarity of color throughout adds to that calmness. No hue drastically sticks out, and other than the handful of dark places, nothing severely falls into the background in regard to those hues. Everything is neutral or placid enough in color to create an overall image of cohesion and balance.

With all of these elements combined, it’s sensible to interpret this as Tropinin’s attempt to showcase an average woman tending to a very specific task with so much expertise that she’s calm and tranquil throughout the experience. It’s a primarily bright experience that she feels comfort in, with little dynamism about the process due to her ease with the task while she works on a project that the viewer doesn’t need to see to know it will be a success.

References
“The Lace-Maker.” (n.d.). Russian Art Gallery. Retrieved from http://russianartgallery.org/famous/tropinin_lacemaker.htm
“Vasilii Andreevich Tropinin: The Lace Maker.” (n.d.). Rollins College. Retrieved from https://myweb.rollins.edu/aboguslawski/Ruspaint/troplace.html
Sewing for a Living

Sewing for a Living

For the lucky people who discover early on what they want to do for a living, picking a career can be as easy as following interests. But sometimes, knowing your primary interest isn’t enough to form a decision on a career since you don’t know what in the world you could do in the field that would actually make you money. I mean, come on. I could love collecting quarter-machine stickers, but unless at least one of them become a collector’s item, what exactly am I going to do career-wise with that interest?Sewing1

You might have a similar struggle with sewing since it’s often treated as a hobby or a practical exercise, but as hesitant as you might be to try your hand at it for a living, you can absolutely earn money working in the sewing world. In fact, Sewing Machines Plus is currently hiring salespeople. Just sayin’.

If you’re looking for something a little different than a salesperson though, here are six career options that you can explore to make cash with your interest in sewing.

1. Be a seamstress. This might be the most obvious choice, so let’s go ahead and cover it! As a seamstress, you’ll have the opportunity to be the community go-to for sewing repairs, which works out well since certain people aren’t interested in making those repairs themselves! You can use your interest to earn money while helping out people with their clothing needs. Sound good?

2. Make clothes. On the same train of thought, you can make clothes to sell for people who don’t have the interest or skill to make these projects themselves. If you can construct something fancy, like a prom dress, you might find that you can make real money for weddings and dances by allowing people to have more input in their clothes designs than they can get by shopping retail. It might take time to prepare yourself for these kinds of tasks, but talk about the creativity involved with this one!Sewing5

3. Write. If you have interests in sewing and writing, this is a good fit! You might not find that perfect writing opportunity as soon as you start looking for it, but trust me when I say that a consistent effort in looking for freelance writing jobs can lead to some possibilities that are in line with non-writing interests. Fitness, education, and traveling are varied topics that you could find freelance offers for, and they’ll hopefully give you an idea of how assorted freelance subjects can be. It’s reasonable then to believe that someday a sewing-related possibility could come your way if you keep searching for it! You might even end up with a career writing regularly for a famous magazine that deals with sewing.

4. Own a shop. There’s variety in this option because your shop could be for a number of things. Maybe it’s exclusively to sell the clothes you make, or it might be a collection of community sewing projects all sold under one roof. Maybe you’re only interested in selling quilts, or baby supplies, or handmade home décor… Whatever your niche and however far your reach for merchandise, if you have the knack for running a business, this might be the career for you!Sewing2

5. Teach. If you search online *right now,* you could find job listings for tutors or teachers in the field of sewing. This makes sense since sewing beginners might breathe a little easier with someone there to guide them in their early projects and learning experiences. You might not even have to look online to get a chance at this type of job if you happen to know someone who wants to learn to sew. Then maybe one student leads to another, and perhaps one day you can have a full class of people waiting to learn about sewing. As a side note, if you’re technologically inclined, you might think of filming classes, making them look professional, and selling them as DVD’s through vendors. It might take a while for this to really take off, but that doesn’t mean it can’t happen!

6. Make Patterns. It’s entirely possible that you adore sewing, but you’re not overly interested in teaching the practice. Maybe your appreciation of the sewing process is primarily in the most technical aspects—like building patterns. If so, be aware that a pattern maker is a job possibility! You could land a job as a pattern maker for a designer or company to put ideas to paper, but honestly, what’s to stop you from creating your own designs, mapping out the patterns, presenting them in a professional manner, and selling them? In fact, this would be an interesting detail to add to that shop that was mentioned earlier! Either way, it’s possible to make money by making patterns!

And there you have it—six ways you could earn money by putting your love of sewing into a career choice. Some of these might be easier to attain, like a seamstress, but even the more obscure options can be done part-time to boost your income. Basically, you can make a living on your sewing!