My sister, Sariah, and I are both talented sewists, though we tend to focus on sewing different types of things.
My sister, Sariah, and I are both talented sewists, though we tend to focus on sewing different types of things (however we both are unified in our love of quilting!). While my sister can sew entire outfits in mere hours, I don’t have the handmade clothing gene. Instead, I do pillows, cushions, drapes and other marine and home décor. Because our talents diverge, sometimes we collaborate. I will often send fabric to her and she will sew Halloween costumes for my girls, whereas, she will send me something like these two beautiful cross stitch panels, and I will turn them into decorative pillows.
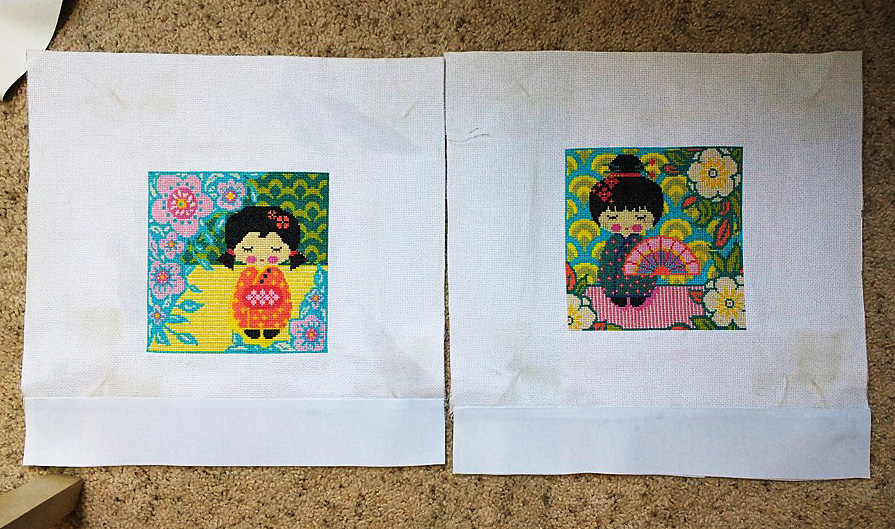
Because cross stitch fabric is fairly sturdy, I used white canvas duck to match the fabric thickness.
Sariah had purchased 16″ x 16″ pillow forms for these so I needed to add some fabric onto the bottom of each cross stitch panel to make them into large enough fabric squares for the pillows. Because cross stitch fabric is fairly sturdy, I used white canvas duck to match the fabric thickness.
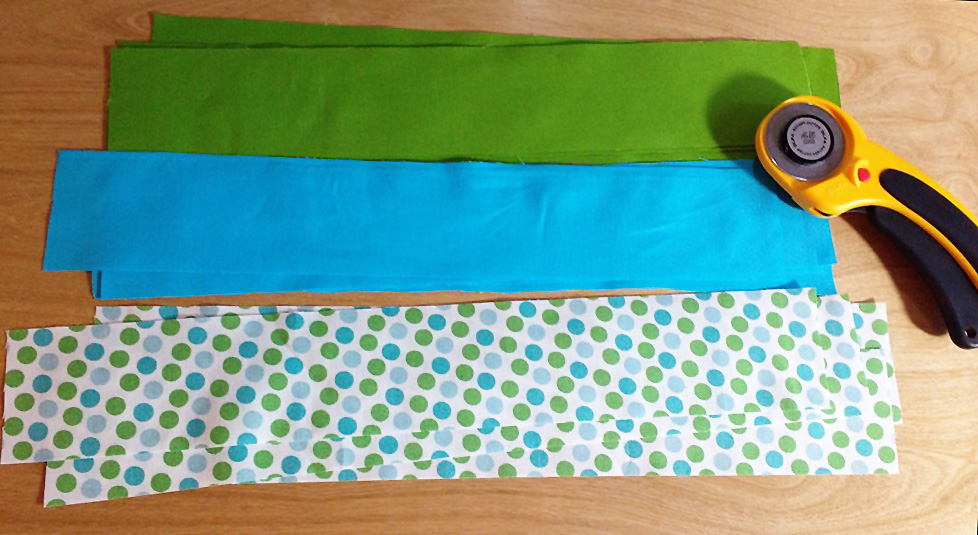
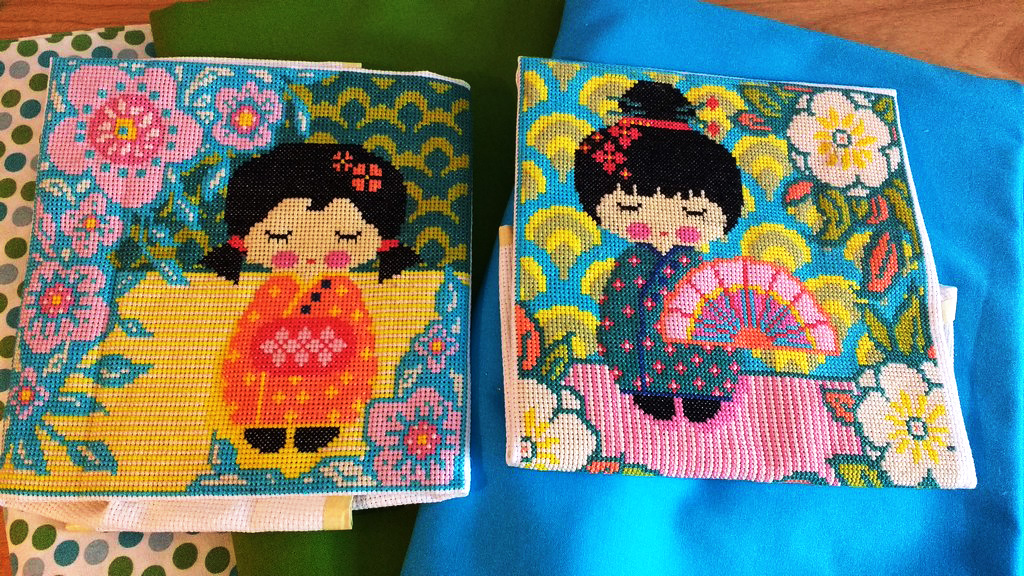
Next up was taking a look at the fabric she had sent.
Next up was taking a look at the fabric she had sent. She told me I could be as creative as I’d like and as soon as I saw her talented cross stitching, I knew I wanted to frame each one and to make sure the corners were mitered.
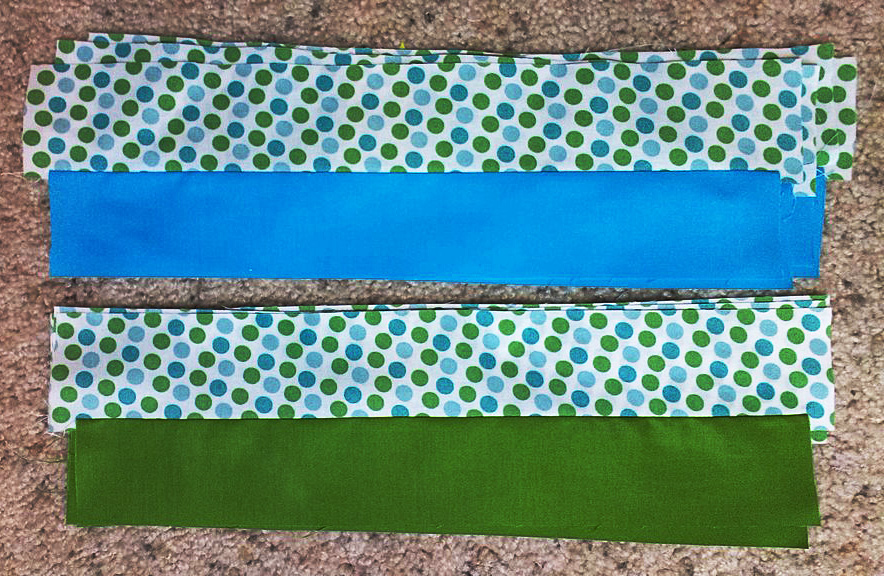
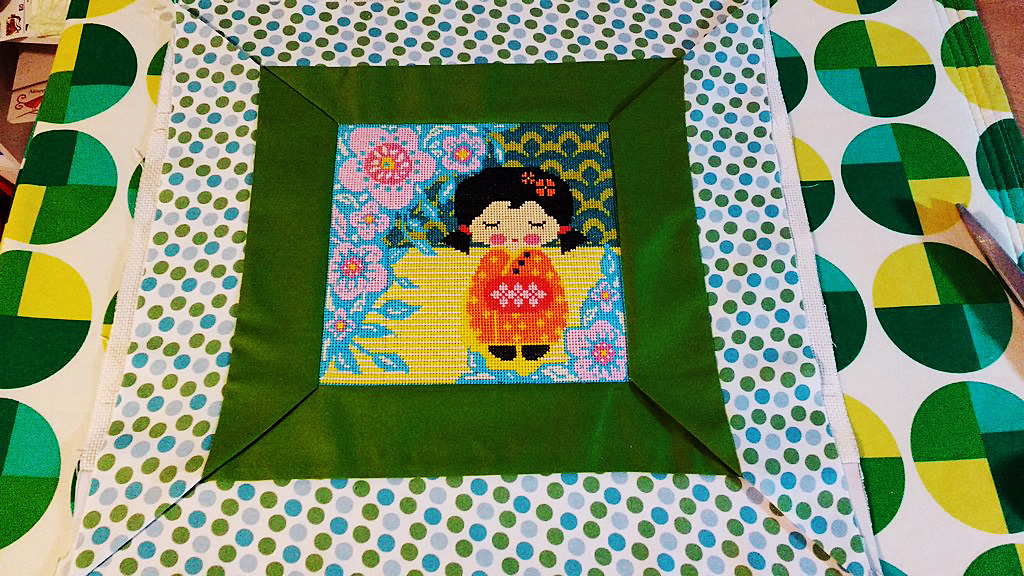
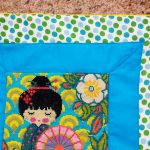
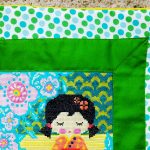
I assigned green to one of the dolls and blue to the other.
I assigned green to one of the dolls and blue to the other. Both panels got dots for the outer edging. Once I’d sewn the dots and blue and the dots and green into cohesive strips, I meticulously sewed the strips around all four sides of the dolls’ squares.
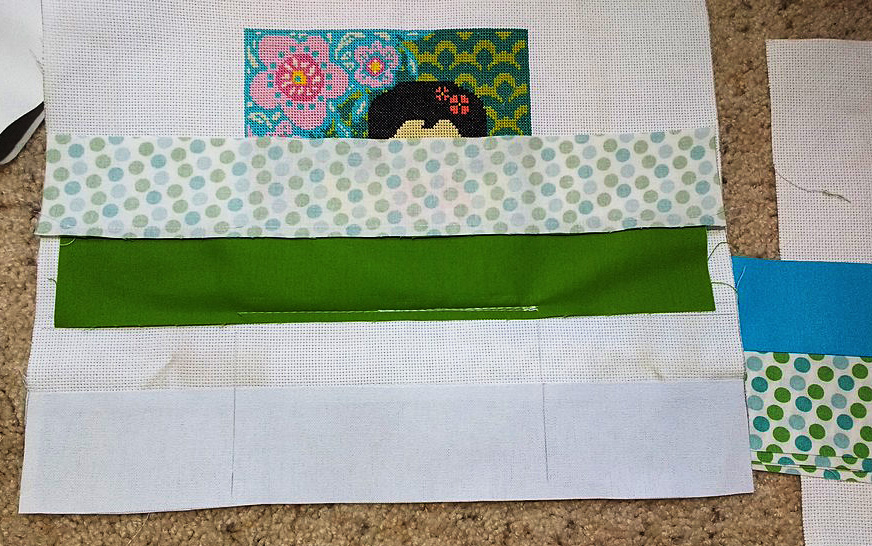
I only stitched around the actual cross stitching, leaving the rest of the fabric loose on all four sides like this.
I only stitched around the actual cross stitching, leaving the rest of the fabric loose on all four sides like this.
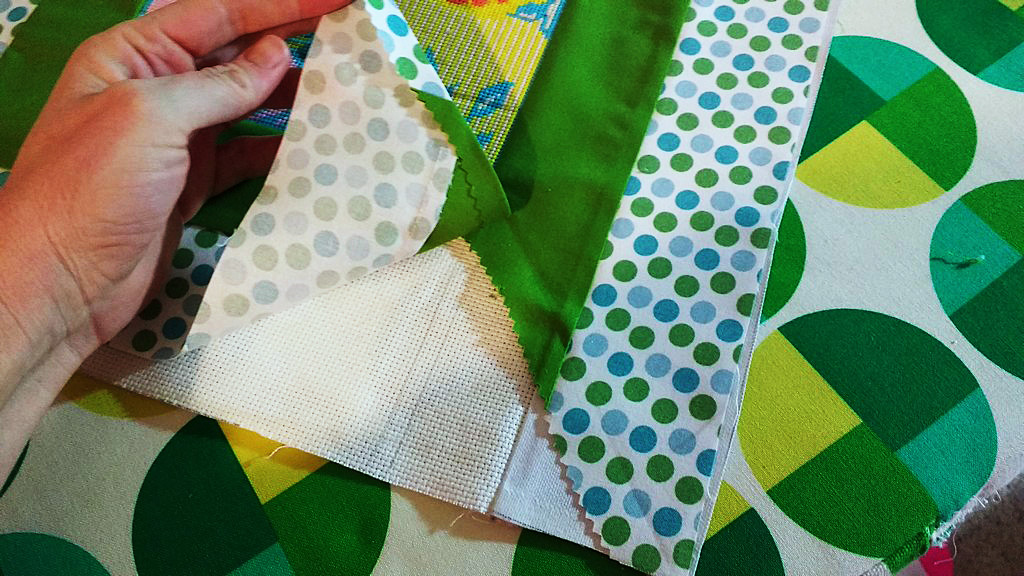
Next I hand folded the top and bottom panels back, using my fingers to crease the fabric exactly on the mitered corners, where each fabric strip met the next one.
Next I hand folded the top and bottom panels back, using my fingers to crease the fabric exactly on the mitered corners, where each fabric strip met the next one.
Once I was sure I’d nailed it, I ironed the panels and then trimmed off the extra fabric from all the strips.
Once I was sure I’d nailed it, I ironed the panels and then trimmed off the extra fabric from all the strips.
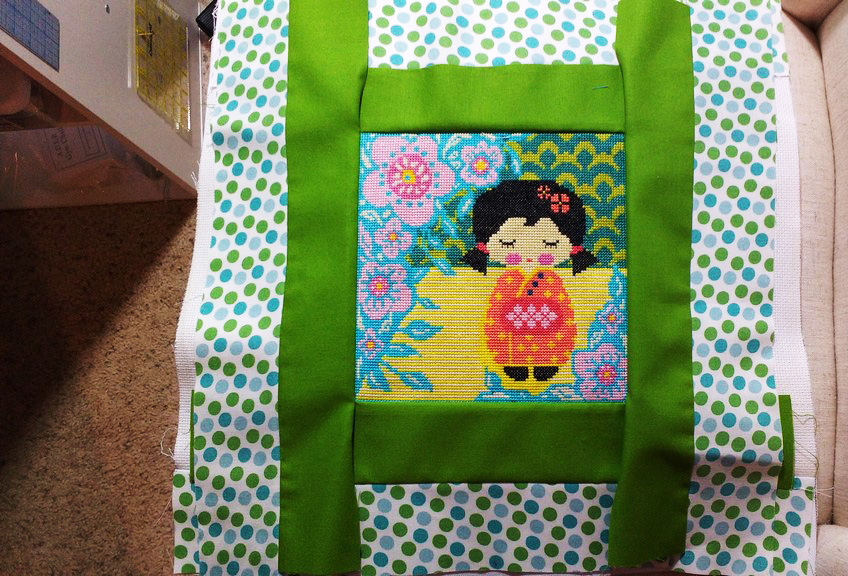
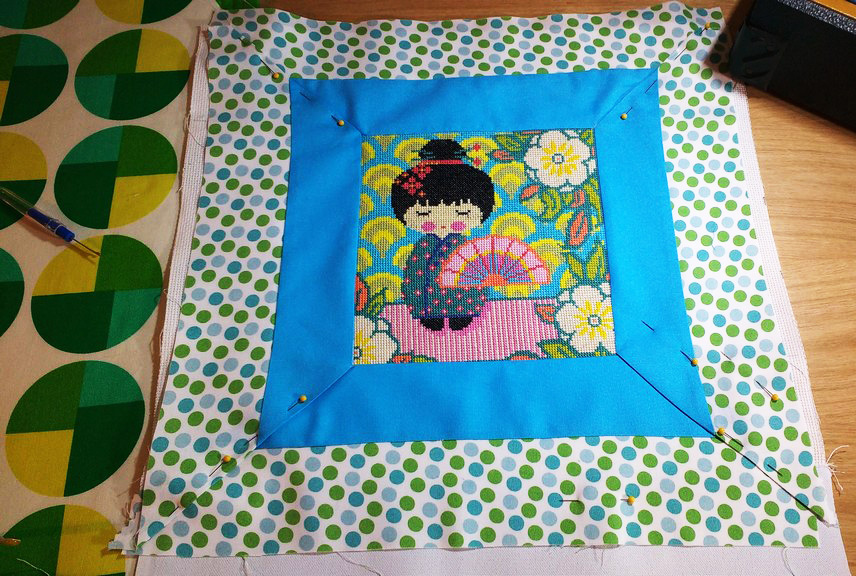
The pieces were pinned until I could topstitch the mitered corners in place.
The pieces were pinned until I could topstitch the mitered corners in place.
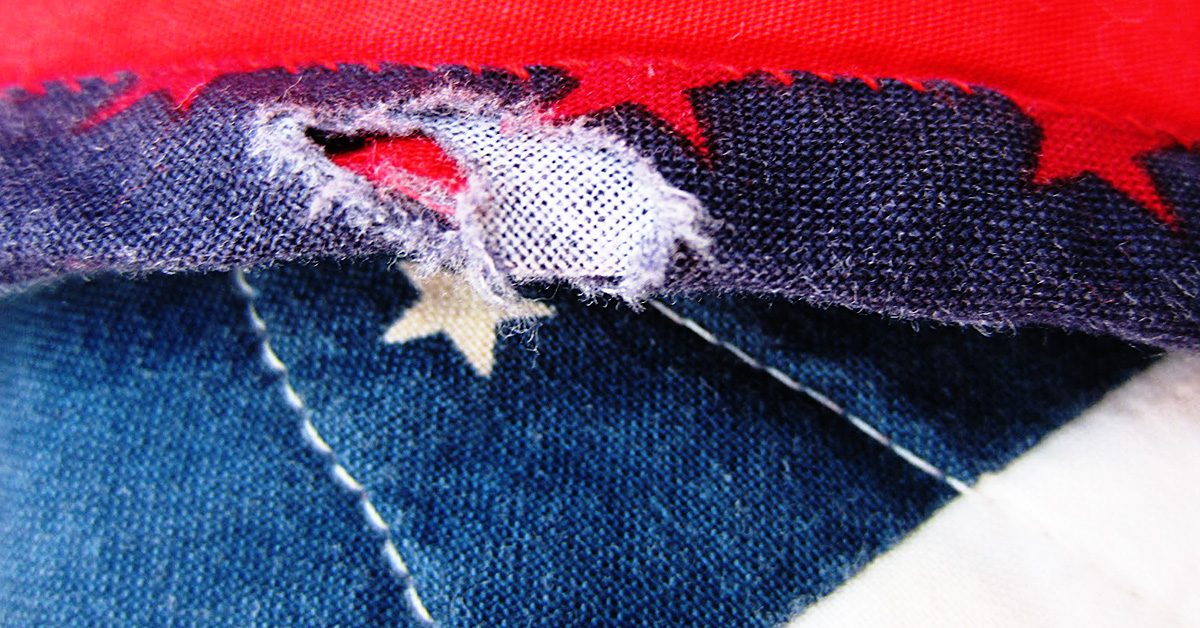
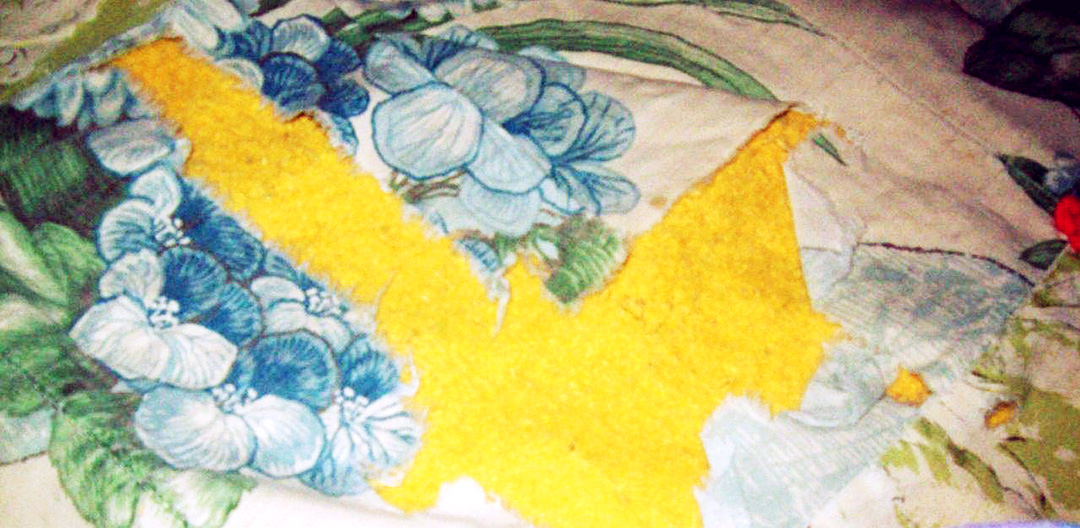
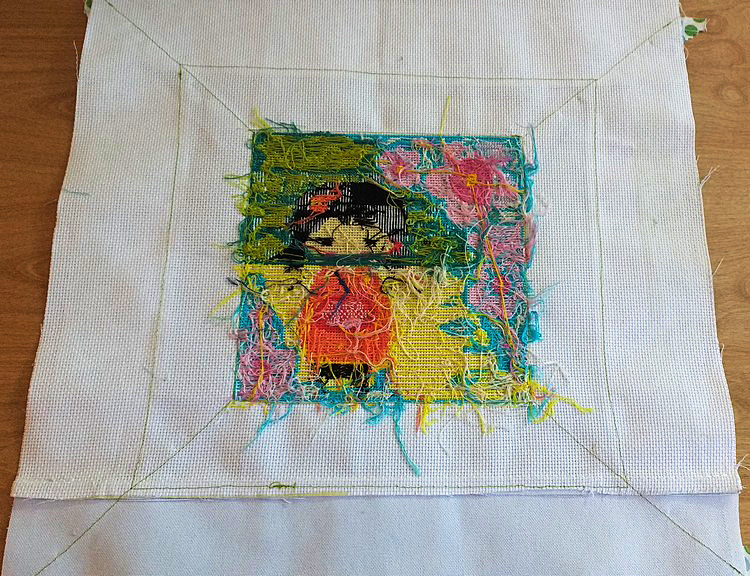
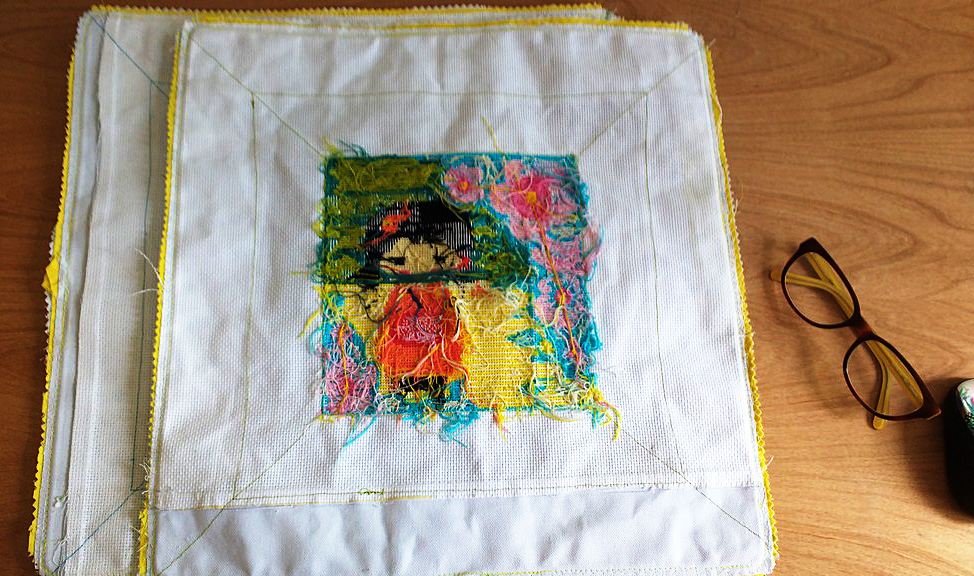
I love this shot from the wrong side of the fabric.
I love this shot from the wrong side of the fabric. The chaos of the underside of the cross stitching is very beautiful, and you can perfectly see the backside of the top stitching.
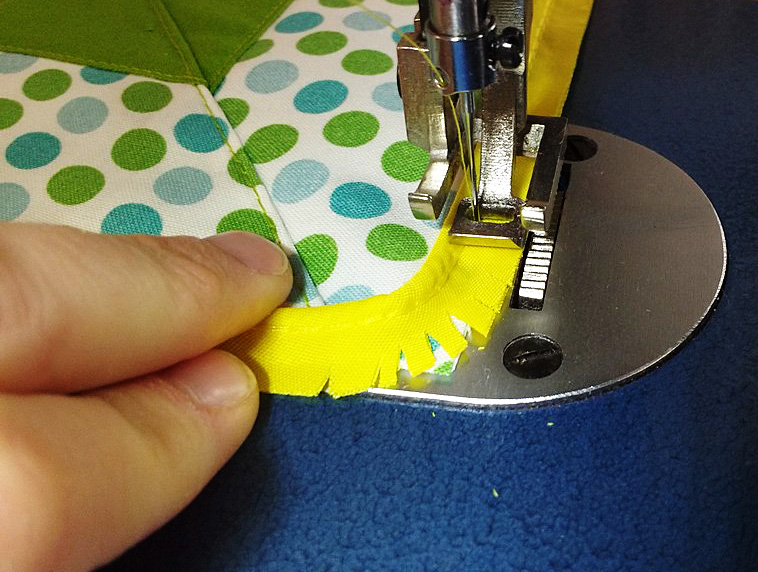
Once the panels were top stitched it was time to add piping.
Once the panels were top stitched it was time to add piping. If your machine comes with a piping foot, now is when you would add one. I have two machines and I generally use my industrial one, a Sailrite LSZ-1 for piping and cording. Its standard foot has a built-in arch that makes sewing piping a dream.
https://www.sewingmachinesplus.com/4130971-45.php


When you come to corners, don’t forget to trim your piping right up, but not into, the stitching of the finished piping. This will help it to lay flat as you turn.
When both front panels were piped, I cut out four back panels to create an envelope close on their backs.
When both front panels were piped, I cut out four back panels to create an envelope close on their backs.

Here are the pillows fully sewn, but not yet turned right sides out.
Here are the pillows fully sewn, but not yet turned right sides out. Before you turn your pillows out always double, and triple check your seams.
I like to reinforce each corner with additional stitching and often will sew around twice for added stability.
I like to reinforce each corner with additional stitching and often will sew around twice for added stability. I also zig zag stitch the very edge of the fabric to prevent future unraveling or fraying.

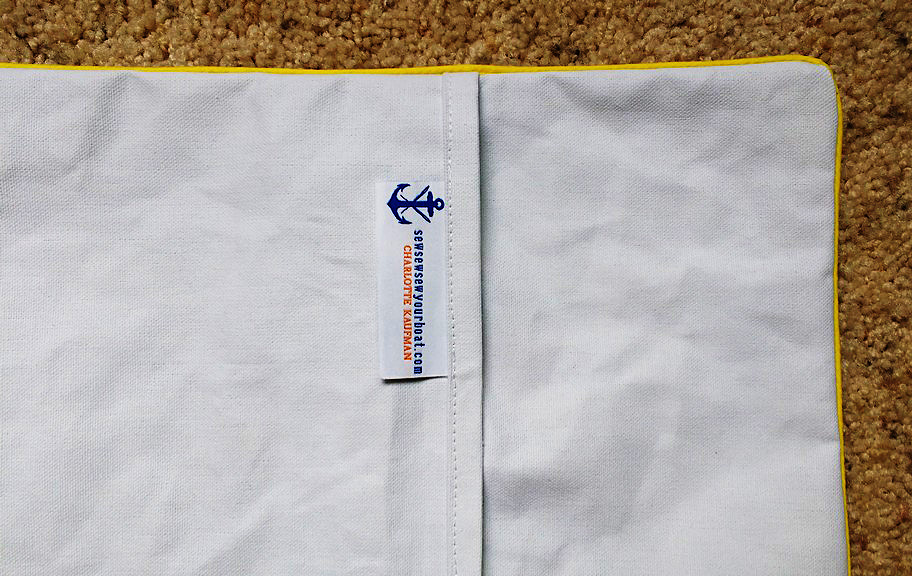
Here is a shot of the back of one of the pillows.
Here is a shot of the back of one of the pillows. Don’t forget to add your handmade tags!
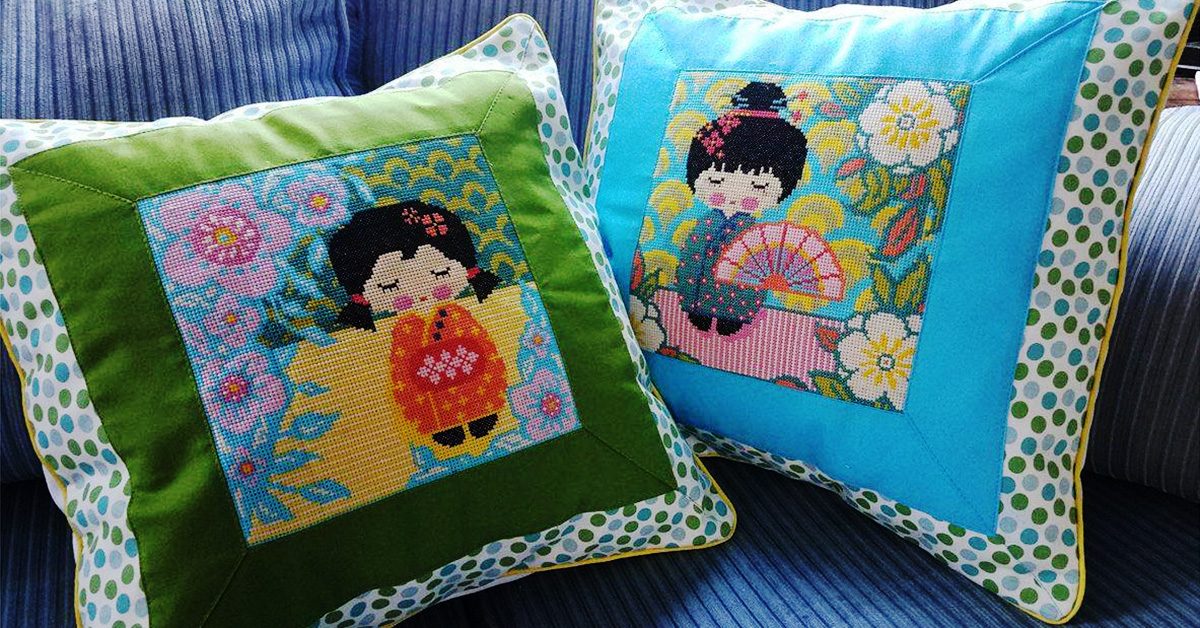
Ta-da! What a gorgeous, collaborative project.
Ta-da! What a gorgeous, collaborative project.
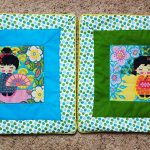
I put these in the mail right away so she could get them on her couch and today while writing this post, I got pictures of the final product!
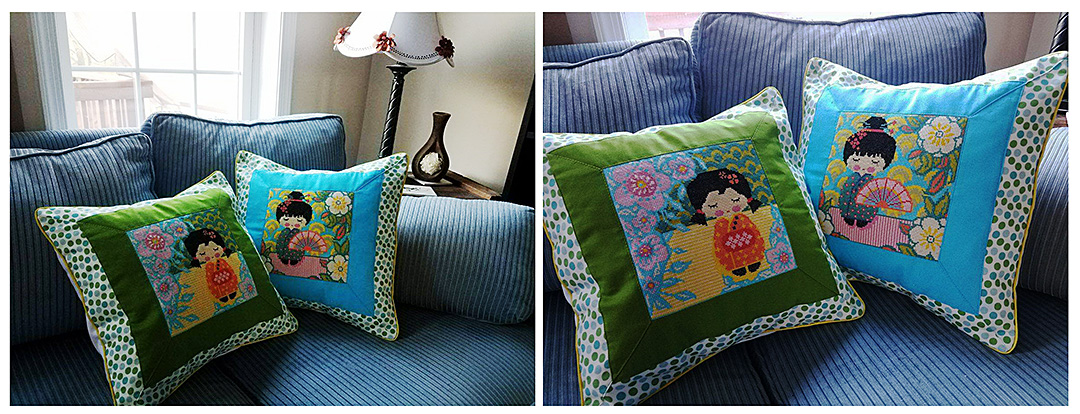
I put these in the mail right away so she could get them on her couch!