Last week’s post was on batting, but as I freely admitted within that post, there’s more to finishing up a quilt than deciding on that detail. As the time approaches to dive into those final stages for this quilt, I’d say it’s a logical decision to explore those other topics.
This week’s subject of interest: basting.
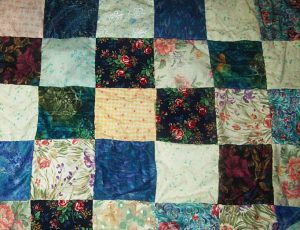
Coming off of the holidays, it might be easy to think of basting a turkey, but baking isn’t the only realm that has a form of basting! For quilting, this is the stage where you’re preparing to sew your quilt sandwich together. All of the layers are ready to be connected, and basting allows you to make sure those layers are level and even for sewing. You smooth them out, line them up, and do something to make sure they stay in line as you join the layers together through whatever method you choose.
It’s a simple idea, but there’s more than one way to keep those layers in line. For this particular post, two of those possibilities are the focus as I weigh the pros and cons of each to decide which option to use for my quilt. Those possibilities are straight pins and spray basting.
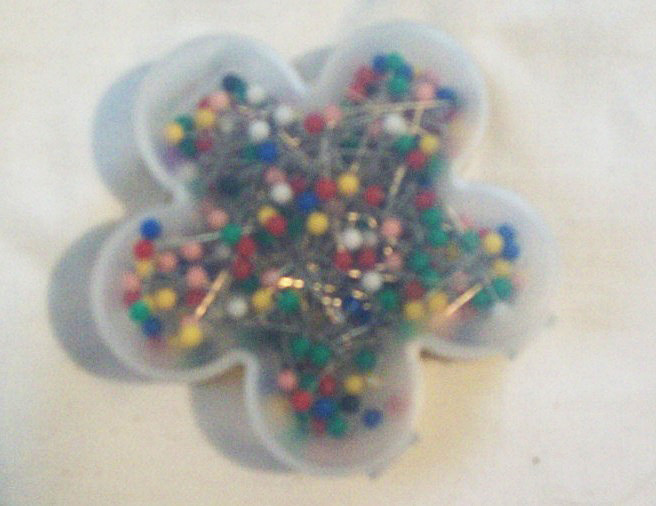
Straight pins:
I would think that straight pins would be the more recognizable and common of the two approaches. In fact, according to one source, straights pins (in some form) date all the way back to Ancient Egypt.

Straight pins are the more recognizable & common of the two approaches.
The benefits:
1) They’re financially friendly! You can pick up a pack of these for a small amount of money, which is wonderful for me since I am, like I’ve mentioned before, cheap.
2) They’re reusable! Unless you damage or lose the straight pin, you can pull it from the fabric when you no longer need it for a project, then you use it again and again for endeavors to come. So long as it’s in good shape, it doesn’t need to be replaced.
3) They’re common! Because of this trait, they’re easy to find at a store, meaning you might not have to go too far out of your way to pick up a set.
4) They’re easy to store! They’re small, after all, so you can keep them comfortably in your sewing kit.
Problems:
1) They’re easy to lose! I don’t know how many times I’ve spotted straight pins that have fallen around my sewing area when I’m finished working on a project for the day. Not only is this bad because losing them can lead to replacing them, but these pins are sharp! Losing them could equal pain if you accidentally find one in a not-good way!
2) They’re sharp! Yes, I stated this in the last detail, but it’s worth noting as its own issue. Just like your needle can cause pain if you let it slip, straight pins can do some finger-damage. Using a thimble might help, but I guess I’m a rebel since I don’t usually use one!
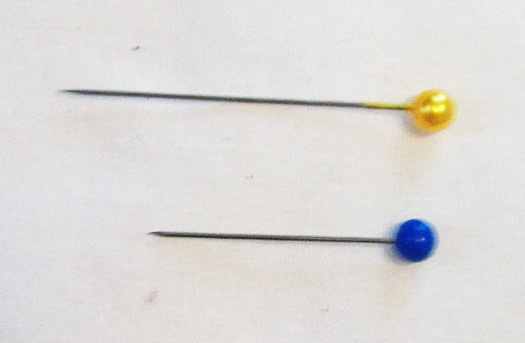
3) Quality varies! This is something I learned from my own experience. I have two different sizes of straight pins, and I’ve come to the conclusion that the tiny ones are lacking in comparison to the others. They potentially fall out more easily than the larger ones, which could leave extra spaces of fabric that are unpinned and straight pins that are lost in my workspace. Neither of those things are necessarily good!
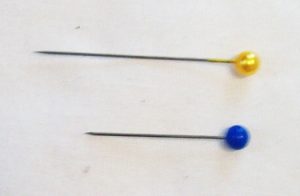
My two different sizes of straight pins.
Spray Basting:
This is a method I haven’t tried, but I’ve done some research on it. I first became aware of it through a Craftsy.com class, and it intrigues/puzzles me. A spray that holds your quilt together? For some reason, that seems bizarre to me! Still, there are supporters for the spray basting method, so who am I to toss the possibility aside without considering it?
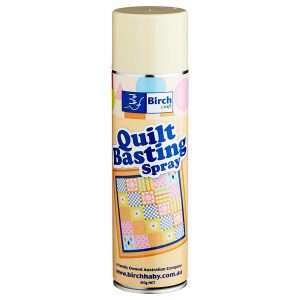
A spray that holds your quilt together.
Benefits:
1) You won’t poke yourself with a straight pin! With how many times I’ve accidentally stabbed myself with a pin or needle, this is promising to me!
2) It’s less time consuming! You don’t have to go through the entire quilt to place pins all over it. You just have to even it out, spray sections at a time and smooth it back out. How easy is that?
3) The effect doesn’t seem to be permanent! Instead, it apparently washes out of your quilt, so its effects are temporary.
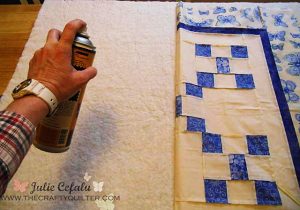
You just have to even it out, spray sections at a time and smooth it back out.
Problems:
1) It’s more expensive! A can of basting spray can cost more than a pack of straight pins. Remember how I’m cheap? Yeah…
2) It’s not reusable! Unlike pins, you can only use this product once. Sure, you might be able to space it out to use for more than one project, but once your can is empty, you have to replenish your supply (if you want to keep using this method).
3) It’s messy! As with any spray product, there’s no guarantee that you’ll never get said product on things surrounding what you intended to spray. For this reason, you might have to do some cleaning once you finish your basting.
4) It’s dangerous to your lungs! The fumes can be hazardous, so it’s recommended that you only use this method in a well-ventilated space — like outside.
For me, I’m torn between wanting to dive into the ease of spray basting, but I can’t see myself being okay with hauling my quilt outside to spray it down. Sure, I might be able to find a suitable place indoors. I might even decide that working outside isn’t a big deal. For now though, I think the fume concern is significant enough to keep me unintentionally jabbing myself with straight pins! That’s not to say the day won’t come when I leap into the world of spray basting. It’s just a current decision to keep things a bit more tried, true, and non-toxic!