Sew Blog Inspiration

Final Sew Blog Inspiration

The Sew Blog project at Sewing Machines Plus ends today!  I have really enjoyed sharing projects, ideas, and inspiration with you here, but now it is time for us to move on to new things. And so we will no longer post updates on this sew blog.
If you have been a loyal or an occasional reader here, thank you. If you are just now finding us, please read on! We’ve worked hard to pack this sew blog full of both easy and challenging projects, information, inspiration, and more. If you have a sewing question, we hope you will find the answer here.

Keep in touch

Follow Sewing Machines Plus on Facebook and on YouTube for info on what’s new at SMP.
For more from me, please join my email list at Sewing and Growing. There will be new posts there and I will also be releasing several bag and patchwork skirt patterns soon. These patterns will be available on Craftsy and some will be free.  Sign up for the newsletter at my sew blog to be notified as soon as these patterns are released, and for more sewing info and inspiration from me. I’ll look forward to seeing you there!
You can also follow me on Twitter and Pinterest.

margaret1

Printable patterns for my new projects will be at Craftsy soon

Final sew blog inspiration

I’d like to share a couple more fun and helpful ideas with you here before we go. These ideas are not my own, but I’ve been having a lot of fun playing with them lately, and one has been an absolute revolution in scrap management for me; I hope you’ll love these ideas as much as I do.

A scrap-busting revolution

Scrap management is always an issue for sewists and quilters. How do you manage yours?
I have to admit that I have tried many different ways, but mostly I end up stuffing scraps in boxes, bins,  baskets, or bags, and then dumping these out to pick through when I want to use them. This is messy for sure!
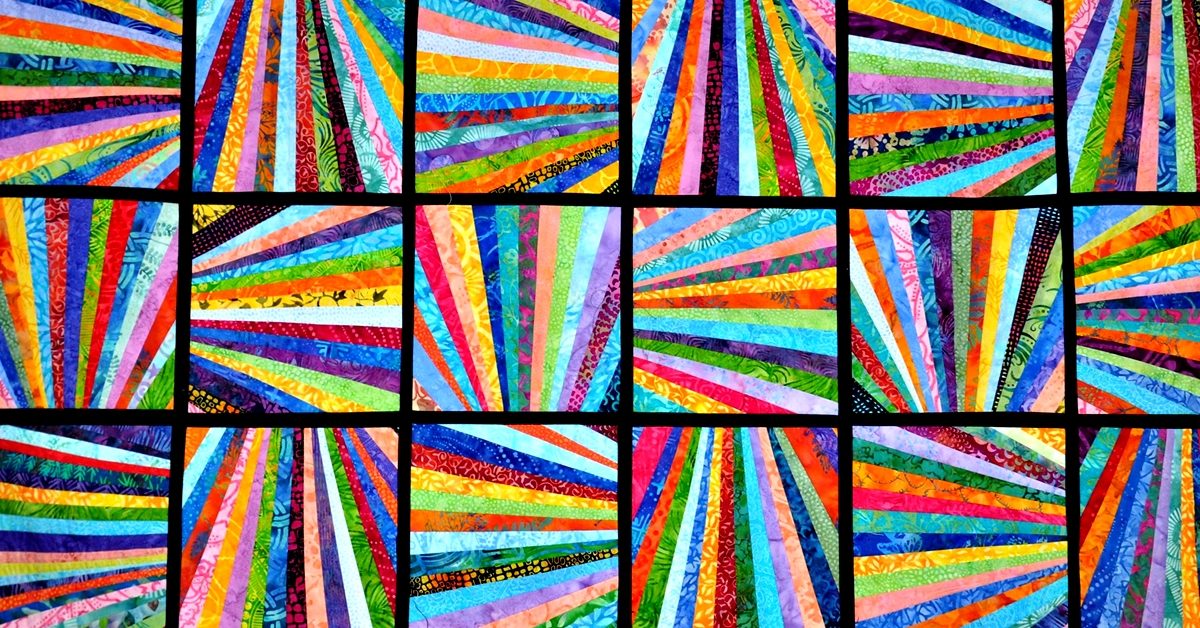
Recently I came across this post on Victoria Findlay Wolfe’s sew blog and tried her idea for “made fabric.” I fell in love with the idea, and now, instead of gathering my scraps from the floor and stuffing them somewhere, I sew them together at the end of the day and make patchwork fabric.

Sew Blog Inspiration

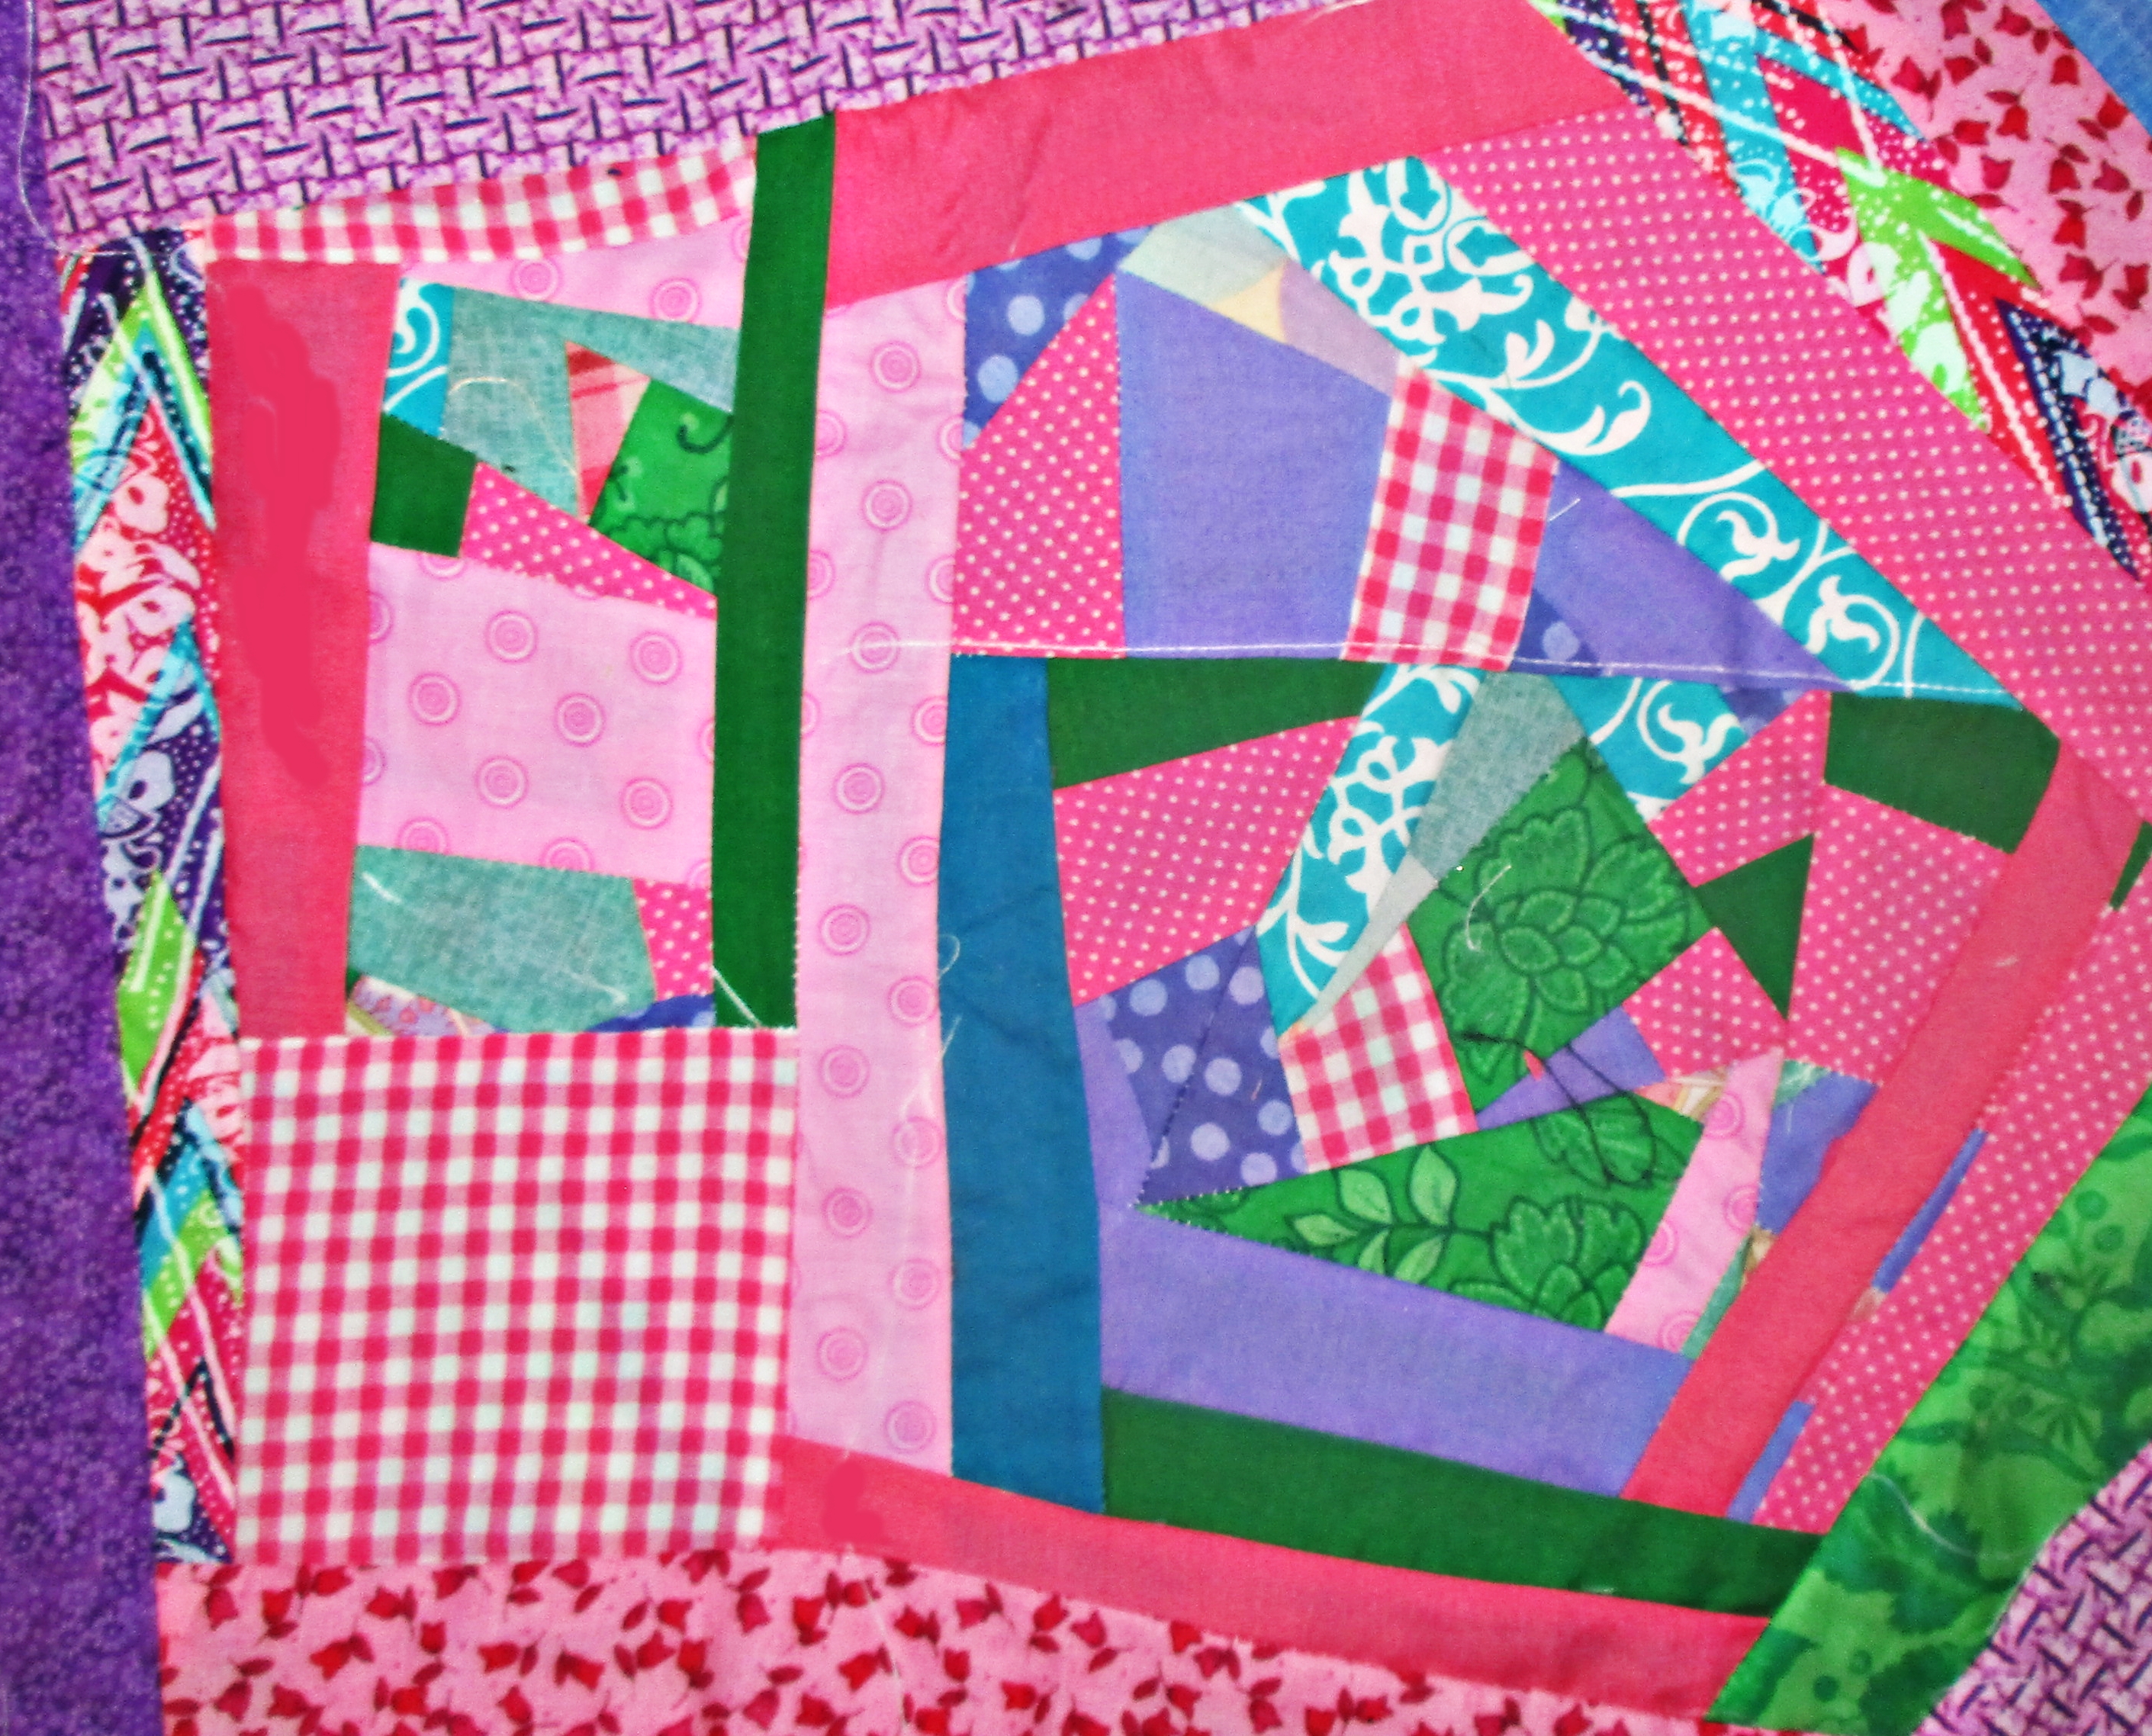
Start with your tiniest scraps and join them every which way.

I’ve been asked how this is different from crazy patchwork. Crazy patchwork uses a foundation fabric, and scraps are sewn down on top of this foundation. So, while crazy patch is a good way to use scraps, it is not “made fabric.” In this method of scrap busting, you sew the scraps to each other to make fabric. You don’t use any foundation behind them.

15 Minutes of Play

Victoria wrote a book, 15 Minutes of Play, which gives lots more inspiration for using her made fabric idea. This book has been on my wish list for a while now, but her sew blog also provides plenty of ways to work with made fabric. I find that it’s so much fun to make that I usually extend this playtime for more than just 15 minutes and make a few blocks, but you can complete one in just a quarter of an hour.

Sew Blog Inspiration

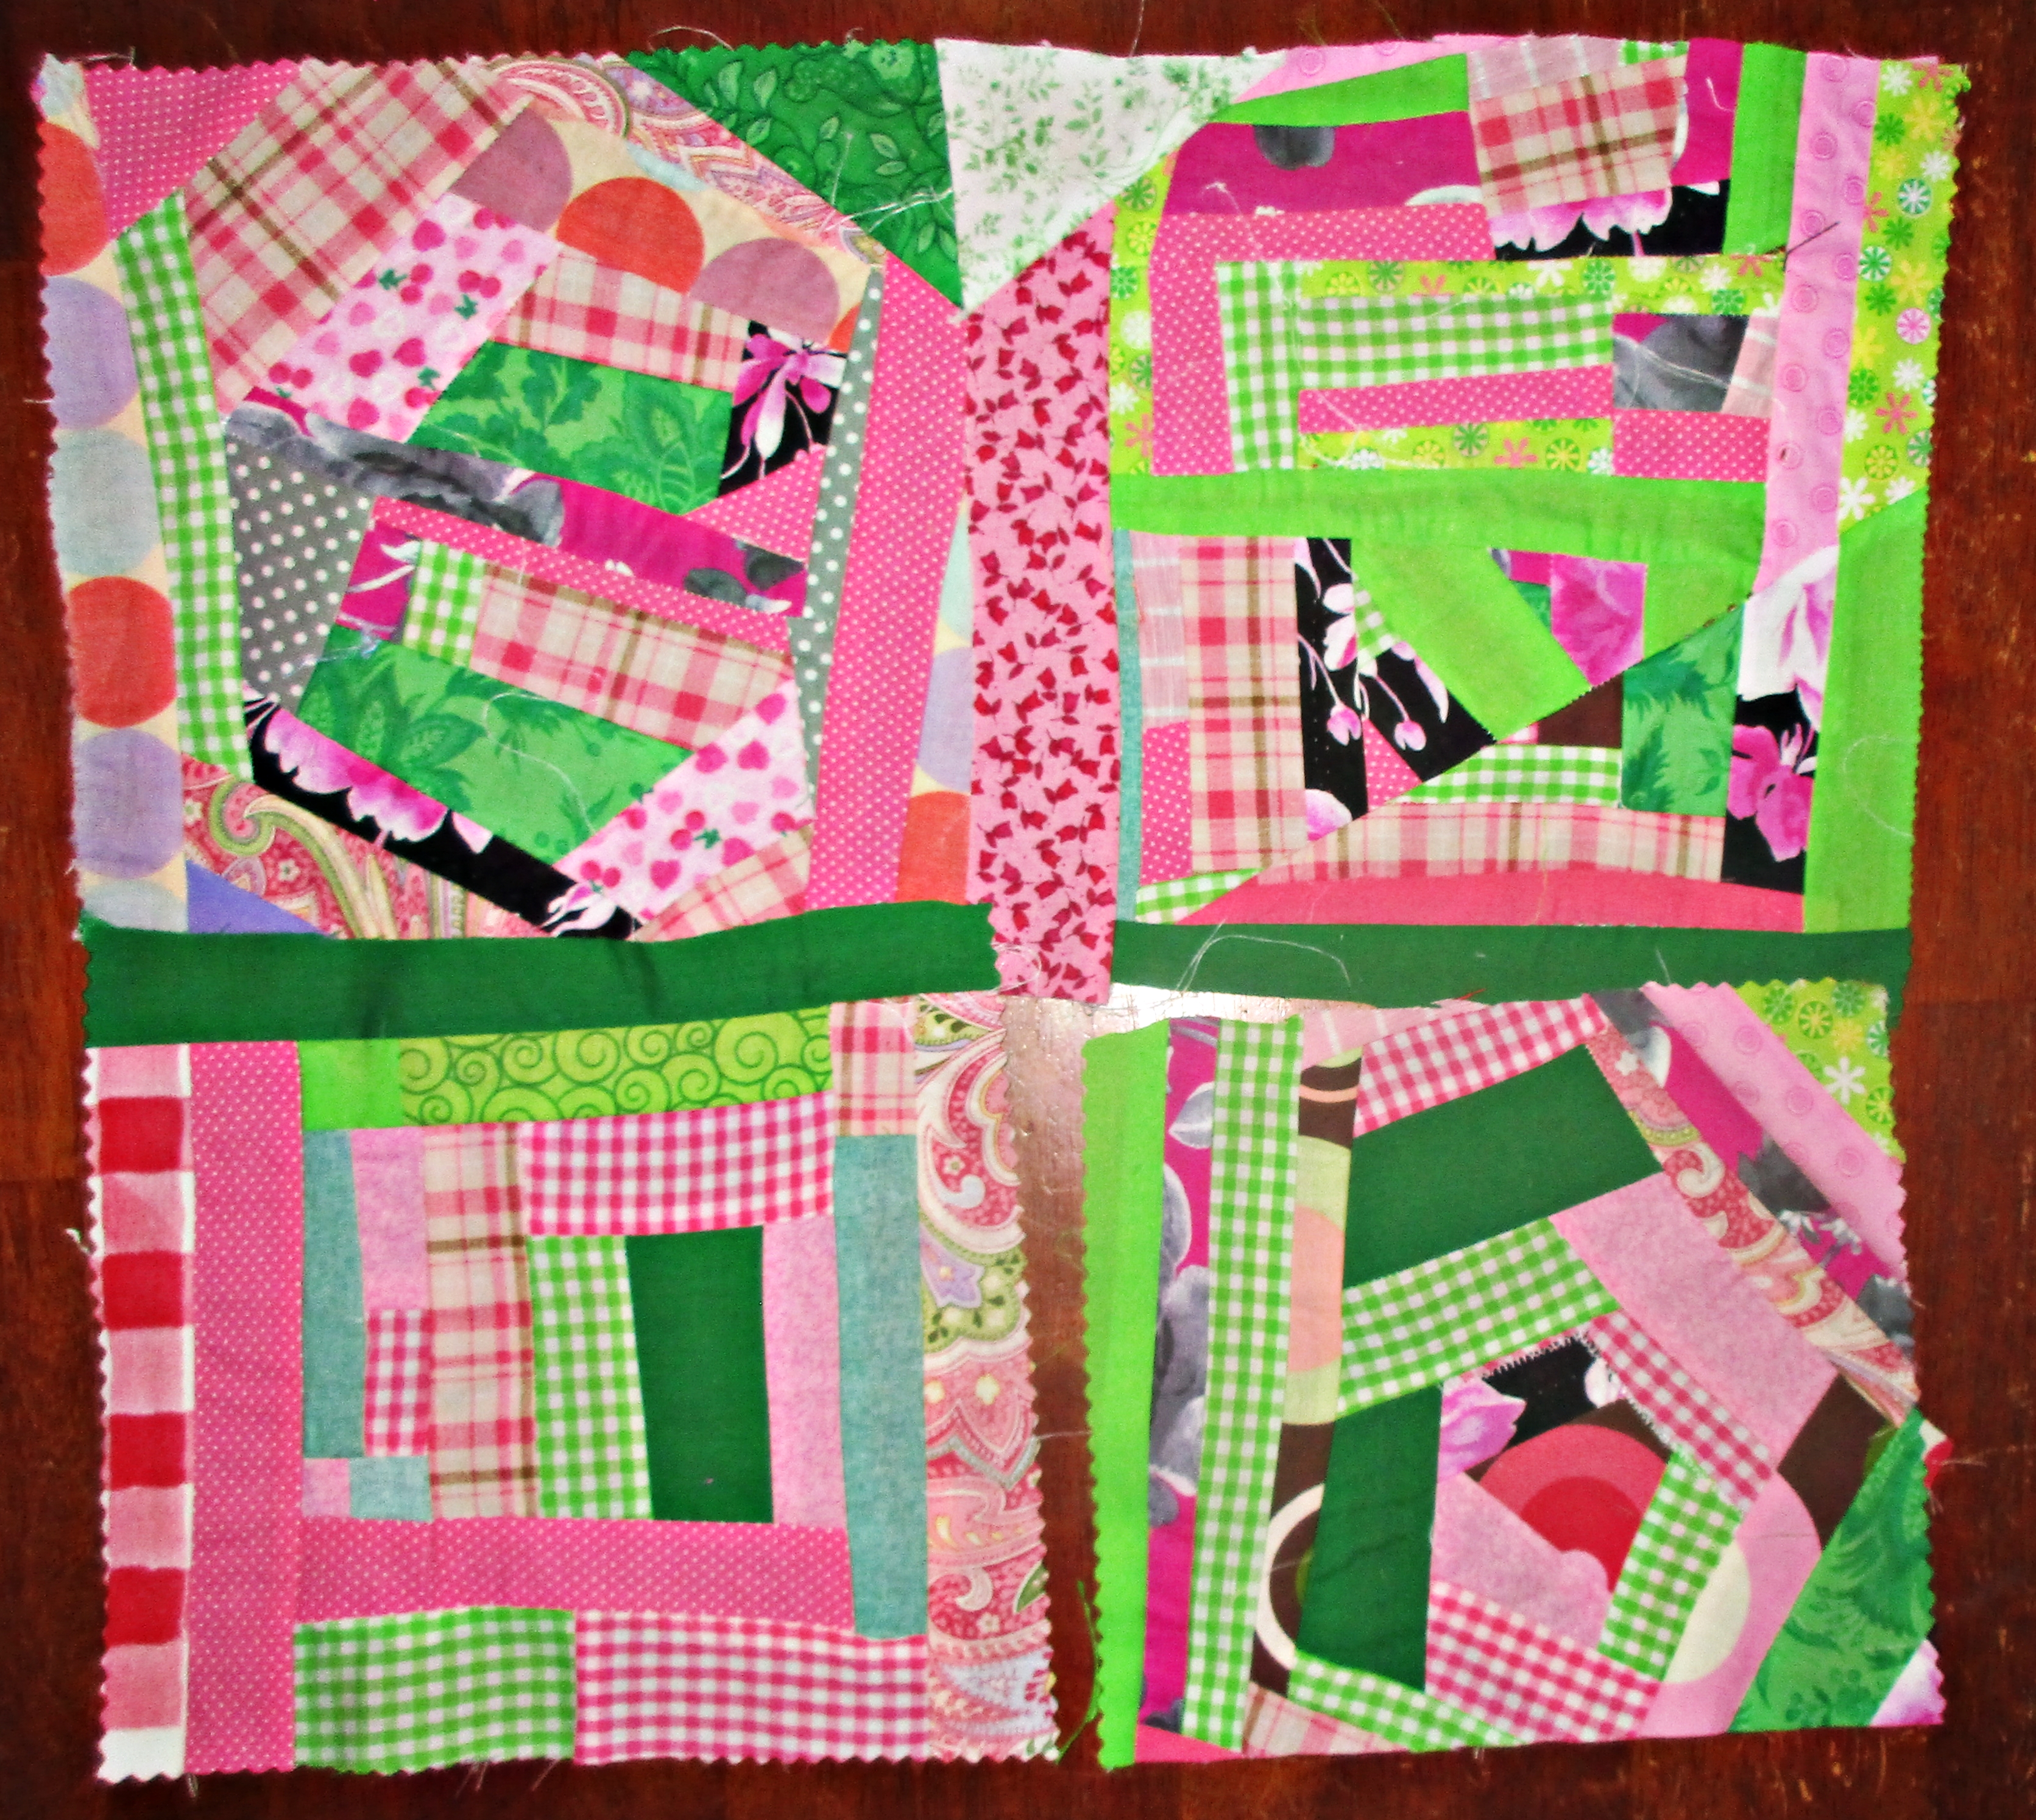
Finish one block in 15 minutes or work on 4 for an hour. I’ll use my square ruler to trim these.

I have a few ideas of my own for what to do with made fabric, too, and I’ll share some of them with you now:
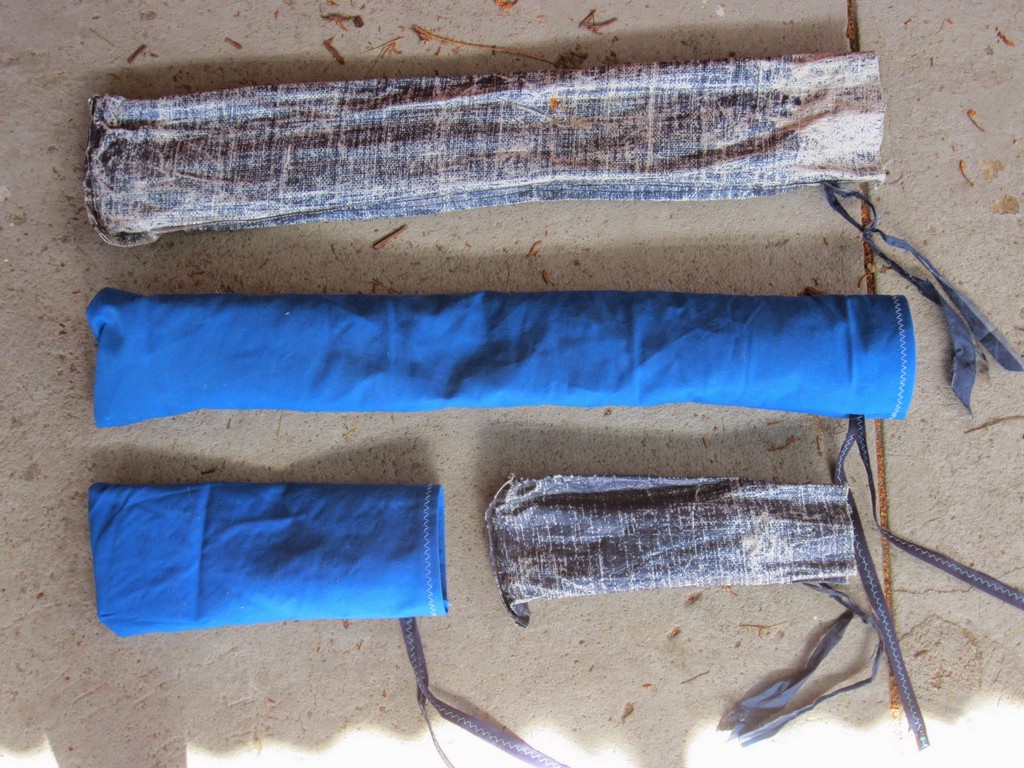
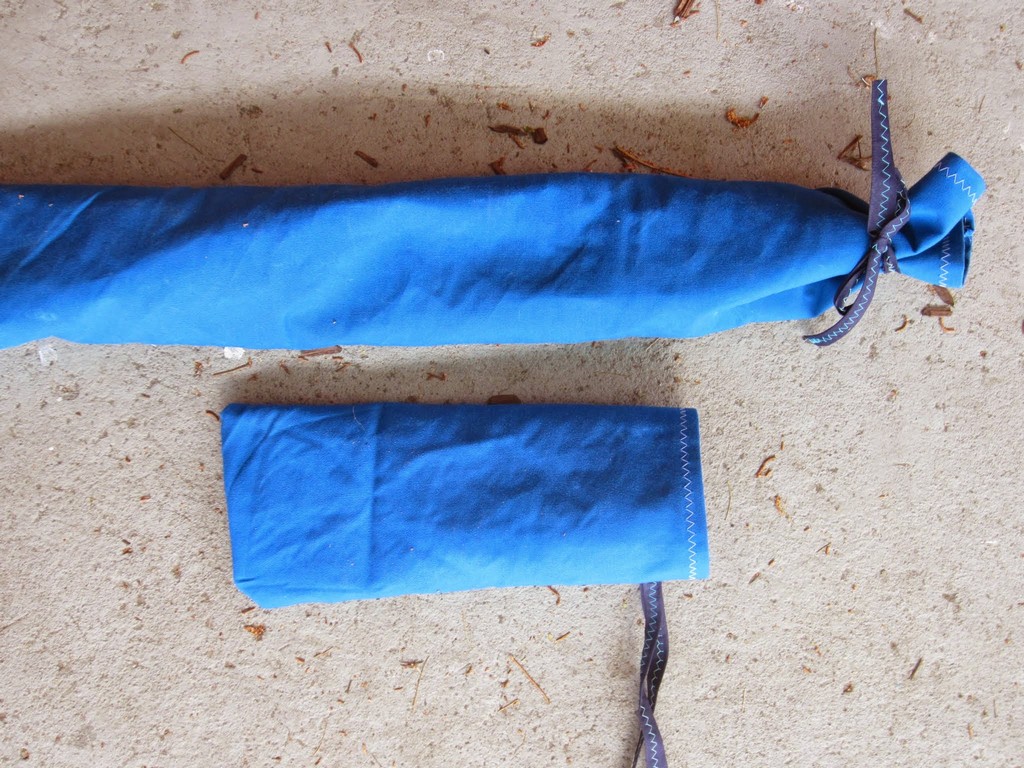
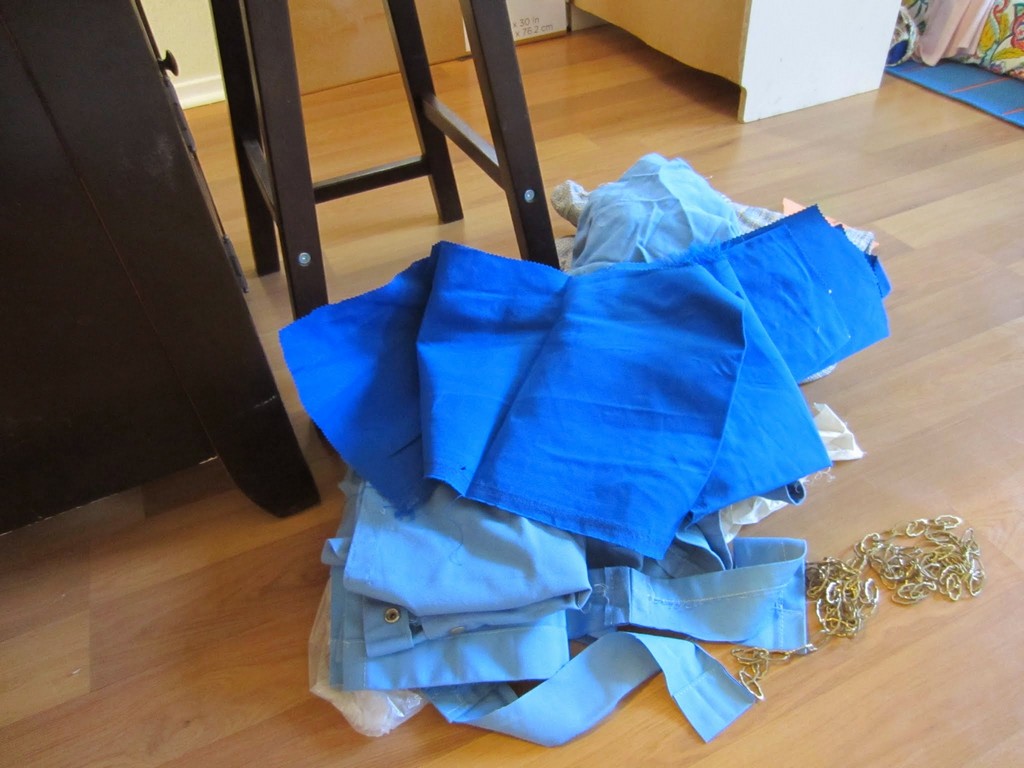
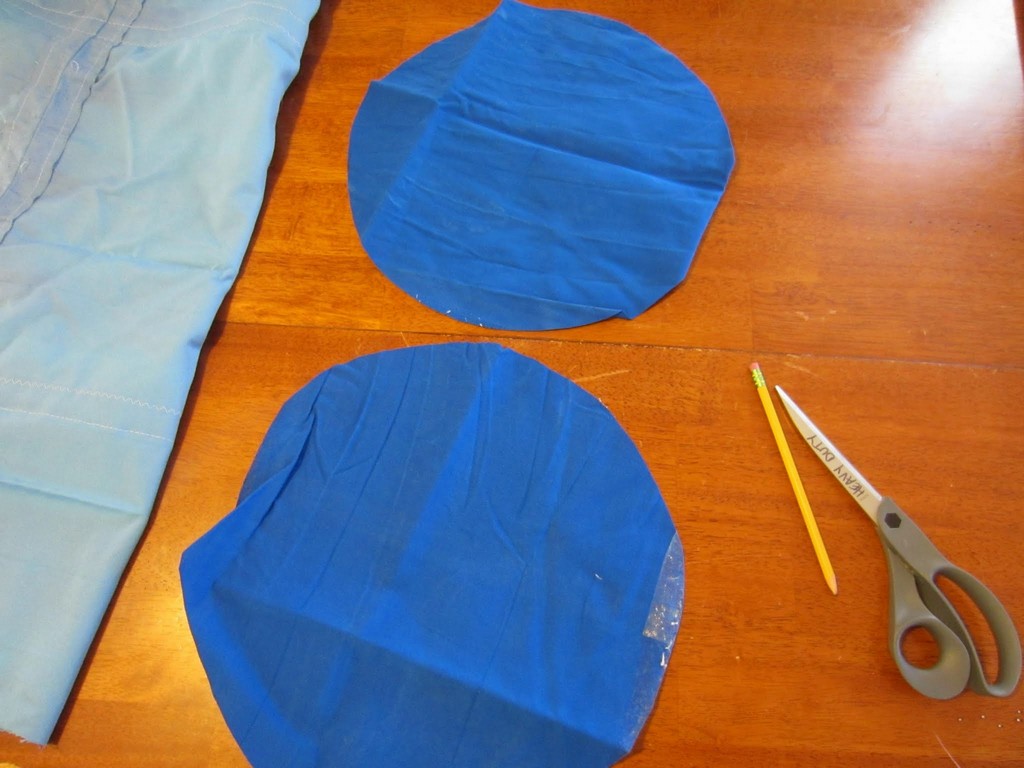
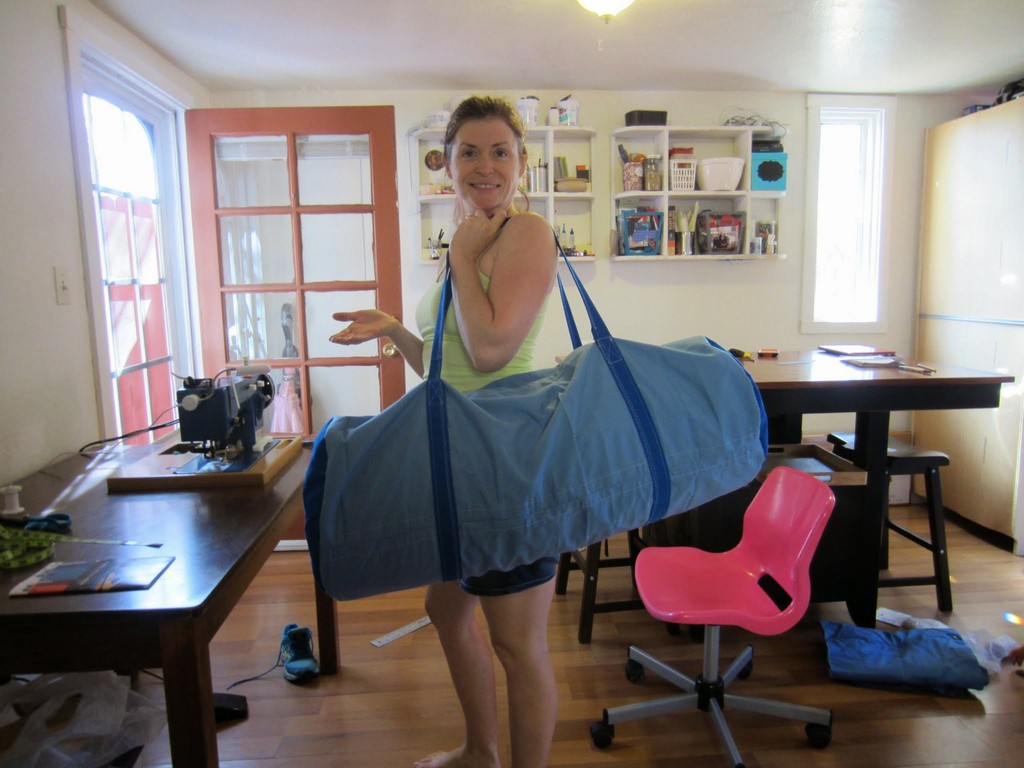
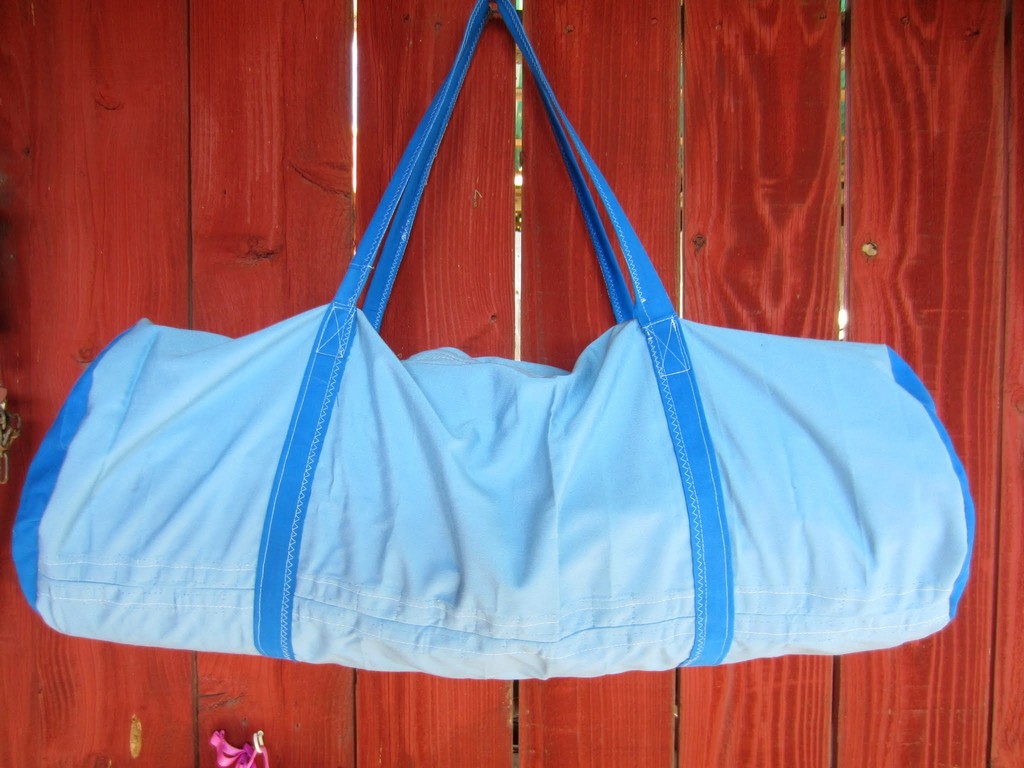
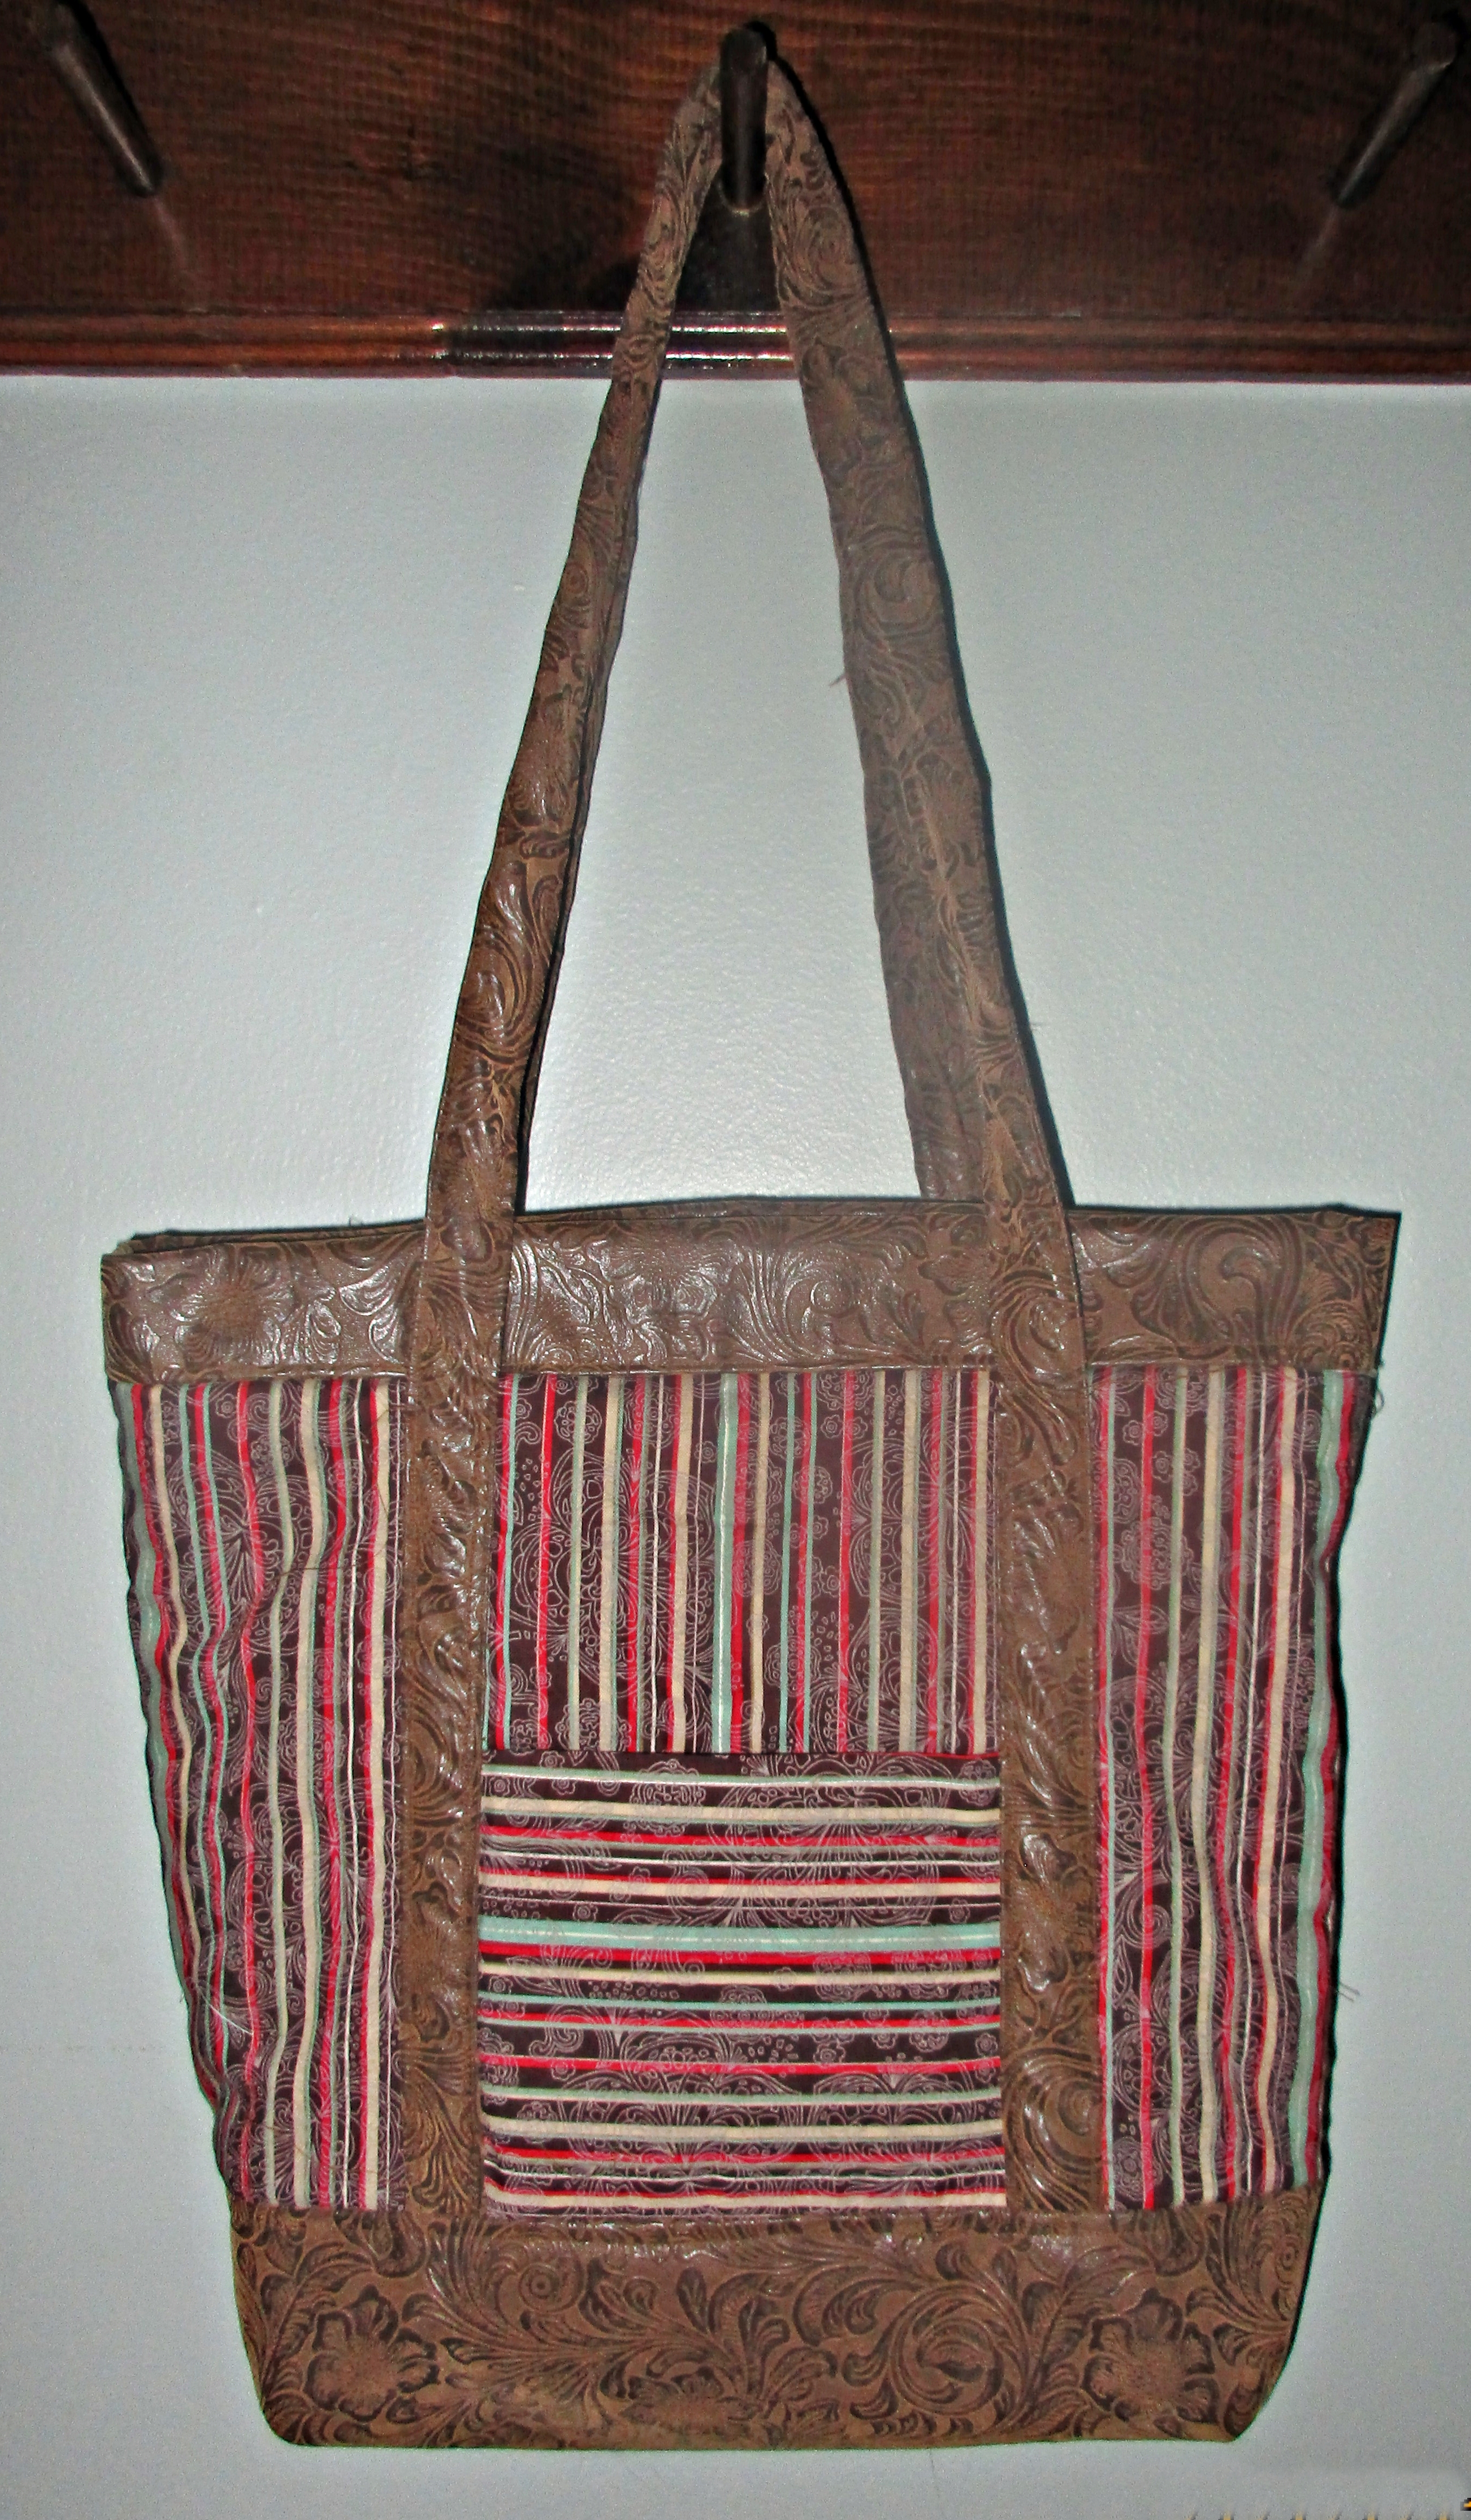
Besides cutting it into blocks and making quilts, I plan to make different sizes of lined bags (with drawstrings) from them, to use as quilt and gift bags. I already made a lotus bag from a twelve-inch square—I’m sorry to say that I gave it away without snapping a picture. I might use several squares and make this kind of kinchaku bag.
I’ll also make a journal cover from some of my made fabric. I might even use the tiniest scraps to make small made fabric circles to cover Mason jar lids when I make bath salts or other gifts to give in a jar. And I think that a made fabric patchwork bear or bunny would be a ton of fun to create.
I bet you will come up with lots of ideas, too; this is such a fun thing to do that, like me, you might like to spend even more than 15 minutes each day playing with patchwork and scraps.

Scatterbrain quilts

You can incorporate both made fabric and leftover or UFO blocks in the fun quilts that Felice Regina calls scatterbrains. She says that she dislikes making the same block over and over, so she combines different blocks to make these gorgeous but informal sampler quilts. Check out Felice’s inspirational Scatterbrain quilts on her blog.
Whether you have a few random or leftover blocks taking up space in your sewing drawer, or a few blocks that you’d love to try without committing to making a whole quilt of them, you might like to make one of these fun quilts, too. I think all quilters will love to make at least one of these. I’ve just gotten started on my first one; if you’ll like to see photos of this when it’s complete, visit me at Sewing and Growing.

That’s all folks!

Thanks for reading this blog. Please follow us elsewhere for more info and inspiration, and shop SewingMachinesPlus.com for all your sewing machine and supply needs. Happy sewing!

Life Lessons for a Life Skills Class

When I was younger, I had a thing for books. Somewhere along the way, though, two things happened. One, I kept hearing from other people that it basically wasn’t normal to like to read, but what might have been a bigger issue was the second thing that happened.

I had to deal with school-assigned books that could be a chore to wade through, and by the time I graduated, I honestly did not care for reading. In fact, it wasn’t until college that my interest picked up again, and the reason that I dove head-first into the hobby was likely linked to reading things that I enjoyed. That, friends, makes a big difference.writing-book-novel-reading-rose-romantic-944135-pxhere.com

This concept makes me wonder how much I would’ve enjoyed sewing at a younger age if my Life Skills class (kind of like Home Economics) would have given me a more interesting sewing project to focus on. An answer of, “Probably a lot more,” builds momentum when I really focus on what I remember from sewing in that class, which more or less boils down to frustratingly learning to thread a machine, staying after school to finish my project, and choosing the fabric—and only the fabric—for the boxer shorts we had to make. We had the specific pattern selected for us, and we even had guidelines to follow in connection with the fabric.

Now, all of those restrictions made sense. Cotton is easier to work with for a beginner than something like silk, and it probably was easier for the teacher to help us with our projects if we were all working on the same pattern.

But what if the creative door had been opened just a touch more, and we were allowed to explore something a bit… well, more?open-wood-white-game-floor-wall-386881-pxhere.com

So from a person who only re-liked books in her college years and didn’t get into sewing until potentially her late 20’s, here are some tips for high school teachers that might spark students’ interest earlier in regard to the world of sewing.

Have a series of projects for students to pick from

I know; I know. I said earlier that it makes sense for a teacher to only have one pattern to best assist students, but hear me out! Maybe there could be a handful of projects and patterns that students can browse to choose their perfect project. This way, the teacher would have a low enough number of possibilities to be familiar with all of them, but students wouldn’t be limited to just *one* pattern. The choices could range different project styles as well—perhaps one pattern for boxer shorts, one for a tote, one for a throw pillow… This way, students could involve more of their interests in the process to keep them engaged with sewing in a more genuine way.seat-furniture-colorful-sofa-pillow-material-967373-pxhere.com

Plan a field trip to buy fabric

Sewing can be more fun when it’s done in groups, and choosing fabric is a step in the process that showcases that quality. If all of the class is gathered at the same fabric store, friends could browse together and have fun conversations about which fabrics stick out—the good and bad. This strategy would build a good memory for those students to bring to mind in the years to come of when sewing was fun, and friends were near. It’s a connection with the social side of life, and that can make the process stand out as something worth continuing.hand-sand-girl-photography-leg-love-973233-pxhere.com

Allow the students to add their own touches

While the early stages of sewing aren’t necessarily the best times for reworking a pattern, there’s still room to personalize projects with the little details. These tiny details of personalization can allow the students to create projects that feel more individualized, things that they might find more pride in. Examples of these little details can include iron-on patches, fabric paint, gems, or other embellishments to take a work that’s completely fabric-based to something with a more dazzling effect. Remember, teachers, that the more personality students can put into creative products like this, the more they might enjoy the process. The more they enjoy the process, the more likely they are to continue it in the future.writing-hand-creative-white-pen-thinking-736147-pxhere.com

Picture Credit to https://samedaypapers.com/

And, well, isn’t that a goal for teaching someone to sew in the first place?

For me, I wish I would’ve latched onto sewing a decade or so before I did, but I’m glad that I did find it in myself to start at some point. Still, if it would’ve caught my interest back then, how much farther could I have been in the hobby?

Well, it’s not just a hobby anymore. It’s something that’s actually become a piece of my income, and I want to continue that in 2018 with the opening of a rag quilt shop. It’ll take time and effort to get the shop off the ground, but I’m hopeful for good things. These things will be highlighted on my personal blog in the future, so for updates, feel free to follow me there, on Twitter, or on Facebook.

Till then, guys. Keep on sewing!

DIY Tent & Gear Repair

diy tent hero image

My brother recently picked up this tent at an estate sale and gave it to us for camping with kids. It could easily sleep our family of four but the front screen was ripped.

1

To fix this, I cut two matching fabric panels in the shape of a rectangle, and planned to fold under the edges and pinned them in place on the front of the tent and one on the inside. This would sandwich the rip in between the fabric.

2

I sewed on the front fabric piece first, sewing right across the netting and then cut away the ripped netting up to the seams. Then I placed the back fabric panel to the front one, wrong sides together and followed the seams of the first piece.

3

Here’s a view from the inside looking out.

4

Next up was the bag to hold the rain fly and the smaller bags for the tent poles and stakes. They were falling apart.

5

I used scraps of canvas to make new rectangular bags for both the tent poles and the stakes.

6

Huge improvement, no?

7

8

The bag for the rain fly was split almost perfectly around the top.

9

To fix this rip I used a zig zag stitch and followed it around the tear.

10

The last part of this DIY project was creating a duffel bag to hold the tent, the rain fly and the tent and stake poles. For this I dug into my pile of scrap canvas.

11

I drew two circles for the ends of the bag and then a large rectangle for the body piece.

12

Before I sewed the circle pieces to the body I measured out straps for the handles and attached the handles from one side of the rectangle to the other.

13

I used Velcro to close the seam and then I was ready to go.

14

A perfect storage solution and a quick way to grab a family-sized tent and head out camping.

15

———————————————————————————–
Charlotte Kaufman is a writer and sewist in Mammoth Lakes, California. She specializes in marine and home interiors and continues to fall more and more in love with quilting. You can follow her at charlottekaufman.com.
SewingMachinesPlus.com Feedback

SewingMachinesPlus.com Feedback

Just wanted to send my compliments to SewingMachinesPlus.com for their excellent customer service. I discovered last week that are selling fabric in their brick and mortar store. I previewed some it in my last blog, and ordered some for my own use. The results were perfect.

I placed my order, was contacted by them for confirmation, and I received my fabric in very good time. I am happy to be their advocate by blogging as well as a purchasing experience from them online. The process was very professional.

They marketed by email for my future interests, giving nice discounts and sometimes free shipping. I feel very confident in purchasing from them again.

There are many things going on at SewingMachinesPlus.com to help you not only with sewing but other products you need.

Each of us has their own experiences in sewing. Each of us learns in different ways. Blogging is like teaching and sharing knowledge. Being an active on-hands sewer while blogging has been very rewarding to me.

I am thankful that I have had the opportunity to be a part of this company’s program. I have had a great time with SewingMachinesPlus.com.

Make them “your go to” with your sewing machine, fabric, and household equipment. You will be happy you did.

Thanksgiving Sewing Projects

Thanksgiving Sewing Projects

Thanksgiving is the start of the family visiting season. Shortly after Thanksgiving comes Christmas, Chanukah, Kwanza, and New Year’s Eve. At each of these, family visits and enjoys time in your home visiting and seeing what’s changed since their last visit. It’s a great opportunity to impress them with your sewing skills, starting with Thanksgiving sewing projects to set the tone for the rest of the year. These projects are sure to be a hit with everyone who visits during the festive seasons at the end of the year.

thanksgiving-1796894_640

Child’s handprint sewing craft

At school this time of year, kids trace their hands and turn them into construction paper turkeys. This fabulous sewing project takes that school craft to the next level. Handprints sewn in fabric coupled with a hand sewn pumpkin make a great center piece. And your kids will love that they get to be involved in your sewing project.

Oak leaf bowl

I love oak leaves! Unfortunately, unlike maple leaves they don’t hold up well when trying to use the from DIY projects. Instead, to bring the elegance of oak leaves to the Thanksgiving table, check out these amazing oak leaf bowls. They’re perfect to hold after dinner mints or hard candies for your guests to enjoy.

Thankful garland

There’s always room for gratitude, but Thanksgiving is a time when we all focus on it a bit more. This felt banner will look great over your dining room table during your Thanksgiving meal and also focus attention on all we have to be thankful for this year.

Corn bundles table décor

Traditional Indian corn, also known as maize, has been associated with Thanksgiving since the Pilgrims had the very first feast. Although corn isn’t a typical thanksgiving dish, you can still honor this delicious food with a fun sewing project. The corn bundles make a great center piece on any table and they’re fun and easy to make.

Enhance your Thanksgiving celebrations this year with Thanksgiving sewing projects. Your family will be impressed with your skills and they’ll be great conversation starters for any new guests.

Christmas Tree Turtlenecks

Christmas Tree Turtlenecks

Its finally autumn in New York City. The temperature dropped this past week and people broke out their jackets and sweaters and knit caps. The kids are back to school and if you’re out and about around three or four in the afternoon, you’ll likely encounter gaggles of uniform clad youngsters walking home from school and stopping into the corner bodegas for gum, nail polish, or comic books.

I was one of those super nerdy kids who always liked going back to school. I especially enjoyed getting new clothes for the occasion. When I was of elementary school age, my mom still made a lot of my clothing (and that of my three brothers). We were those kids who had matching plaid pants and skirts because Mom would buy a couple or three yards of a fabric and use it to make something for each of us. I didn’t mind so much. I thought my two little brothers were super annoying but, my big brother, who is 18 months older than me; well, I thought he was the best. I didn’t care that my red and white plaid skirt was made from the same fabric as his pants. It showed we were related and I was ok with that.

matching shorts and jumper for my birthday

matching shorts and jumper for my birthday

Mother knows best

Mom also went through this phase of embroidering designs on the fronts of plain cotton long sleeve turtlenecks for me. I have no idea where she found the time to do this. I remember having a red one with a Christmas tree on it and a brown one with flowers. I was a true child of the 70s and my Mom, always hip, dressed me like one, even when she couldn’t afford to buy me brand new clothes.

Mom made long skirt and plaid pants for Santa visit. My brother and I were very stylish.

Mom made long skirt and plaid pants for Santa visit. My brother and I were very stylish.

I also remember the huge JC Penny, Sears, and Montgomery Ward fall and Christmas catalogues. I would spend hours going through them, turning down the corners of the pages with items I hoped maybe Mom could buy for me. My parents were pretty good budget makers and keepers and somehow managed, even with four kids on a high school principal’s salary, to still be able to buy all of us some new clothes for the every year for back to school.

To Black Friday or to not Black Friday

We never actually ordered from the catalogues. I’d pick out what I wanted and then we’d all pile into Mom’s van and head to the mall where the JC Penny store was. Then, I’d spend hours searching the store for the pieces I’d ear marked in the catalogue. I thought that whole thing incredibly fun – which is rather ironic because nowadays I abhor shopping in actual stores for clothes and, on the rare occasions that I purchase new wardrobe items, buy most everything online.

Somehow, in my old(er) age, I’ve grown to dislike mass produced apparel of any kind, and shopping in general.

Unless, that is, I’m buying something cycling related. I go hang out in my preferred local bike shop even when I don’t necessarily need something. I’ve spent time thinking about the why of this and have come to the (fairly obvious) conclusion that the reason I’ll go to the bike shop in person and am completely fine with paying a bit more for things I could get at a slightly discounted rate at an online super store, is for the free, excellent cycling (and local food and bar) advice and recommendations from the bike shop owner and employees.

No flavor to savor

Everything in the stores these days looks the same to me and nothing looks like me anymore. Perhaps this is just a common occurrence, or realization, that manifests as you get older. I never wanted to look like everyone else, not even way back when I picked outfits from the JC Penny catalogue. Before everyone could buy anything they wanted from anywhere online, I used to beg Mom to take us to the mall the next county over because the stores carried different things than the stores in our local county mall. Then I was able to get things that no one else at school would have.

I think that’s probably why I loved those embroidered turtlenecks my Mom used to make me so much. Nobody else at school had a shirt just like mine. And I could even claim to have helped pick out the design. Guess I was indeed destined to end up sewing and creating for a living.

The Christmas Tree Turtleneck. Not a great photo of it but the only one I could find. Note that my brother (sitting across from me) is wearing a turtleneck in the same color.

The Christmas Tree Turtleneck. Not a great photo of it but the only one I could find. Note that my brother (sitting across from me) is wearing a turtleneck in the same color.

Be true to yourself

In this world of factory mass-produced disposable goods, individual style is truly a wondrous thing to have. So cultivate yours and that of others as much as you can. Make something for a child in your life, even if its as simple as embroidering a cheesy design on a cotton turtleneck.

You can find some great embroidery designs right here at Sewing Machines Plus to get you started: