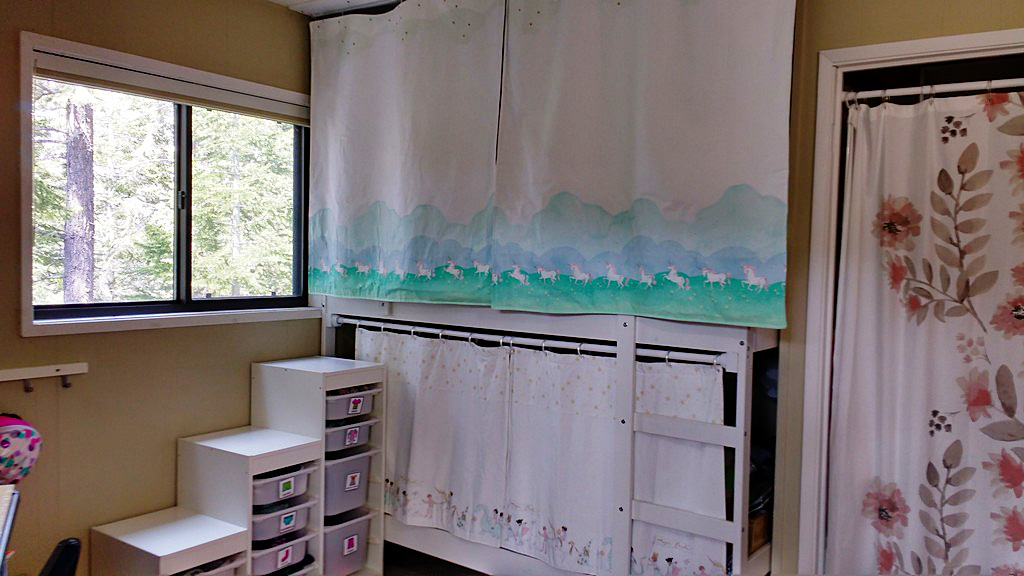
Last fall I wrote a post about the bunk bed privacy curtains I created for my youngest daughter for her bottom bunk. You can read that post here.
They turned out amazingly well; here’s a picture.
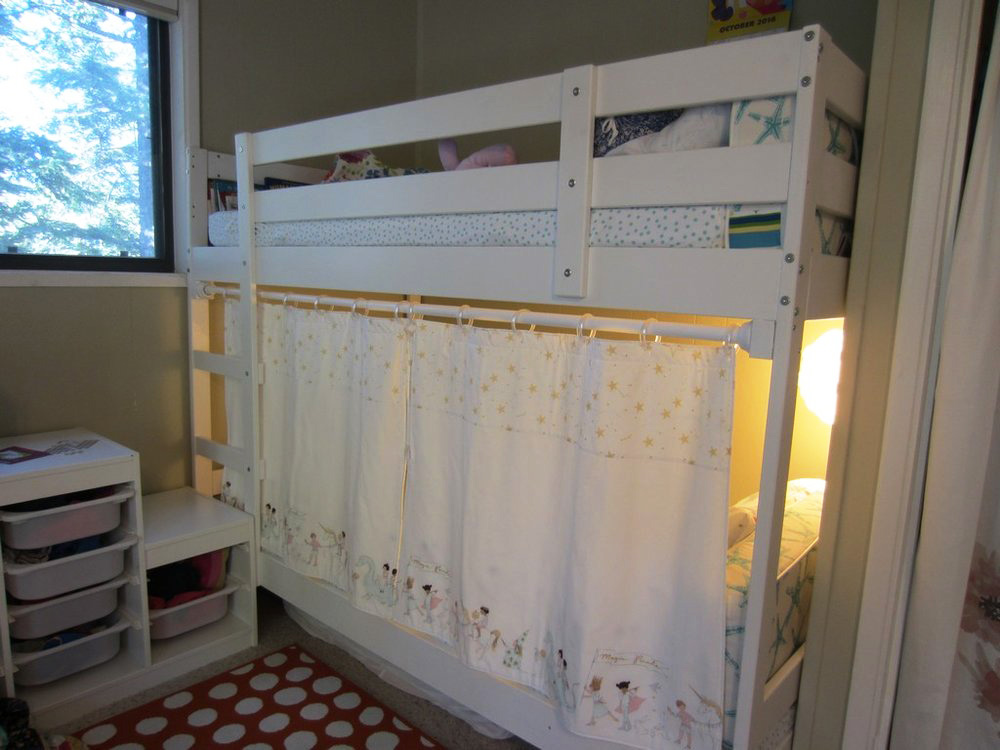
They turned out amazingly well; here’s a picture.
It’s only fair…
I also promised my older daughter, who sleeps on the top bunk, that I’d make her a pair too. Her curtains, I knew, would take a lot more work. First I bought ceiling curtain track and used a hacksaw to cut it to size. Then I asked my husband to drill in the holes for the screws.
While he worked on the track, I painted a thin board white to match their ceiling. We attached the track to one side of the board and then attached the board to the ceiling, drilling holes in the side of the board that didn’t have the track, right into a stud in the ceiling.
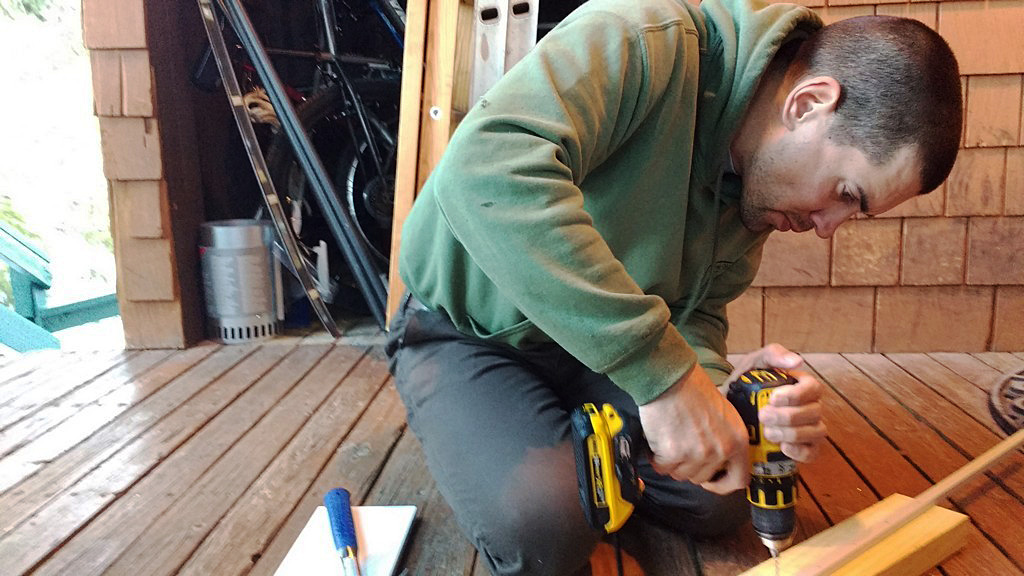
Drilling holes in the side of the board that didn’t have the track, right into a stud in the ceiling.
Unicorns and stars
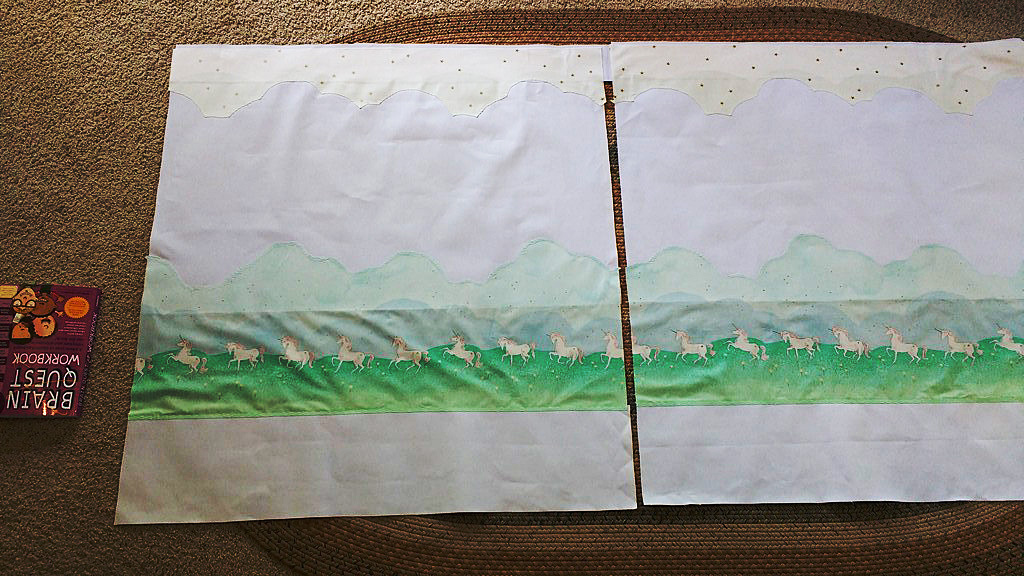
Next up was the curtains themselves. She said she wanted ‘unicorns and stars,’ and for a theme like that you can always count on Sarah Jane Fabrics for something good. The only problem was the space the curtains took up was much larger than the width of a yard of fabric.
Undeterred, I cut the clouds and the stars from the grass and the unicorns and did the math on how to baste the fabric onto white canvas fabric to elongate the scene.
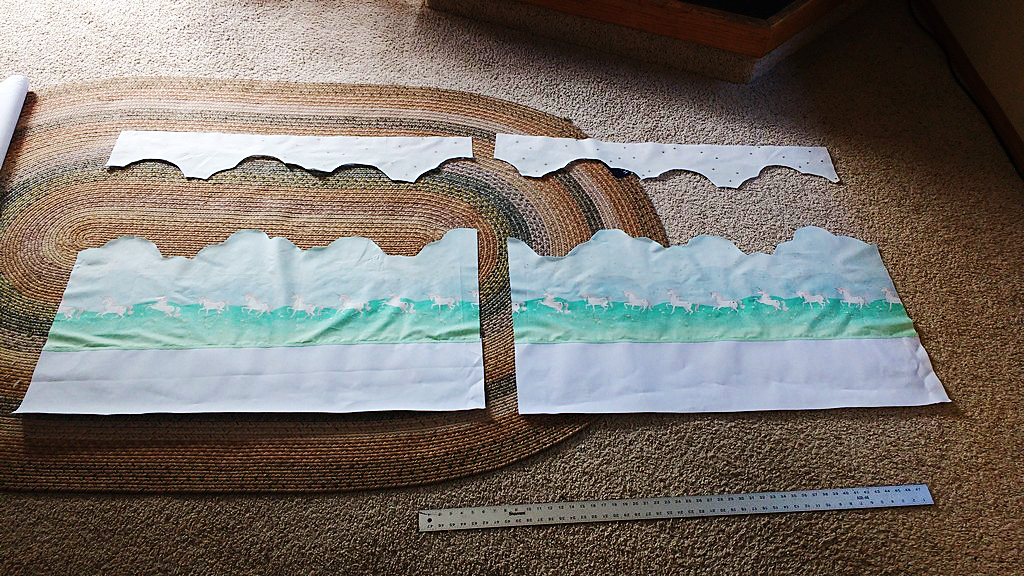
Undeterred, I cut the clouds and the stars from the grass and the unicorns & did the math on how to baste the fabric onto white canvas fabric to elongate the scene.
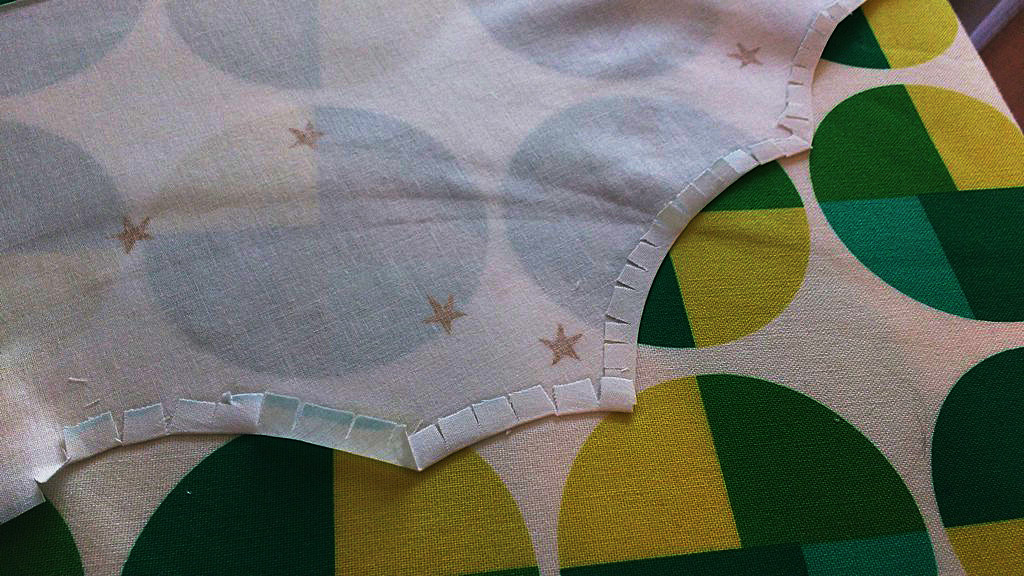
I painstakingly snipped around the curves of the clouds and the grass on the bottom and top pieces and then finger folded them over and ironed. I used starch to help the little pieces stay down. This was time consuming because I had to do it for four panels (two front, two back) and the top and bottom pieces of all four.
I love it when a plan comes together
My trouble paid off however.
My trouble paid off however. I diligently pinned the pieces to the main panel fabric of the top and bottom curtains and then sewed them in place with a decorative stitch.
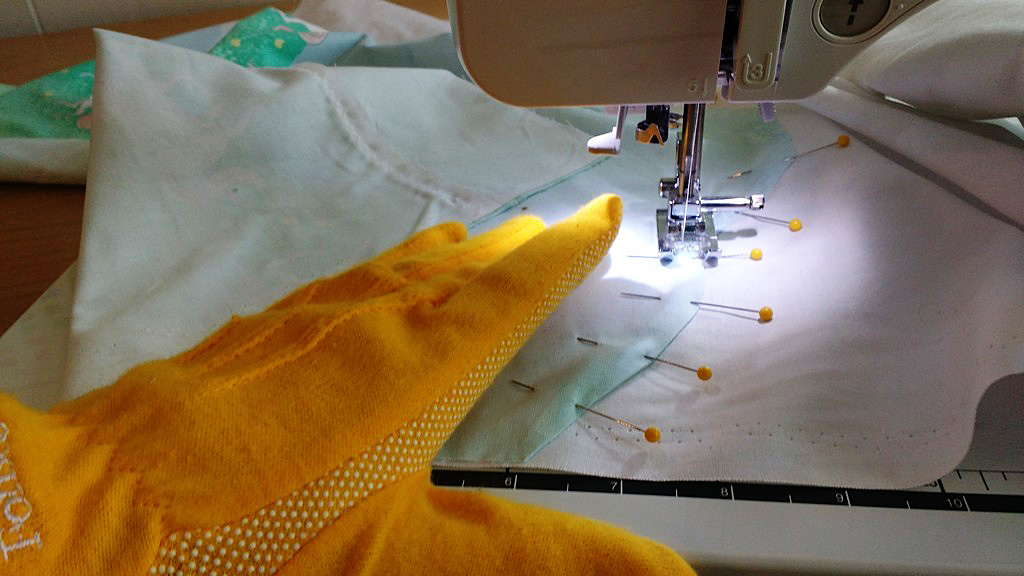
I diligently pinned the pieces to the main panel fabric of the top & bottom curtains & then sewed them in place with a decorative stitch.
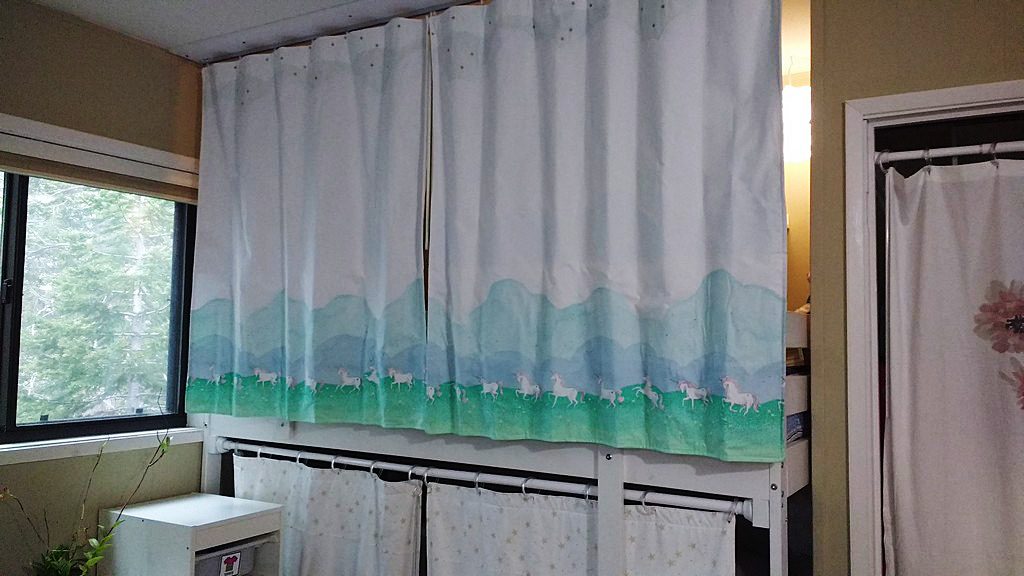
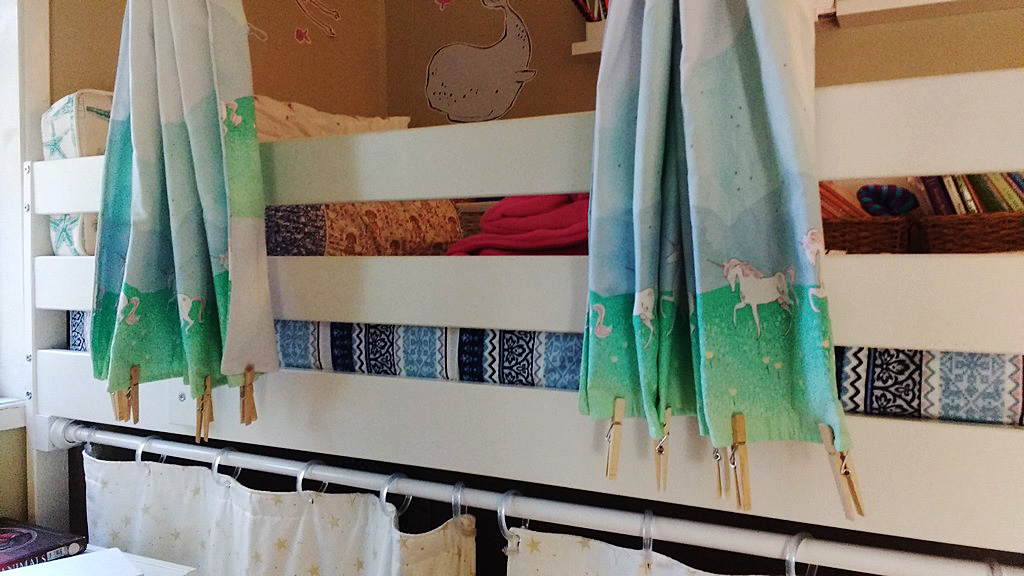
Here are the two front panels. Gorgeous, no?
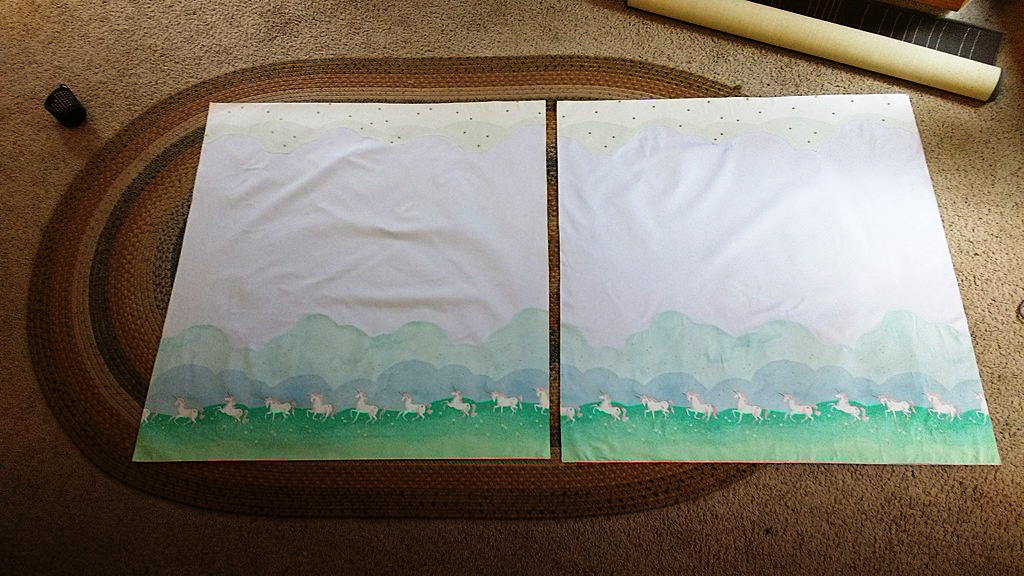
Here are the two front panels. Gorgeous, no?
For the back panels, I raised the grass & unicorns up higher and added a strip of white on the bottom so the unicorns wouldn’t be hidden from my daughter’s view by the bunkbed railing.
For the back panels, I raised the grass & unicorns up higher and added a strip of white on the bottom so the unicorns wouldn’t be hidden from my daughter’s view by the bunkbed railing.
Putting it all together
On the back panel, I then sewed drapery tape to the top of each panel. Then I sandwiched the top and bottom panels, right-sides facing, and sewed them together. Next I turned the panels and pressed everything neat and flat. I finished by top stitching the panels, and the opening where I’d turned them, closed.
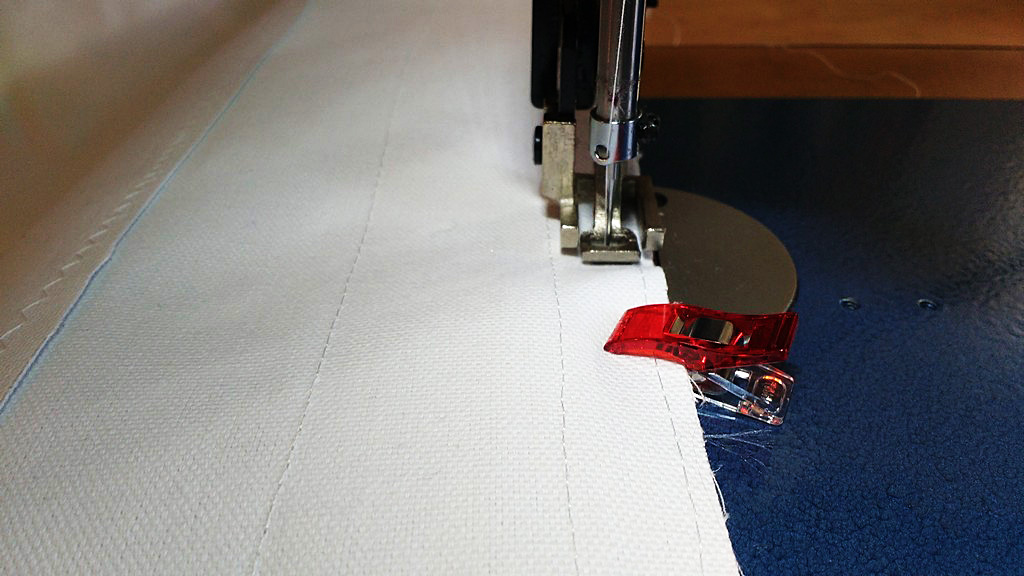
On the back panel, I then sewed drapery tape to the top of each panel.
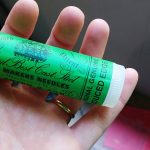
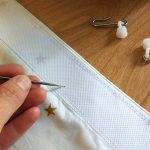
Now it was time to puncture some holes in the drapery tape so I could add the hooks that feed into the curtain tracks. For this, I used my handheld sailmaker needles to pierce a hole in the tape but not through to the front of the fabric.
And voila! The curtains fed onto the track perfectly. But I wasn’t done yet.
For this, I used my handheld sailmaker needles to pierce a hole in the tape but not through to the front of the fabric.
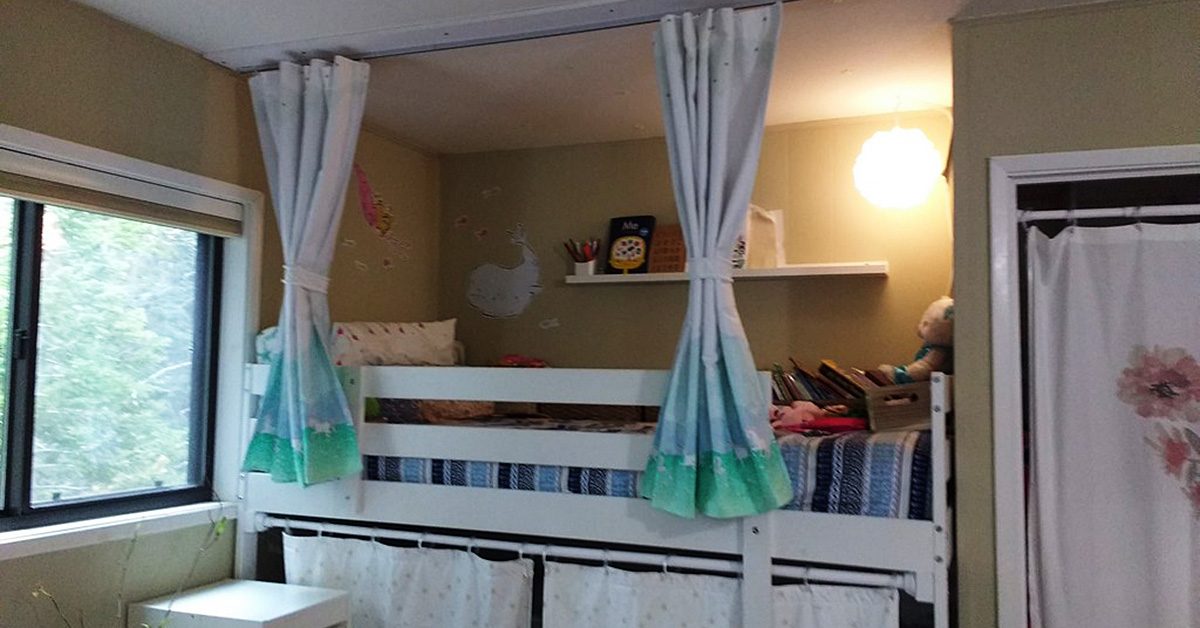
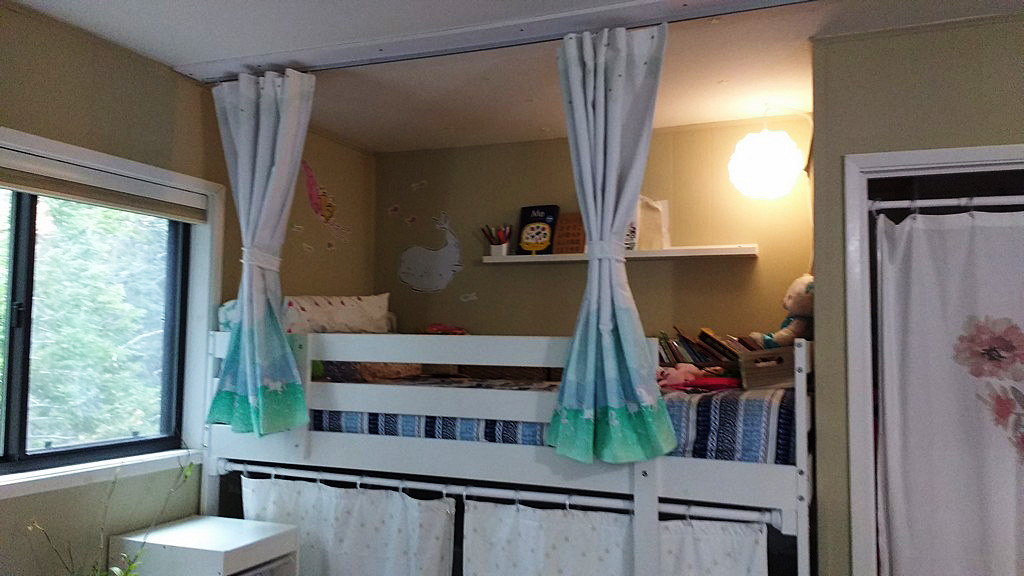
Train your curtains
My daughter wanted to be able to block out the light of the night lights we use in the room, but also wanted to easily be able to open and shut the curtains too. I took the time to carefully fold the curtains into the bunched position, using ribbon and clothespins to maintain them in that shape while I sewed curtain tie backs. I call this ‘training’ my curtains.
I took the time to carefully fold the curtains into the bunched position, using ribbon & clothespins to maintain them in that shape while I sewed curtain tie backs.
Then I sewed two curtain tie backs and added some mini pompoms for a bit of whimsy.
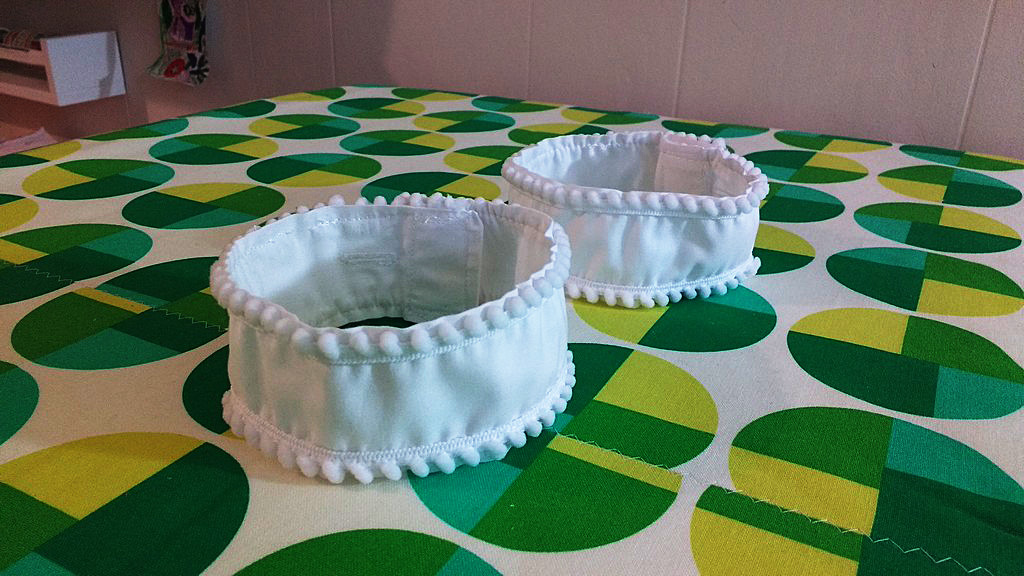
Then I sewed two curtain tie backs & added some mini pompoms for a bit of whimsy.
I knew that my daughter would lose them if I didn’t think of a way to keep the tie backs attached to the curtains so I sewed a buttonhole onto each tie back (you can read my post about how to sew buttonholes here). Next I climbed up into her bed and hand sewed a button onto the back panel of each curtain.


Then I connected the tie backs to the curtains via the button hole. Now she can bunch the curtains to open them, wrapping the tie back around them and securing them with the Velcro I sewed on the tie backs. And when she wants to close them for privacy or to shut out the light, she just releases the Velcro and the tie backs remain attached to the curtains.
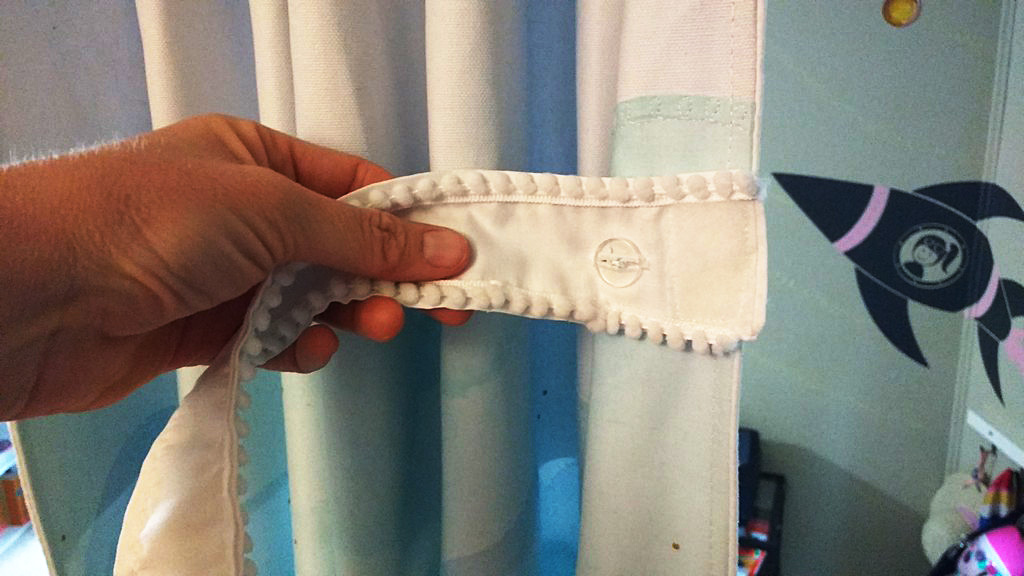
When she wants to close them for privacy or to shut out the light, she just releases the Velcro & the tie backs remain attached to the curtains.
And I have a very happy six year old! Have you made your own bunk bed curtains? Tell us about it in comments!