While it is true you often need to acquire specific tools to take your sewing to the next level, there are also items you will find around your house that easily make sewing and quilting a breeze. Each of the following items were truly an “ah-ha!” moment when I discovered them. I hope they help you too.
Shelf Lining
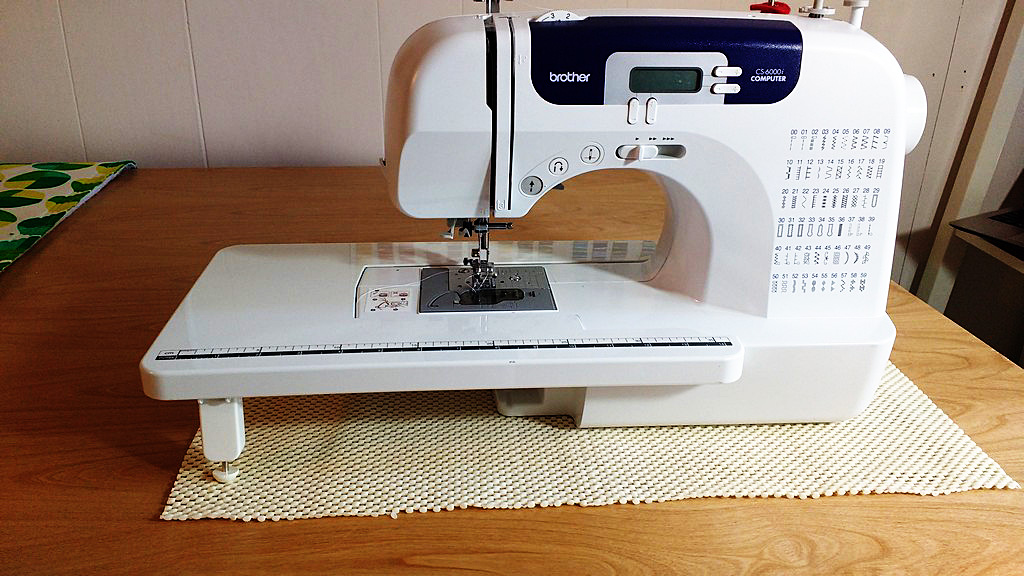
I used to have the infuriating problem of my machine slipping as I tried to quilt. Short of cutting a hole in my desktop to fit the machine level with the table, I wasn’t sure what to do to remedy the problem, until I saw shelf lining used under a sewing machine. Genius!!! Now I put a piece underneath where I work and my machine stays put every time.
Now I put a piece underneath where I work and my machine stays put every time.
Hairspray
I’m far-sighted, which means threading a needle can be difficult. It gets worse the longer I’ve been sewing, if I’m really tired, or the lighting is poor. Hairspray fixes that. Spray a little bit onto the end of the thread and it will glide through the smallest needle hole like magic.
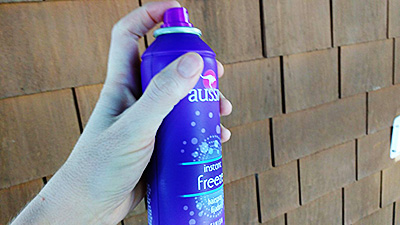
Spray a little hairspray onto the end of the thread and it will glide through the smallest needle hole like magic.
A Laser Marker
This little tool is currently all the rage in quilting circles. I bought mine at Harbor Freight. It has multiple ways it can attach to your machine, including magnets, sticky back, and screws.
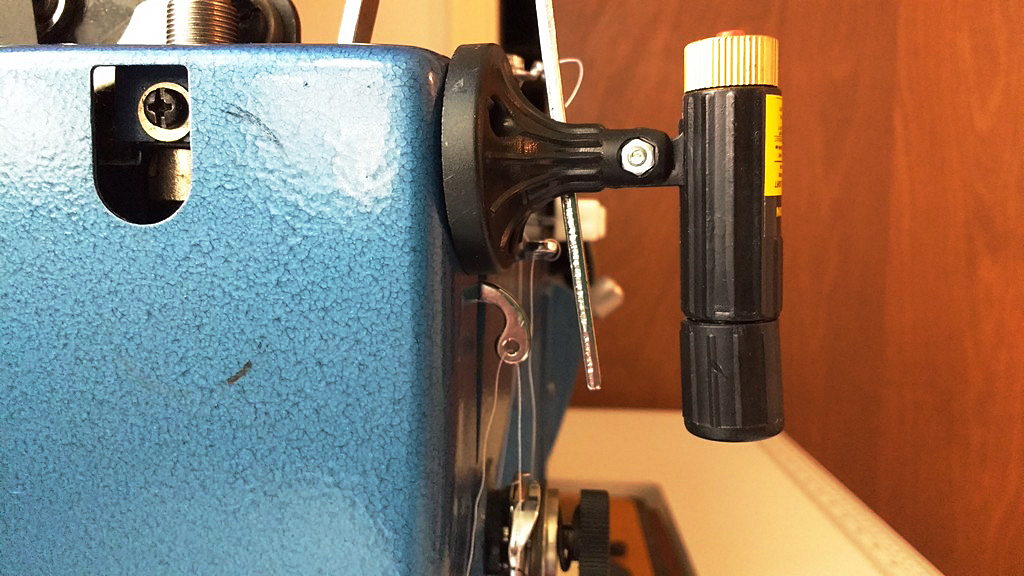
The laser marker is currently all the rage in quilting circles.
Just look how far it extends the straight line you need to sew. Plus it makes you feel like a high-tech ninja when you use it.

Just look how far it extends the straight line you need to sew.
Don’t want to get a laser to extend that line? You can also use washi tape or painter’s tape to do the same.
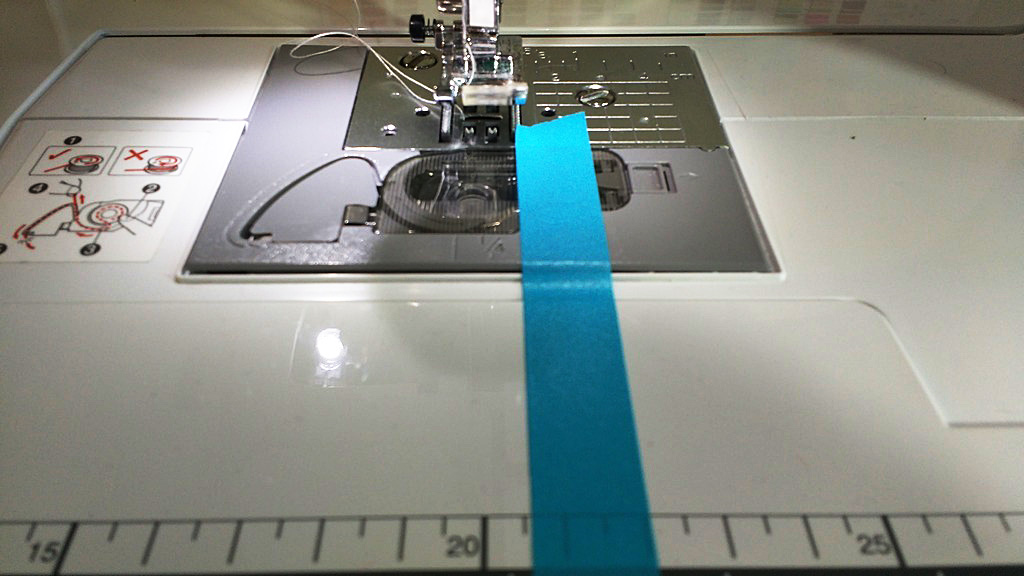
You can also use washi tape or painter’s tape to do the same.
Elmer’s Glue (the washable kind)
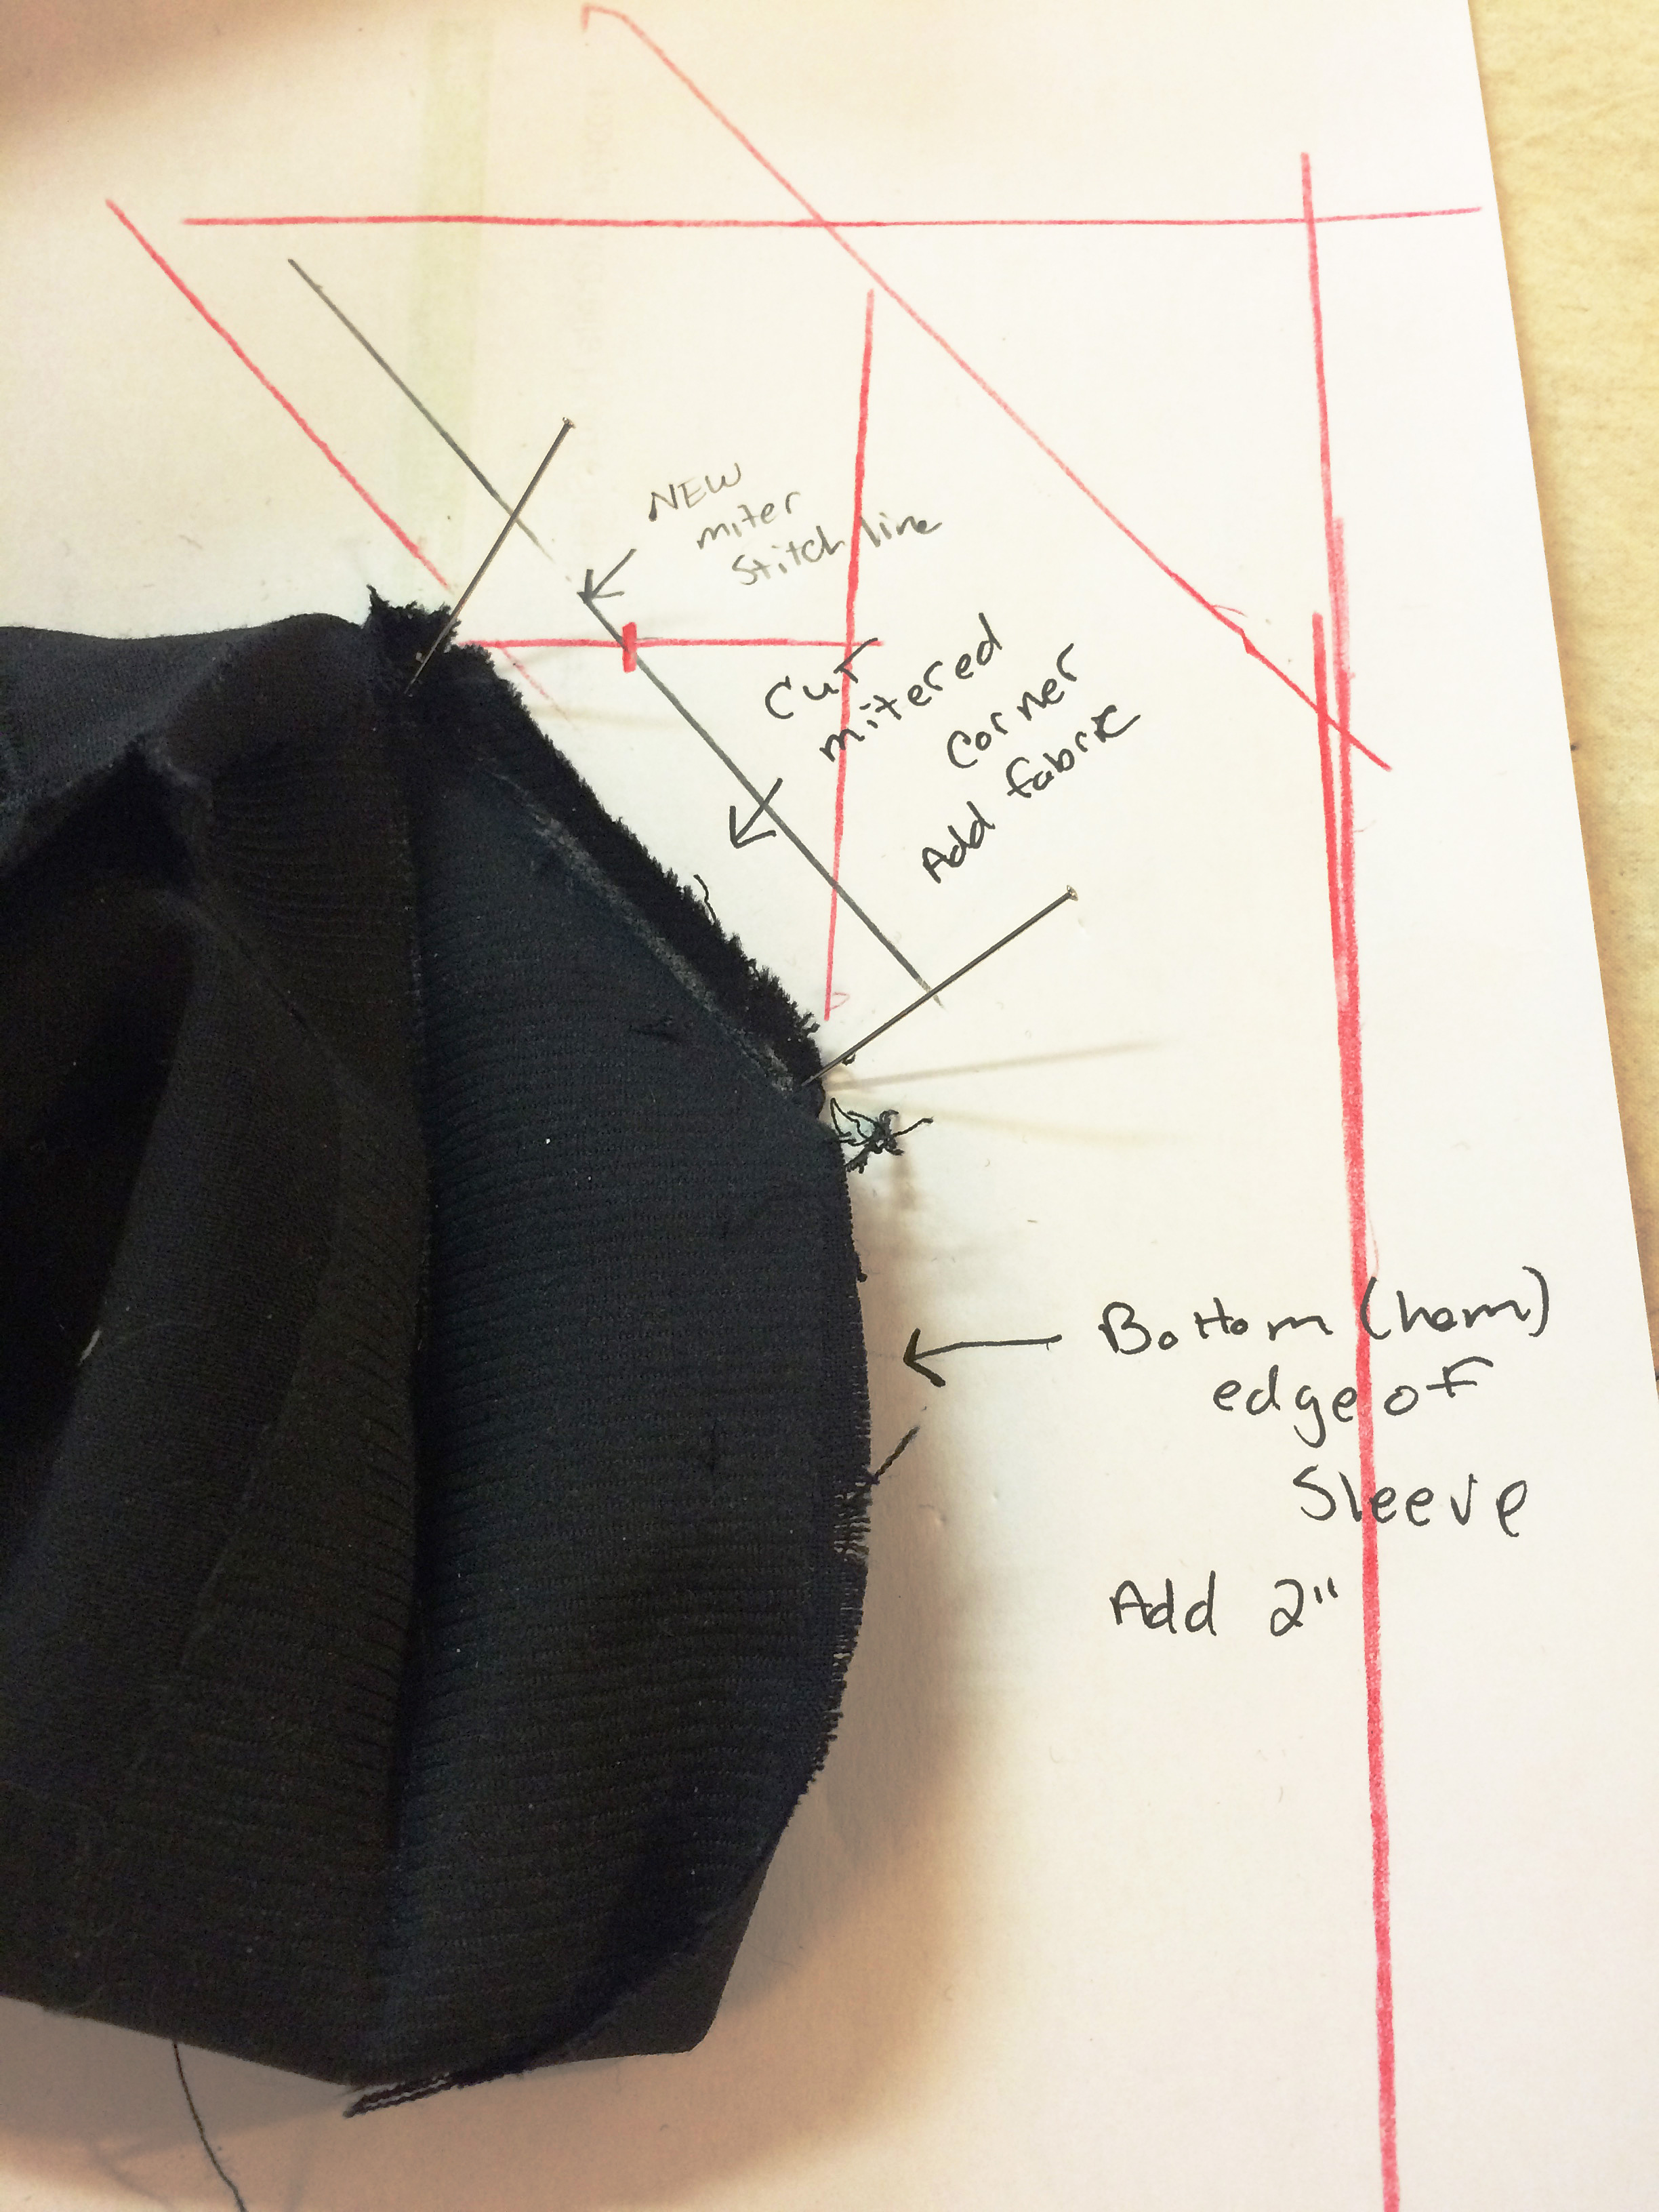
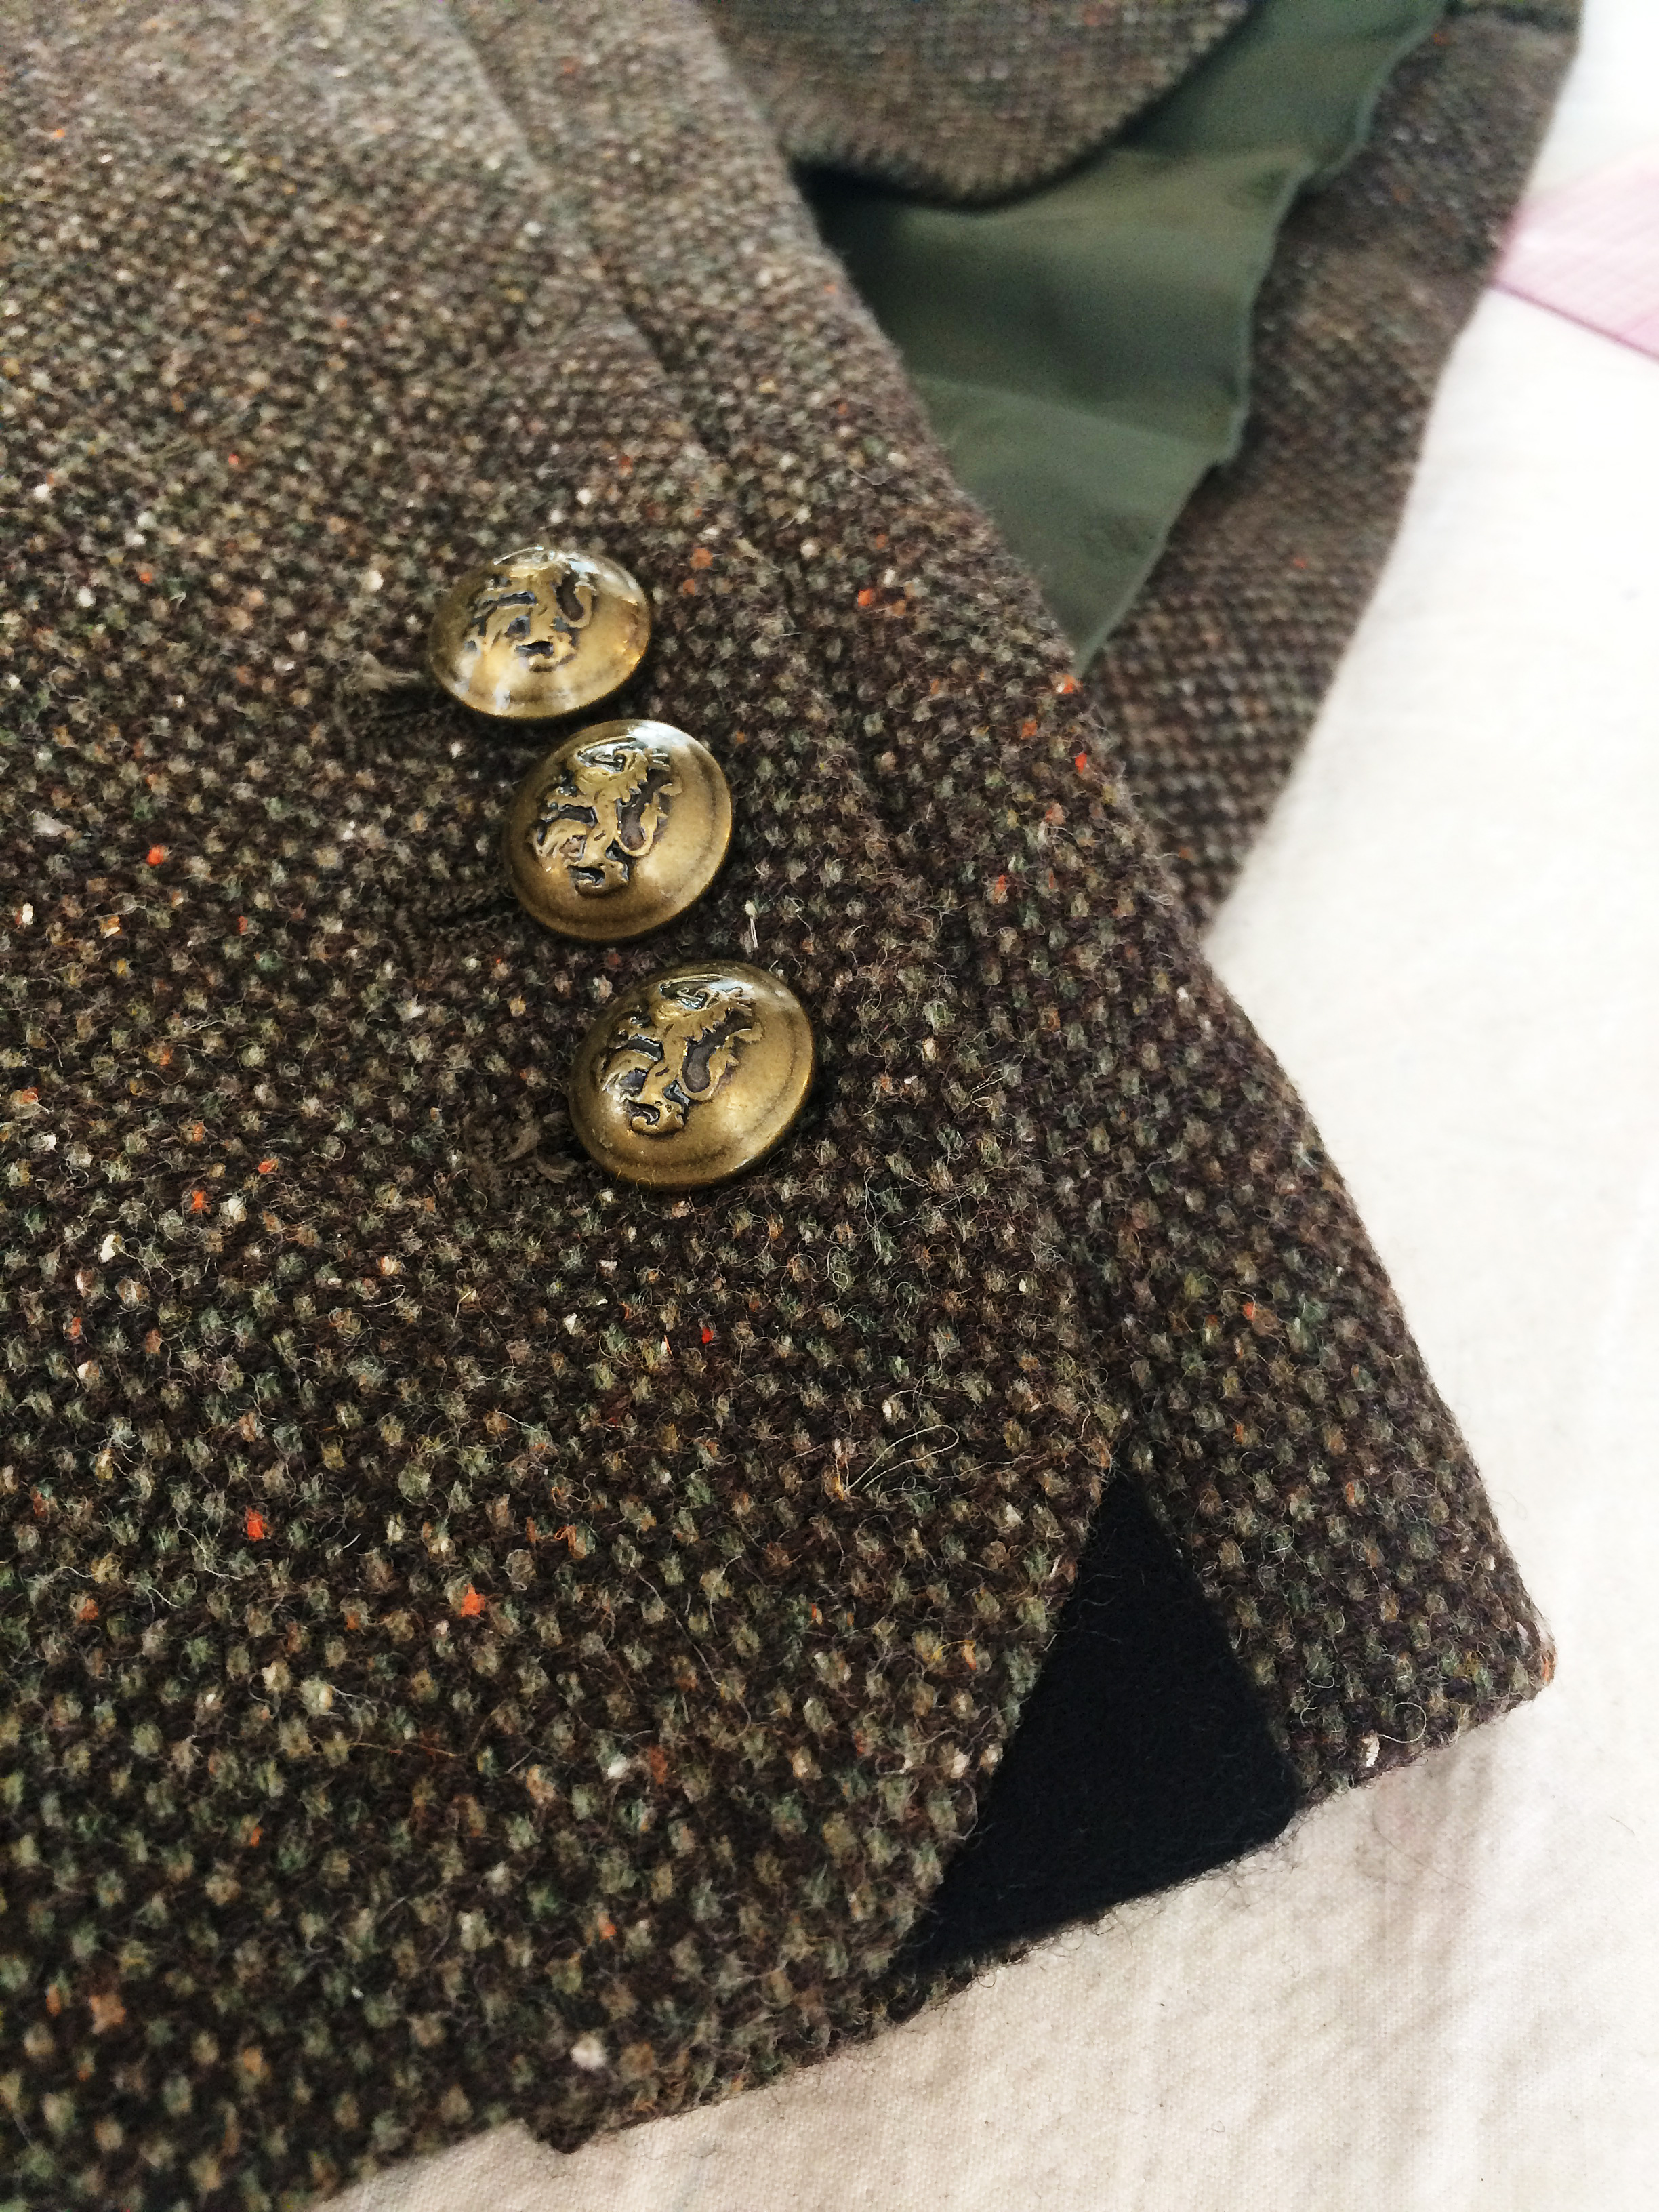
It’s time to raid your stash of school supplies and bring the Elmer’s Glue over to the big kids’ table. Like the Laser Marker, quilters are currently gaga for glue. The genius of washable Elmer’s is that you can apply a tiny amount, heat set it with an iron, and it holds beautifully. You can sew through the heat set glue without a problem and when your project is complete, it washes out without leaving any marks or stains. If you ever wonder how people achieve perfect corners, they are probably using Elmer’s Washable Glue.
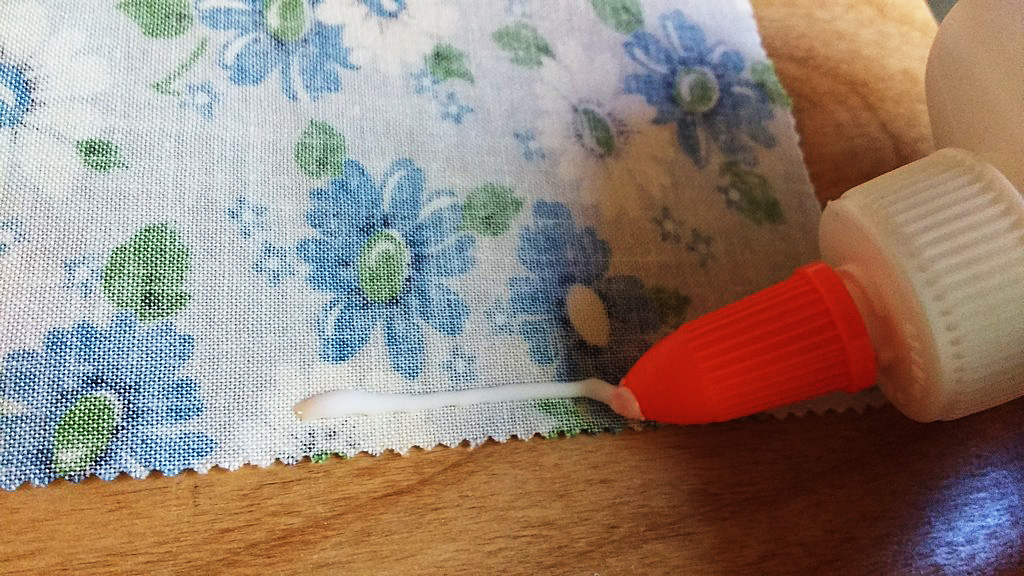
If you ever wonder how people achieve perfect corners, they are probably using Elmer’s Washable Glue.
A Square
My whole life I’ve called the carpenter’s tool called a Square, an L, because that is what it looks like. These giant L-shaped tools make squaring your quilts or larger projects very easy. Pictured is a smaller, triangle version, which I use for corners that need to be evenly squared.
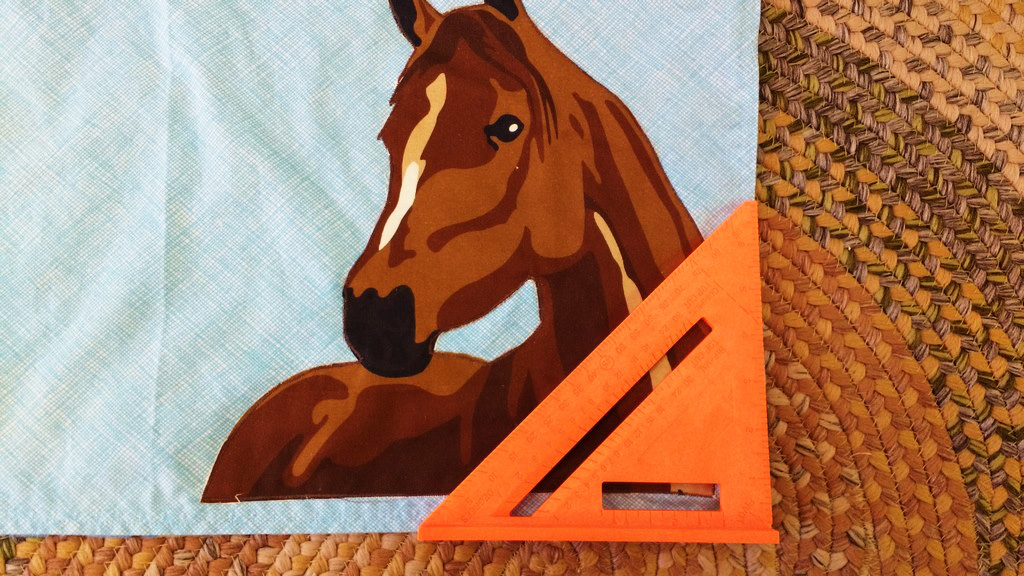
A smaller, triangle version, which I use for corners that need to be evenly squared.