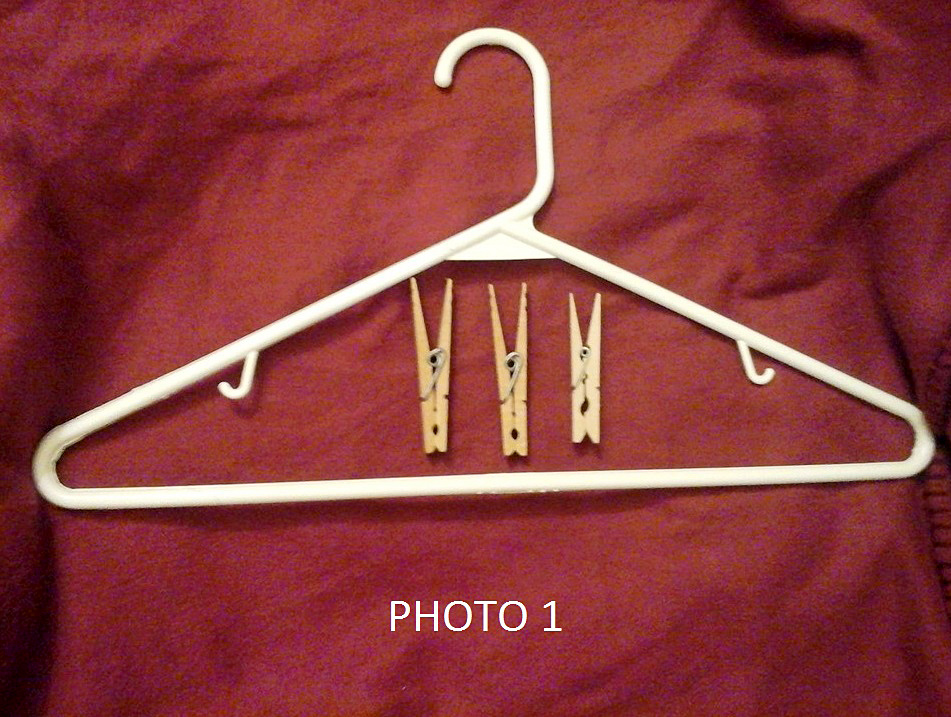
All you need are clothes hangers, clothespins, and a marker or pen (not pictured).
Whether you are new to sewing and quilting or just love to follow commercial patterns, you quickly find out that once you cut out your pattern pieces, they are EVERYWHERE. Along your pattern cutting journey, you may get a little lost, especially trying to keep track of “which piece goes where” and “what label is this piece?” After all your cutting is done and it is time to reach for your cut pattern pieces to begin sewing or quilting, you find you find yourself spending even more time figuring out which one is “A, B, C” or “1, 2, 3”. Here is a handy solution to help you organize your fabric pattern pieces with items you probably already have at home.
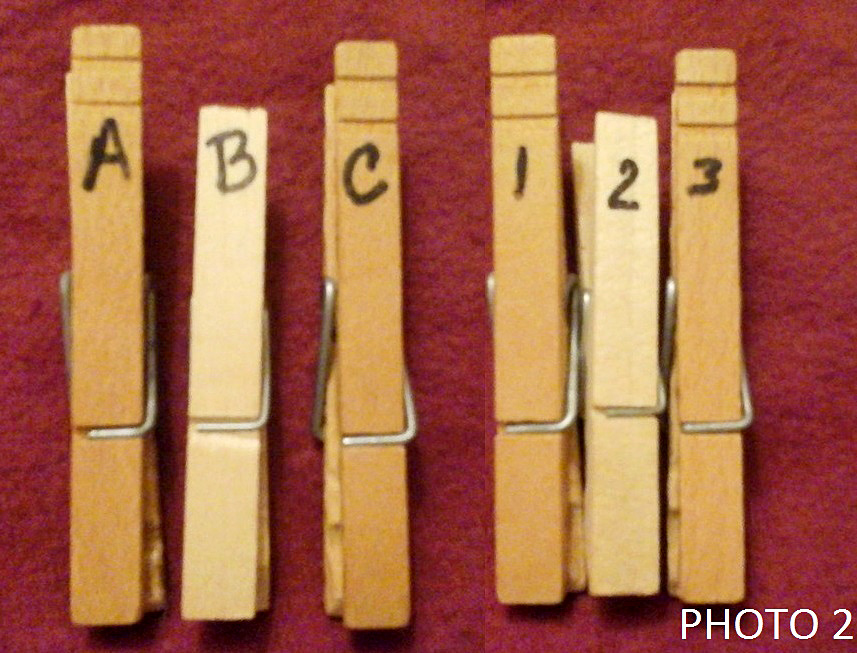
First, use a marker or pen to label the clothespins based on the labels found on the pattern pieces or the pattern guide.
All you need are clothes hangers, clothespins, and a marker or pen (not pictured). First, use a marker or pen to label the clothespins based on the labels found on the pattern pieces or the pattern guide. Using a permanent marker may make it easier to write on the clothespin, especially if it is made out of plastic. When choosing the marker and pen, make sure that you choose an ink that will be very easy and quick to see on the clothespin. (The goal is to make find your pattern pieces easier.)
Second, once you have labeled the clothespins, clip them on the hanger. To make finding the pins easier, place the labeled clothespin in alphabetical and numerical order. Continue clipping the pins onto the hanger until you have all your pins in a row. If you run out of space, use additional hangers until you have all of our labeled clothespins on a hanger.
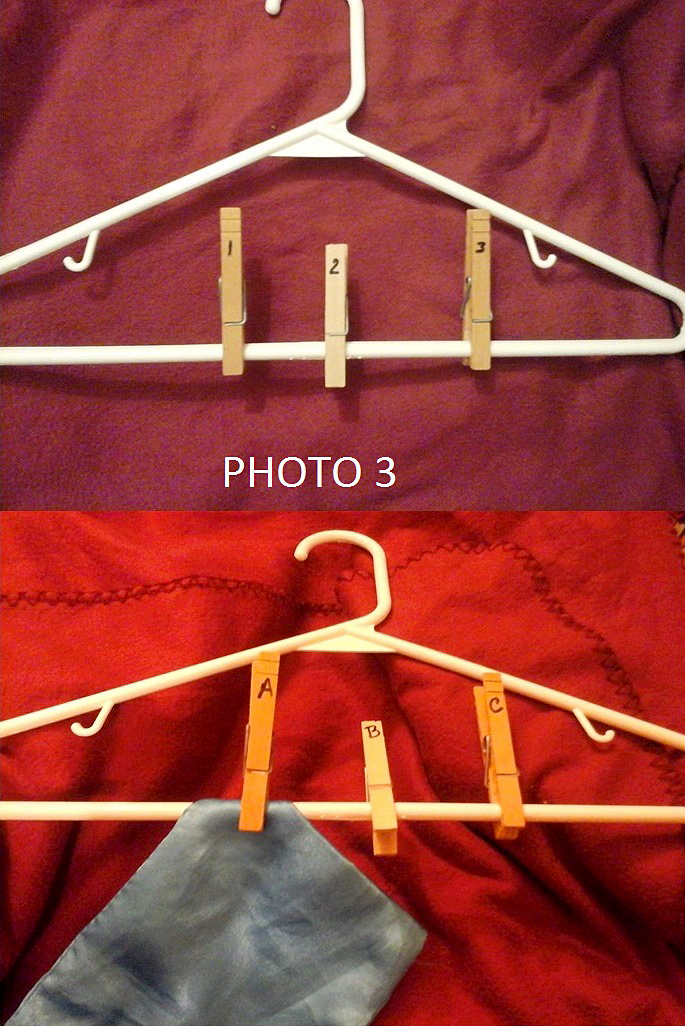
Once you have labeled the clothespins, clip them on the hanger. Finally, attach the cut fabric pieces to their corresponding labeled clothespin by clipping the fabric to the hanger.
Finally, attach the cut fabric pieces to their corresponding labeled clothespin by clipping the fabric to the hanger. For quilting patterns, there may be many pieces that same labels (for example, a repeating quilting pattern). In those cases, clip several pieces with the same label on the same pin. If there are a large amount of pieces with the same label and the clothespin get too bulky, create several clothespins with the same label. Organize the clothespins with identical labels next to each other for convenient and quick access.
Now you can hang the hanger on a door handle, a rod, or a rack. Place your fabric pattern hanger in a location this close to your project a quick reach to start your sewing and quilting. This idea not only helps to organize your pattern pieces, but it also helps to organize your sewing process. It can be such a distraction to have pattern pieces scattered all over your sewing and quilting workspace. A great sewing and quilting project takes focus and time. Organization around you in the workshop help you focus on project and saves you the time of having to search for your pattern pieces and figure out which piece it is.
The beauty of sewing and quilting is its creativity, attention to detail, and precision. Let this handy solution give you the freedom to put all of your time and energy into those things. So check out your closets or laundry rooms for the clothespins and hangers that will save you sewing and quilting time. But, just in case you want to go a purchase new one just for your sewing and quilting space, have fun with colors, prints, textiles, and more. From hardware stores to houseware stores, the possibilities are endless. Spruce up your creative environment with fashionable hangers and fancy clothespins to create a simple gadget that will help to make your sewing and quilting experience less frustrating and more exciting.