I remember watching my mom make clothes, doll clothes, and other items on the Singer sewing machine. Pins in her mouth, scissors in hand, she’d pin, trace, and cut a pattern and then magically sew it into something spectacular. I don’t remember how many times I asked, or how old I was when she finally agreed, but one day I finally got to learn how.
We went to the store and I got to pick out an easy pattern. Mom showed me how to read the back to figure out how much material I’d need as we browsed through bolt after bolt of fabric. I couldn’t get enough of all the colors and textures, but finally settled on something. Then it was off to pick out thread, zippers, and other necessary notions. I had no idea so much happened before even starting the project.
I had no idea so much happened before even starting the project.
Once home with the loot, Mom helped me fold the fabric so that the pattern would line up correctly. She supervised while I carefully cut out the tissue paper pieces of the pattern and helped me line them up correctly on the fabric. I was so ready to start cutting them out, but Mom said I had to pin the tissue paper to the fabric first. My small fingers weren’t overly dexterous, still aren’t, but I managed to get it done. And then, finally, it was time to cut!
Mom supervised while I carefully cut out each piece on the appropriate line for my size, being careful not to cut through the pins. I felt so grown up being allowed to use the special fabric scissors. When each piece was cut, it was time to learn to read the pattern instructions on pinning it all together and what the heck “right side to right side” meant. Turns out, that’s actually pretty important, but I still think “pretty side to pretty side” would be less confusing.
I quickly realized that the pinning part is not a lot of fun, but Mom told me it was necessary or it wouldn’t sew up right on the machine. So, I suffered through it one pin at a time. It wasn’t until years later I figured out how to do the pins in the mouth thing I always saw Mom doing, so I also got poked a lot messing around with the pin cushion.
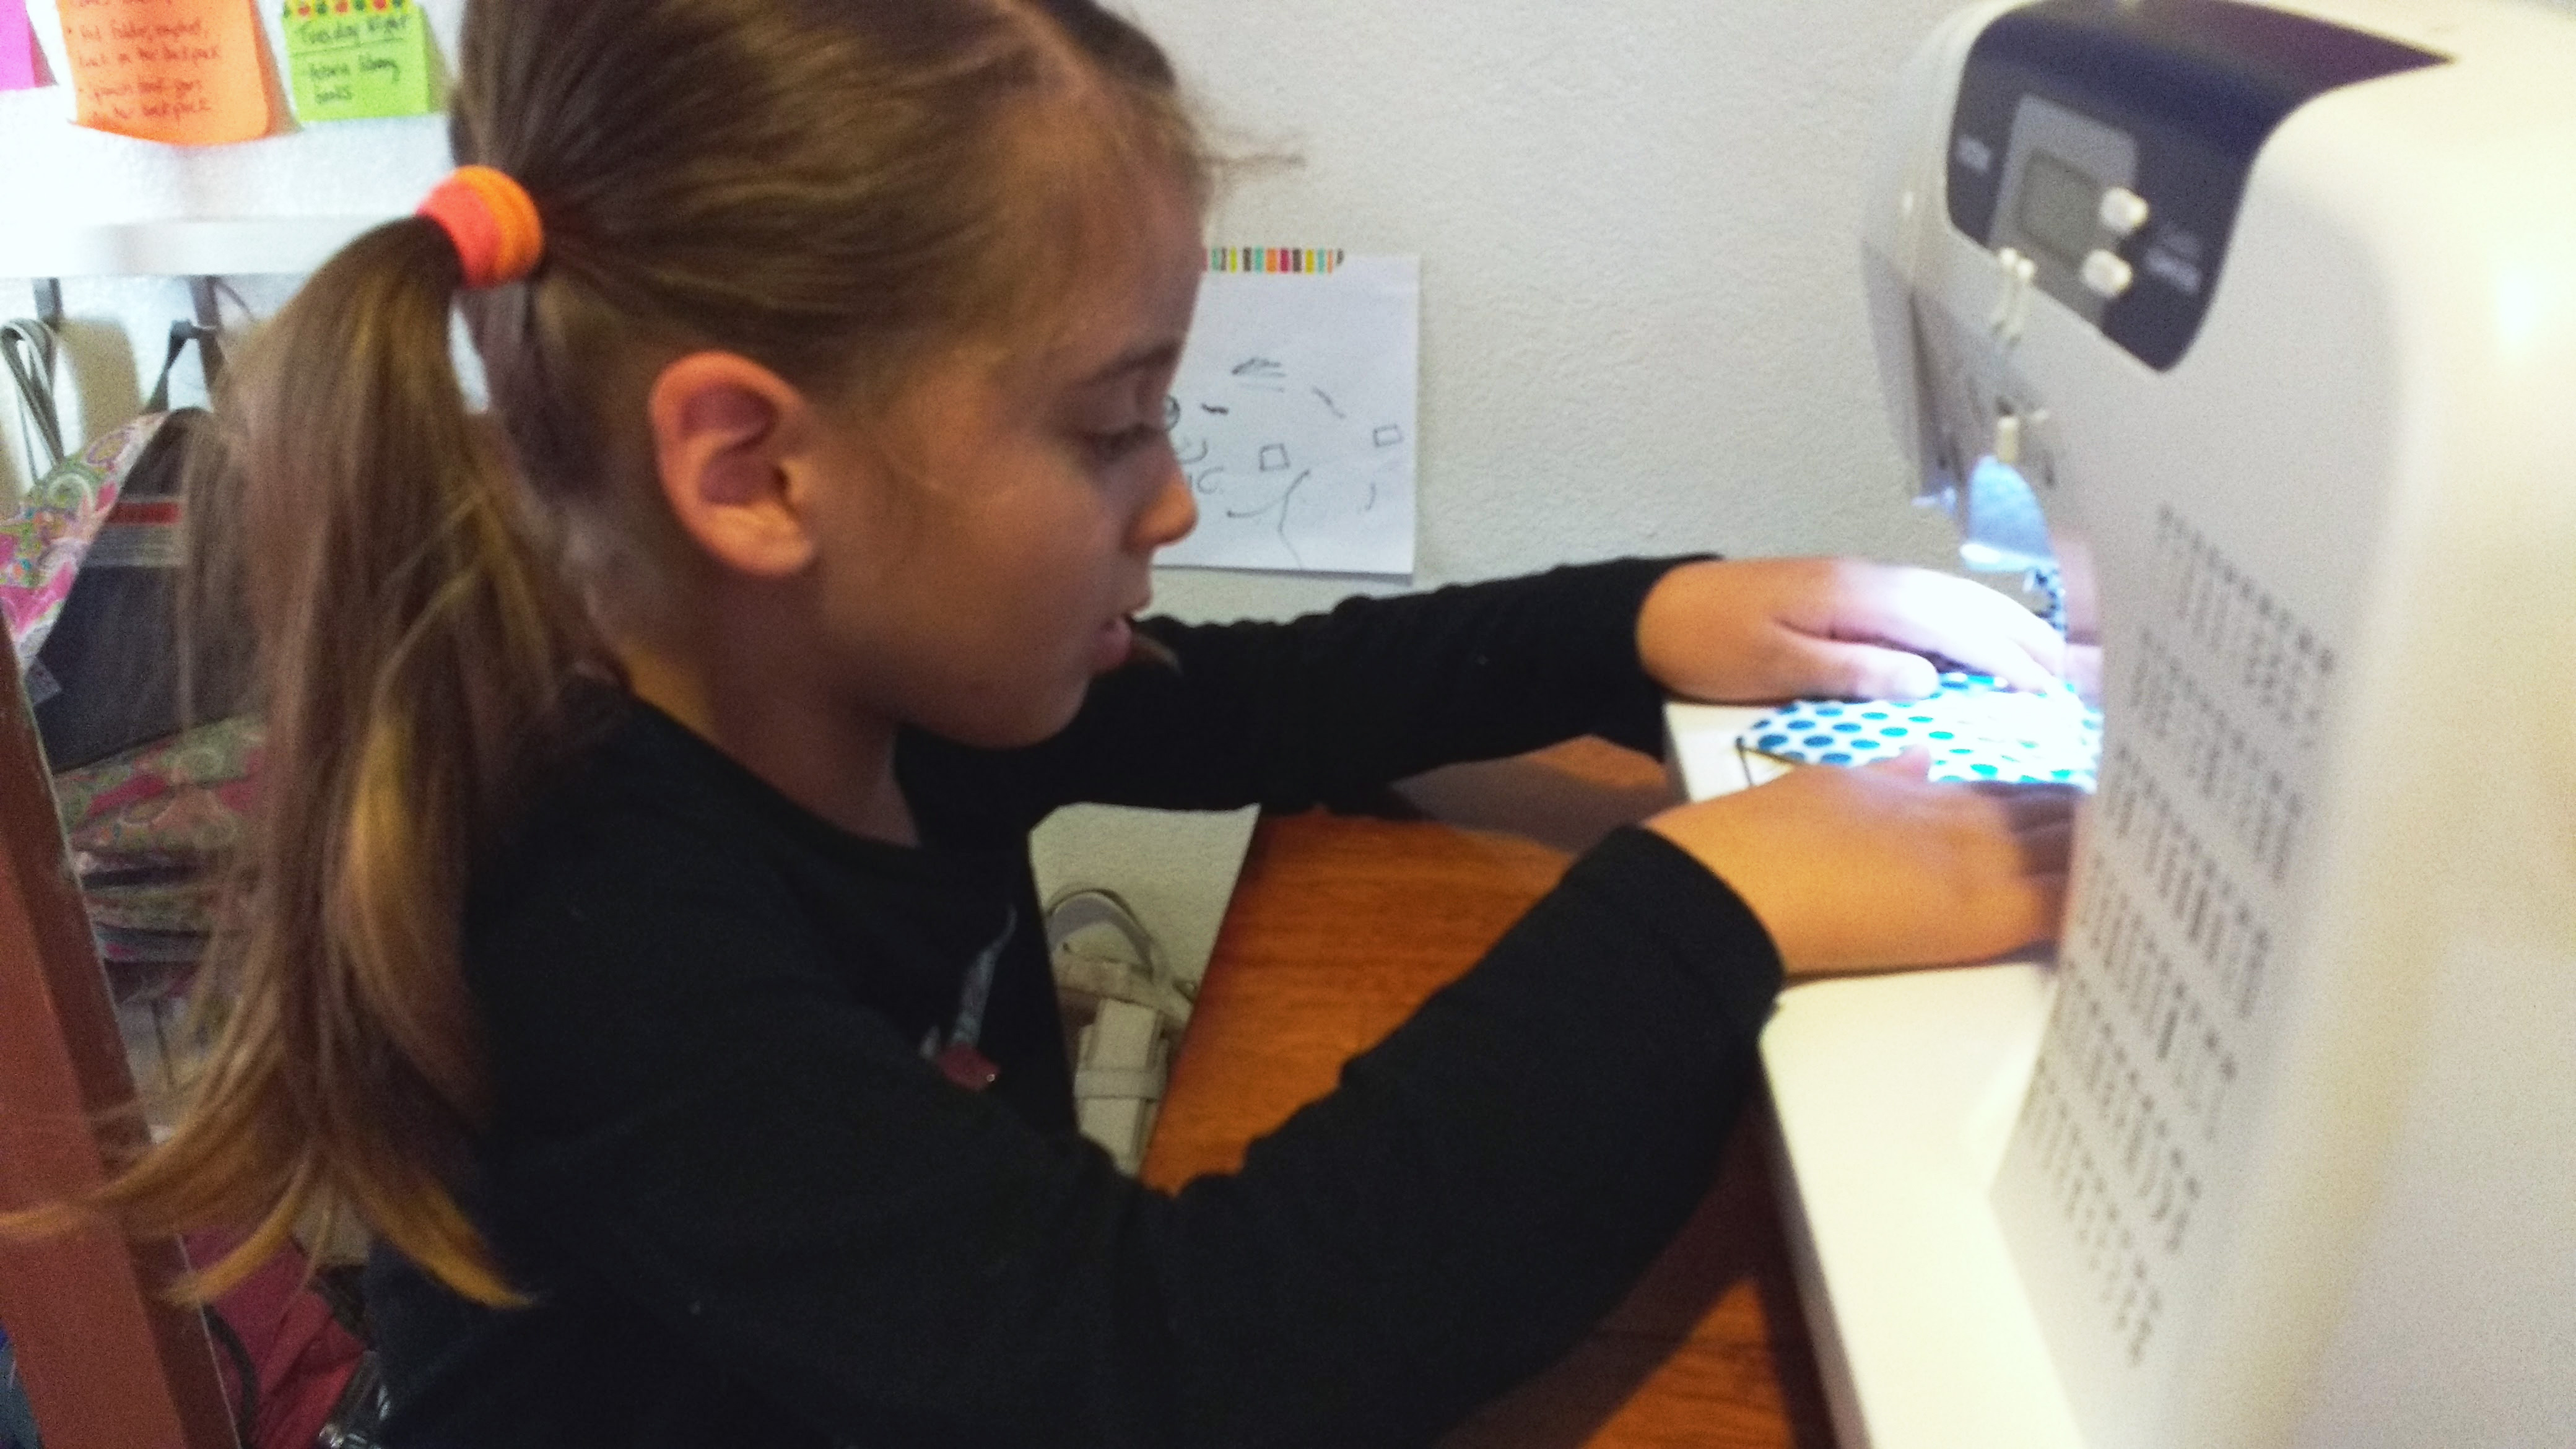
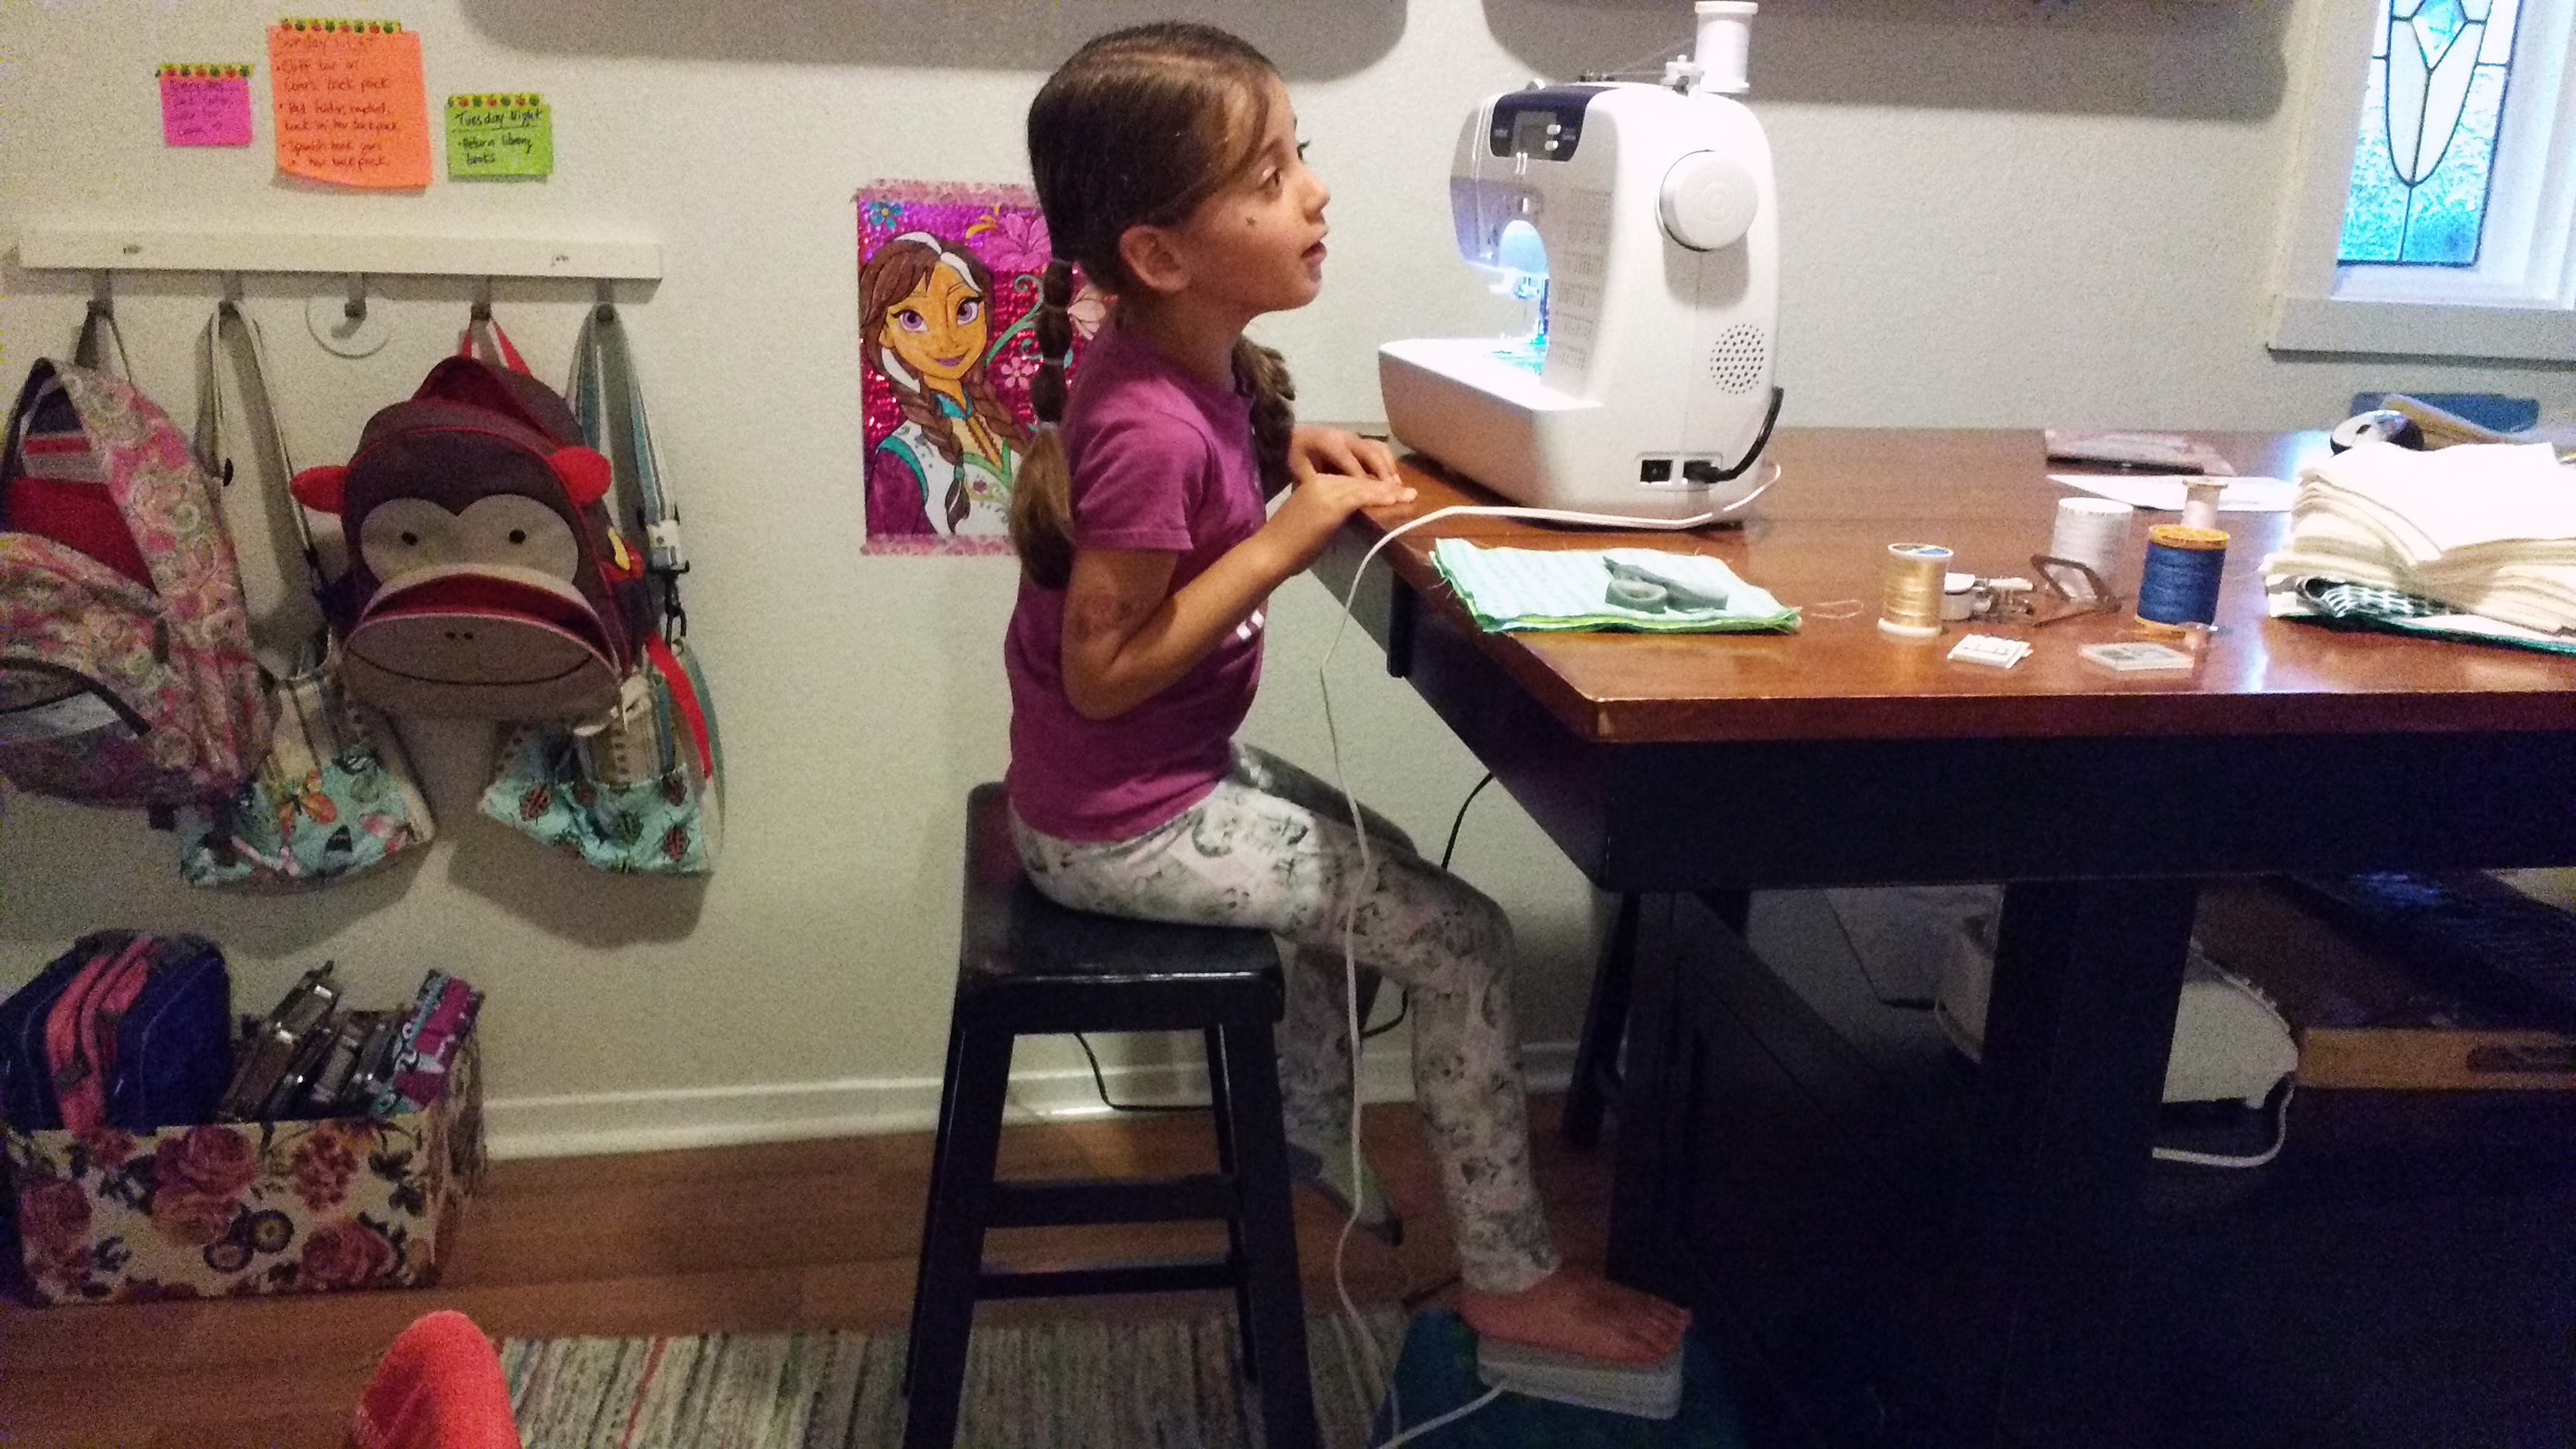
Finally, though, the pinning for the first part was done and I got to sew…or so I thought. But Mom was worried I might be a little young to use the machine on my own, so at first, we did it like we had when she came to my nursery school class to make beanbags, and she sewed while I watched. After some pleading, she finally relented to let me use the Singer under her supervision. I managed to refrain from twirling around in excitement, but I sure wanted to!

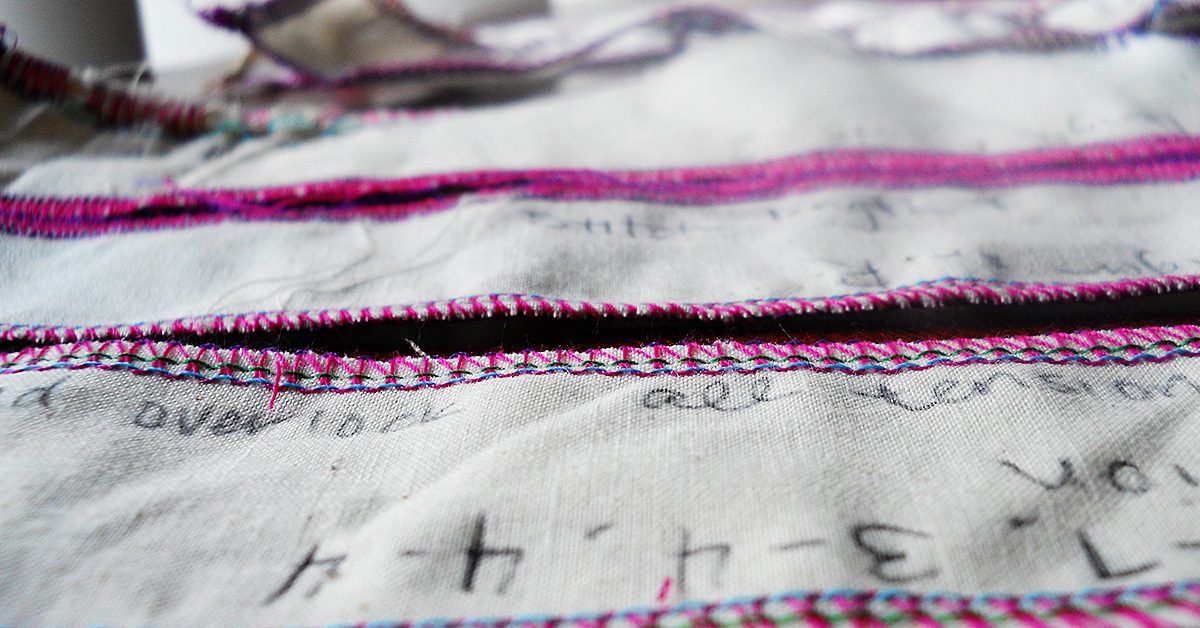
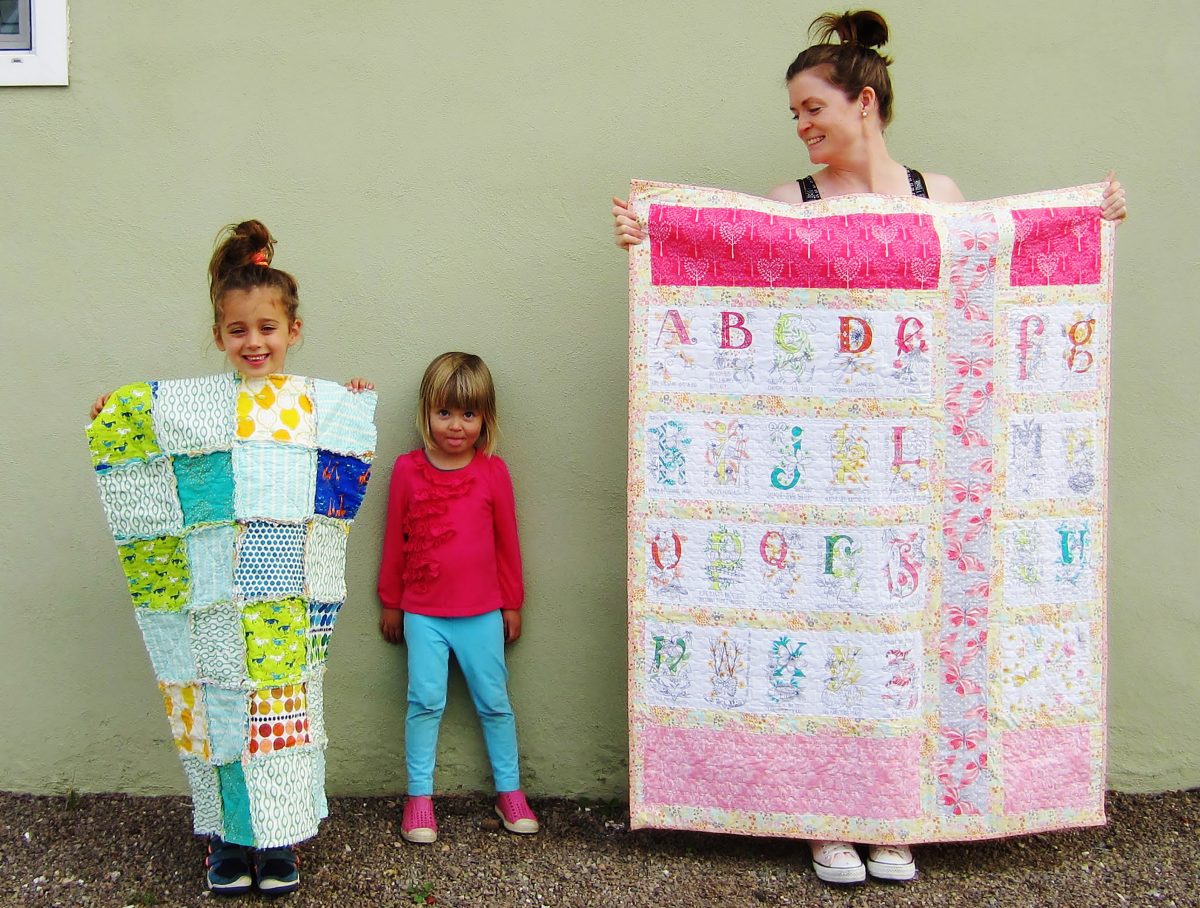
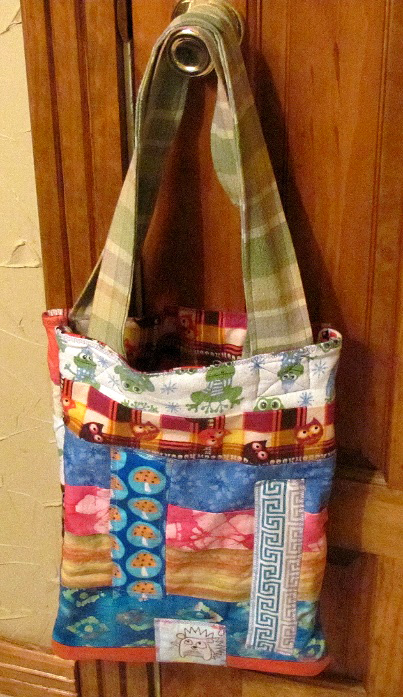
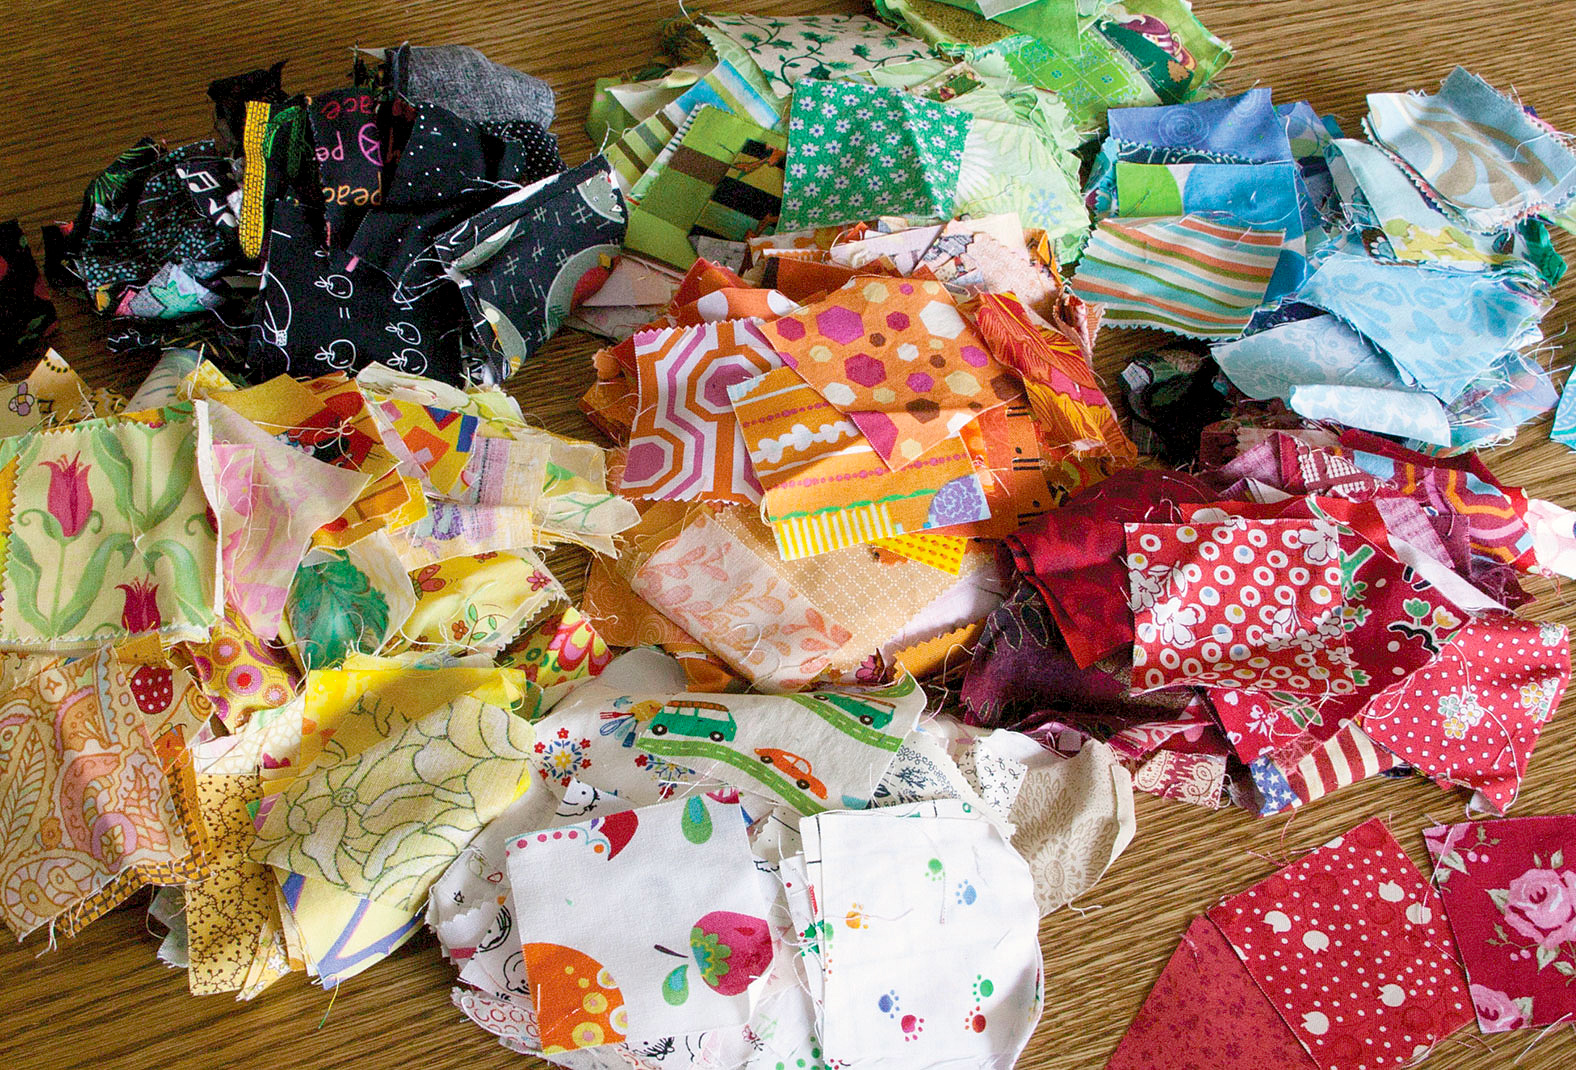
Scraps, pieces and extras. These spare parts will make a lovely quilt someday!
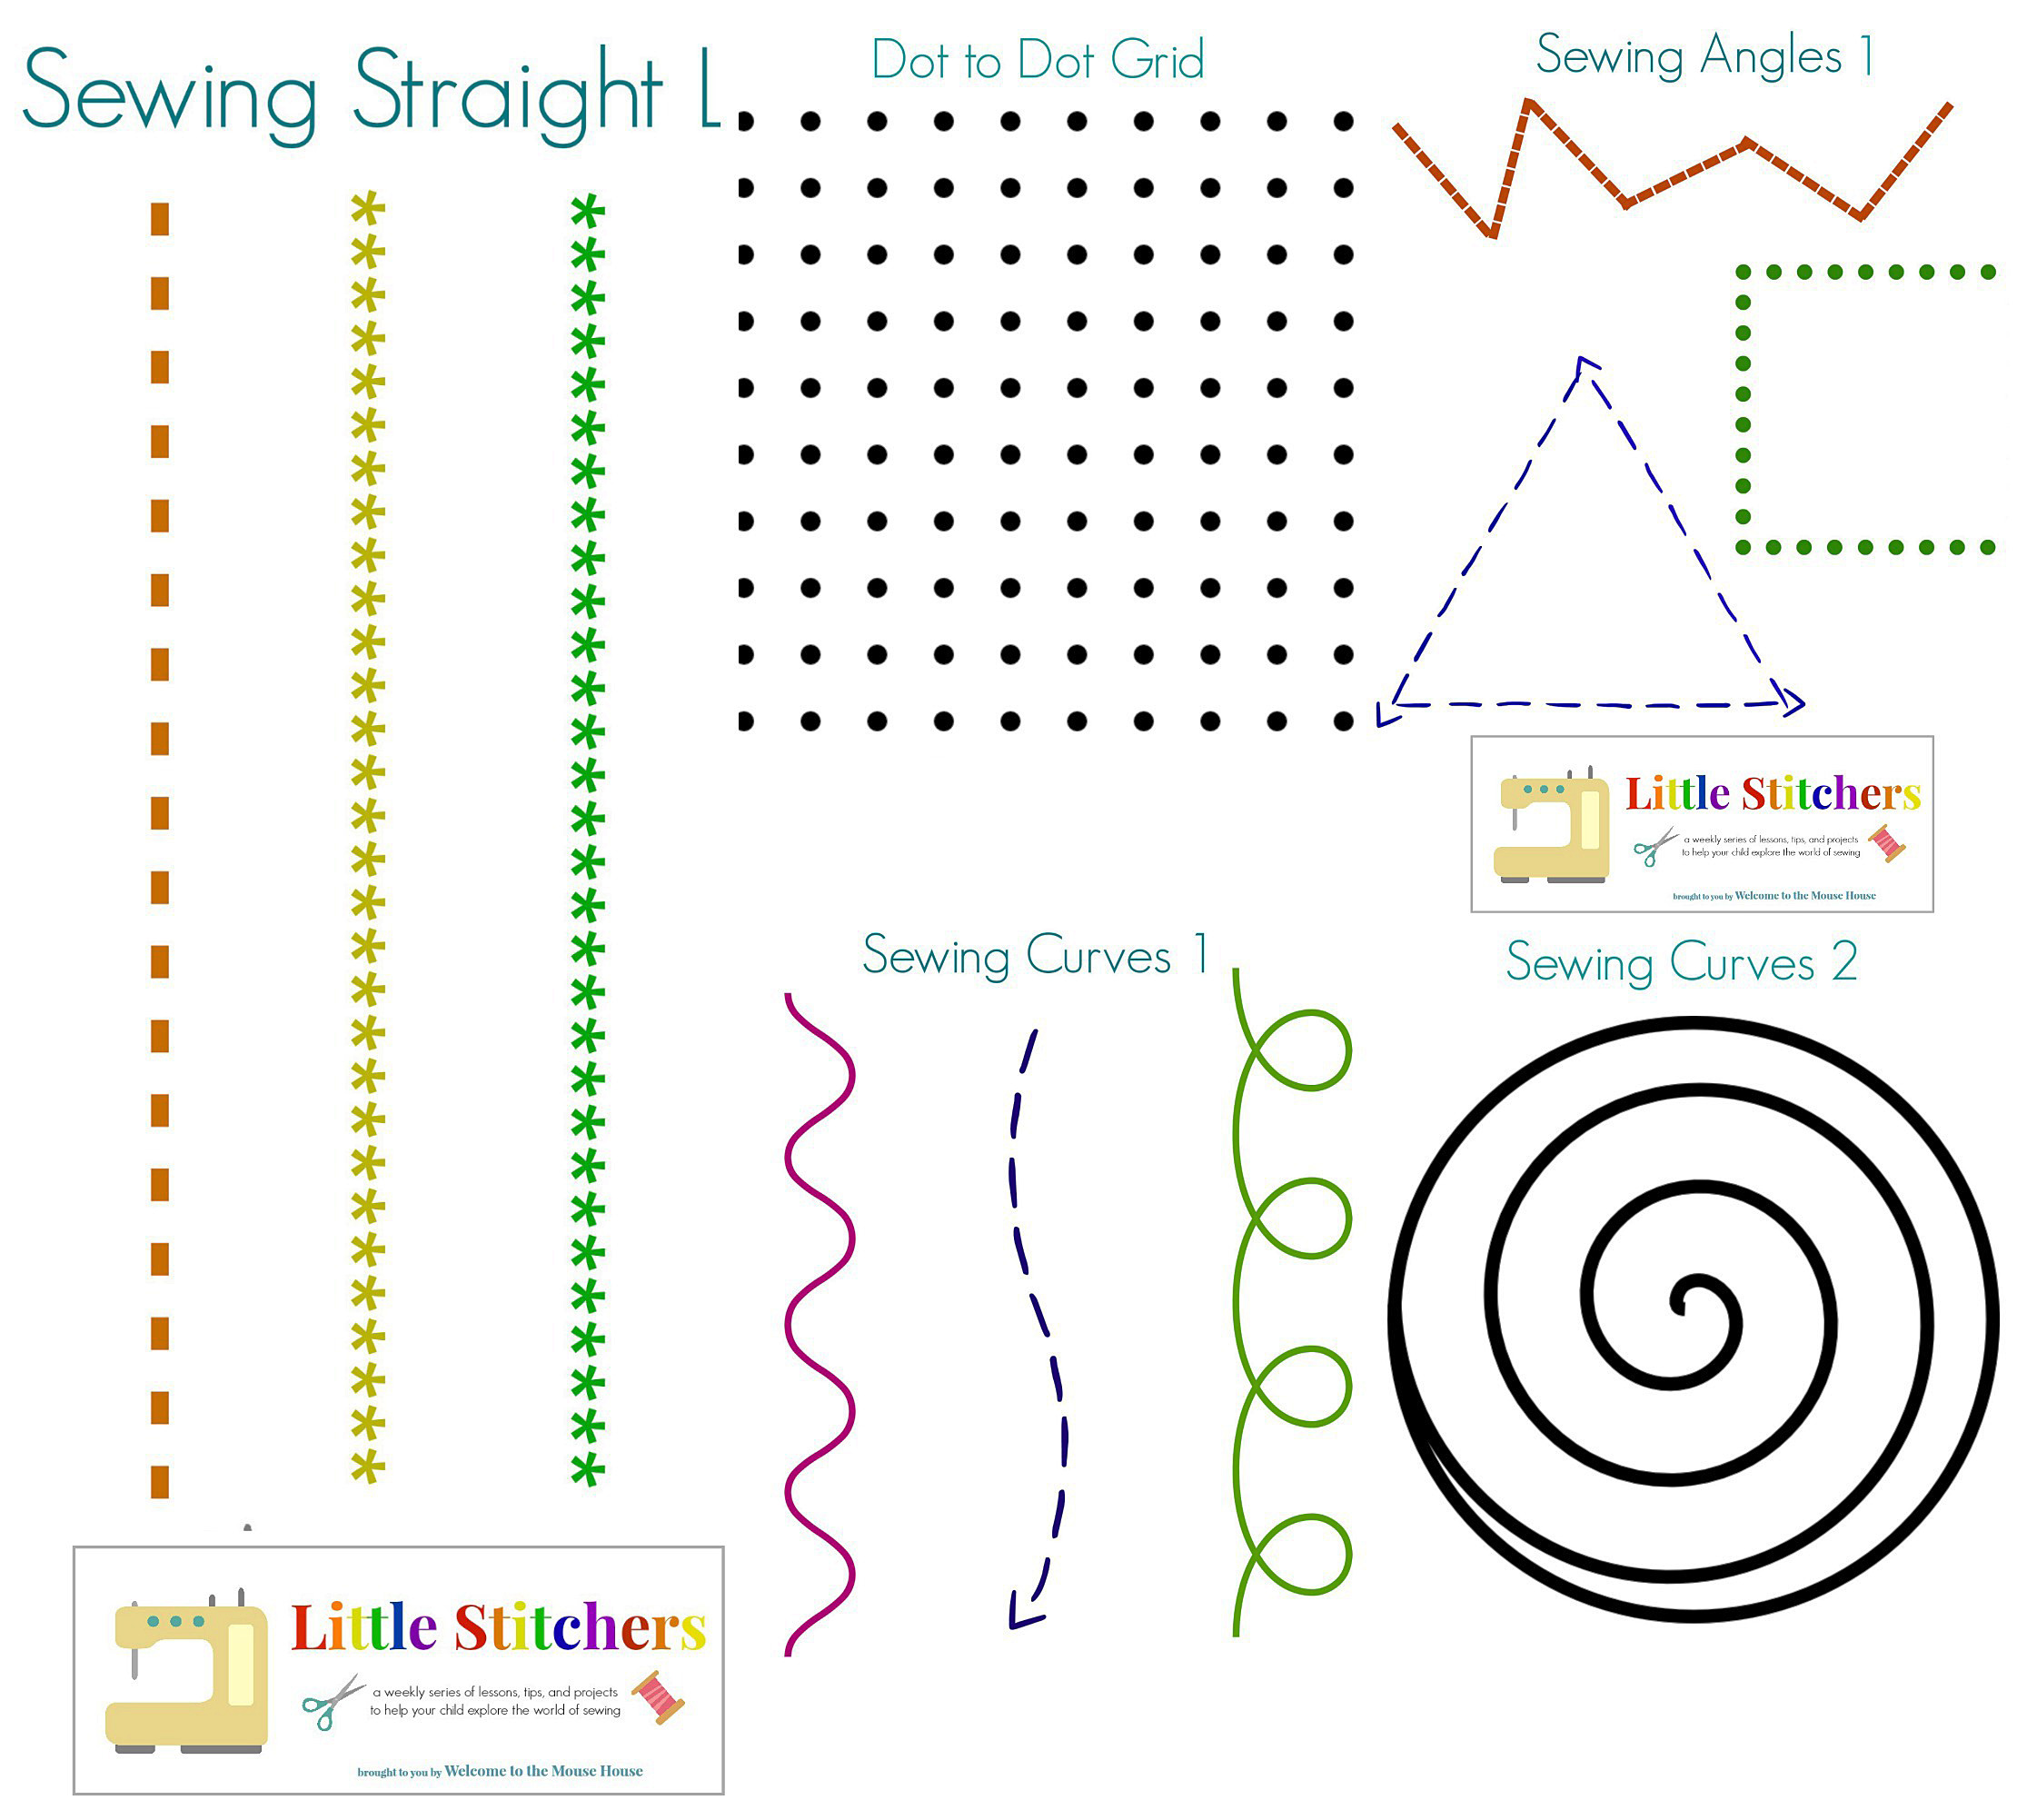
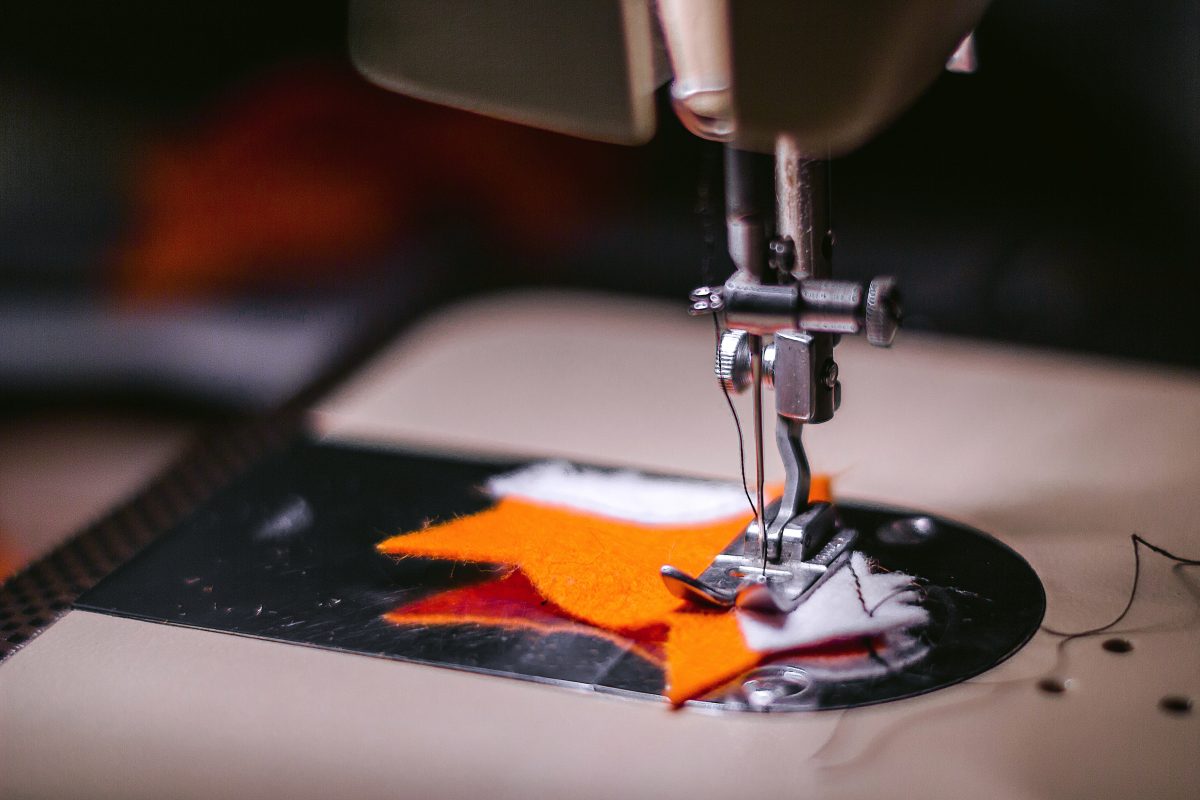
Before I was allowed to sew my project, Mom pulled out some spare scraps from her ever-growing scrap bag and gave me a lesson on the presser foot, going forward and backward, keeping constant pressure on the pedal, and keeping my fingers out of the way. I’m pretty sure there were parts were I was sticking my tongue out with the effort of concentrating, but I finally sewed the scrap to Mom’s satisfaction and was allowed to sew part of my very first project!
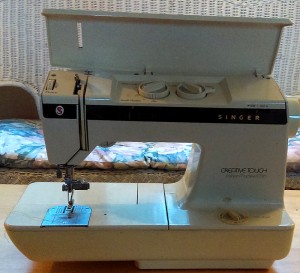
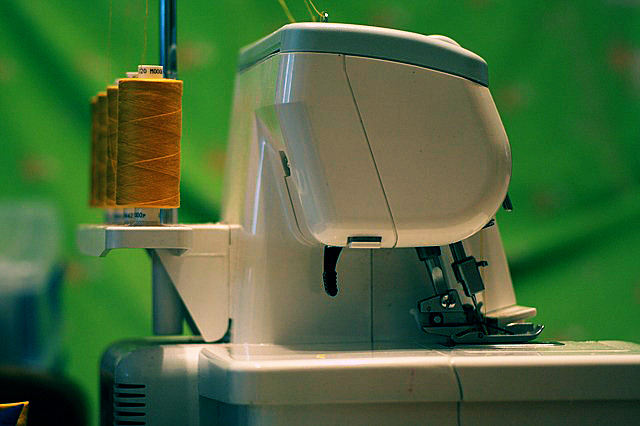
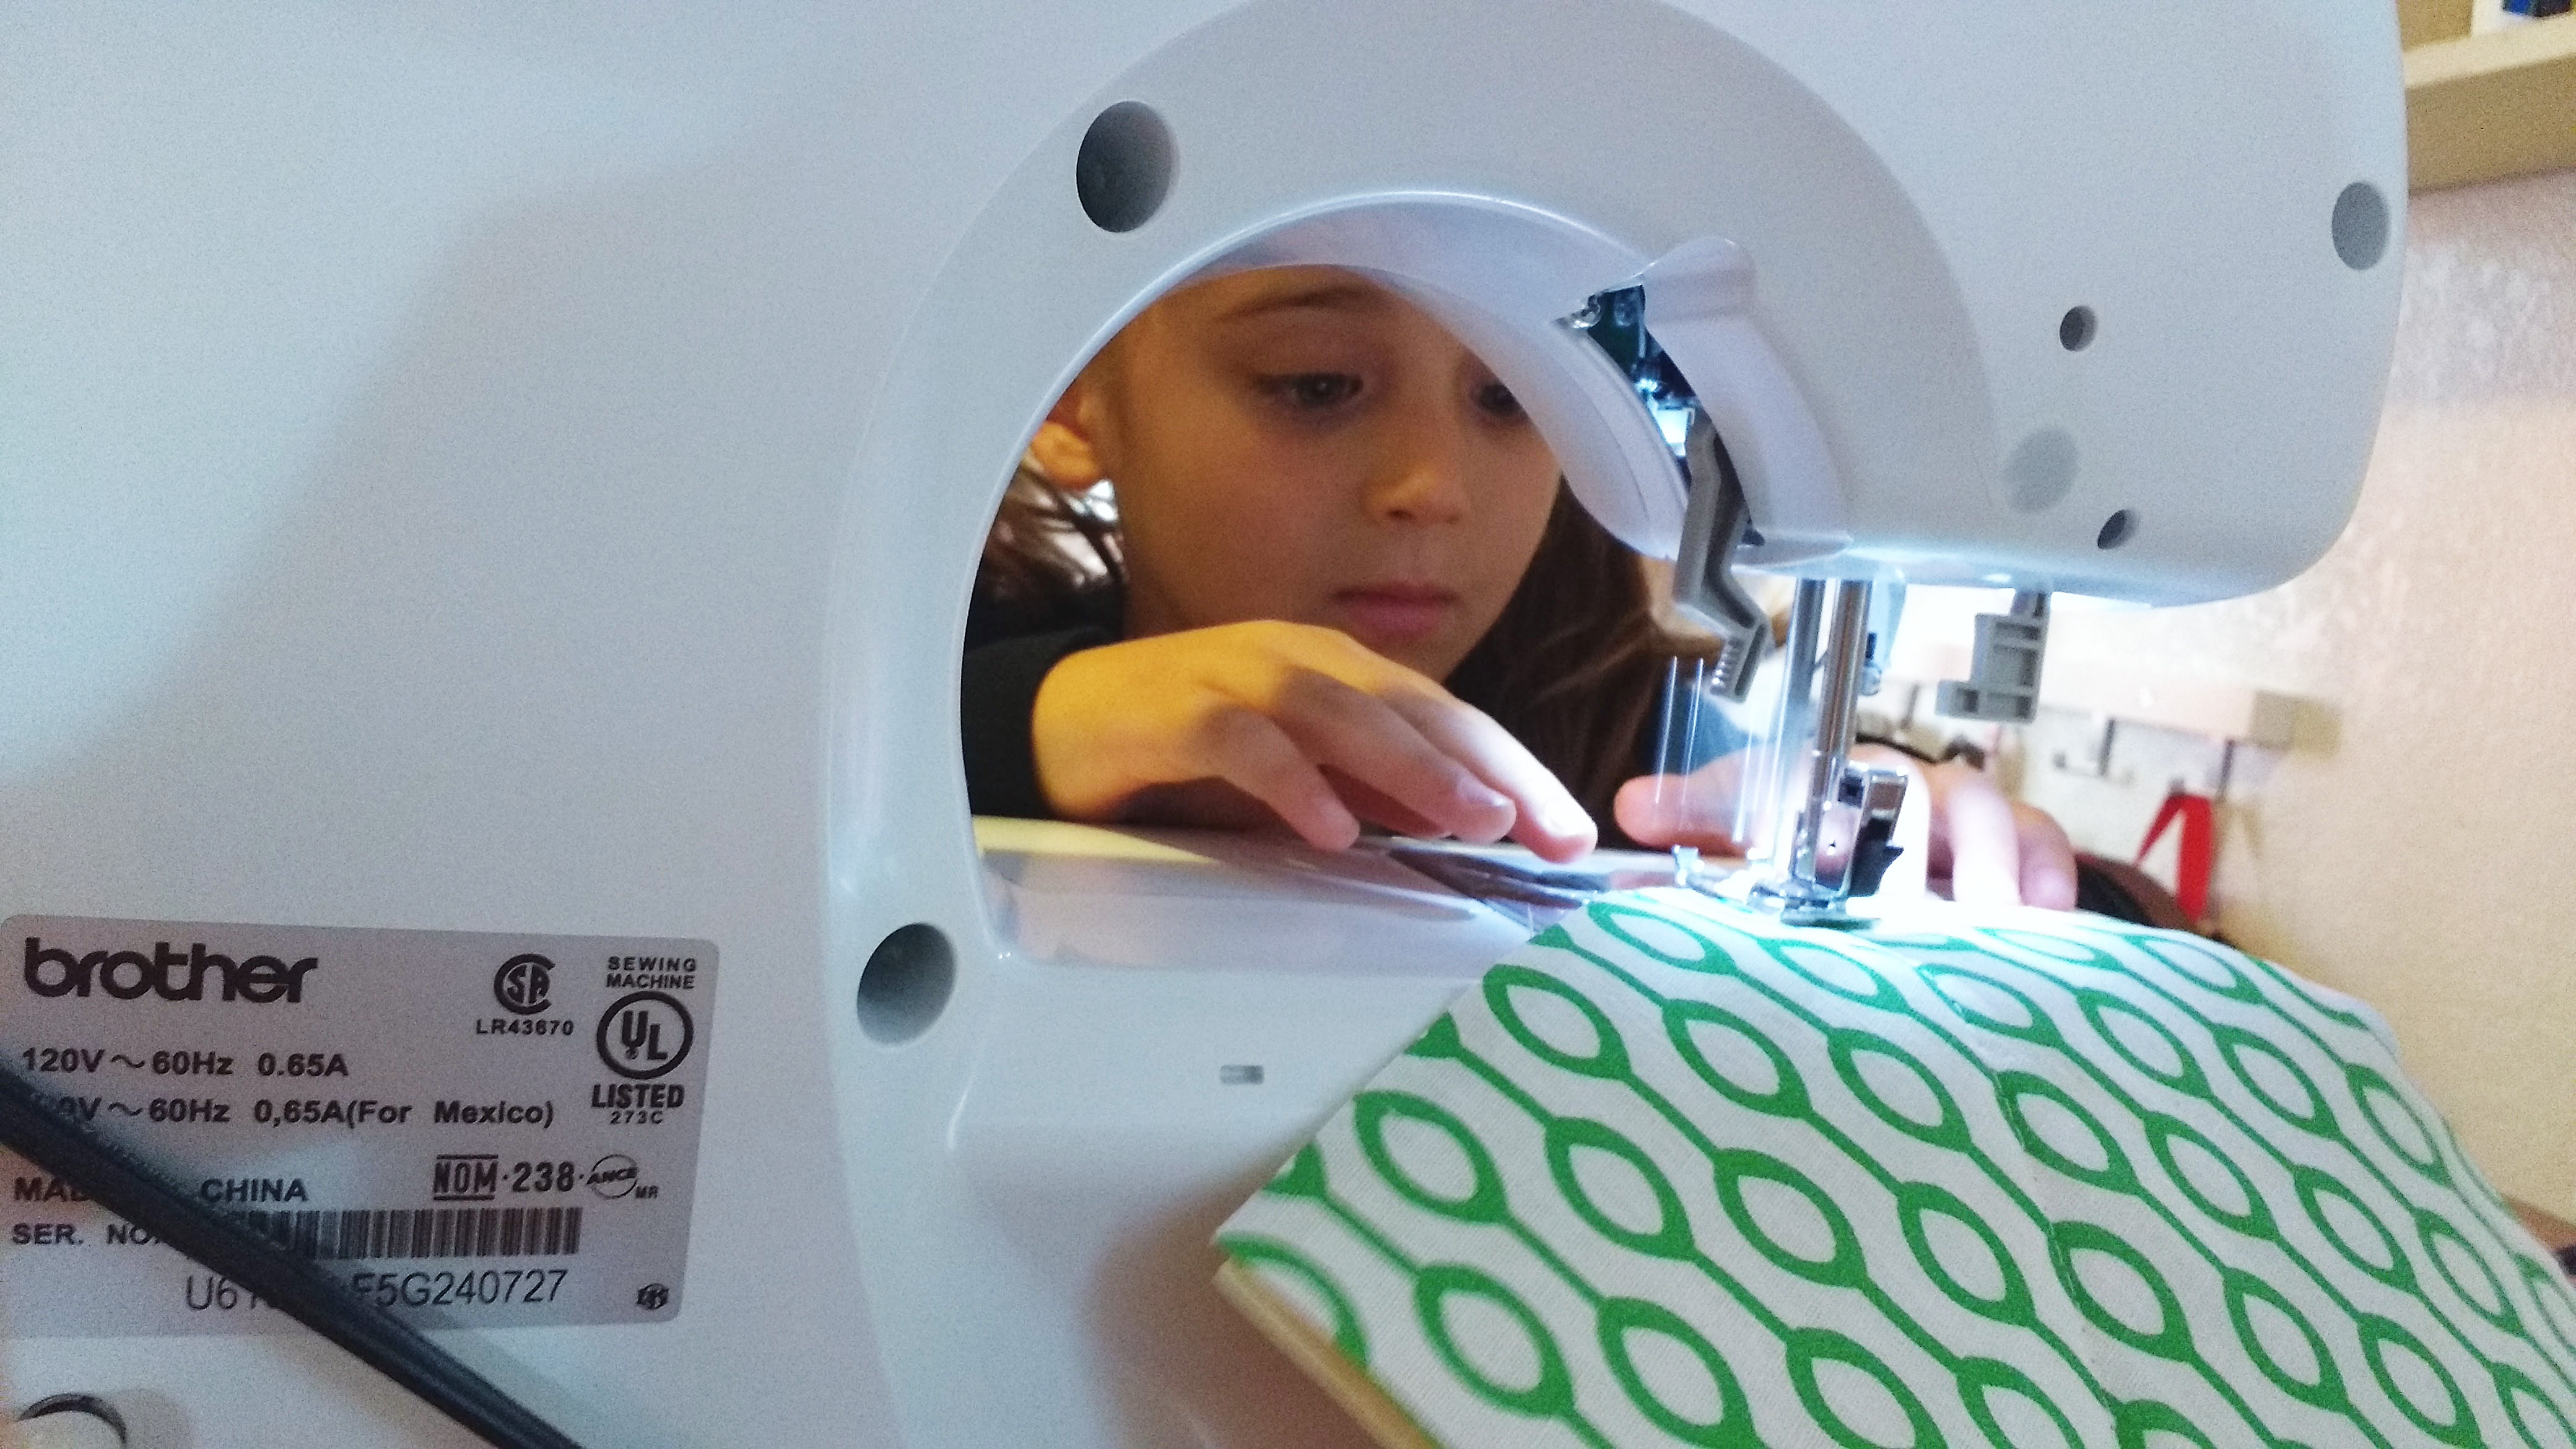
‘Old Reliable’ mom’s Singer Creative Touch takes a lickin’ and keeps on stitchin’!
We continued this way, pinning per the pattern instructions and sewing it together. It took far longer than it would’ve taken Mom to do the project herself, but we both have fond memories
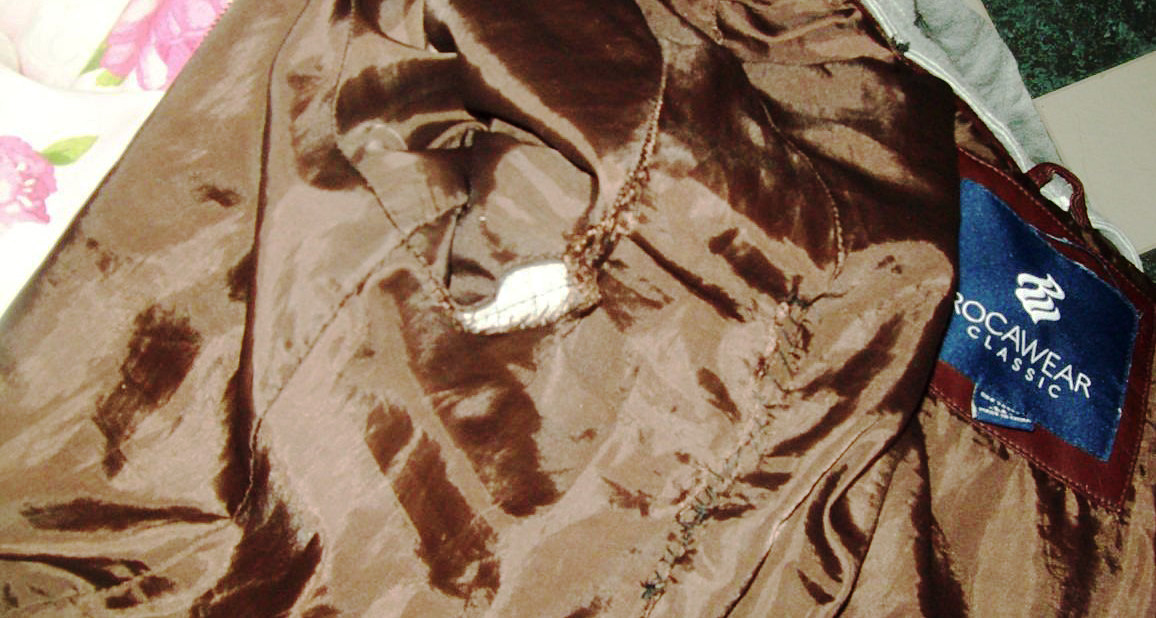
of sharing this time while I learned a life skill. I don’t remember what the first project was, but it certainly laid the foundation for a lot that came later. I loved to make my own clothes, dresses and skirts particularly. And when I got married (the first time) I even made my gown.
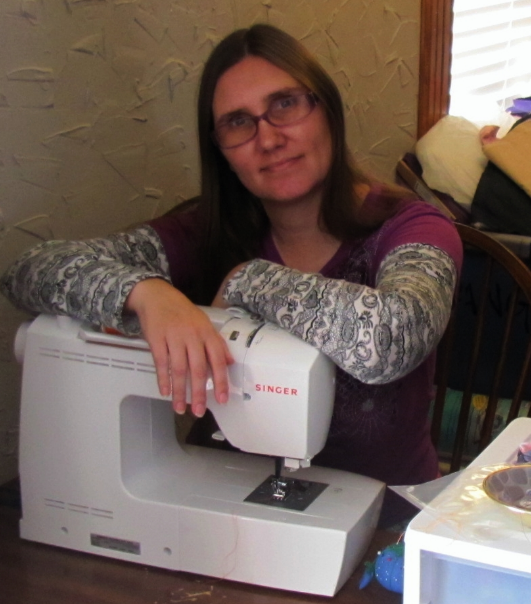
I don’t use it as much as I’d like to, but I’ve still got that trusty old Singer and I periodically have the opportunity to teach the sewing craft to others. Plus, I can repair and alter clothes that would otherwise become unwearable or have to be brought to a tailor. None of this would’ve happened without that first lesson from Mom.