Have you been avoiding learning how to sew buttonholes?
Have you been avoiding learning how to sew buttonholes? If you have, I don’t blame you, they used to freak me out too. I had a friend once who lightly scoffed at how averse I was to learning how to sew them. “They’re easy!” she admonished me and I tucked that away and kept reminding myself that they were easy.
What type do you need?
Finally, I couldn’t avoid it any longer. I had a project that I really needed to sew a buttonhole on. It was time to learn.
I had a project that I really needed to sew a buttonhole on.
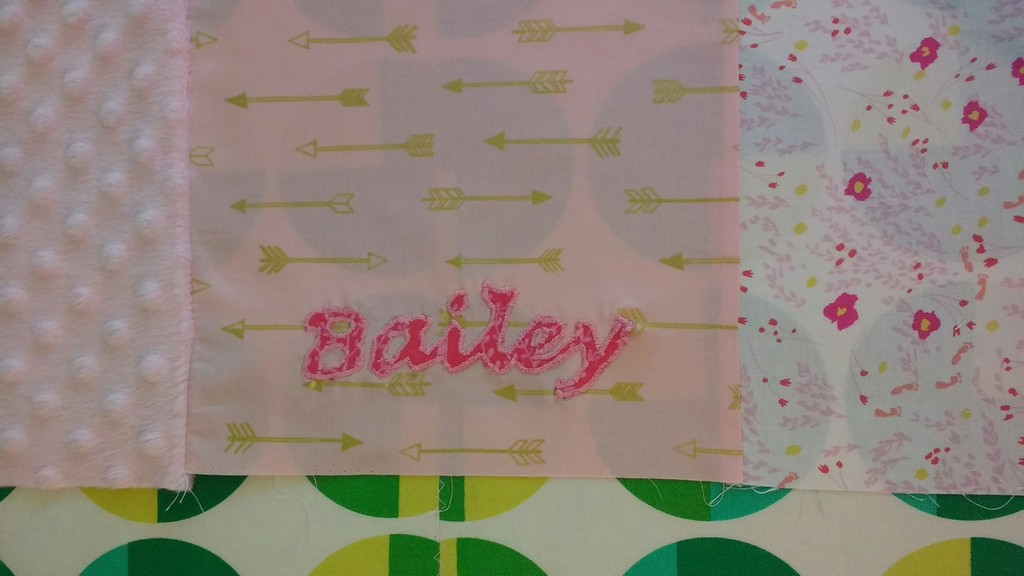
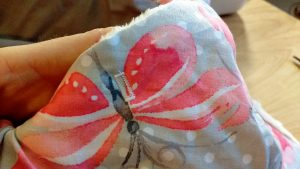
My machine has seven different buttonhole options. I read the manual and I watched a lot of how-to videos before I determined the hole I wanted to use for this project. This is a car seat poncho I made for my daughter to keep her warm in the car during the winter. You can read about it here.

This is a car seat poncho I made for my daughter to keep her warm in the car during the winter.
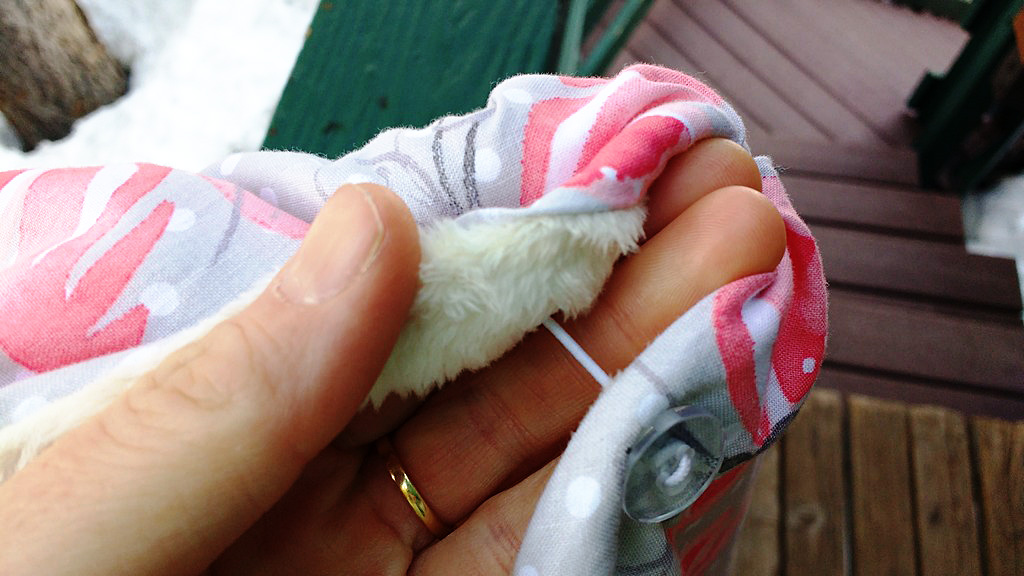
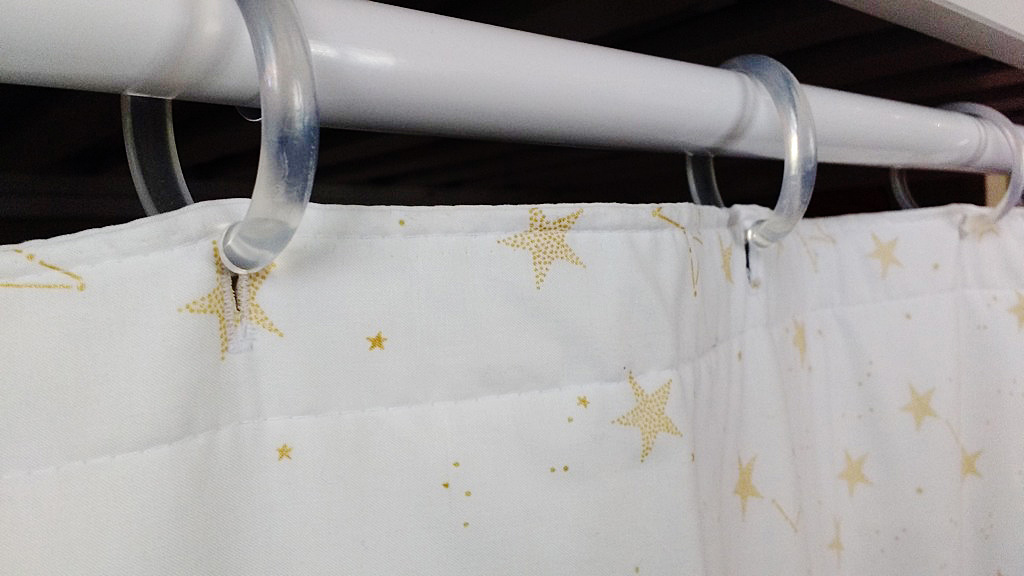
I also used the buttonhole option on my machine to make these openings for curtains in one of my girl’s bunk beds. Once I figured out how to use my buttonhole foot, truly I was unstoppable, and now I am the friend who can gently laugh and say, ‘buttonholes? They’re easy!’
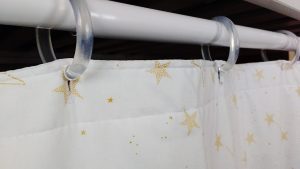
I also used the buttonhole option on my machine to make these openings for curtains in one of my girl’s bunk beds.
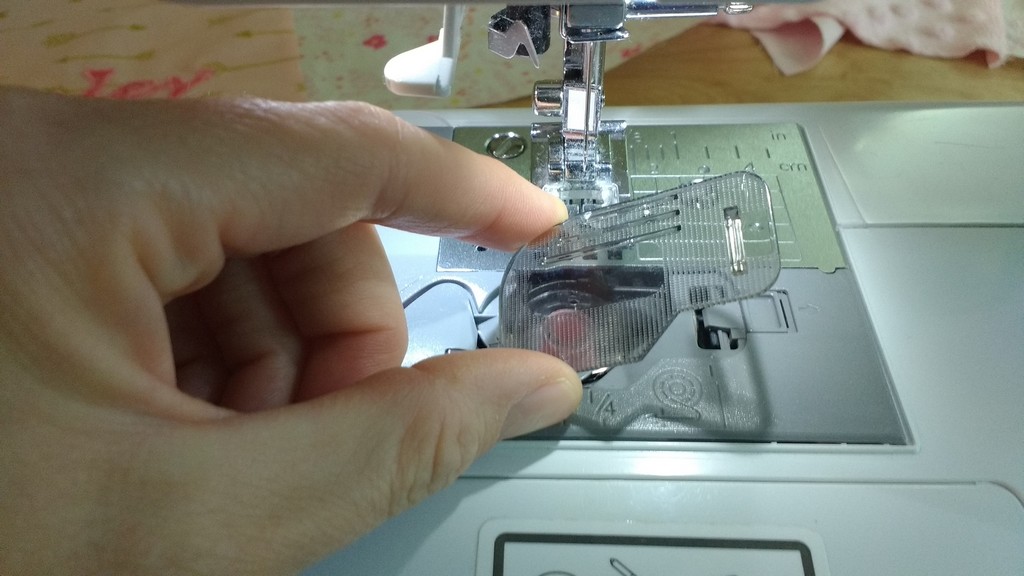
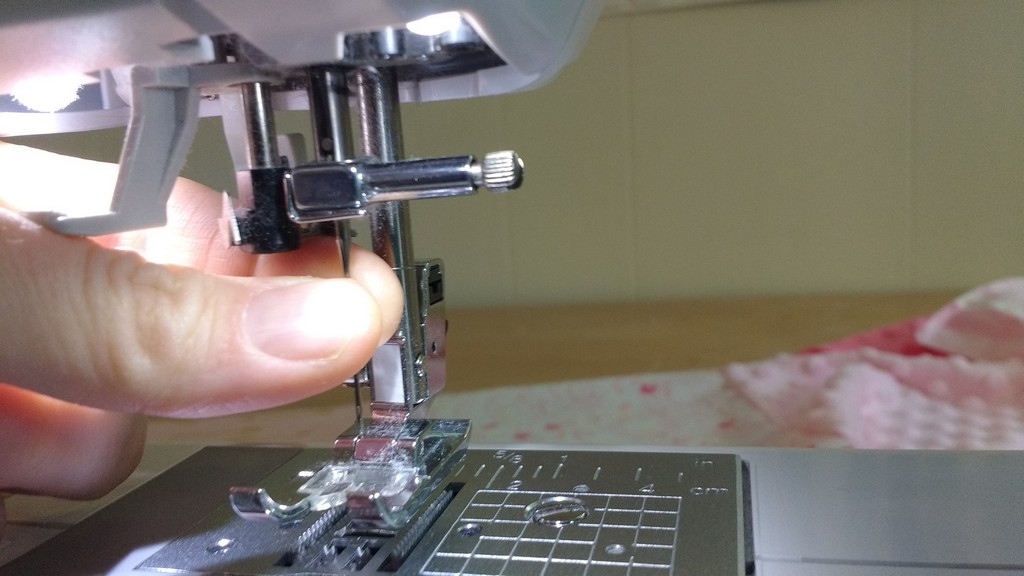
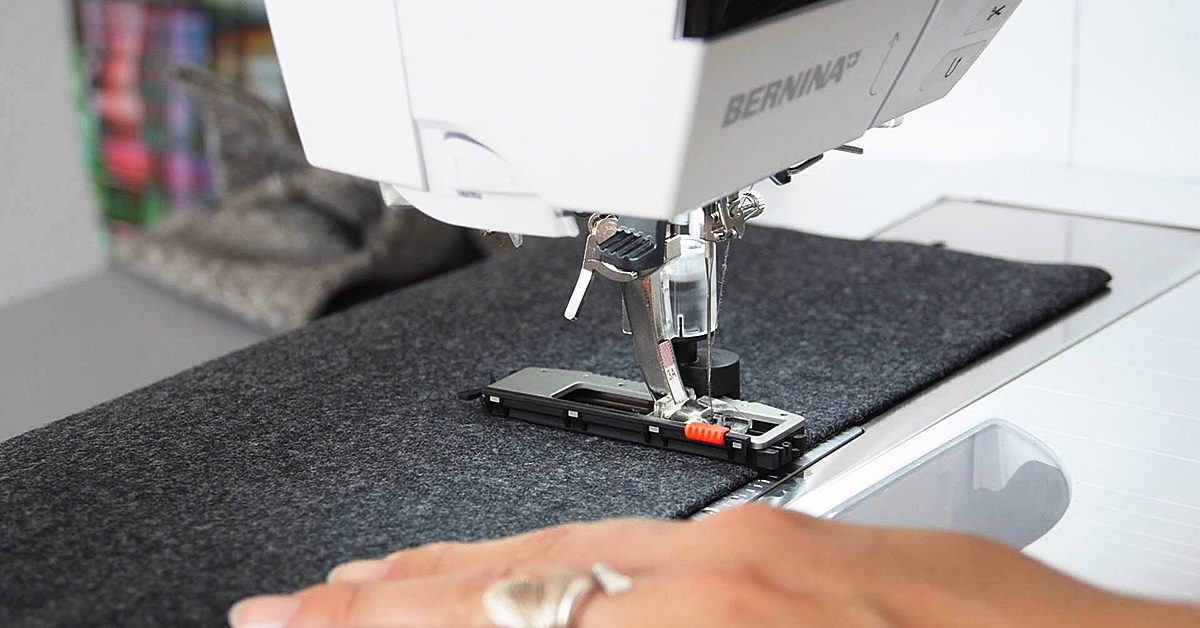
Use a buttonhole foot
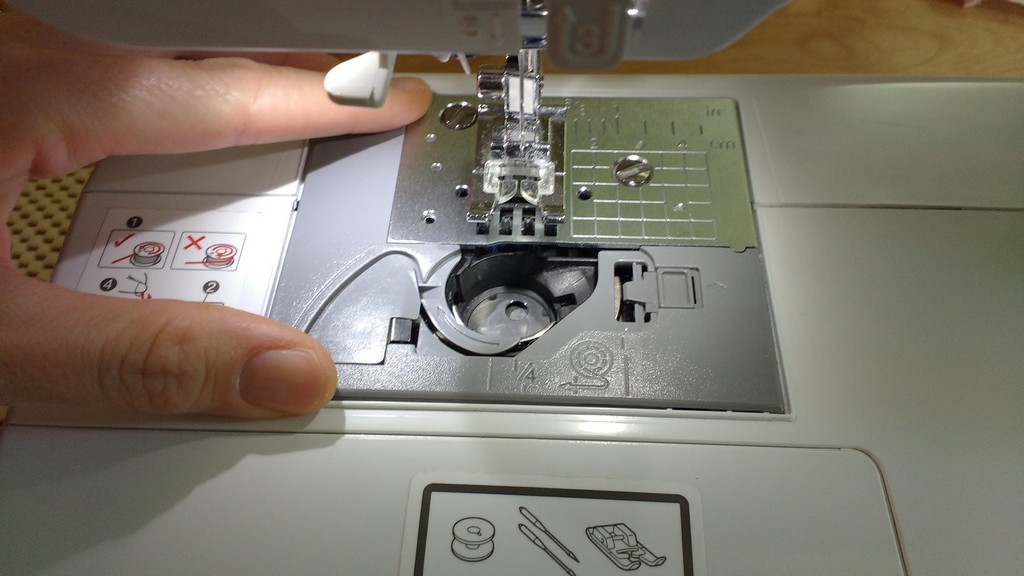
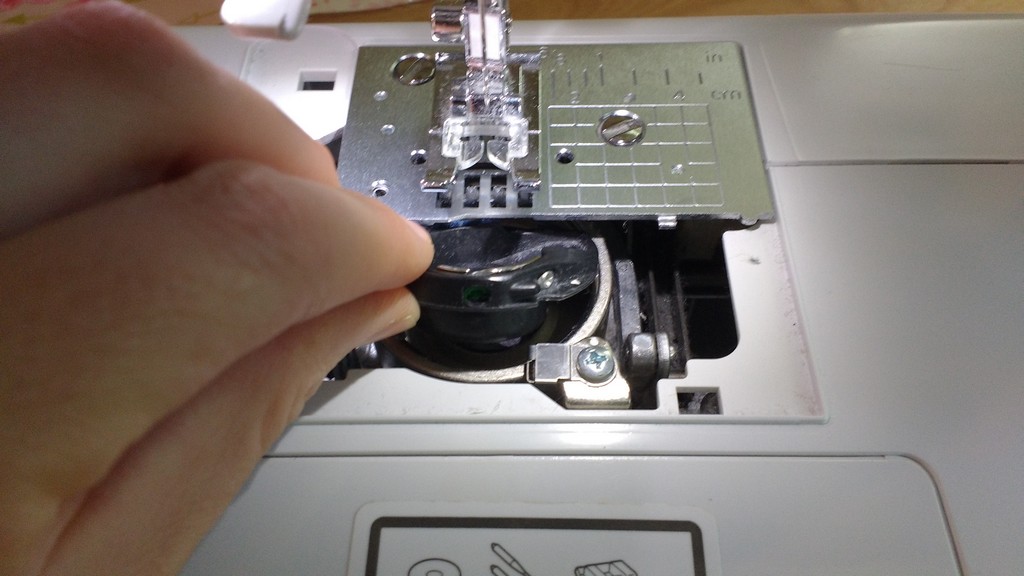
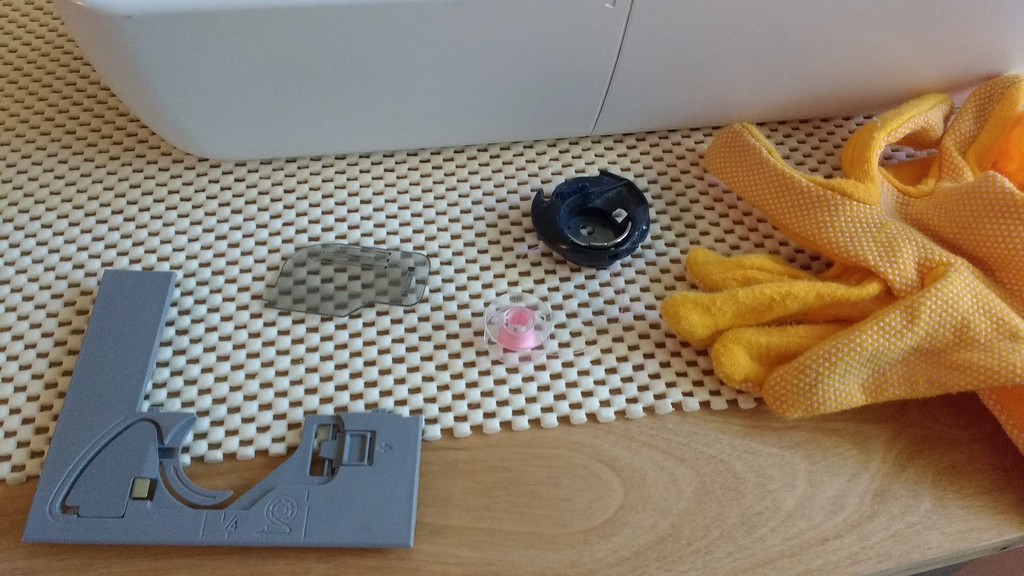
Most machines come with a buttonhole foot attachment. It is the long, weirdly shaped one.
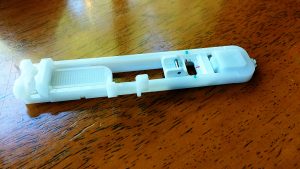
Most machines come with a buttonhole foot attachment.
The adjustable part in the back is where you’ll place the button you’ll be using on your project. It is there to sew the buttonhole to the correct size that the button can fit through. Genius, eh?

The adjustable part in the back is where you’ll place the button you’ll be using on your project.
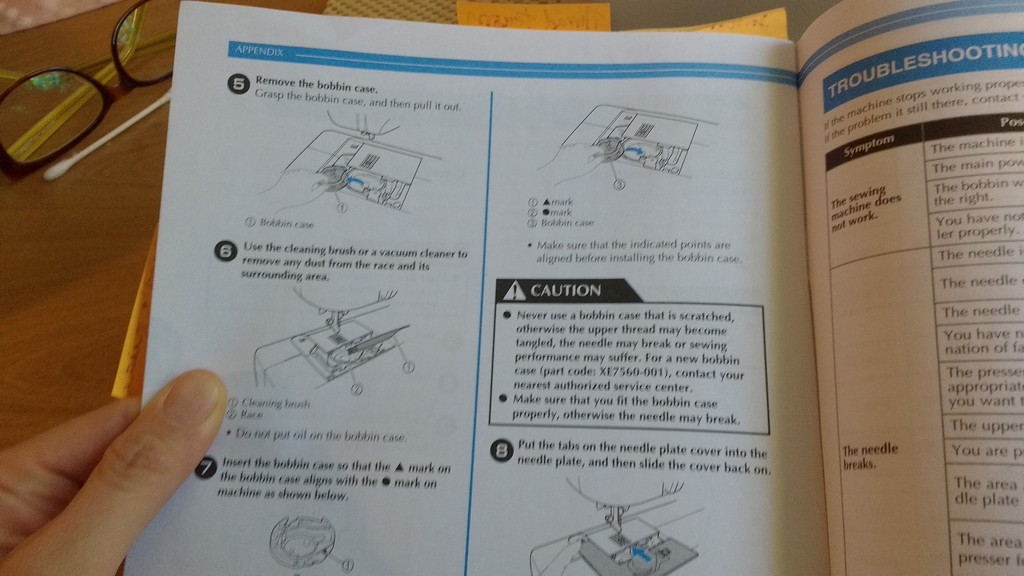
Your sewing machine manual is your friend
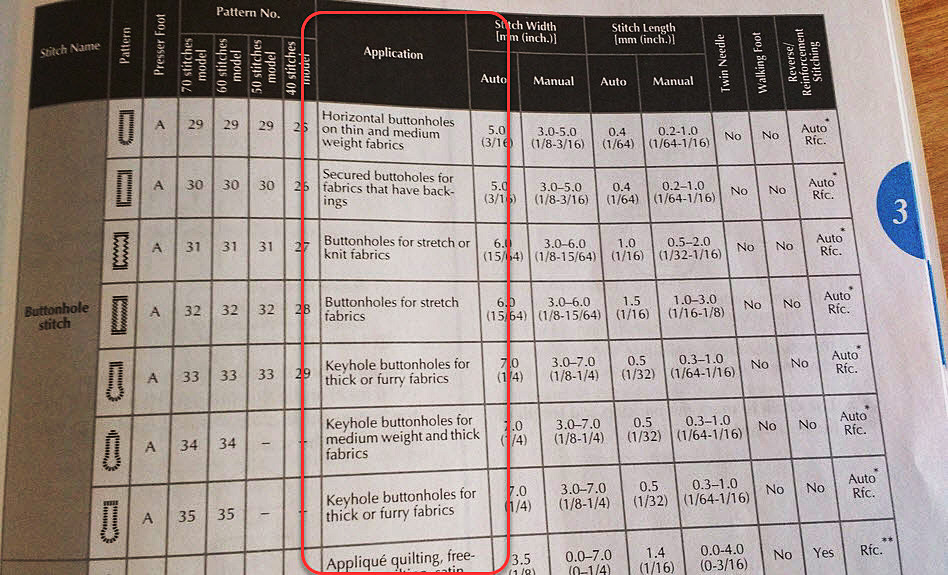
At first, you’re going to need your manual, or a really great how-to video. Your manual will tell you how to determine which buttonhole stitch to use. Pay careful attention to the Application portion. Is your fabric knit? Stretchy? Heavyweight?
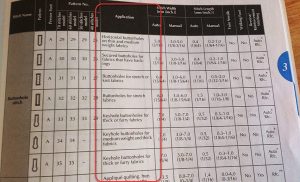
Your manual will tell you how to determine which buttonhole stitch to use.
Practice, practice, practice
Before you try a buttonhole for the first time, make sure you practice first! Don’t let your precious project be your battleground. Practice making the buttonhole on scrap fabric several times before you try on the real thing.
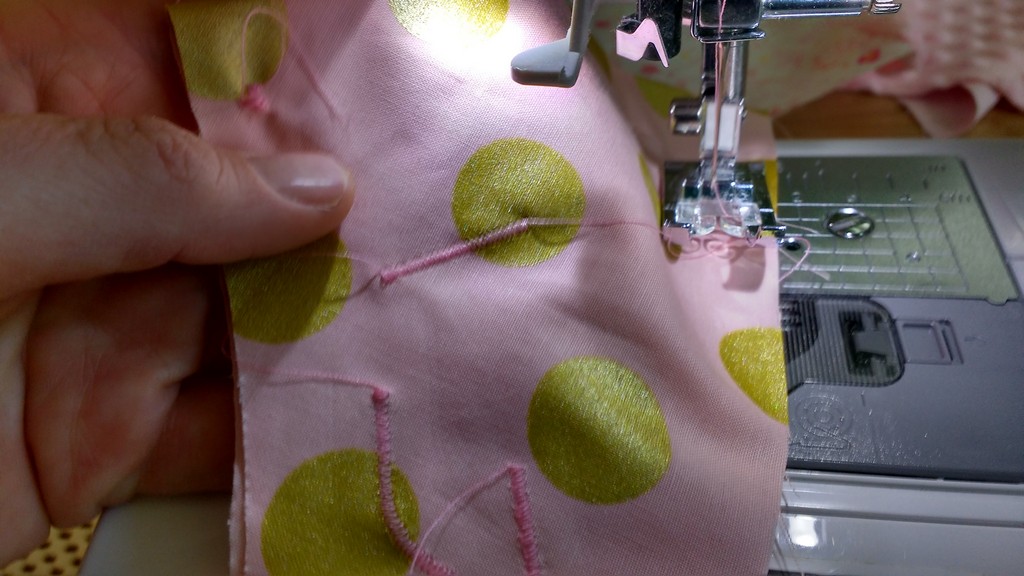
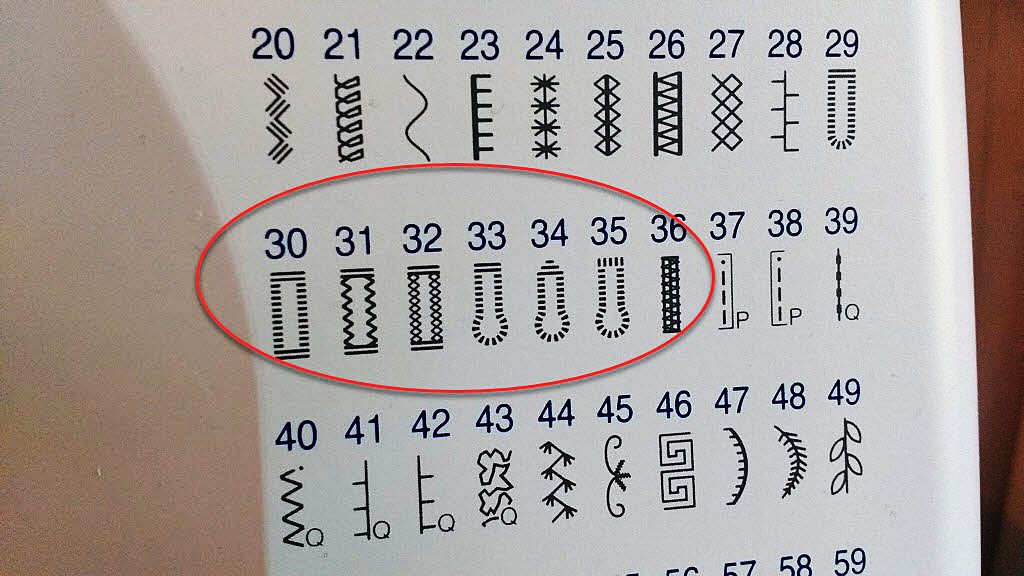
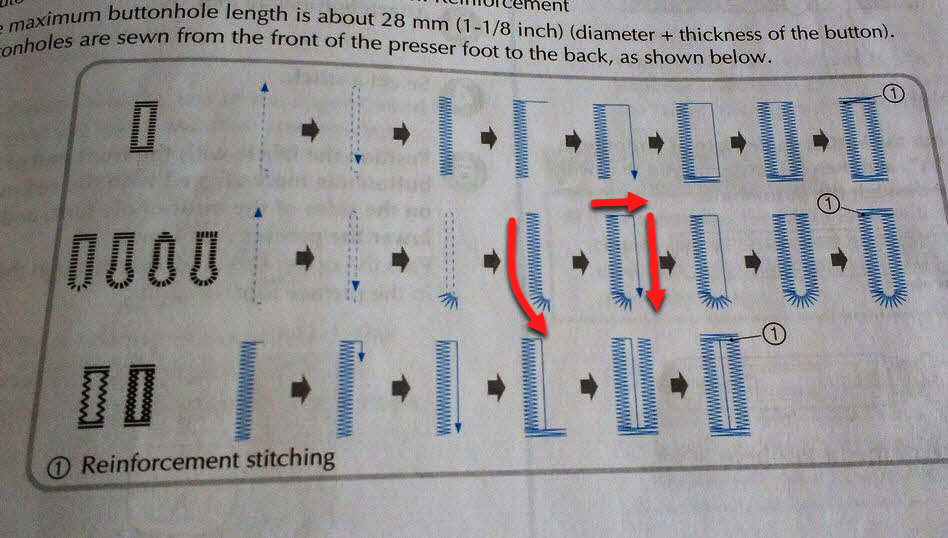
My manual even includes a visual of the way the buttonhole stitch will form with each stitch option. The most important thing I learned was to know exactly where I wanted the stitch to go and then to hold my foot down and not let it back up until the machine stopped itself. With modern machines, they do all the work for you. You just need to nail the placement and be patient.
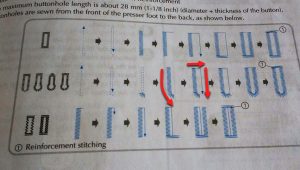
My manual even includes a visual of the way the buttonhole stitch will form with each stitch option.
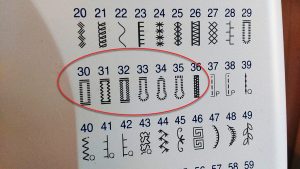
Keyhole buttonholes
See the stitches that have little circles at the bottom instead of being perfect rectangles? Those are stitches for keyhole buttonholes. They are perfect for when you are using large, or heavy buttons; the circular shape at the bottom gives the button a place to rest in. Likewise, they are used for thick or furry fabrics, again to give the button more room to get through the hole.
Happy sewing. If you sew some buttonholes today, let us know!
———————————————————————————–
Charlotte Kaufman is a writer and sewist in Mammoth Lakes, California. She specializes in marine and home interiors and continues to fall more and more in love with quilting. You can follow her at charlottekaufman.com.