Let’s be honest. Sewing isn’t the most dangerous hobby. I’m not driving a Nascar race, flipping in the air off of a dirt bike, or taming poisonous reptiles. Overall, it’s a safe assumption that I’m not chancing my life by trying to finish a sewing project! But that doesn’t mean that there isn’t room for smaller injuries in the world of sewing, and one of those possibilities has surfaced a number of times on this blog: Accidentally sticking yourself with a straight pin.
Ouch!
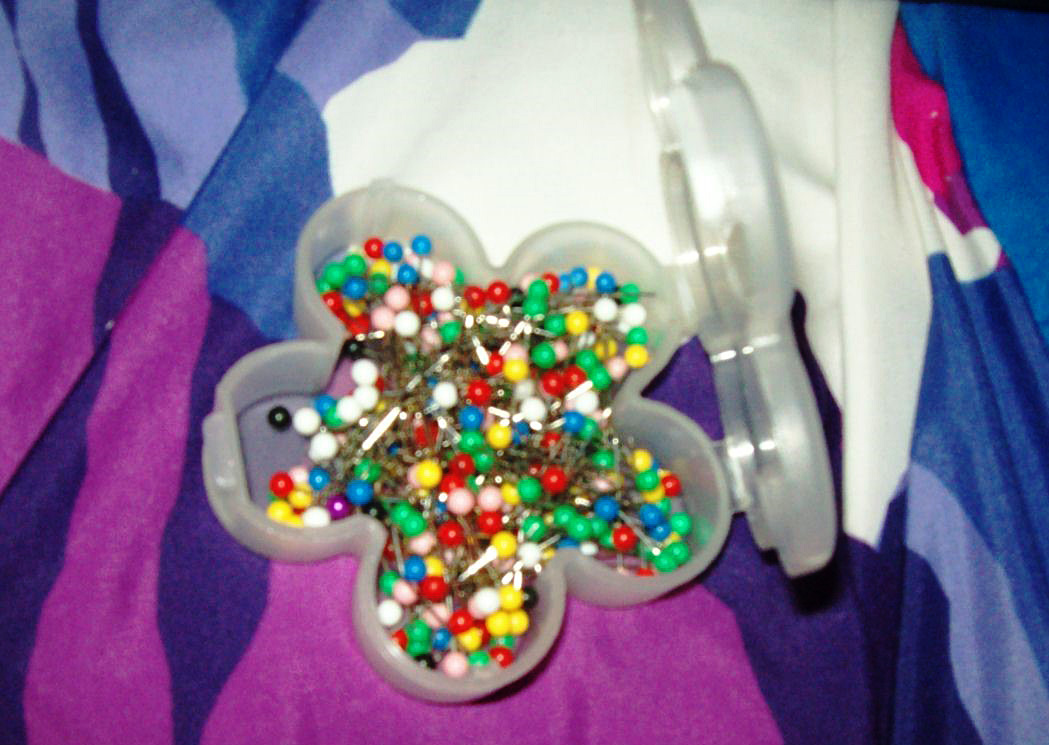
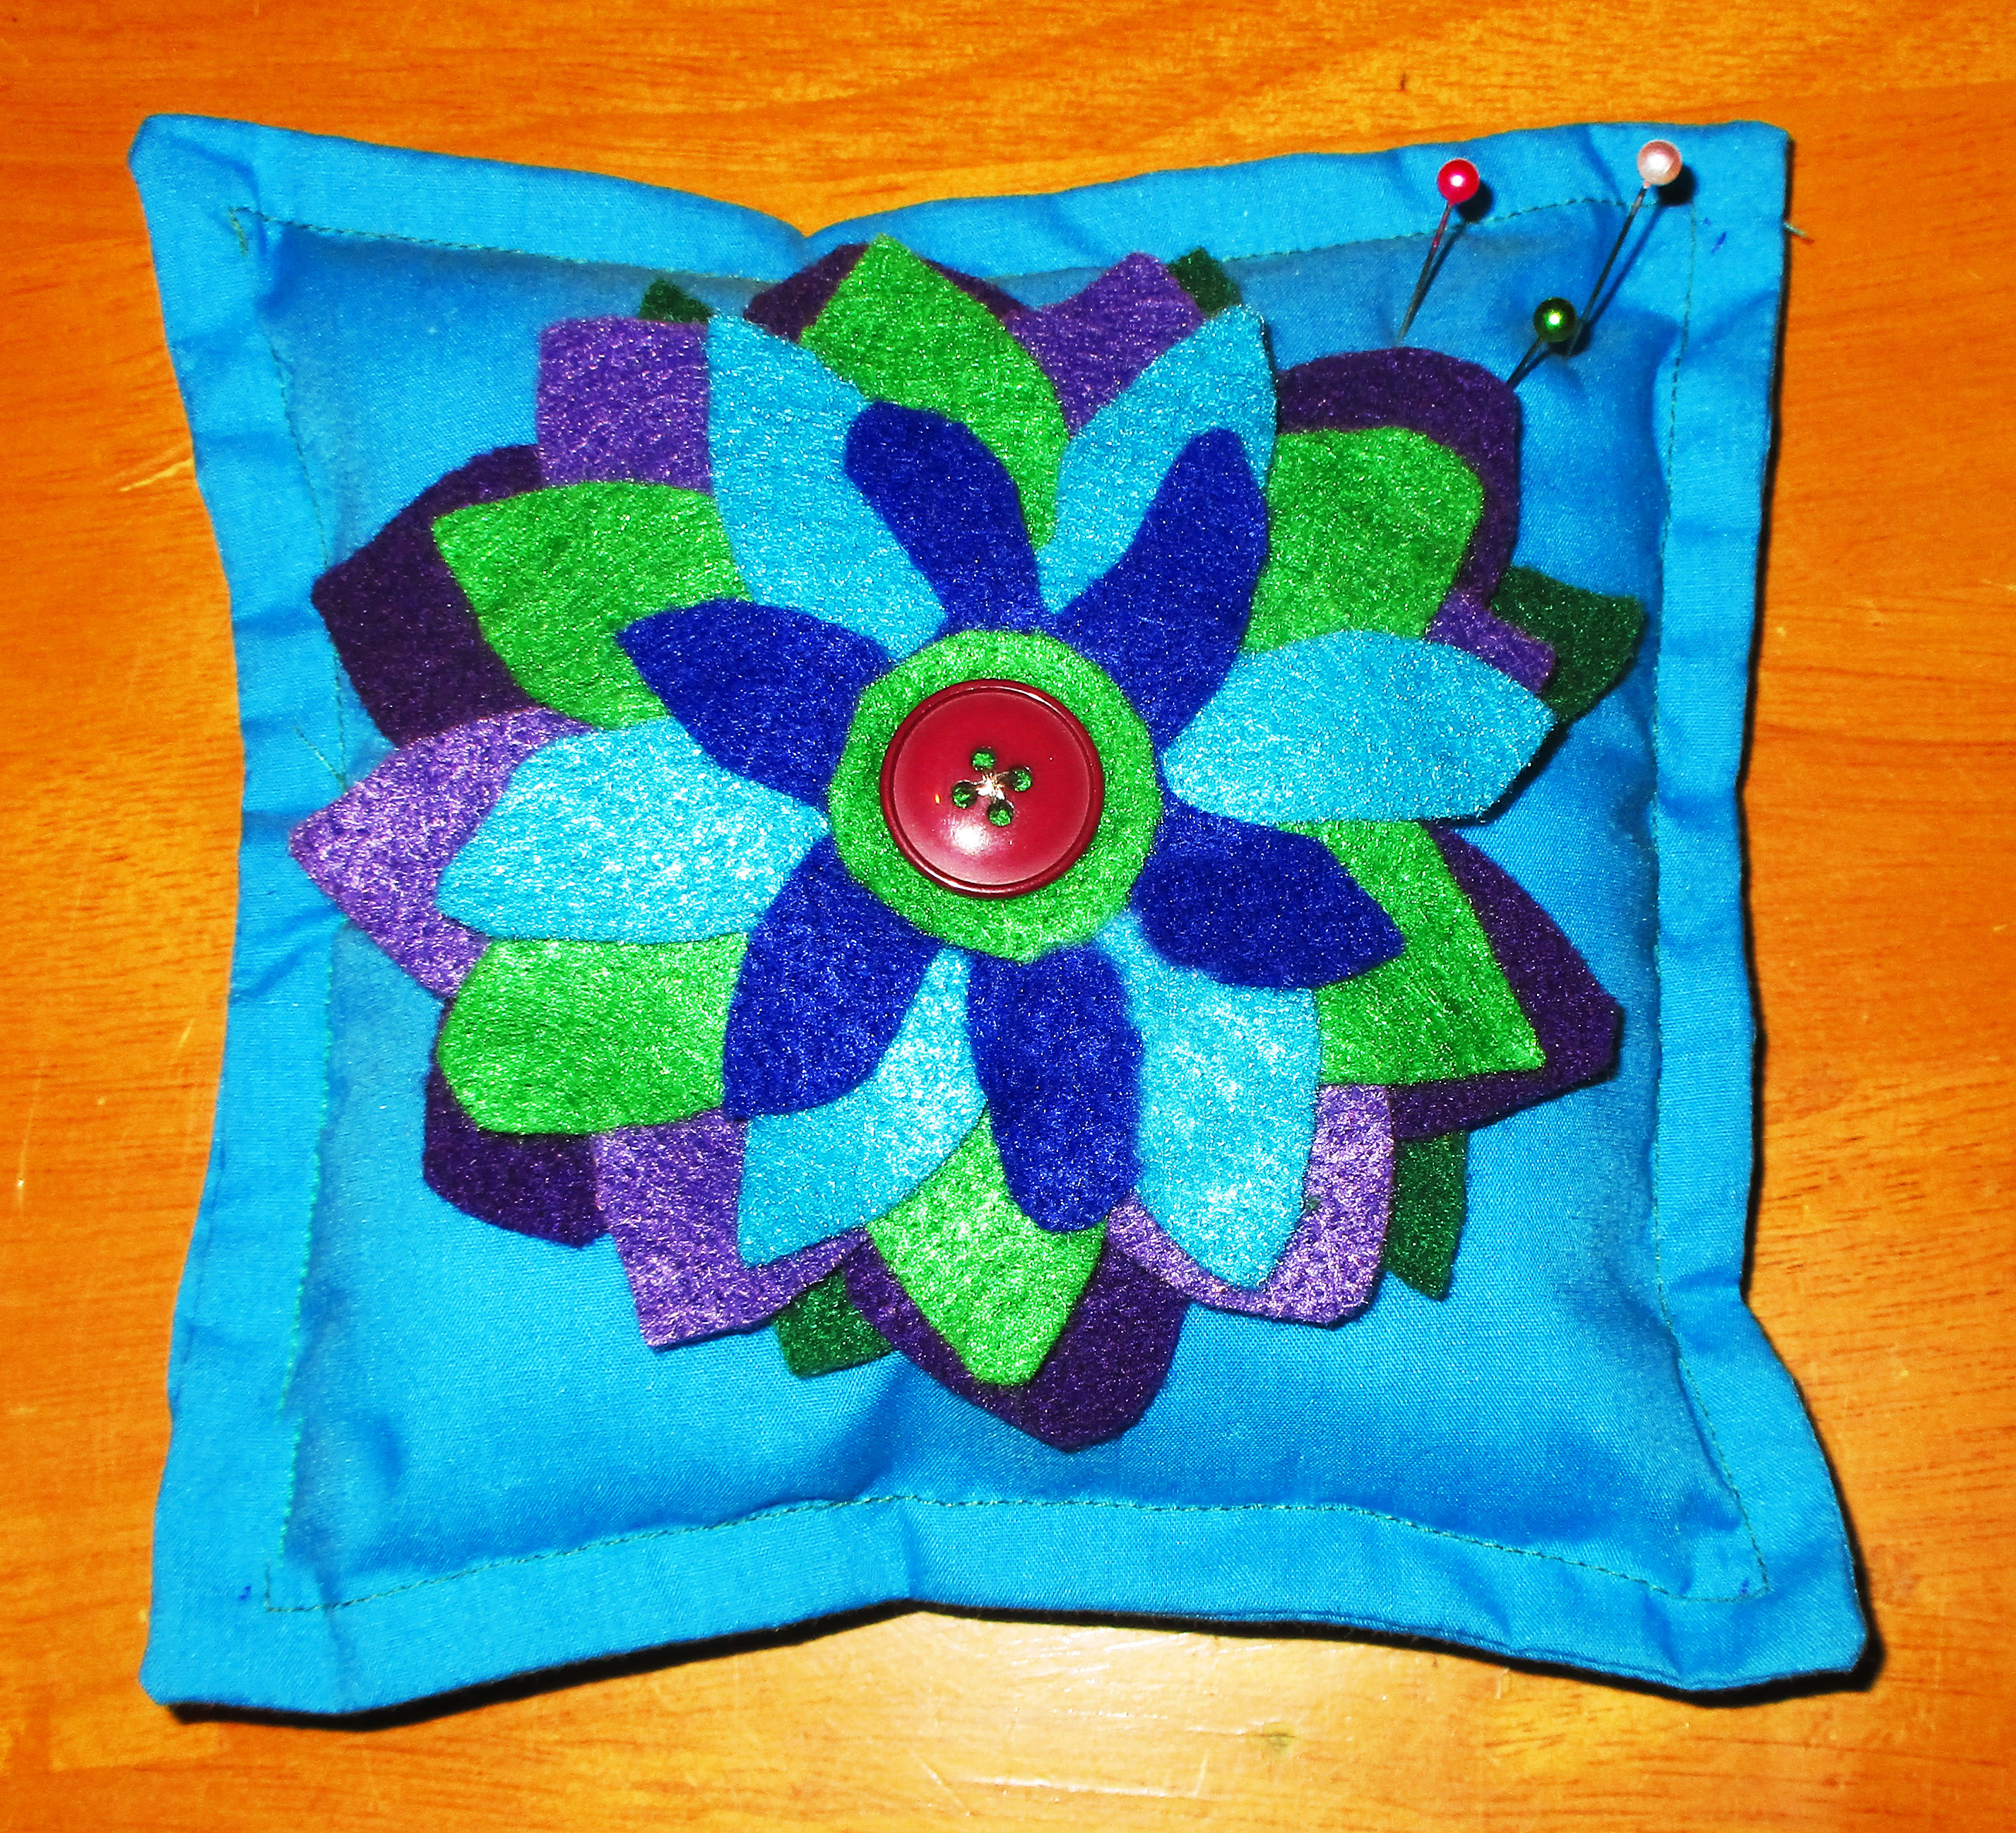
Don’t misplace your straight pin container!
Sure, it’s a minor injury. There’s no need to rush to the hospital, and you probably won’t break out a Tylenol bottle to help with the pain. Regardless, it is a discomfort, and the possibility of enduring that discomfort extends beyond your sewing session if you do what I’ve found to be one of the easiest missteps in sewing, which is losing your straight pins. I don’t mean misplacing your straight pin container either! I mean that once you put away your sewing materials and supplies, you find that there is at least one straight pin lingering in or around your sewing area. Each of those straight pins could be a future discomfort waiting to happen, and every one could also bring you one step closer to buying more straight pins.
But it’s sooo easy to lose these things! How can a person keep from having it happen?
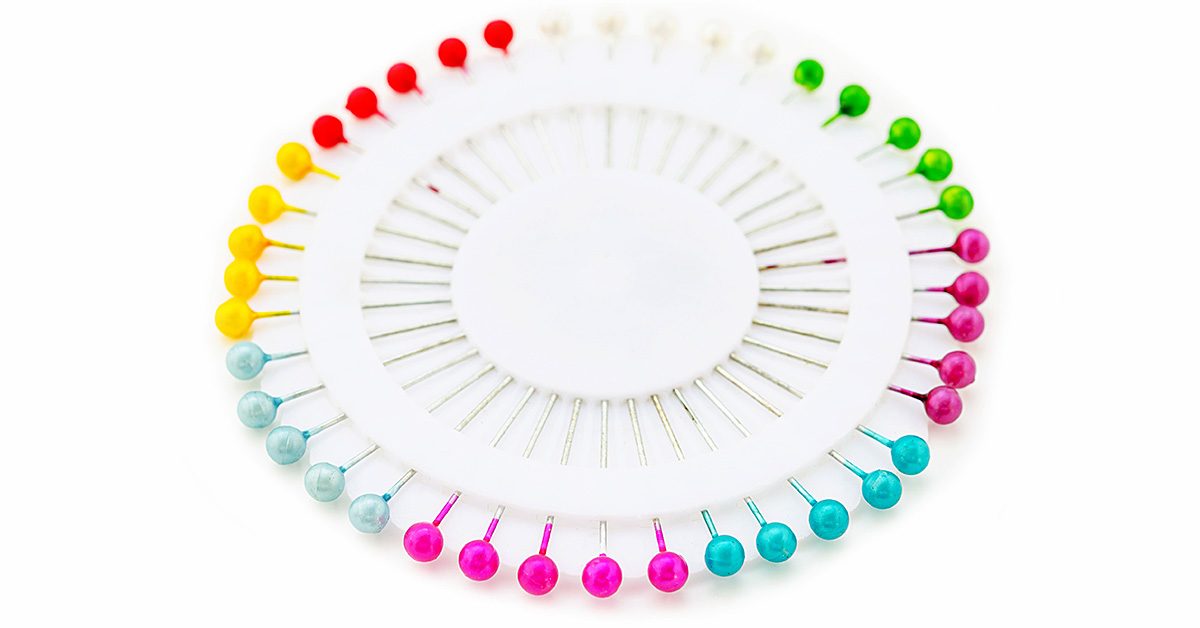
Like with thread and material, the type of straight pin you get can matter, so be sure you’re making a good choice!
Sometimes it’s unavoidable…
For me, personally, I’m leaning toward the idea that I can’t completely prevent it. In fact, my leaving straight pins behind is kind of a running joke in my house. Other than using a pin cushion, the only advice I have to offer on that detail is to make the right choice when buying your pins. Like with thread and material, the type of straight pin you get can matter, so be sure you’re making a good choice! In my experience, ones with a bit more length to them seem to hold their places better than the shorter ones, and I think logic backs that up. The longer the pin, the more space you have to lock it in place in your fabric. If it’s locked in place, there’s less risk of it working its way back out of the material, which lessens the risk of a loose straight pin.
If it’s locked in place, there’s less risk of it working its way back out of the material, which lessens the risk of a loose straight pin.
Even with those longer pins and pin cushion though, pins still might end up scattered around your work area. So when nothing you’ve done keeps your straight pins from falling to the floor, seat, etc., how do you find them to put them away and prevent someone from accidentally coming across one in a not-so-pleasant fashion? Here are some ideas!
Your own senses
This one is obvious, so let’s begin with it. Sometimes, just looking around your sewing area can let you find loose straight pins, and gently patting your hand (not pressing too hard since pins are, indeed, sharp) could help you detect them as well. I honestly don’t know how many pins I’ve found with these tactics, and I didn’t have to buy anything for them!

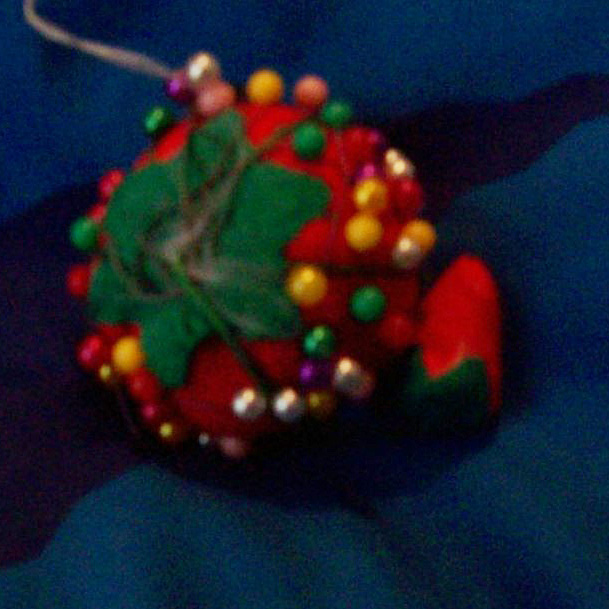
Found ya!
Shine a flashlight
Objects that are the color and/or texture of a straight pin reflect light, so if you shine a flashlight, you might get a glimmer in response that will lead you to a loose straight pin. Take your time as you do this so that you don’t look right over the pin! A few extra seconds for a better-done job could save you hassle and, as I mentioned, discomfort, in the future!
Use a vacuum cleaner
Okay, clearly, you might not want to vacuum up a straight pin for the sake of your vacuum cleaner! But as the link says, if you use an extension hose from your vacuum, you just need to put some kind of barrier over it to keep the pin out. A piece of cloth would work, and using the vacuum in this fashion would pull the straight pin out of whatever hiding place it’s in to a very obvious spot without damaging your vacuum cleaner. Simple, right?
Use a magnet
This method is plain, but effective! Just move a magnet around your work area, and any metal pin that’s close enough should be drawn to it. The strategy comes with very little hassle, and very little room for error unless your magnet is too far away from the pin. But so long as you’re thorough with covering the area, this is — in my opinion — the best tactic of the listed ones. It’s not as iffy as missing a flashlight glimmer, as unsure as eyeballing the area, or as cumbersome as breaking out (and readying) your vacuum cleaner. It’s so low-tech, most people can use it easily, and it’s cheap! What more could you ask for?
With these methods at your disposal, hopefully most of your loose straight pins can be found and preserved for future use instead of laying around for future injury!