Ick, dust! I abhor dusty, dirty keyboards at work and at home. Those keyboard sprayers to get in between keys just aren’t enough for me. Time to make a cover to protect the keyboard while adding some flair to the office space!
Keyboard Kozy
I love projects like this. I can create something useful while adding some personality to my space. I’m adding butterflies from different fabric I picked up here and there. I try to buy a quarter or half yard of the popular designs of the moment. Doing so helps add all sorts of different designs to my collection so I’m more likely to have what I want or need on hand. I have a decent collection of butterflies and have been waiting for the perfect project to showcase them.
Level: Beginner
Time to Complete: 1 hour
Sewn By Machine: 1/4 in. straight stitch
***Washing and ironing materials before sewing is extremely important!! Measurements are based on material already washed. If they aren’t washed before sewing, they may shrink by an inch or more when washed later on, resulting in being too small.
Materials:
- 1 – 19″ L x 7 1/2″ W Material for top of keyboard
- 1 – 19 ” L x 7 1/2″ W Underside material
- 2 – 19″ L x 1 1/2″ W Material for long sides
- 2 – 19″ L x 1 1/2″ W Underside material
- 2 – 6 1/2″ L x 1 1/2″ W Material for short sides
- 2 – 6 1/2″ L x 1 1/2″ W Underside material
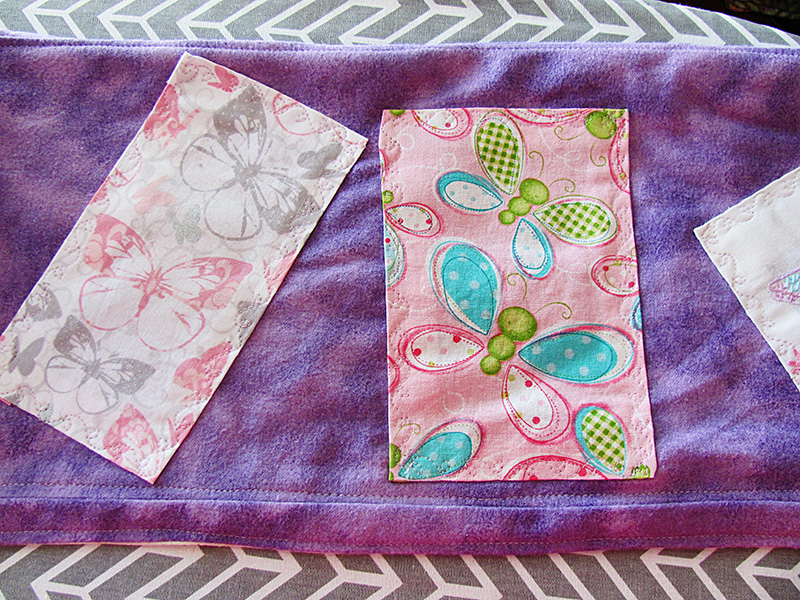
Any material to be used as accents on the keyboard cover – I used 3 rectangular butterflies.
I used two layers, the cover and then absorbent material for the underside of the cover. In my house spills are everyday events. I’ve learned to dual layer so spills are soaked up and less likely to damage anything. The keyboard cover can also be made with just one layer leaving off the underside backing. It’s totally up to the needs of your home or office space.

One Step Hem and Attach
- Wash and iron all material.
- Measure and cut material.
- Sew accent pieces on cover top. I did not hem them beforehand. Instead, I hemmed and attached in one step.
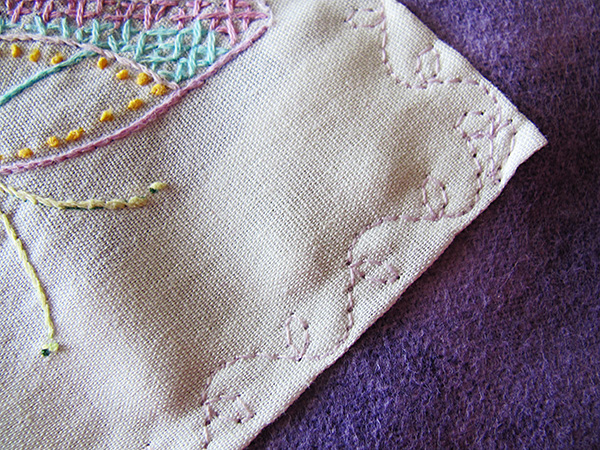
- One Step Hem and Attach (see image)
- I used a petal decorative stitch when attaching my accents to add a bit of flare.
Petal Stitch
- Petal Stitch (see image)
- Sew side pieces together at ends, right sides together. (It is possible to sew each side to the cover top individually, but I found this much quicker and easier.
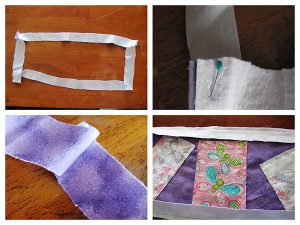
Attachment of sides
- Attachment of sides (see image)
- Iron seams open, making attachment to cover easier.
- Pin and sew side rectangle to cover.
- Turn right side out and iron seams open.
- For the inside layer, repeat all above steps.
- Pin and sew outside cover and inside layer, right sides together. Make sure to leave a 2″ – 3″ opening to pull material right side out.

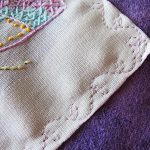
Top Stitching
- Pull material right side out.
- Top stitch around outside of cover top, using 1/8″ edge.

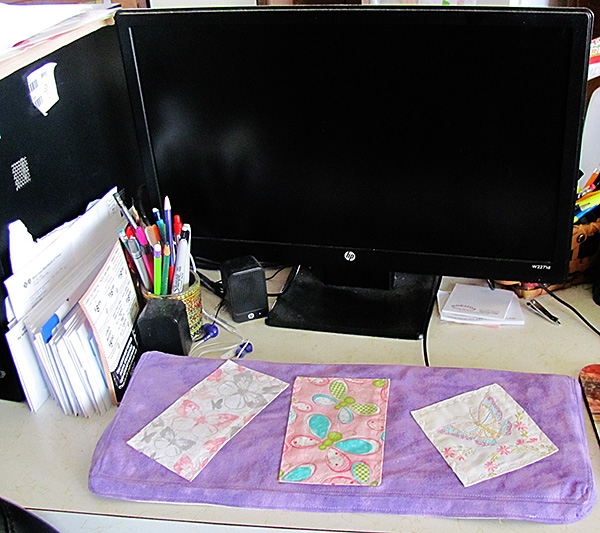
Finished Keyboard Kozy
- Top stitch around entire outside of cover, using 1/8″. Make sure to sew closed the opening left to pull material right side out.
- Top Stitching (see image)
- Place on keyboard and enjoy!
- Finished Keyboard Kozy (see image)


 Stacey’s Stitches