I don’t know about you, but I love to save time and room, especially when it comes to my sewing space. One of the best ways to save time when you are preparing or working on a sewing project is organization. I find it so much easier to move from one step to next when everything is not scattered all over the place. With that being said, I have a helpful organization tip about storing your pattern pieces.
I prefer the slider bags, but the snap bags work just as well.
Have you ever opened your sewing pattern and taken out the beautiful folded paper pattern inside of it? Doesn’t look it look neat and tidy?! Well, have you tried to refold the paper pattern once it has been unfolded and put it back into that same pattern pack? Or even worse, have you tried to refold it once you have cut out the pattern pieces you need for project? Those of you who have successfully refolded your paper pattern and neatly placed it back into its package…well done!!! I think you are amazing magicians with wonderful refolding powers.
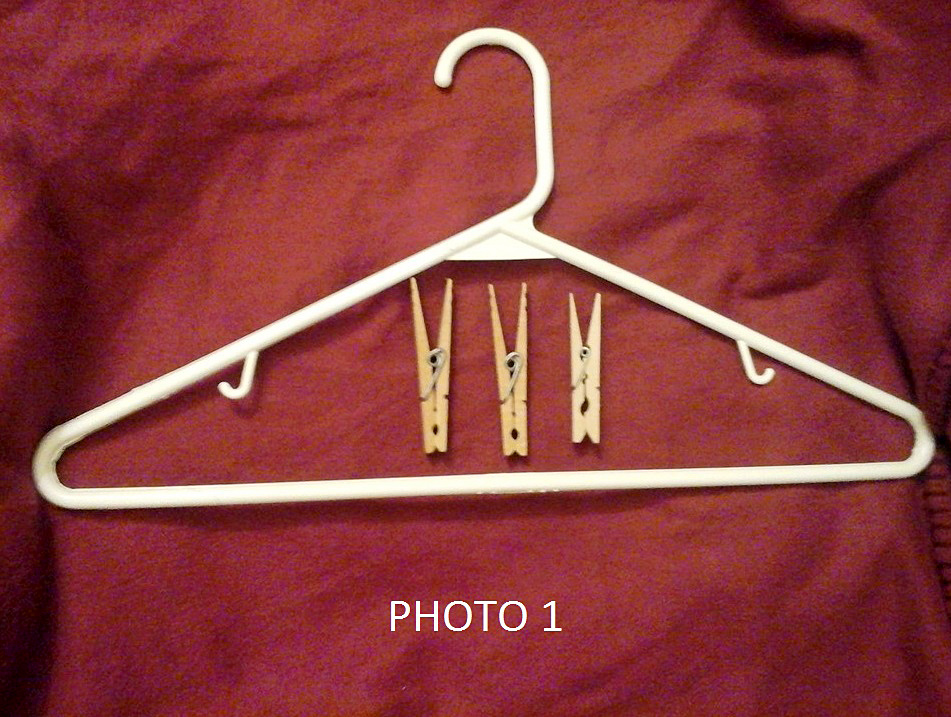
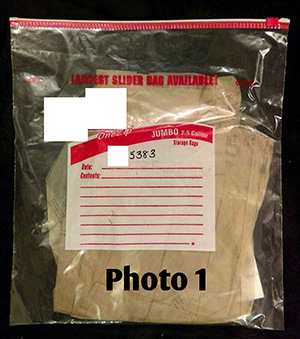
Sadly, for the rest of us (me included), it is a painful and tedious task (say that three times fast) to get the paper back into the pack. However, I have a found a solution that works great. All you need are permanent markers and plastic storage or freezer bags. I prefer the slider bags (see photo 1), but the snap bags work just as well. For one of my patterns, I used a 2.5-gallon jumbo slider bag because the pattern pieces were very large. You can adjust the size of your storage or freezer bag based on the size of your pattern pieces.
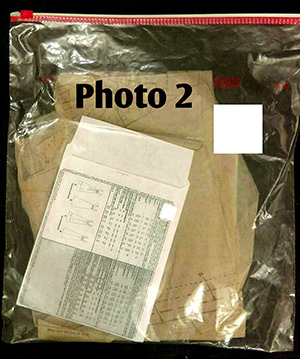
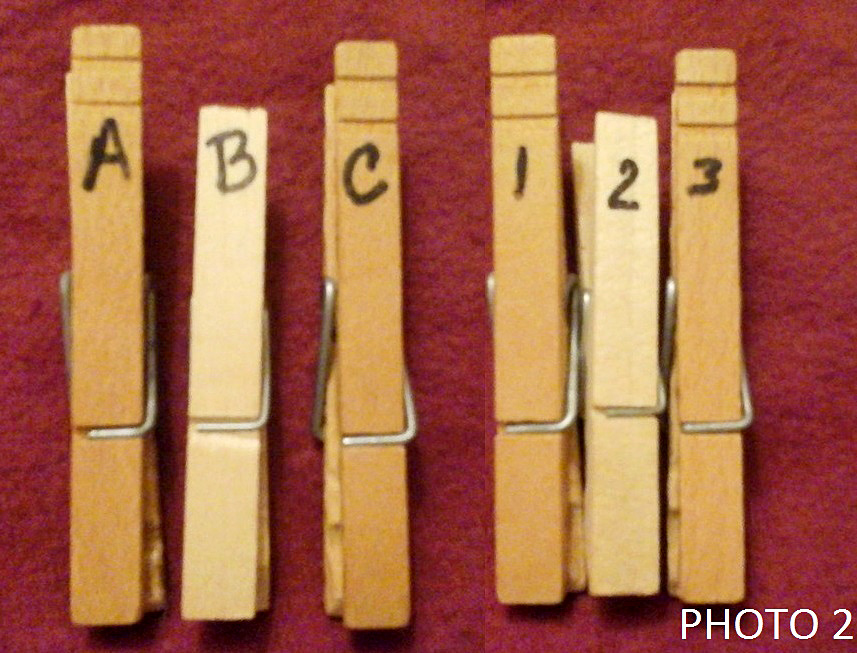
Place the pattern package in the bag with the paper pattern pieces (photo 2) in order to keep them all together.
There are two ways that you can store your pattern pieces. The first way is to only cut out the pieces from the paper pattern that you will use for your sewing project. Then with remaining pattern paper, you can simply fold it to make it smaller and put it into the storage or freezer bag without having to make the shape precise in order to fit into the bag. The second way is to cut out all of the pieces found on the paper pattern and store them in the slider or snap plastic bag. The second way will also save you cutting time later should you decide to use the additional pattern pieces from the same sewing pattern for a future project. I also like to place the pattern package in the bag with the paper pattern pieces (photo 2) in order to keep them all together, especially because the pattern package contains fabric measurements and finished garment measurements that you may need to refer to in order to prepare for your sewing project.
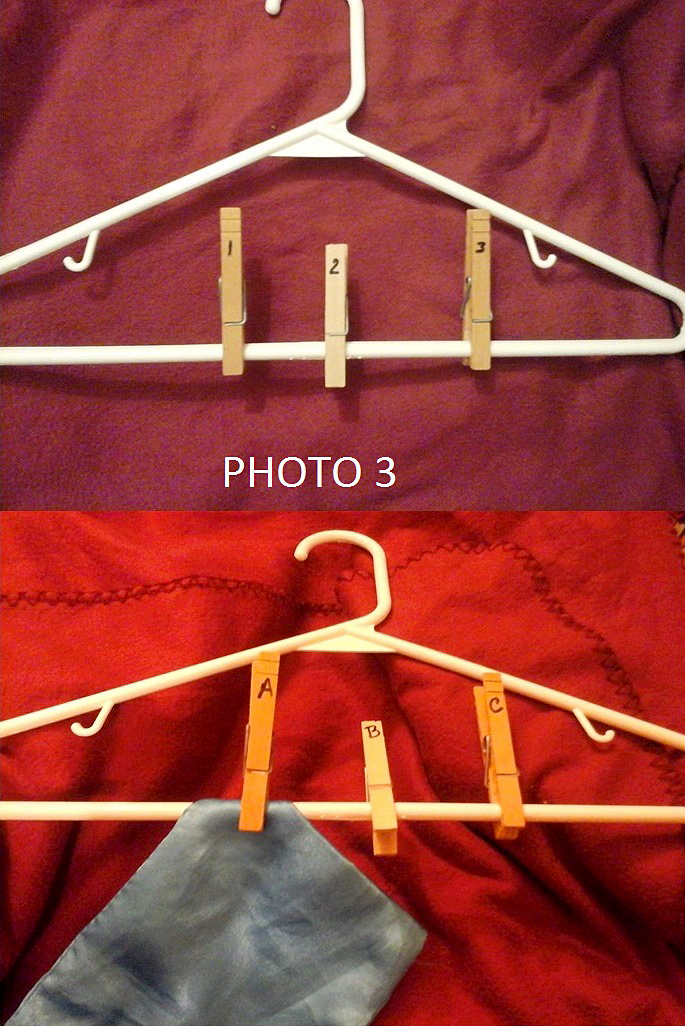
Once you have your paper pattern and package in the bag, I would suggest using a permanent marker to label the bag with the corresponding pattern number (photo 3).
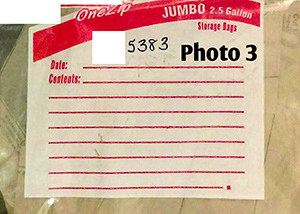
Use a permanent marker to label the bag with the corresponding pattern number.
Side note: If the paper pattern pieces do not have the pattern number printed on it, mark the number on the pieces themselves so you will know to which pattern package and bag they belong. Write the number in a place on the pattern pieces that does not interfere with the pattern markings.
The bonus of using the storage or freezer bag is that it also provides you with space to make notes right on the bag. If you have, for example, a fabric idea or found an easier way to put the pattern together why you were sewing, you can simply put a note or reminder on the bag without having to mark all over the pattern or the pattern package. So there you have it…a simple and inexpensive way to organize your paper pieces without all that refolding hassle. Sewing is fun so do not let refolding and refitting take the joy away from you.