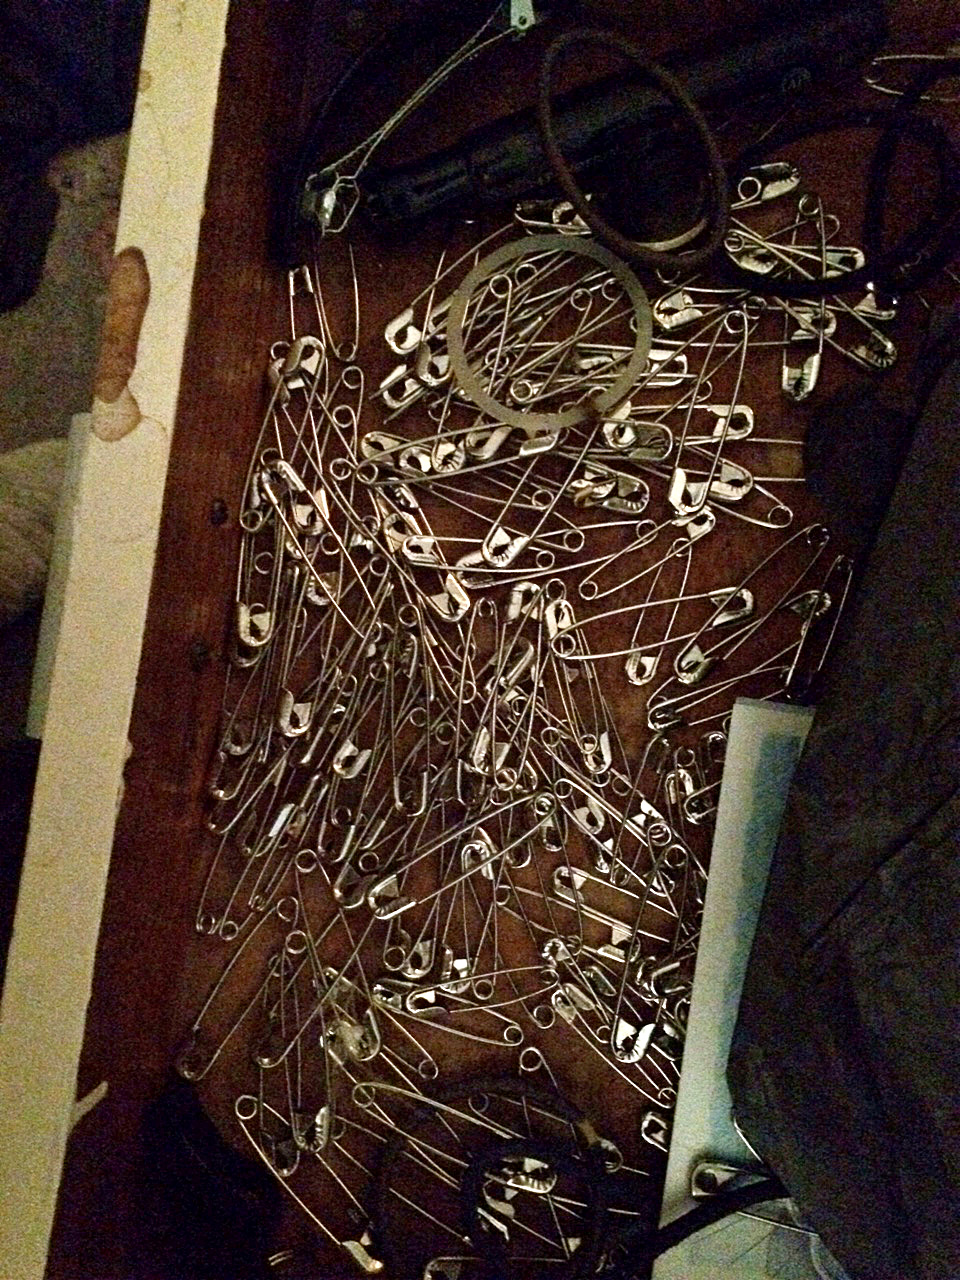
I try to collect them all in one drawer, but they escaping & disburse themselves all about the apartment.
Almost every pocket in every article of clothing I own, there are a couple of safety pins. I can also usually find at least three of four of the little buggers on the bedroom floor. Sometimes they end up outside my apartment door because I reached for my keys and pulled out a fistful of safety pins instead. I try to collect them all together in one drawer but seem intent on escaping and disbursing themselves all about the apartment.
I use safety pins for fitting clothing, for hanging patterns, to attaching notes to things. Of course, there are different sizes and flavors of safety pins.
Size matters
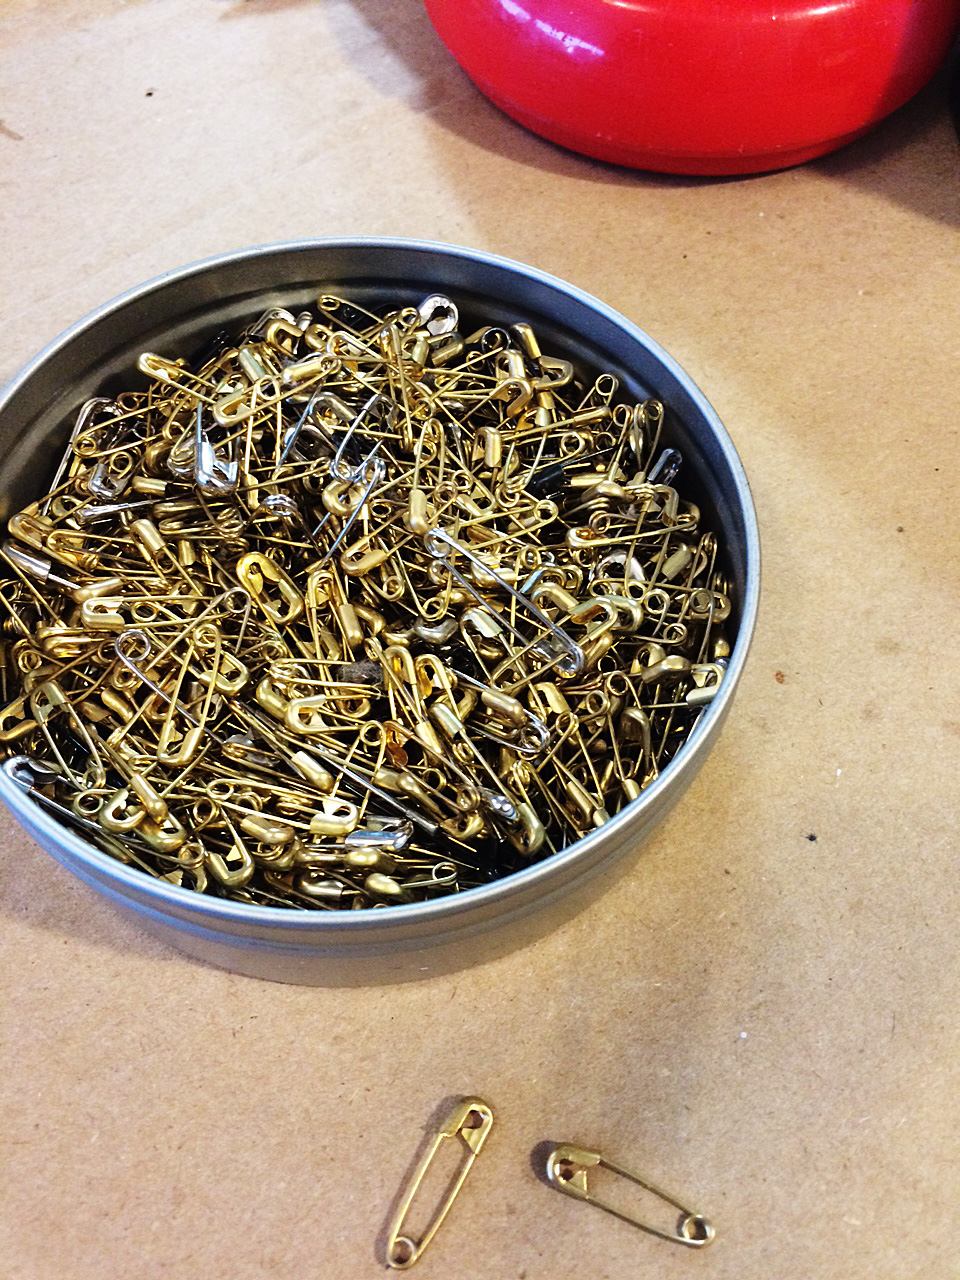
I use the tiny gold ones when I’m fitting something very delicate like silk or gauze so that they don’t make an unsightly pin hole.
I use the tiny gold ones when I’m fitting something very delicate like silk or gauze so that they don’t make an unsightly pin hole. For some reason, someone thought that gold pins without the end spiral were good idea. I suspect because sometimes things snag on the little coil but, without that coil, the pin is free to slide about so it’s hard to know exactly where/what the mark is.
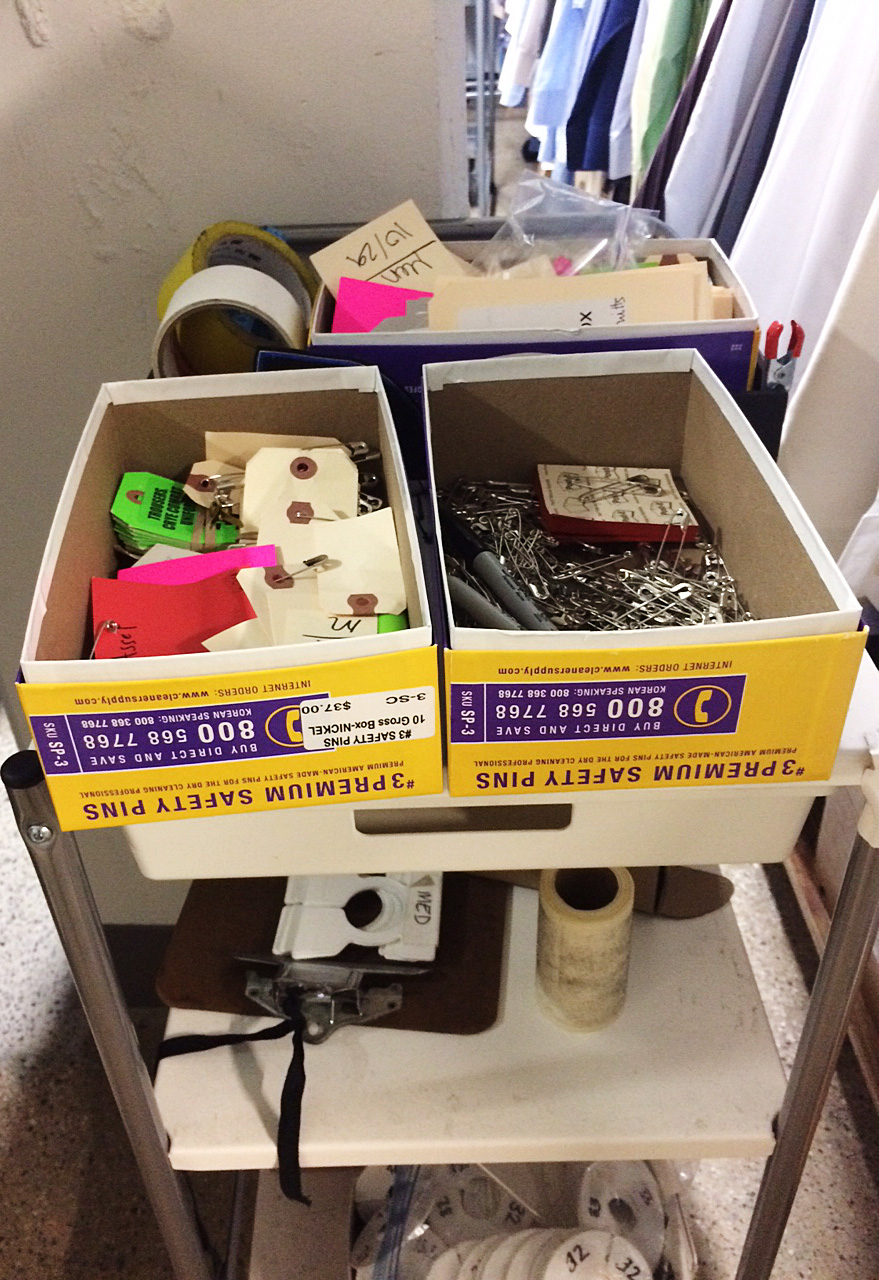
I use the big number 3s for the majority of my fitting needs. And the number 2s if I need a thinner pin.
History Hunt
Walter Hunt invented the safety pin in 1849. He was the first one to create a pin with the coiled spring on one end and the clasp or catch on the other end to keep the pointy bit safe from tender fingers. Hunt sold his idea outright for $400.00 so never collected any royalties or anything from it. Legend has it that he needed to pay off a debt and thus invented the safety pin and sold the rights within a few hours.
I use safety pins for fitting clothing, for hanging patterns, to attaching notes to things.
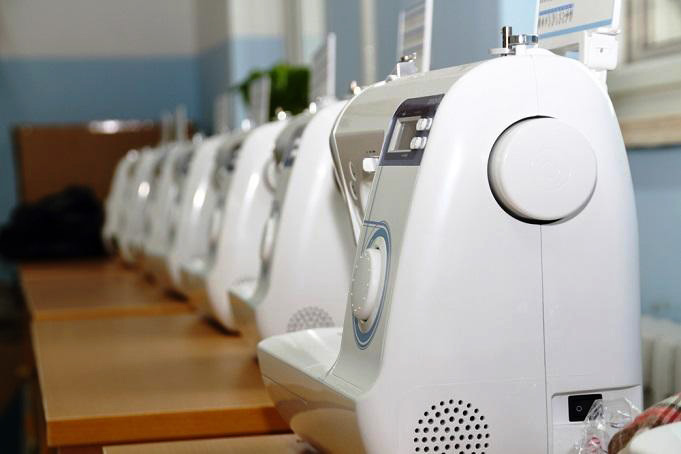
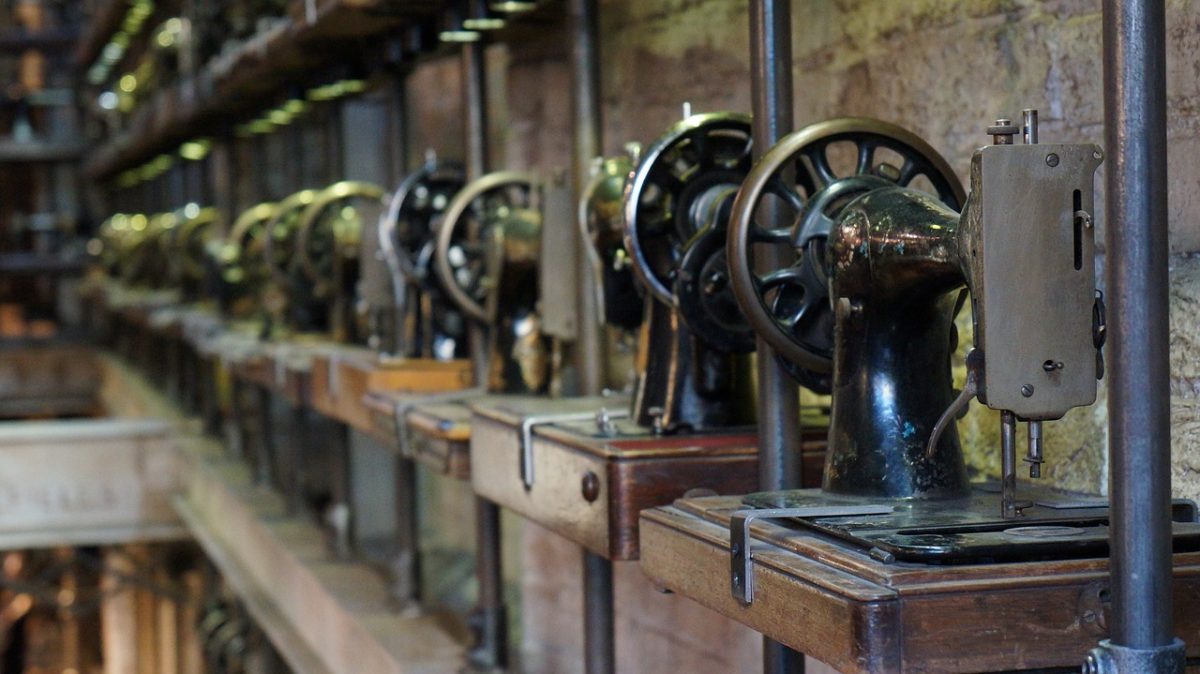
Selling his safety pin idea wasn’t Hunt’s only unfortunate business decision though. He was also the first one to invent many of the significant parts of the sewing machine, including a curved needle and a shuttle. Hunt created the first sewing machine prototype in wood, which didn’t work all that well so he ended up selling his idea to Elias Howe and Isaac Singer.
Hunt invented a plethora of other things including a streetcar bell, a knife sharpener, paper collars, and an antipodean walking device – or suction cup shoes!
Alas, Hunt didn’t seem to have much business savvy or any true idea of what his inventions could be worth, and just how wide spread and common place they would become.
A modern twist
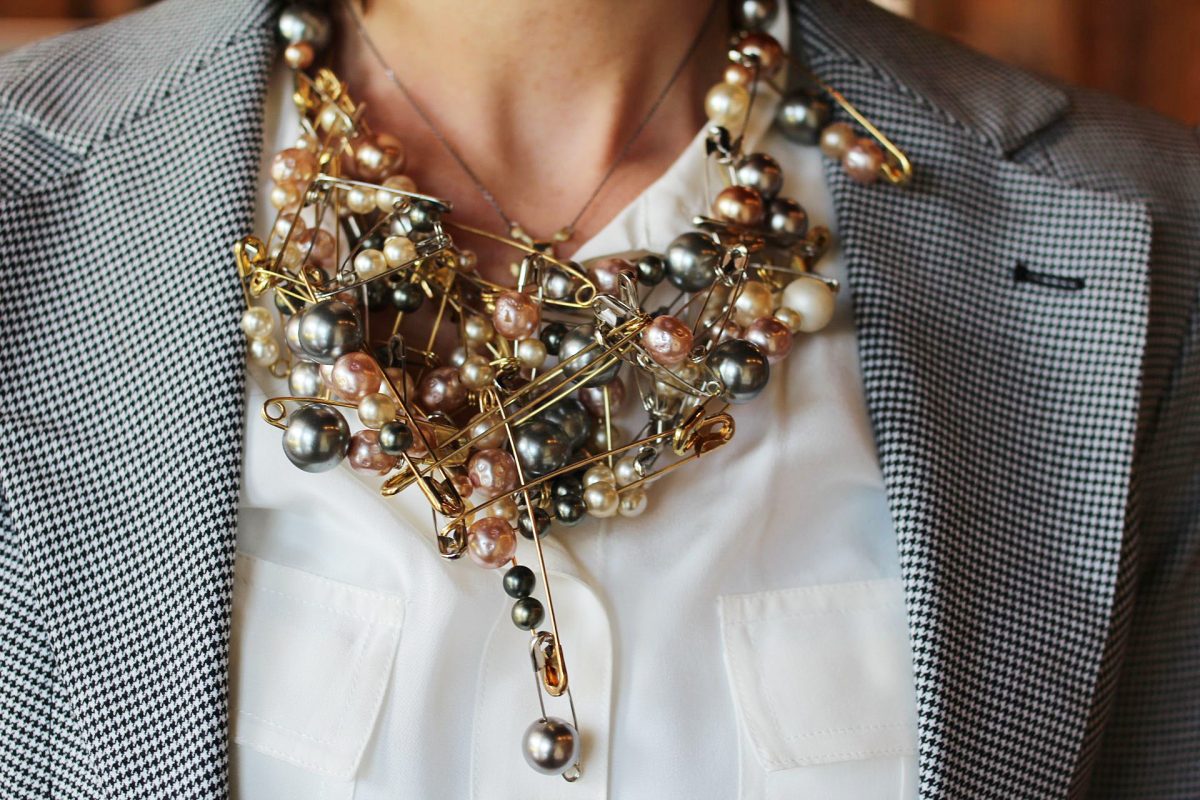
The safety pin has found its way onto the catwalk and into high fashion with decorated, embellished safety pin broaches and large dangling safety pin earrings.
The safety pin returns as punk becomes more relevant than ever – via Independent.
The humble safety pin also has a rich symbolic history and significance. Punk culture has long used the safety pin as an expression of individual freedom and DIY culture. In the wake of the UK’s Brexit and the US presidential election it has come to symbolize tolerance and unity with all people.
Wonder what Walter Hunt would have sold his idea for back in 1849 if he had been able to foresee even a small fraction of what his pin would become.