I have a confession to make. A month or so ago when in Pakistan, I bought a $1500.00 carpet. Now, before you think that that is an inordinately high price for a carpet, I just want to say that it’s a handmade Kazakh rug. And I talked the store owner down from his original price of $4000.00, which I think is a pretty admirable demonstration of bargaining skills.
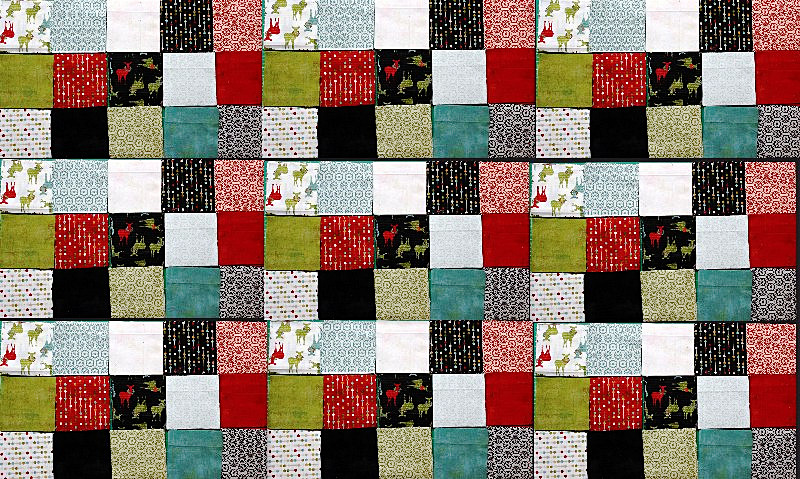
The carpet is a large one, four feet wide by six feet long. It’s made up of a bunch of four-inch squares with intricate multiple geometric and realistic images. It’s also a dimensional rug, having raised yarn borders around the squares. Bulbous tassels adorn the sides. The colors are all muted tans, yellows, golds, burgundies, greens, and blues. Piot, who was at the carpet store with me, said it looked like a rug meant for royalty. I definitely agree.
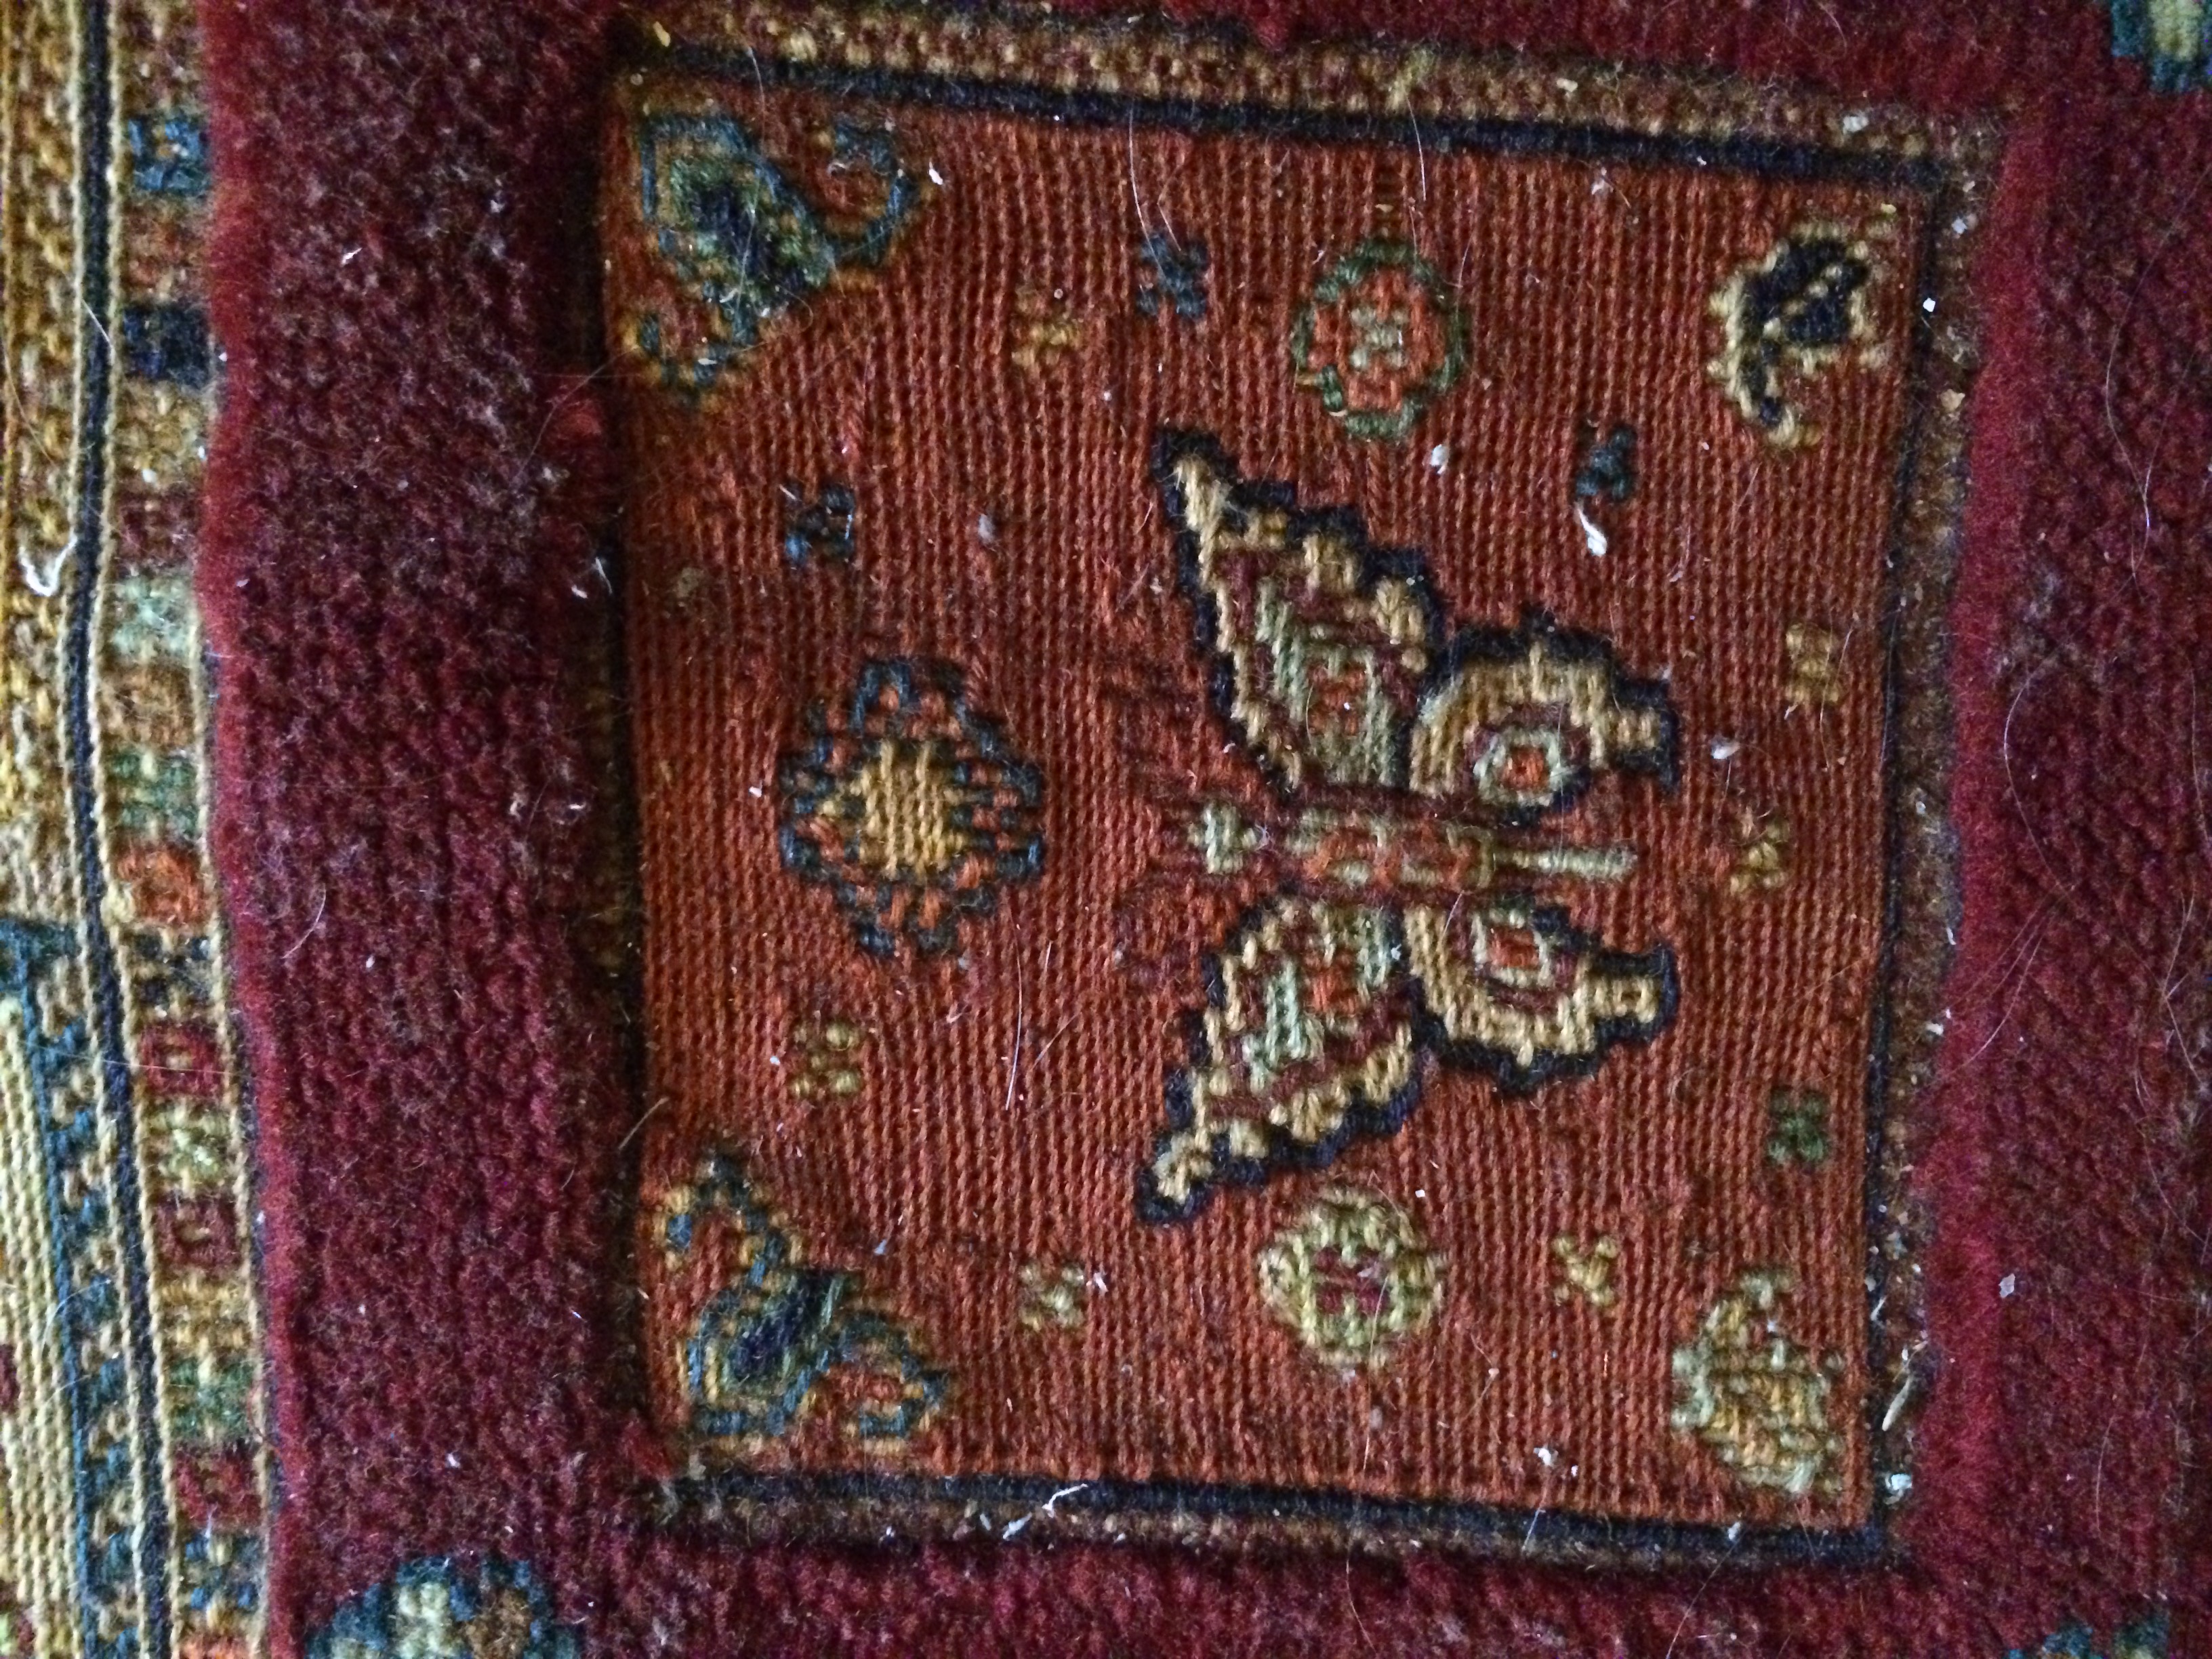
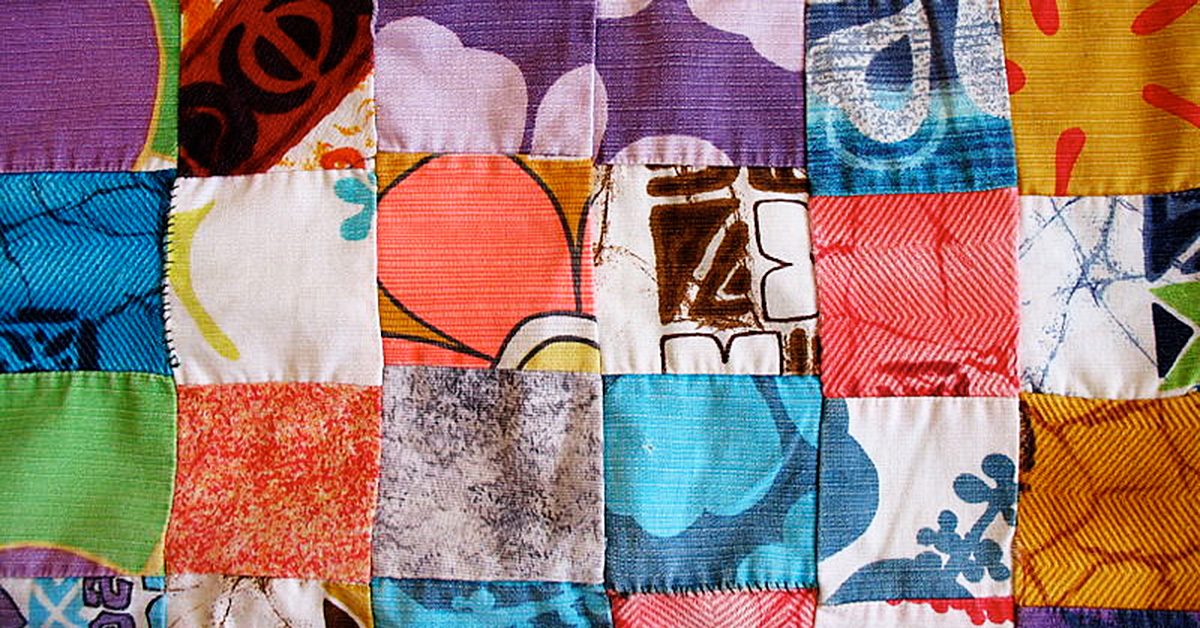
closeup of one of the squares
A brief history of Kazakh rugs:
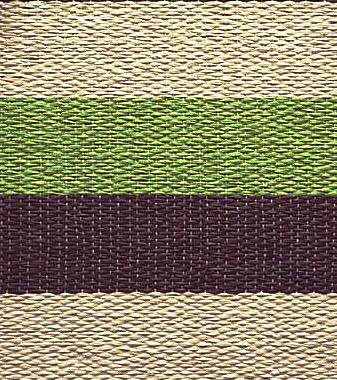
Kazakh, originally a tribal name, is now a town, river and district in Azerbaijan. Carpets made by Kazakhs often feature coarse, long pile and dramatic colors and designs (all of which my carpet has in spades). Using Turkish knots, they’re generally made by Turkic nomads who are now settled. Today, lots of new Kazakh carpets are made in Pakistan inspired by old Caucasian designs. They use yarn dyed from natural vegetable dyes.
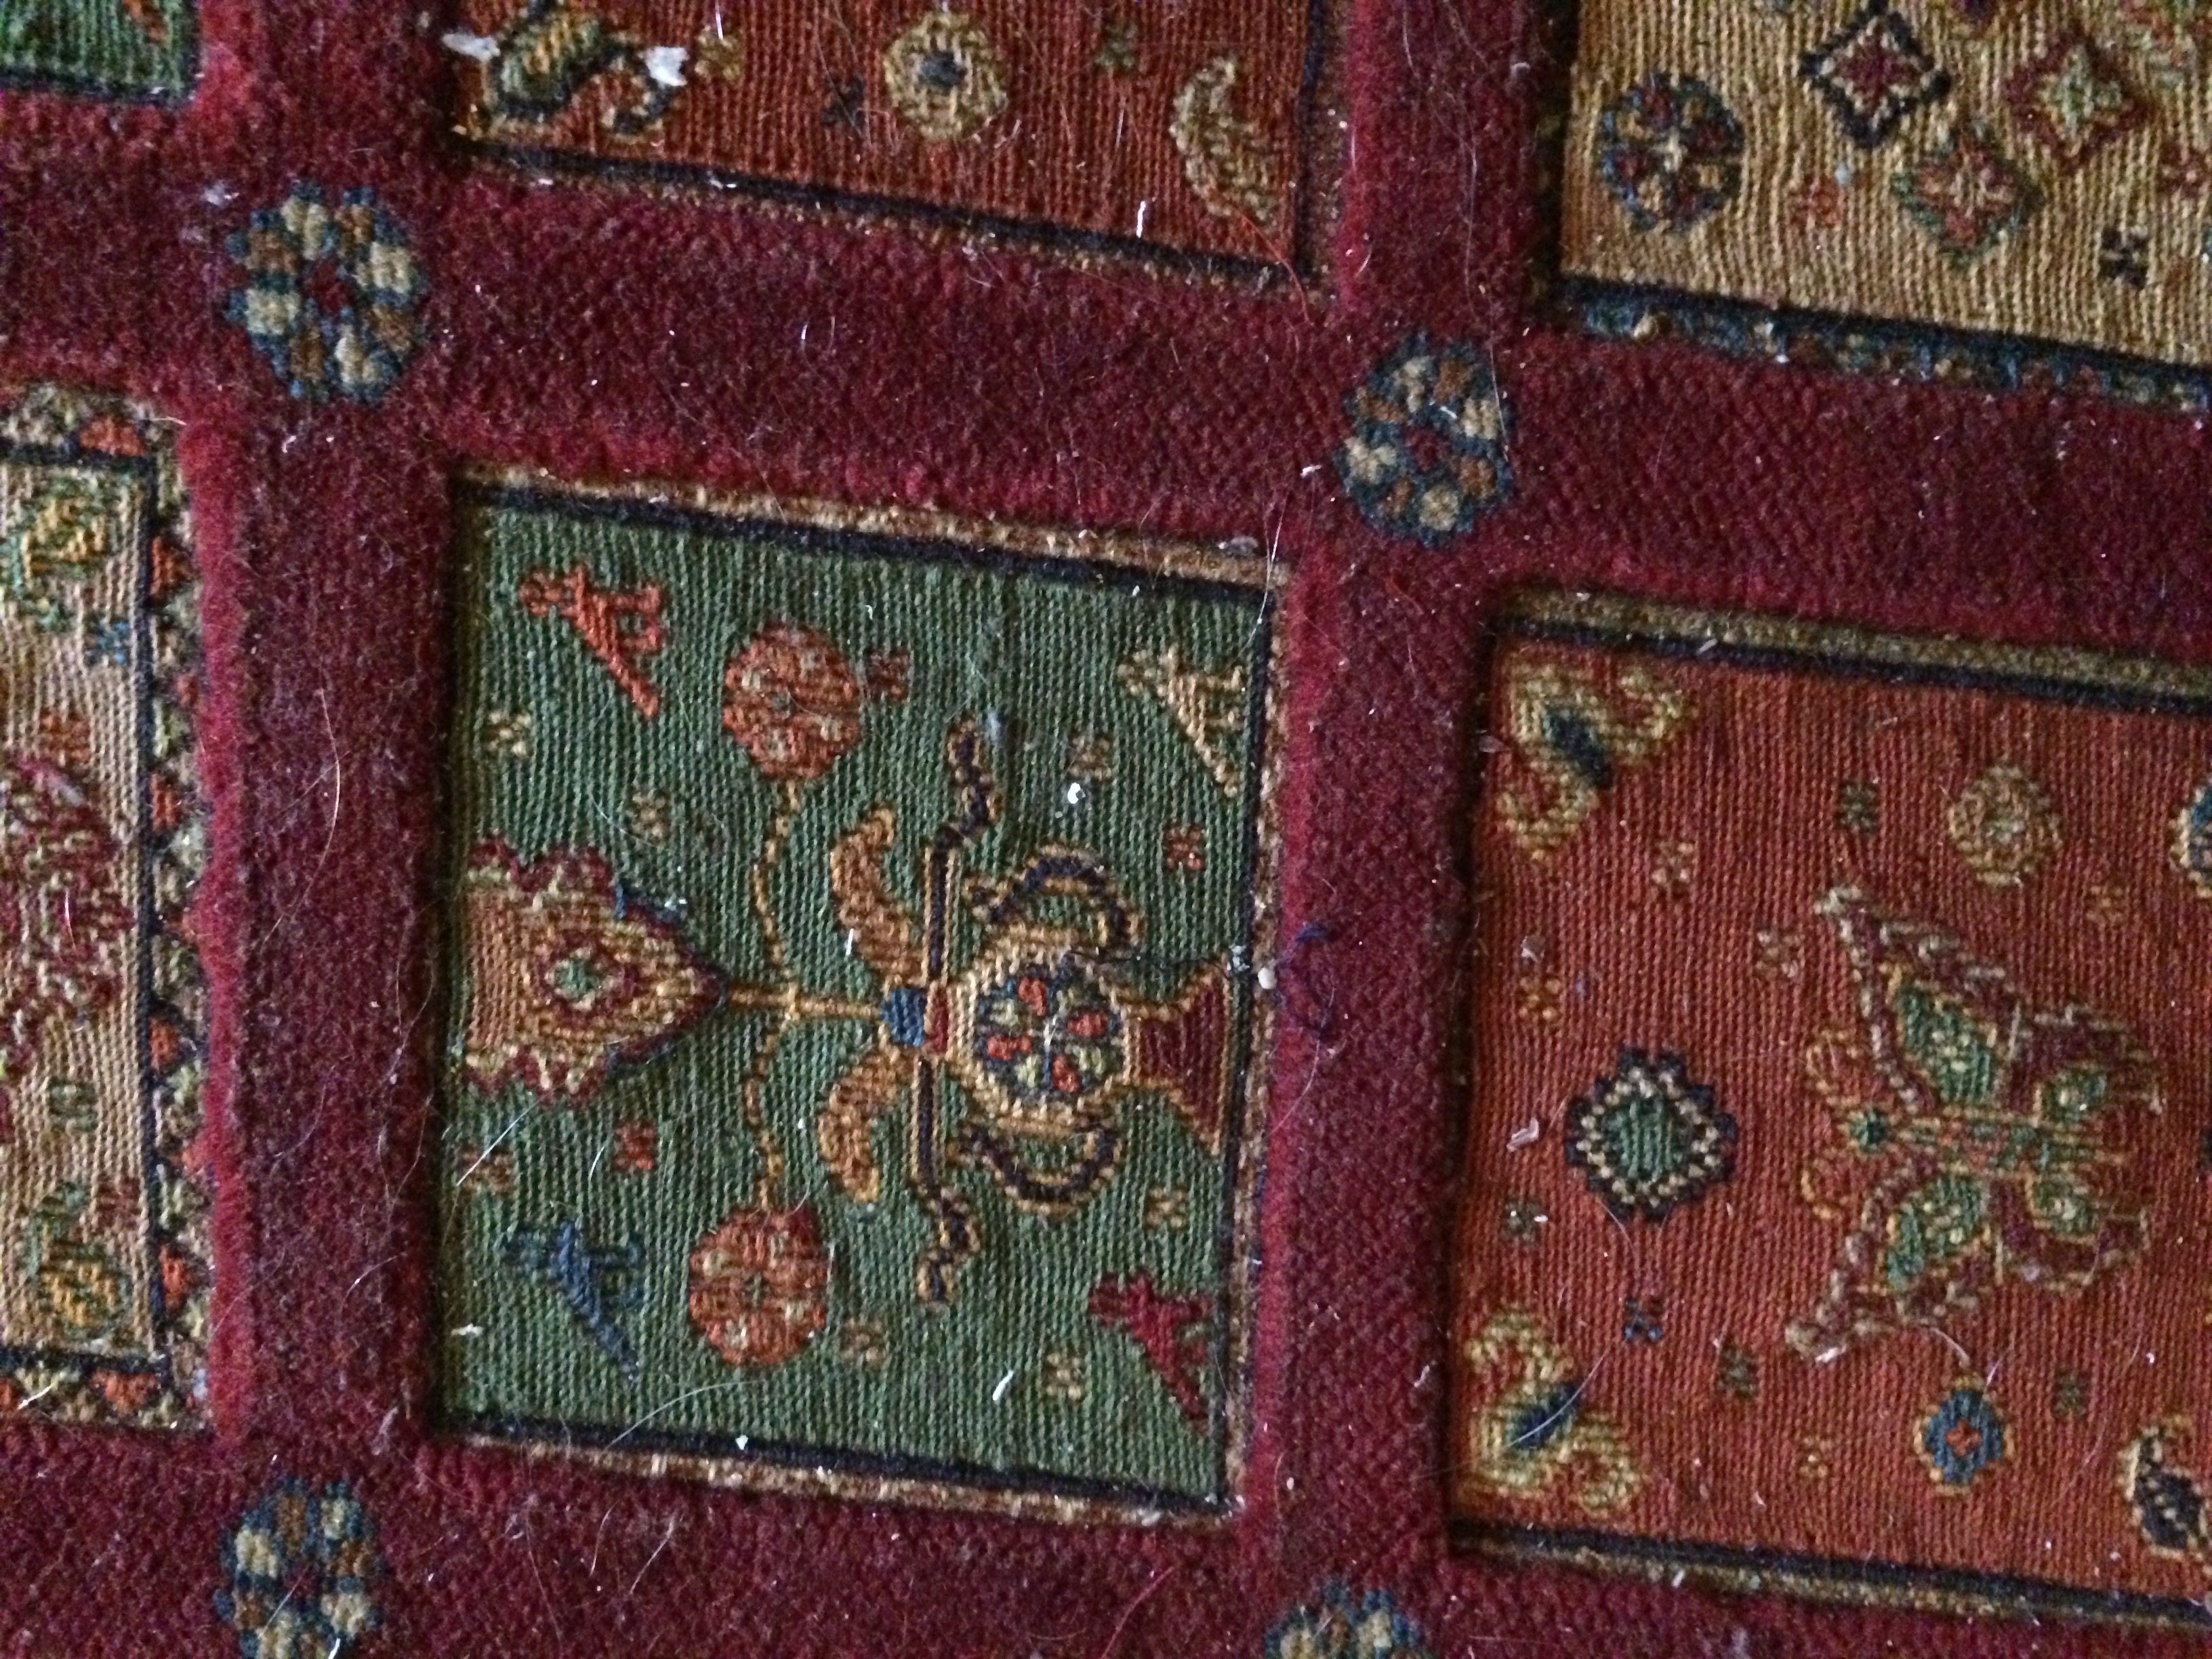
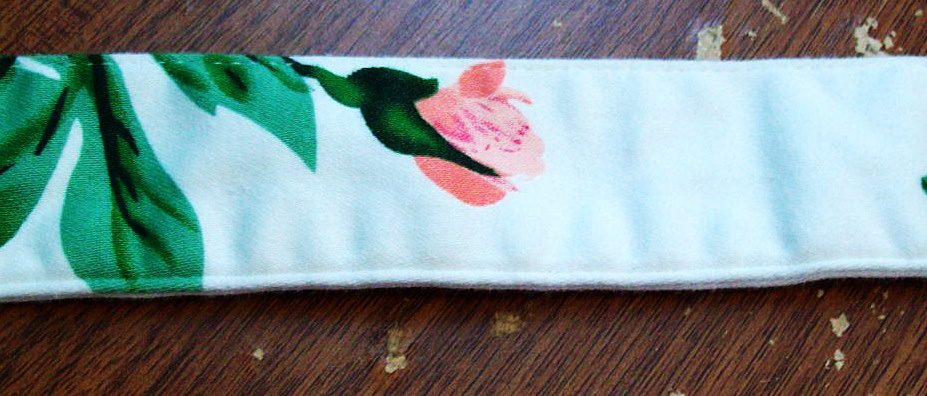
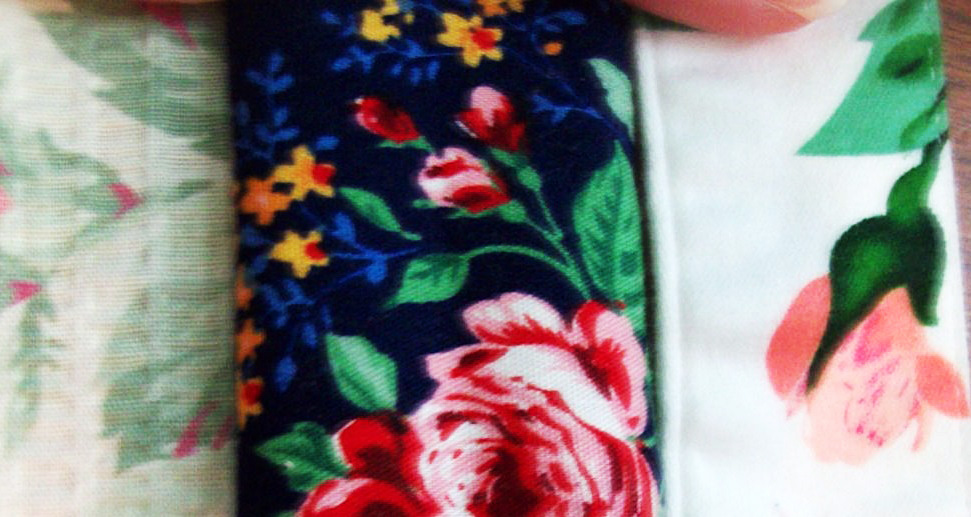
Detail of my carpet.
In Pakistan, you can also find Afghan rugs made by refugees who now reside there. During occupation by the Soviet Union between 1979 and 1992, close to one million Afghans fled their homeland and ended up in Pakistan and Iran. Afghan rugs are known to be durable and well made. They reflect the heritage of a cottage-based industry passed on through generations. Different qualities of pile carpets are available including felted wool ones called Namads, flat non-pile woven rugs called Kilims, and pile and knotted ones made from cotton, silk, and wool. It can take six to nine months to make a hand knotted carpet. When you think of it like that, $1500.00 doesn’t seem so high of a price.
You may be wondering how I managed to negotiate my price down to an amount more than 50% less than the original quoted price. The answer is pretty easy. I was completely prepared to leave the store without buying the carpet. The owner played that game where he asked how much I wanted to pay and had me write it down. I did. And then I refused to budge. He tried to cajole and guilt me into agreeing to a higher amount but I just kept saying no. Finally, our little group of four, gathered up our things and started to walk out the door. At this point, he finally said yes to my $1500.00 and the carpet was mine.
I bought my carpet at Afghan Carpet on School Road in Islamabad. If you are ever there, I encourage you to go visit them in person. They have a very large selection and serve some excellent tea. And they’re always up for a good strong negotiator.
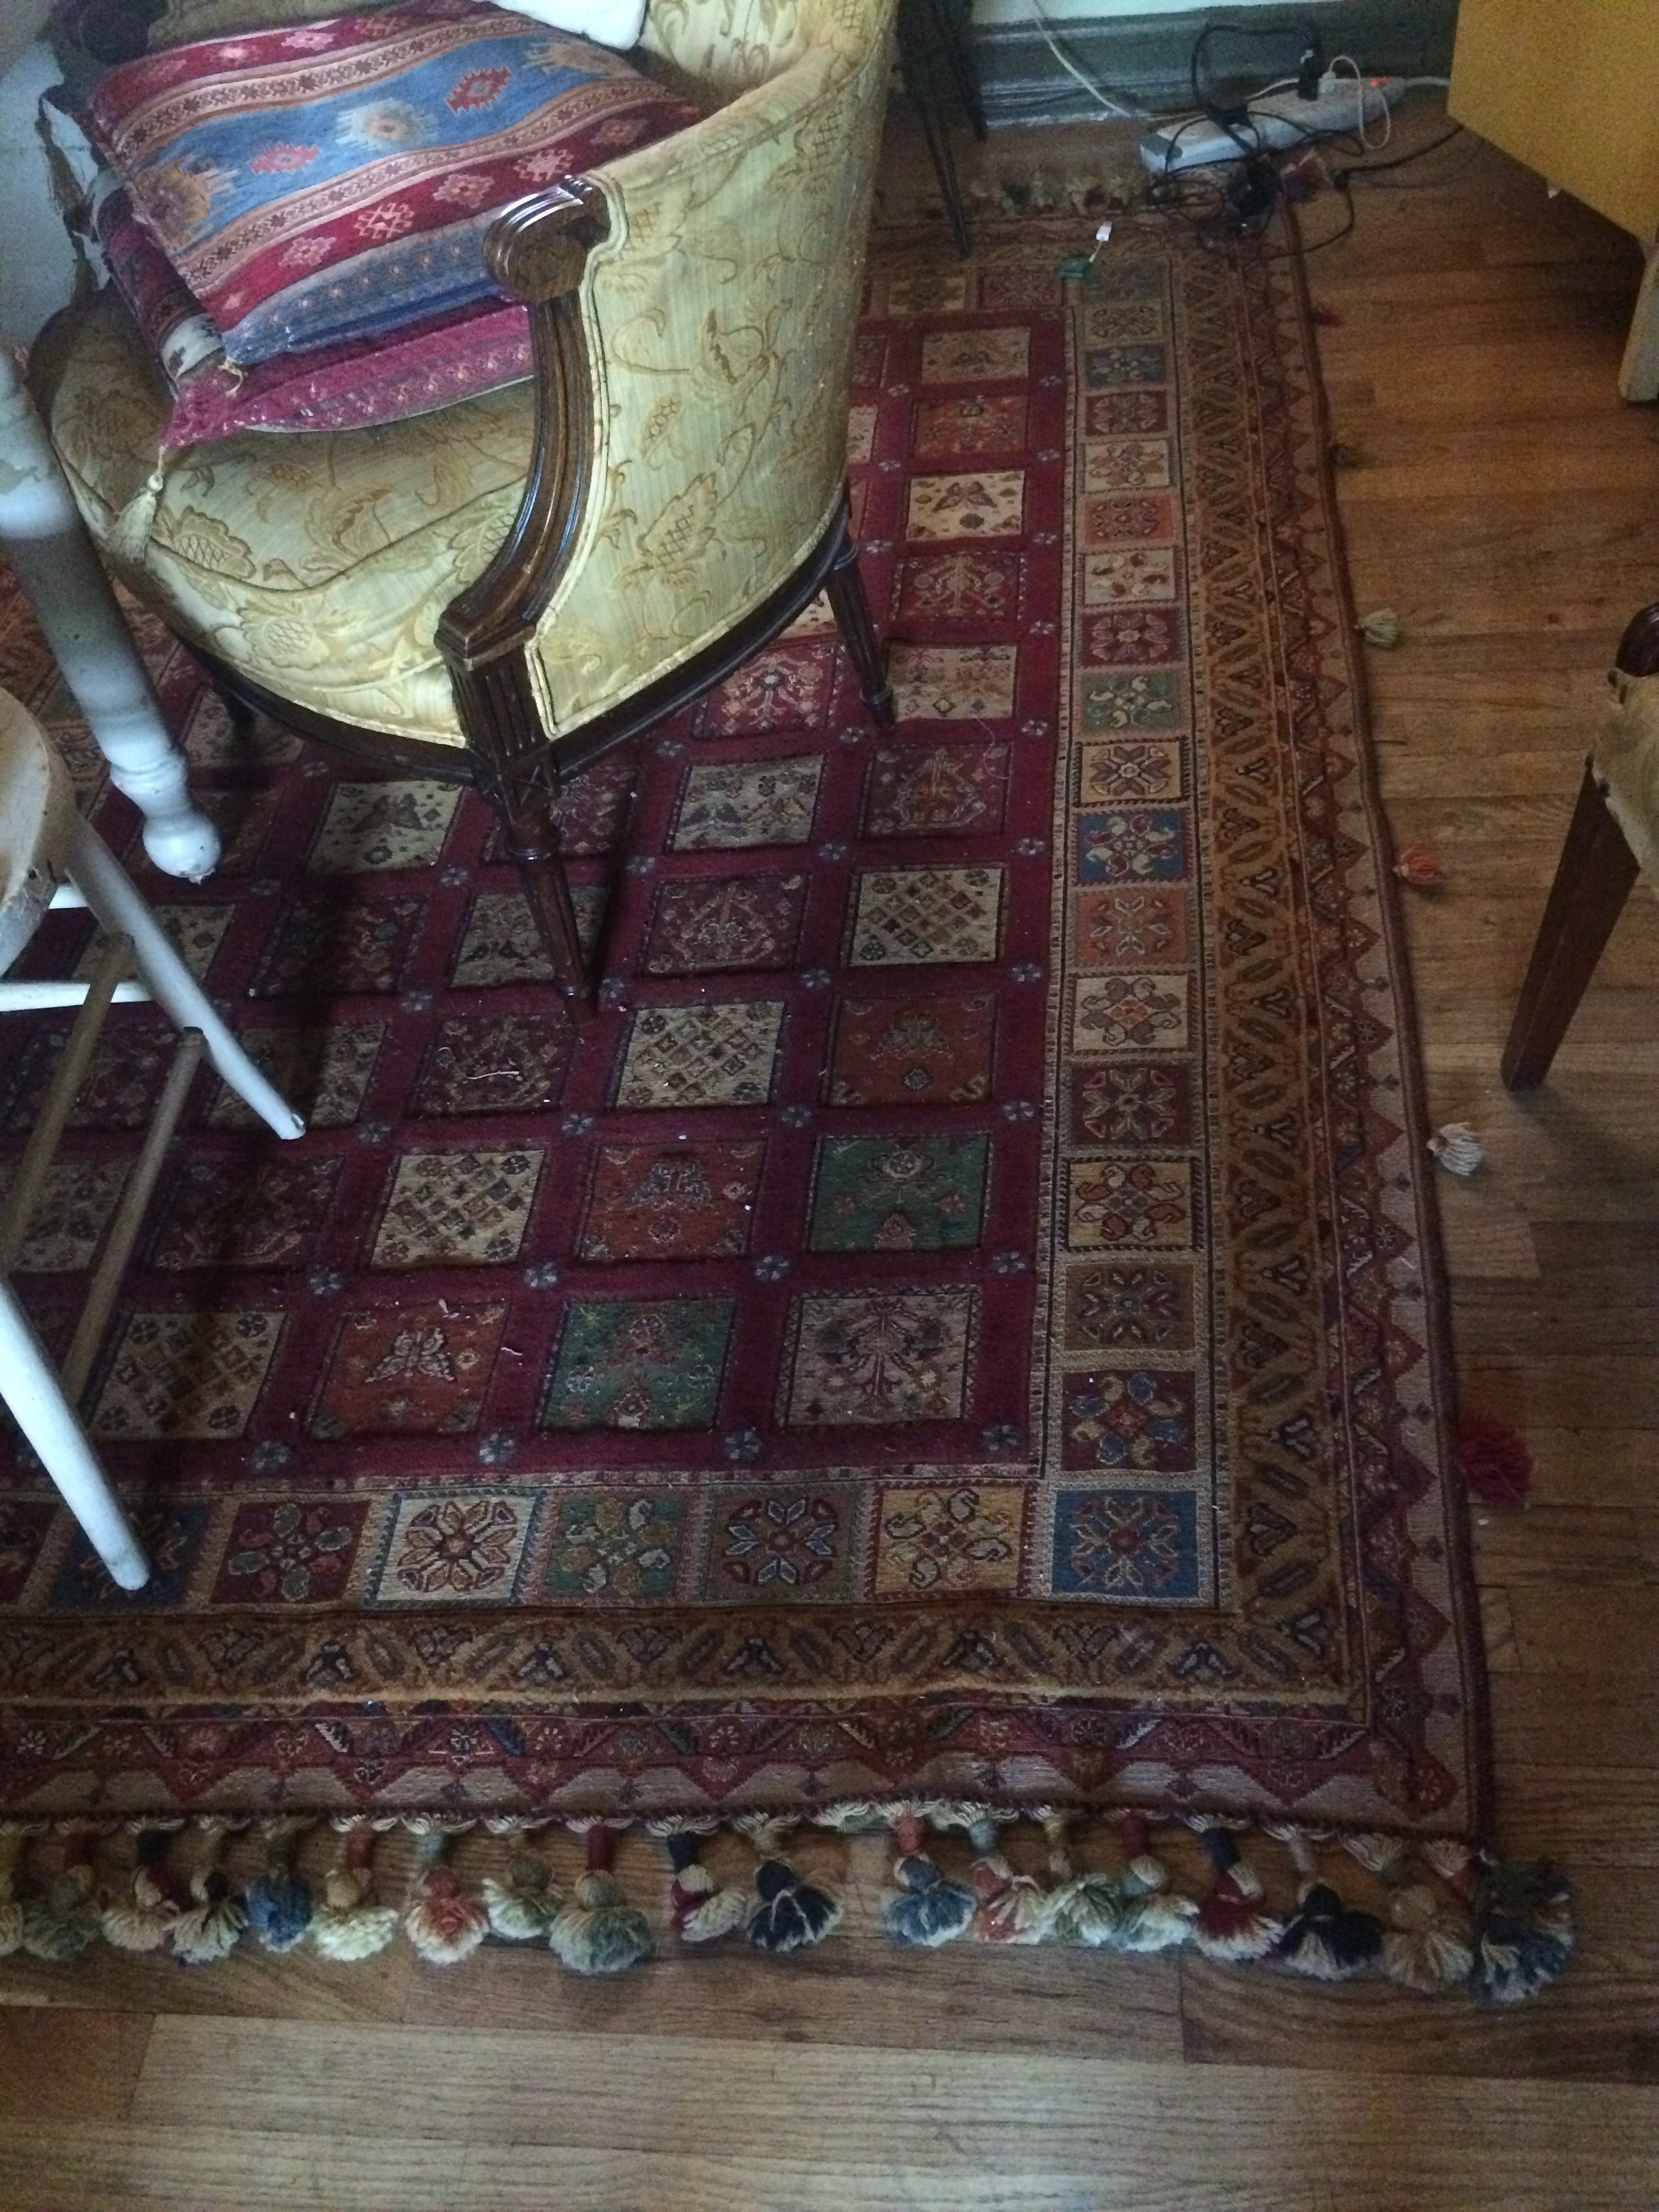
My carpet at home in Harlem.
This isn’t necessarily sewing related but, Afghan Carpet is down the street from one of the world’s largest bookstores (yes, that’s right, in Islamabad) called Saed’s Book Bank. The store is three stories and 42,000 square feet. They display around 200,000 titles and stock more than four million books throughout its five warehouses. You can literally find most anything there. Saed carries Cosmo and Heavy Metal Magazine, as well as books about Islam and Richard Dawkin’s atheist treatise, The God Delusion. You can find books on Catholicism and queer studies, an English translation of the Quran, maps and travel books, and novels by pretty much any English or American author you can think of. The store is a truly fantastic and amazing place to visit, especially when you consider that it sells predominantly books written in English in a country where that is most people’s second language. The New York Times published a wonderful article a few years ago about the store if you’re interested in reading more.
This is also my little way of saying that people are never wholly their governments and places are often not as scary as most media reports would lead you to believe. And there is truth and beauty and wonderful people wherever you travel, if you take the time to look for it.