Carpet Magic from Egypt

Carpet Magic from Egypt

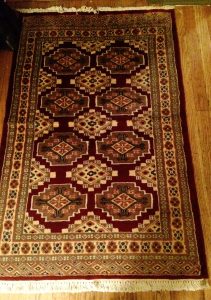
Some of the beautiful silk & cotton rugs can take up to 14 to 16 months to make.

Some of the beautiful silk & cotton rugs can take up to 14 to 16 months to make.

I visited a carpet making school while I was in Egypt.

The school, on Sakkara Road in Giza, was called ‘New Egypt for Oriental Carpets’. The building was a vast stone structure, wide stone steps leading up to the second floor showroom and into the main entrance on the ground floor.

Back to school

The front wood doors opened into a vast, high ceilinged, airy room. Looms of varying widths, reaching from floor to ceiling lined the walls. On two sides, children manned the looms. They were of all different ages, the youngest appearing to be around 7 –  all the way up to 16 or 18.

Each child sat a wood bench in a front a loom longer and wider than at least three or four of himself. They were all boys.

The children, along with learning how to make hand tied rugs from wool and silk and cotton, also study reading and writing. Acquiring the skill of carpet making allows them the opportunity to stay in their hometowns and earn a good wage for a trade. They can also continue their education elsewhere if they desire.

My guide and I stopped behind one of the youngest boys. He turned with a toothy grin to wave at me, then turned back to his loom. The speed and dexterity of his fingers as he tied the long strands of wool into knots was mesmerizing.

The oldest group of carpet makers at the school were no longer pupils but artists. They didn’t work from a preconceived mapped out design but from pictures in their own heads.

The youngest pupils work on the simpler designs made predominately of wool. They have long sheets of paper that show the colors required to complete a specific design – kind of like the directions that come with any rug latch-hook kit you can buy at a craft store. But much more complicated and a lot more extensive.

Snatch the pebble from my hand, Grasshopper

Another young man of about 13 years of age was working on a rug made of cotton and silk.

“Slow down,” said my guide, “Slow down so she can see.”

He dutifully slowed his flying fingers. He worked across the loom width-wise, tying strands of silk to a sturdy cotton thread already inserted in the loom. When he finished a row, he used a wired brush to push the knotted strand down tight against its neighbor.

He demonstrated the trimming process that happens at the completion of a rug, using heavy scissors to trim the fuzz like you do to an old sweater when it’s balled and pilled up.

On the backside of the rug, I could see the long threads left where he changed colors of silk. After he’d woven in all the strands, he would go back and cut and tie all the ends so that the back of the rug looked as beautiful and clean as the front.

The student becomes the master

The oldest group of carpet makers at the school were no longer pupils but artists. They didn’t work from a preconceived mapped out design but from pictures in their own heads. They used smaller looms they could stand up at, manipulating the contraption up and down with a lever by their feet, tying and weaving the yarns with their hands.

Some of the rugs can take up to 14 to 16 months to make – truly astounding in this world of mass, quick consumerism. All of the students and artists I encountered at the school seemed to have a genuine pride for what they were doing, and a patience I suspect is increasingly rare in the instant gratification, selfie-taking, googling, internet shopping world of many western civilizations.

Works of art

As soon as I laid eyes on you, I knew that you'd be mine.

As soon as I laid eyes on you, I knew that you’d be mine.

The second floor of the school was the showroom filled with all kinds of stunning rugs. Drinking a complimentary cup of tea, I wandered amongst the treasures for a good part of an hour (or maybe two). I finally decided on two carpets I wanted to purchase.

But, since I was in Egypt, the actual buying of things involved a thirty-minute bargaining session. I pretended I hadn’t already decided which rugs I liked the best and asked to see some more similar to my initial selection. I remained undecided for a significant amount of time, especially once price came into question, hemming and hawing and murmuring and looking around.

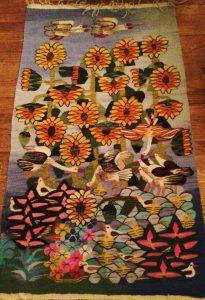
After settling on a cotton and silk rug, I then asked about the tapestries. I’d spotted the one I wanted quite some time ago. It was one of the artist done ones with yellow and orange flowers, swans, and blue sky and water with pink water lilies. After some more back and forth, we finally agreed upon a price for both the pieces I wanted.

The cherry on top

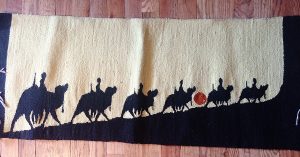
My freebie tapestry. A nice touch.

My freebie tapestry. A nice touch.

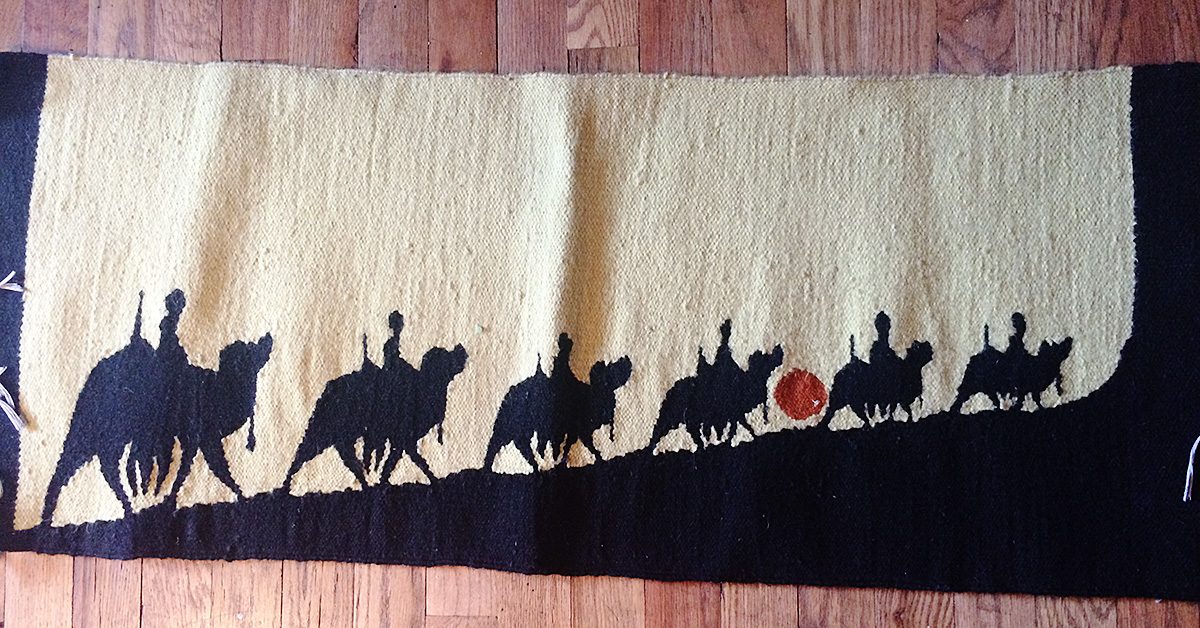
Then, in true Egyptian fashion, the salesman offered me one more tapestry I could choose from a pile as a gift. I suspect this pile consisted of the practice tapestries done by the younger students but they were all alluring in their own right and I choose a long narrow hanging of yellow with camel silhouettes.

I left the school quite happy with my purchases and the opportunity to have seen the young carpet makers at work – and to contribute to the Egyptian economy and the school.

Now, back at home in New York City, my Egyptian carpets have been happily integrated into my home carrying with them the legacy and craftsmanship of centuries.

Somewhere in the Desert

Somewhere in the Desert

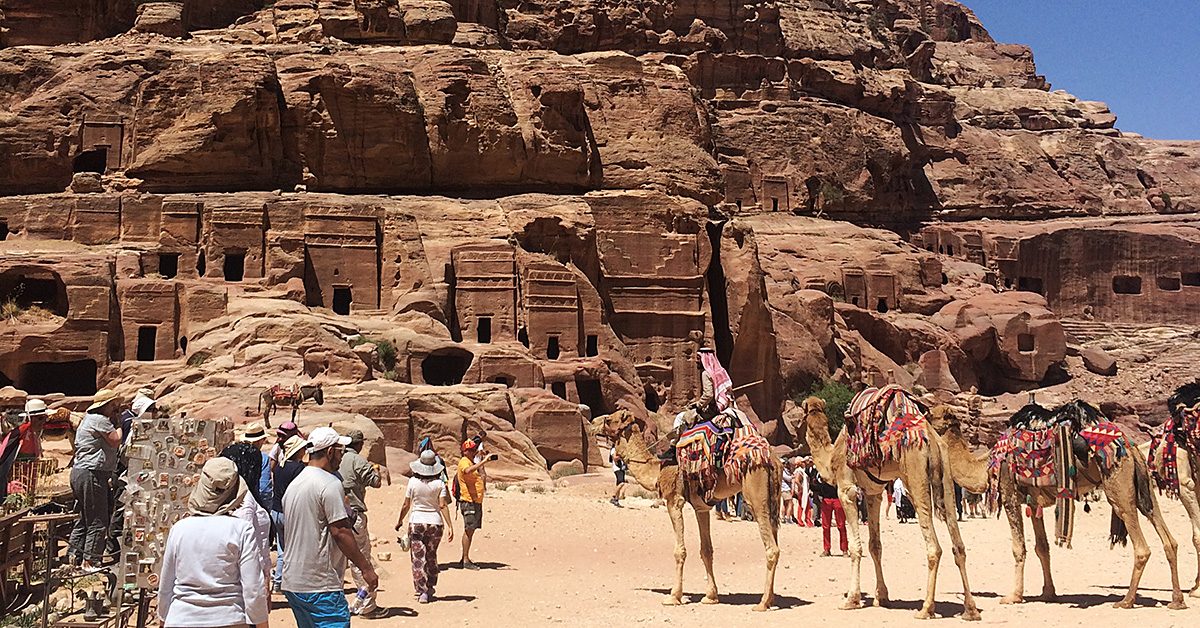
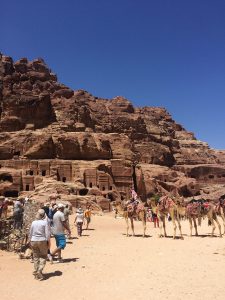
Camel fashion in Petra.

Camel fashion in Petra.

I just spent a week cycling from the Dead Sea in northern Jordan to the Red Sea in the south – spectacular views and a whole bunch of those ‘once in a lifetime’ experiences. Among other things, I spent a day wandering around The Lost City of Petra and a night in the desert in a Bedouin camp. The Bedouin are Arabic speaking nomadic people of the Middle Eastern deserts.

One of the most interesting things I noticed were the beautiful and unique fashion styling the Jordanian men displayed, especially in Petra. In the depths of that city, amongst all the rocks and caves and roman ruins, I saw where Johnny Depp’s Pirates of Penzance look was born.

Many of the young men lined their eyes with a dark substance made from the ash of a burnt tree and mixed with olive oil. As well as having a soothing humidifying affect, the mixture protects the eyes from the sun. It’s really a brilliant concoction. And it makes the lashes look especially luxurious. The camels, as well, were decked out in beautifully colored tapestries. The whole city of Petra was simply stupendous.

Desert fashion

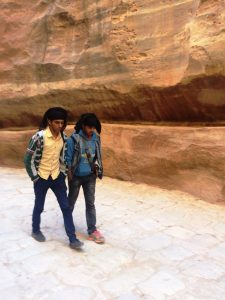
As most cultures who live in a desert climate, Jordanian’s dress in clothing that covers most of the skin. The young men were most often in skinny pants of some kind and flowing tops, sometimes in layers. But the most fascinating and beautiful component of their attire were the creative and intricate ways they wrapped their head scarves – many of them were truly works of art.

Young men in Petra.

Young men in Petra.

I watched one gentlemen as he wrapped his, twisting and turning and tucking it in a series of complicated moves I couldn’t even hope to follow. When done, the scarf was piled high on his head in twists with two twirling pointed ends hanging down to his shoulders on either side. Some men implemented designs with one cascading side corner, others in the more traditional technique of shielding the back of the neck.

The scarves, or keffiyeh as they are called in the Arab world, were in various colors, though the most prevalent were the ones us westerners are used to seeing – the back and white checkered and red and white checkered varieties. This pattern is thought to have originated from an ancient Mesopotamian representation of fishing nets or ears of grain.

In Jordan, the red and white keffiyeh, also know as a shemagh mhadab, is associated with the country and its heritage. They have decorative cotton or wool tassels on the edges – the bigger the tassels, the greater the garment’s value and the status of it’s wearer.

My cycling guide, Anas, wore a black and white one that he told me was representative of his Arabic heritage. I asked him where to buy a traditional good quality authentic scarf, not one from tourist shop. He told me that downtown Amman was the place to buy them and that they would be cheaper there than in the stores catering to tourists. A scarf like his, with smaller tassels and no border, would cost anywhere from 5.00JD to 10.00JD. A fancier one with a border all around could cost up to 20.00JD. He also told me that men tied the shemagh in different ways for no other reason than how they were feeling that day. I love that.

(Just a note on currency: the Jordanian dinar is a pretty strong currency: 1.00 JD equals about 1.40USD.)

Making friends around the world

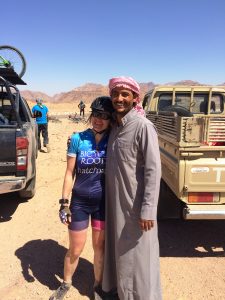
Me with a one of the Beduoin people.

Me with a one of the Beduoin people.

I also loved the long garments worn by the Bedouin. They were most often dressed in light colored pants and a long matching light colored tunic (down to mid calf) with button closures on the front. They all looked extremely well put together. The long dress like tunic is called a thoab and is made of lightweight fabric. Under the thoab, the men normally wear a t-shirt and the long wide leg trousers called a serwal. I love how, though they all basically wear the same garments, there was still so much individual style and personality conveyed through their clothing. I think one of the most fascinating things about fashion is individual expression and how people are able to wear something in a way that allows their personality shine through.

I absolutely loved my time in Jordan. Everyone was extremely welcoming and hospital. Everywhere I went, I was greeted with, “You are welcome in Jordan.” What a truly wonderful thing.

I’m in Egypt now, writing this as I look out over the Red Sea in Dahab (I need a day of relaxing after cycling through Jordan). I know I promised to write about Egyptian textiles and the markets and I will. I’ll be in Cairo tomorrow trying out my bartering skills and will provide a full report next week.

Until then, take care and don’t forget to let your own personal style show through in whatever manner you desire.
Ma’is salama.

Scrap-Fabric Keychain!

Scrap-Fabric Keychain!

If there’s one thing I’m interested in regarding sewing, it’s finding new ways to use my leftover fabric. In fact, if you’ve been keeping up with my posts (I won’t hate you forever because you haven’t! Honest!), it’s a concept that’s been explored already. But I still have fabric at my disposal, so the idea of how to use those pieces continues as a subject worth looking into.

So, for today’s post, I’m going to give you yet another way to use your leftover fabric — even if that leftover fabric is fairly small! Need proof? The project I’ll use for an example was made out of ONE fabric block that was less than ten inches in either direction. Sound good? Then let’s dive into this project, which for the record, is a keychain!

What you’ll need:

  • One fabric block. The size varies depending on what shape you want to make your keychain — and what size you want your keychain to be — but you don’t need anything over 10″ x 10″. Also, remember that flimsy fabric might not keep your keychain shape too well, so try something that’s sturdy — maybe even felt.
  • Key ring. It isn’t really a keychain if you can’t hang a key on it!
  • Sewing essentials like needle, thread, and straight pins, as usual!

What you’ll do:

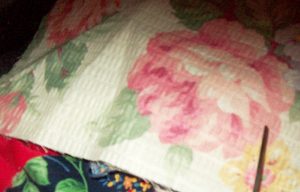
Step One:  Choose your fabric, keeping in mind the guidelines about size and texture. You should also note that your shapes for your keychain will only be so big, so you should consider that size. If your final goal is a one-inch shape, for instance, you should pick a fabric that’ll look good when cut down to that size. I changed my fabric choice on this detail because with my initial decision, I would’ve potentially had part of a flower, a whole lot of plain color, or scattered bits that didn’t really look that fantastic to me. It might be something you want to consider as well!

I changed my fabric choice on this detail because with my initial decision, I would’ve potentially had part of a flower, a whole lot of plain color, or scattered bits that didn’t really look that fantastic to me.

I changed my fabric choice on this detail because with my initial decision, I would’ve potentially had part of a flower, a whole lot of plain color, or scattered bits that didn’t really look that fantastic to me.

Also, decide what shape you want your keychain to be. For me, I went with a heart because it was simple and traditional, but there are plenty of other options. Once you know your shape, you can create a stencil, or use an existing stencil, to make sure your fabric is going to be cut in the right way.

Cut it out

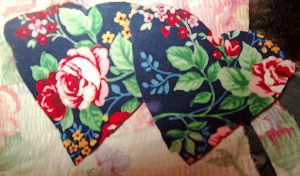
Step Two: Cut out your shapes! This was a perk to choosing a heart because you can make one by only cutting one side of the heart, as many of us might have learned in childhood. I don’t need to cut both sides if I fold the fabric in half, and I ended up only having to make that folded cut once for both sides of my keychain by folding the fabric into fourths. That way, with one swooping I-want-a-heart-shape cut, I got two bits of fabric that admittedly needed a bit of tailoring, but were good starting places for my heart.

With 1 swooping I-want-a-heart-shape cut, I got 2 bits of fabric that admittedly needed a bit of tailoring, but were good starting places for my heart.

With 1 swooping I-want-a-heart-shape cut, I got 2 bits of fabric that admittedly needed a bit of tailoring, but were good starting places for my heart.

Whether you find a simple method to make both pieces at once or use a stencil, cut two shapes out of the block of fabric — one for the keychain’s front side and one for the back. Make sure they’re even enough so that too much excess material doesn’t show on either side and that you’ve accomplished cutting the shape you wanted — or at least one you can live with! Also, remember to cut a line of fabric that is a couple of inches long and wide enough to suit your purpose (maybe ¼”). This will be your loop to put the keyring through. NOTE: These numbers can vary depending on what size you want your keychain to be!

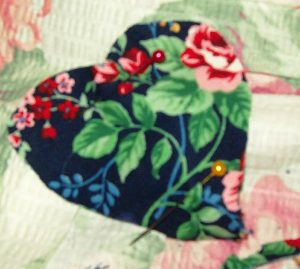
Step Three: Once your shapes are cut and trimmed, it’s time to start planning your sewing. Even though this is a small project, it could still pay to have straight pins keeping your work in place, so you might want to break out a couple! Be sure before you pin or sew that your main fabric pieces are together with their patterned sides facing outward, and don’t forget to fold that additional line of fabric and place the tips of both ends between the two shapes.

Be sure before you pin or sew that your main fabric pieces are together with their patterned sides facing outward.

Be sure before you pin or sew that your main fabric pieces are together with their patterned sides facing outward.

Put a ring on it

You might think about going ahead and adding your keyring here as well so that you don’t have to put your fabric through the stress of being twisted through the keyring. To do that, you’d just need to loop the line of fabric through the ring before you pin it between the shaped fabric pieces for sewing.

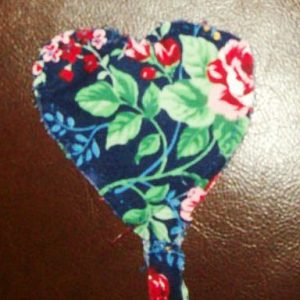
Step Four: Sew! Since this is a keychain, the process won’t take long! And be sure to cut off the excess thread when you finish!

Sew! Since this is a keychain, the process won’t take long!

Sew! Since this is a keychain, the process won’t take long!

Step Five: Hang a key on it and enjoy!