Weeks ago, I did a post where I analyzed a work of art that depicted sewing — specifically a woman sewing by a window with a child nearby. I said within that post that I would return to the overall concept in the future, and the art geek in me is so drawn to the process that a return visit to the strategy is coming your way now!
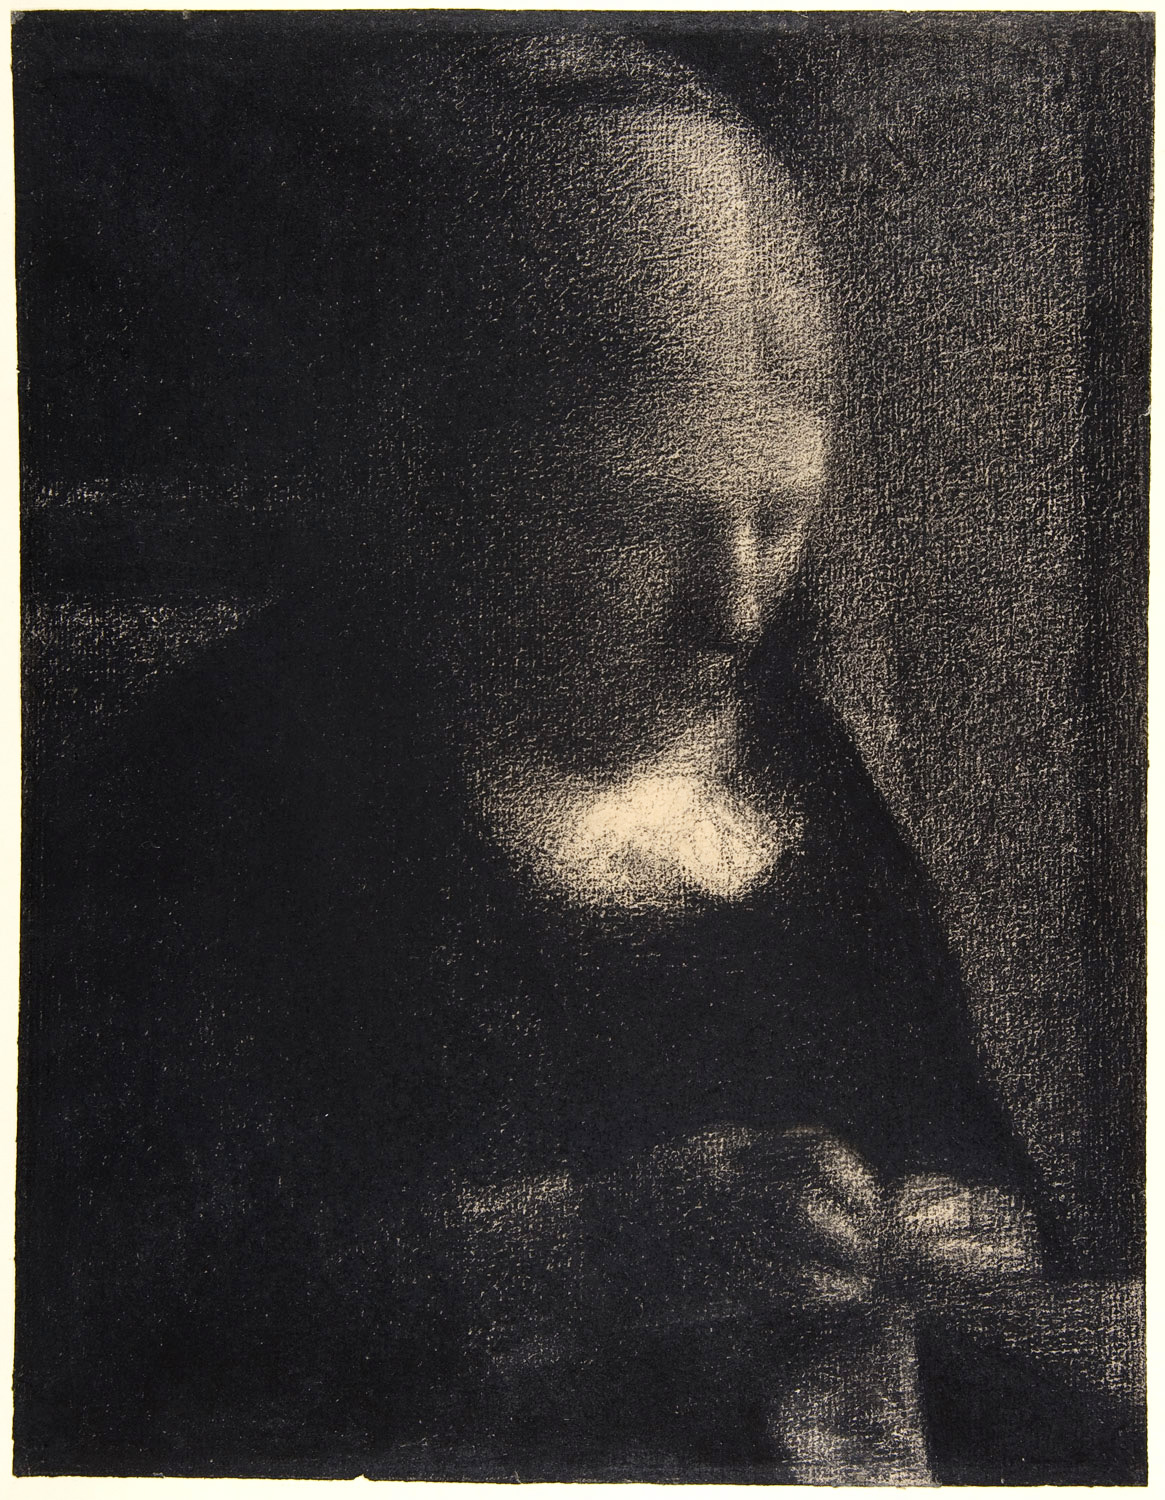
Embroidery: The Artist’s Mother
The work now being analyzed: Embroidery: The Artist’s Mother
The artist: Georges Seurat
The medium: Conté crayon on Michallet paper
Years Created: 1882-1883
This is supposed to be “tranquil portrait of the artist’s mother” with “a serene ambiance of quiet domesticity,” but to be honest, I don’t quite see it. Of course, art is open to interpretation, but if Seurat intended to create a piece that represented any kind of peaceful or happy sensations, for me, he missed the mark.
But I suppose I’m getting ahead of myself! Perhaps we should scale it back and cover the piece’s details before we dive into what those pieces mean.
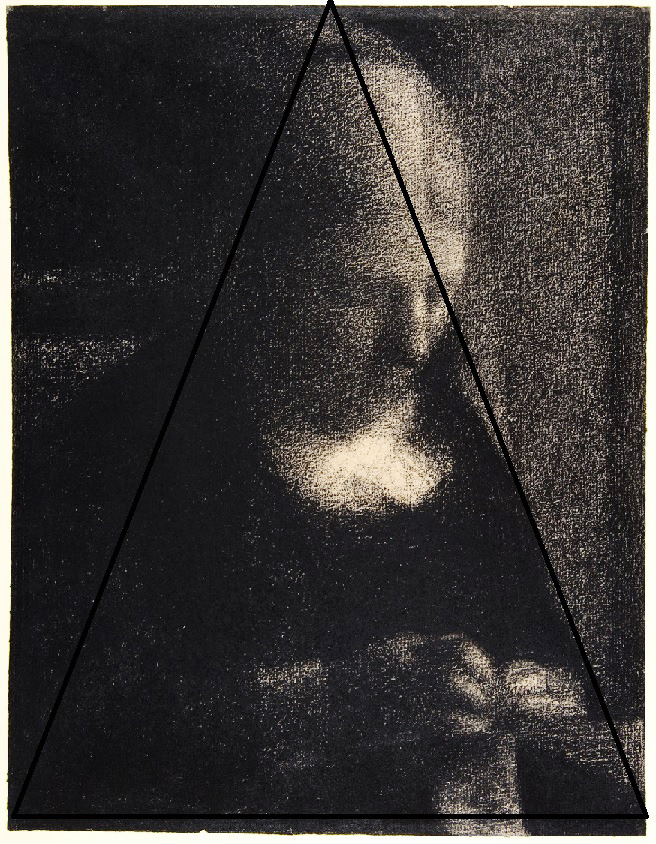
Seruat’s work that’s now being addressed, just about the whole thing can be fitted into the focal pyramid.
On my earlier post, I mentioned the concept of triangular configuration, meaning a triangle — or pyramid — could be drawn generally around the central figures of the work to bring the viewer’s focus to that section. With this drawing, most definitely that concept is employed, but it’s in a much different way than what was seen in the painting that was previously analyzed. For that earlier work, there were a number of other elements at play that surrounded the pyramid. For Seruat’s work that’s now being addressed, just about the whole thing can be fitted into the focal pyramid.
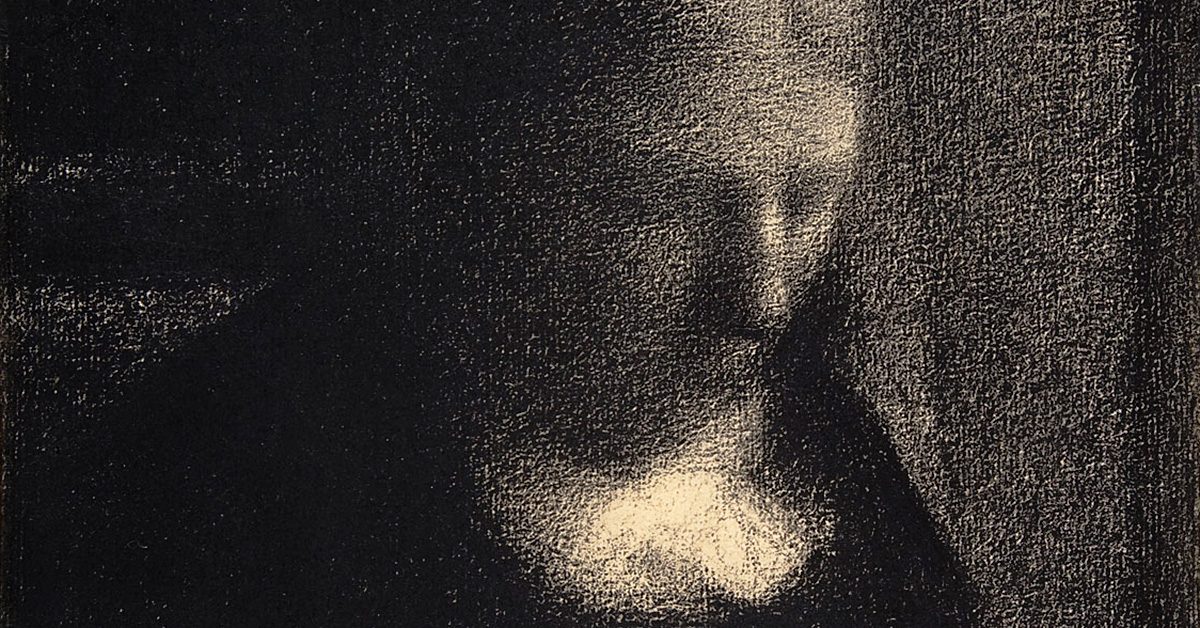
Beyond that factor, the most notable detail of this work is potentially how dark it is. There’s very little light in Embroidery — so little, in fact, that there are only a small number of areas that are bright enough to fully be differentiated. Consider what’s going on behind the woman sewing, on her left side. The work gets brighter, then darker, as if something is there that changes the light in that area. Maybe it’s a bend in the wall because she’s working by a hallway, or perhaps it’s some kind of drapery that’s hanging there. The point is that the viewer can’t know why the difference is there. He or she can only note that it is there.
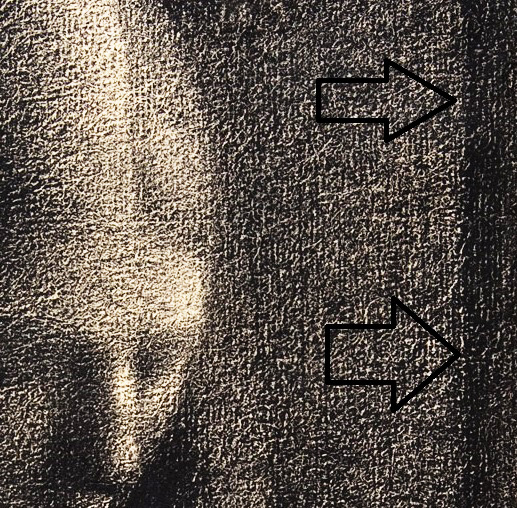
The work gets brighter, then darker, as if something is there that changes the light in that area.
There’s a vagueness in that detail, and it’s mirrored in the blurred features of the woman herself as she sews by hand in a room that seems to be incredibly dark. In truth, without the visual proving that she’s using her hands, the viewer could easily conclude that the woman in the work has fallen asleep while sitting up. There’s no indication that her eyes are open, and a person can barely discern the woman’s mouth to know what’s happening there. Without the image of the actual sewing, the viewer could let his or her imagination run wild to decide she’s asleep and drooling, or frowning through a nightmare. The piece simply looks too vague to know from the facial expression alone.
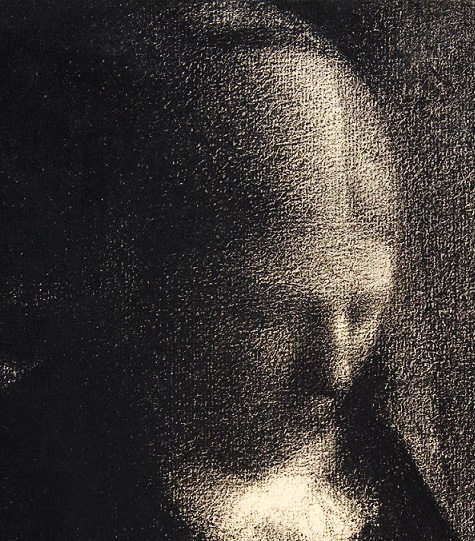
Without the visual proving that she’s using her hands, the viewer could easily conclude that the woman in the work has fallen asleep while sitting up.
So what we perceive is a woman who is sitting in what can barely be distinguished as a chair, and the only indication to us that she is sewing is we can see the material hanging from her curved hands.
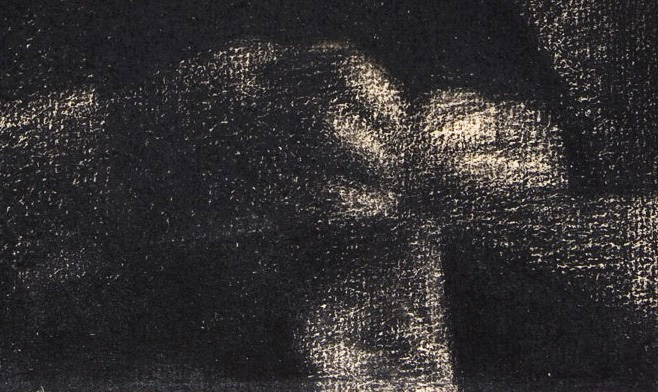
See the material hanging from her curved hands.
If I put all of that together, I just can’t arrive at a peaceful meaning. To me, the darkness shows a sadness that’s mirrored in the idea that there’s nothing of sincere noteworthiness happening around the woman aside from the sewing. Since that sewing itself is inches below the lightest part of the painting, brightness isn’t a logical label to give to that activity either in order to offer a pleasantry to her task — and, by extension, the whole image. To me, this feels more like a rendering of a woman who is almost a drone — thus, her faded features — tending to a task that leaves her so unhappy that she’s sitting in darkness and perhaps nearly dozing in her efforts.
This, to me, is not a good representation of sewing! I suppose by applying the description of the work, I can rationalize that it wasn’t the artist’s intent to create a piece that so drearily portrays the process of sewing. The site even acknowledges a positive comment that’s been given to the work, so it could be that I’m the only one who comes to these kinds of conclusions. Still, if I was going to direct someone to an art piece that I feel showcases the mood of sewing, this might not be my choice!