Blank Canvas

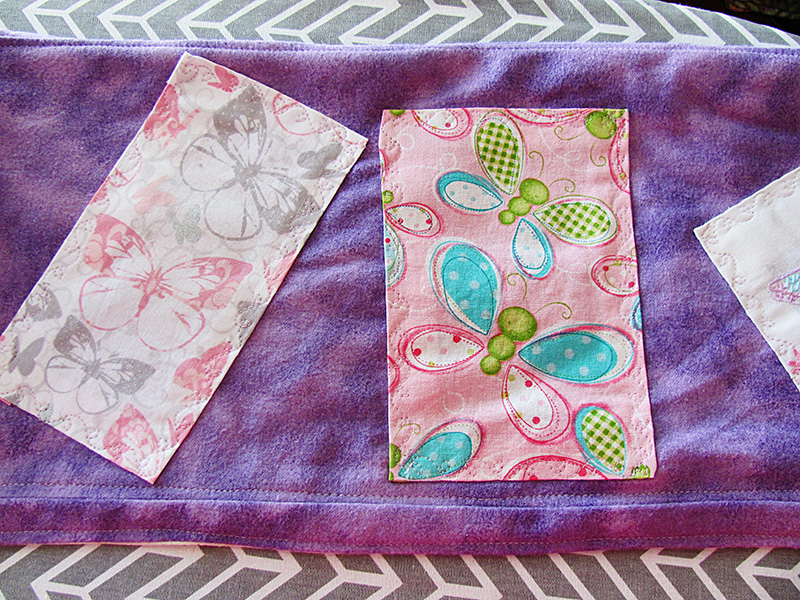
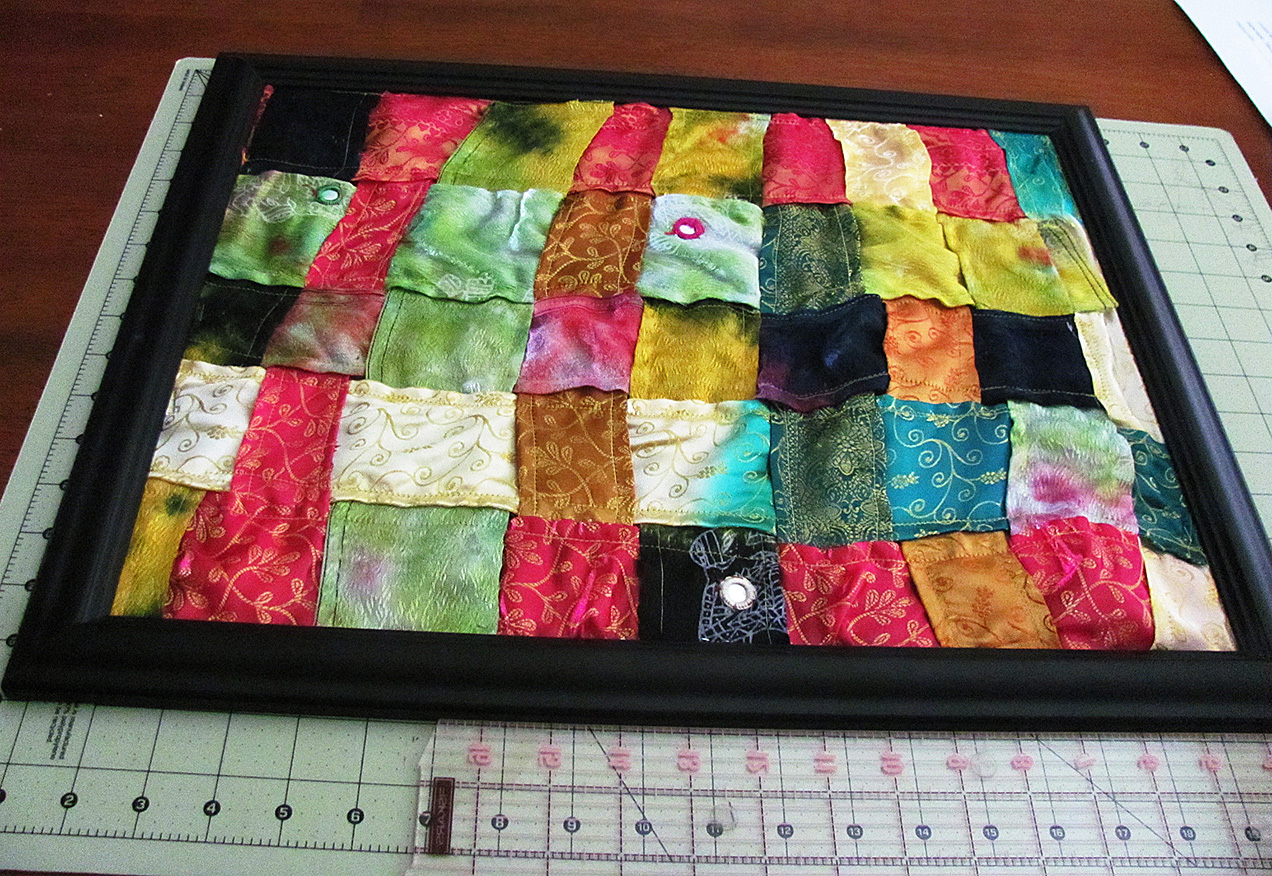
Cashmere wall art.
I really dislike drab walls. I’m always looking for cheap, out of the box ways to splash up my walls. I’ve never attempted any type of fabric wall hanging before, so I thought, “Throw caution to the wind and dress up that naked wall!”
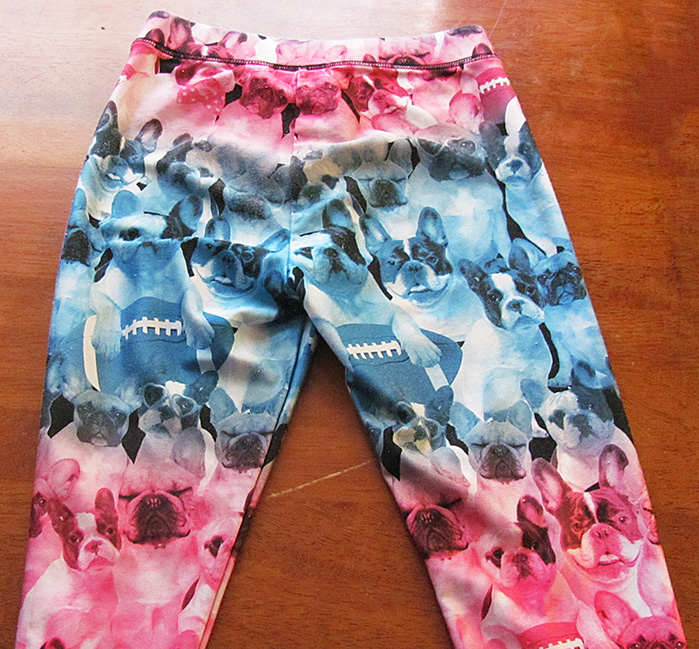
I was given some really awesome cashmere materials in vibrant colors. Sadly, the pieces weren’t big enough to make a nice blouse or skirt out of. I’ve been searching for a great creative way to showcase this amazing material. This wall art turned out to be the perfect display piece.
**Tip: Wash all new materials prior to use to avoid shrinkage resulting from later washes.
**ProTip: Iron cut pieces before sewing and in between each step. This helps in the sewing process as well as setting the stitches to lessen unraveling with age. Often the end results tend to look more professional as well.
Level: Beginner
Time to Complete: 1 – 2 hours
Sewn By Machine: 1/4 in. straight stitch
Materials
- 9 – 16″ W strips, varying lengths
- 5 – 20″ L strips, varying widths
- **I made 1″, 2″ and 3″ strips. I didn’t want a basic uniform checkerboard pattern and varying the strip size helped add some uniqueness to the finished design.
- 1 – 14″ W x 18″ L Canvas Frame
- 1 – 14″ W x 18″ L Cardboard for back of wall hanging
I measured an extra 1″ on all sides of the frame. I’d rather it be a little big than too small. It can be quickly cut down to fit the frame if too big.
Let’s Get Started
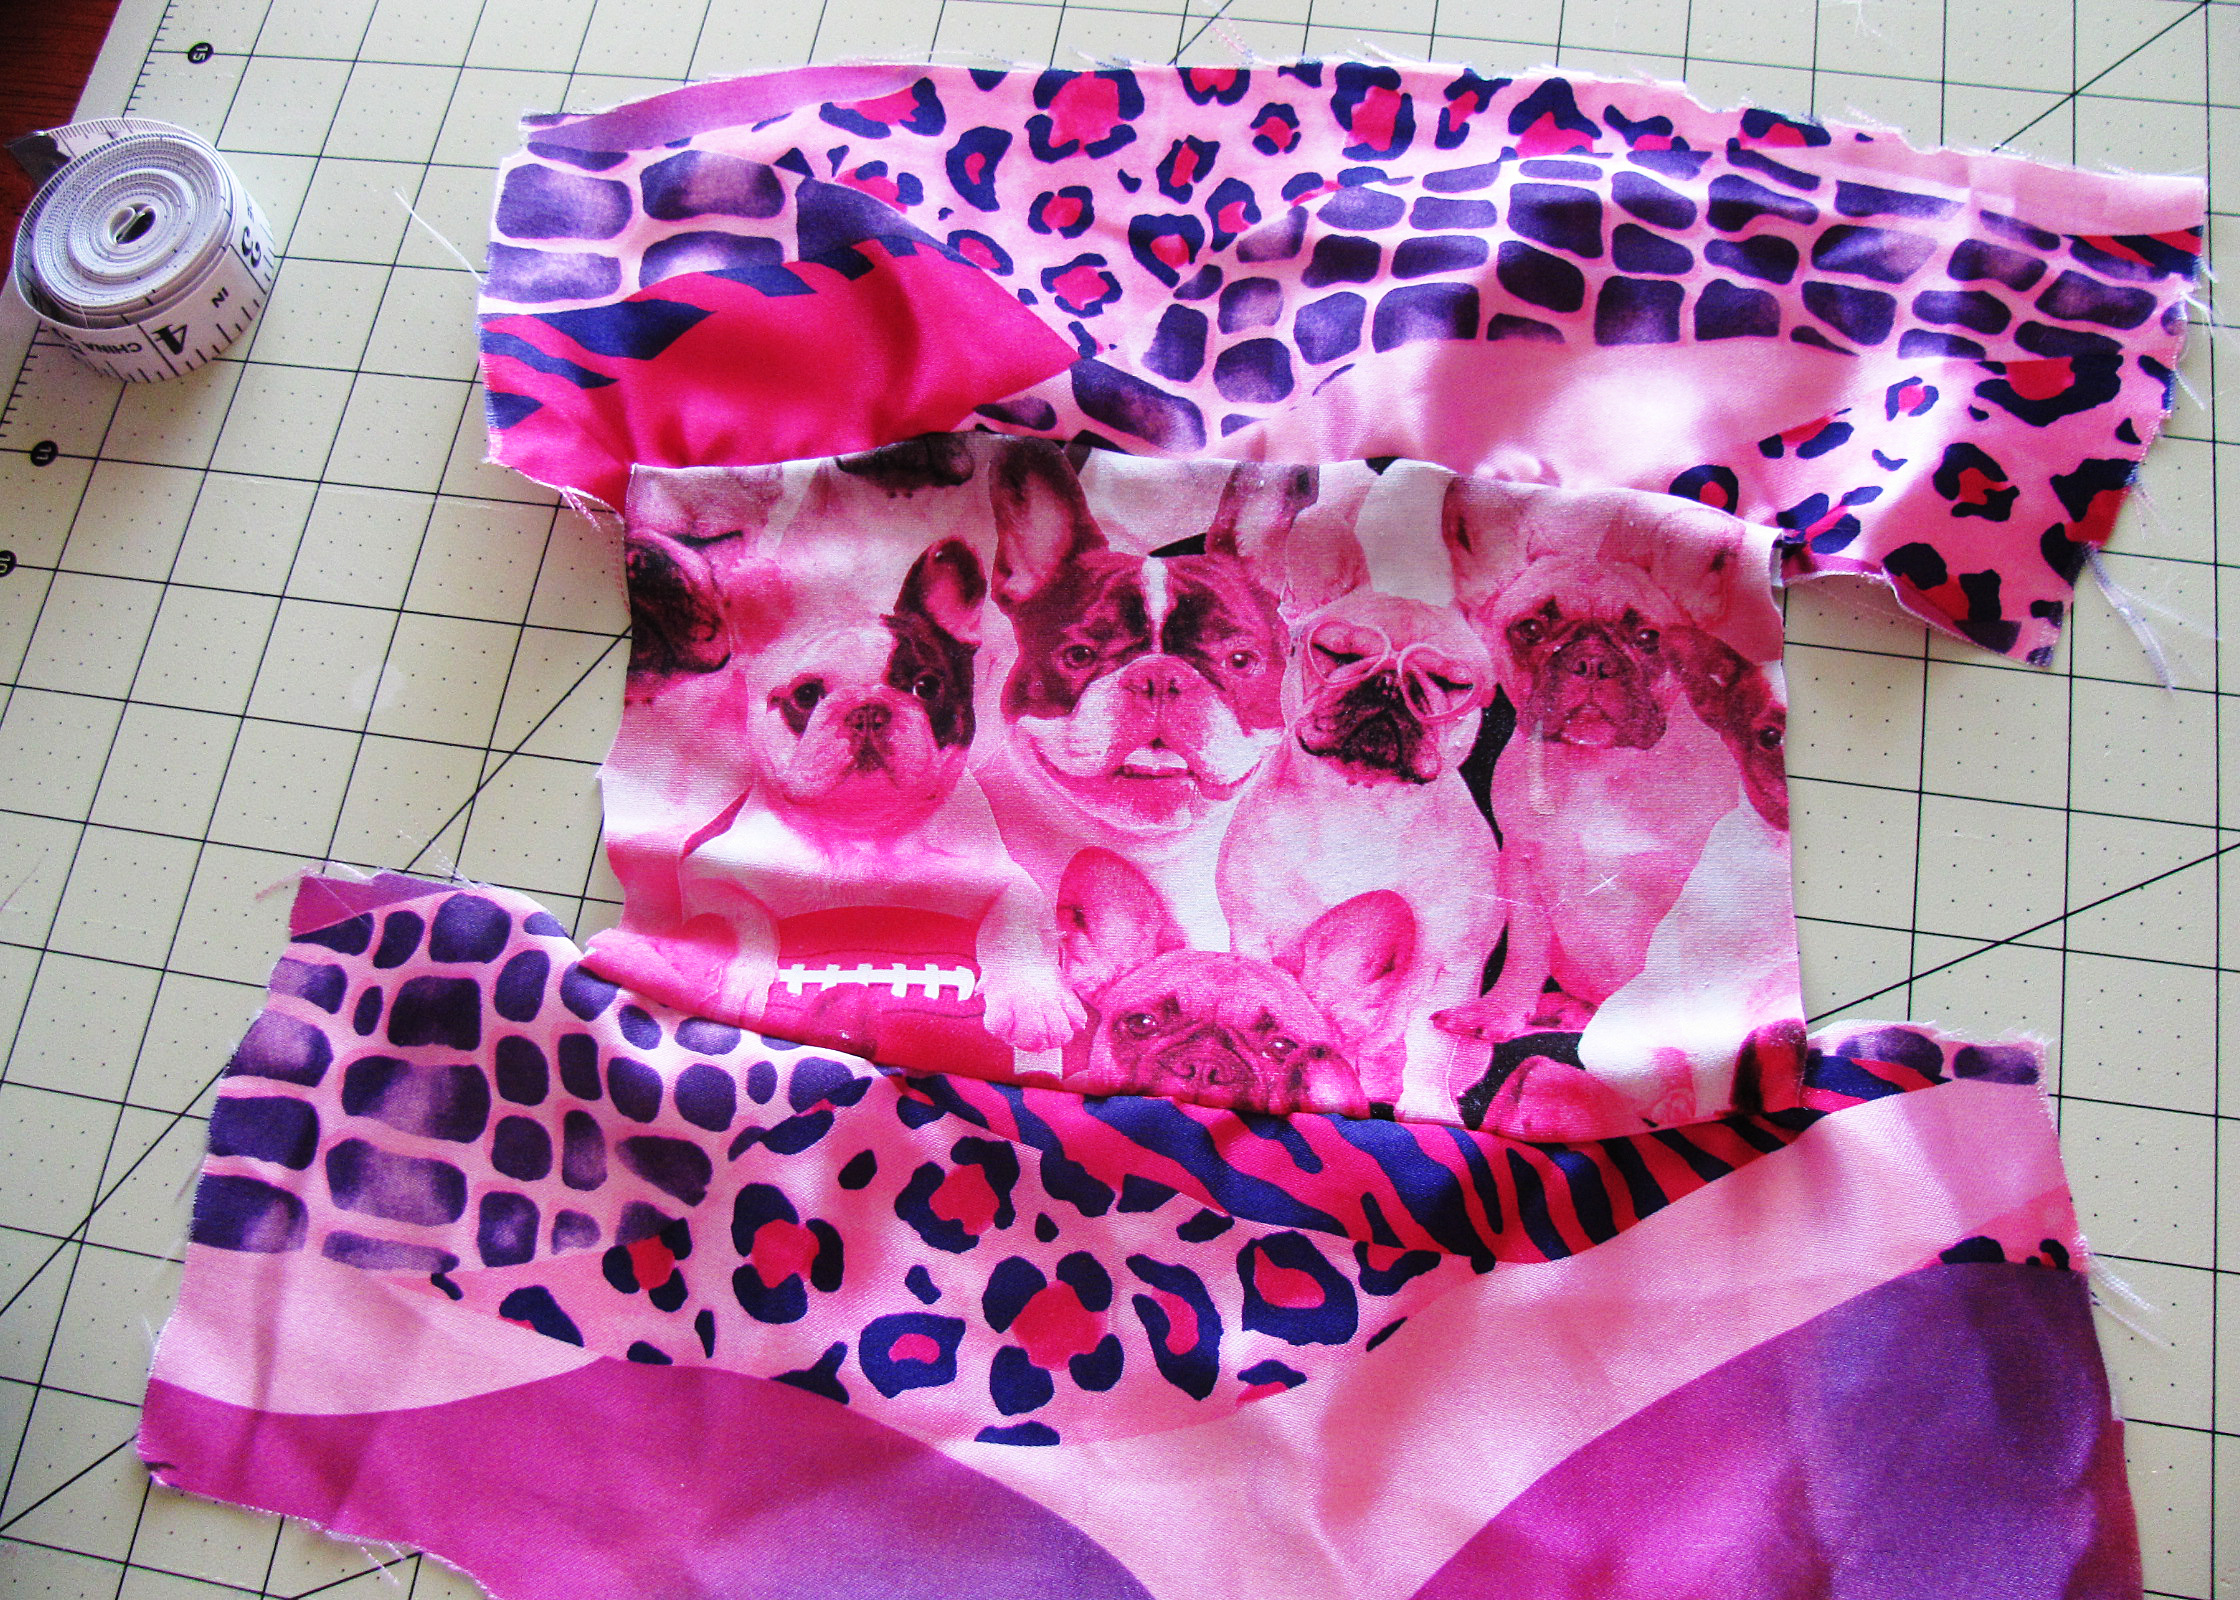
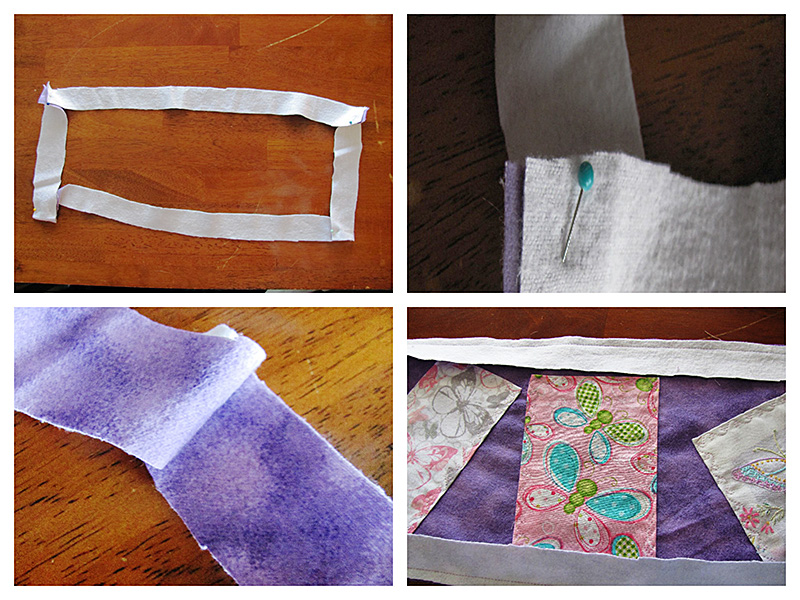
- Cut out strips and iron.
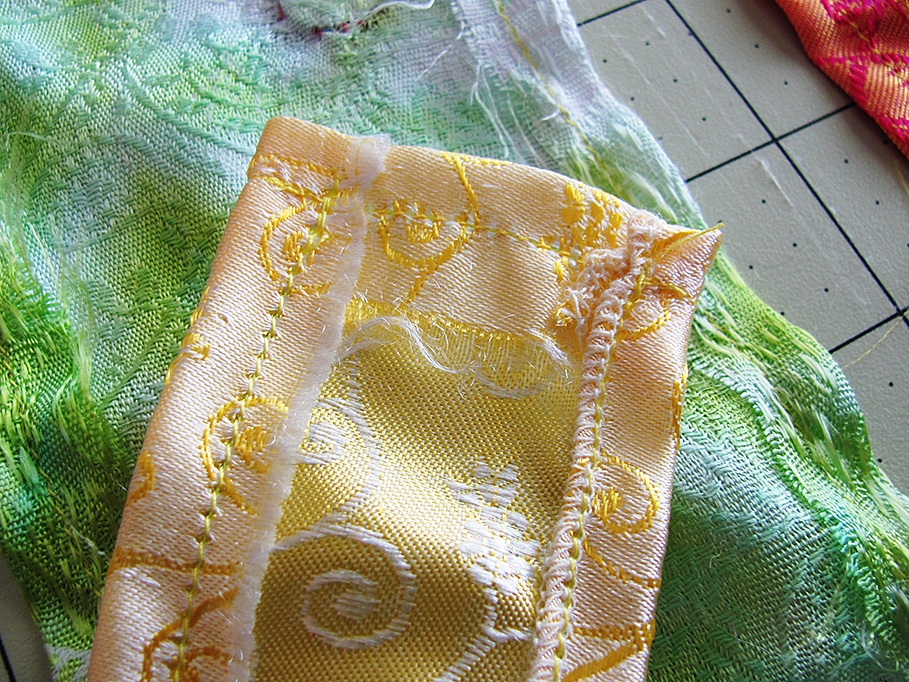
- Iron the 1/4″ seam on all four sides of the strips. Since this material is 100% cashmere, it doesn’t hold well when pinned, moved quite a lot during sewing. The pins were also falling out the second I moved my material to the sewing machine. I found ironing each seam on a wool heat setting helped secure the seam without using pins.
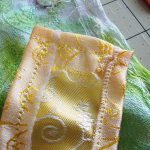
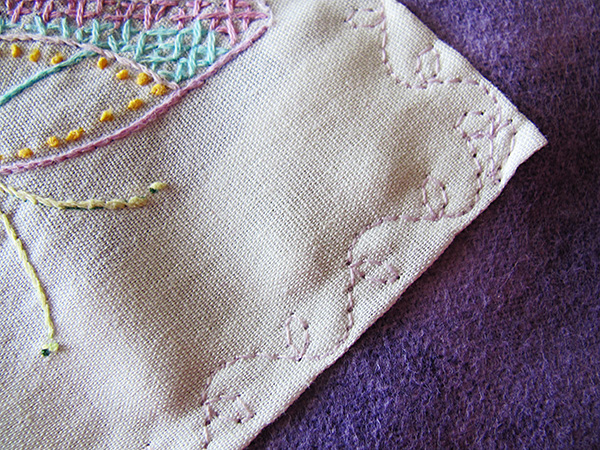
Fabric strip seams.
- Sew around all four sides of all fabric strips using the 1/4″ ironed seam.
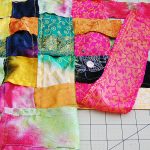
- Arrange the fabric strips in lines down and across. I arranged them, then put the frame over it to help visualize. It took me several times to find an arrangement I was happy with.
- Once you have the strips set up the way you want them, put them under and over each other to create a more defined checkerboard look.
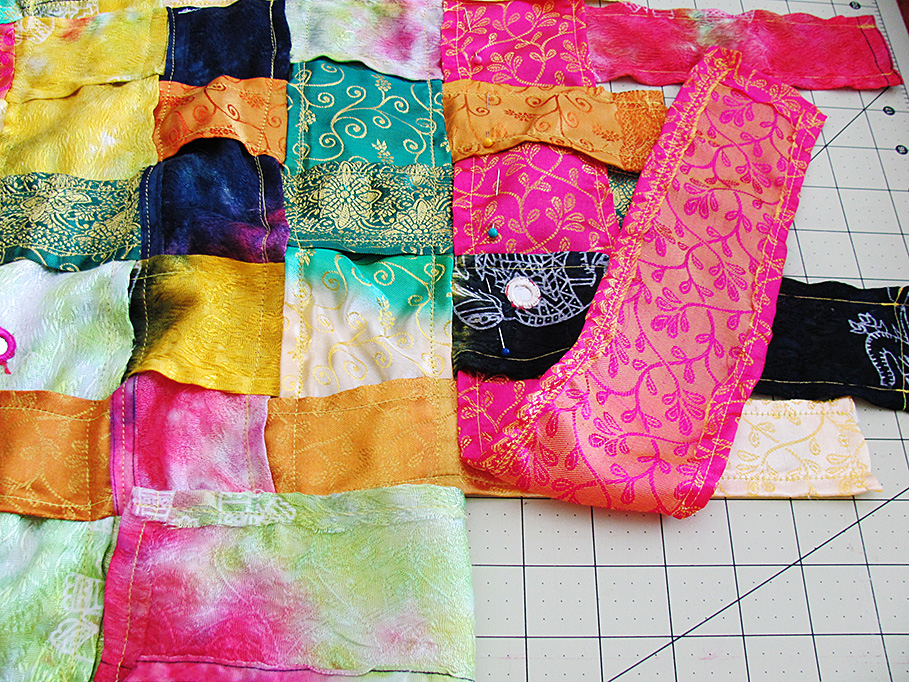
- Start sewing the fabric strips together. I pinned the various short strips to the first long strip. It took awhile to sew each individual strip onto the longer one but it paid off in the next step.
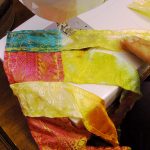
Piecing together. 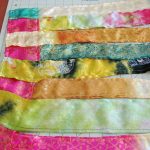
Note the over/under pattern. - Sew on the remaining long strips. Remember to keep the over/under pattern. This step went much easier. Since the smaller strips were already attached to the first and in order, all I had to do was sew around the 4 sides of the long strip. The smaller strips were all sewn on in one, quick easy step.
Piecing together.
- Take the fabric piece to the frame. Place on the cardboard back piece. Cut the fabric on all sides about 1/4″ past the cardboard edge.
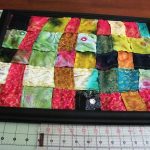
Fit to the frame.
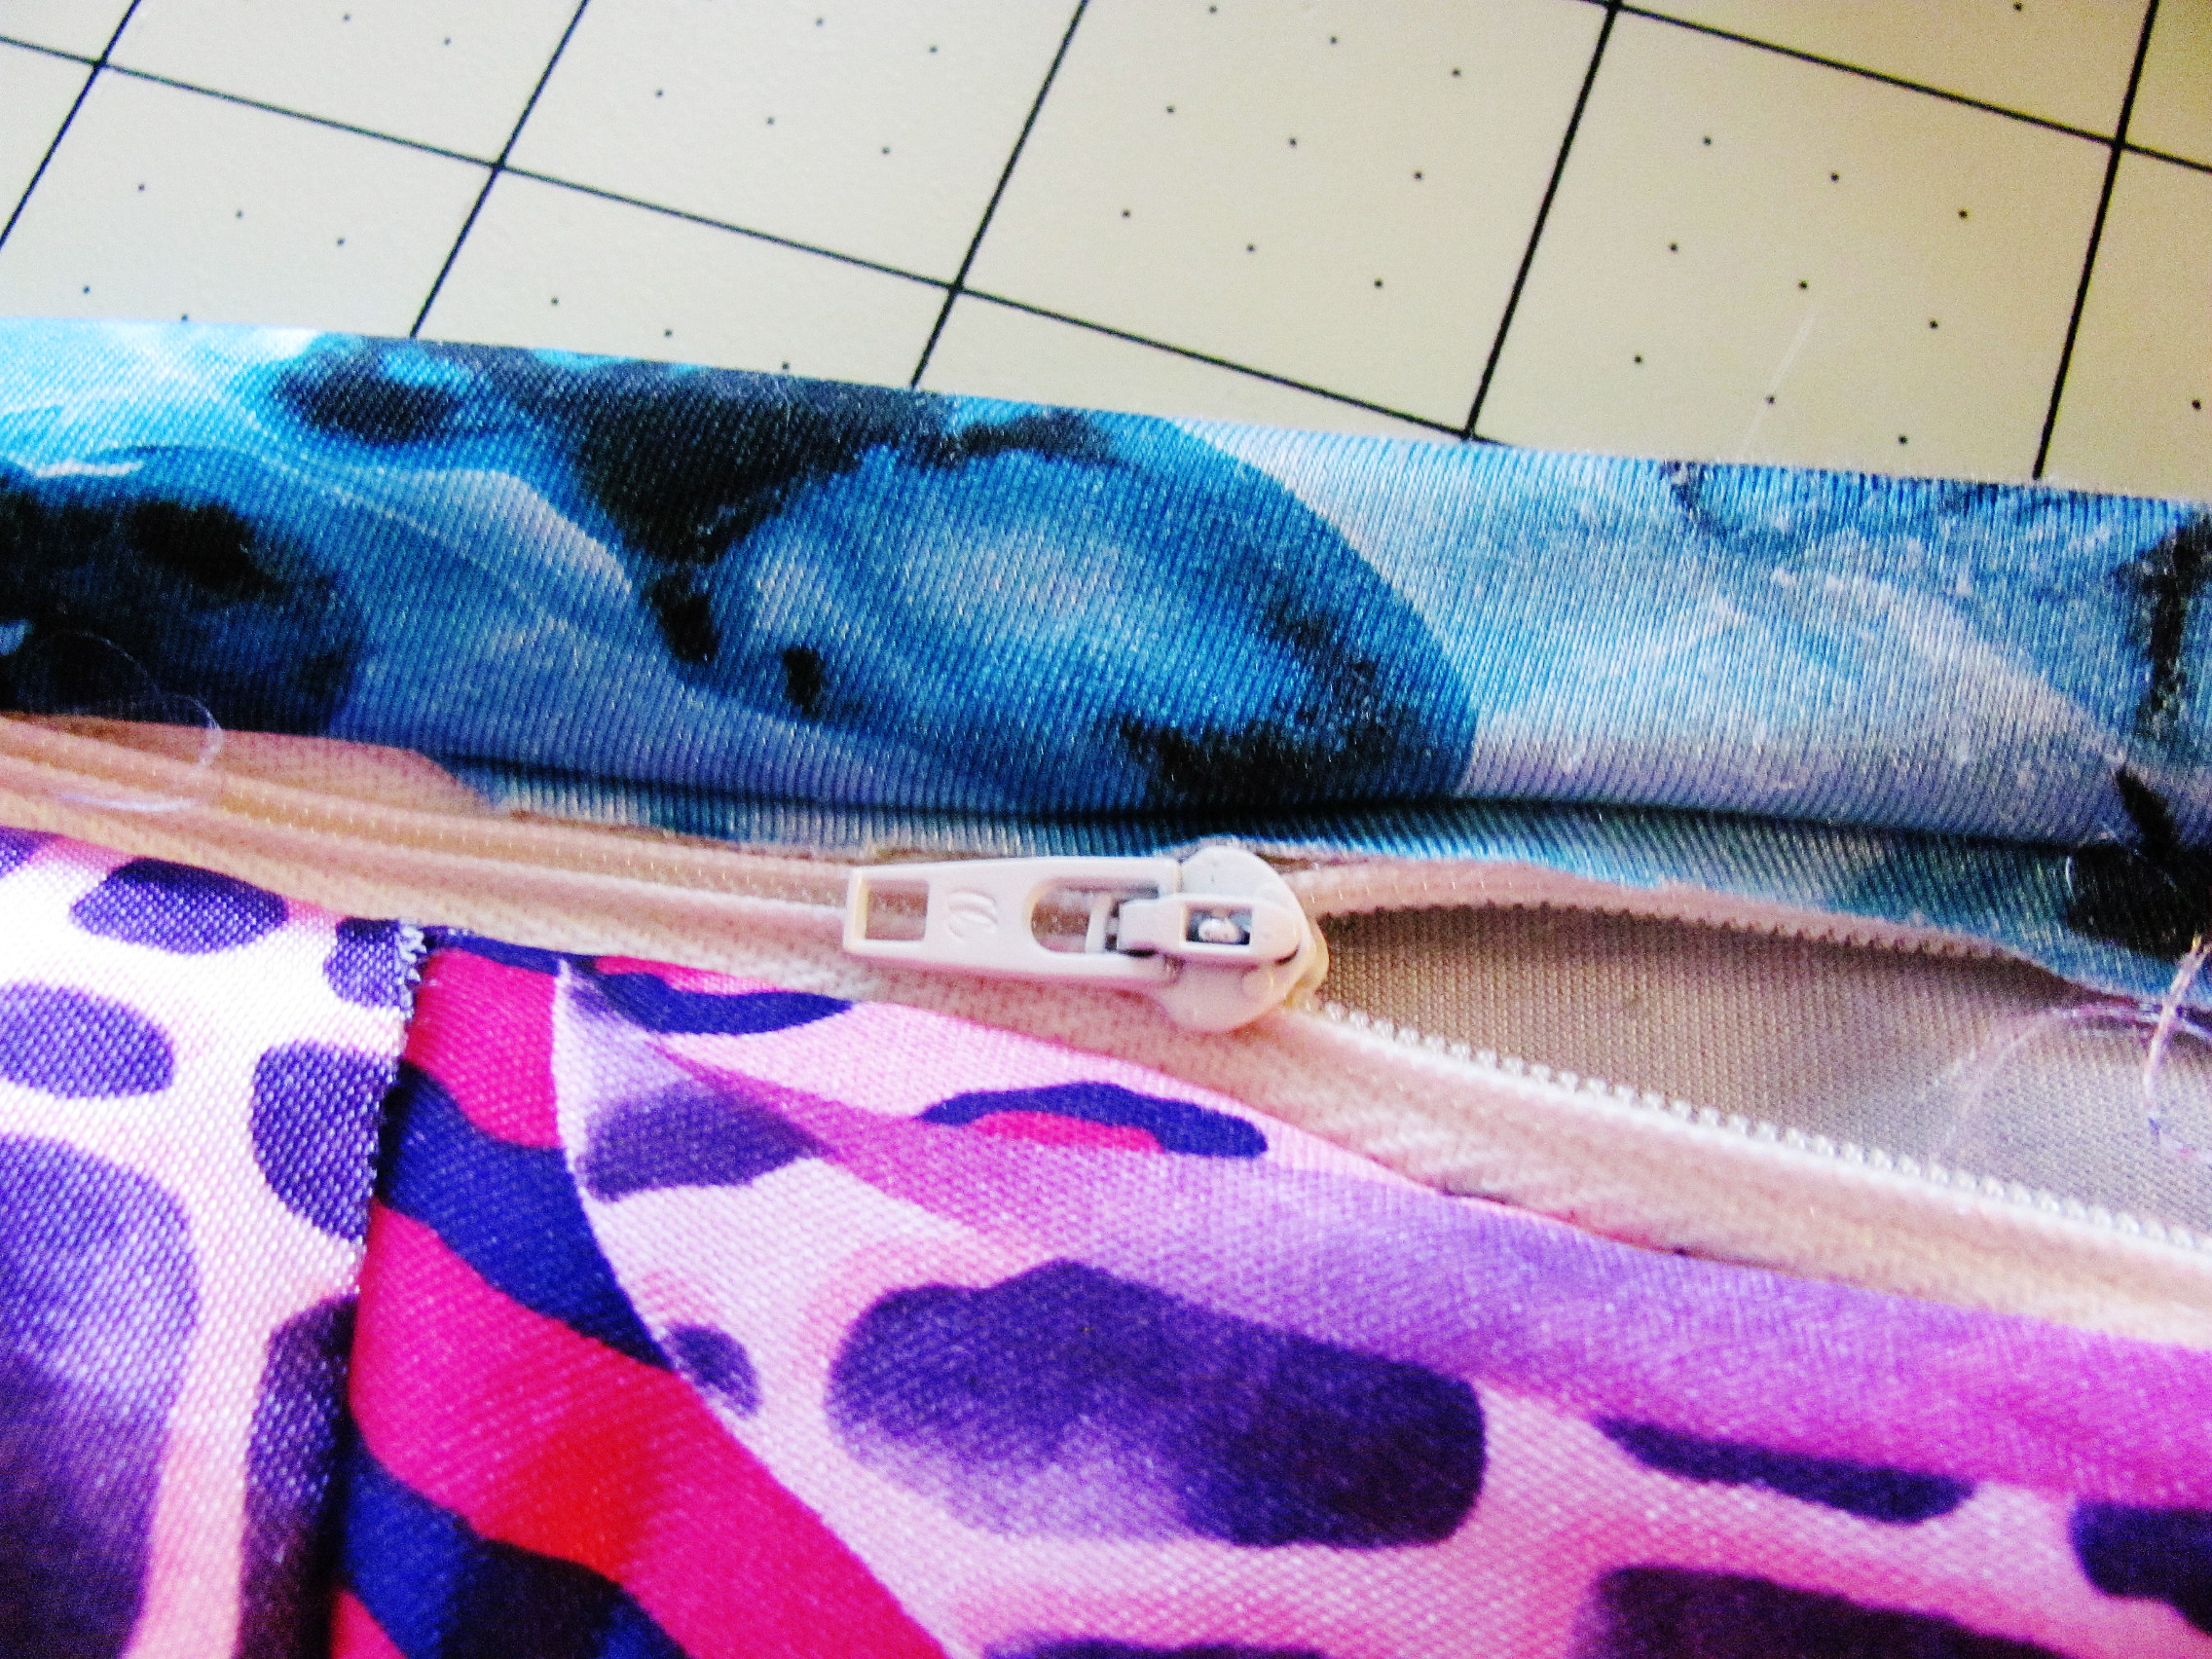
- Sew around the piece using the extra 1/4″ seam you just measured out.
- Attach fabric artwork to back of the cardboard. I used staples around the edges.
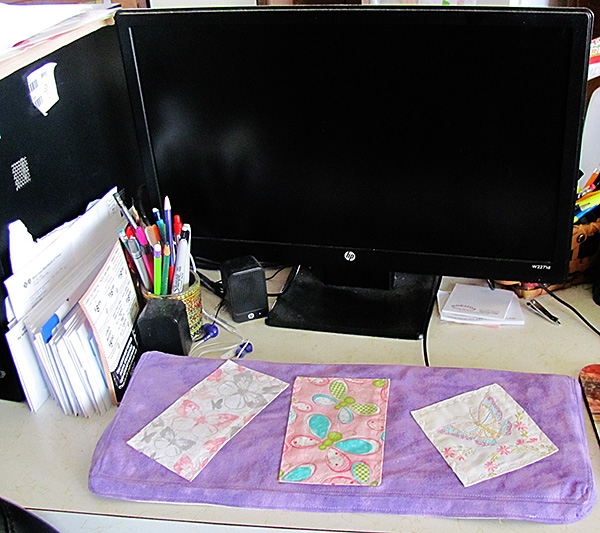
- Place into frame. I decided not to use the glass for the frame. I felt the way the fabric flowed without being pinned down by the glass really added some splashy appeal.
- Hang on your wall, plop into a chair, sip a cup of tea and enjoy the vibrant new addition to the room!
Stacey’s Stitches