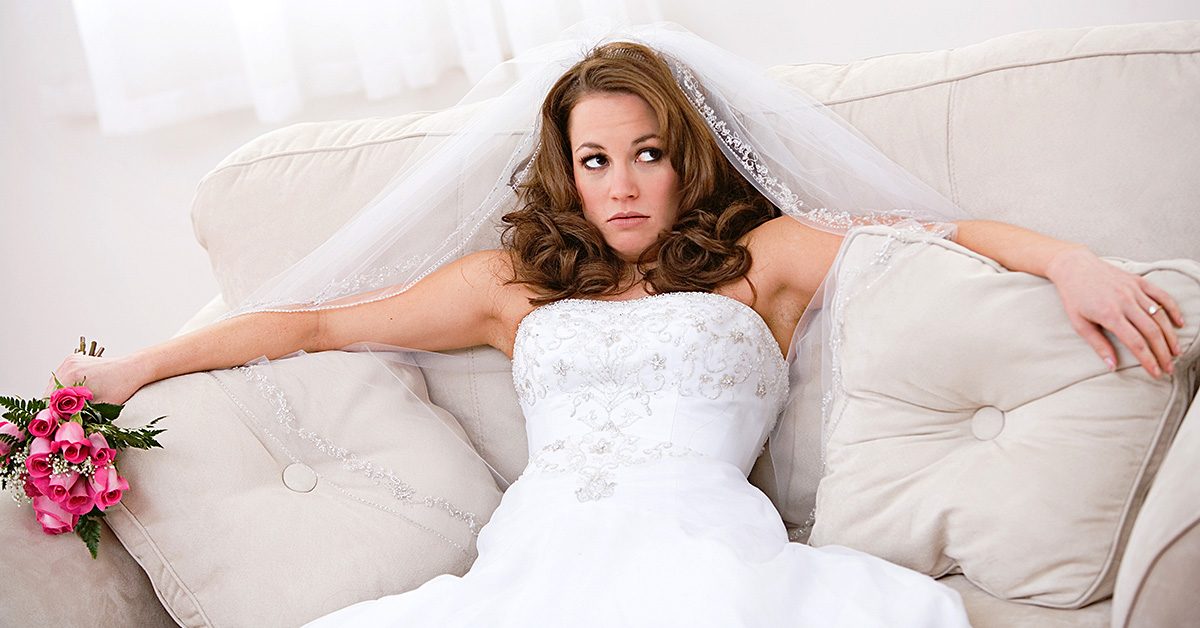
I’ve gotten a few inquiries lately to do wedding dress alterations and creations. Some tailors don’t like working on wedding dresses. They say brides are the most difficult customers there are. I don’t mind so much and, honestly, don’t find brides any more demanding than actors and actresses, which makes sense as brides are (and should be if that’s what they want) the stars of their own little wedding day movies.
Here comes the bride…
Classic pillbox.
A lifetime ago, when I lived in Austin, TX, I did a lot of wedding dress alterations. I had a partnership with a bridal store there. The store referred all of its brides to me and I paid a small monthly fee to them for the referrals and use of their fitting rooms. On account of the University of Texas being in Austin, the city has a huge young adult population, many of whom get married there.
Most of the alterations were your straight forward hems, take in the side seams, add a bustle, kind of stuff. But a few them stick out in my mind, even all these years later, as being especially unique and fun to do.
One of my favorites was the girl who bought a dress with a tiered skirt. It was a relatively narrow skirt of about six 7” or so flat ruffled tiers that got slightly bigger as they got nearer to the hem. The dress was floor length but she wanted to be able to remove the bottom three tiers to make it knee length and easier to dance in once the reception rolled around. I bought a heavy duty separating zipper and hid it under the fabric tier that began just above her knee. It worked perfectly; you couldn’t tell it was there at all and she was able to easily zip off the bottom half of her dress skirt, like those hiking pants you can zip off the bottom of to make shorts. But a lot better.
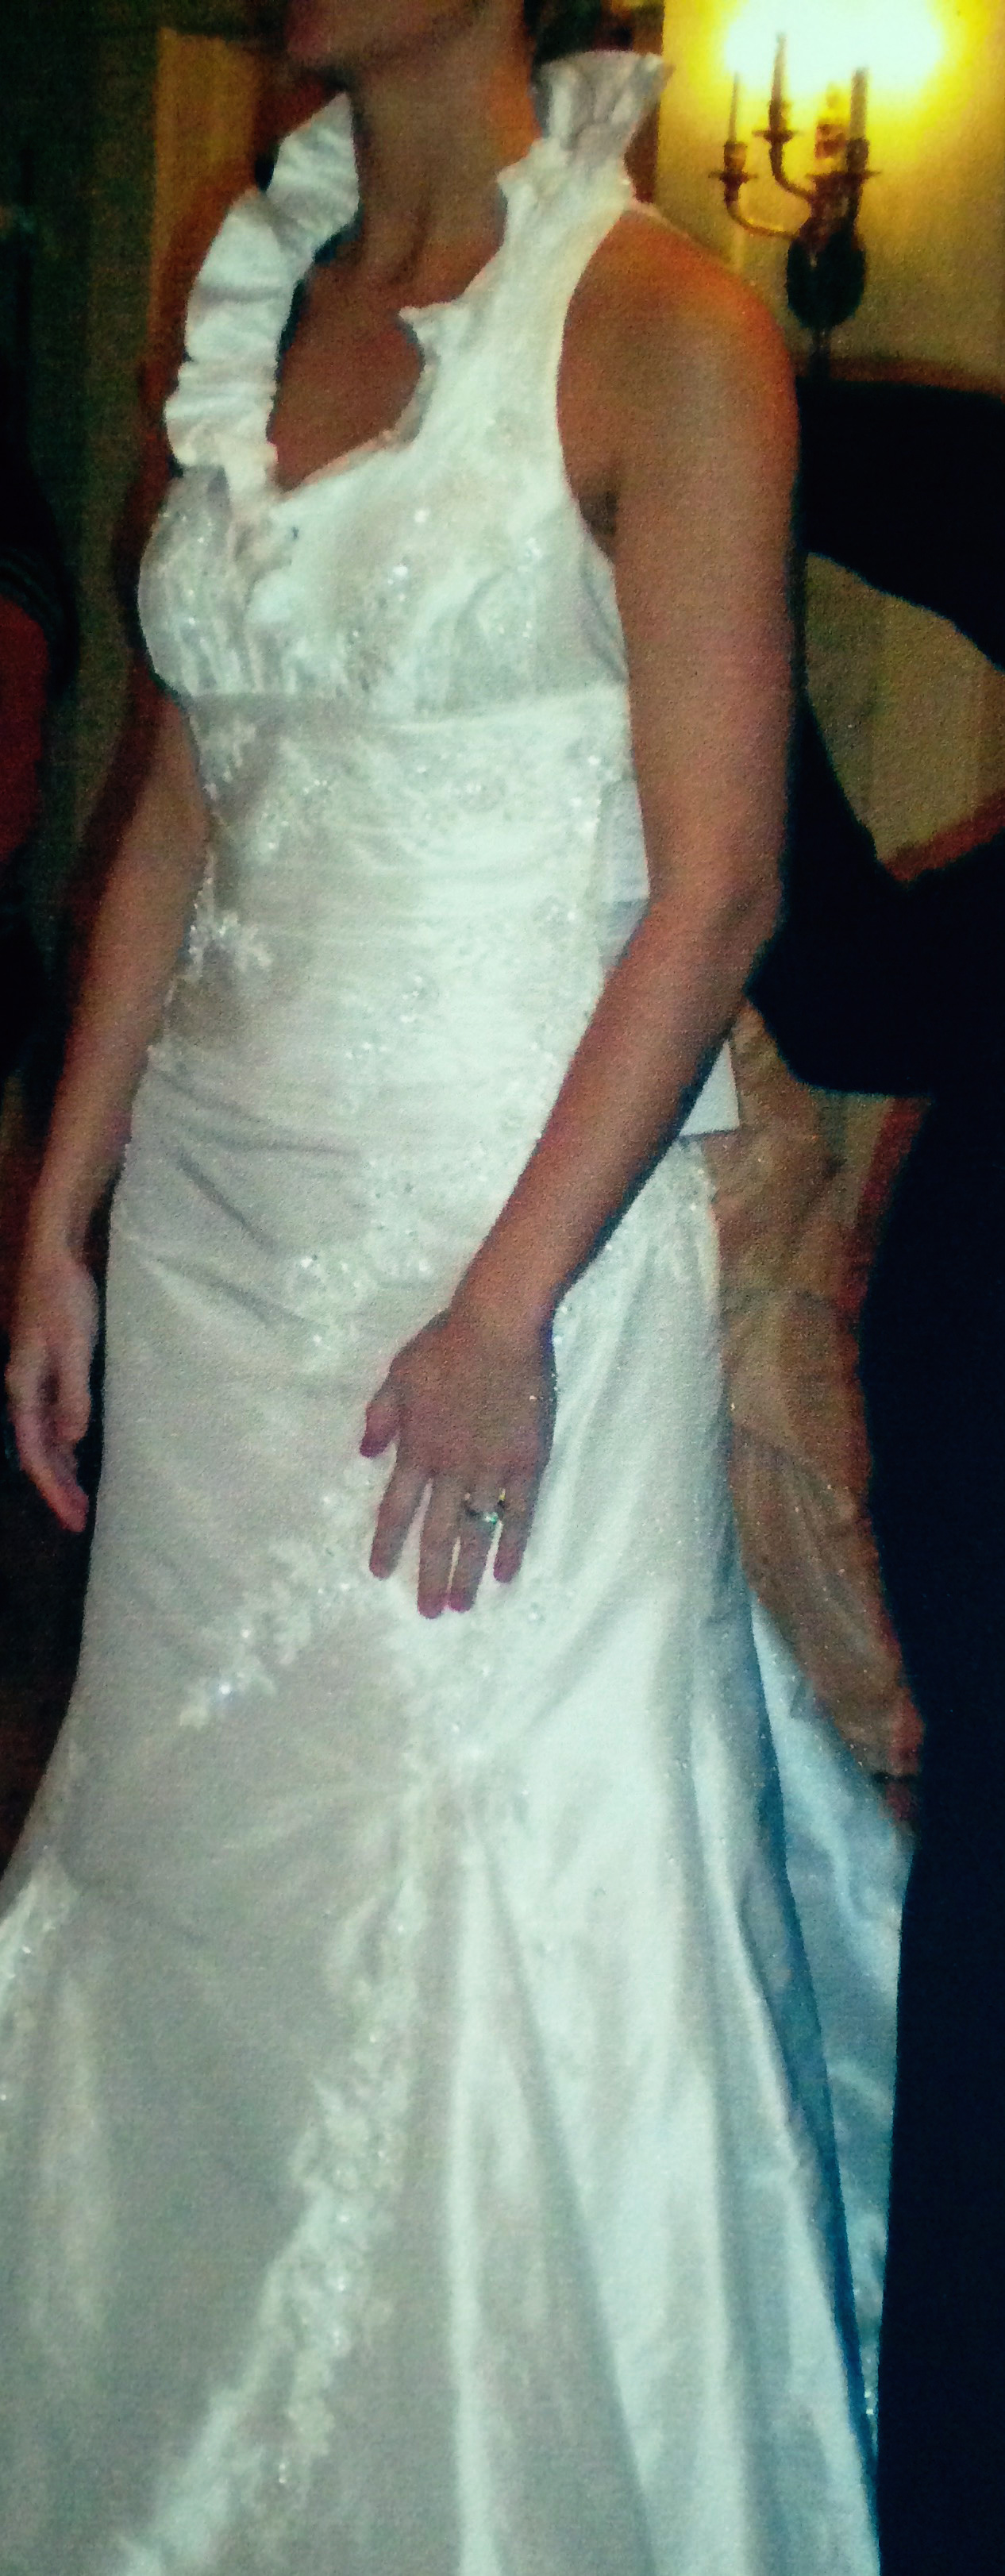
I also did a lot of adding straps to topless dresses. Topless dresses are always good in theory but not so much in many practical situations. One client, a computer graphics and design professional, even created her own unique strap shape she wanted me to build for her. I didn’t even have to make my own pattern!
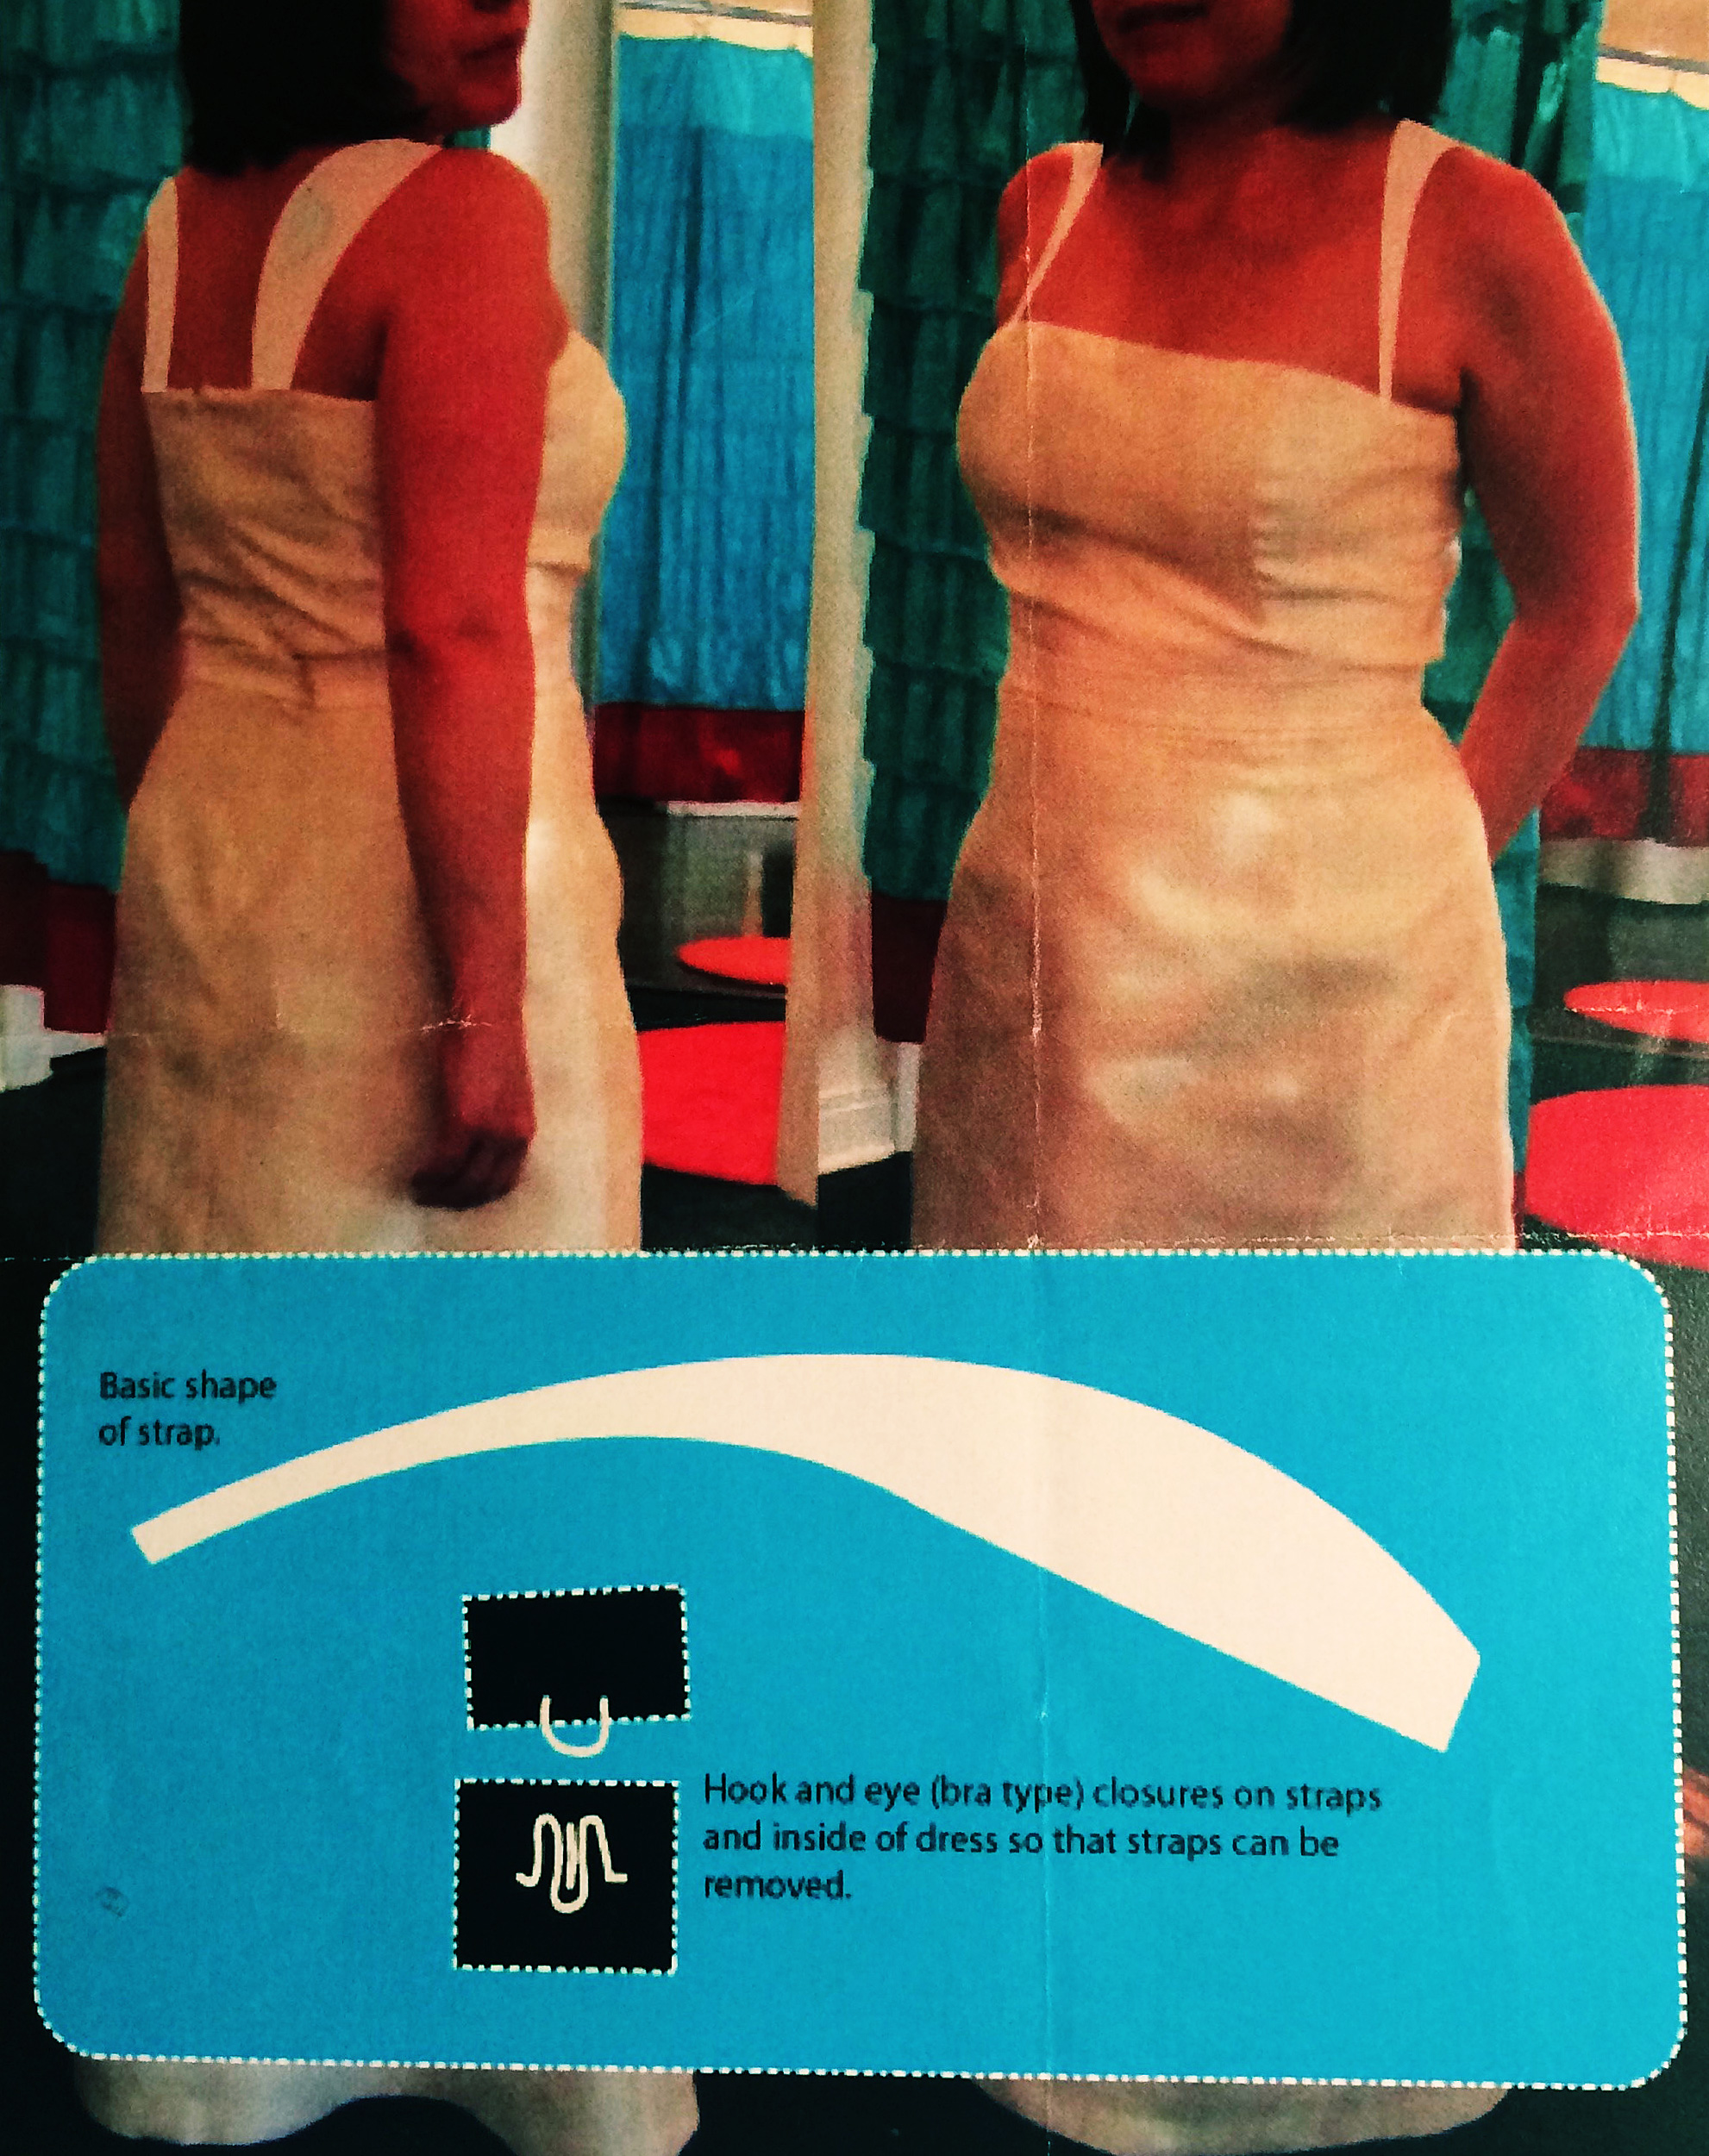
Strap design.
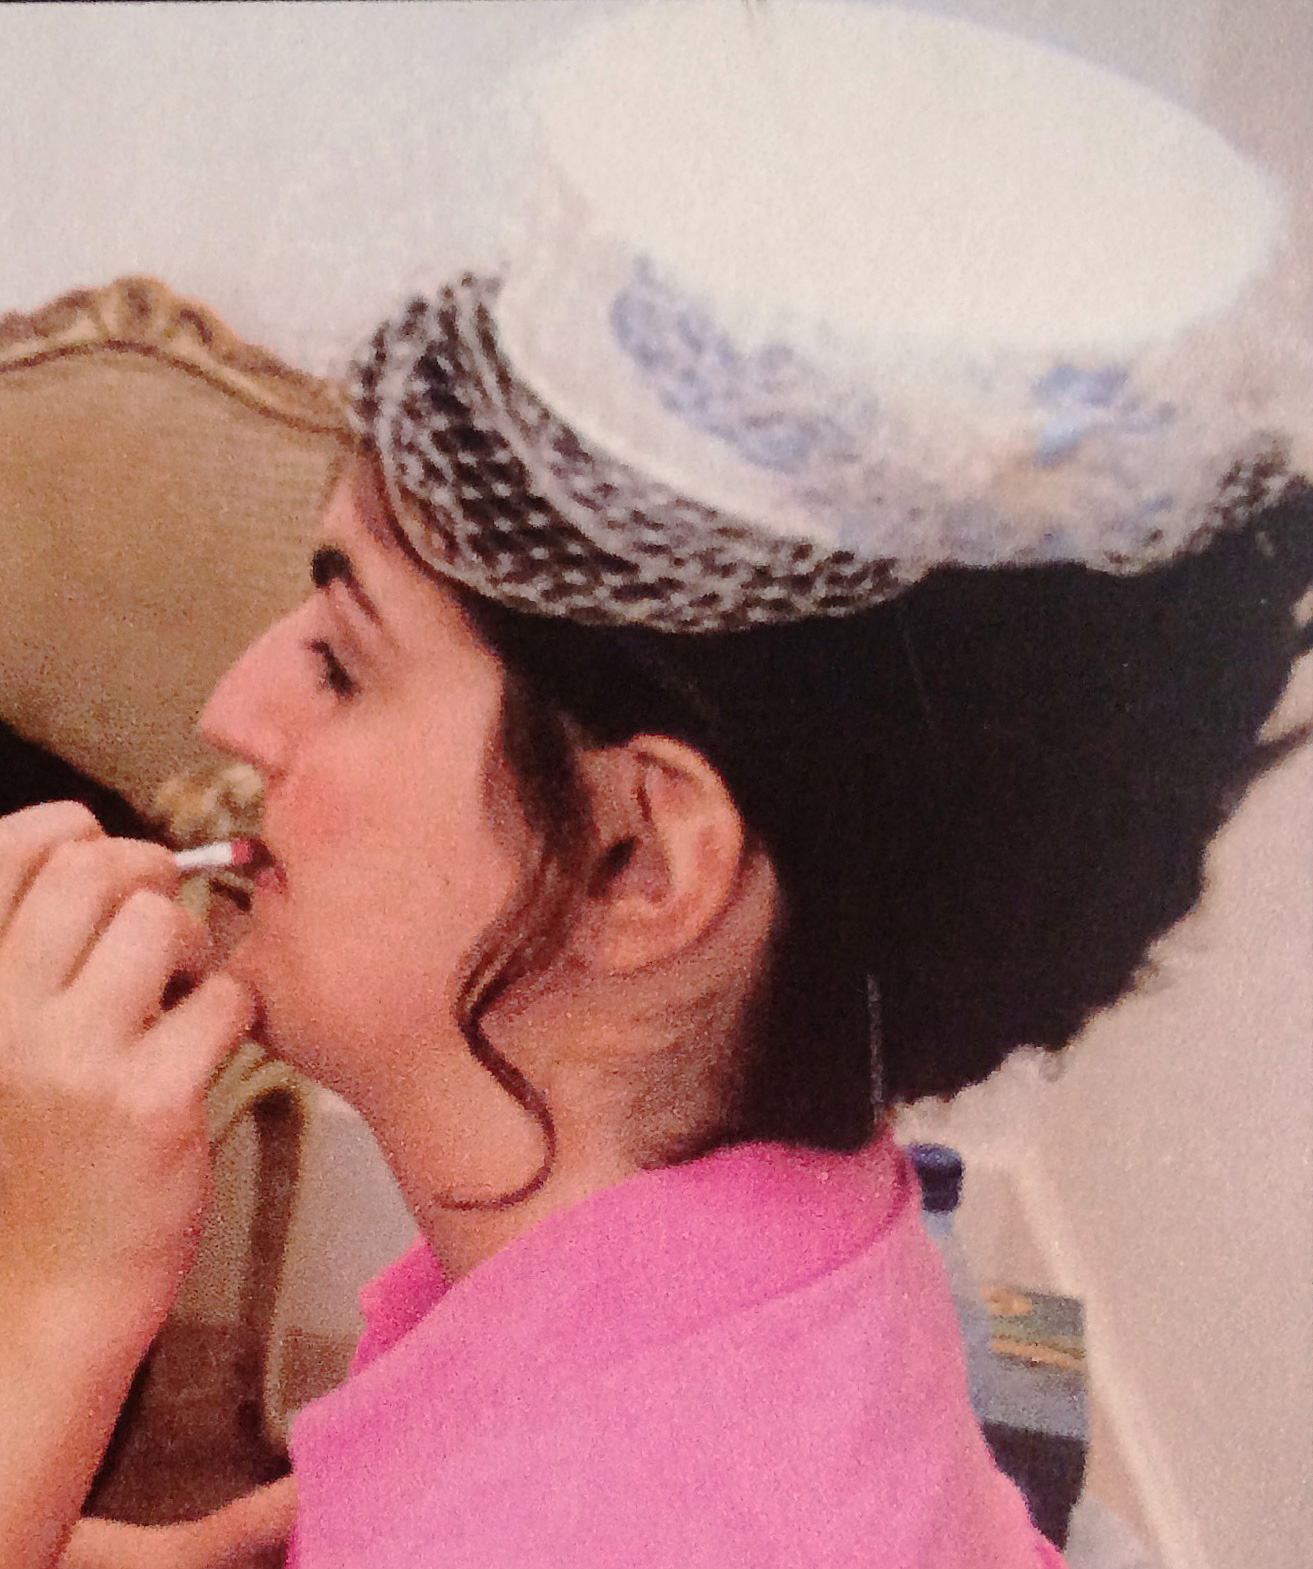
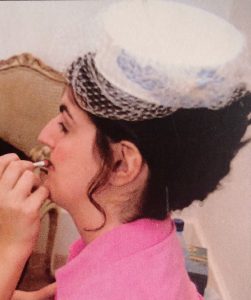
Bridal hats
I made quite a few bridal hats too. Some of them were your classic covered pillbox shapes. A pillbox is really just an oval or circle with a 2 and a half to 3 inch band made from buckram and wire, then covered with fabric. A little trick to pillbox making I learned at the very beginning of my millinery career is to first cover the shape with a thin layer of baby flannel. Stitch it on as you would the fabric, then use Sobo glue to smooth and ‘mush’ the edges. This gives the hat a little bit of weight, softens the wire on the edges, and makes your outside layer (often a light weight silk if its bridal) look much smoother and nicer. Pull the baby flannel down and around the wire on the bottom edge and into the underside of the hat.
You can use this baby flannel technique to cover any buckram framed hat you make. I created this wide brimmed hat for another bride in Austin. You can see in the photo that the edge of the brim has some substance to it even though the silk covering it is fairly light weight. That’s because there’s baby flannel under there too. It just gives a hat a much more professional finish.
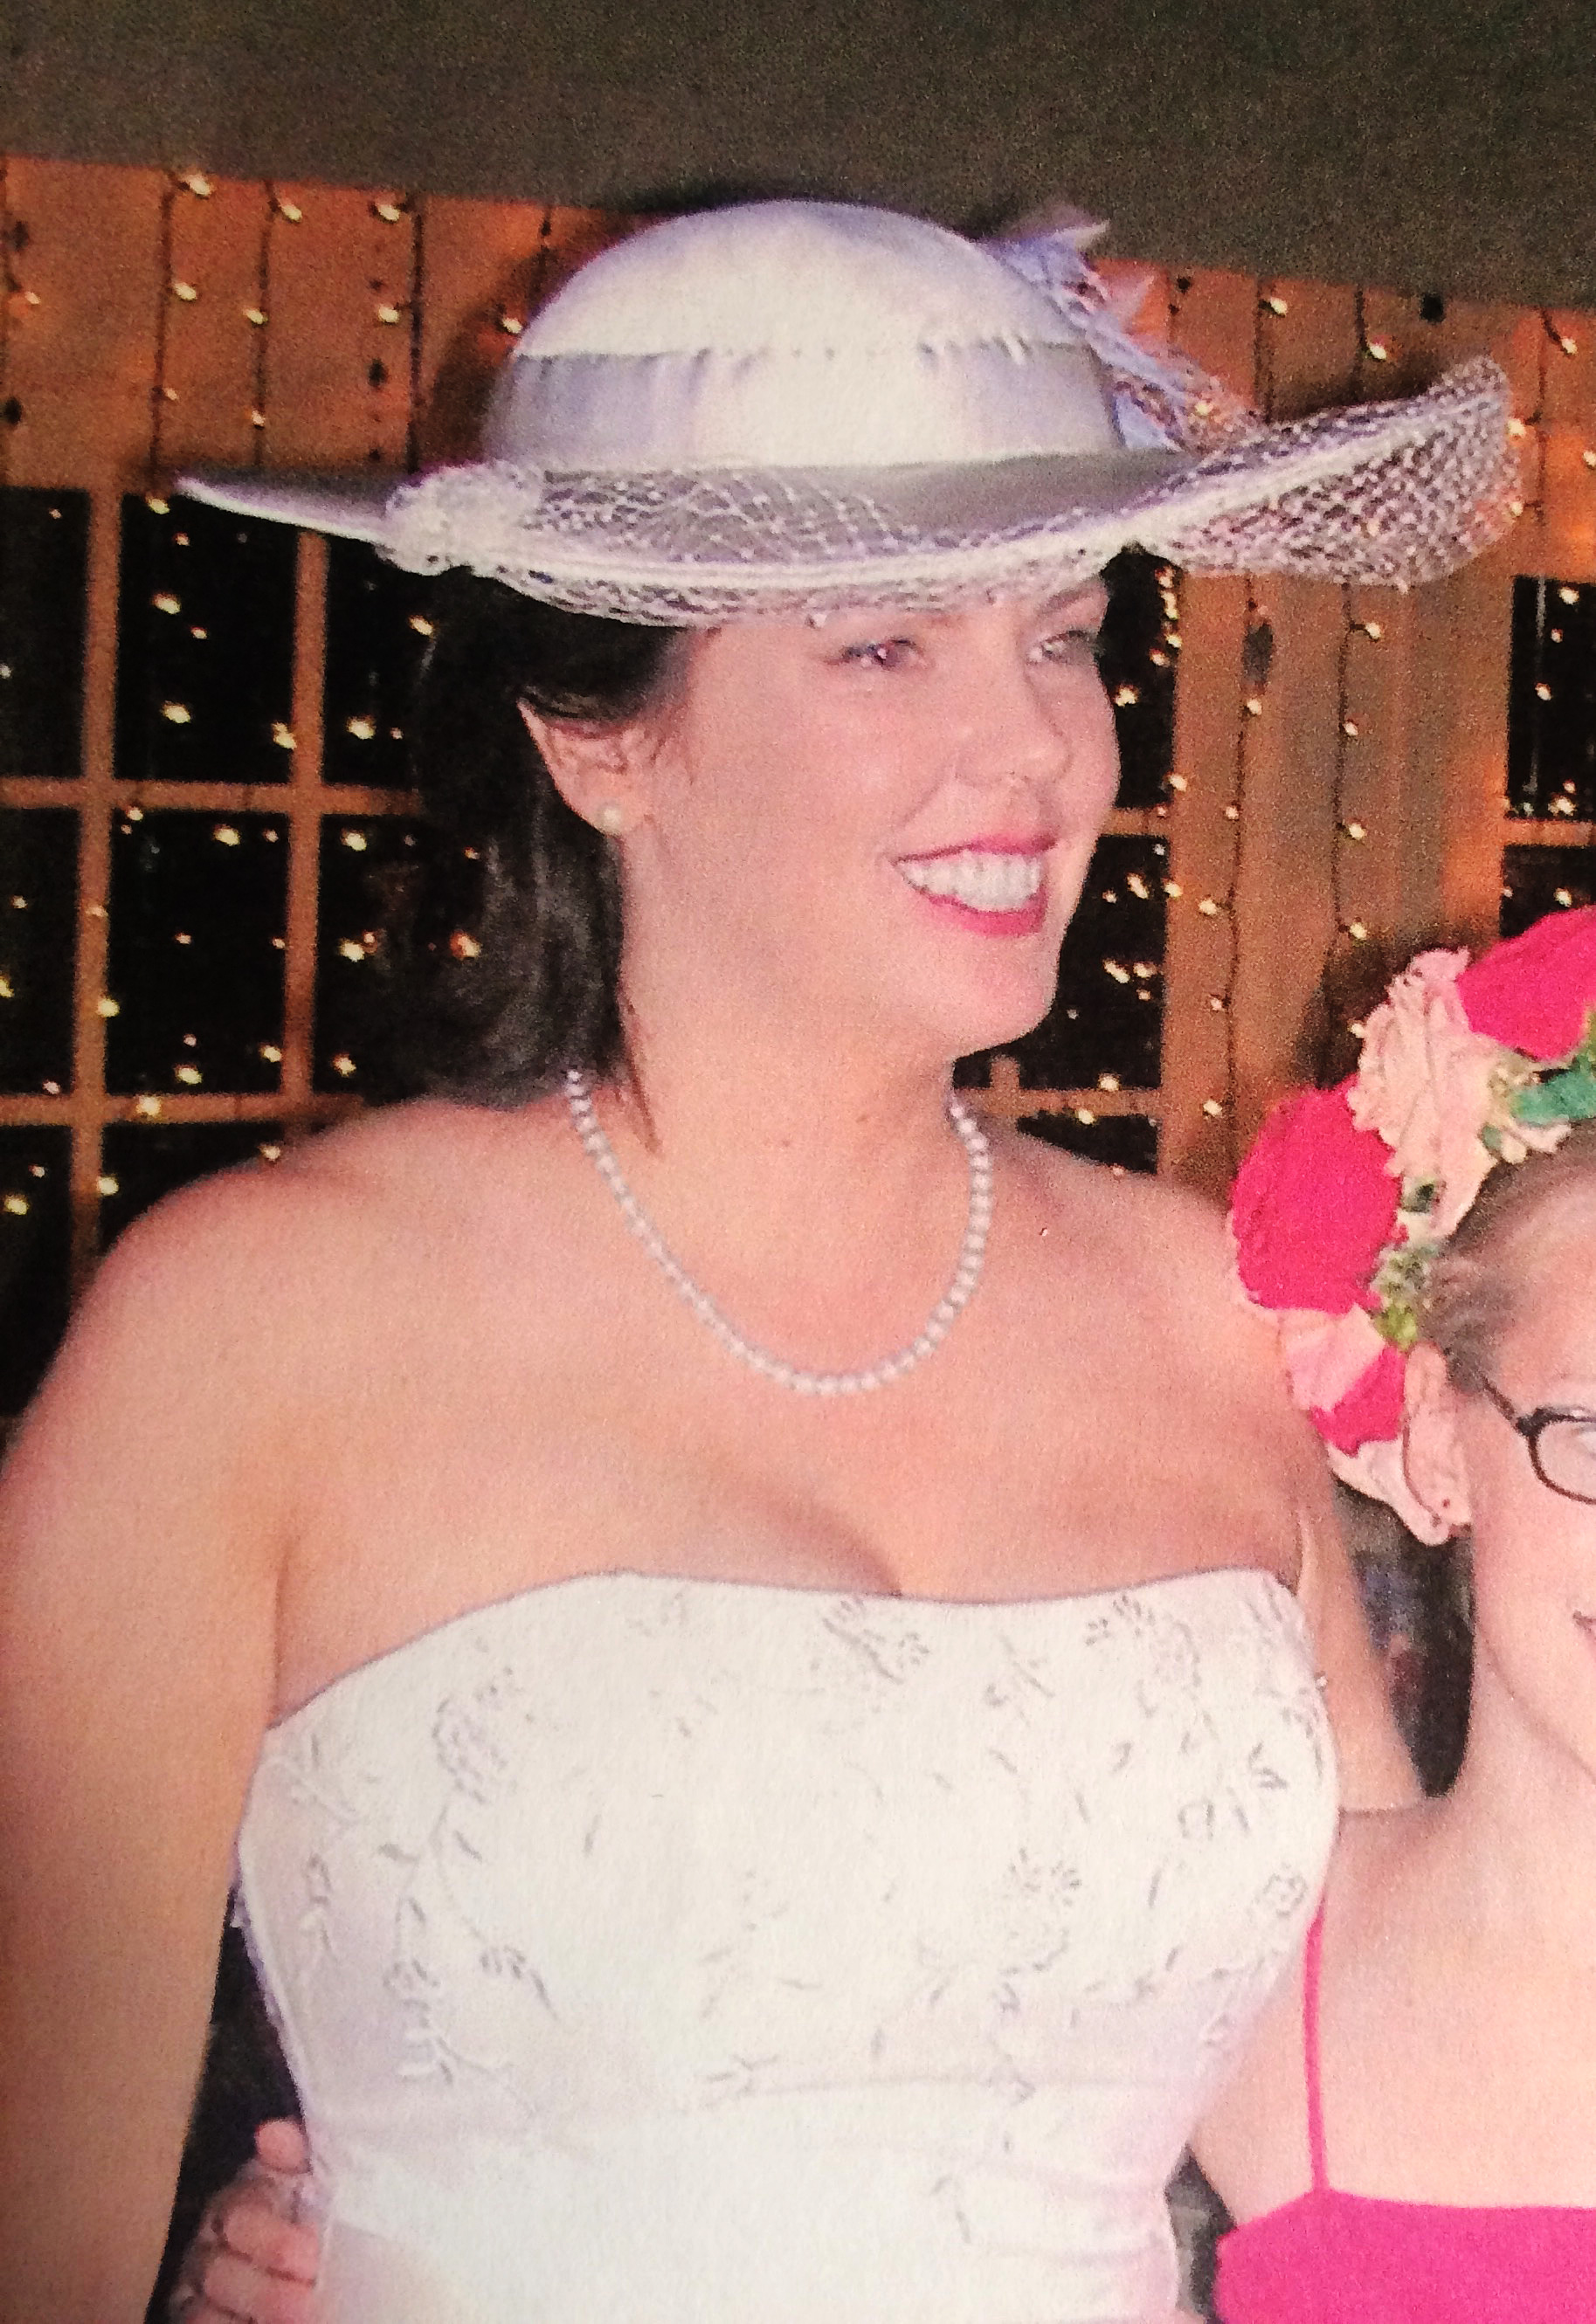
Wedding hat.
Another one of my favorite unique bridal embellishments was just the addition of a fun ruffle around the neckline. This is just your basic gathered ruffle collar but it made the dress one of a kind and added a lot of interest to the top of the dress.
Ruffle neckline.
And that’s the thing about brides from my experience; they just want their dress to be special and one of a kind. Many of them can’t afford to pay for a completely custom dress. But with some creativity, you can make most any wedding dress unique. And if you’re able to understand and do that, you’ll find that working with brides isn’t really all that difficult at all.