Make a Set of Sheets from a Duvet Cover

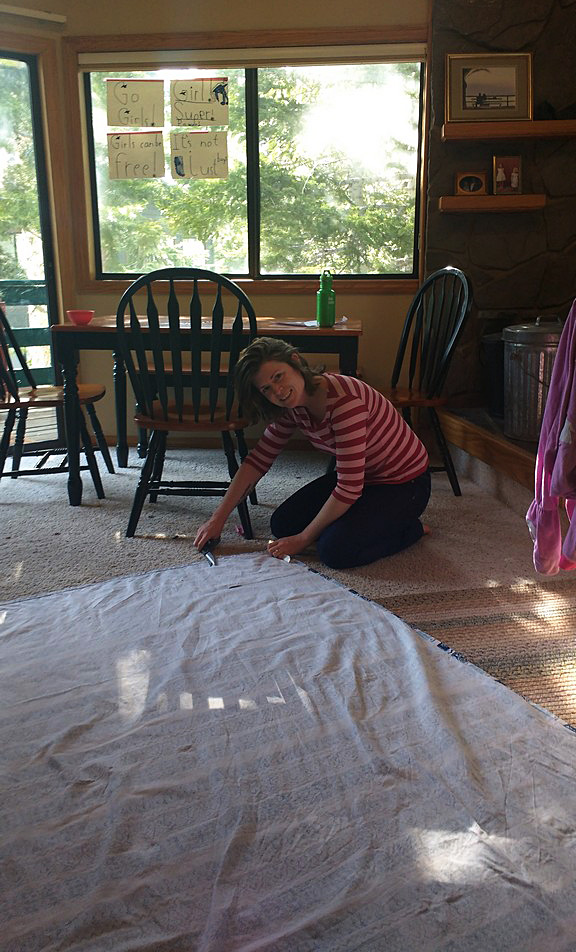
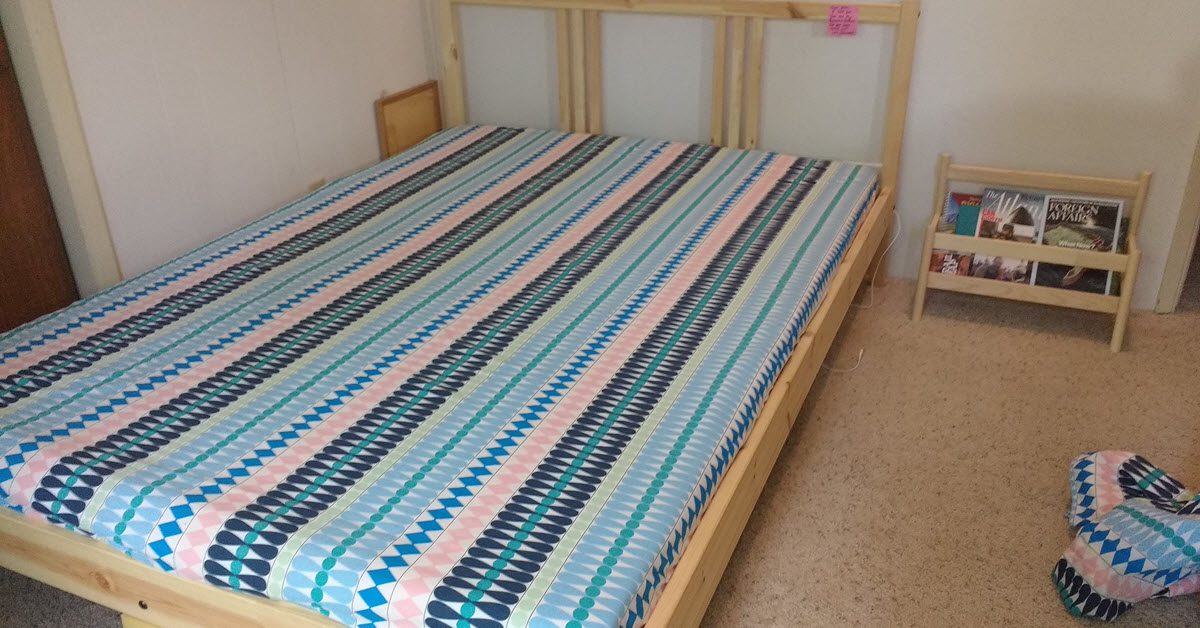
I’m a huge fan of custom bedding. In this post I’d like to show you how to turn a duvet cover into a set of fitted bed sheets. You will need a duvet cover that is the size of your mattress or larger. Our mattress is a queen and so is this duvet cover from Ikea. First, I prewashed the cover and then turned it inside out.

2

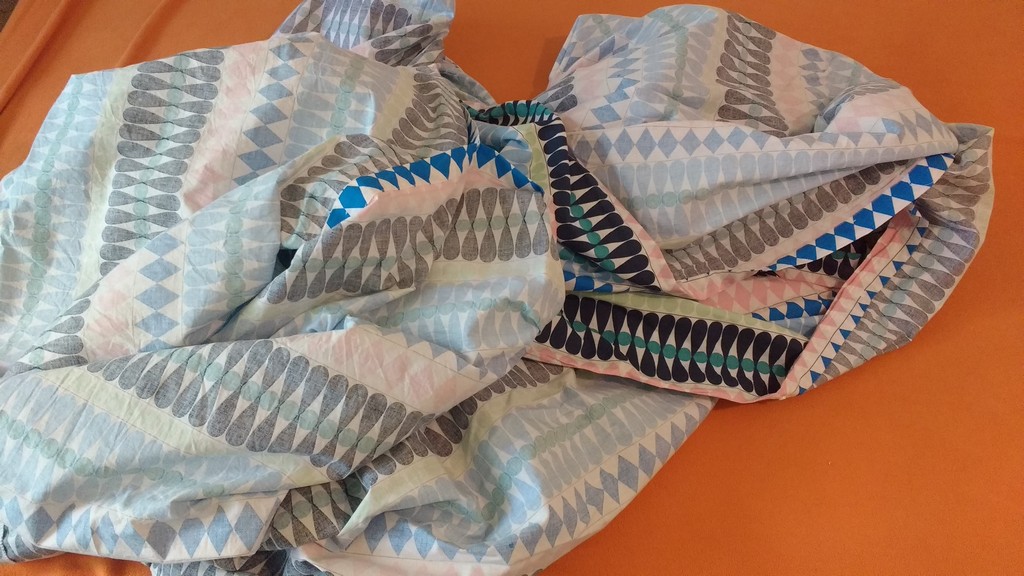
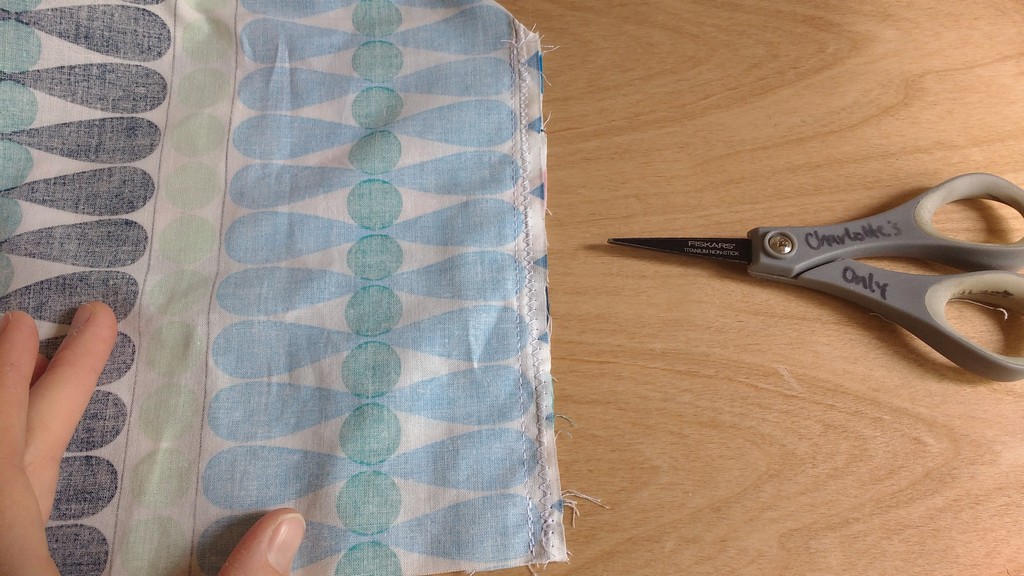
I don’t waste time trying to unpick the seams of the covers. I take my scissors and simply cut off all the seams around the three sides that are sewn.

3

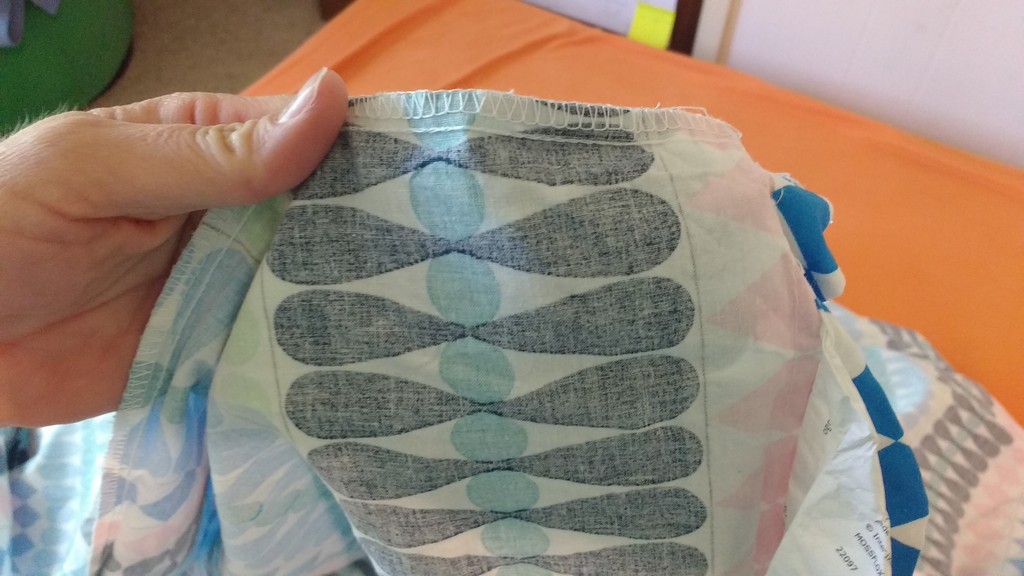
Iron the large rectangular piece of fabric that you’ve created by chopping away the seams.

4

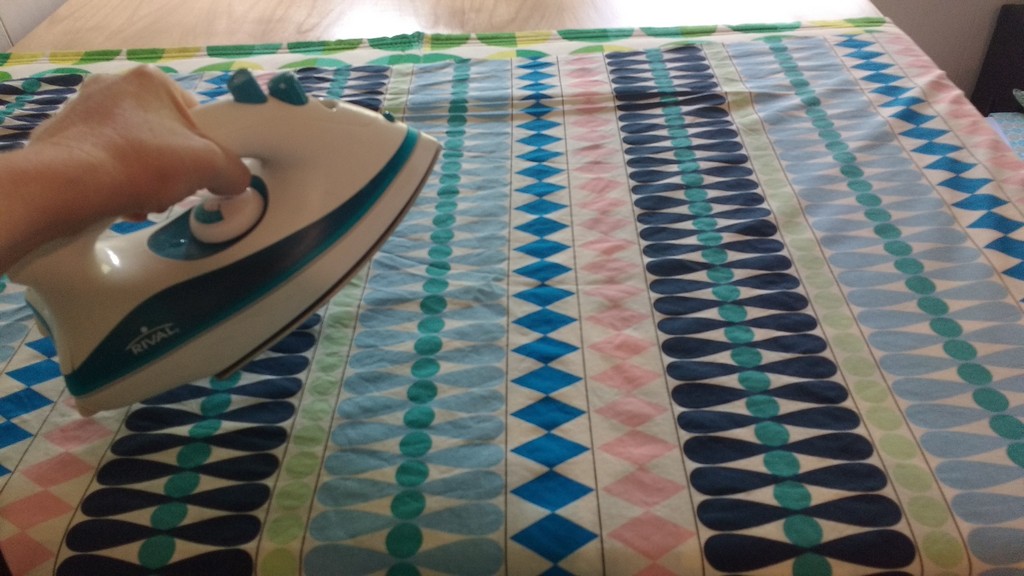
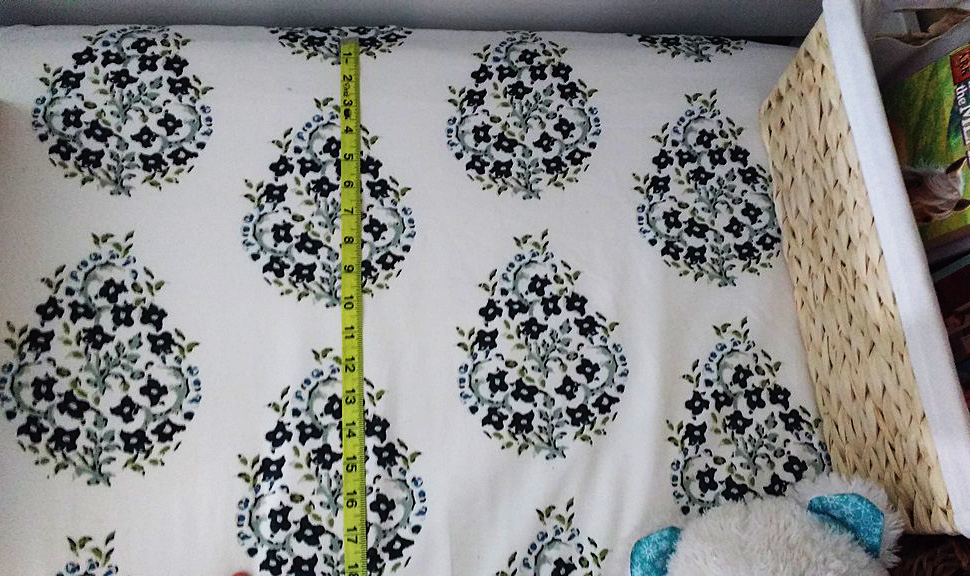
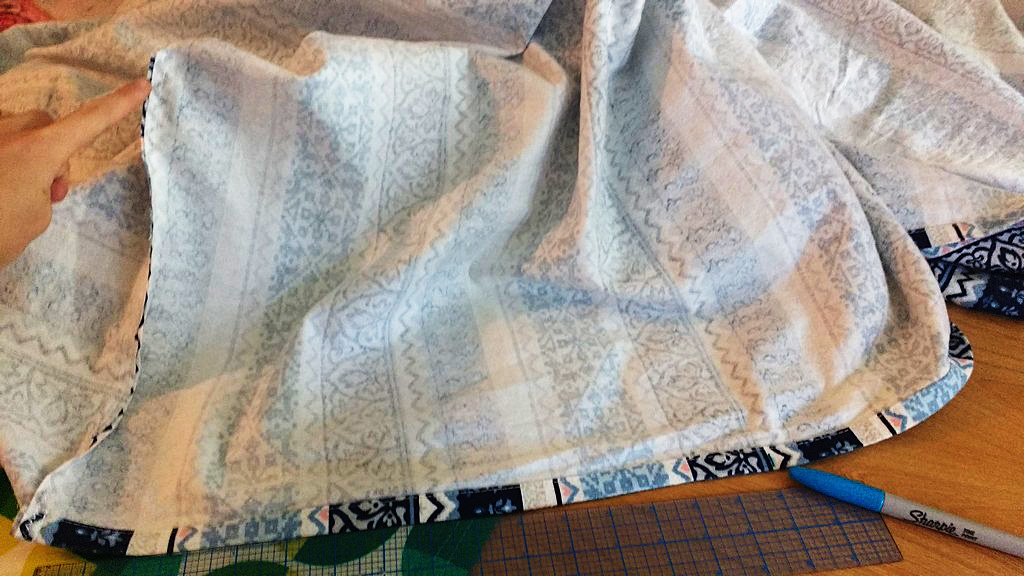
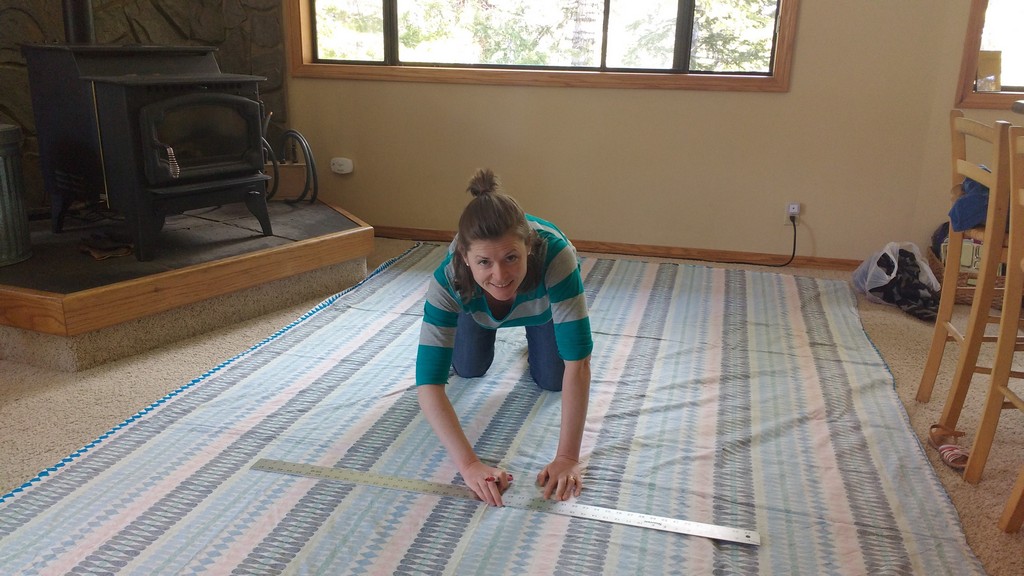
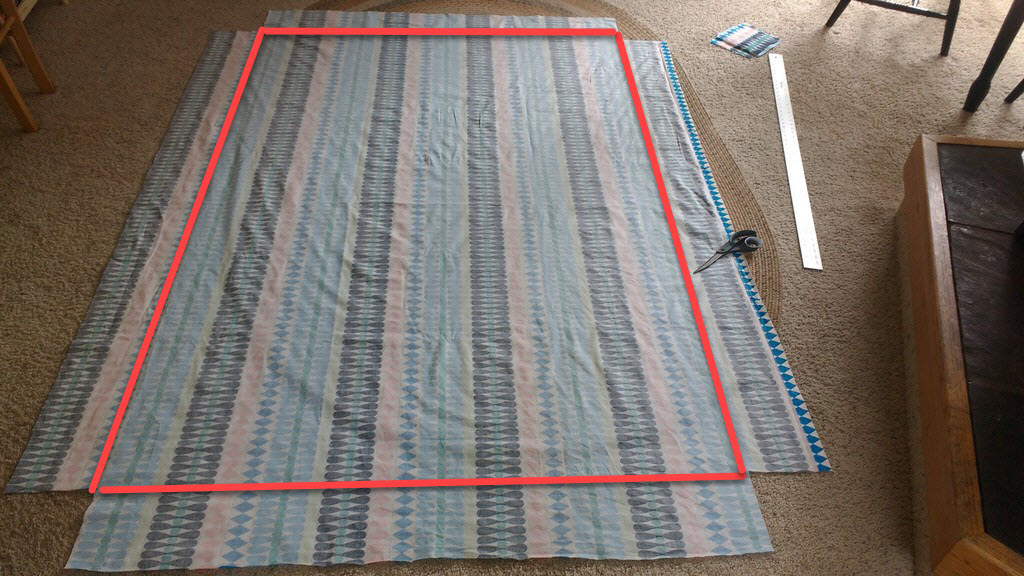
You should have a nicely ironed and very long piece of fabric now. Turn to your mattress and find its length and width. My mattress is a custom size. It’ dimensions are 53” x 75”.

The width is 4”. I add an extra 2” for a fitted sheet to wrap under the mattress and an additional 1” for seams (½” plus ½” for turning). To find the total length and width I need for a fitted sheet then, I add 7” + (width or length) + 7” = total width or length needed. In my case I needed a large rectangle 67” x 89”.

5

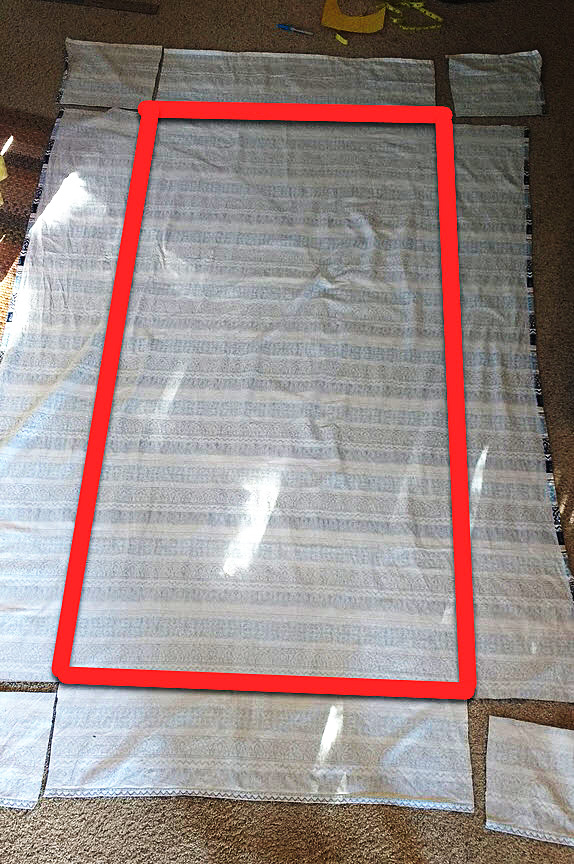
First I mark the shorter side of the sheet and cut the long strip of extra fabric away. Then I mark the length of the first sheet and then the length of the second sheet. For the second sheet you will often be a few inches short. If this happens I take fabric from the long side piece I discarded and sew it onto the ends to elongate it.

6

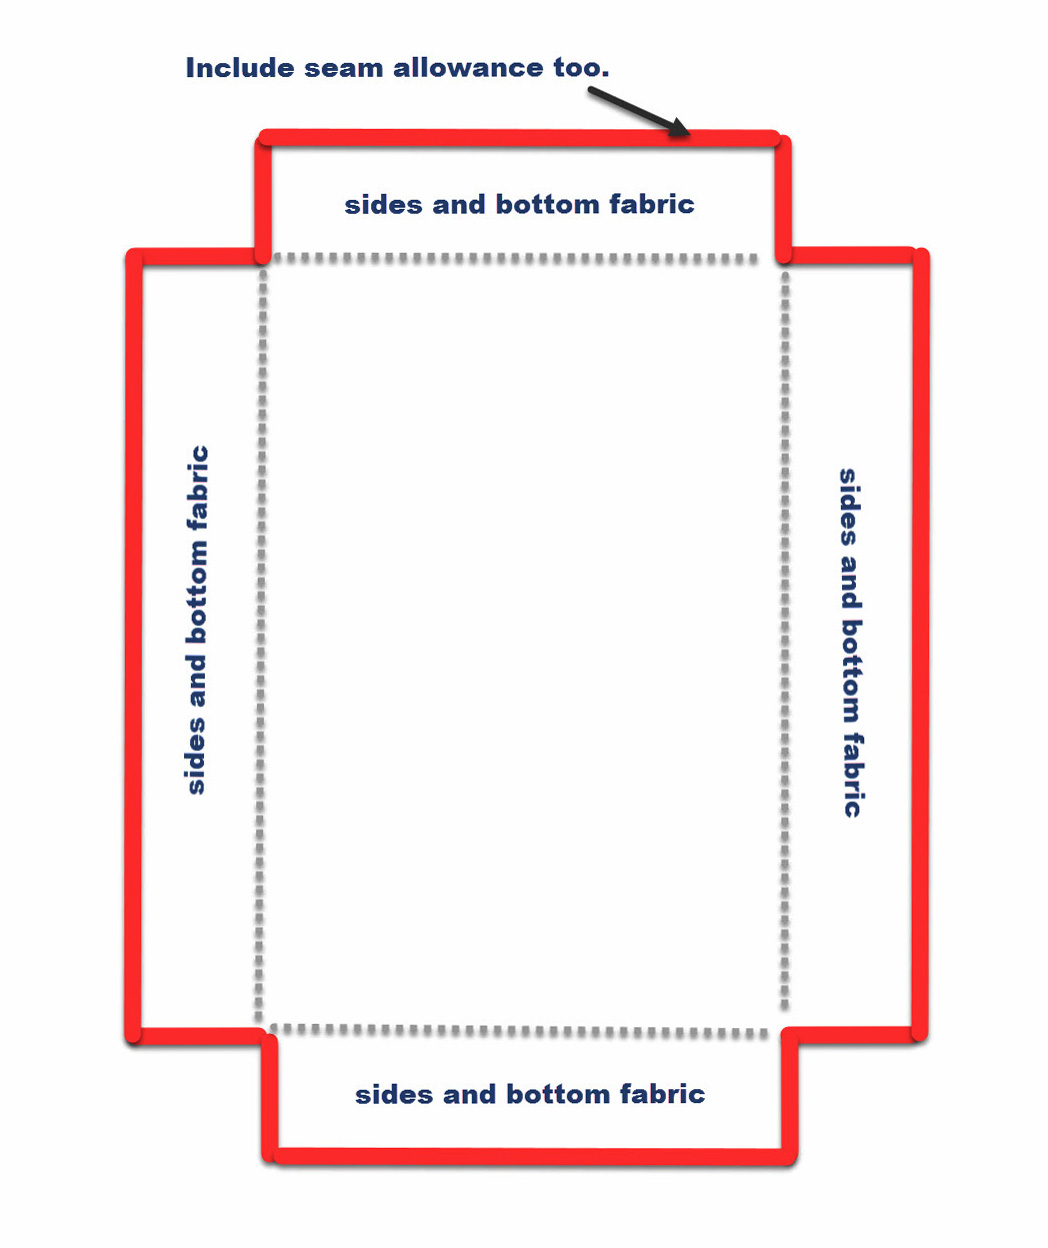
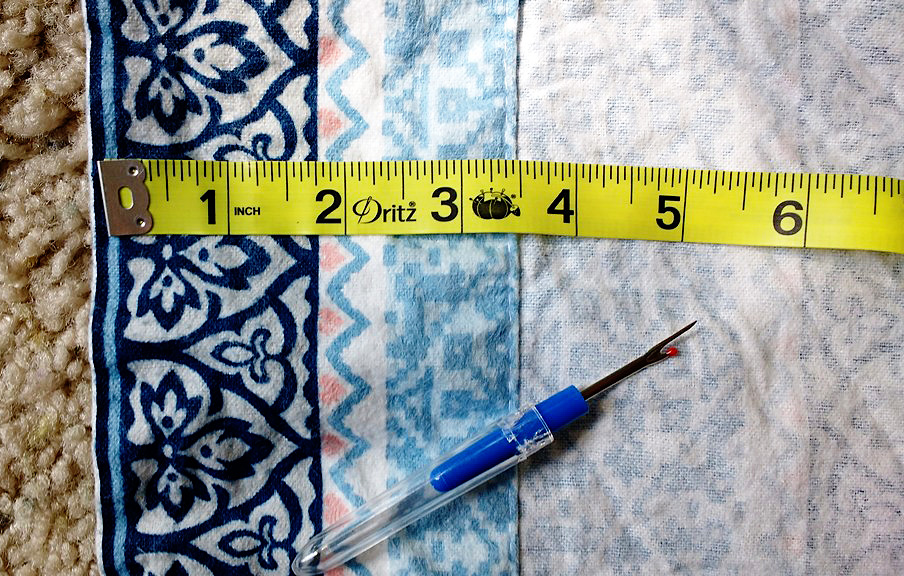
Now cut out 7” squares (or whatever your measurement is which will depend on the depth of your mattress). If you did your math right, the rectangle formed between those cut out squares will equal the same length/width as your mattress.

If you want to make the second sheet right away, then sew any fabric you need to make it long enough, and then repeat the process, cutting out the 7” squares. I made two fitted sheets because we don’t use top sheets but you could make the second sheet a top sheet.

7

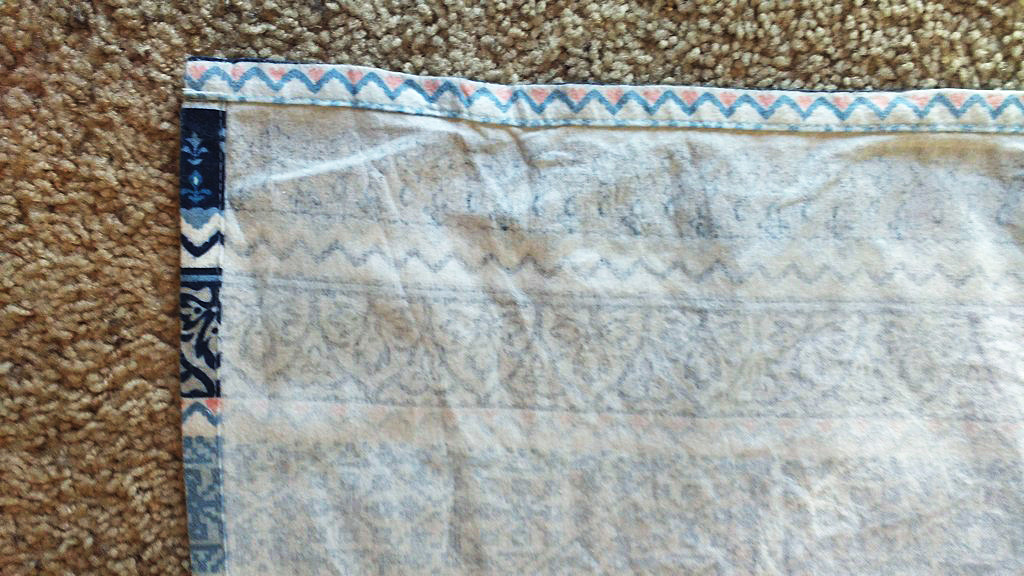
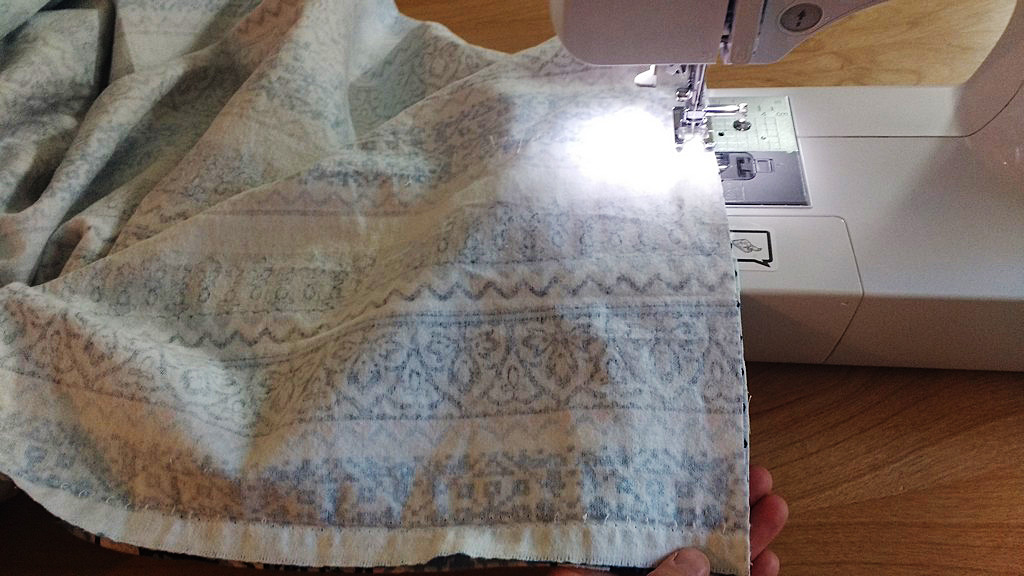
Take your fabric to your sewing machines and sew the corners together. I sew first a straight stitch and then finish with a zig zag. Do this for all four corners.

8

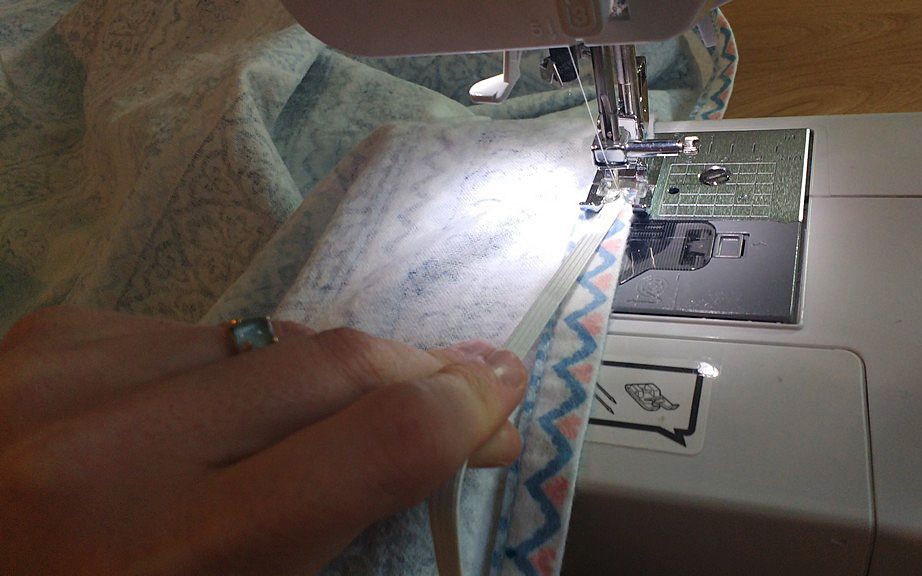
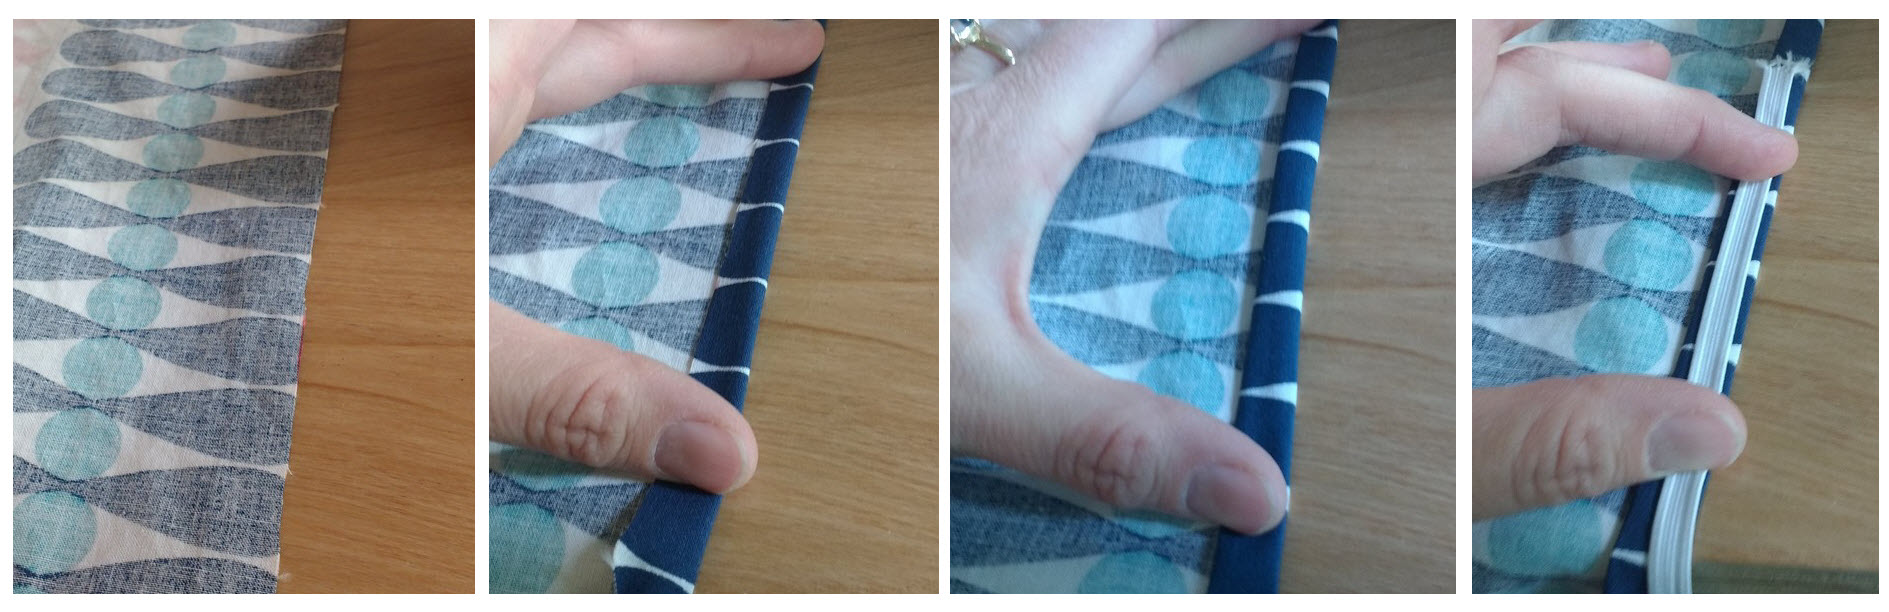
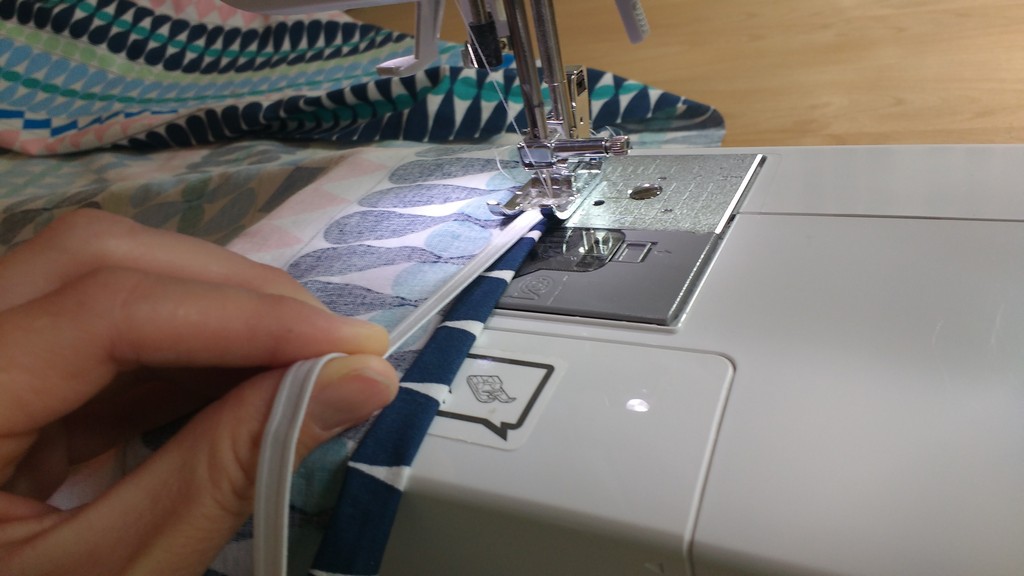
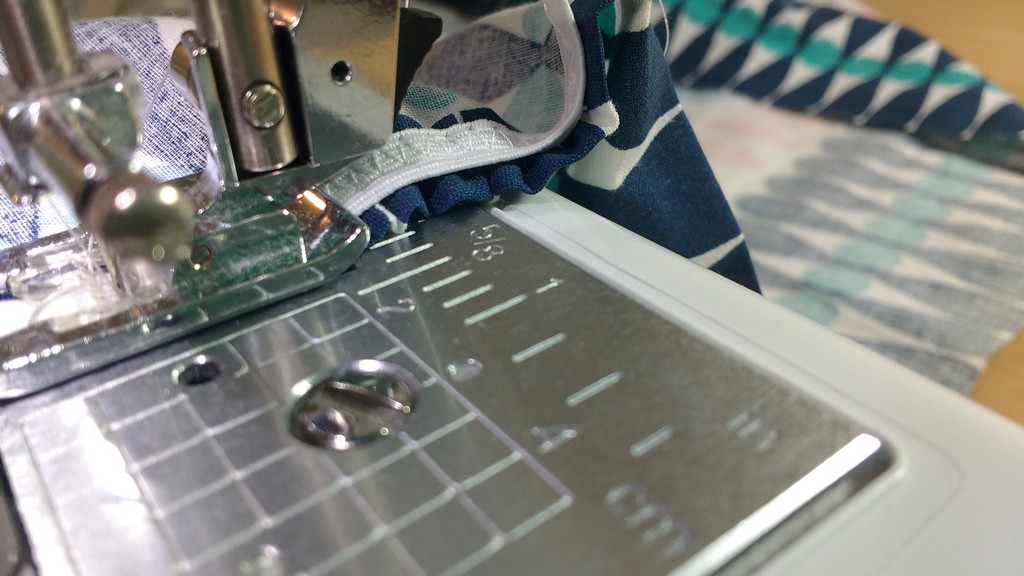
There are many ways to finish the edges of a fitted sheet. I like to finger fold over the fabric by ½” then another ½”, then place the elastic on top. I move that over to the machine and begin sewing a zig zag stitch.

9

Once I’ve secured the elastic, I begin to hold it taught (but too tightly) and sew around the entire sheet this way. I finger fold over the fabric, hold the elastic taught, sew and repeat over and over until I’ve made it completely around.

10

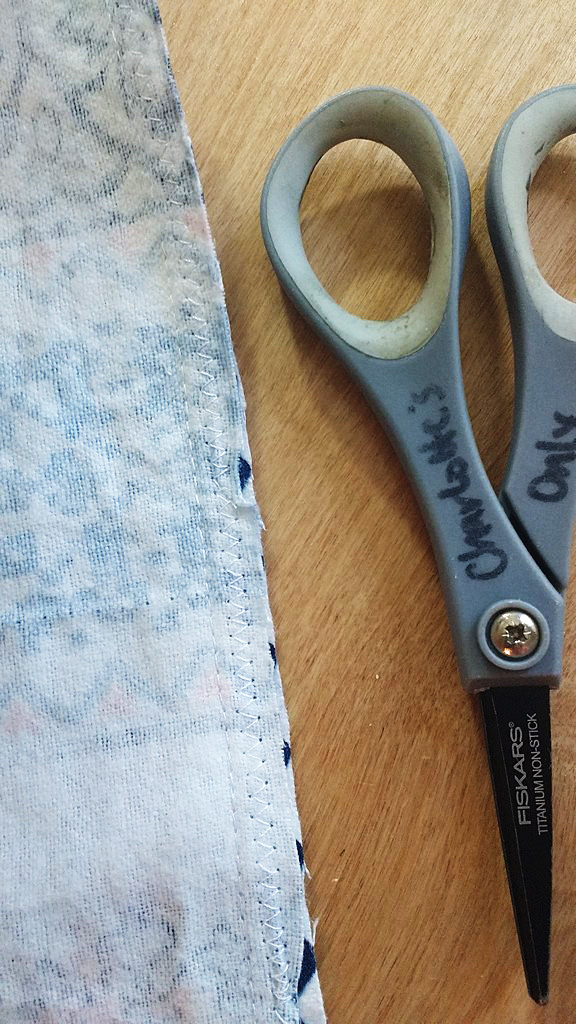
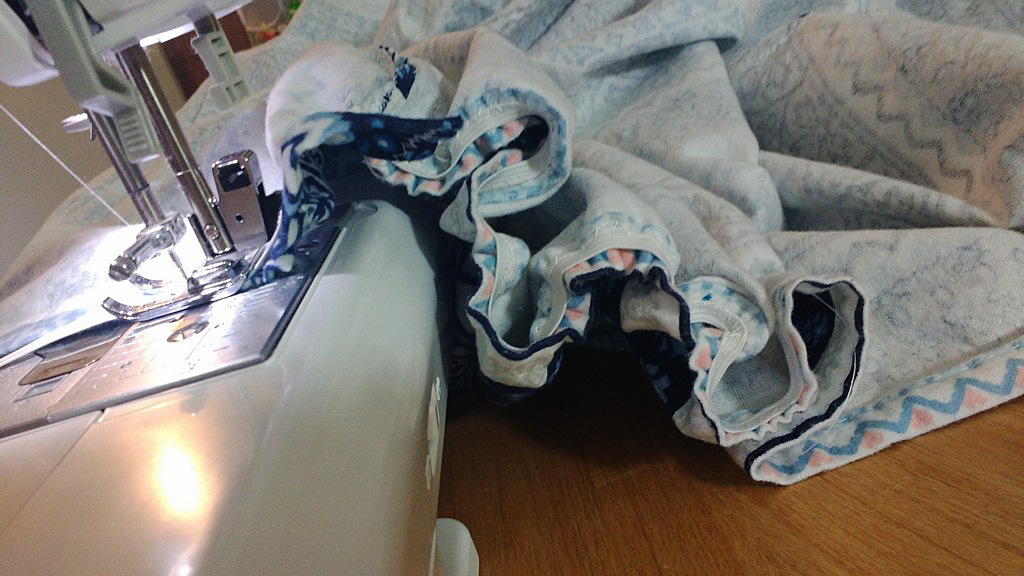
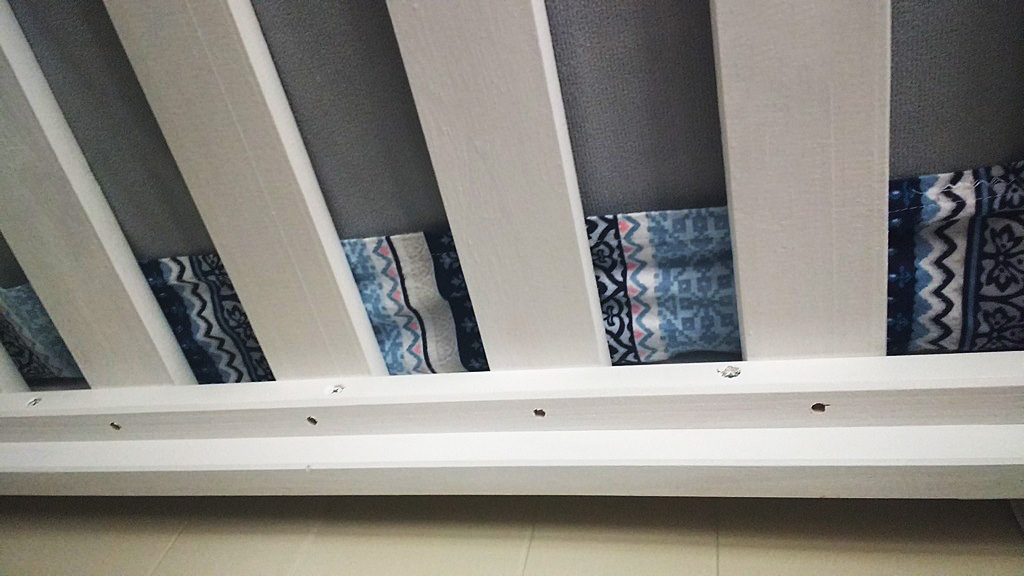
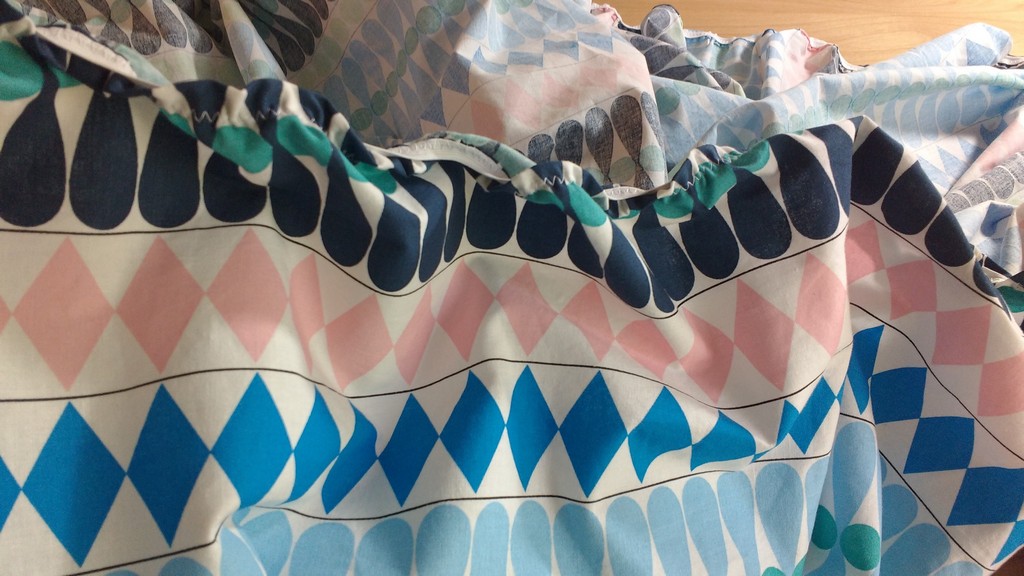
Soon the seams will look like this as you keep working.

11

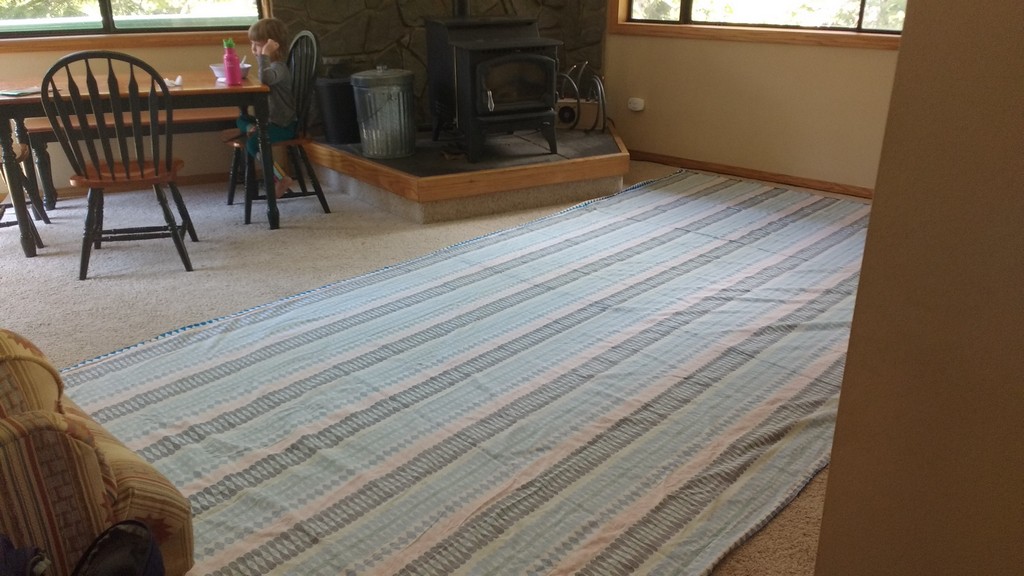
And here’s what it will look like when you are done.

12

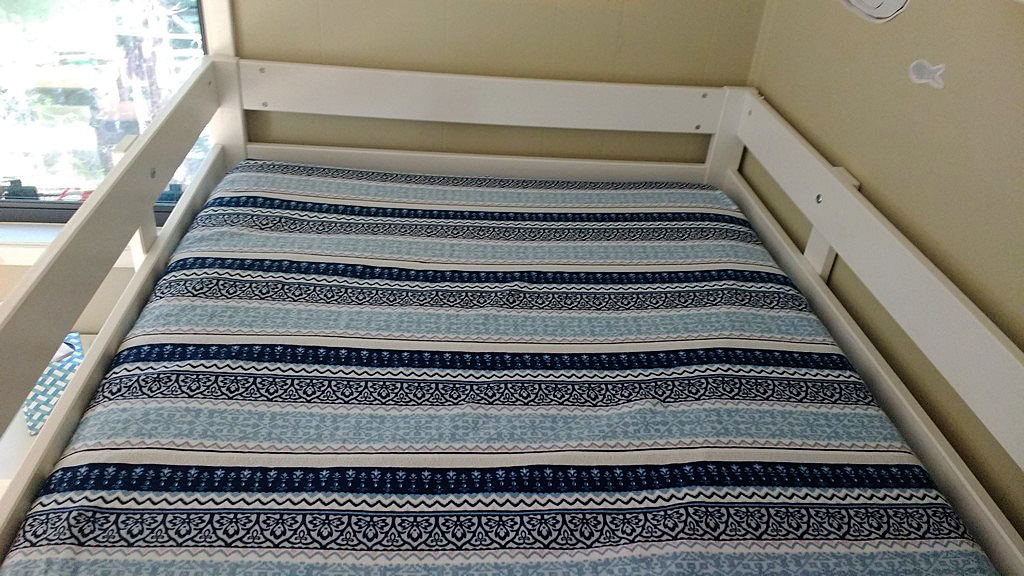
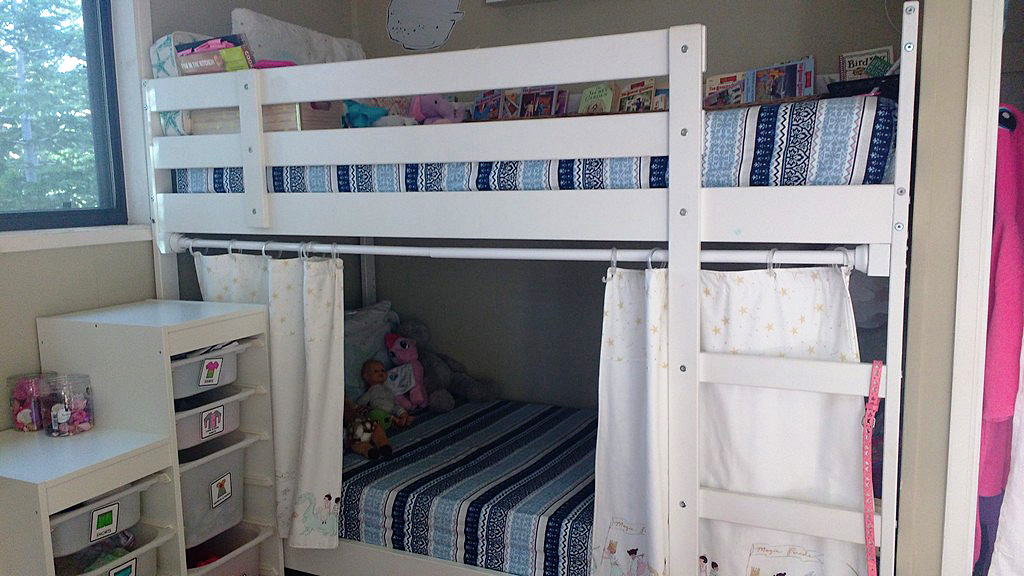
Take it over to the bed and try it out. If you’ve done your math right, and not pulled your elastic too tightly, it will fit like a dream. Make the other sheet now and you’ll have a spare.

13

———————————————————————————–
Charlotte Kaufman is a writer and sewist in Mammoth Lakes, California. She specializes in marine and home interiors and continues to fall more and more in love with quilting. You can follow her at charlottekaufman.com.
How to Sew a Fitted Sheet

DIY: Sew a Fitted Sheet (from a flat sheet)

My daughters have bunk beds and I like them to have at least two sets of sheets (per bed) in the event of accidents, sickness, or just in general because kids get dirty.

Our family doesn’t use flat sheets. I always feel claustrophobic when I sleep with one and I end up pulling the sheet out of the bottom of the bed and using it more like a blanket. It’s also a pain to remake the bed every morning. Instead, we used fitted sheets and loose blankets and we wash them all frequently.

Because of this, I can buy one set of sheets, a fitted one and a flat one, and turn the flat sheet into another fitted sheet. That gives me two matching fitted sheets which is perfect for when you have bunk beds.

Measure twice, cut once

To make your own fitted sheet you need to measure the length and the wide of the top of the mattress you are using. You’ll also need to measure the sides.

This mattress is 38” x 75” and the sides are 7”.

To make your own fitted sheet, first measure the sides, length & width of the top of the mattress you are using.

To make your own fitted sheet, first measure the sides, length & width of the top of the mattress you are using.

To determine the rest, you need to add enough fabric to wrap around under the mattress plus seam allowance. I like anywhere between 3-4” for the bottom fabric (it may depend on the size of flat sheet you are working with) and I allow 1” on all sides for seam allowance. I fold the fabric over ½” and then again another ½”.

Your final equation to determine the size of rectangle you’ll need is:

Seam allowance + bottom fabric + length of side + width (or length) of top of mattress + length of other side + bottom fabric on other side + seam allowance on other side.

Repeat the same process for the length if you started with the width.

I had to take out the top folded seam in order to have a large enough rectangle to meet my measurement requirements.

I had to take out the top folded seam in order to have a large enough rectangle to meet my measurement requirements.

For this flat sheet, I had to take out the top folded seam in order to have a large enough rectangle to meet my measurement requirements. After I took out that seam, I ironed (after having prewashed before I got started).

I had to take out the top folded seam in order to have a large enough rectangle.

I had to take out the top folded seam in order to have a large enough rectangle.

I love it when a plan comes together

Sometimes I love how the universe works. The particular measurements on this flat sheet made it so I didn’t need to calculate seam allowance, other than for the one side I had to take the seam out of. I used all the pre-sewn hems and the measurements worked out perfectly.

I used all the pre-sewn hems & the measurements worked out perfectly.

I used all the pre-sewn hems & the measurements worked out perfectly.

The one part that people might find tricky is cutting out the corners. Here you are going the exact measurement of where the fabric would rest on the top of the mattress, so you take into account: seam allowance + fabric on the bottom + fabric on the sides, on each corner of the square. Make the squares on all corners of your fabric and then cut.

Make the squares on all corners of your fabric & then cut.

Make the squares on all corners of your fabric & then cut.

The red box shows you the exact measurements of the top of the mattress.

The red box shows you the exact measurements of the top of the mattress.

The red box shows you the exact measurements of the top of the mattress.

On your mark.. Get set.. SEW!

Now it’s time to sew! If it’s easier for you to pin the corners, go for it. This isn’t my first rodeo, so I just sew and go.

If it’s easier for you, just pin the corners.

If it’s easier for you, just pin the corners.

These corner seams ARE unfinished, so make sure you finish each of the four corners with a zigzag stitch to prevent unraveling.

Finish each corner with a zigzag stitch to prevent unraveling.

Finish each corner with a zigzag stitch to prevent unraveling.

The next step would be to create a hem all along the sheet. I’m skipping this part because I’m using the pre-sewn ones from the flat sheet. Normally I would finger fold the fabric over a ½”, and then another ½”, and sew all around the sheet.

After you have a hem, it’s time to add elastic. Some tutorials have you create a casing when you sew the hem and then you feed the elastic through. This method has never spoken to me. I just sew my hem and then sew the elastic directly on.

Making it stretch

If I had enough elastic I would sew it on the entire hem, all the way around. I didn’t in this case so I measured out 16” from each corner and sewed my elastic around each corner.

I measured out 16” from each corner & sewed elastic around each.

I measured out 16” from each corner & sewed elastic around each.

Be careful not to pull your elastic too taught. You want it to have enough give that you can get it over the corners of your mattress without snapping any of your threads.

Be careful not to pull your elastic too taught.

Be careful not to pull your elastic too taught.

Looking good.

Looking good.

Looking good.

You’ve made your bed – now sleep on it

Moment of truth. Here it is on the top bunk. It looks great!

Here it is on the top bunk.

Here it is on the top bunk.

It even looks good from the bottom bunk looking up at the bottom of the mattress.

It even looks good from the bottom bunk looking up.

It even looks good from the bottom bunk looking up.

Added value

The best part is that these two fitted sheets are now interchangeable between the bottom and top bunk and I only had to buy one set of sheets to get matching bedding!

The best part is that these two fitted sheets are now interchangeable.

The best part is that these two fitted sheets are now interchangeable.

Do you make your own fitted sheets? What is your favorite method?

———————————————————————————–
Charlotte Kaufman is a writer and sewist in Mammoth Lakes, California. She specializes in marine and home interiors and continues to fall more and more in love with quilting. You can follow her at charlottekaufman.com.