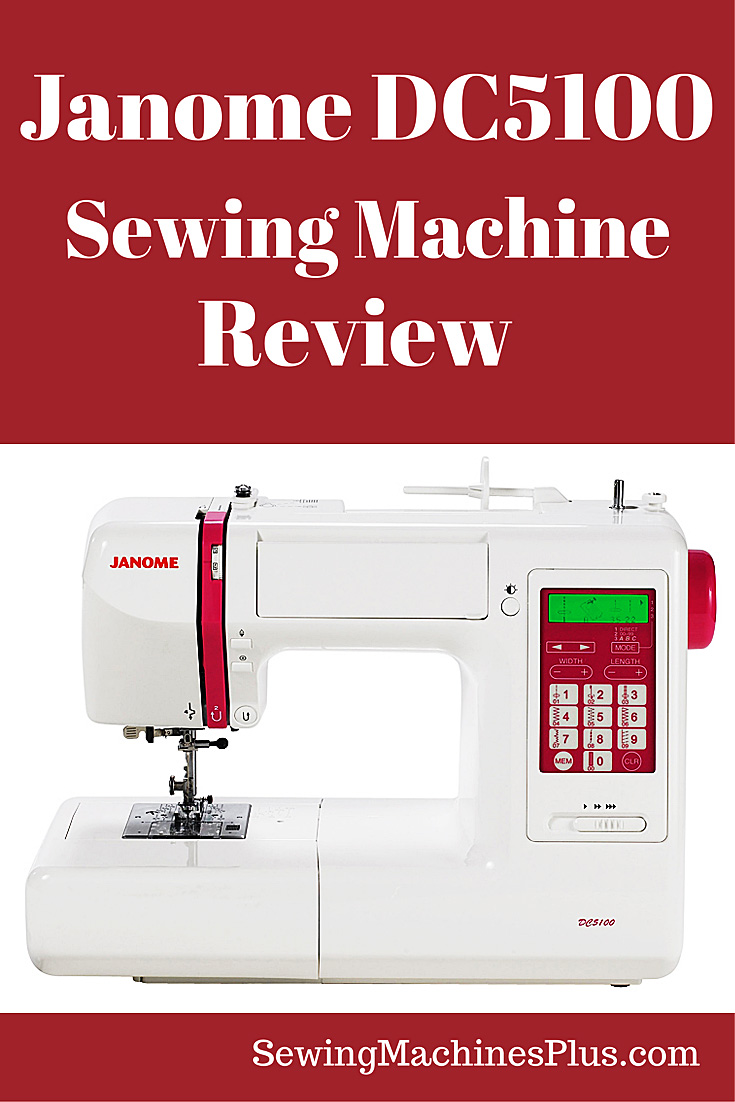
The Janome DC5100 is Super Sweet
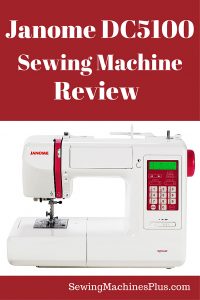
The Janome DC5100 is super sweet!
When I decided to upgrade my basic machine several years ago, I took a lot of time investigating all the different options. At first I felt overwhelmed by the huge selection of makes and models available.
But then I discovered the Janome DC5100 with its impressive features. This was the clear choice as the right sewing machine for me.
I love this machine; it’s the sweetest sewing machine I have ever used. I have been sewing on mine for several years now and I have only grown fonder of this dear friend.
What’s so great about it?
Like all Janome machines, the DC5100 is well designed with user friendly features. Like other Janomes, it has a horizontally loaded bobbin with see-through cover, built-in needle threader, snap-on presser feet, one-step buttonholer attachment and more.
But the DC5100 is even more special than all the other lovely Janome sewing machines I have used, for quite a few reasons:
Variable Speed Controls and Quiet DC Motor
I love it because it is fast. It will sew 820 stitches per minute. But it also has a helpful speed adjustment switch which I can use to set the machine to sew more slowly. This helps me in sewing curves or other delicate tasks, since I have a tendency to have a lead foot on the sewing pedal. I can slide this easy control all the way to the left and force myself and the machine to go very slowly, toggle towards the middle for a moderate speed, or I can do what I usually do and slide it all the way to the right and run through projects with super fast speed. The Janome DC5100 sews well at all these different speeds because it has a powerful DC motor.
It sews quietly, too. The Janome DC5100 is the quietest machine I have ever used. Because I have little kids who keep me busy during the day, I often stay up quite late at night to do my sewing, and my husband used to complain about the noise. Now that I have this machine, when I come to bed, he asks “What have you been doing?” That’s because the Janome DC5100 is so quiet that no one outside of my sewing room can even hear it.
A Wide Variety of Stitches and Programmable Memory

Janome DC5100 has 167 different built-in stitches and 215 stitch functions.
What has made this my all time favorite sewing machine, besides its smoothness and speed, is its wide variety of functional and decorative stitches. This machine has 167 different built-in stitches and 215 stitch functions. It includes many quilting, blanket, heirloom, embroidery, home deco, and garment sewing stitches, as well as both upper and lower case alphabets, numerals, and punctuation. It can even cross-stitch. And it can make five different types of easy one-step buttonholes.
The Janome DC5100 also has a programmable memory which holds up to fifty different patterns. I use this both for programming stitch patterns combining multiple decorative stitches, and also for remembering my favorite zig-zag stitch length and widths. The programmable needle up/down function allows you set the machine to stop sewing with the needle in either position.
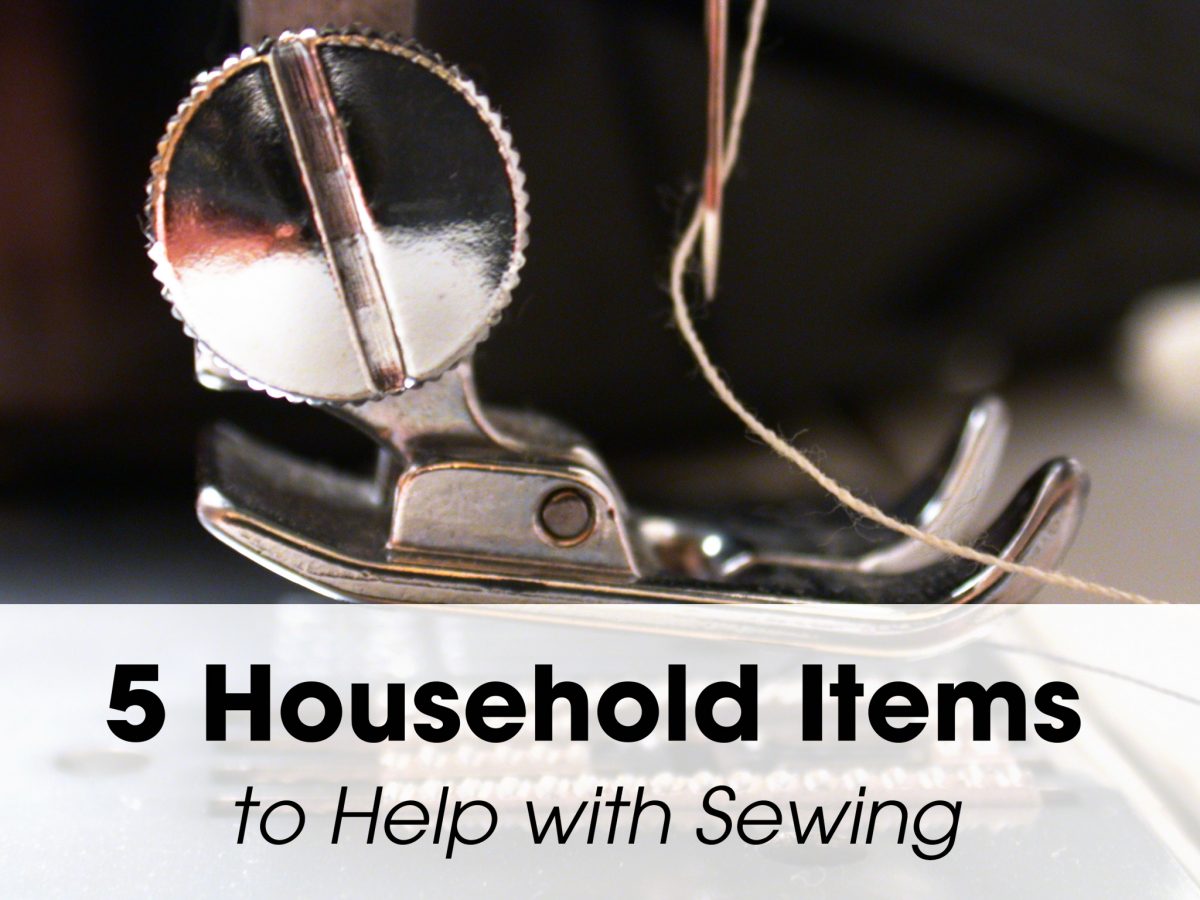
Includes a Huge Selection of Feet
It also came with a great selection of feet. Besides the impressive variety of stitches, this detail was the selling point for me. No other machine I looked at included so many feet. The Janome DC5100 comes factory packaged with ten different feet. These include a ¼ inch seam foot, straight stitch foot, a zigzag foot, a satin stitch foot, a zipper foot, the one-step automatic buttonholer foot, overedge foot, adjustable blind hem foot, darning foot, and even a walking foot.
That darning foot is darn helpful, too. I use it with the feed dogs dropped for both free motion quilting and embroidery. The foot package also includes a handy quilting bar. And if you buy this machine from Sewing Machines Plus, they even include three additional feet in their bonus package: a ditch quilting foot, a concealed zipper foot, and my favorite, a see-through appliqué foot.
And More
Other user-friendly features include a built-in needle threader, thread cutter, jam-proof magnetic drop-in horizontal loading bobbin, super fast automatic declutch bobbin winding, auto-lock button for securing seams, easy reverse button, superior feed system, seven piece feed dogs, easy drop feed switch for free motion sewing, stitch length up to 5mm and width up to 7mm, backlit LCD screen and touchpad, hardcover, automatic presser foot tension which you never need adjust, roomy accessory storage compartment, and more.
The push button controls are easy to use and intuitive; the display even shows what foot to use after you select your stitch. This machine also comes with an excellent manual that covers everything in depth. Another special feature that I especially appreciate is the extra high presser foot lift.
Excellent Value
I heartily recommend the Janome DC5100 as an amazing value. It’s a sweet, reliable, powerful machine that can increase your creativity with its wide variety of stitch functions and accessories. And the price is pretty sweet, too. After sewing on mine for several years, I have zero complaints and nothing but raves; I fell in love with it the first time I used it and I can’t imagine loving any machine more.
You will love it, too. Now is a great time to upgrade from a basic machine to expand your capabilities with a computerized Janome DC5100. You will be amazed by the difference this machine will make for your stitching and your creativity. Act now to take advantage of Sewing Machines Plus’ great price on this Janome and get the free bonus package with three additional feet and two kinds of needles while this hot deal is still available.