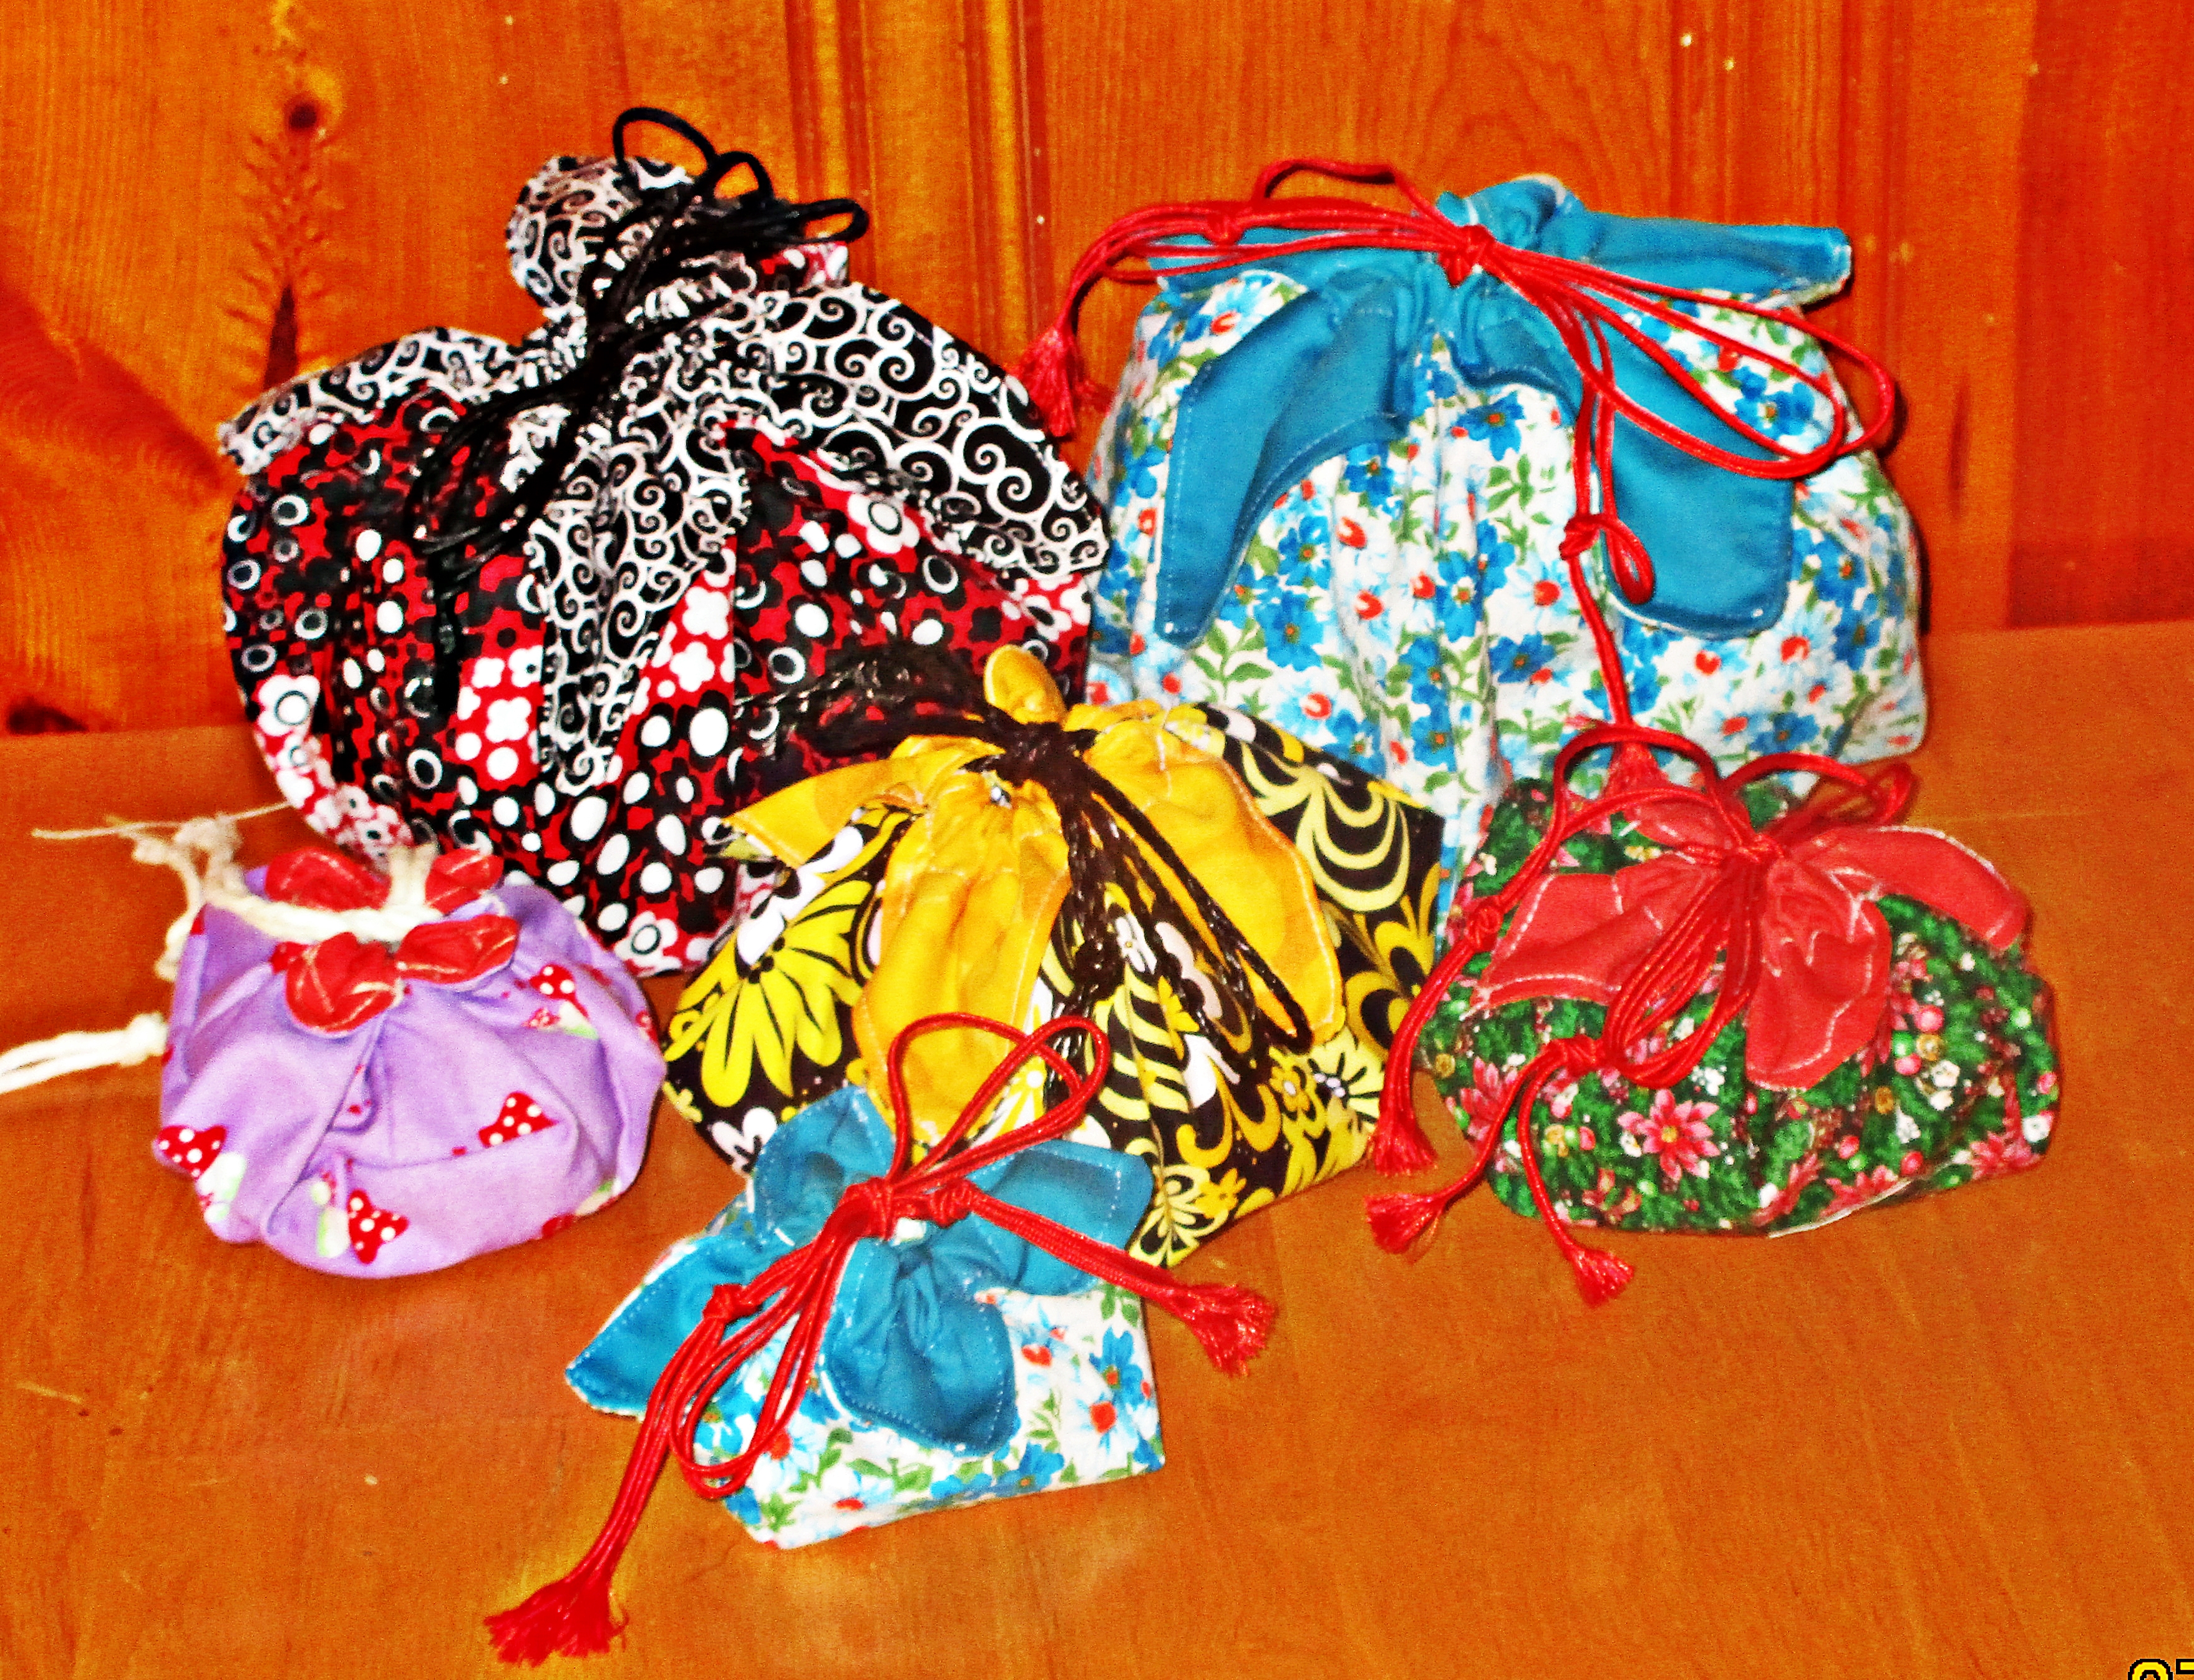
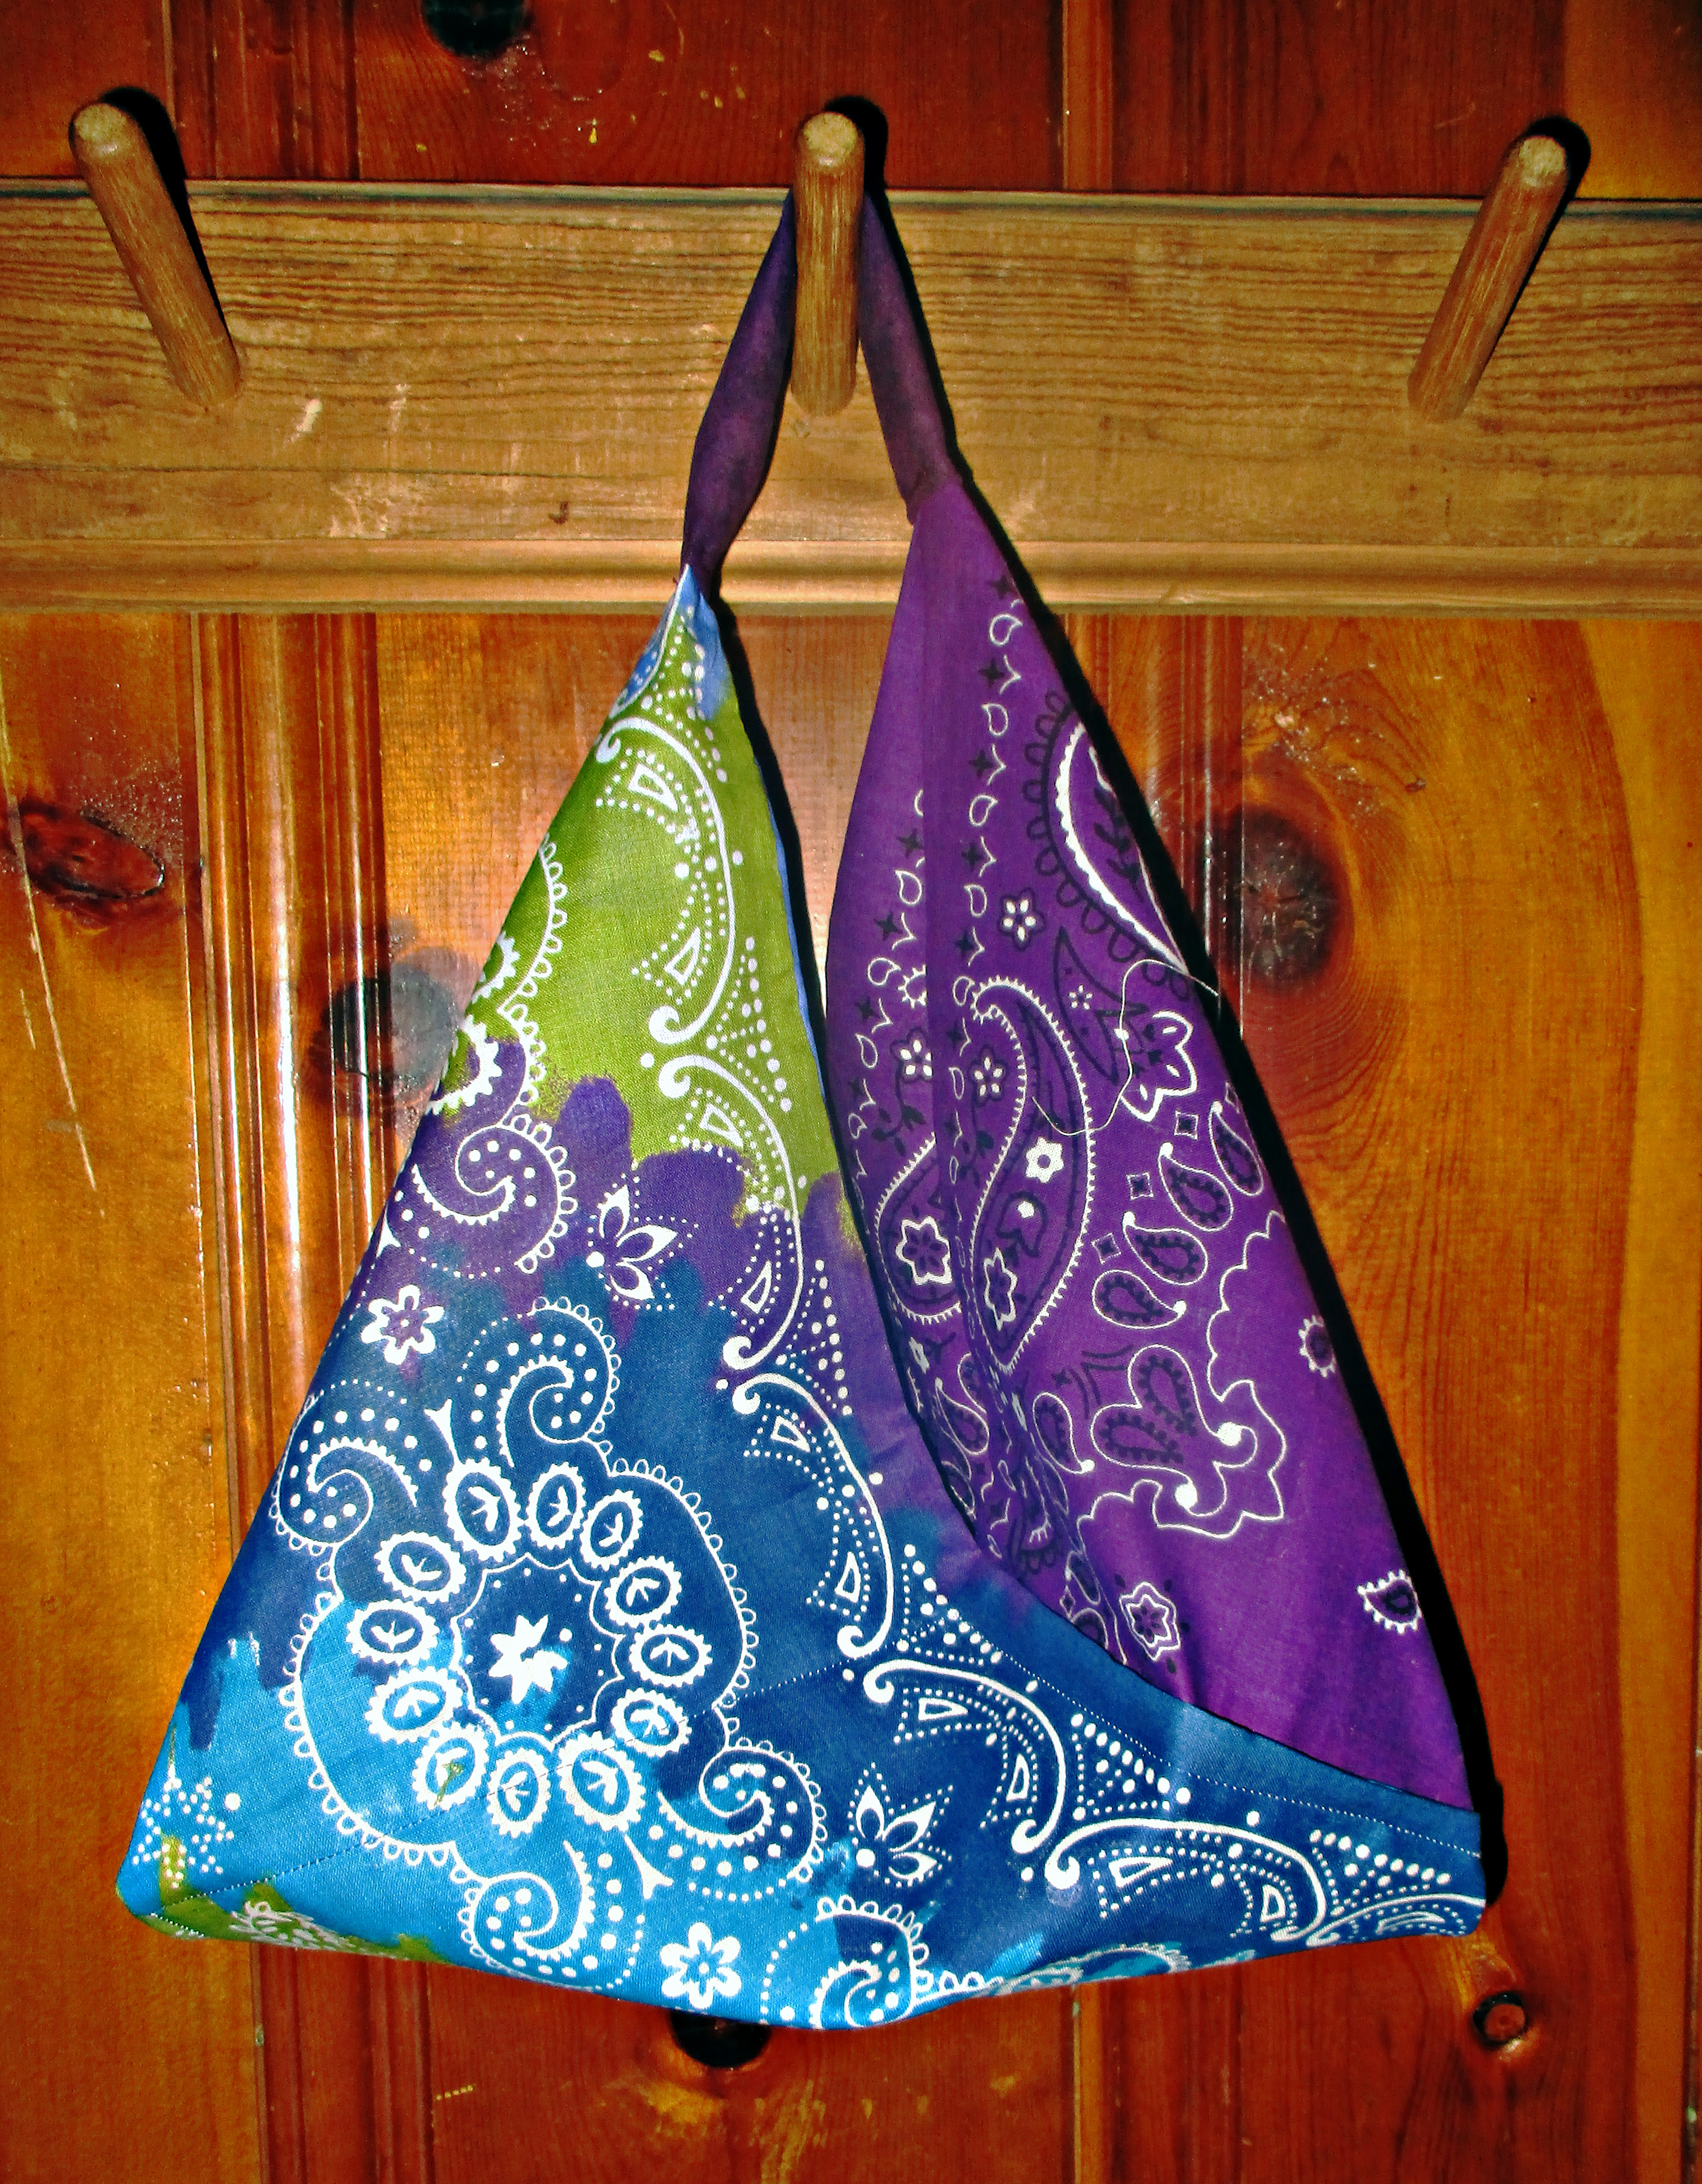
Lotus bags are a pretty Japanese style of drawstring pouch
We started looking at Japanese style bags last week, when I showed several ways to sew azuma bukuro, or bento bags. I mentioned that bento bags make great gift bags, but these are not the only style of Japanese bag that works well for this purpose. This week, let’s look at an even prettier way to make an origami style reusable gift wrap bag, this time a lotus shaped drawstring pouch.
Use them for gift bags and more
With such a pretty wrapper, even a humble gift becomes wow-worthy. Present a hostess or friend with one of these drawstring pouches you custom created to suit their style, and fill it with just cookies, candies, even a candle, to transform such consumable gifts into something memorable and continually useful.
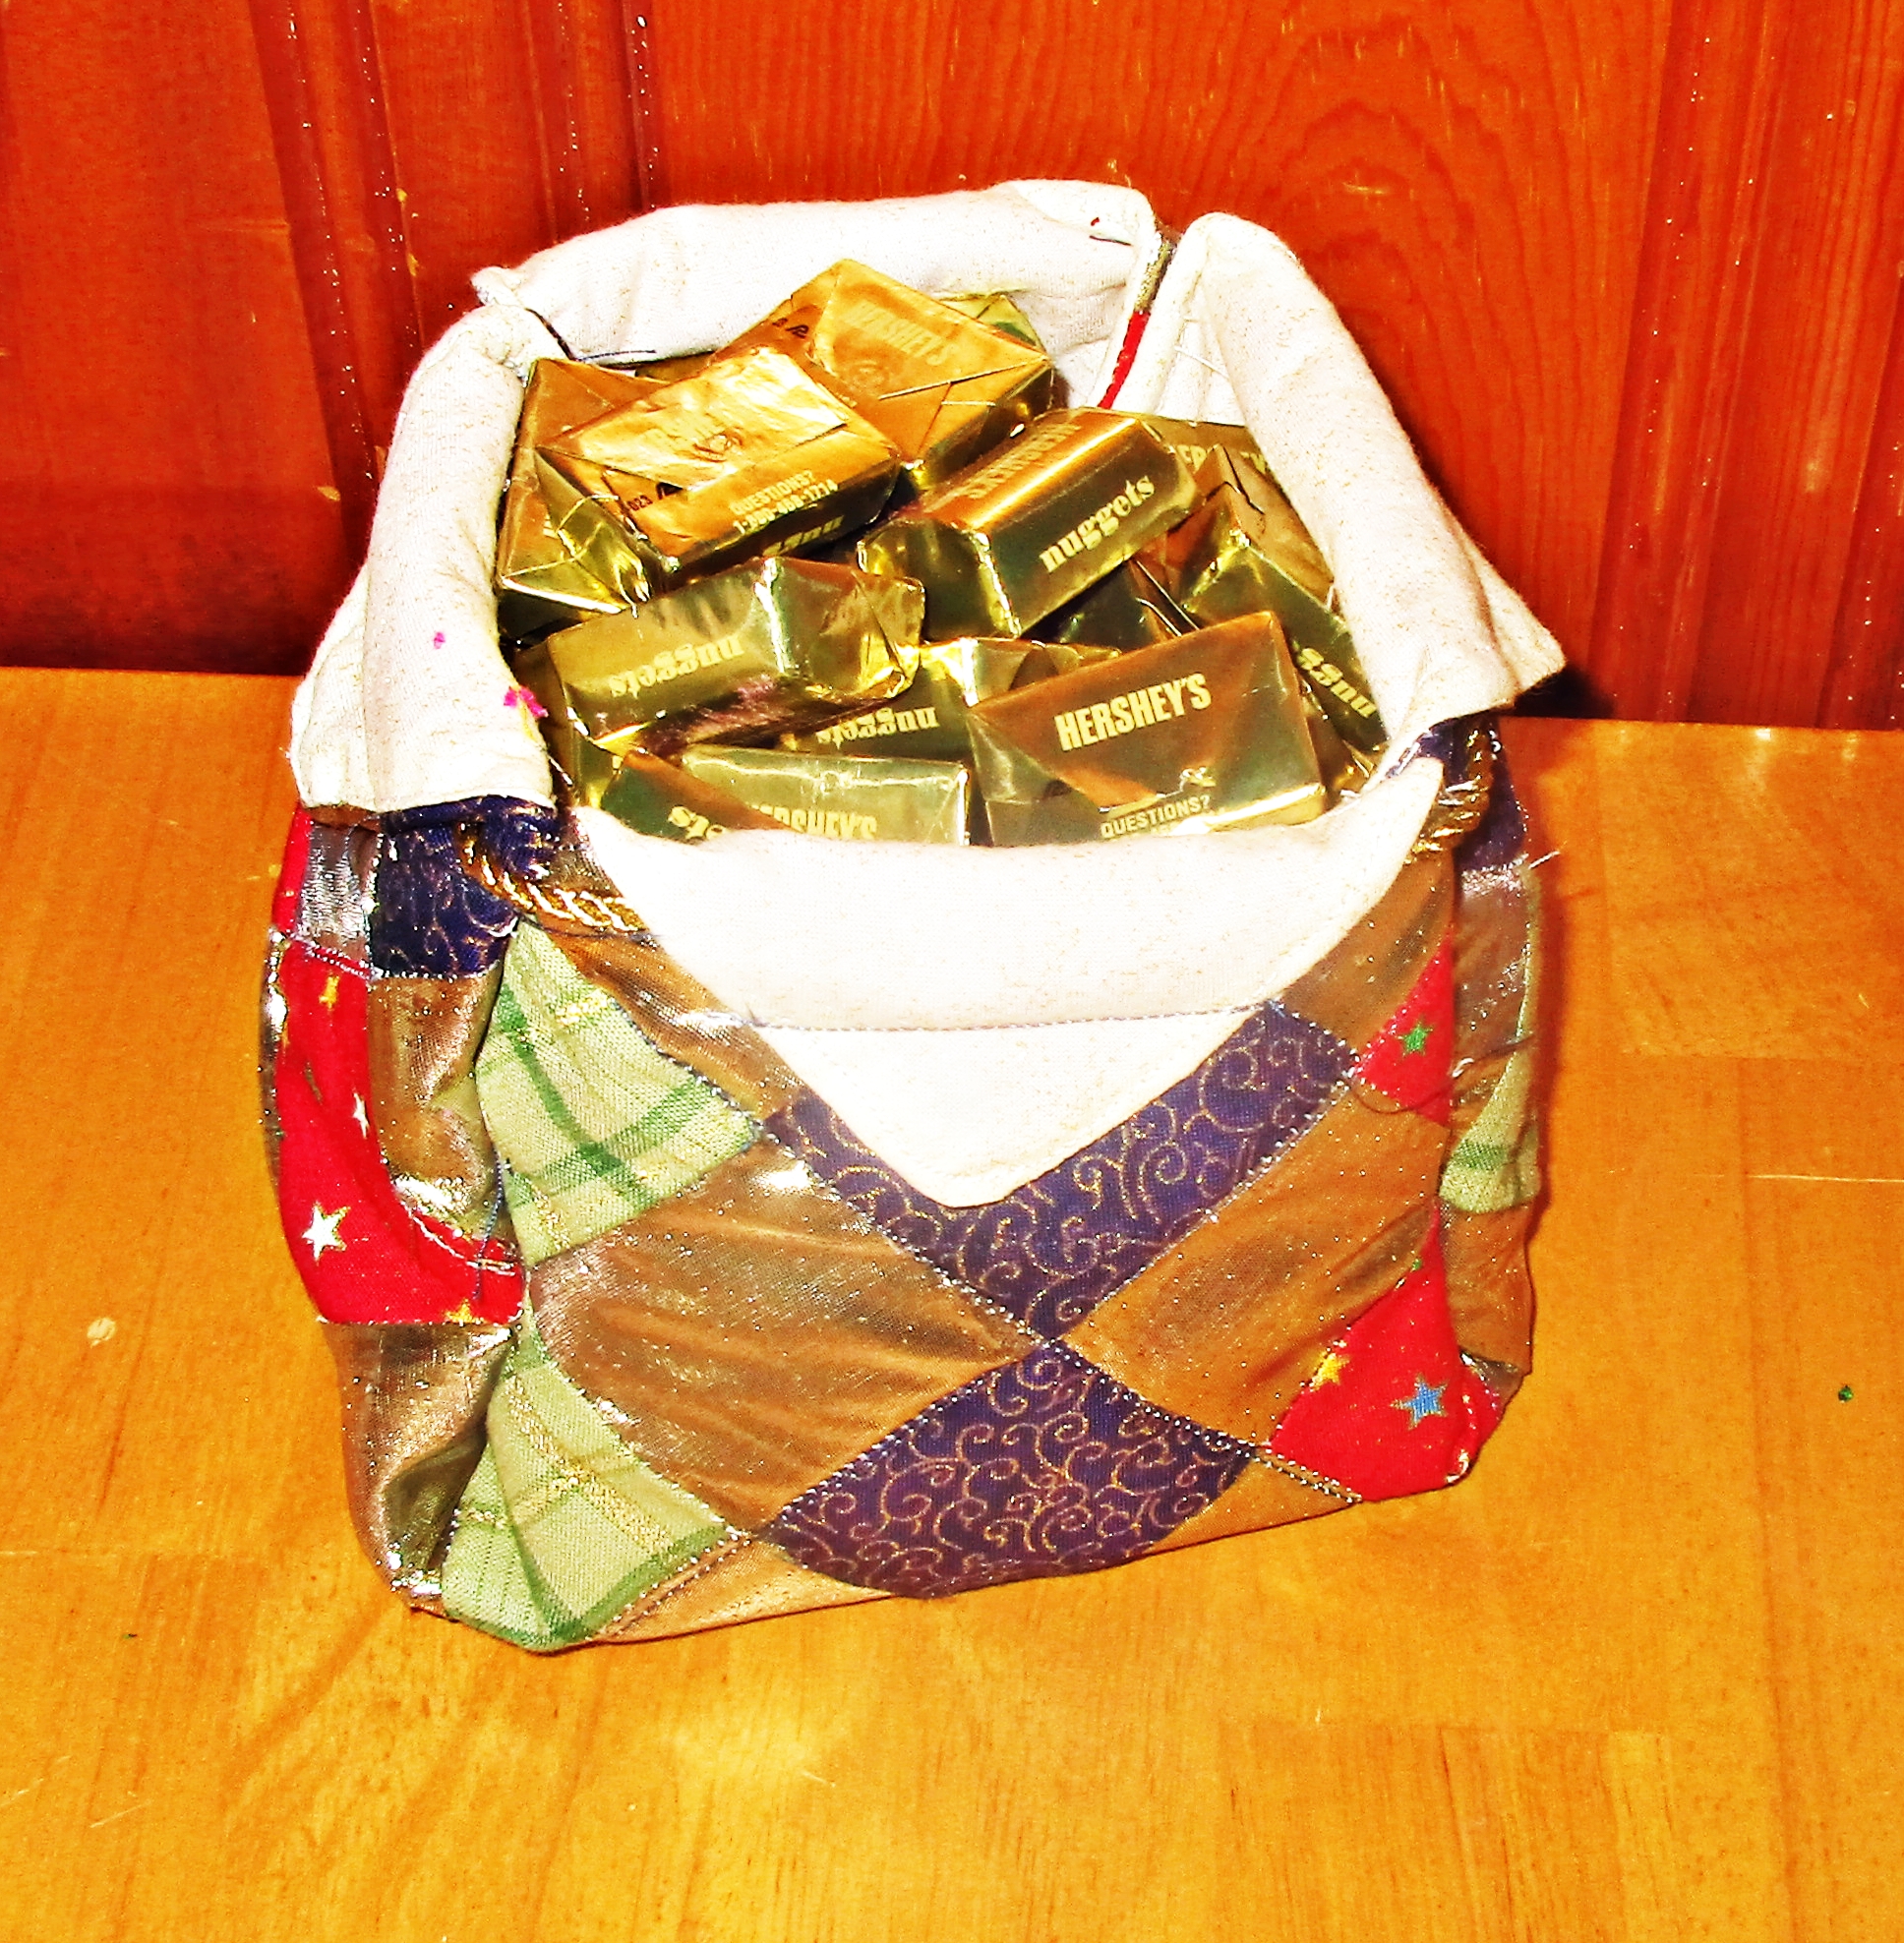
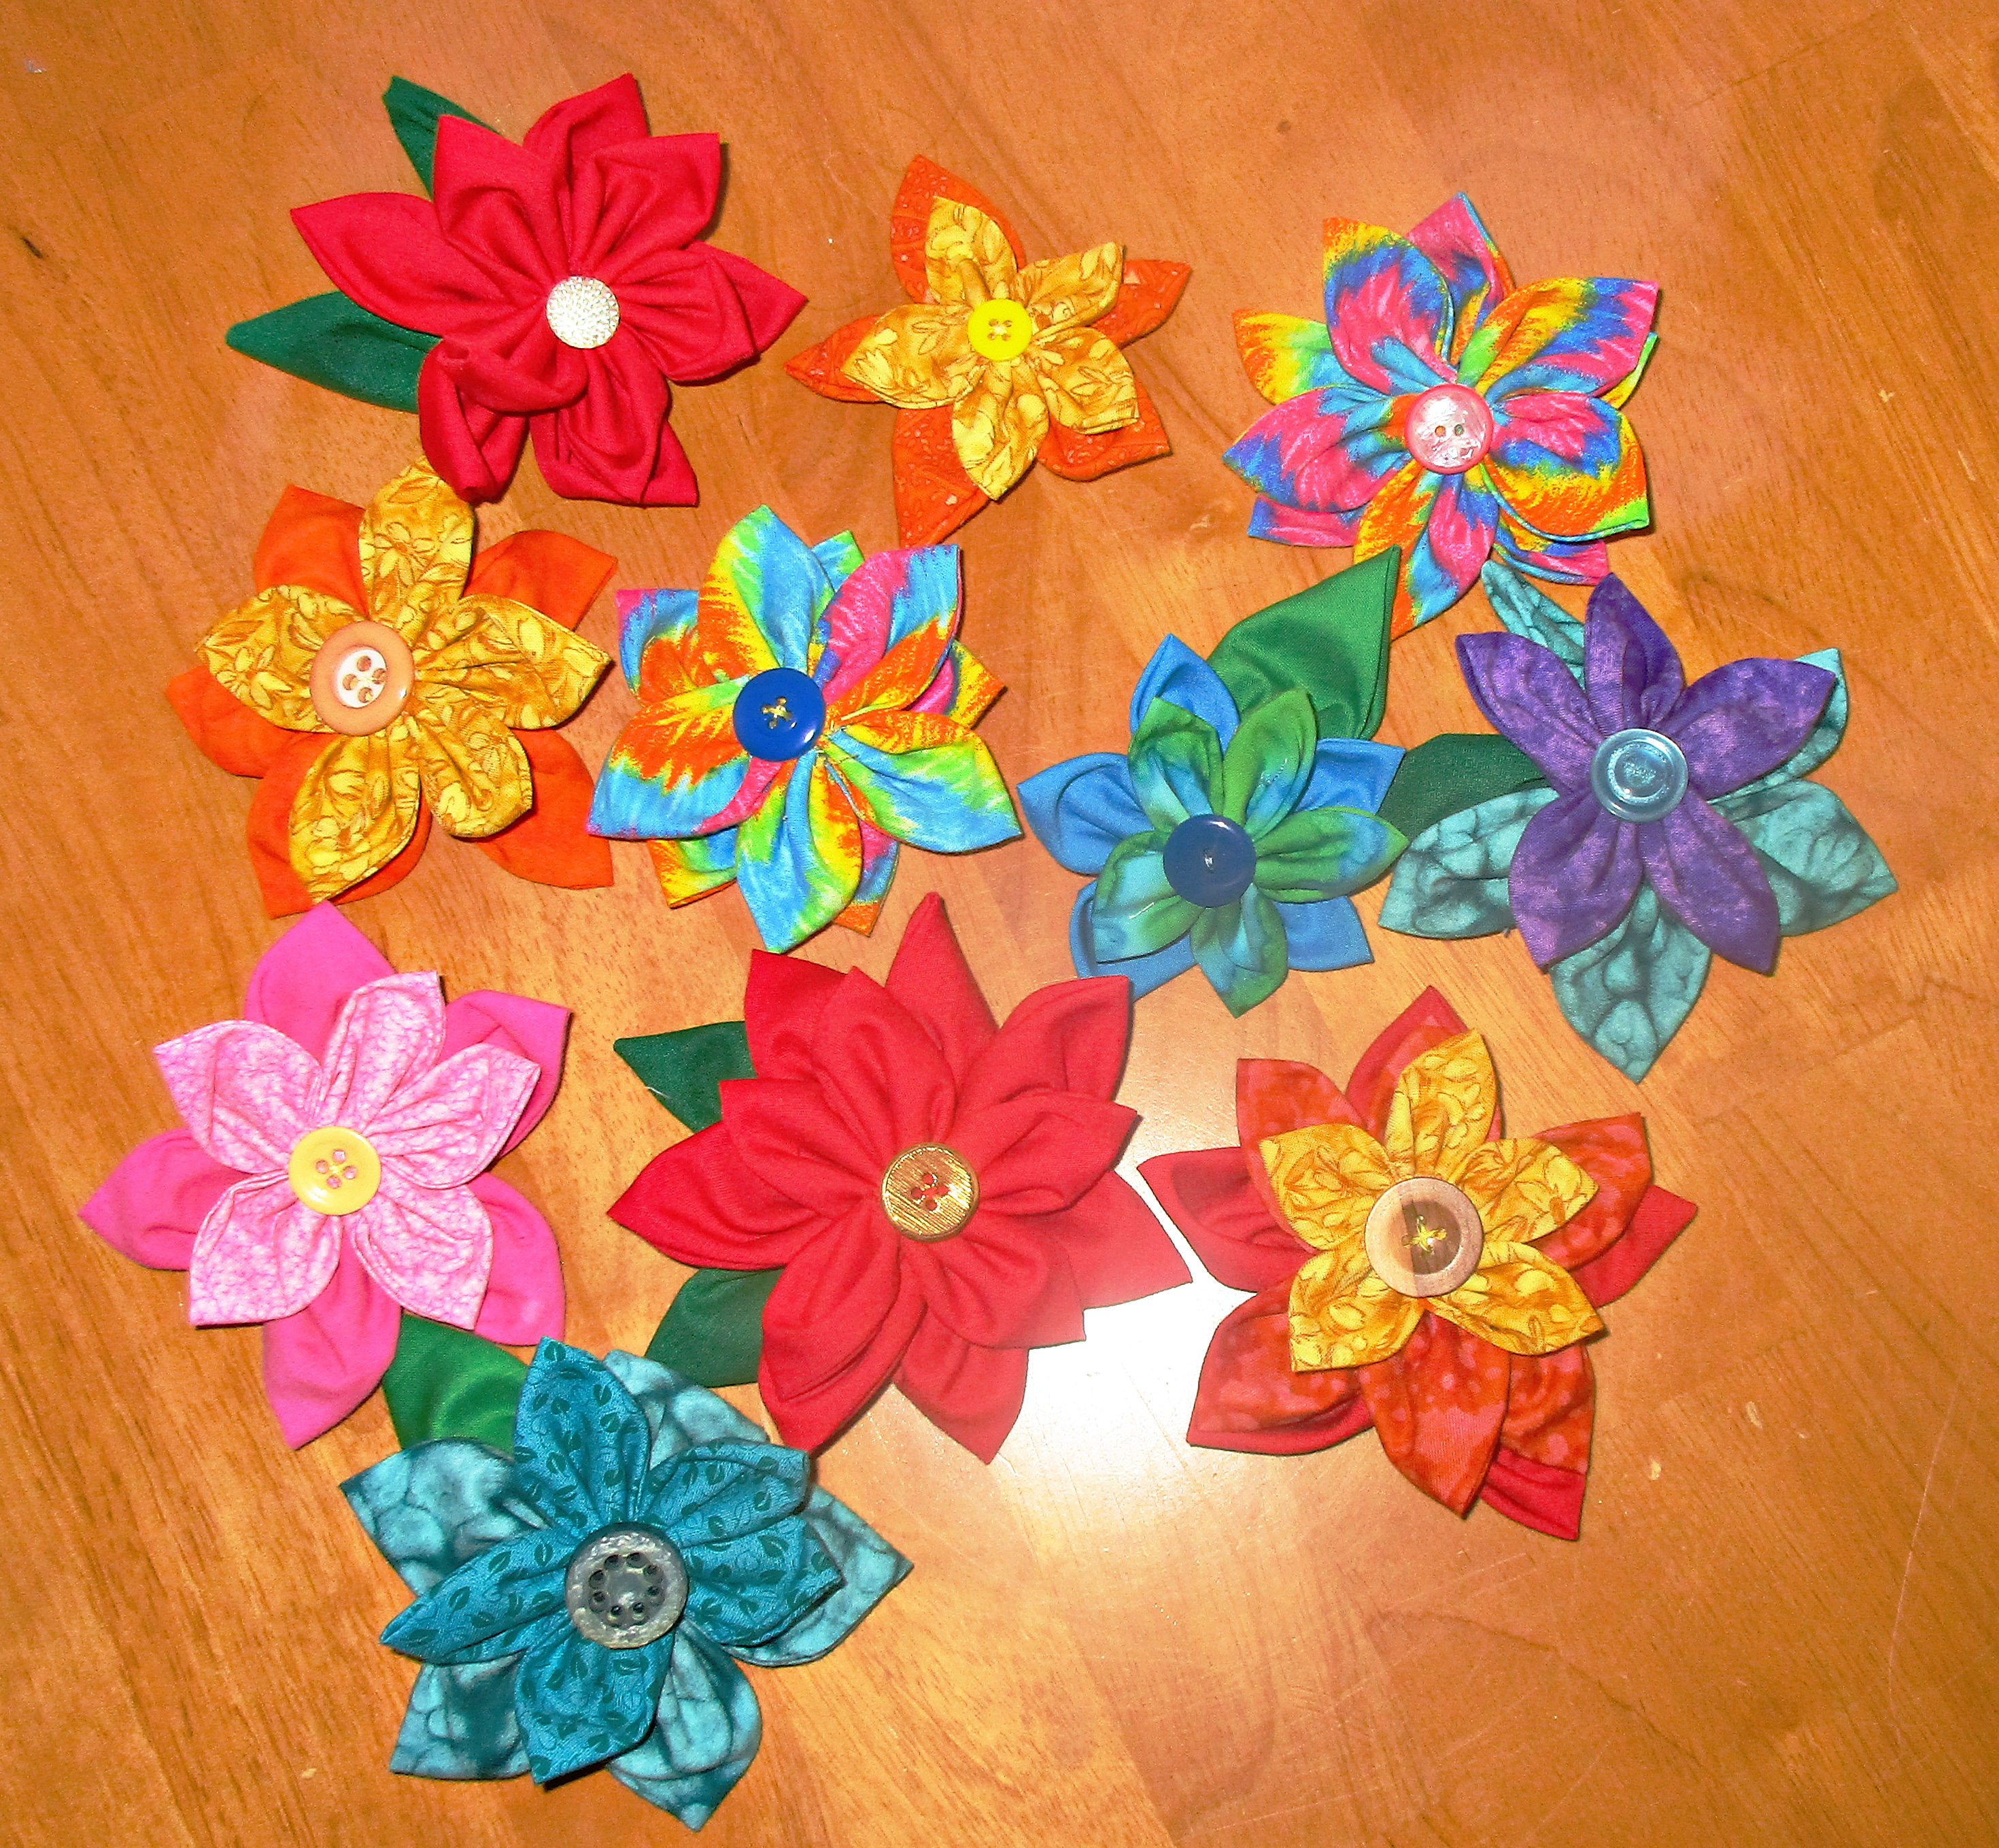
Lotus bags make a lovely gift of candy.
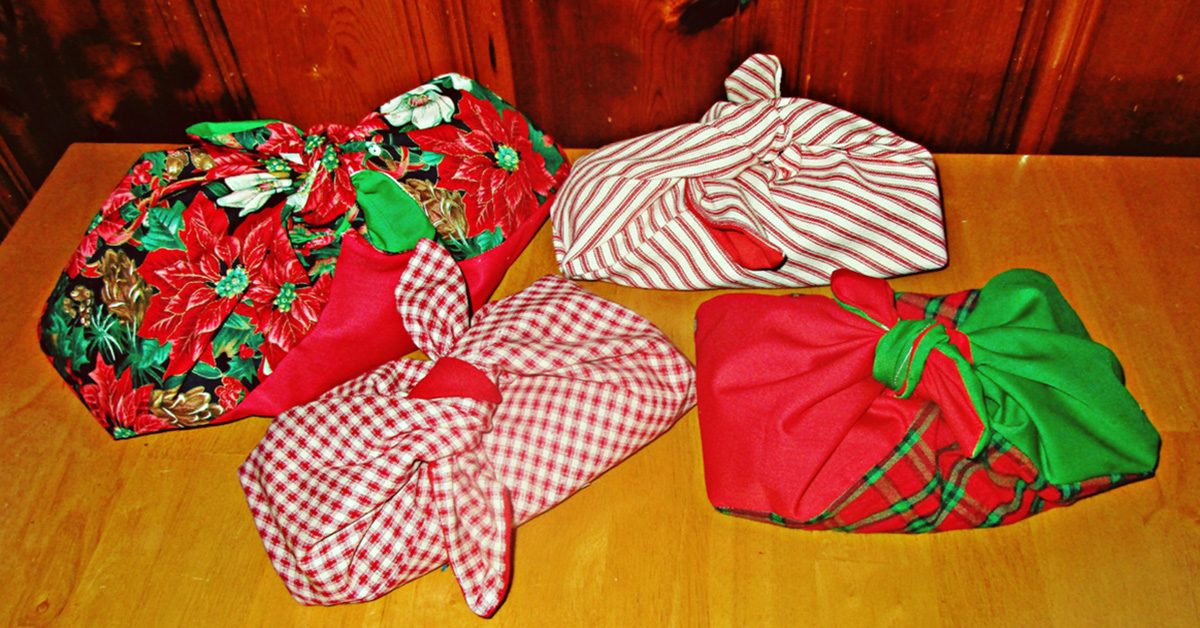
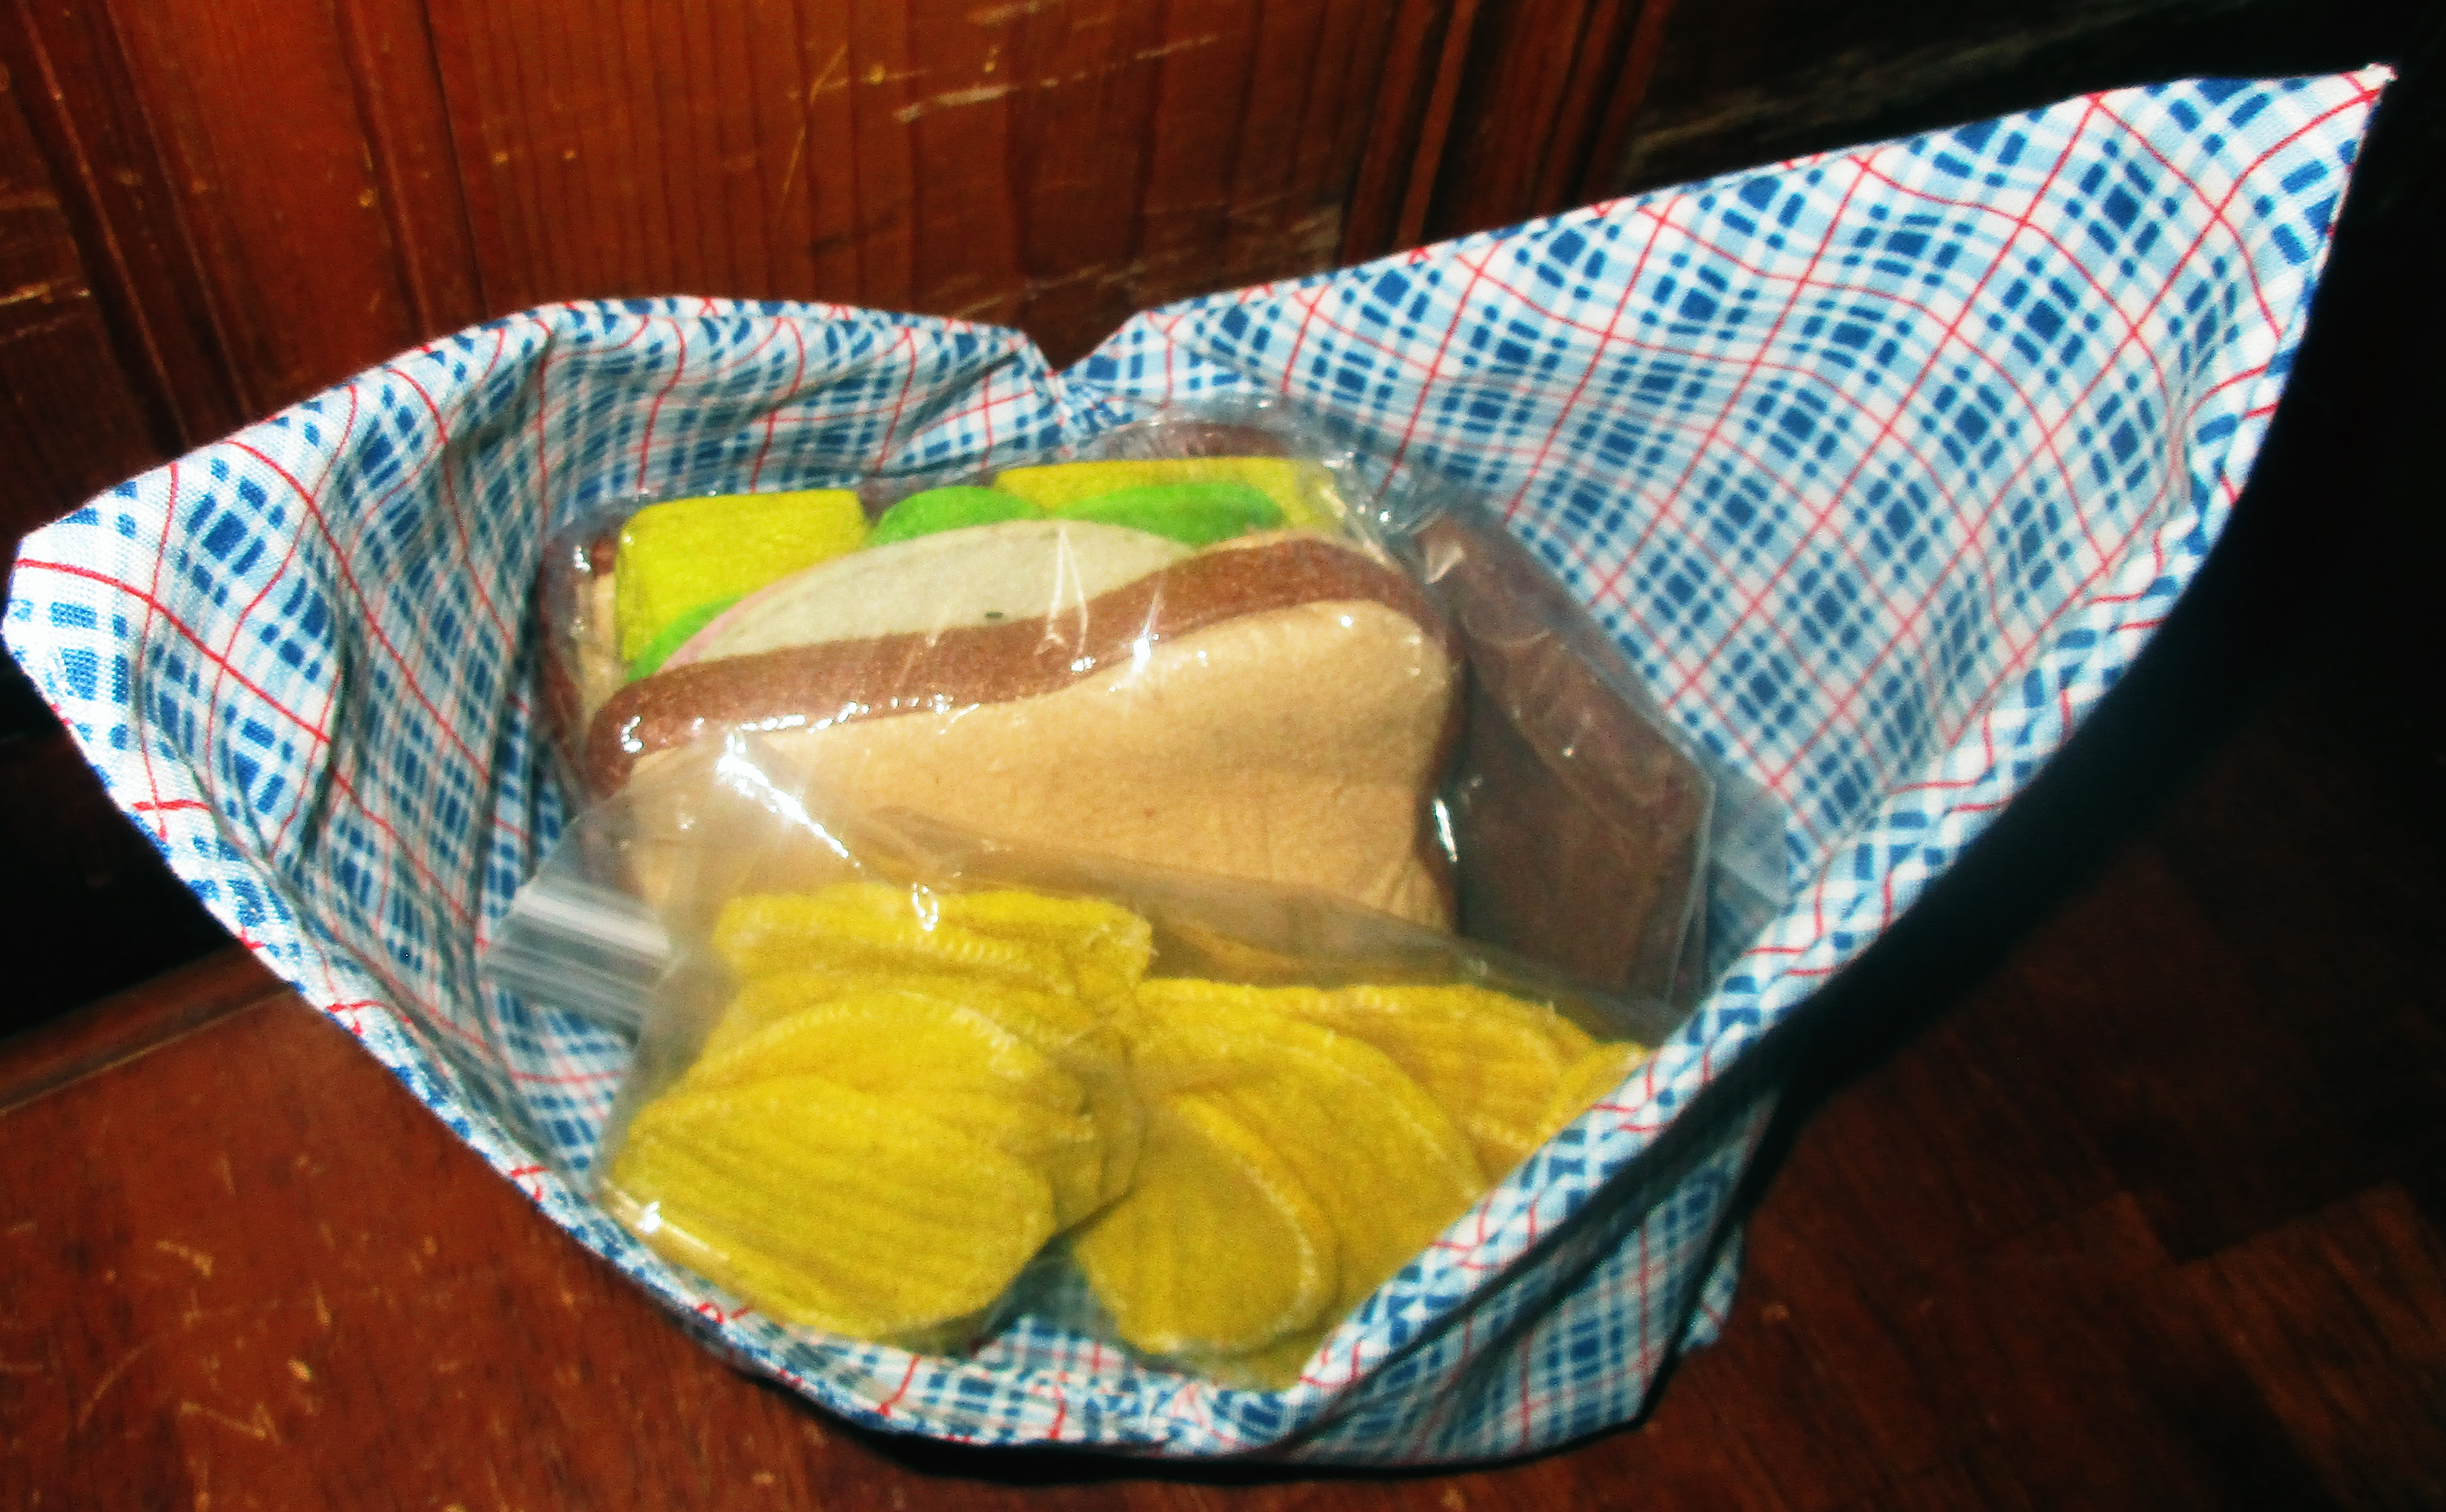
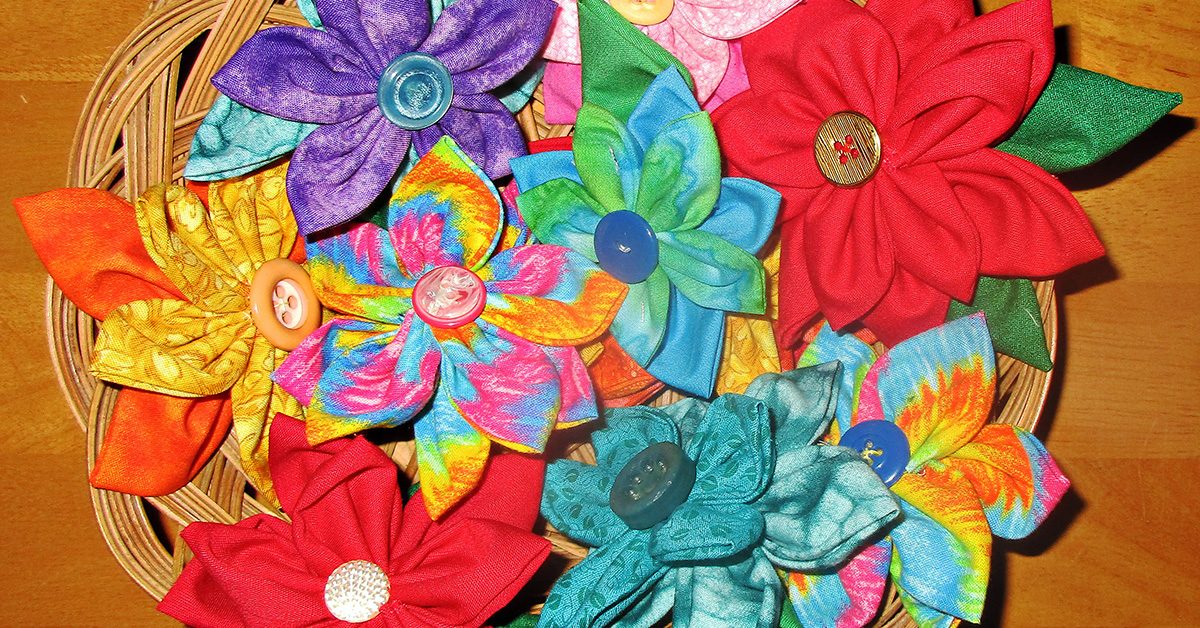
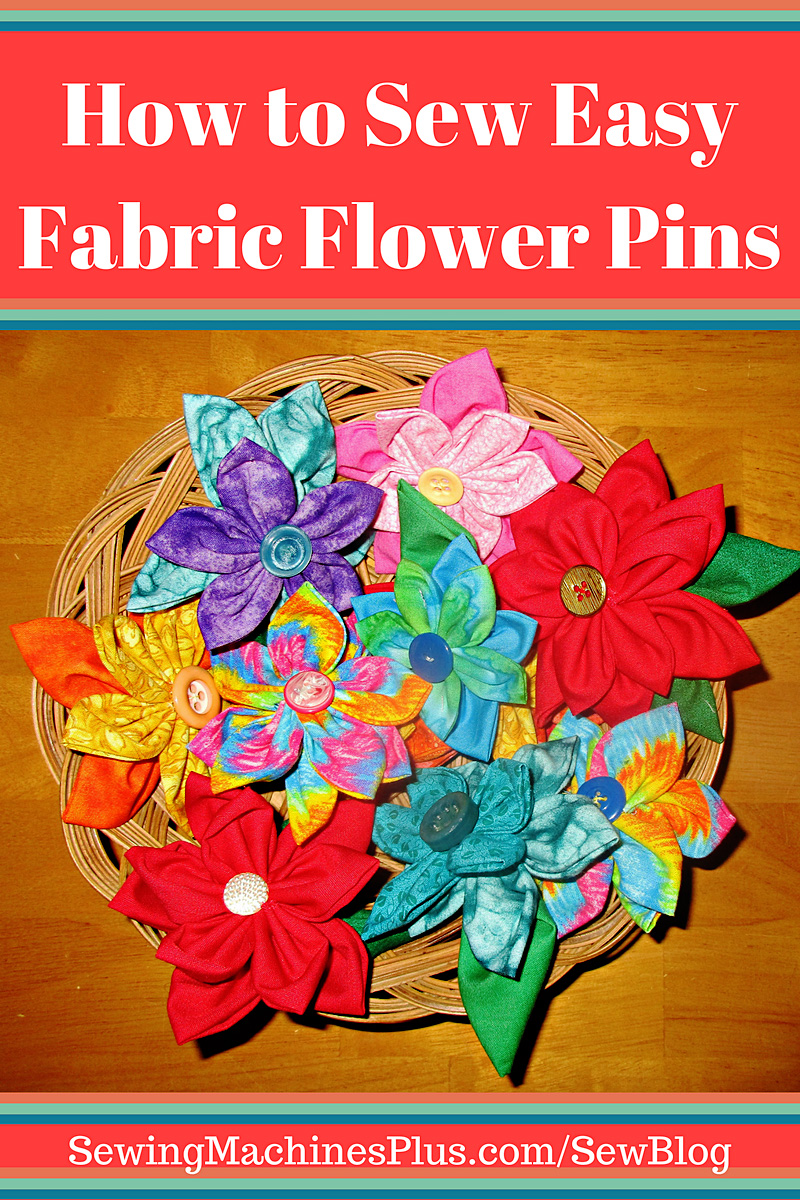
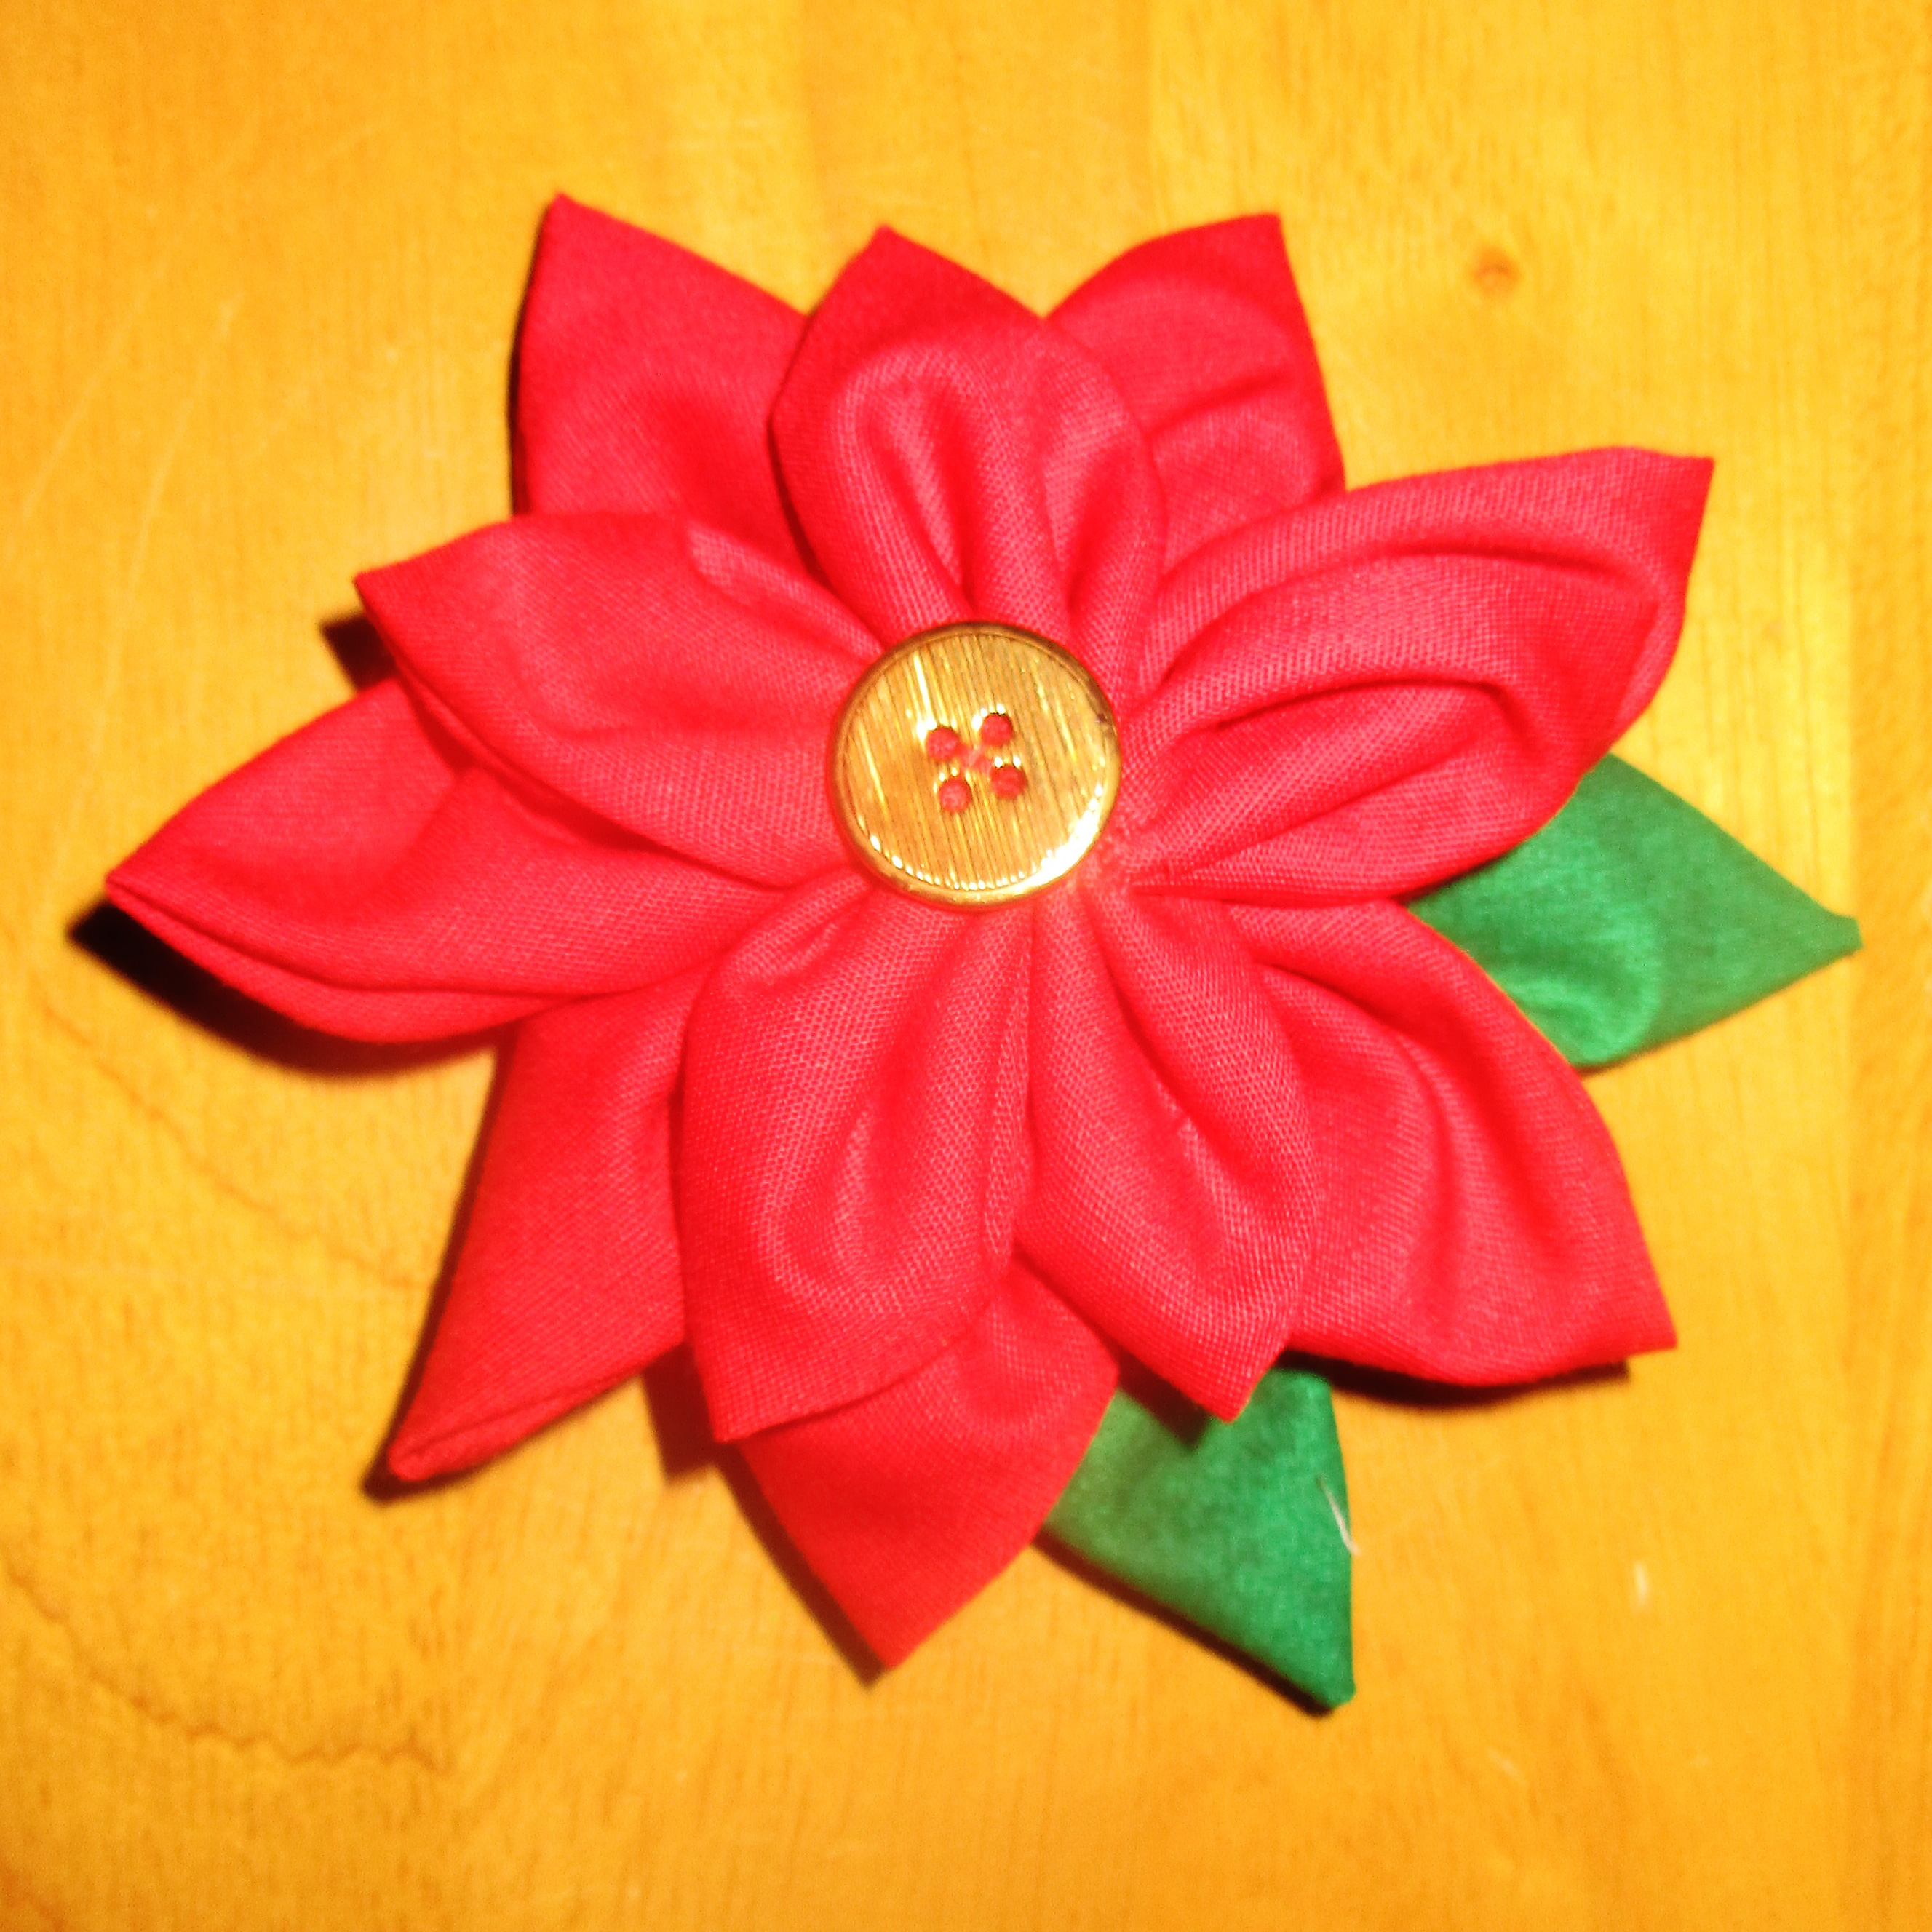
I made a small one from a poinsettia print to both wrap and store the poinsettia flower pins I made as holiday gifts. Besides gift wrap, these pretty bags with their handy drawstring handles can be used as a purse, to carry lunch, as project bags for holding knitting supplies or a patchwork project on the go, or for travel organizers, to carry jewelry or cosmetics.
These would make sweet favors for a bride to share with her bridal party, baby shower gifts, stocking stuffers, goody bags, and more. You could even make one from satin, lace, or bead it to make a gorgeous purse for evening or for a bride.
If I had boy and girl children and I sent them to school, I’d make bento bags for the boys and pretty drawstring pouches like these for the girls. I bet you can think of more uses for them, too.
The best thing about these pretty pouches is that they are incredibly easy to sew; you can make one in just a few minutes.
How to sew a lotus drawstring pouch:
You will need 2 same sized squares of fabric, one for the outside of the bag, and one for the lining. You will also need 2 pieces of cord, ribbon, or yarn for the drawstrings.
Use any size of square to make these. An 18” square makes a nice medium sized drawstring pouch. To make a bag large enough to carry lunch, I suggest using squares that are at least 20”. A 10” square is nice for a small pouch for travel or a small gift. I have made these smaller, with 8” squares, to make a tiny drawstring pouch for giving handmade jewelry. And I’ve made one much larger, too. I reused a baby wblanket I made long ago for one of my boys to make an extra large drawstring pouch for a scraps bag. It’s also fun to make these like a tiny quilt, using a small piece of patchwork for the outside square.
Small pouch to hold a gift of handmade bracelets and earrings, made from 8″ squares.
You might like to affix fusible fleece or interfacing to one of your squares if you are making a larger lotus bag or one to use as a lunch bag or purse.
Place the two fabric squares right sides together and sew around all four sides, leaving an opening for turning. Clip the corners, turn right side out, and press. Then topstitch to close the opening, continuing the topstitching all the way around the square.
Fold up the corners
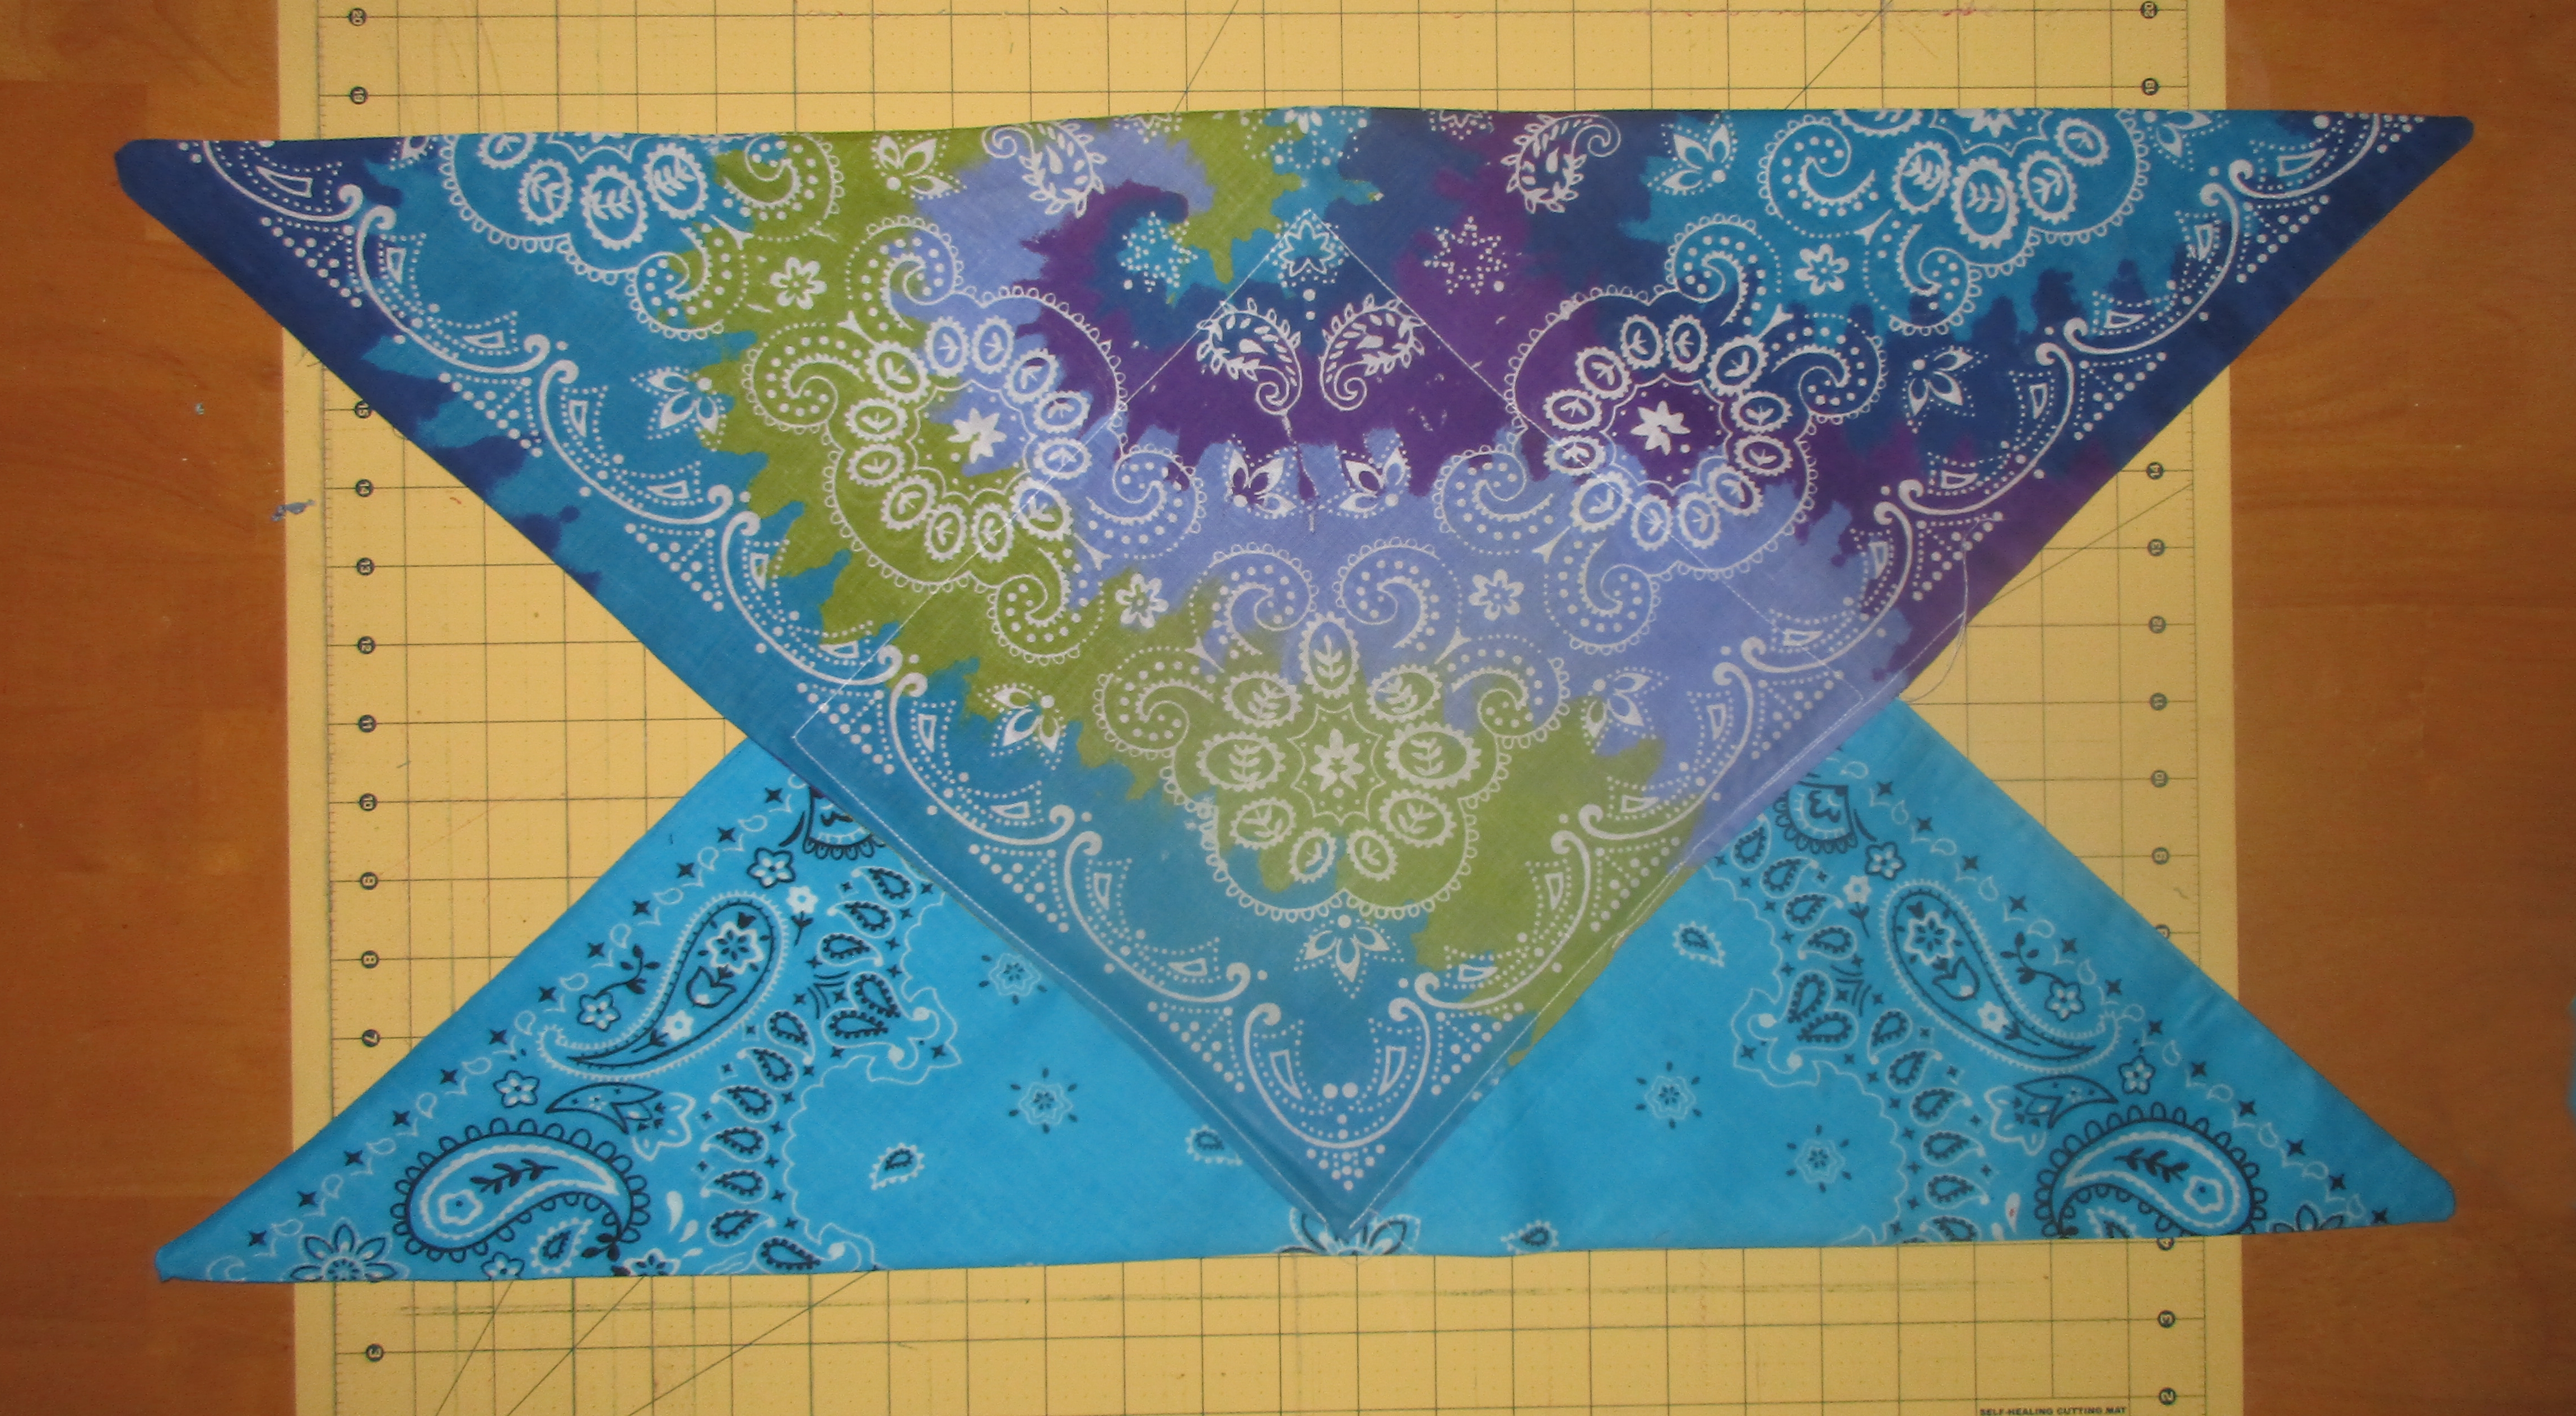
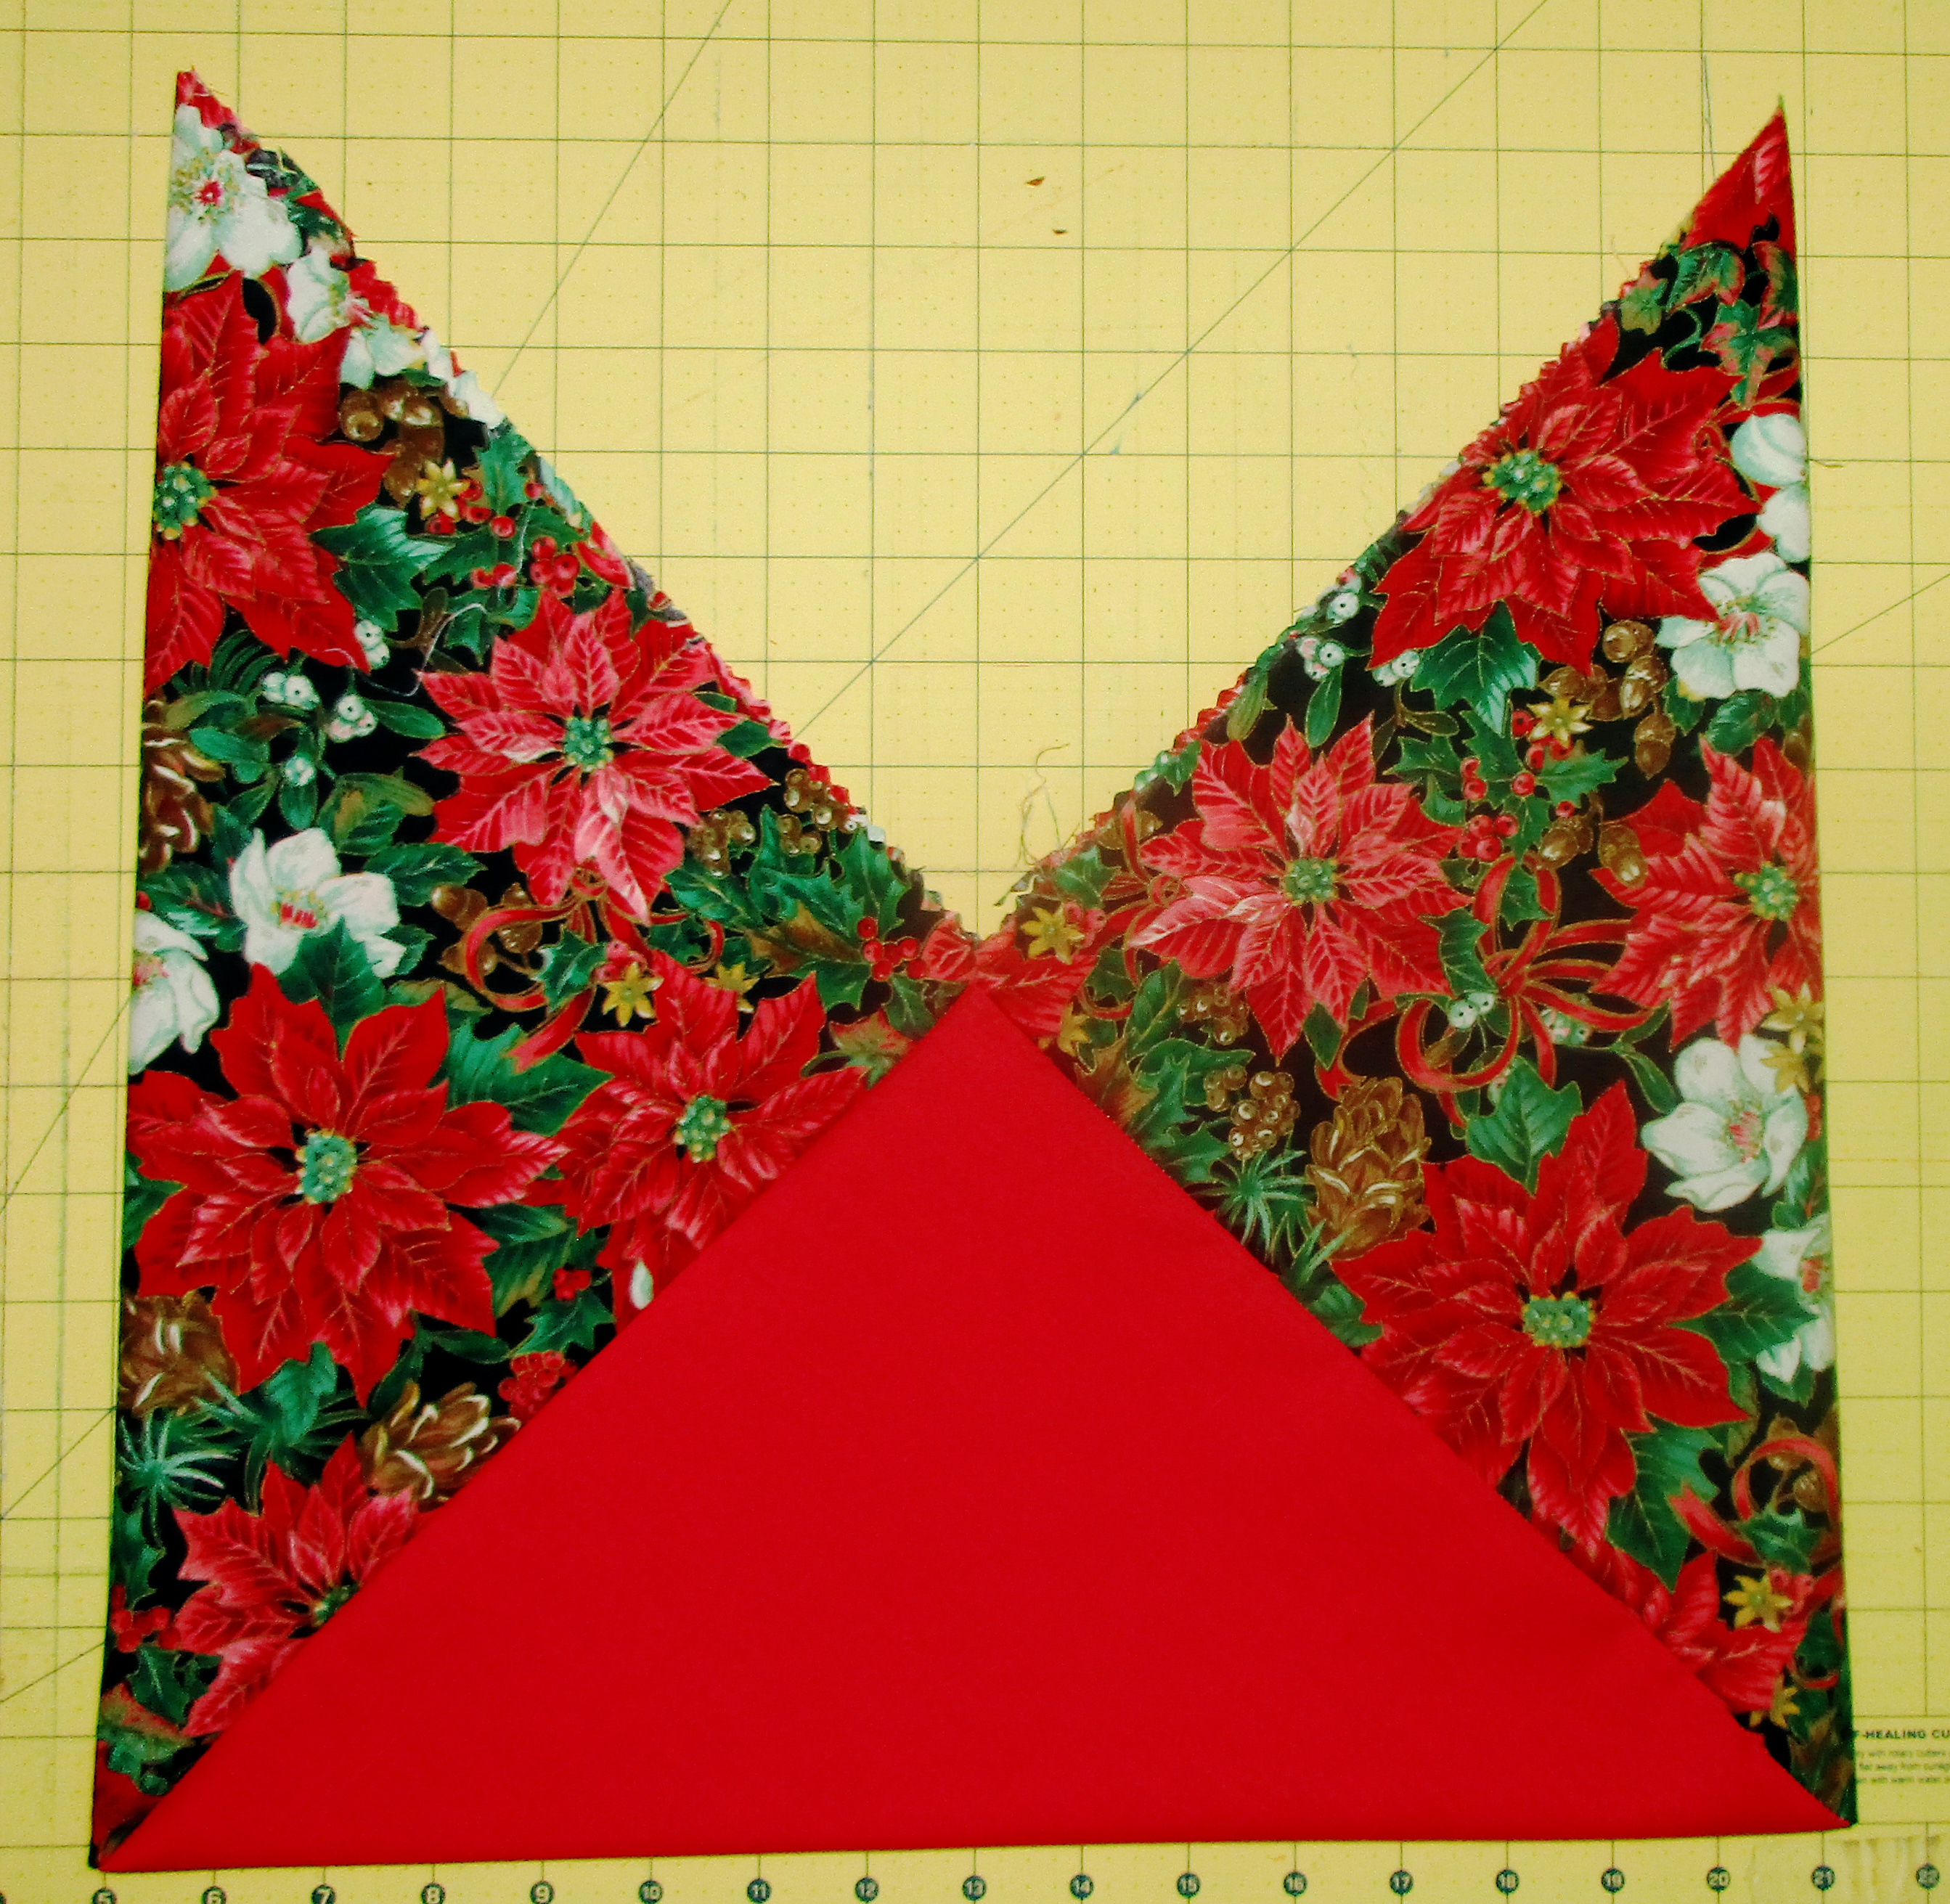
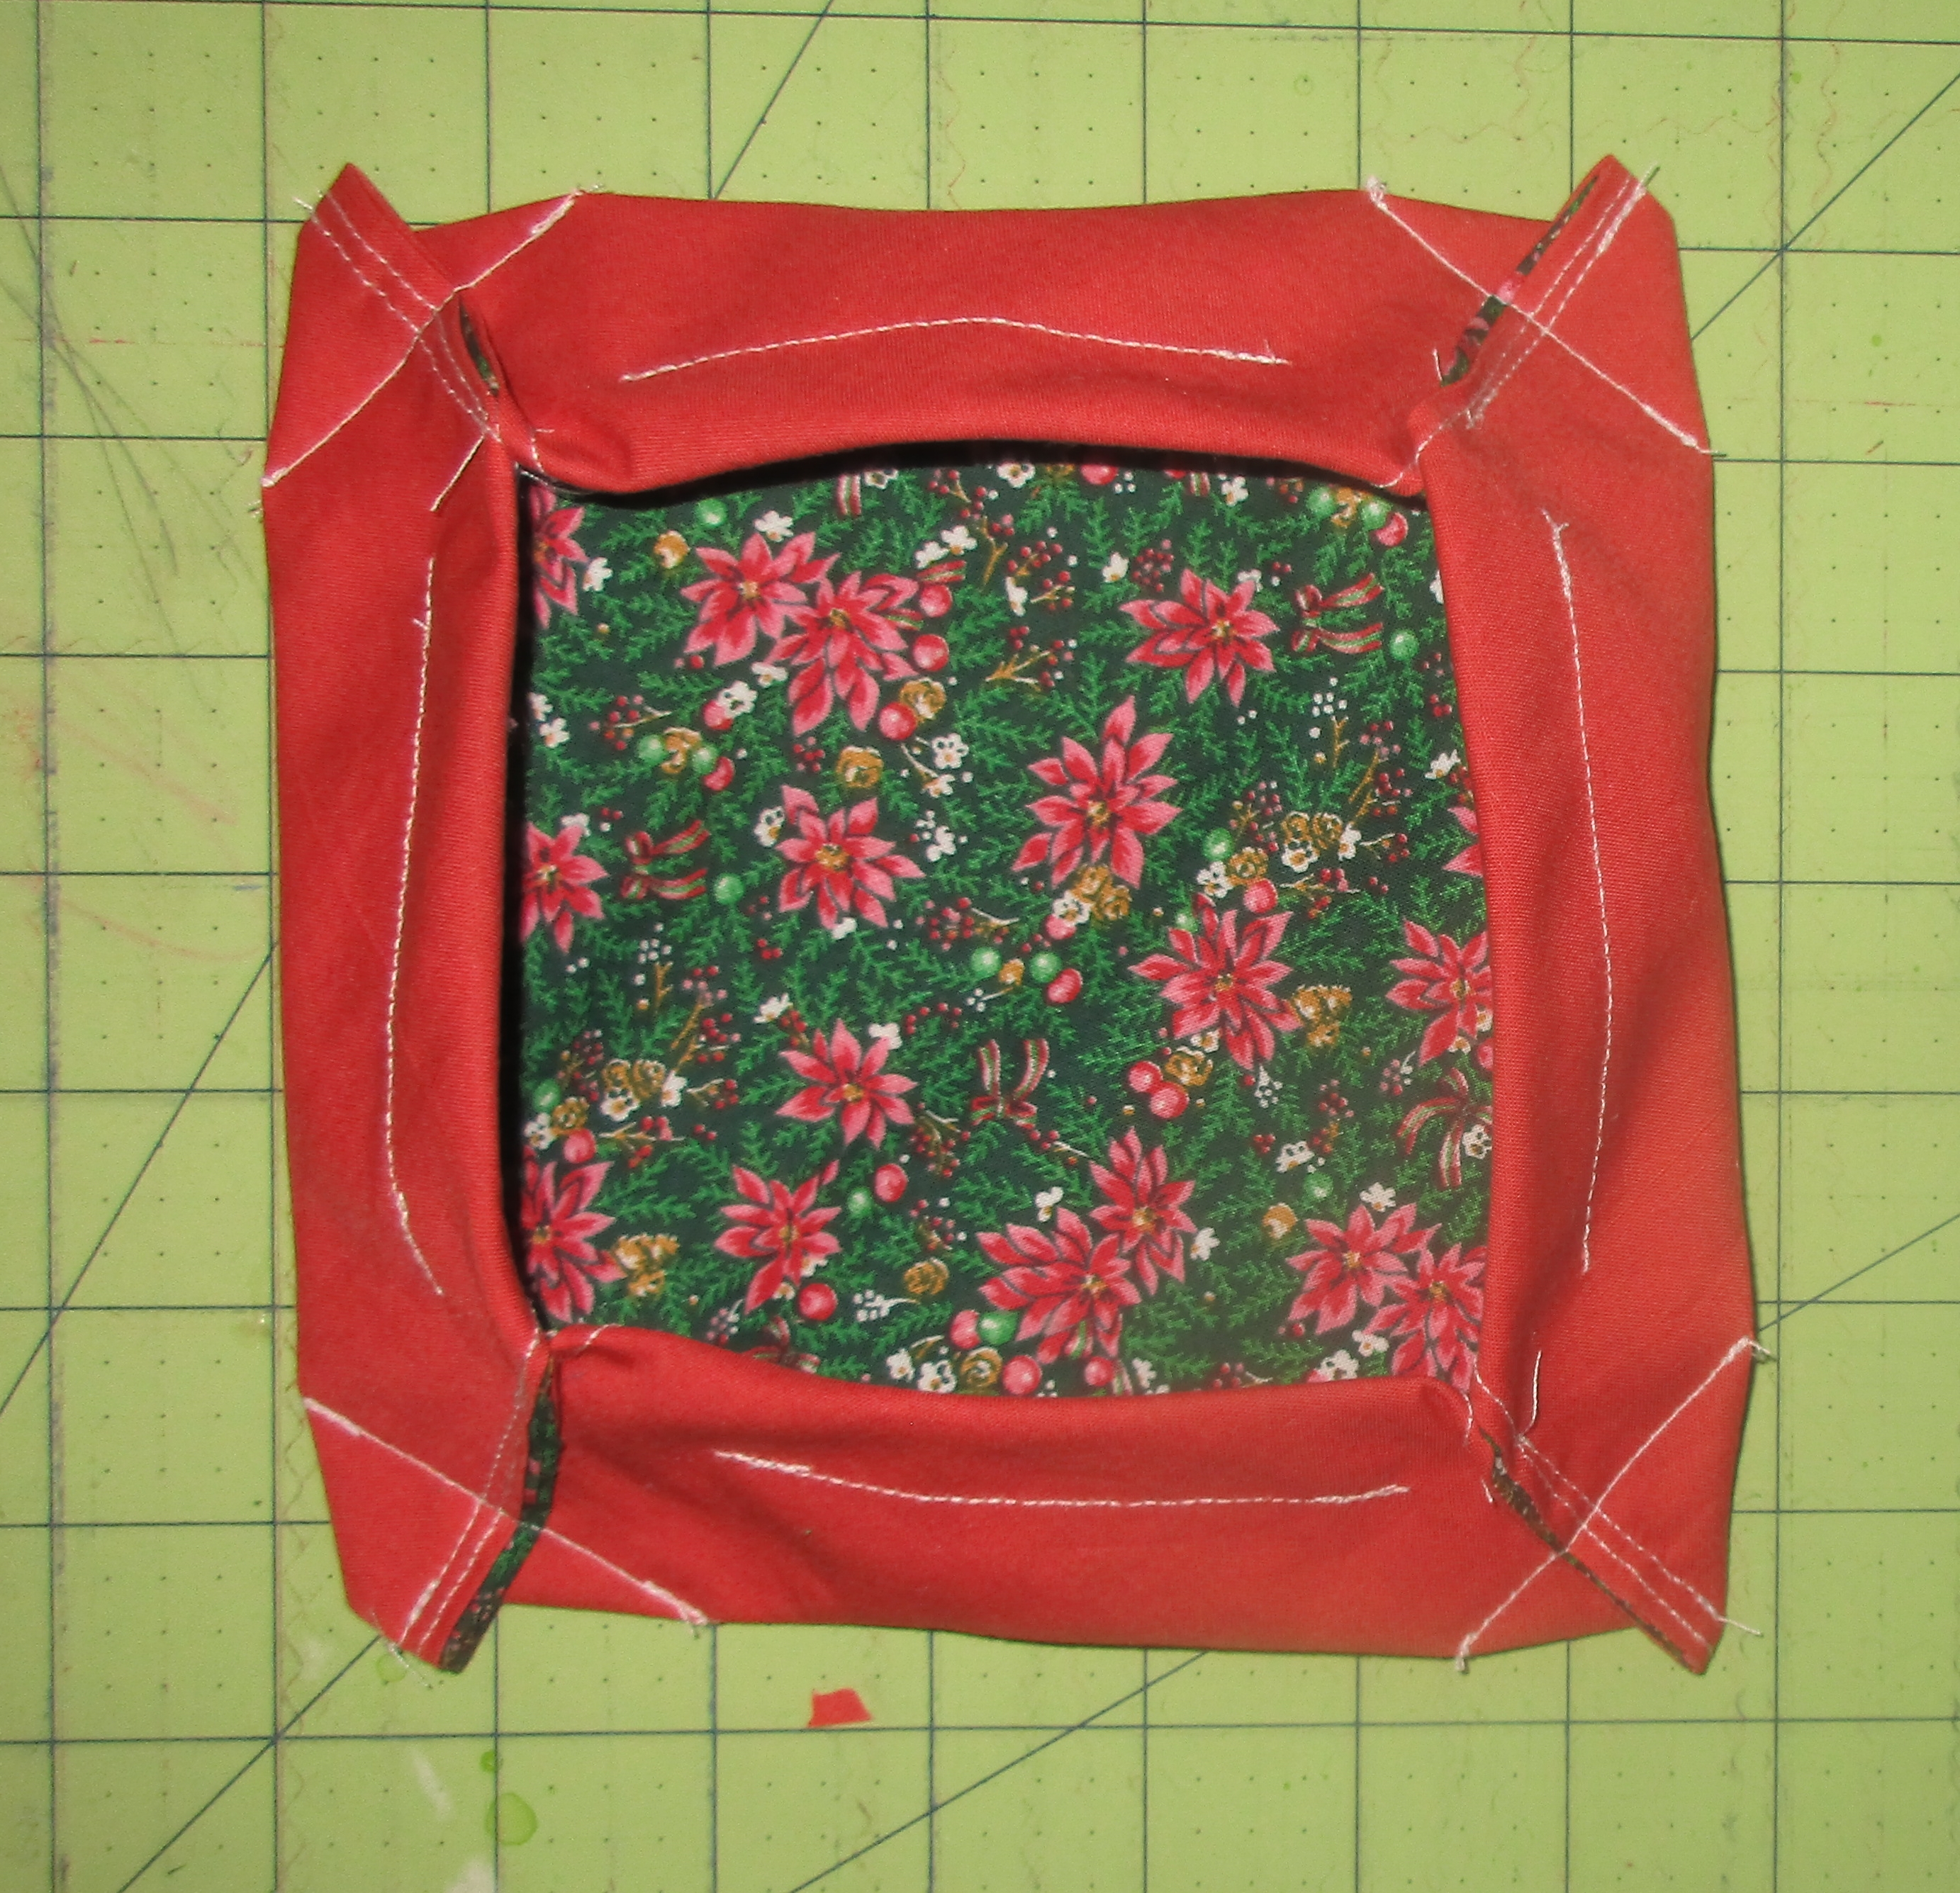
Now lay the finished square on your table with the exterior fabric facing up. Fold the four corners of the square back to show the lining fabric. I fold these back three, four, or five inches, depending on the size of the bag.
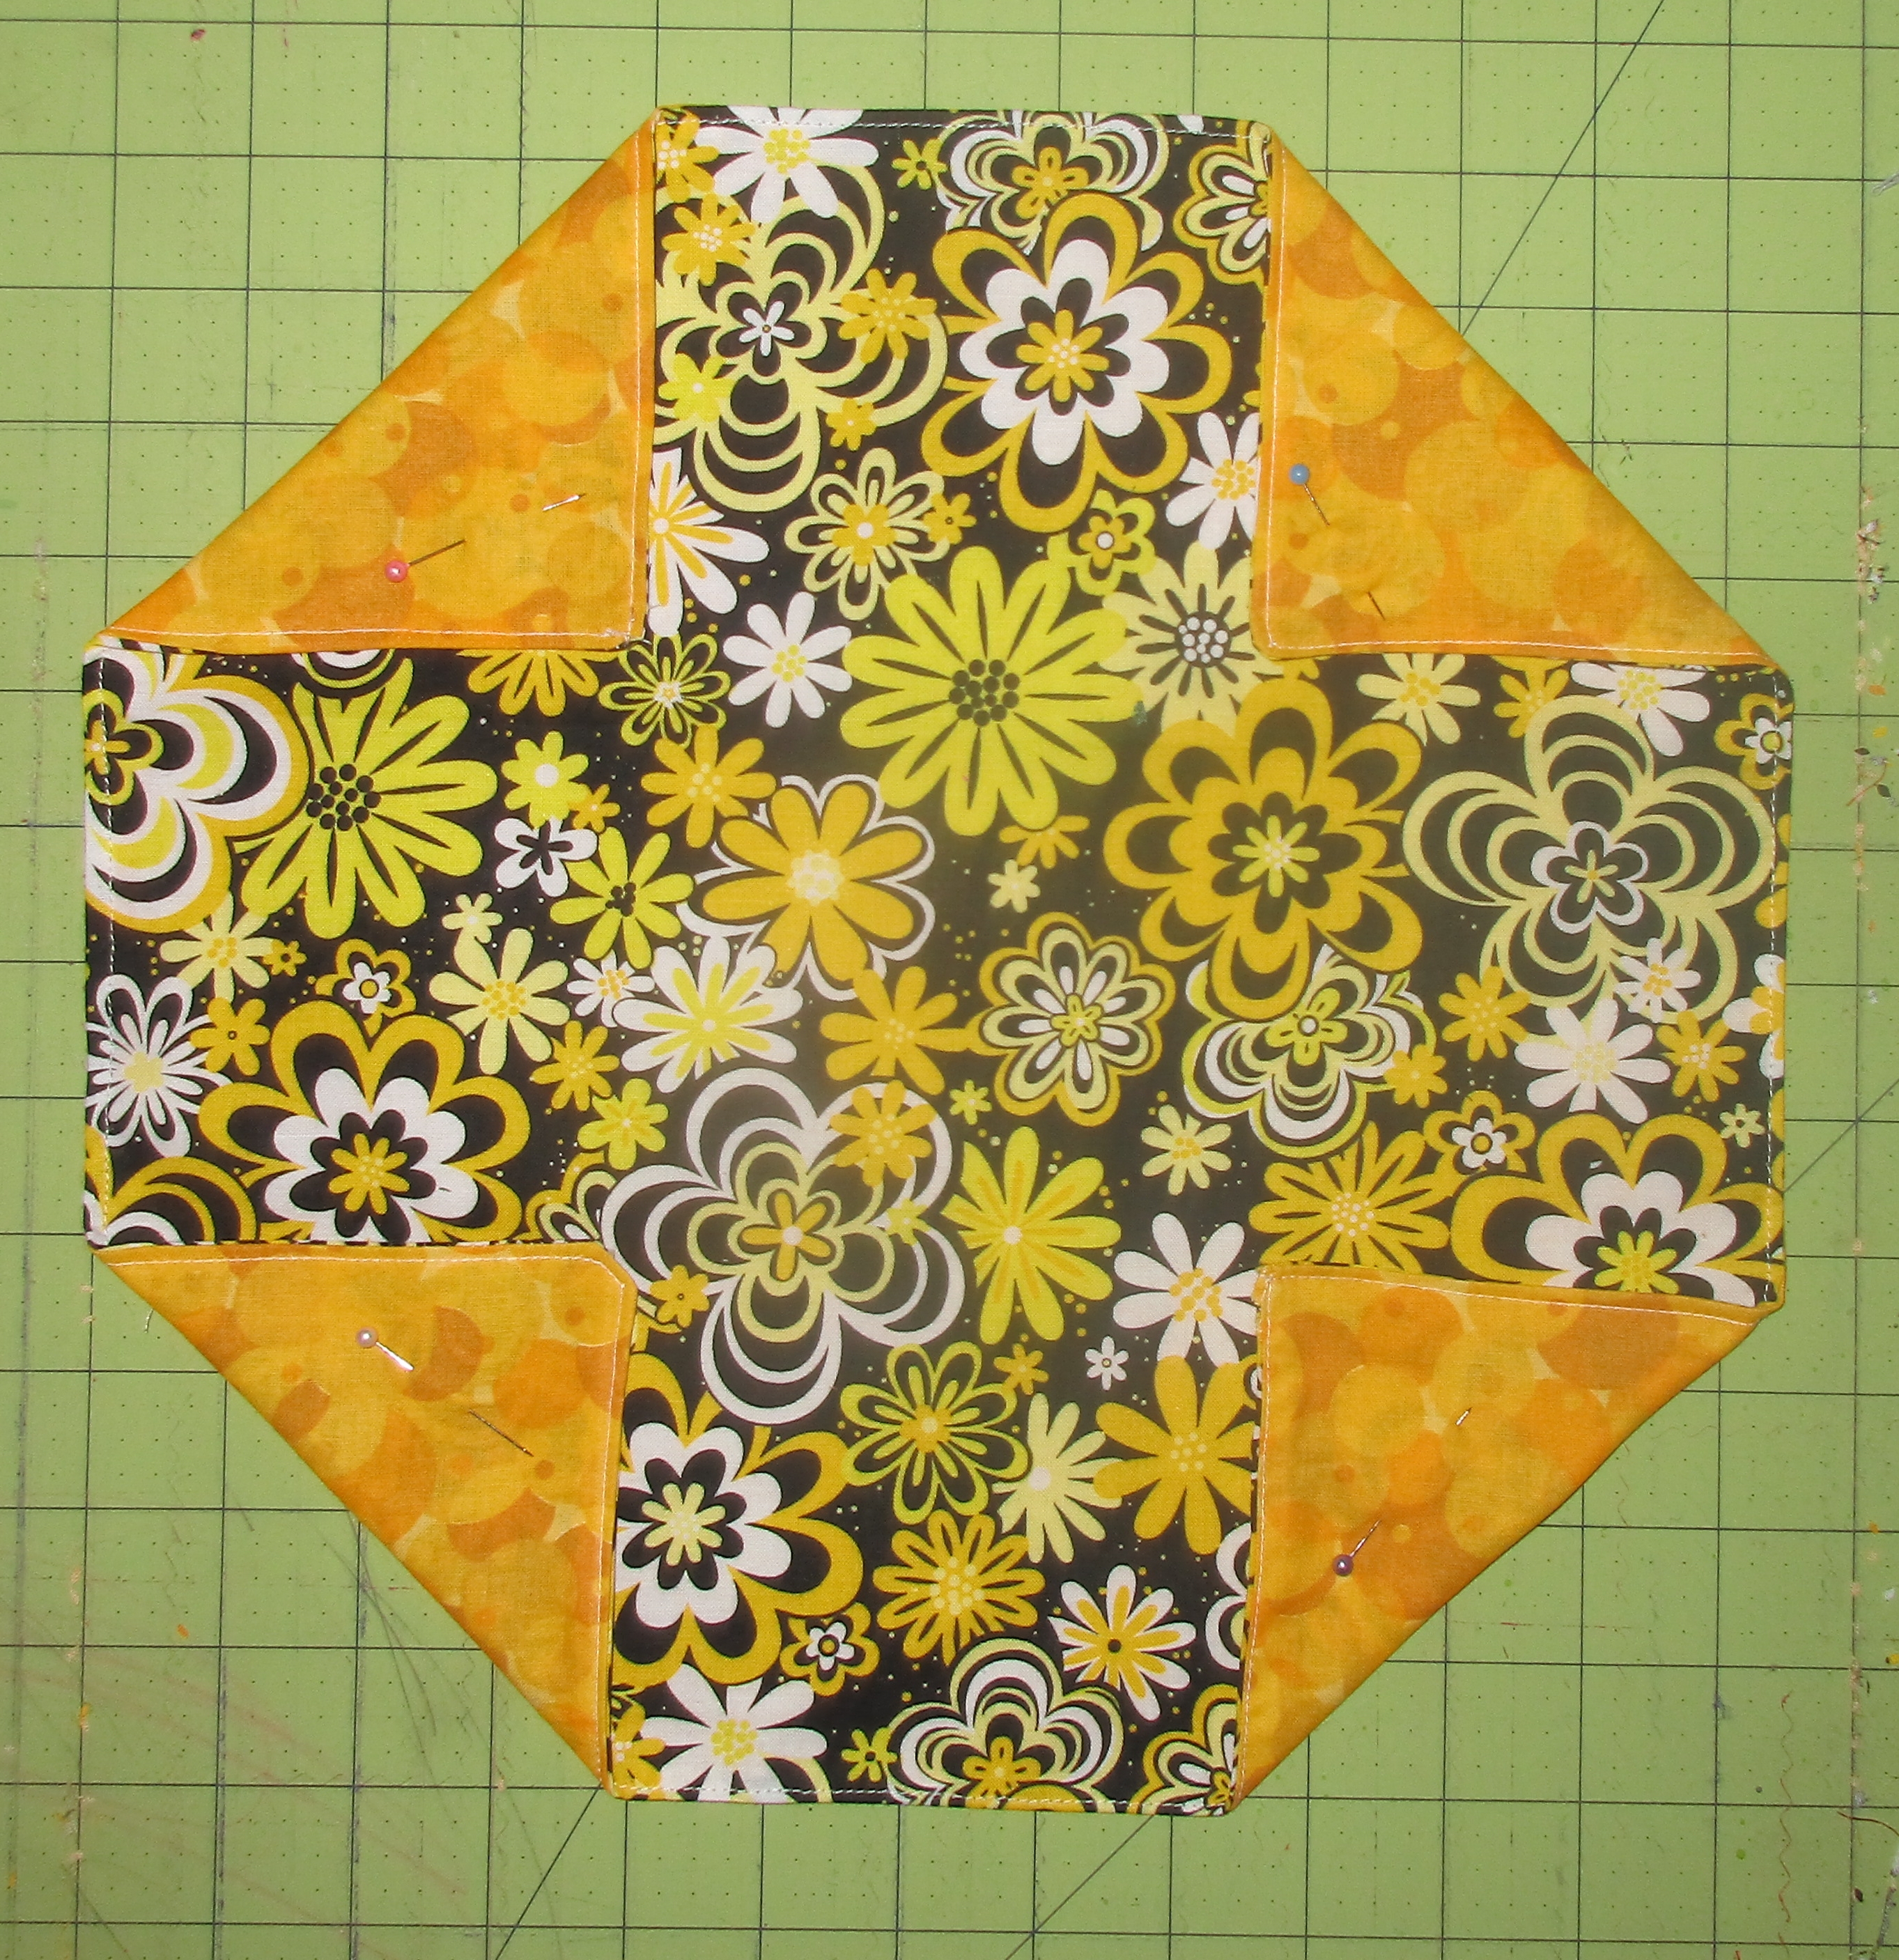
You can use your ruler and cutting mat to be sure all sides are even. Pin these in place, then sew a straight line across each of these corner folds, 5/8” from the fold. This creates the channels for the drawstring.
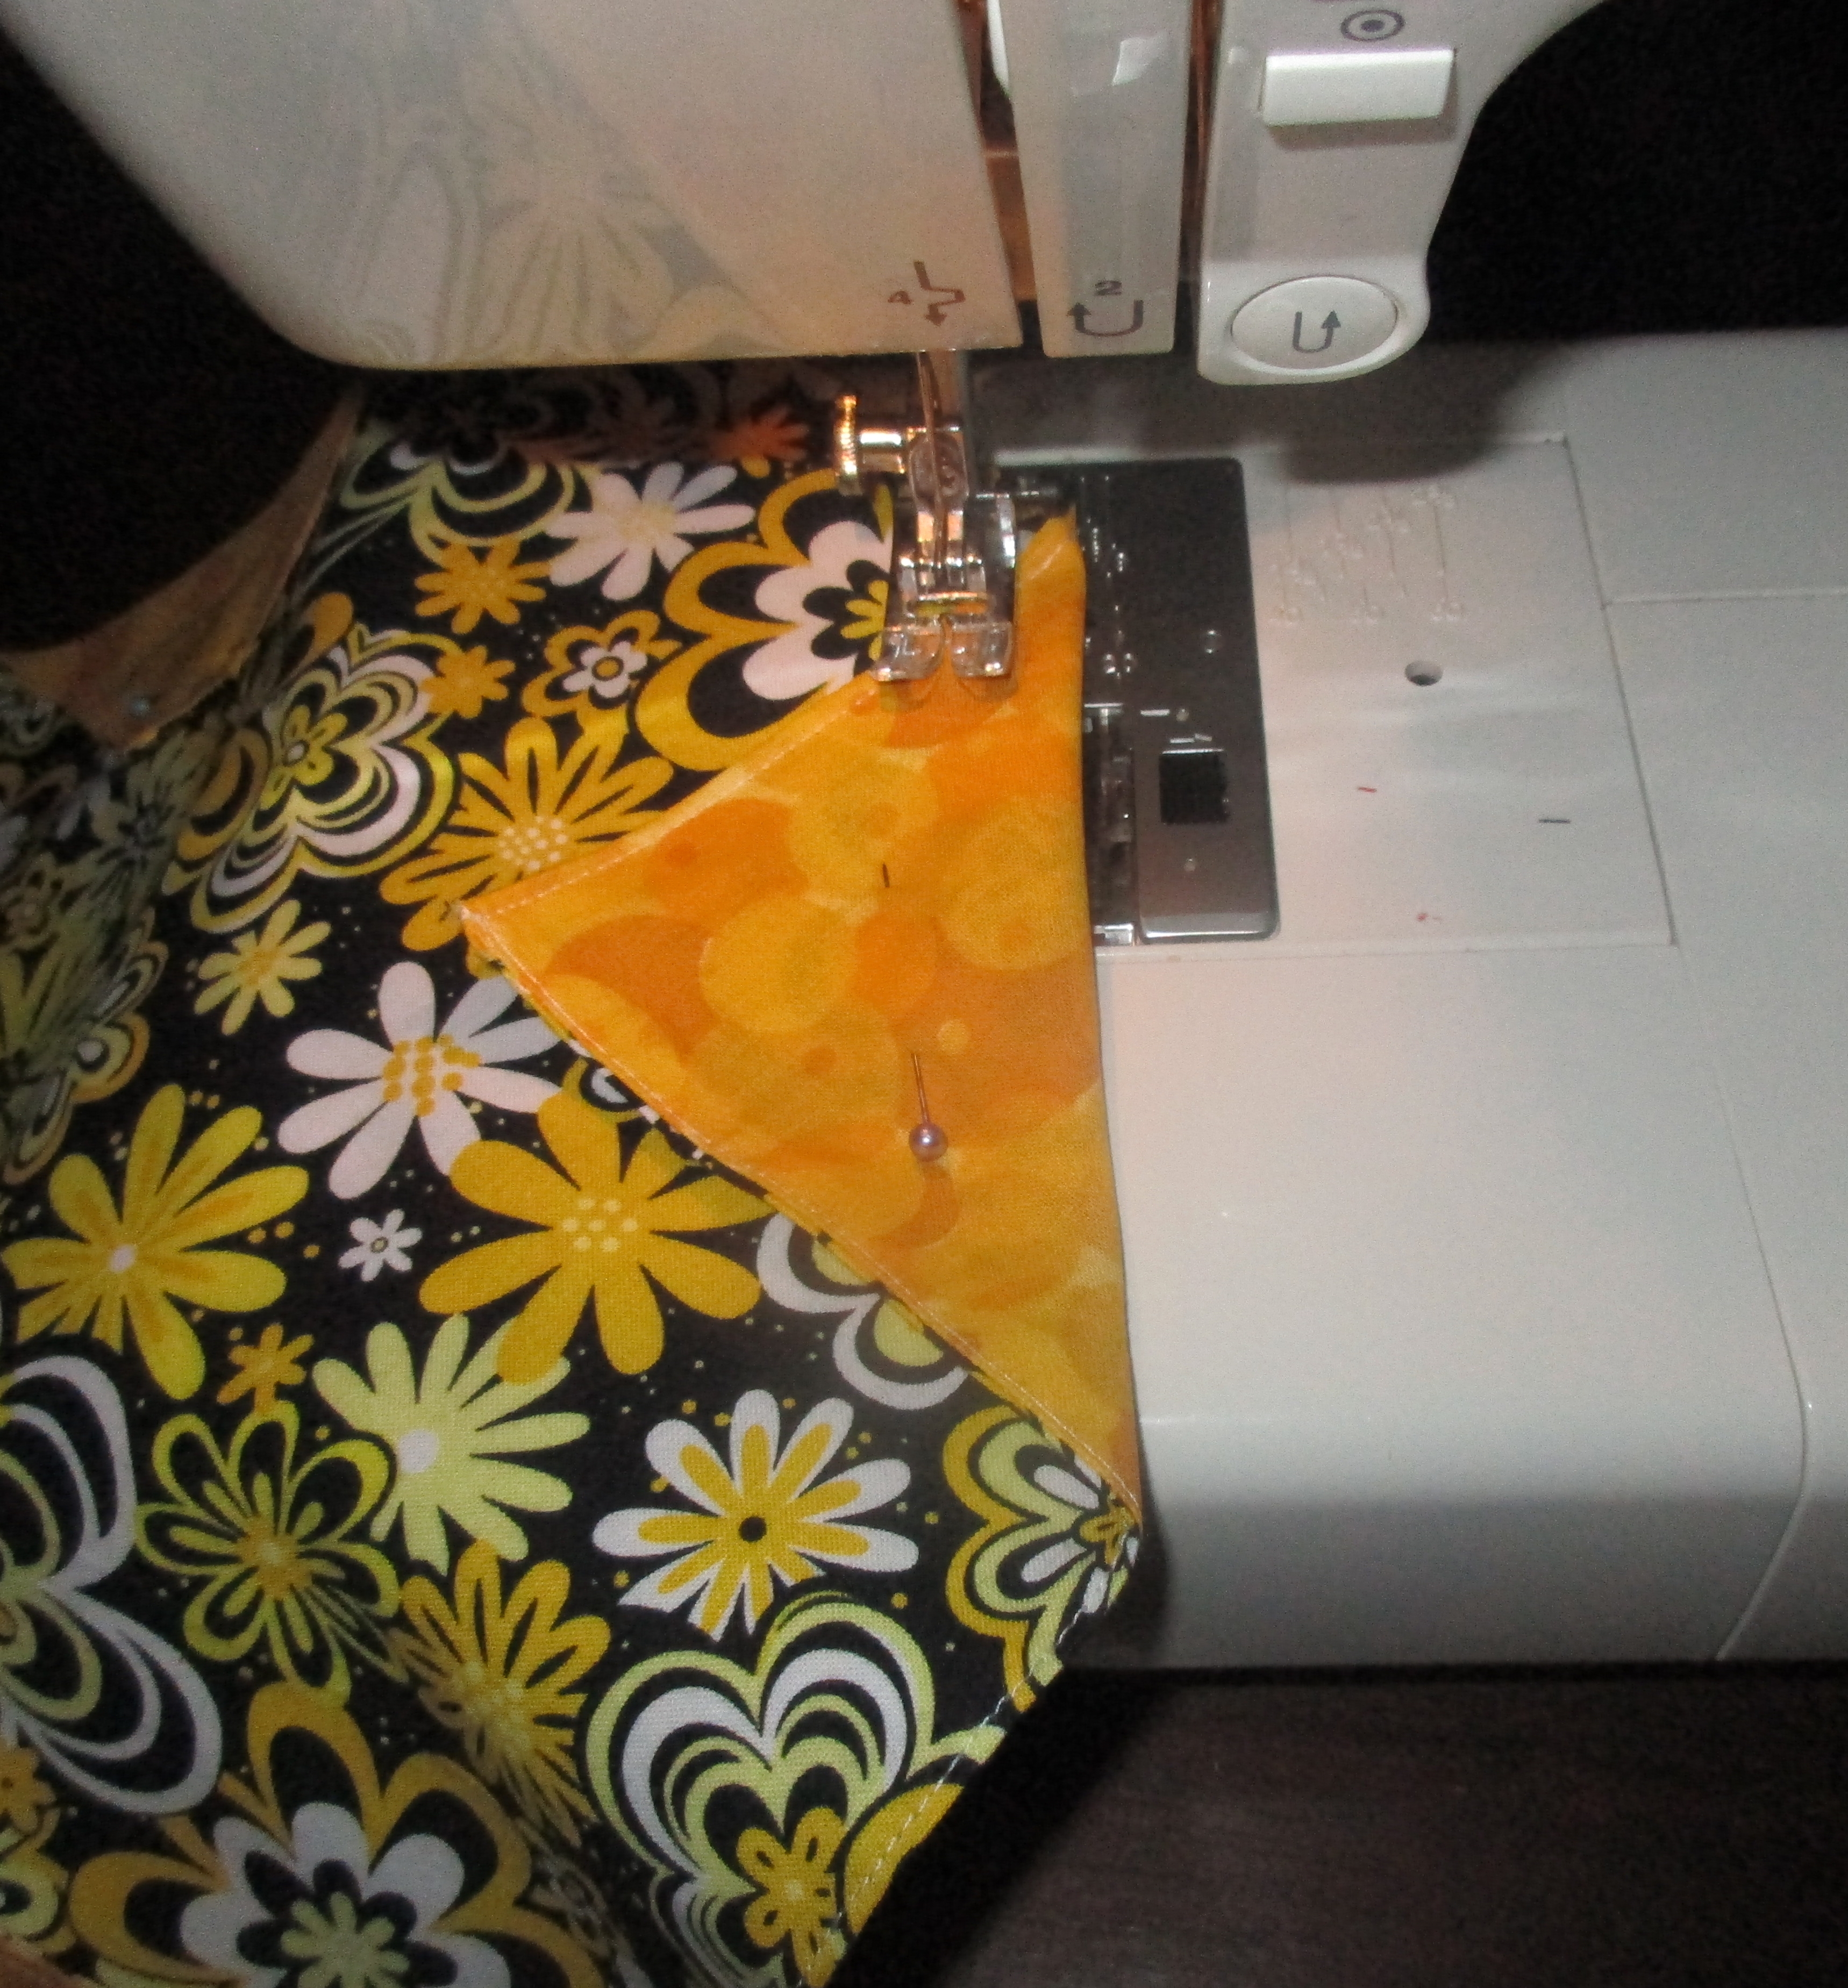
Place the folded edge at the 5/8″ mark on your machine, and sew straight across.
Now sew the bag together
The next step is to sew the four seams that will transform the lined fabric into a bag. Start on any side, and fold the straight edge between two corner folds in half, with the outside fabric facing together. Sew this short seam on the lining side, beginning your seam just beneath the drawstring channel you previously sewed. In other words, don’t sew all the way, or you will not be able to pull your drawstring through. Do this on all four sides. I like to use a 2/8 inch seam here, but you can make this wider, if you like. Just be sure to sew all four sides using the same seam allowance, whatever it is.
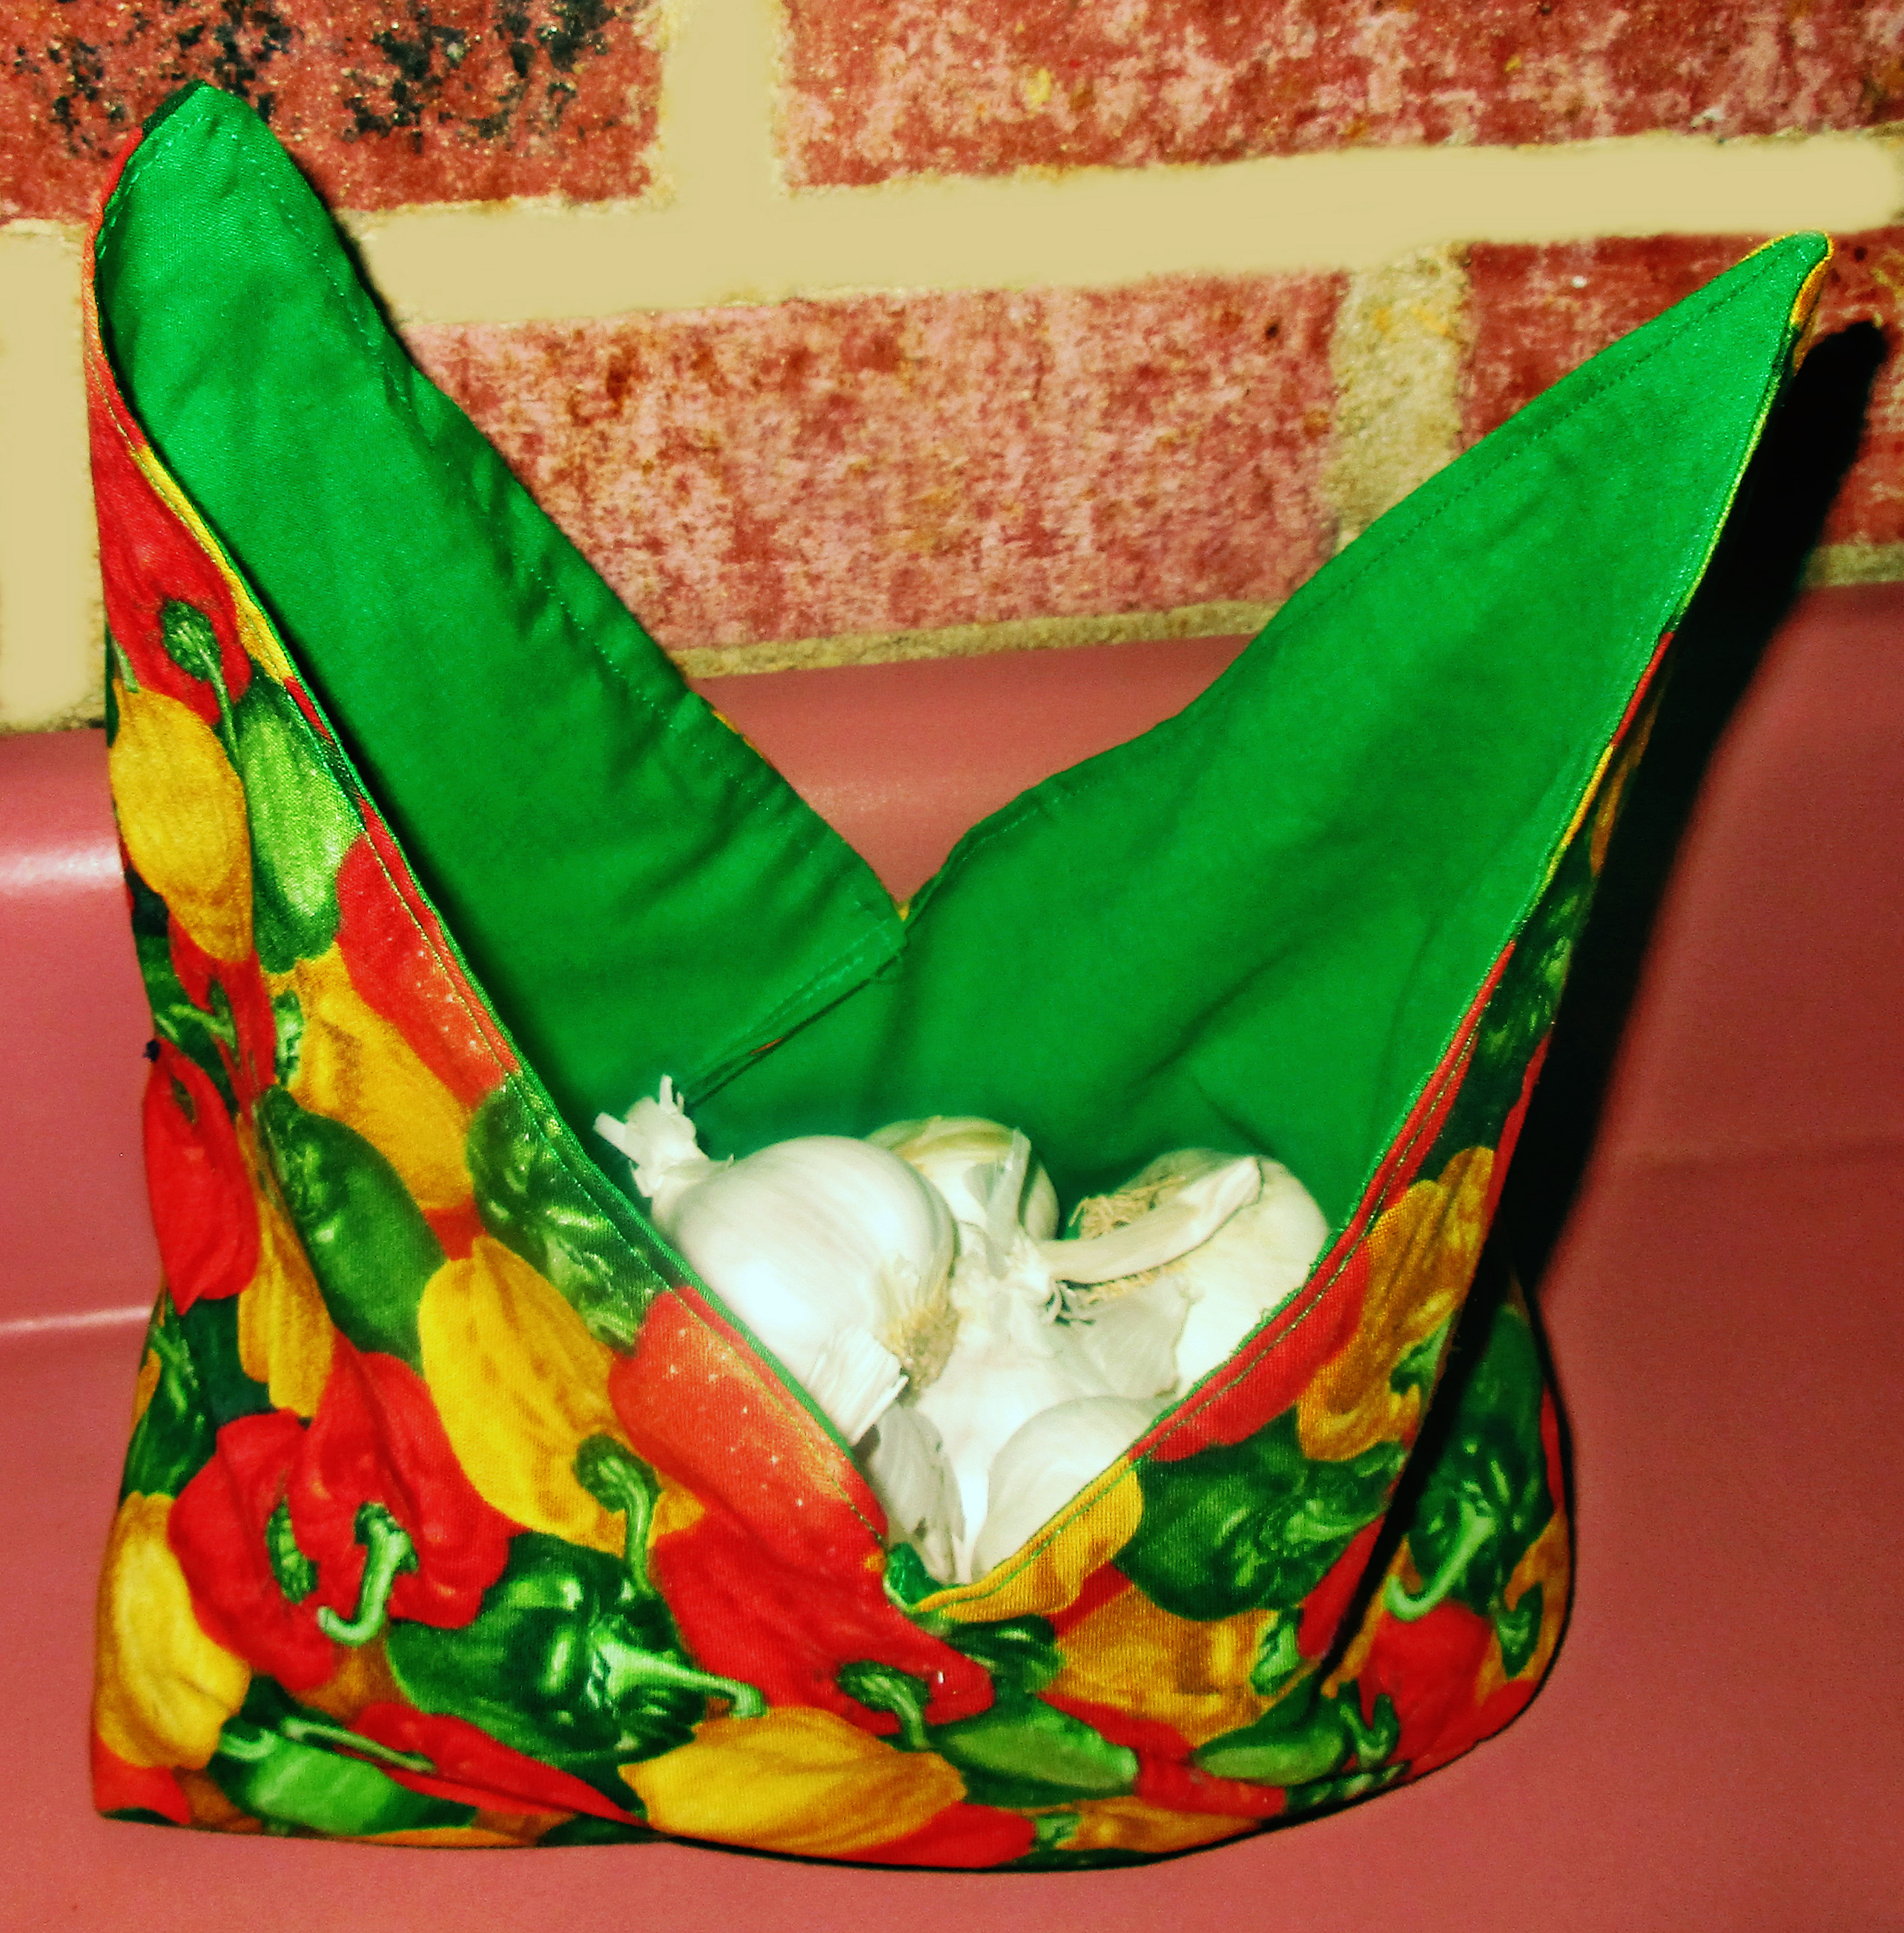
You can turn your bag right side out now if you’d like to create a flat, square bottomed bag with corners that jut out. Or you can choose to box the corners.
To box the corners
You can box the corners by either sewing straight across the four corner seams like this:
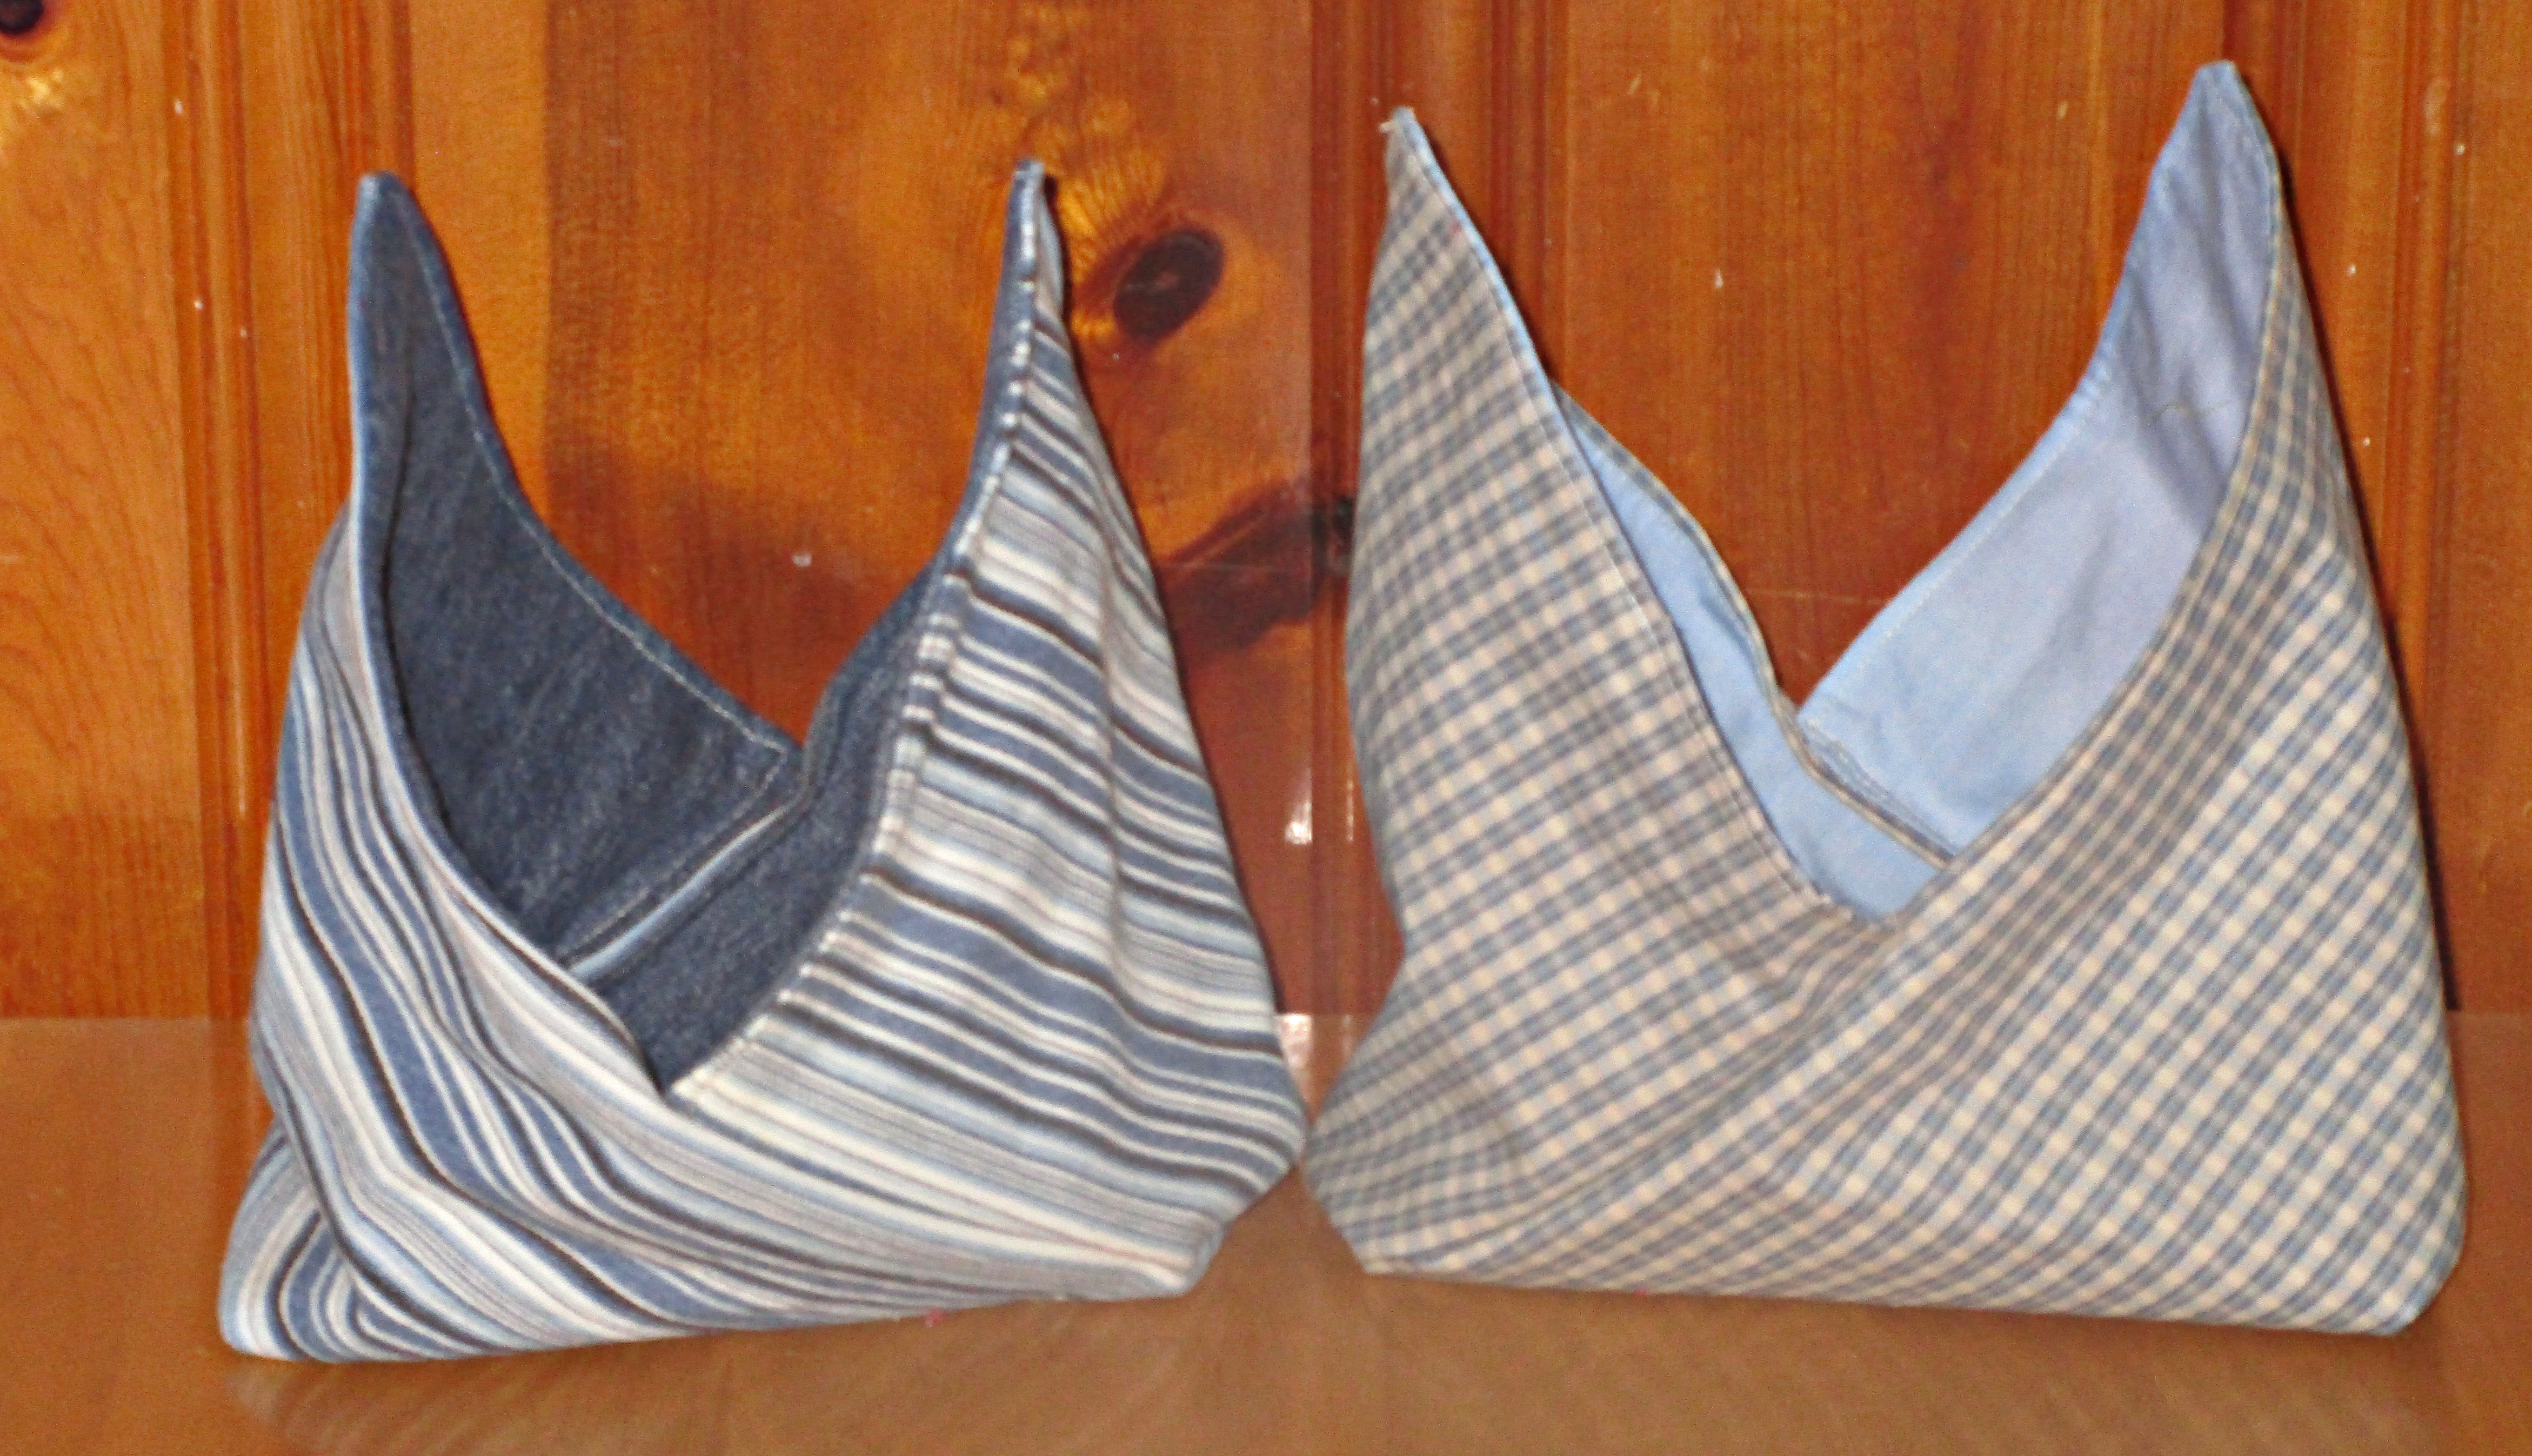
Or you can sew a seam from top to bottom, creating an upright triangle, like this:
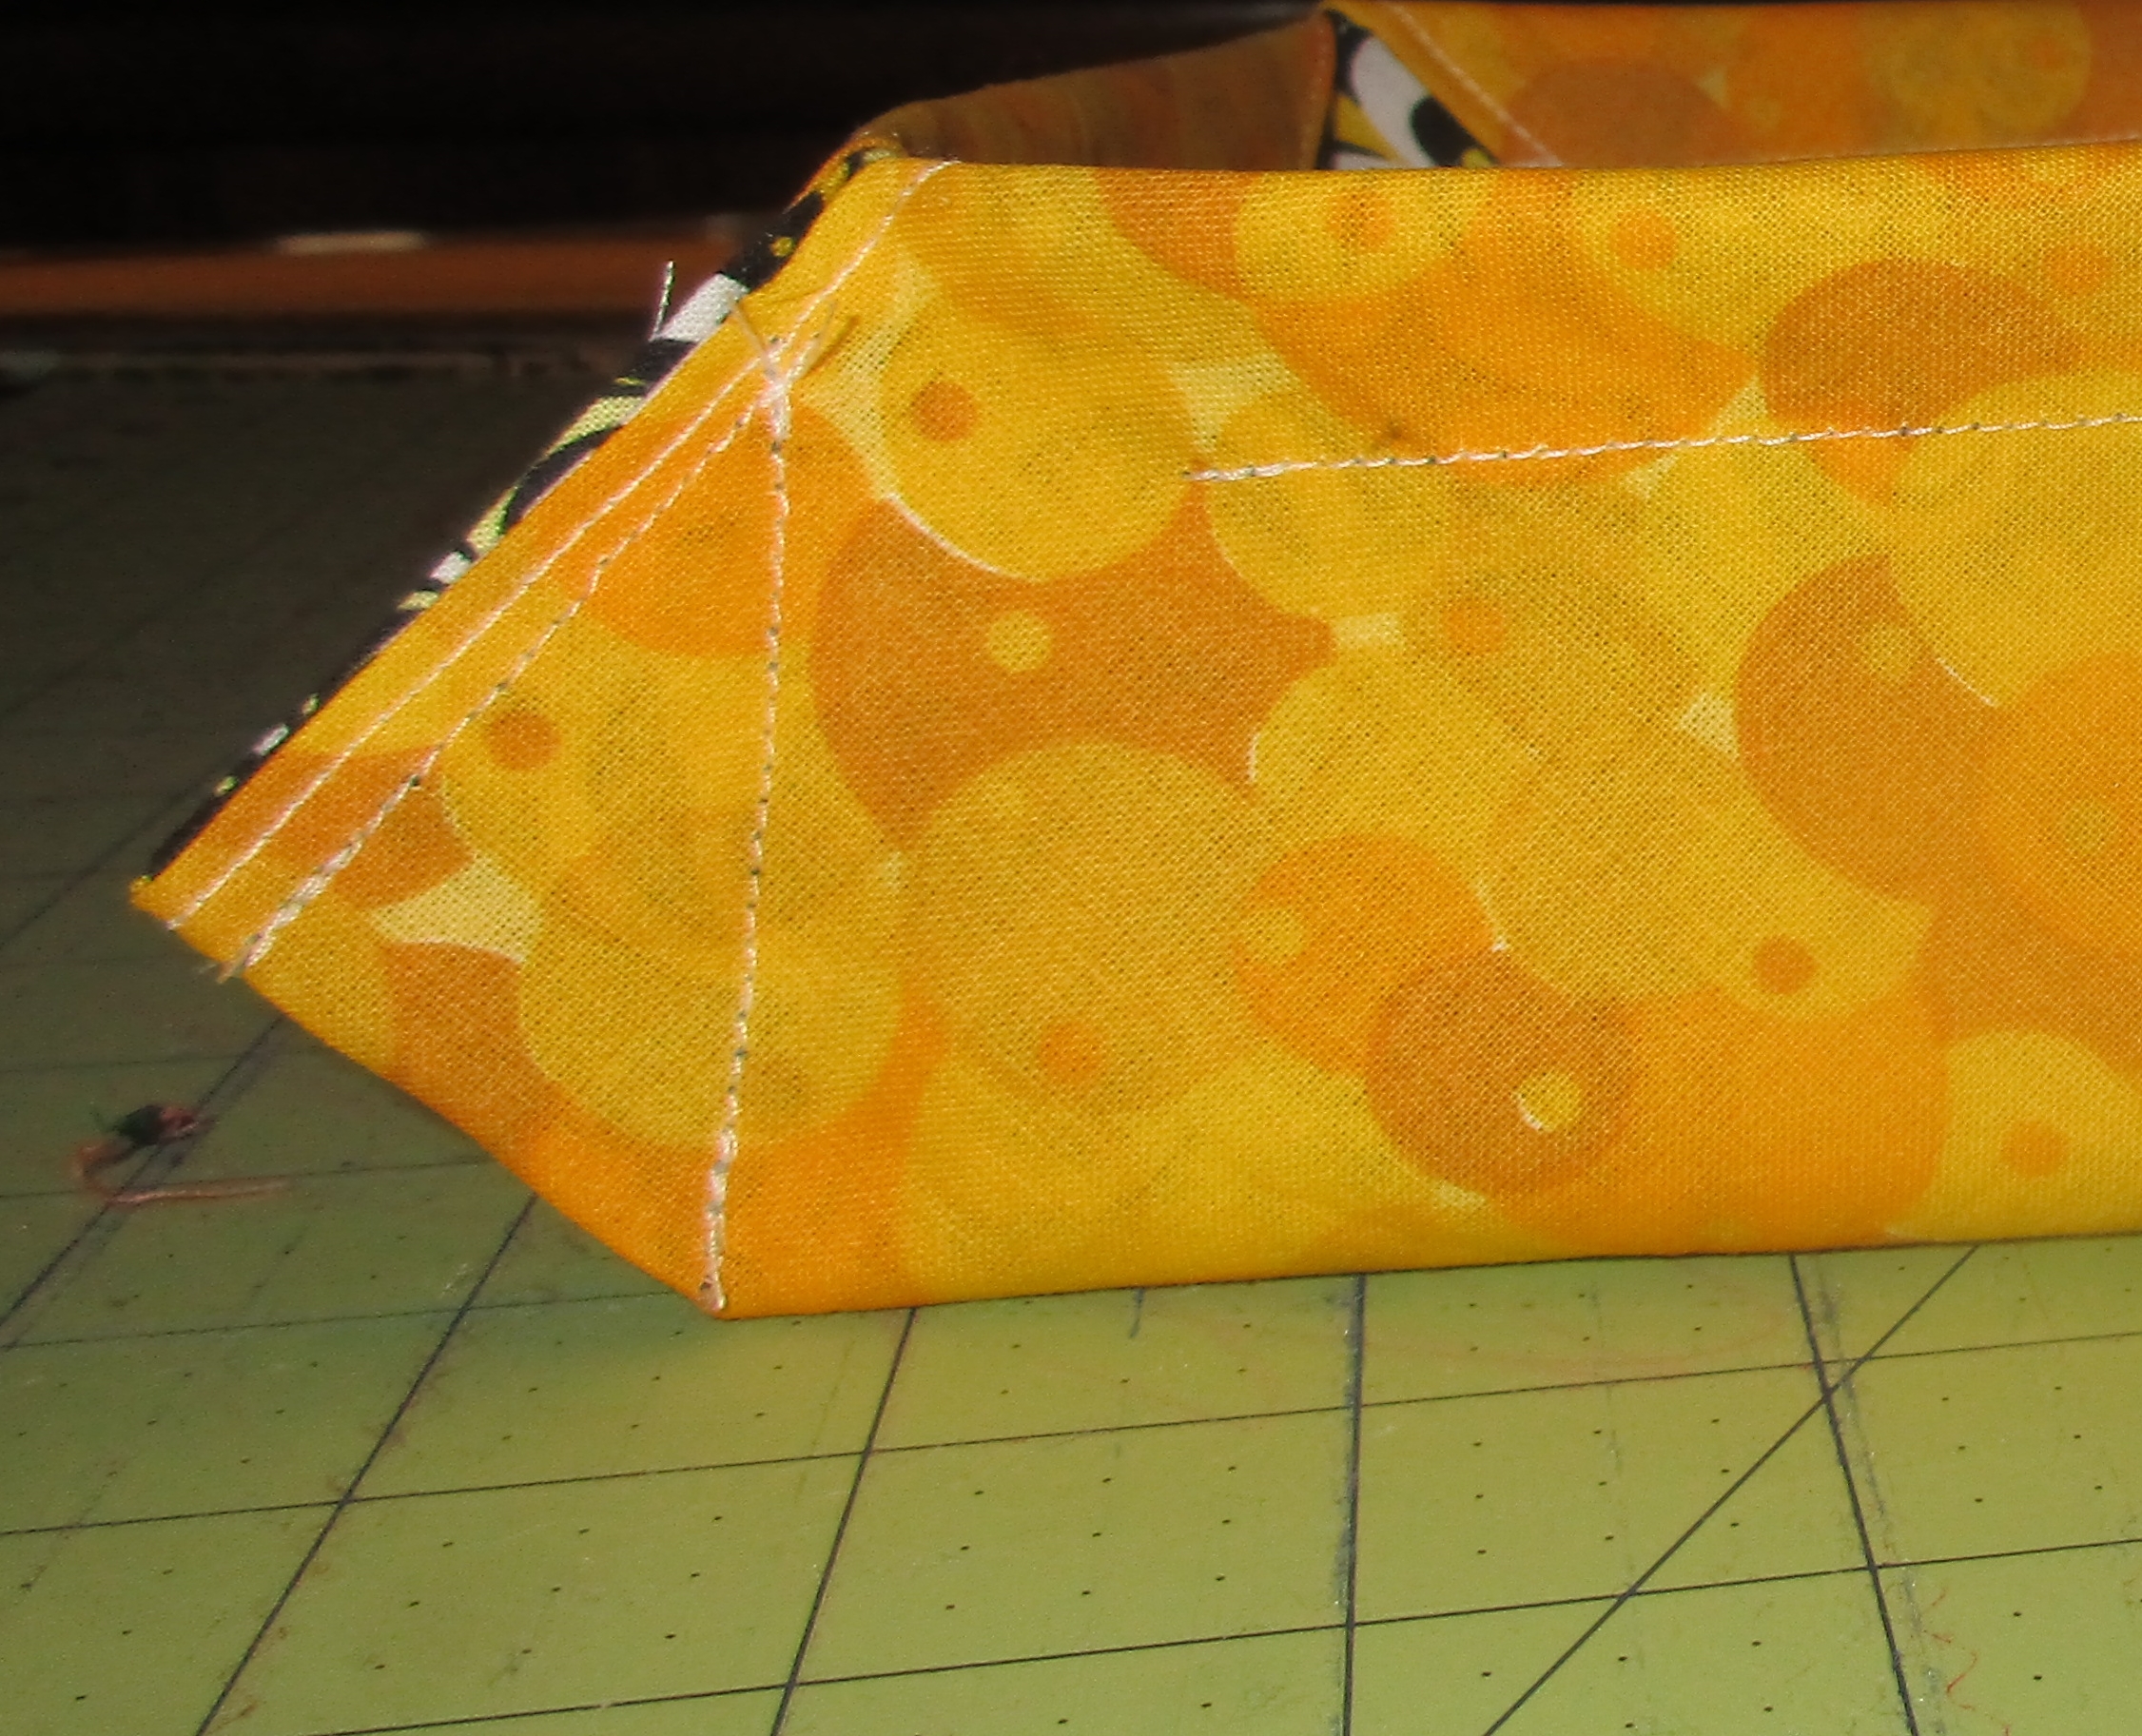
Now turn right side out.
Insert the drawstring
Cut two same sized lengths of cord, narrow ribbon, twine, or yarn. For all but the smallest of drawstring pouch, I cut both to the length of my arm from shoulder to fingertip. I cut them a bit shorter for tiny bags.
Attach the cord to a bodkin or safety pin, then insert it through all four flaps of the bag. Then tie the two ends of this cord together. If you like, you can add some beads to the ends of your cord before tying.
Now take the other cord and use your bodkin to insert it at the opposite side of the bag from where you inserted the first cord. Pass this one through all four flaps as well, add beads or not, then tie both ends of this cord together. Now you can pull both cords to pull your drawstring pouch closed and open.
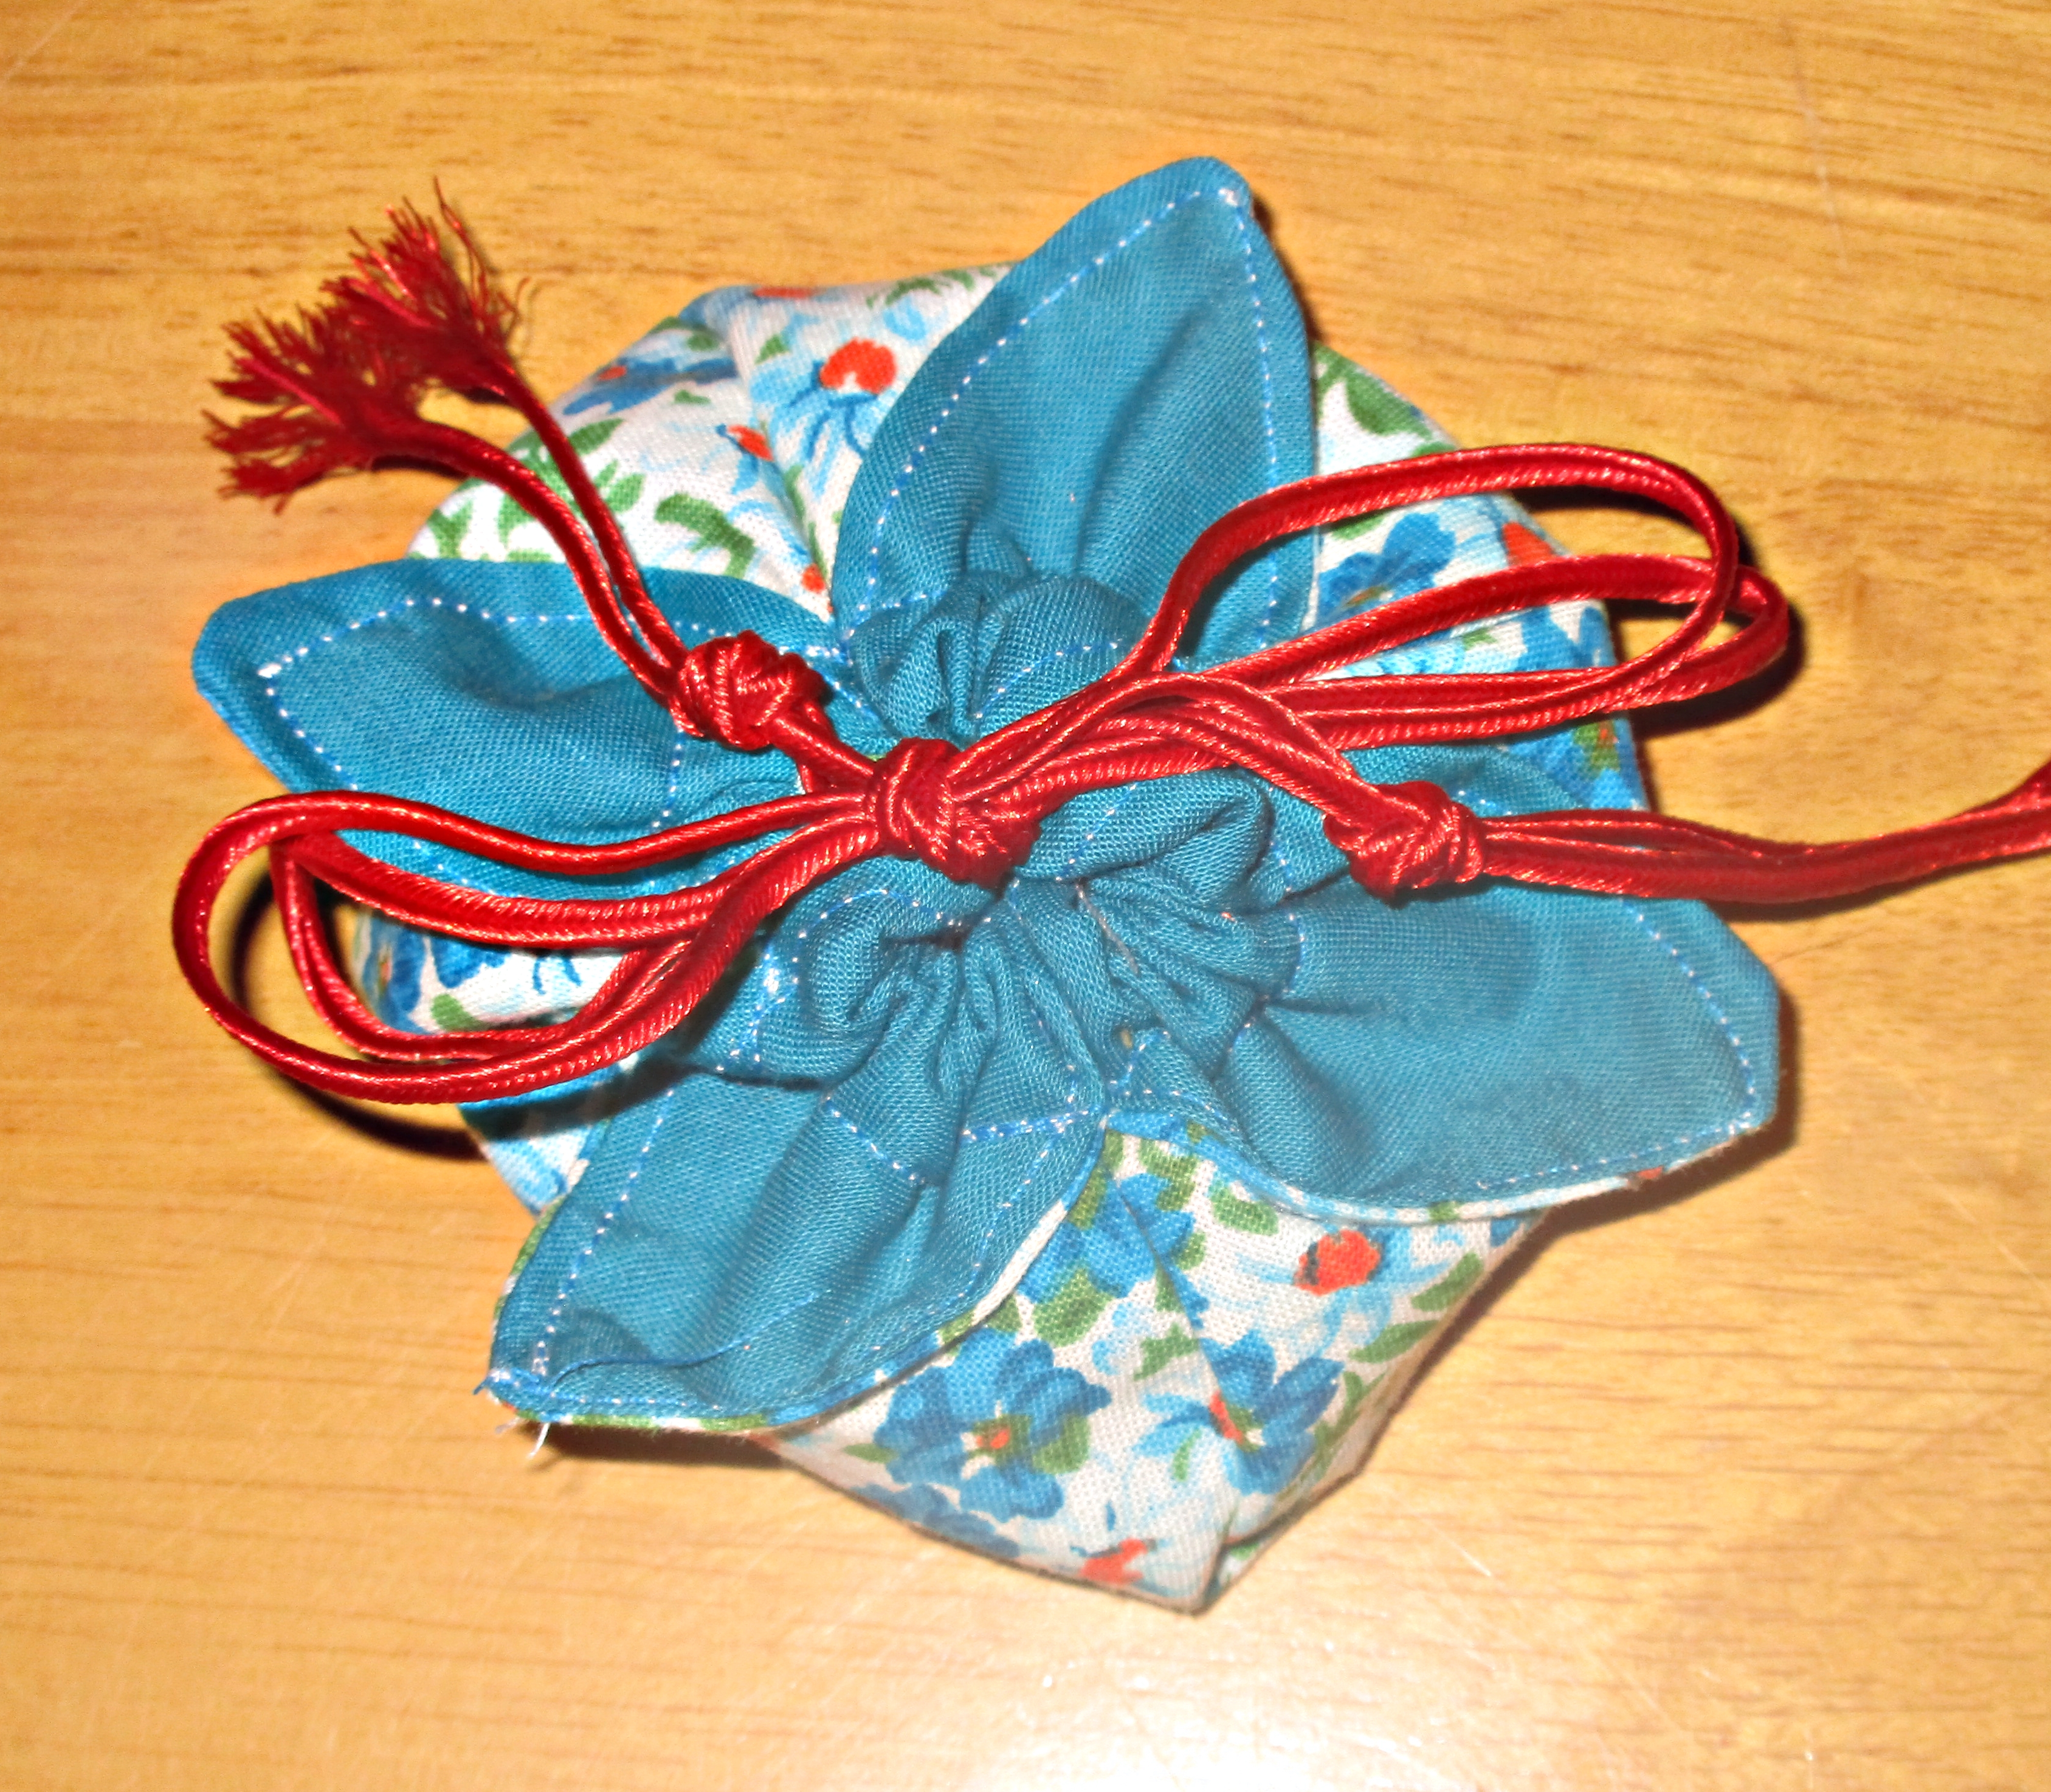
If the drawstring pouch is for gifting, you can tie the cords into a bow.
This drawstring pouch is only one way to make a kinchaku
When carried, a Japanese drawstring pouch is called kinchaku. However, this is only one of many styles and ways to make kinchaku. We’ll look at other ways to sew kinchaku here soon, too.
This style, the lotus bag, is a particularly pretty shape of drawstring pouch that can be used in many ways. Perfect for gift bags, they are so easy to make and so pretty that you’ll want to make at least a few. This is a great way to use up scraps while making a useful project. Won’t you like to make some today?