Not so long ago, I had a series of plaques that I’d earned hanging on my wall above my bookshelf. Since then, the bookshelf was moved for the sake of rearranging my bedroom, and those same plaques were then hanging to the right side of my bed with a big space of emptiness below them. Now, because I had a concern about those plaques falling off the wall and onto the bed during the calm of a night’s sleep, I took them off of the wall altogether. And now?
Now, I have an even bigger empty space—one that exists from the ceiling to my bed.
Now, I have an even bigger empty space—one that exists from the ceiling to my bed.
Yawn
That’s boring. Very, very boring. It’s like my bedroom is incomplete, and I will potentially feel frustration over this until it’s covered and decorated as fully as the rest of the area is. So because I have such a distaste for the blankness of the wall, my mind has been perusing the possibilities as to what specifically could go on this space to fix the issue and therefore give me a more relaxed mentality in regard to this wall that’s so close to the right side of my bed.
My original idea for fixing my wall-is-too-empty issue was to hang a Marvel poster beside my bed, even though I know by experience that having a poster fall on you in the middle of the night can be a frightening experience. Why? Well, call me a child, but I still appreciate a good poster (and certain Marvel movies). It’s an easy fix that won’t give me a concussion if it falls at night, and it’s a cheap one if I buy the right poster. But then I got to thinking…
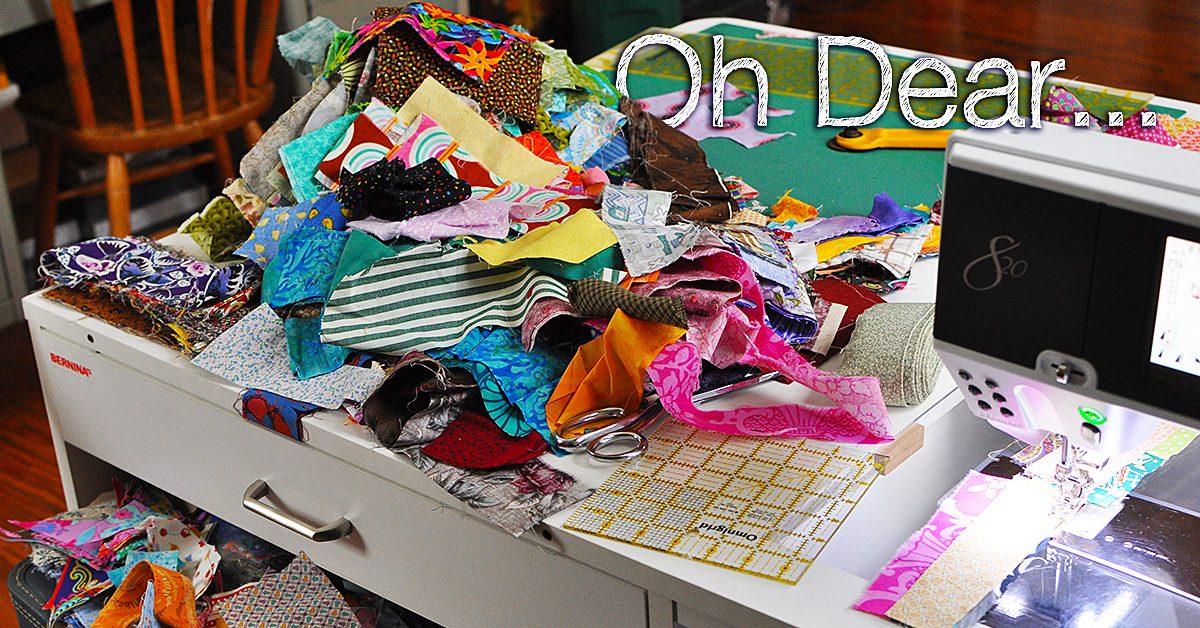
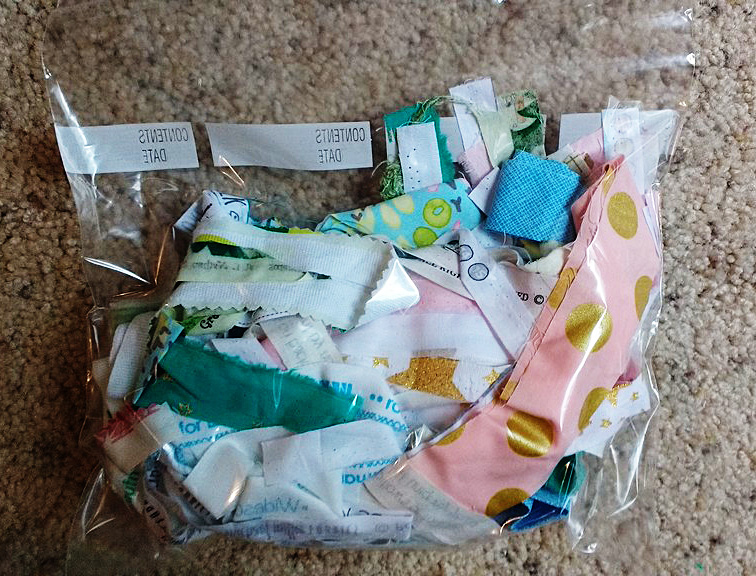
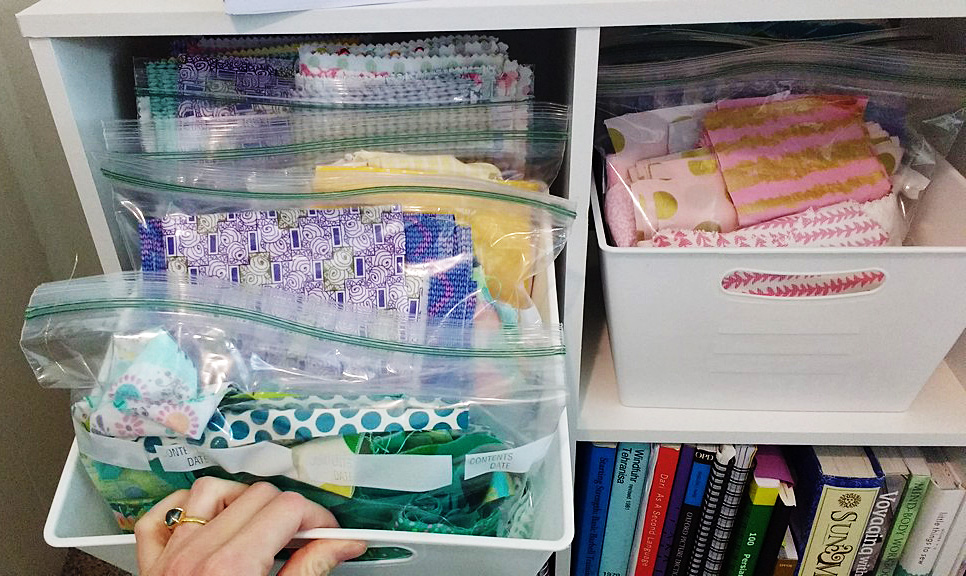
You see, I recently cleared out some clothes from the dresser, and if you’ve learned one thing about me through reading my posts on this blog, it could be that I’m cheap and like to make use of what I already have for fabric. So since I did that dresser-clearing, I have material right in my bedroom that can be used to create something to go on this too-empty wall to my right.

So since I did that dresser-clearing, I have material right in my bedroom that can be used to create something
But what would that something be? That became the question, and through internet browsing, I’ve come up with two options I’d like to share with you.
Let’s brainstorm
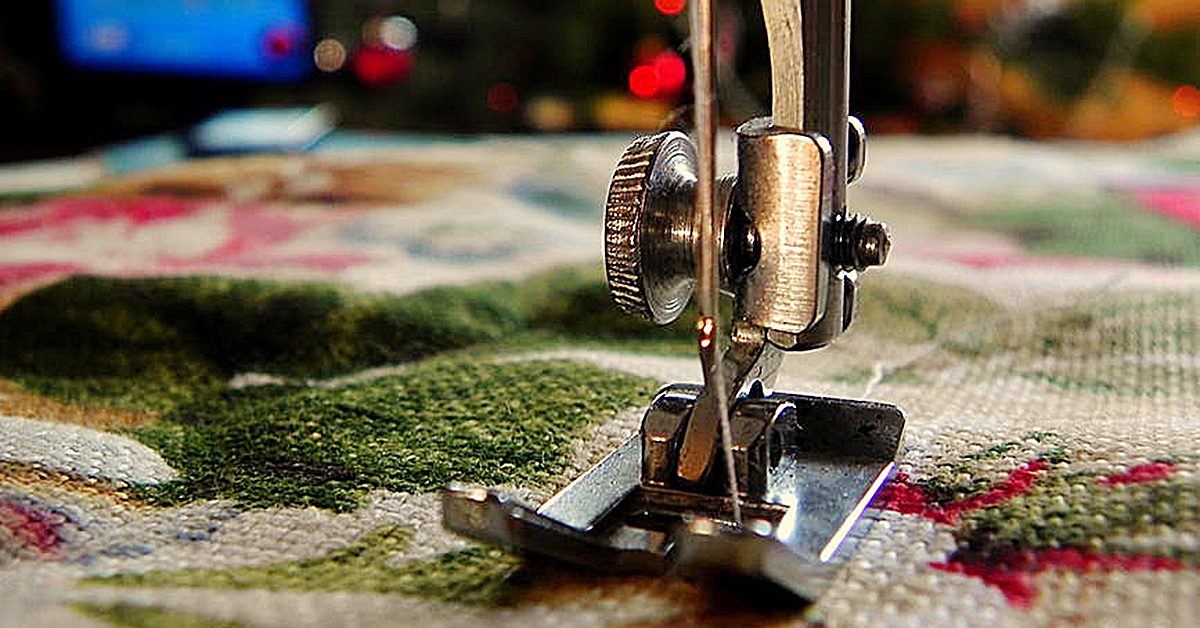
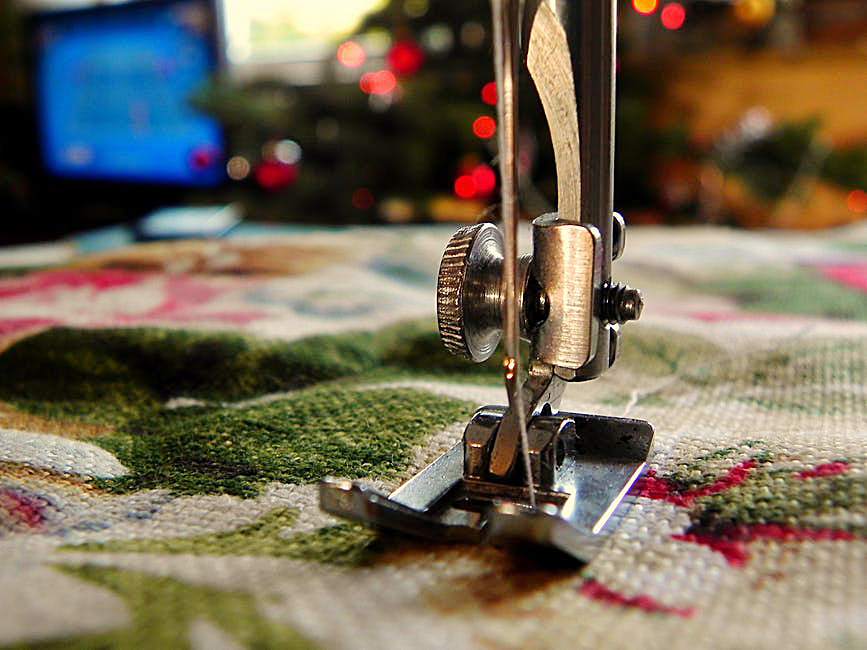
The first of these possibilities is to create a wall quilt to hang there, one that’s a combination of the pieces of fabric that were banished from the dresser. Since I adore patchwork quilts, this option could be accomplished by the simple process of using similarly sized pieces of fabric for each block to compose something that’s bright and vivid—and an interesting touch to my wall décor. As I’ve covered patchwork quilts a number of times already on the blog, I won’t go into too much detail about how to make one. Just know that it’s a prospect, and time and effort could lead to a one-of-kind wall hanging to fix my problem through this method.
Beyond that though, I noticed a particular quilt idea that sparked an idea that moves away from the actual quilt theme. It was from a quilt that depicted a flower garden, and it occurred to me that the overall scene could be applied away from the quilt setting. How? You’d just need to assemble the pieces of the quilt project in separate formations and hang them on your wall instead of sewing them to the quilt. For instance, you could take a marker (use a fabric-friendly writing utensil!) and trace the patterns of flowers, butterflies, clouds, the sun, a house… Whatever you feel is appropriate for the scene you’re trying to showcase. Simple rectangles could be used to create a fence, or a combination of fabric types could come together to create something as intricate as a rosebush. Just imagine a hole fabric-created garden scene placed right on your wall!
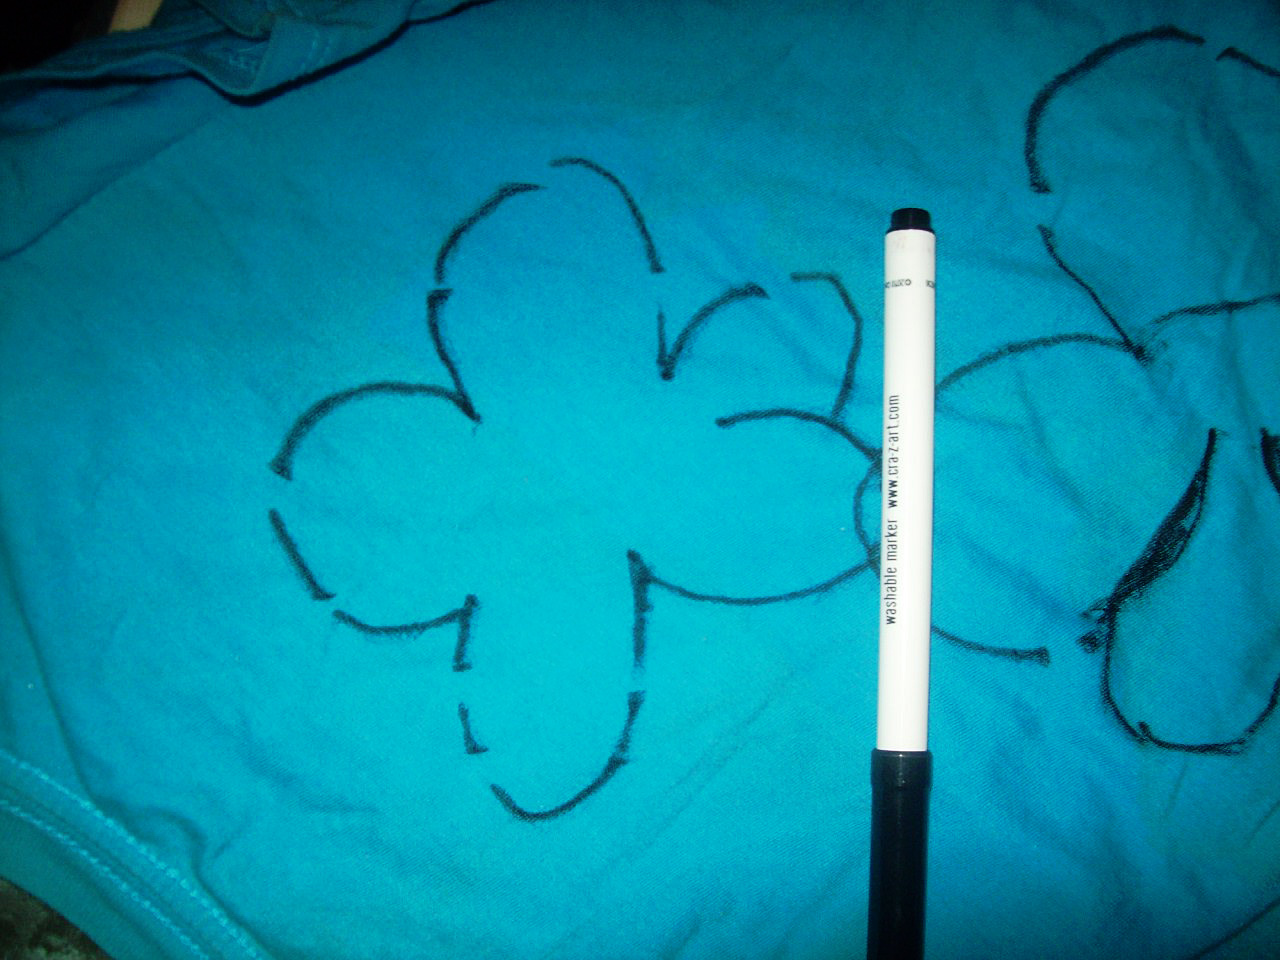
Take a marker (use a fabric-friendly writing utensil!) & trace the patterns of flowers, butterflies, clouds, the sun, a house…
In fact, this idea could be embraced for more than just using your fabric to cover up an empty space on your wall. You could use your old fabric to create holiday scenes, for example, for a sentimental touch to your decorations. If you only have red and white, you could make candy canes. Only blue? How about snowflakes?! A series of fabrics? Get to work on a gingerbread house! These individual pieces could be tiny projects that of themselves are beautiful and worth showing off, but when you bring them together, their appeal increases—a lot!
Don’t overlook the prospect of constructing these tiny projects that come together for a bigger work of art! It’s like a quilt, but without the actual quilt part—which is a pretty interesting twist to me!