I was thinking about all the things you can make with fabric. Depending on your sewing skills and your motivation, you could make just about anything your heart desires.
Let’s see. My first sewn article was a red twill skirt in high school. My efforts had very good intentions, but I remember getting frustrated when I could never use the “best” sewing machine in the classroom. I had to rush to finish it so the teacher gave me a “C” grade on it. I couldn’t believe I put the zipper in the back just perfectly. (I’m still scared of zippers, by the way). But the hem of the skirt was about 3 inches in the back and maybe and 1 inch in the front, and very irregular. That was long before the days of the high-low hem which arrived on the scene by stylish fashion designers in the twenty-first century. Oh my, I’m dating myself now.
I learned it from watching you
I watched my Mom sew clothes for me as child, so when I got off on my own, I asked my Dad for a sewing machine. I picked one out from Sears, a basic machine with a couple of stitches. I made a knit T shirt out of multi-striped material and fell in love with stretch fabrics.
My dad called it my “$150.00 T-shirt.” I knew he was thinking I would be done with sewing after finishing that comfy, wearable T-shirt. I proved him wrong.
I went on to make dresses, suits with vests, skirts with zippers, a strapless bathing suit, and other clothes that were worn with pride when I thought, “I did this- I made this jacket”.
So fast forward today, after several years of non-sewing, I have found my passion again with other types of articles. The last couple years, I have made quilts, bed runners, napkins, baby articles and even Korean Quilting called “Pojagi”.
And now for something completely different
Today, I want to share with you my latest project. First off, I love the Victorian Era.
Laces, satins, silks and velvet. I have accumulated many boxes of vintage lace, ribbons, and trims and struggle to find ways to use them. So, I am trying to bring back something that were used by ladies of old. It is something that is considered vintage, or antique, but I still feel the idea is a good one. Many stores carry things similar like paper envelopes filled with lavender seeds, or other dried herbs, but I wanted to design something that was original to appeal to women who love frilly little things like me.
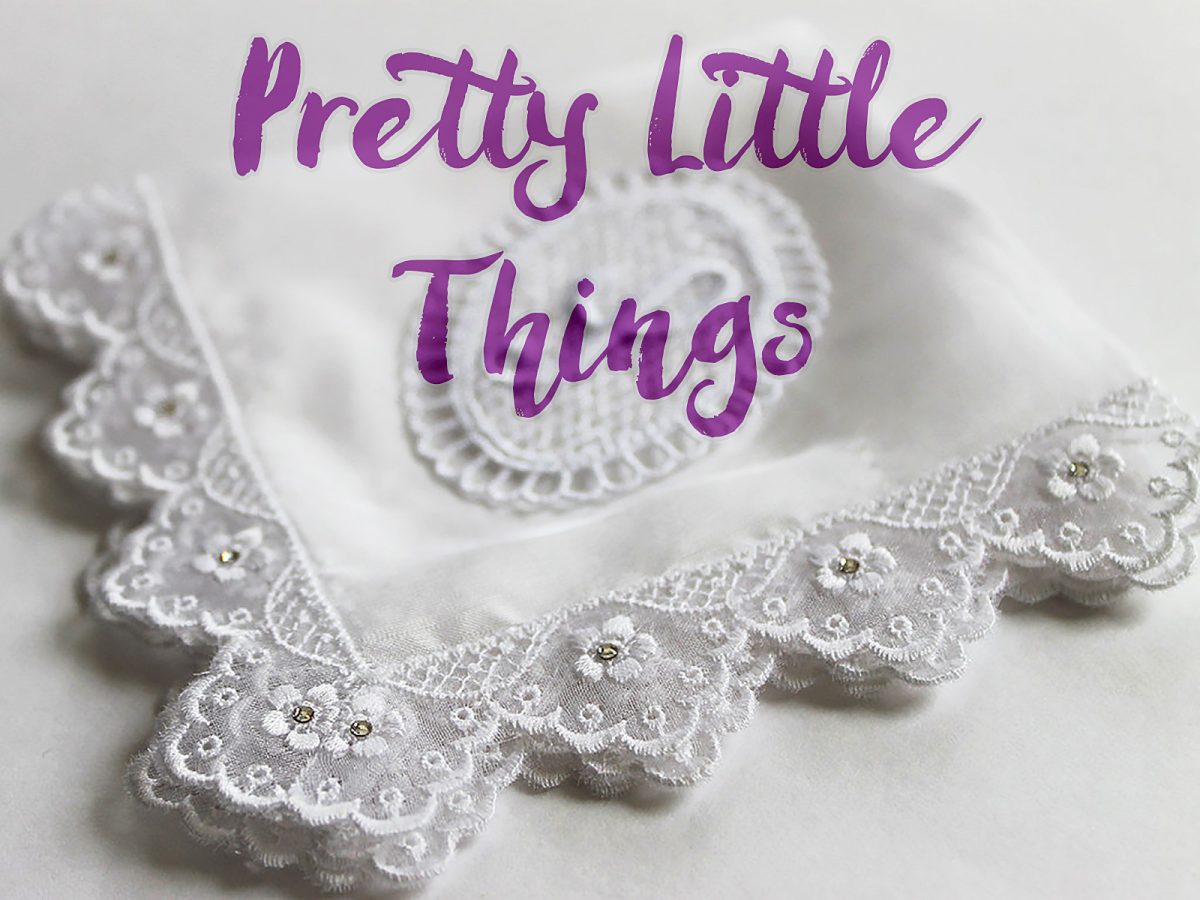
When I made these, I thought the Mother of the Bride & Groom may need the hankies to wipe away their tears during the wedding ceremony!
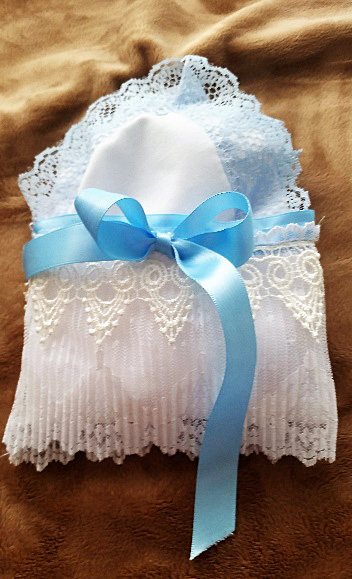
So, I designed a Handkerchief Sachet. The idea is to spray the handmade handkerchief with your favorite cologne or perfume, or fragrance oils. Place it in dresser drawers, on the bath counter top, or even your handbag, so you can enjoy your favorite scent as aromatherapy.
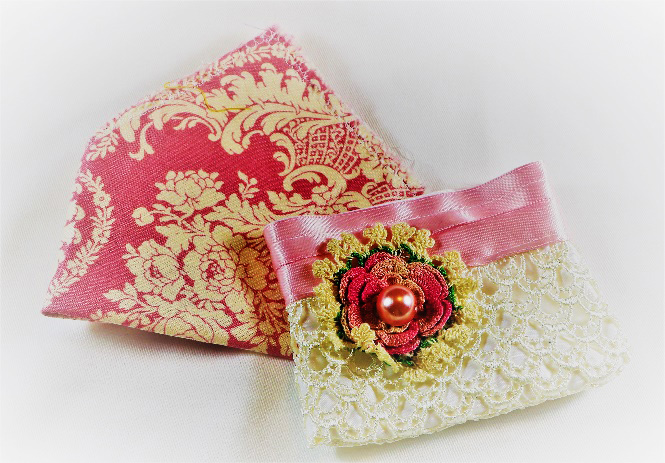
I thought these could be used as a keepsake bag for a special piece of jewelry, a lock of baby’s first haircut, or just a place for a tube of lipstick in your handbag. Just a little frill to enjoy & remember a special time or event.
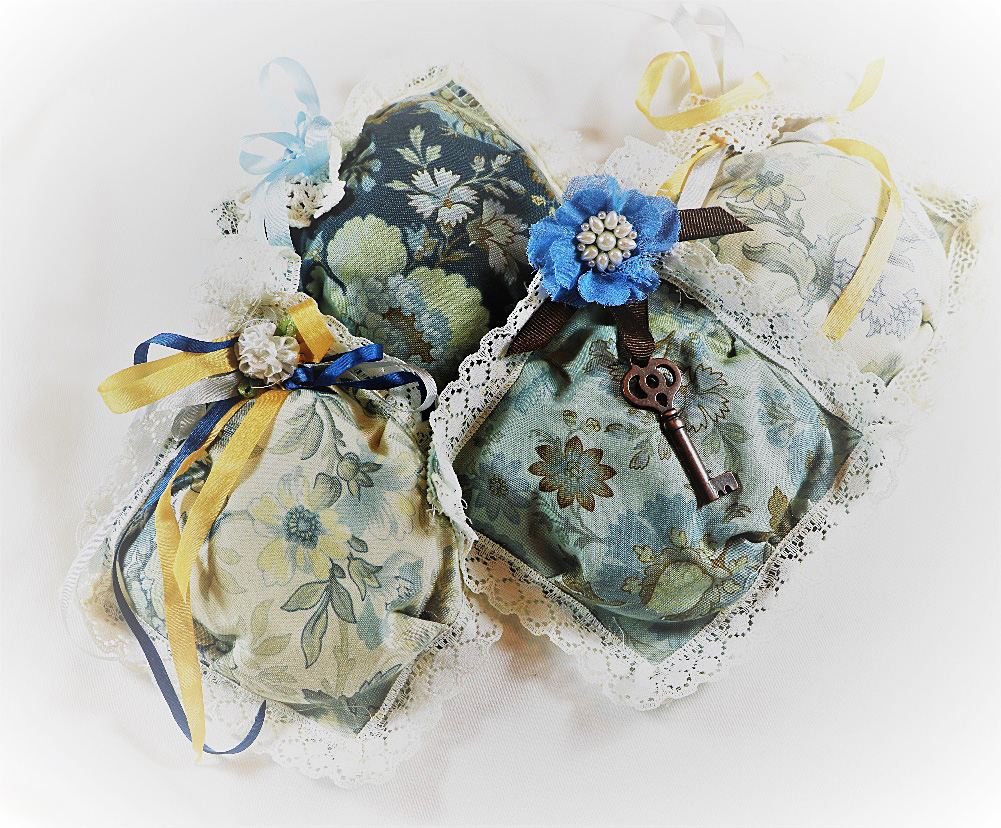
The last picture is the third set of sachets I made with 5” squares, lace, silk ribbon, and some metal vintage ornaments. These are stuffed with eco-friendly snow filling and will absorb your desired scent. Just respray when the scent fades and enjoy!
The last picture is the third set of sachets I made with 5” squares, lace, silk ribbon, & some metal vintage ornaments.
Whereas, the handkerchief can be washed if necessary if a change of scent is desired, these can also be utilized as a pin cushion in your sewing room. Who knows, you may fall in love with Victorian Vintage as I did.