DIY pillowcase for Sea to Summit Aeros Ultralight Pillow

Hero Sea To Summit Pillowcase

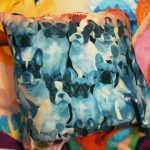
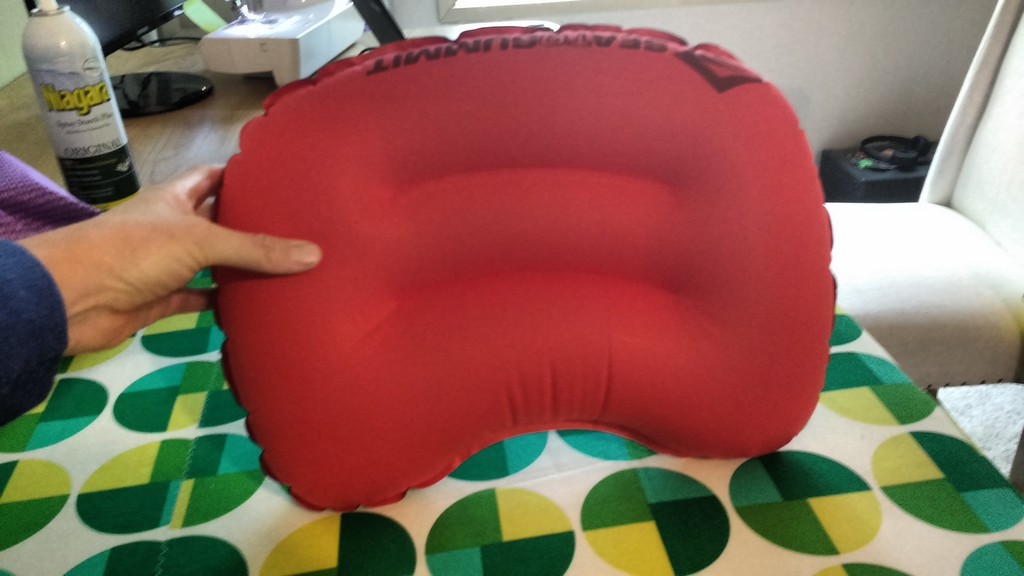
This past weekend my family went on an overnight backpacking trip near our home in the Eastern Sierra. When you are carrying all of your gear on your back you want your items to be as light as possible so I picked up this inflatable Sea To Summit Aeros Ultralight Pillow.

1

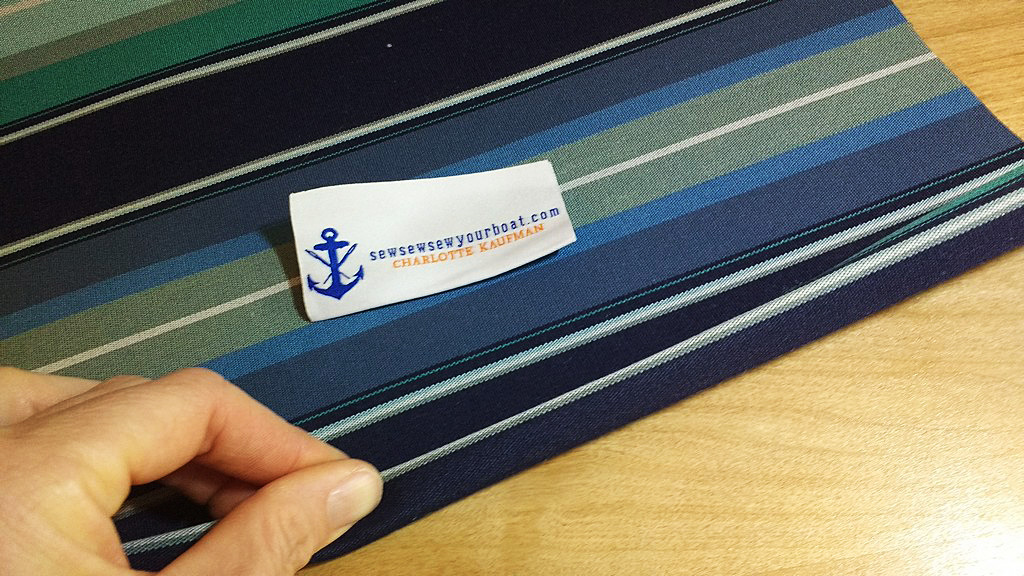
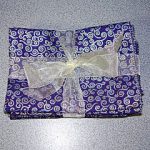
Of course I’ve never met a pillow that didn’t deserve a handmade pillowcase, so I set to work making one for this uniquely shaped fellow.

2

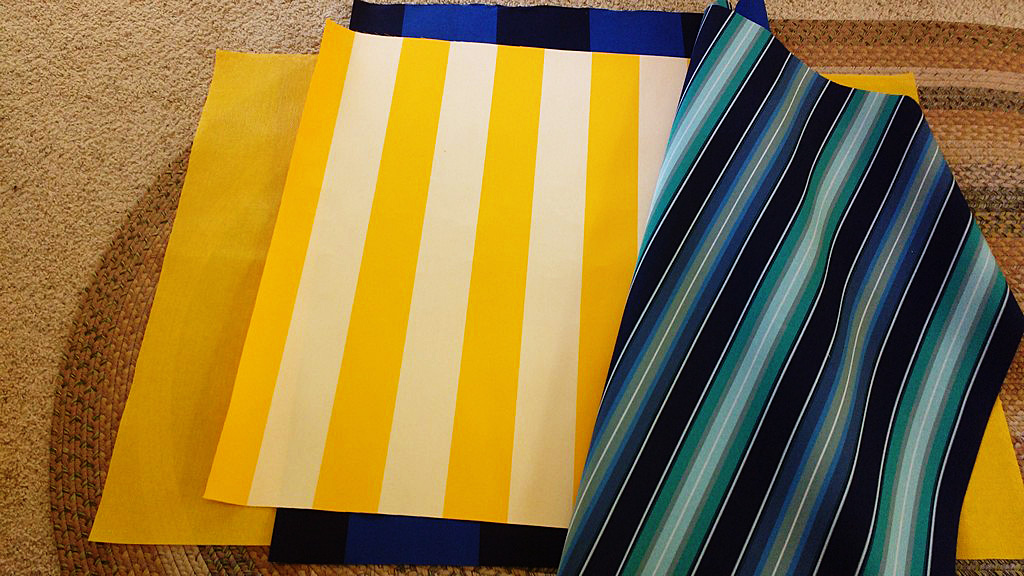
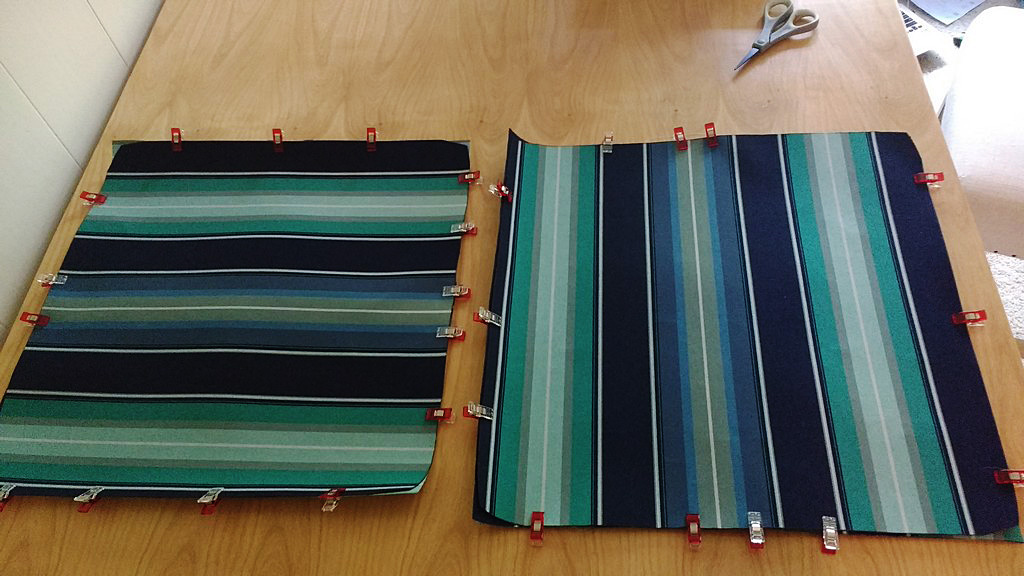
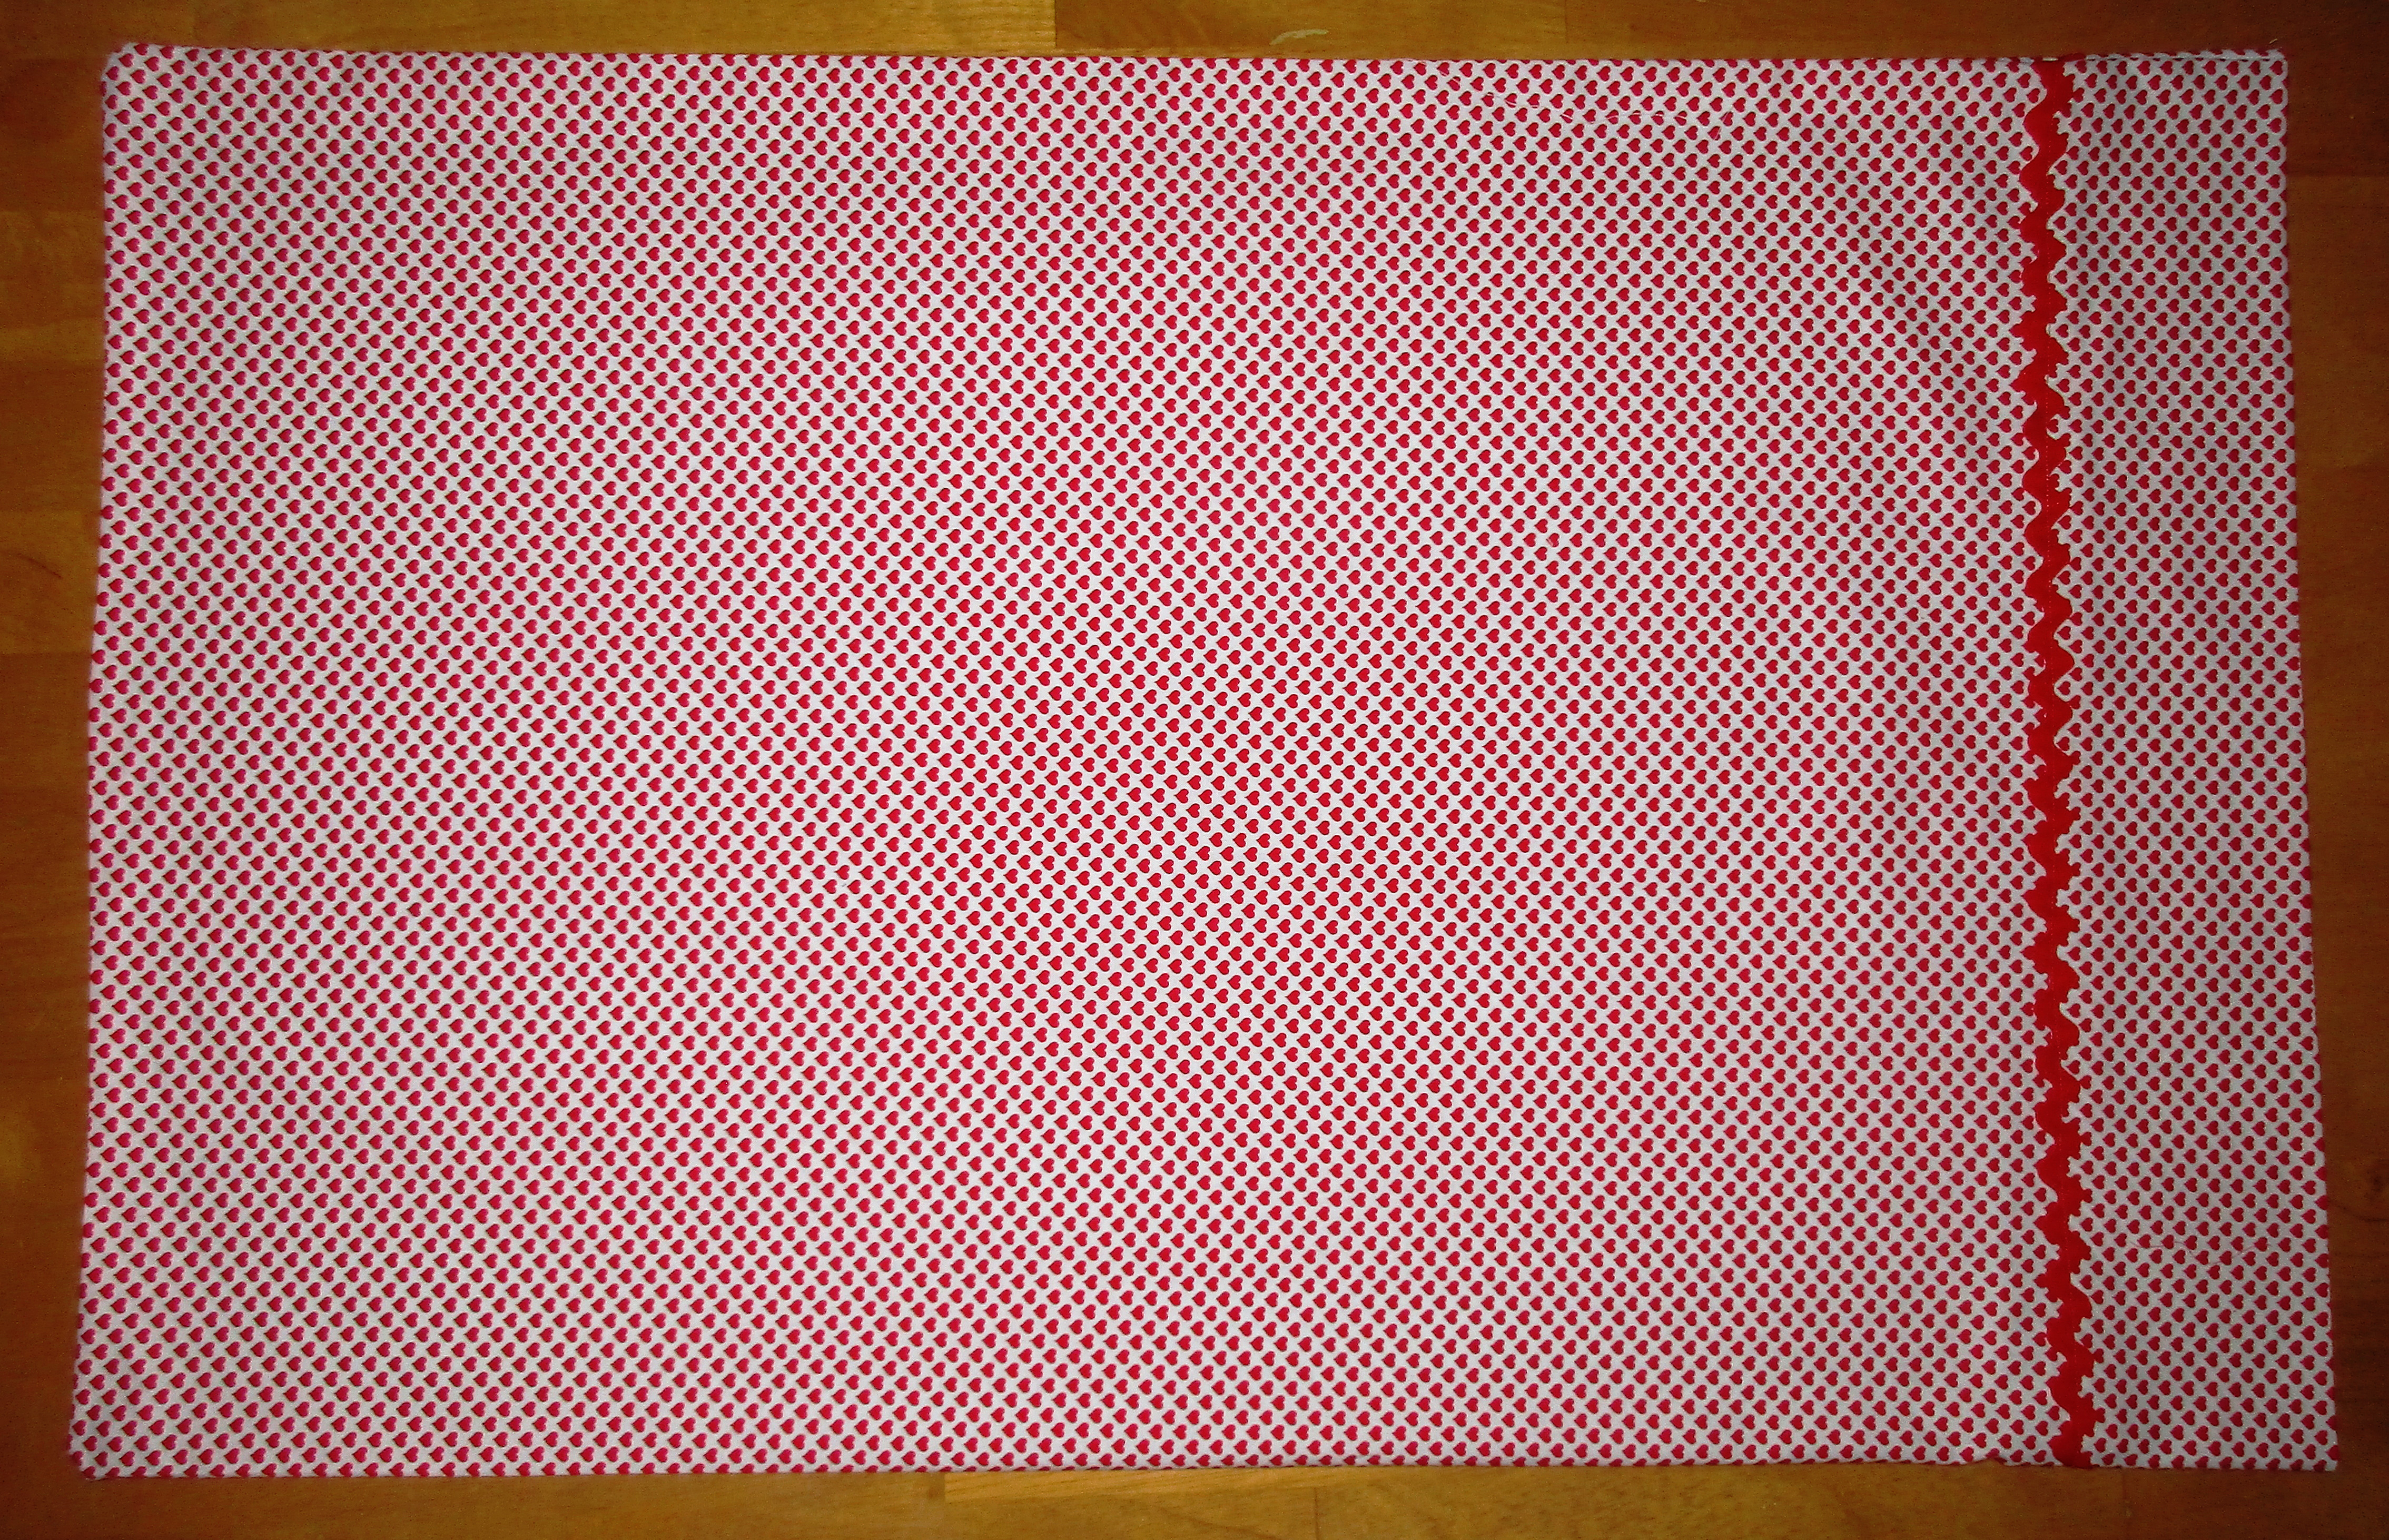
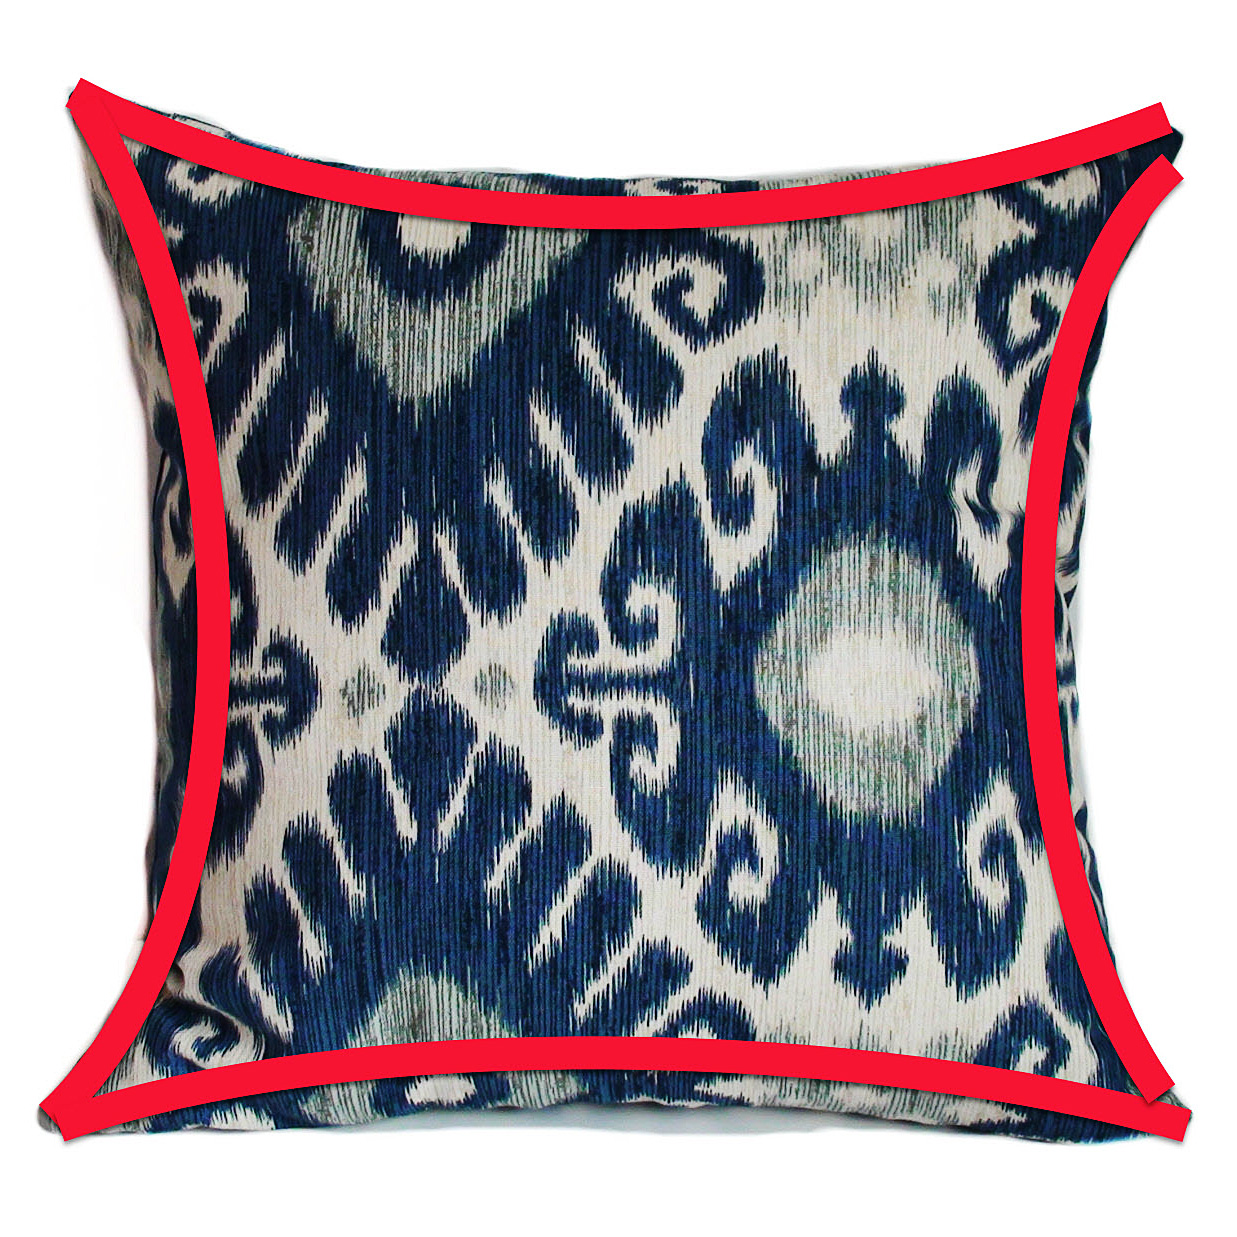
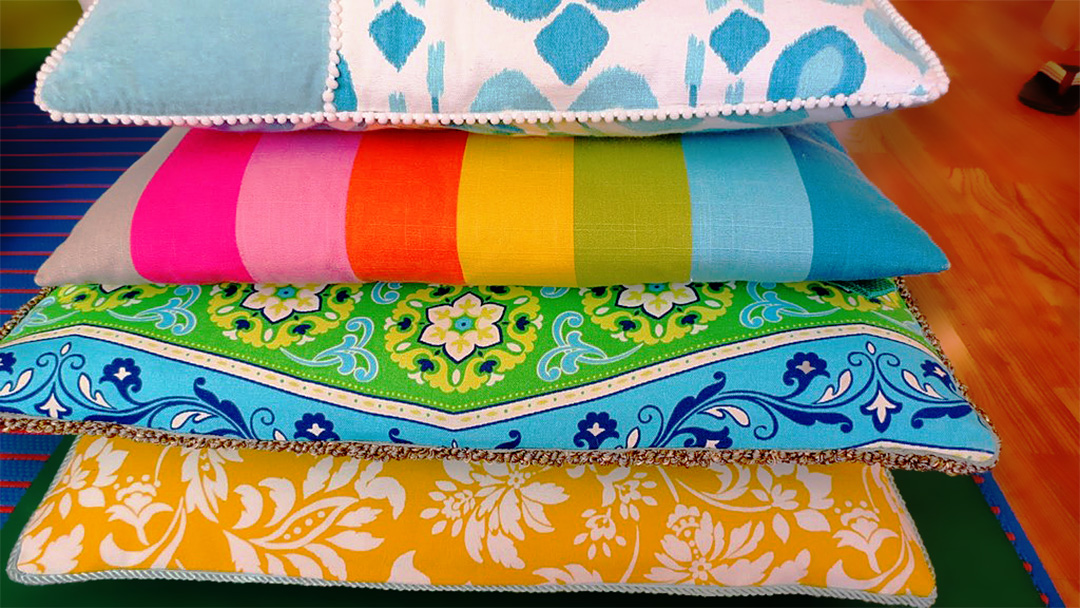
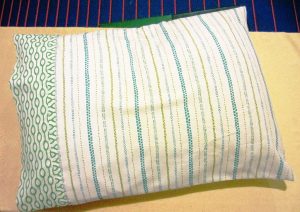
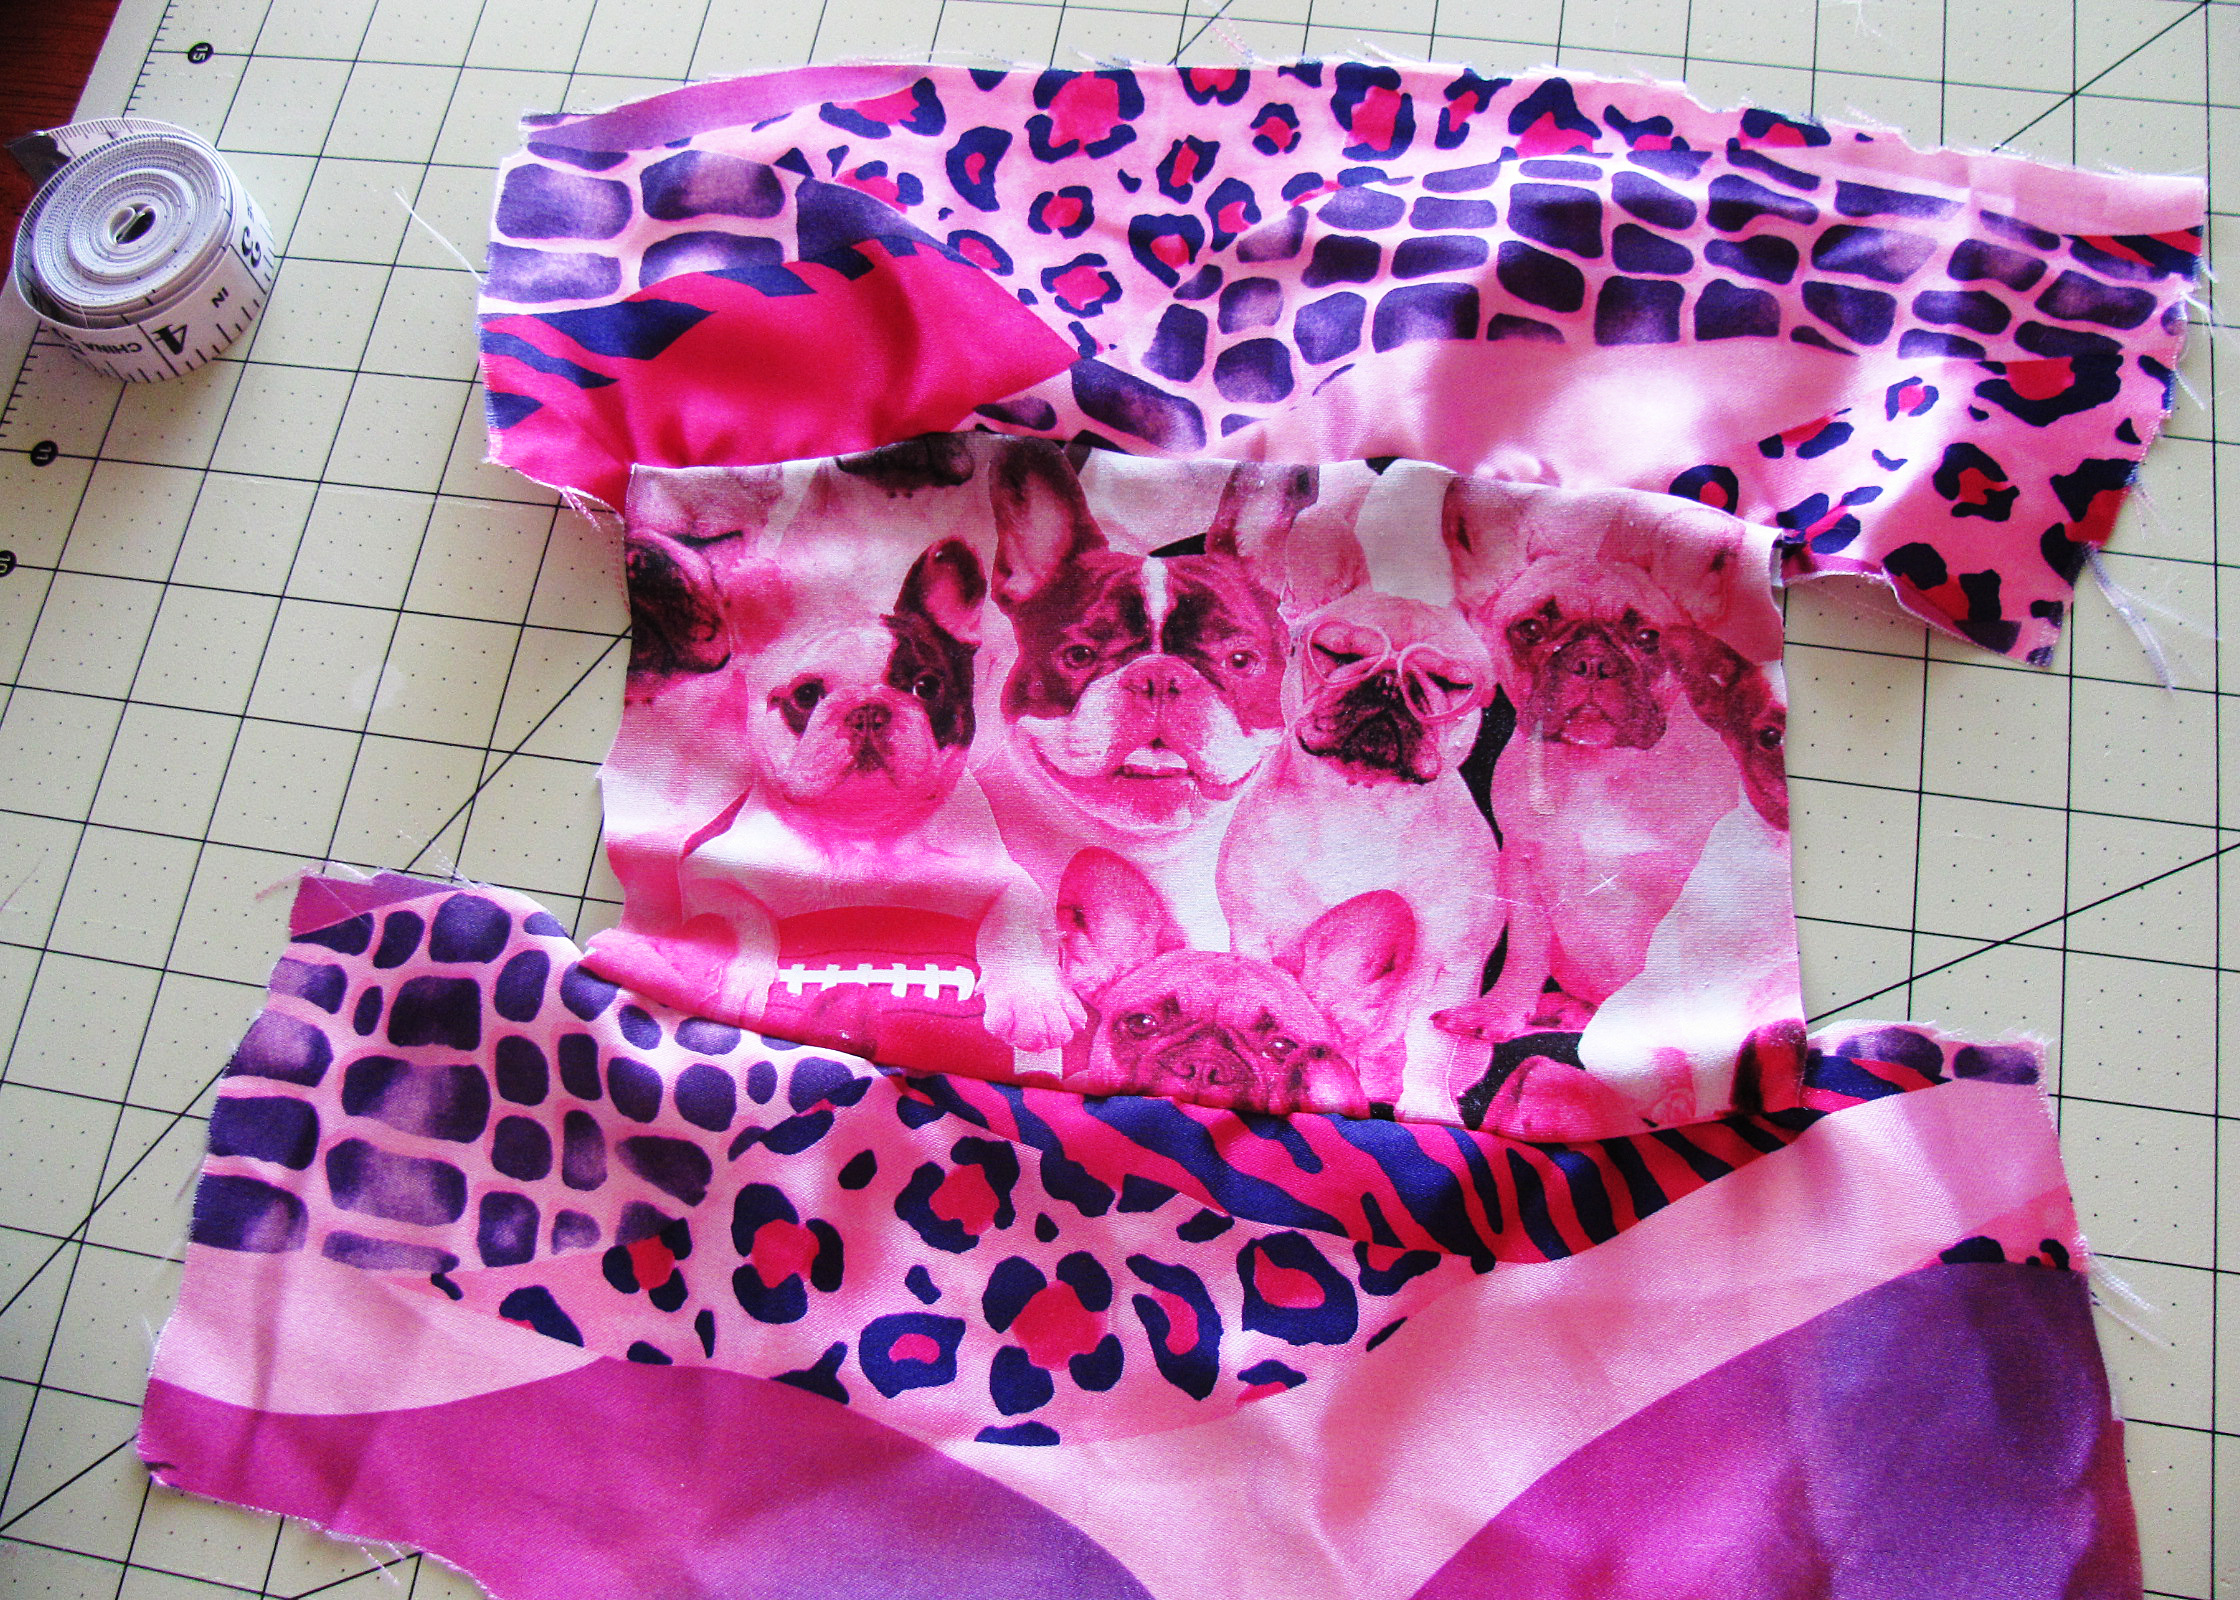
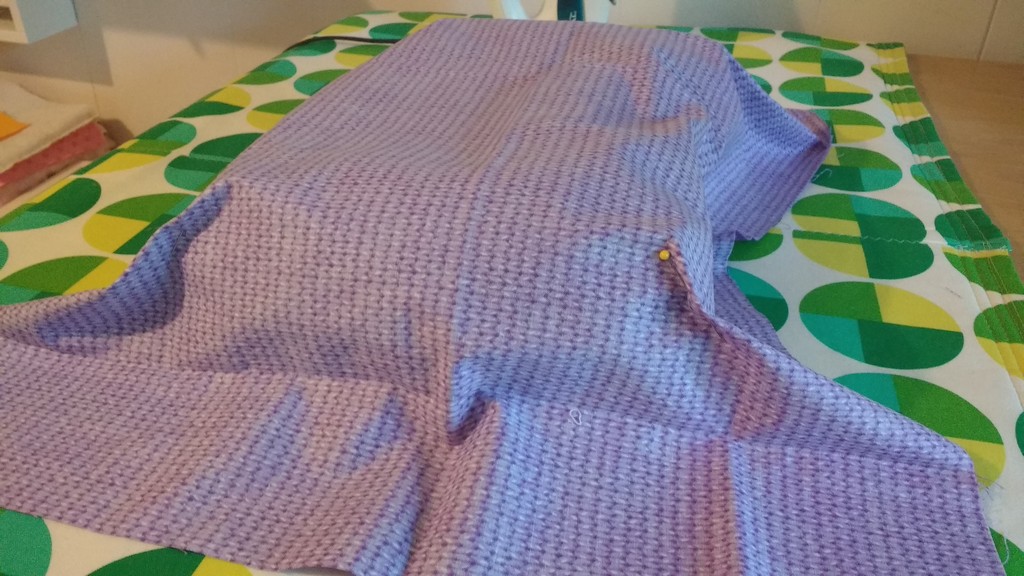
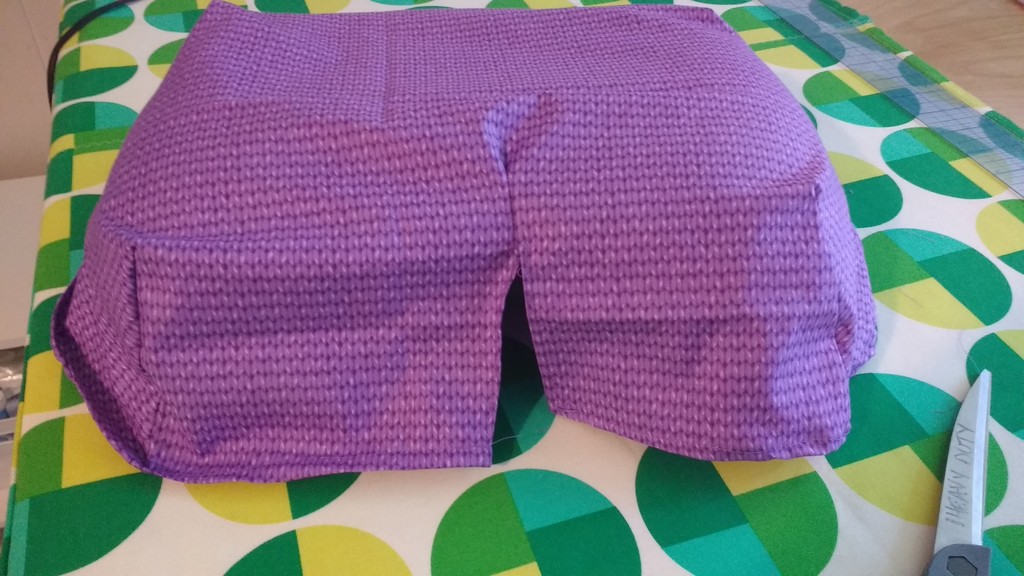
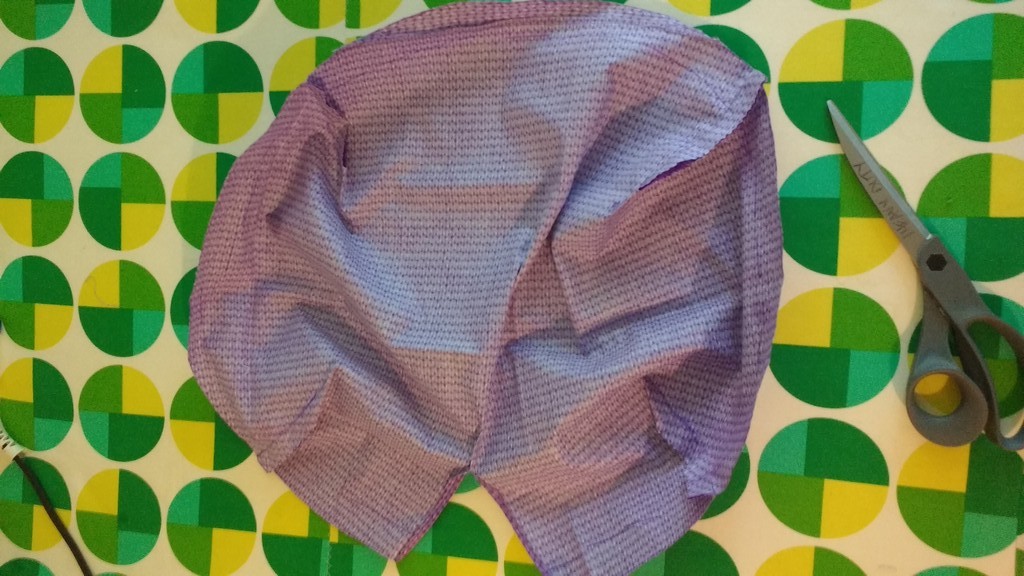
Fully inflated the pillow is approximately 16″ x 12″ x 4″ with an interior curve on the neck side and an exterior curve on the opposite side. The top and bottom edges are all rounded as well. I used matching fabric from the DIY bandana I sewed in this post and draped it over the pillow to see if it would fit.

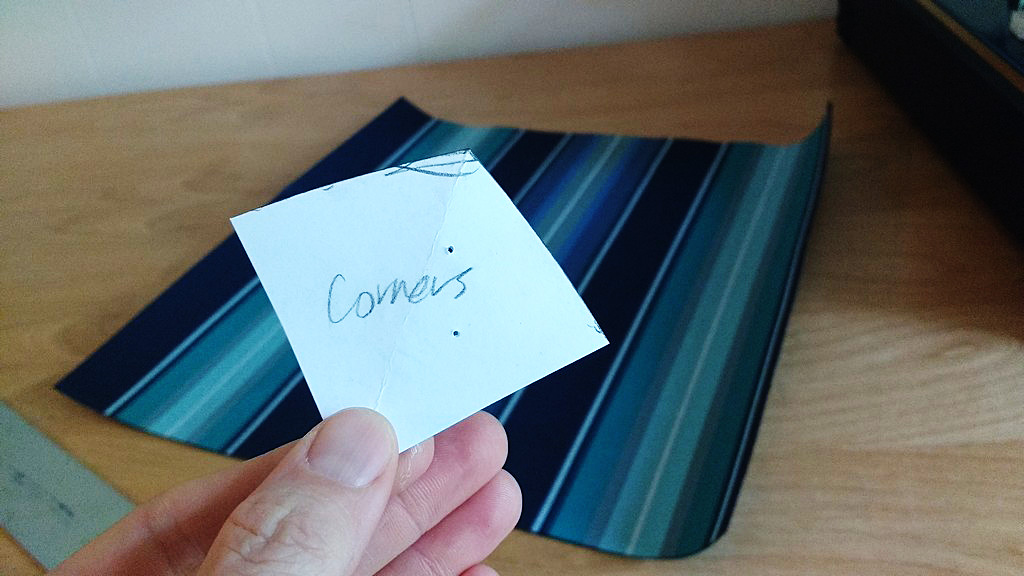
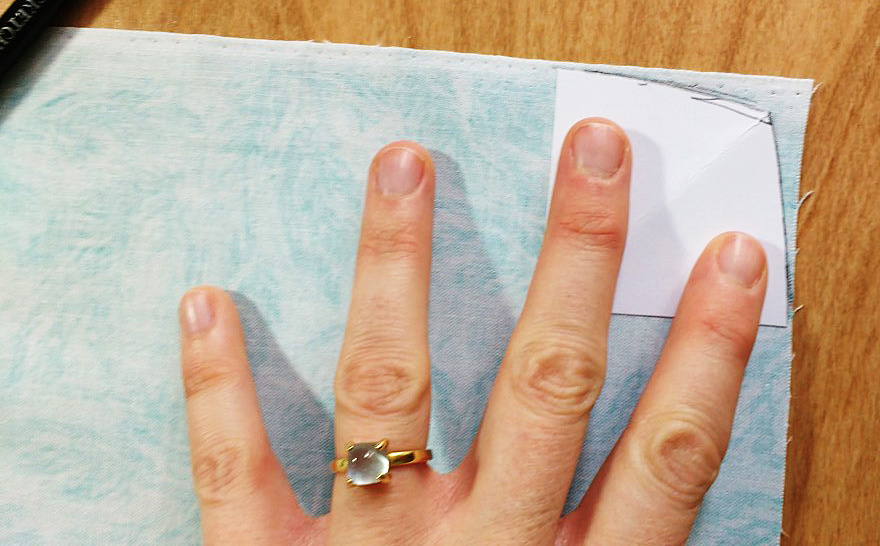
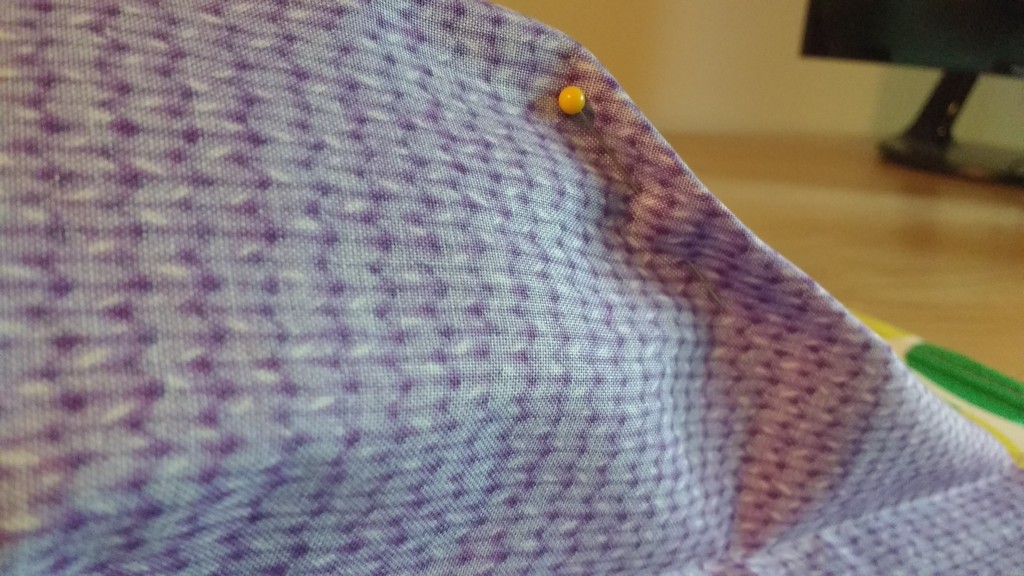
Once I knew the fabric would fit, I turned the fabric wrong sides up and used pins to mark the four curved corners. Be careful, you don’t want to puncture your brand new backpacking pillow!

3

4

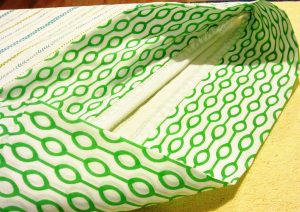
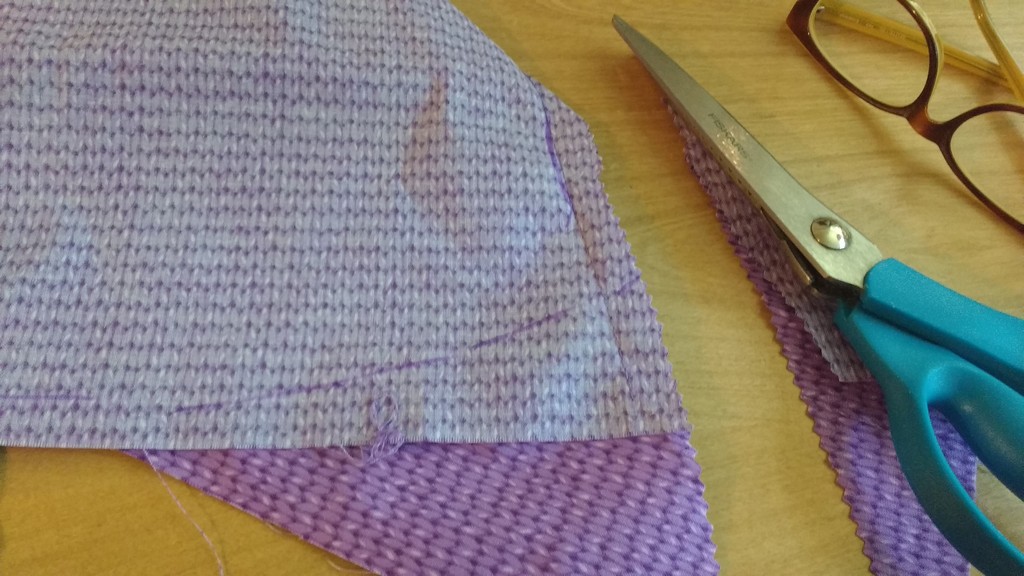
On the interior curve, I found the approximate center and cut the fabric up a ways.

5

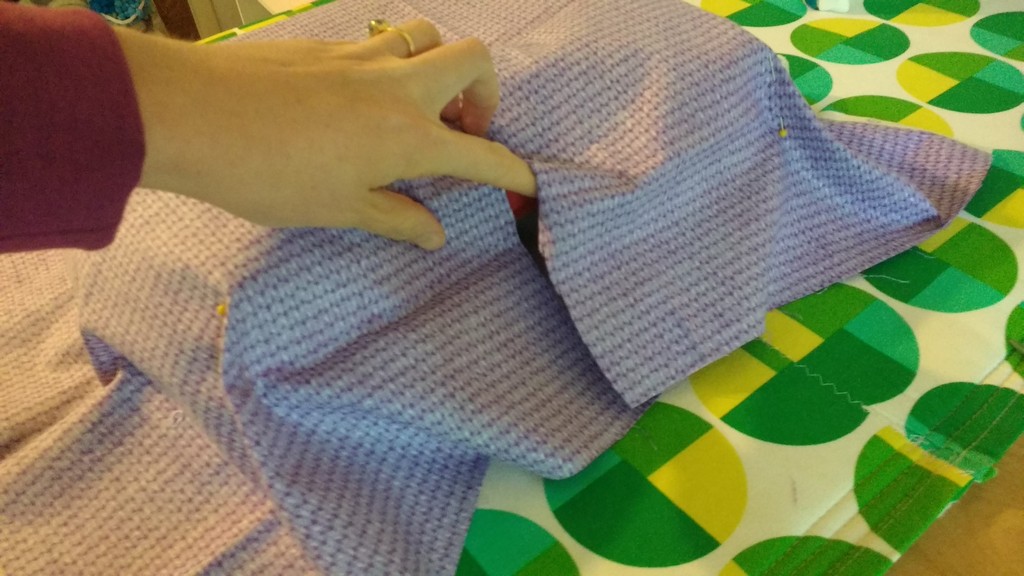
Then I used pins to tighten up the fabric around the top of the curve.

6

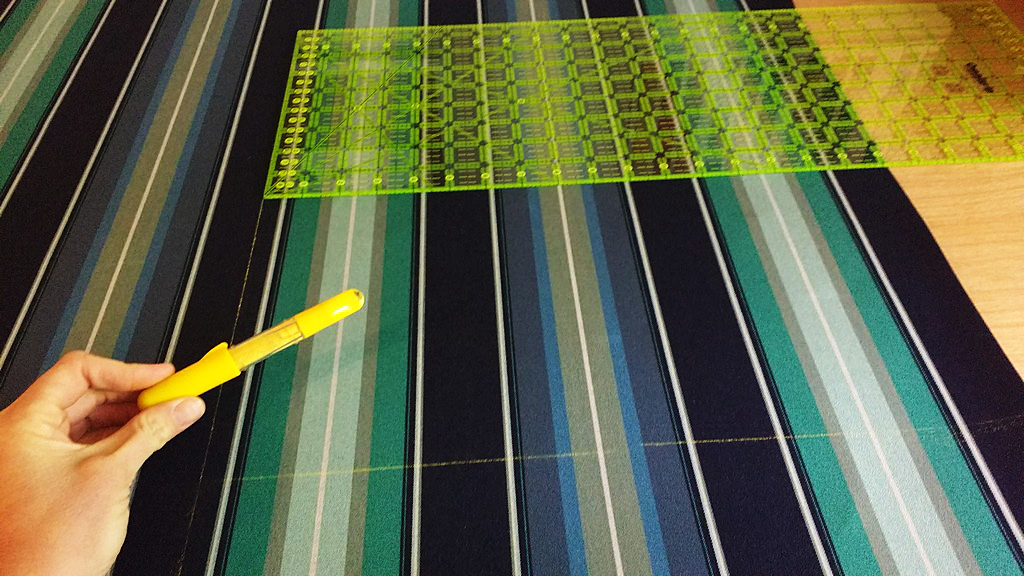
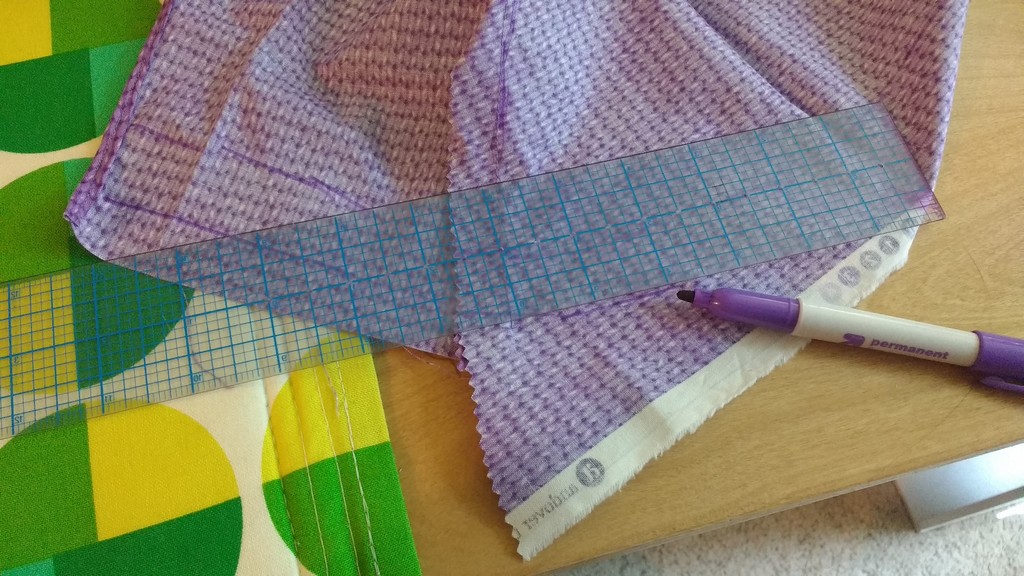
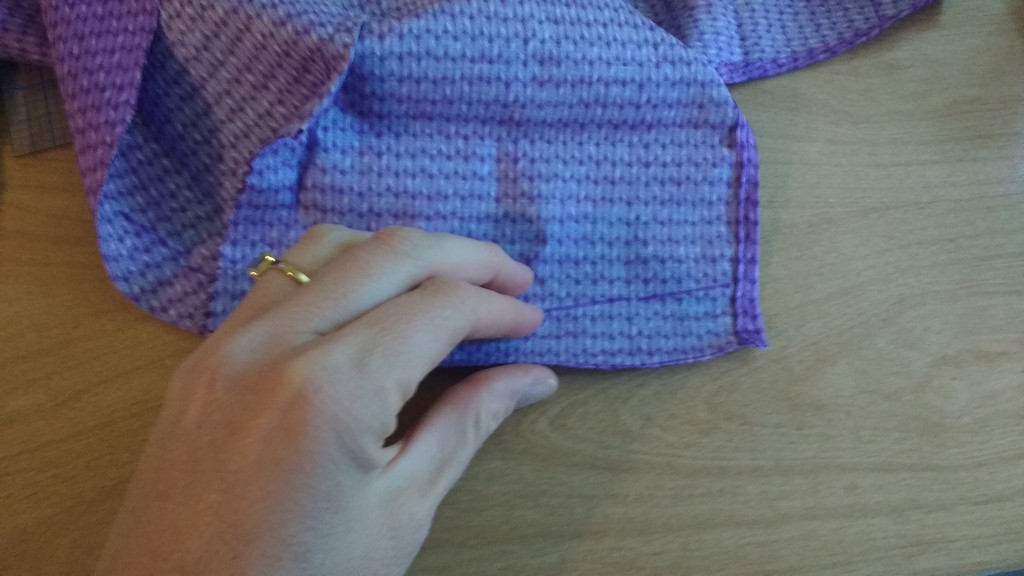
Once everything looked right, I used a marker (but you could use a pencil if a marker would show through your fabric choice) and marked the corner seams and the portion of the interior curve I had pinned.

7

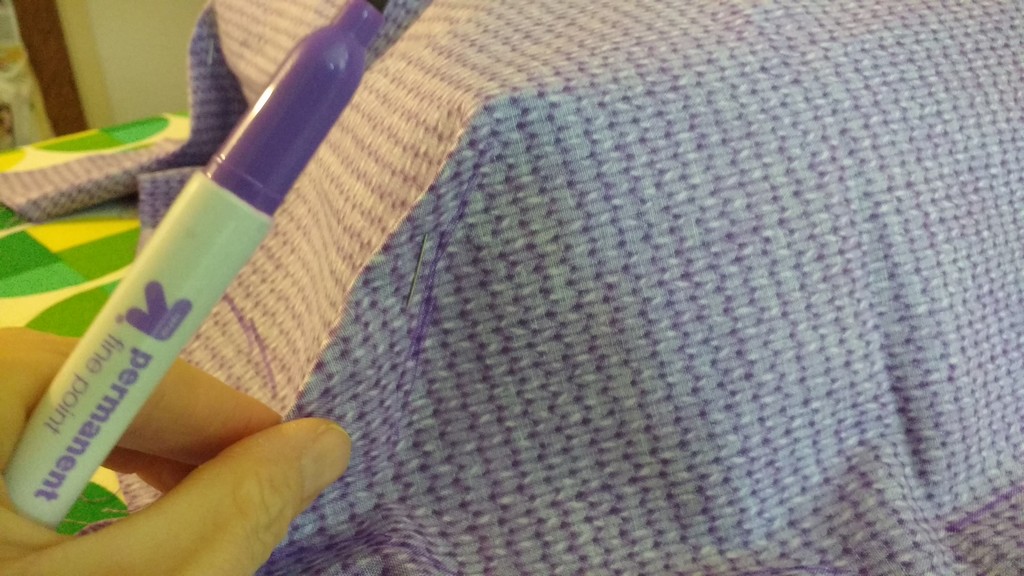
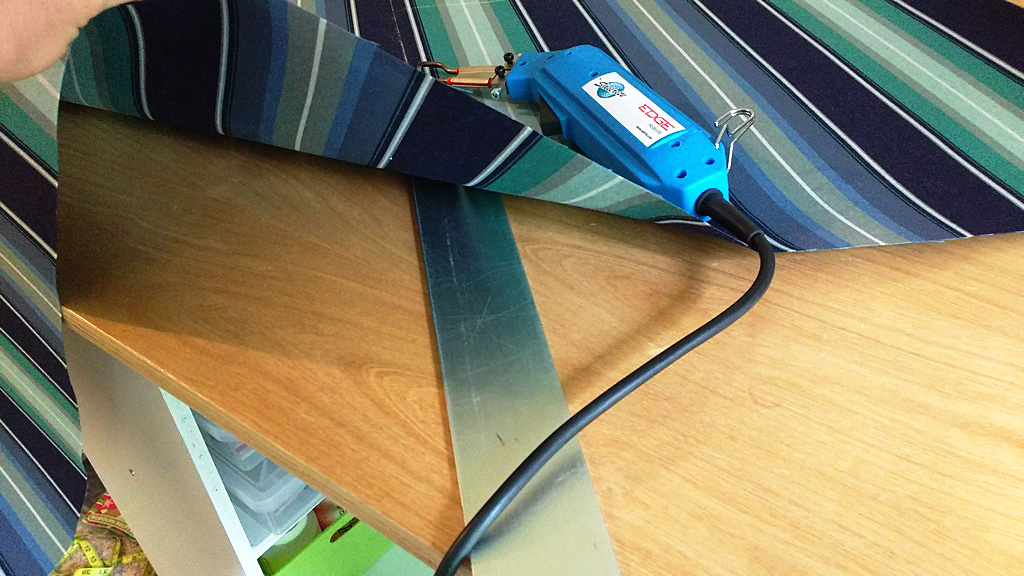
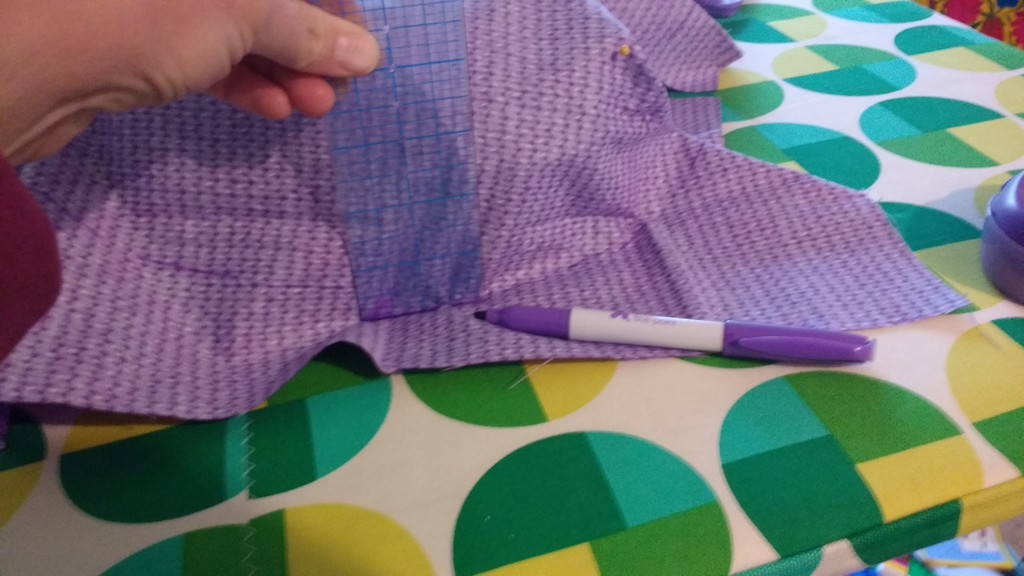
Then I used a sturdy ruler and placed it against the sides of the pillow, marking the approximate edge all the way around.

8

Carefully, I slipped the case off of the pillow, making sure not to disturb any of my pins. I only removed the pins corner by corner as I sewed following my marks.

9

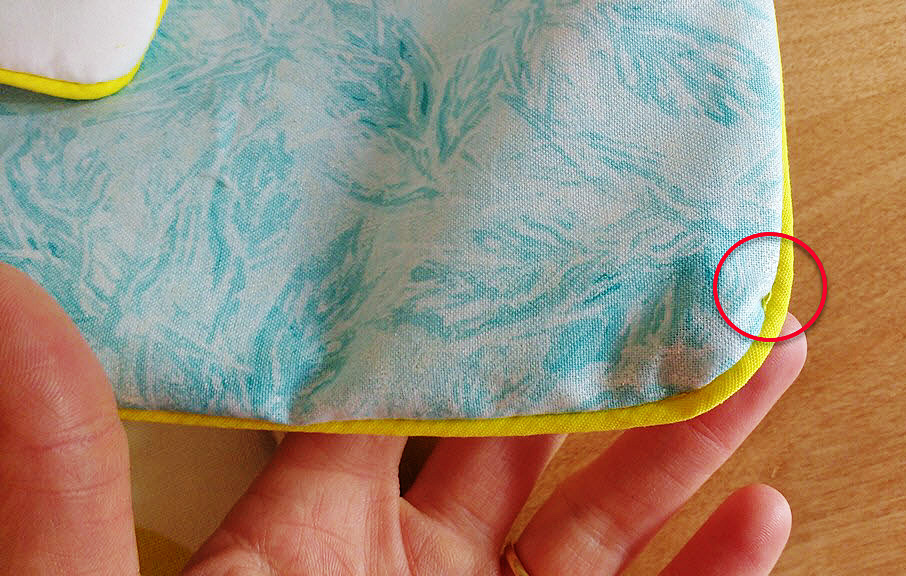
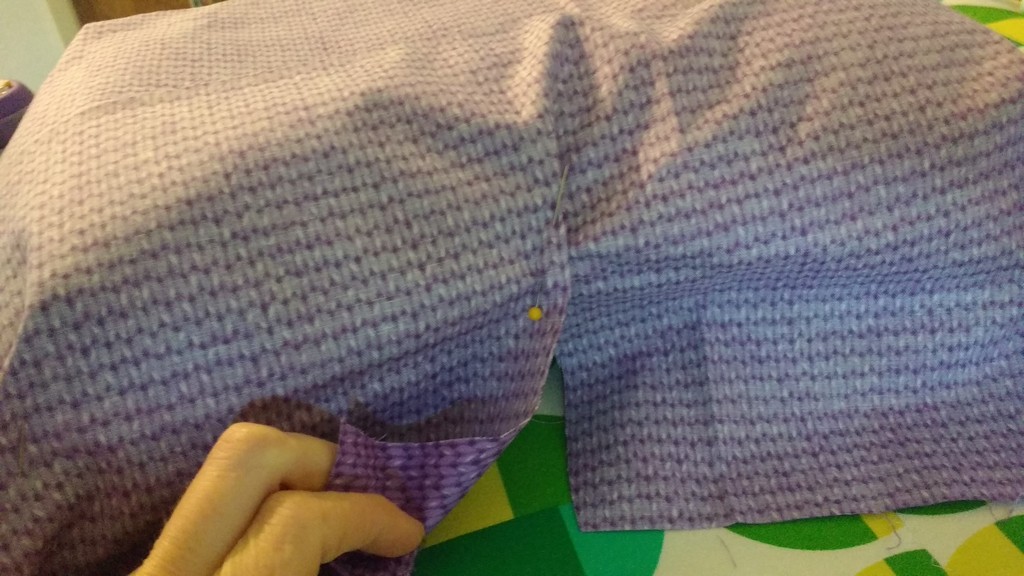
For the interior curve, I sewed the small section I had pinned to cinch the fabric around the corner, then finger pressed the raw edges of both sides of cut fabric over twice and sewed a hem.

10

Here I took a moment to turn the pillowcase right side out and placed it over the pillow, just to double check my sizing. I would be adding elastic to bring the loose fabric under the case, but this was good to see before cutting the excess fabric off of the corners.

11

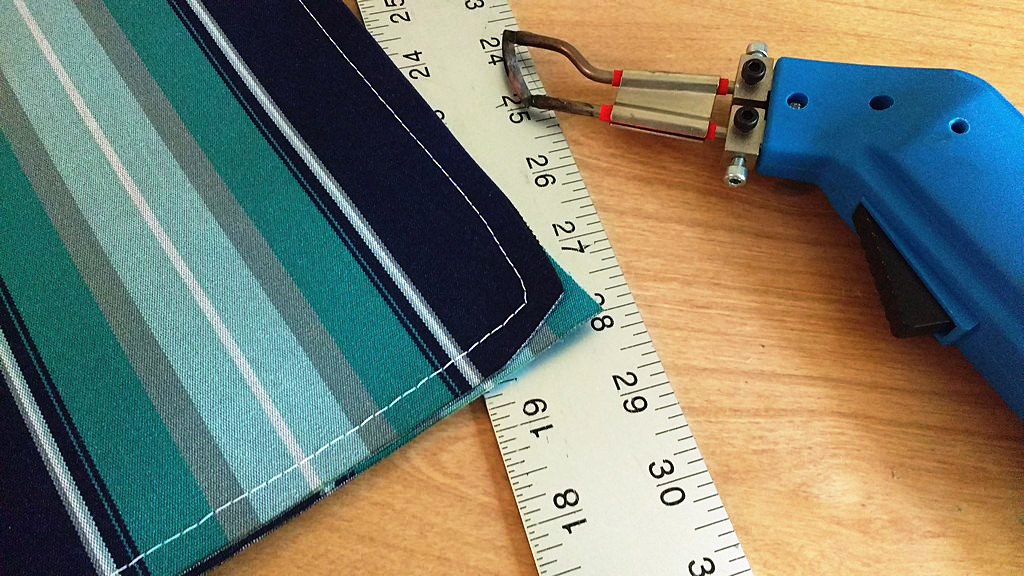
Once I knew it was correctly sized, I turned the pillow case wrong side out and trimmed off the excess fabric on the sewn corners.

12

Then I marked a 1″ hem all around the case using the line I’d created earlier as a guide.

13

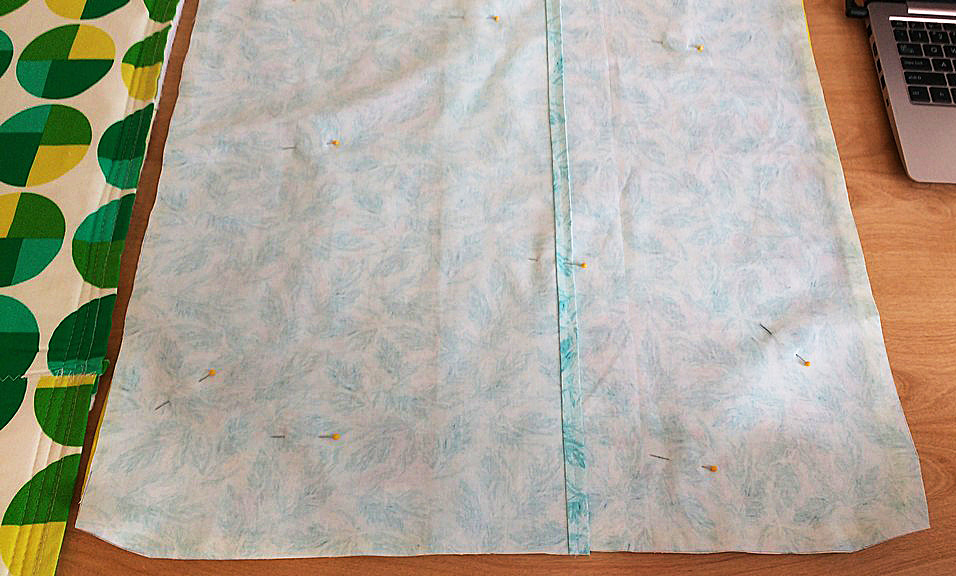
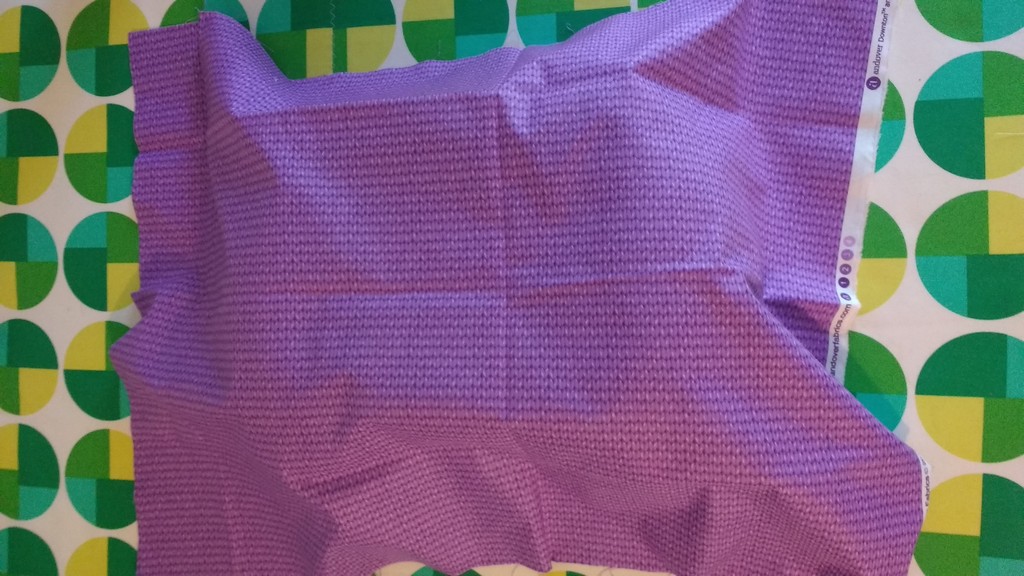
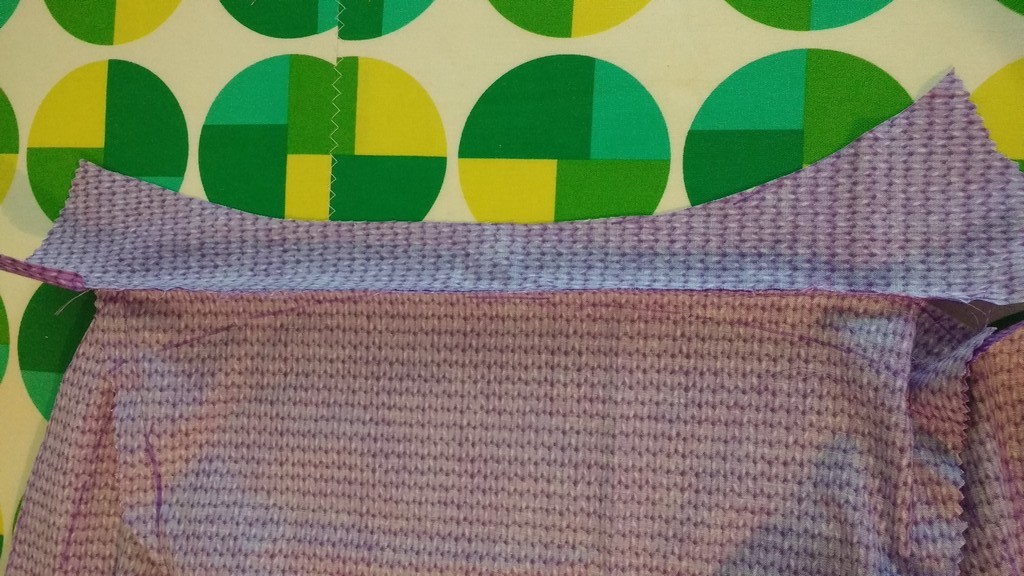
At this moment I realized I didn’t have enough fabric on the side opposite where the neck would lie. I took a spare piece and sewed it onto that side, pressed the seam down, and then continued drawing my 1″ hem.

14

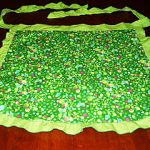
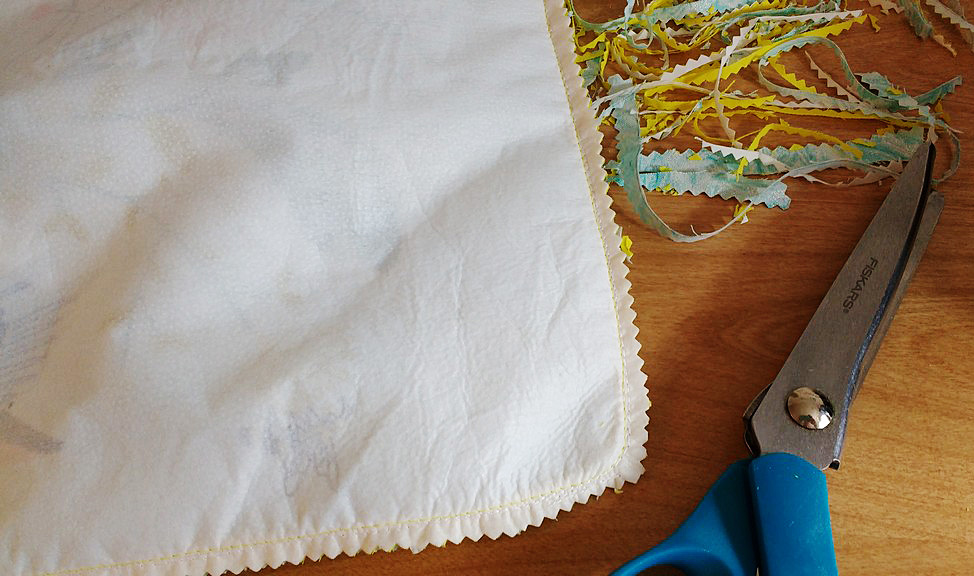
Once the 1″ hem was drawn I cut out the fabric. Now you could really see the shape of the case coming together.

15

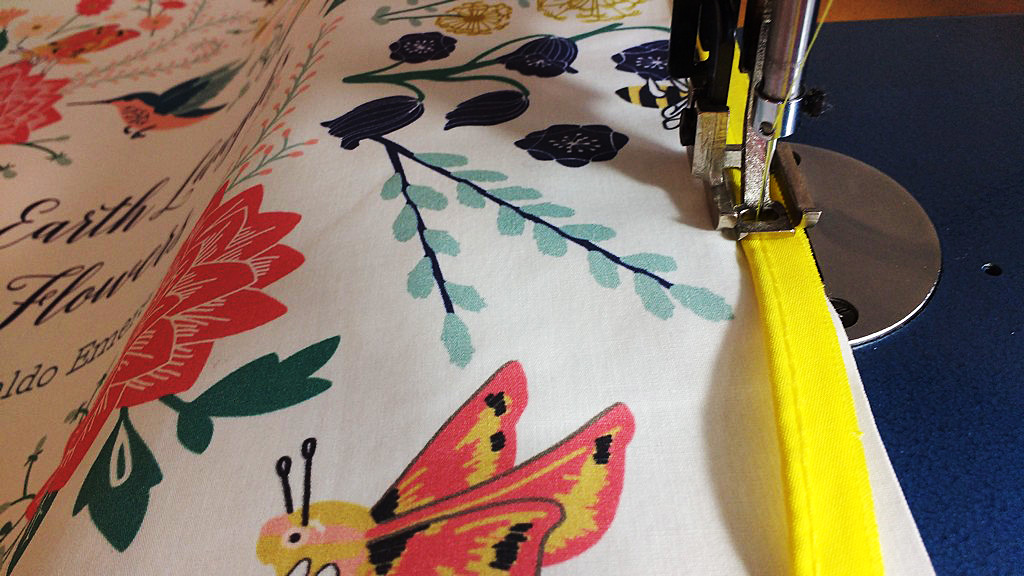
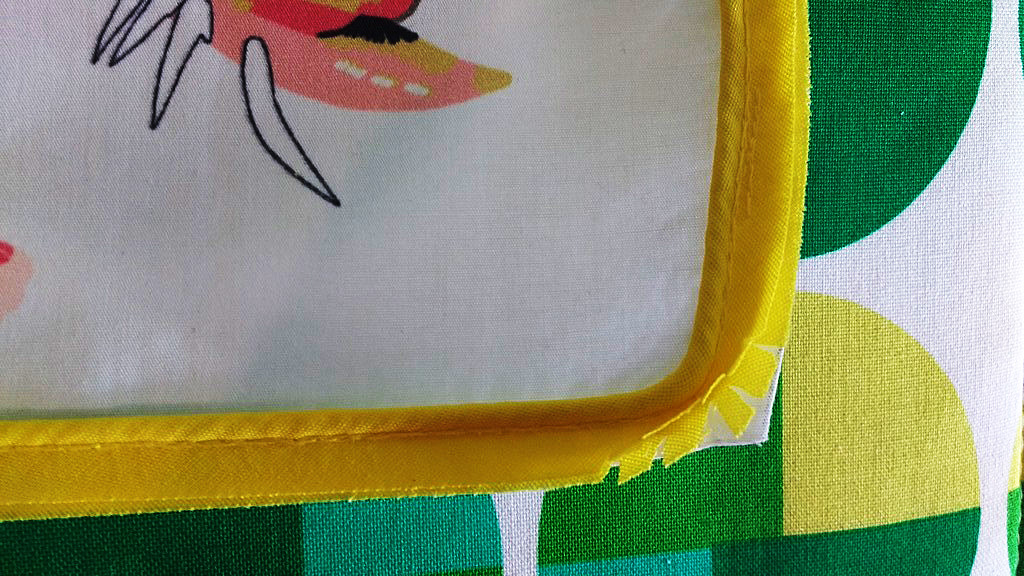
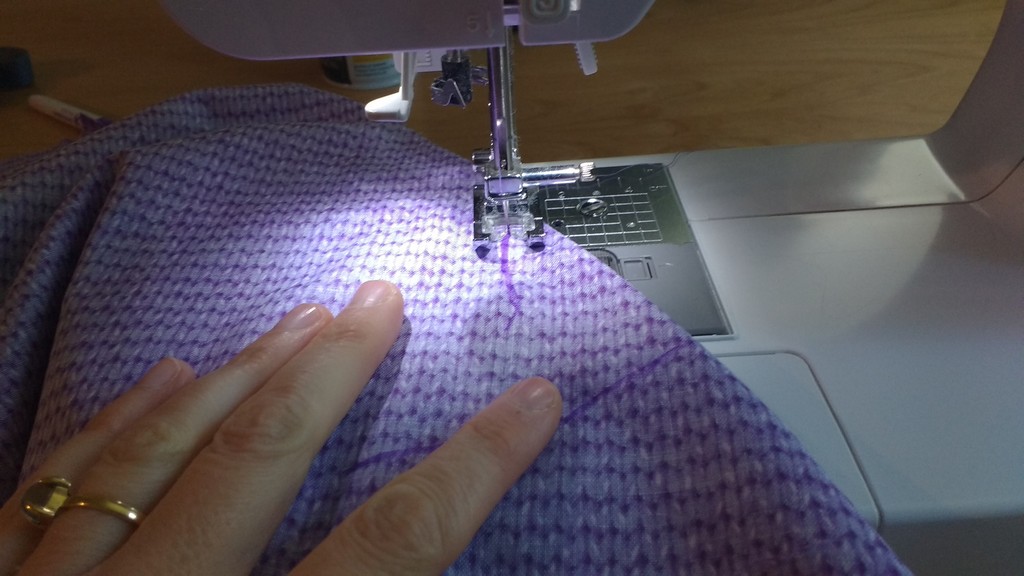
I finger pressed the hem over ½” and then another ½” and sewed my hem as I folded and pressed.

16

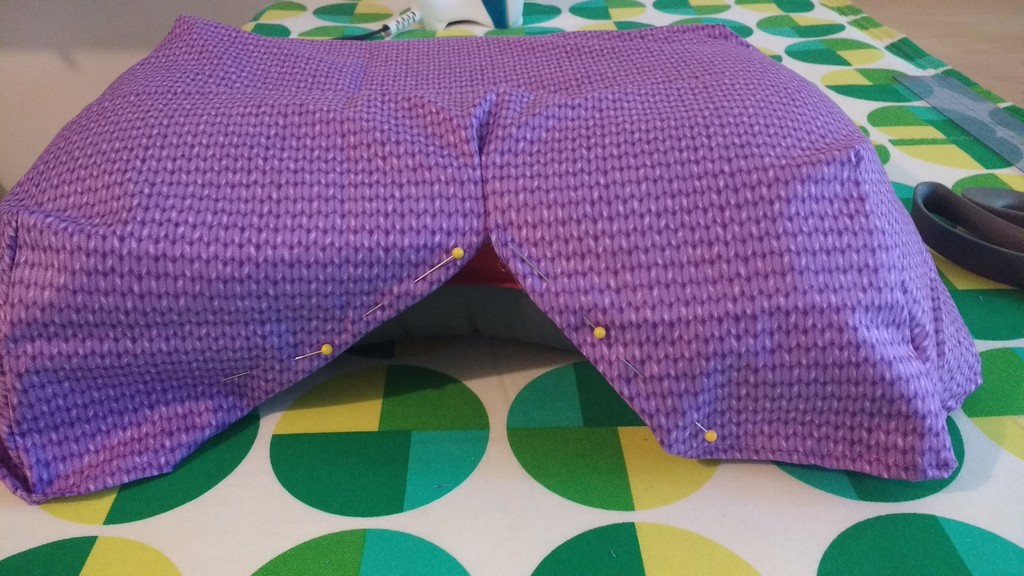
Then it was time to finish the interior curve. I fit the pillow case on right side out and pinned each flap from the center so the fabric hugged each curve. I sewed the flaps.

17

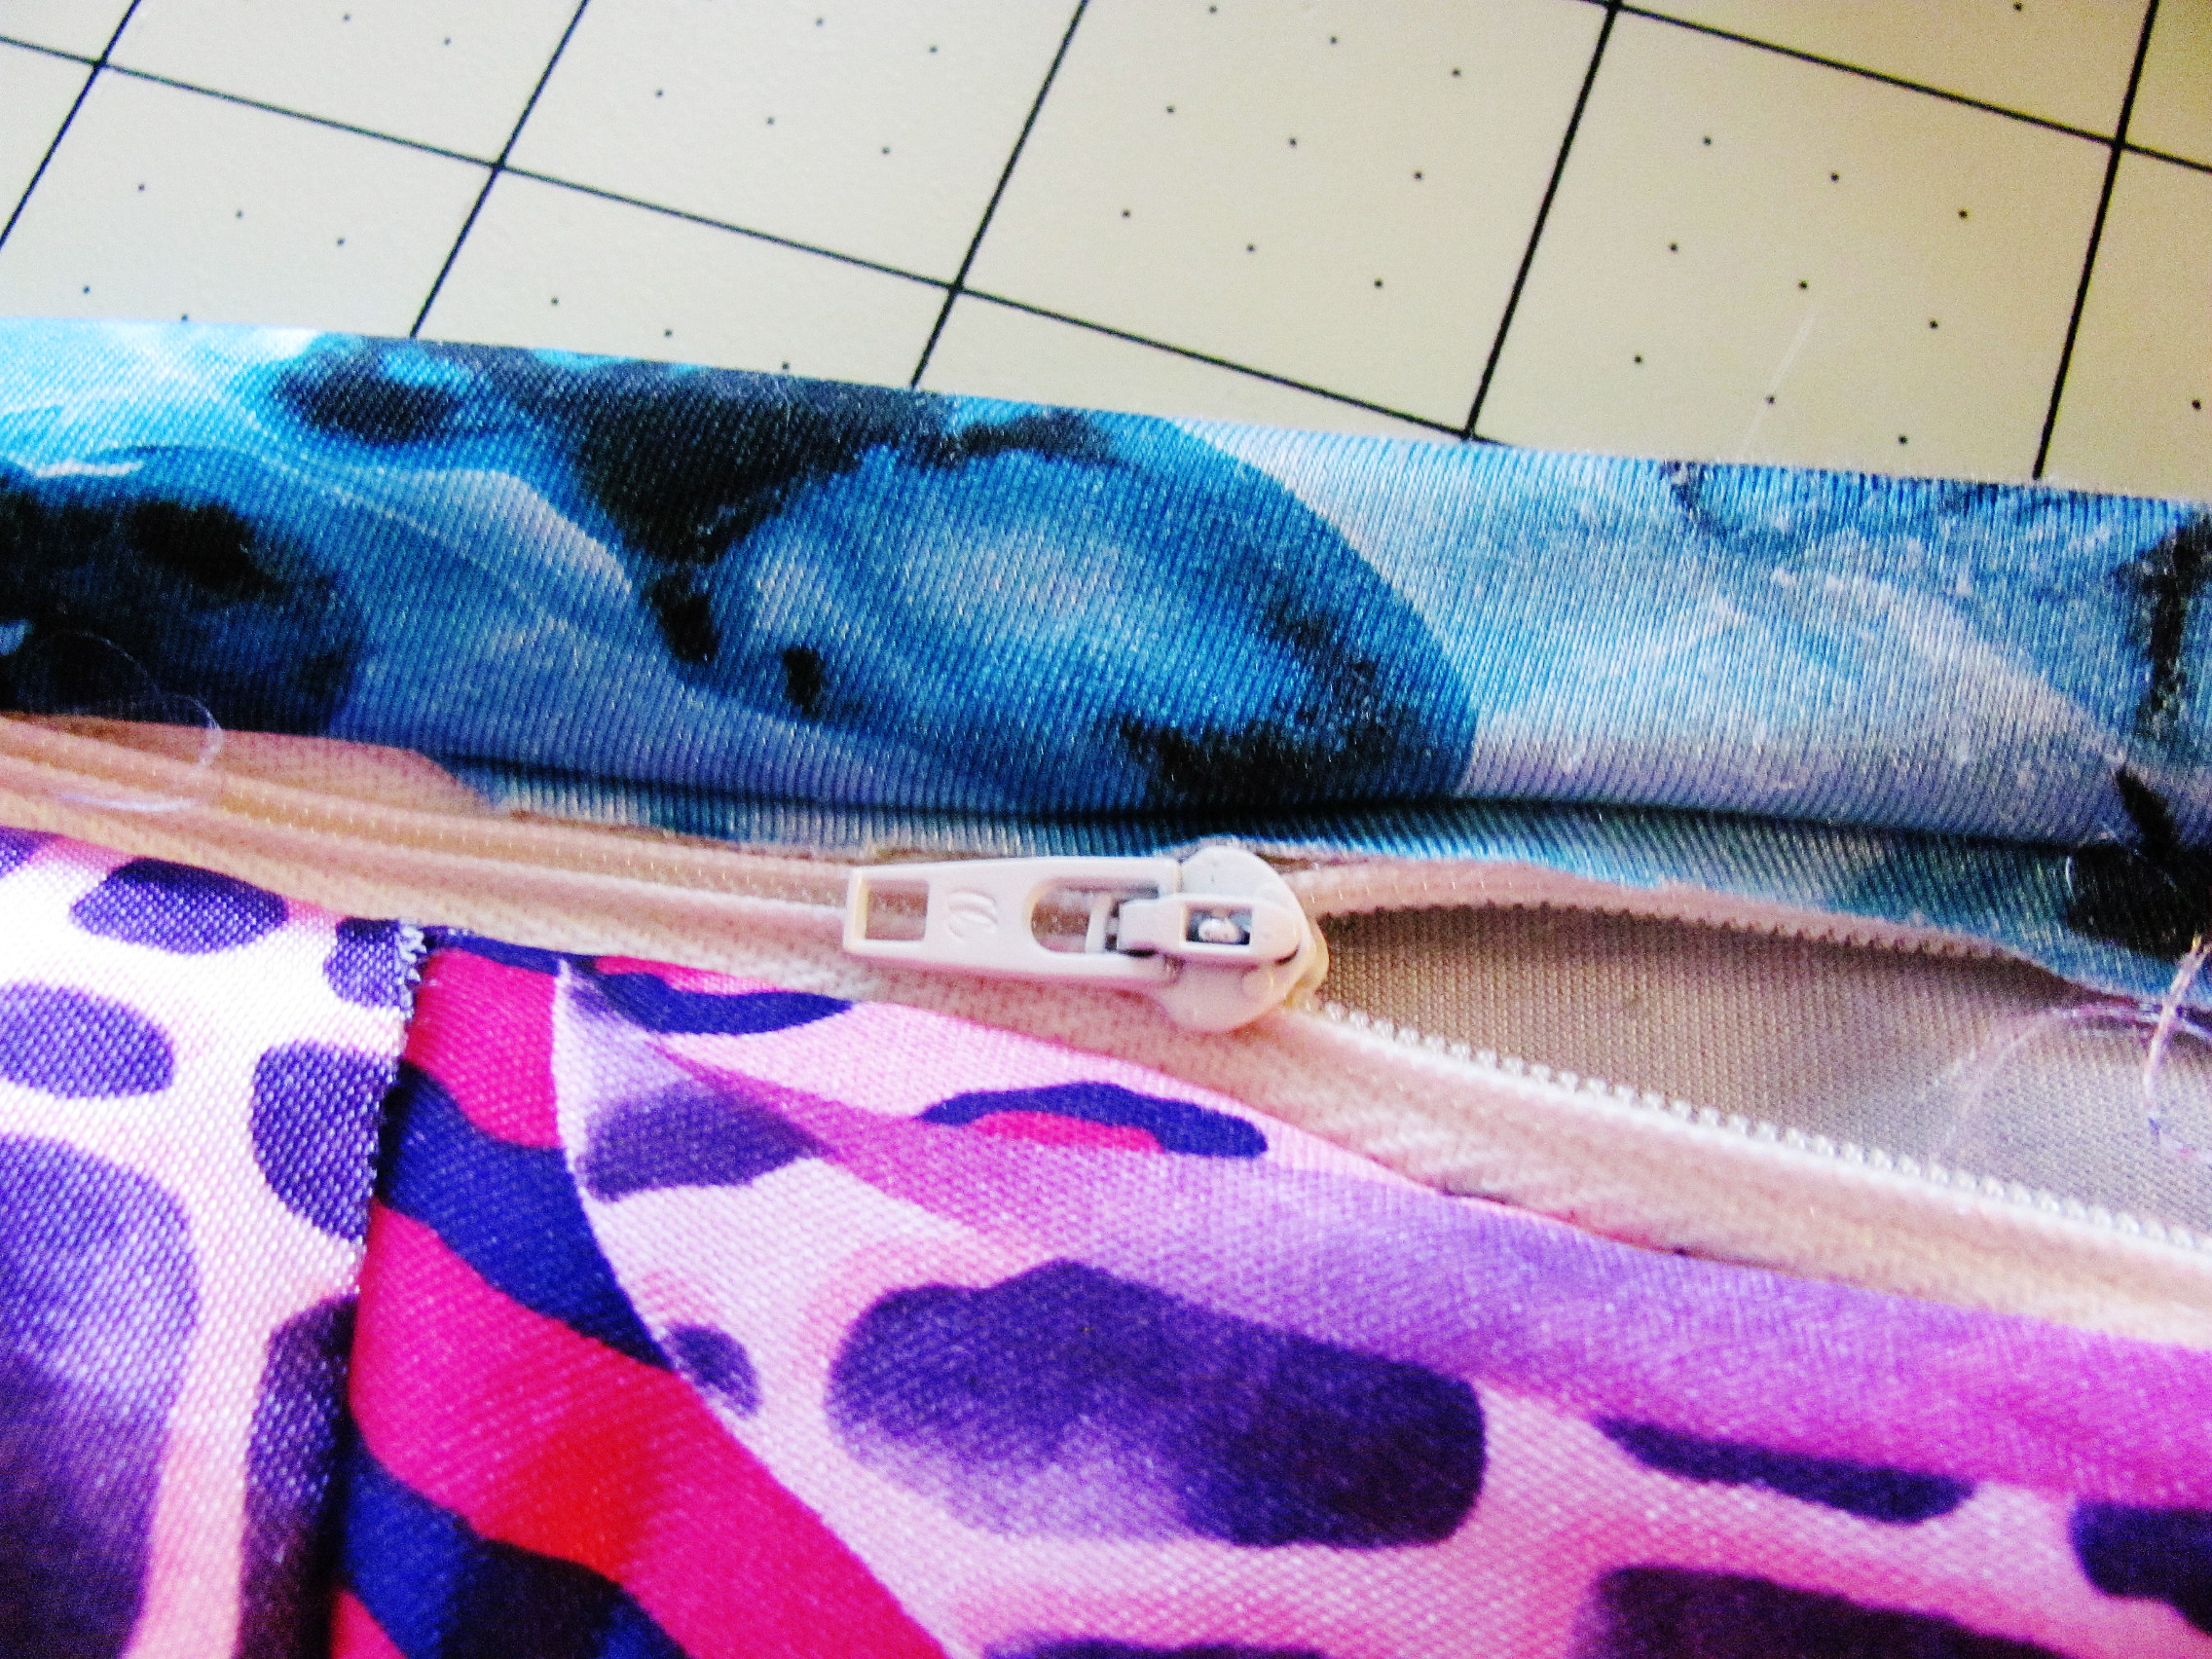
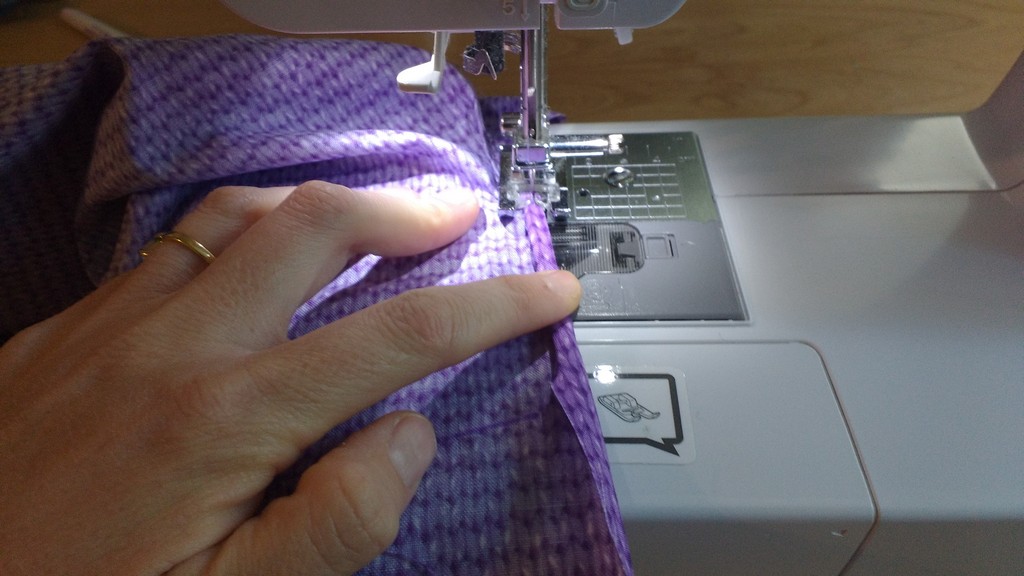
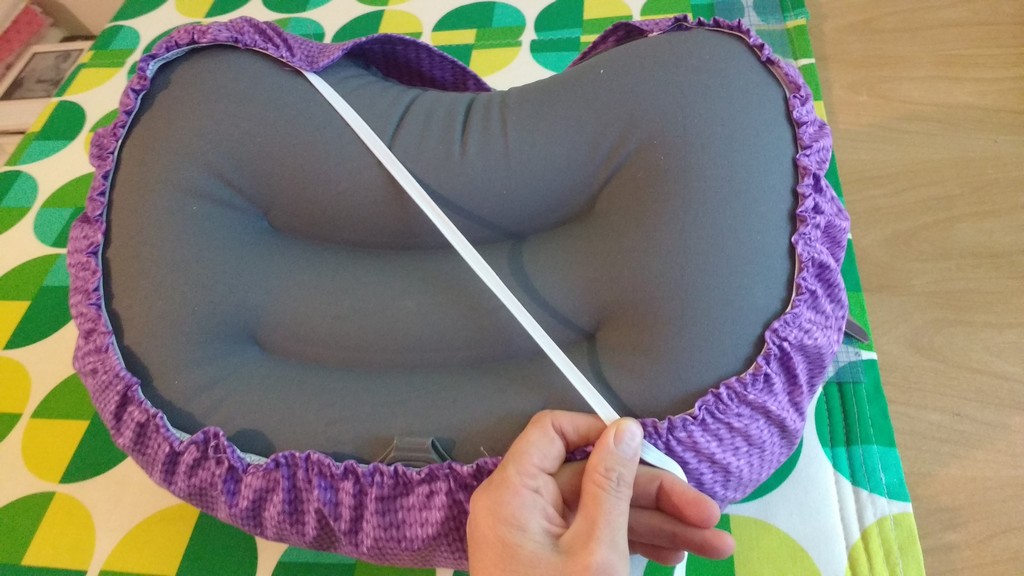
Now it was time to add elastic. I used ¼” elastic.

18

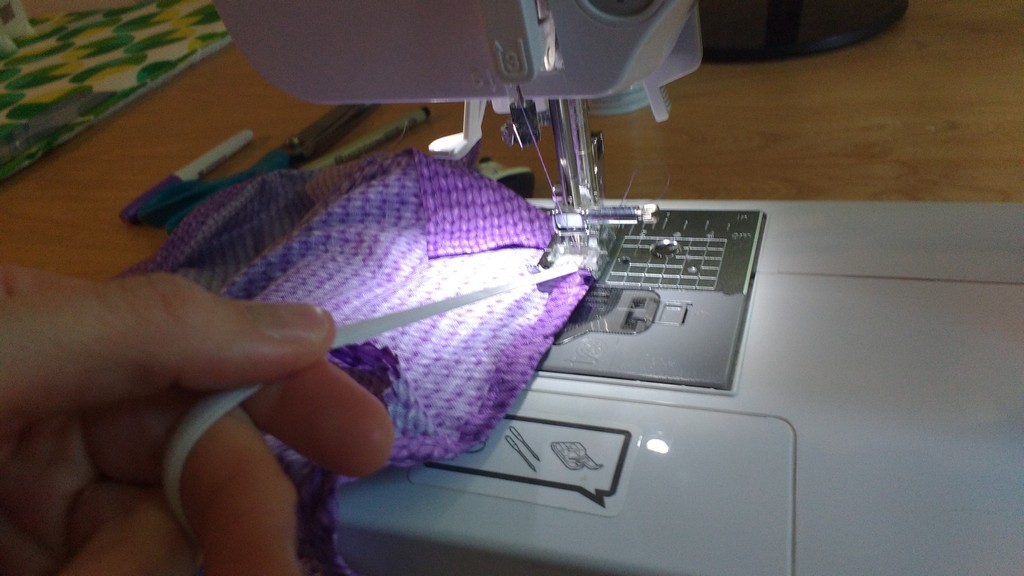
When I had fully sewn around the hem, I drew the elastic across to a point on the opposite side of the pillow and sewed the elastic in place.

19

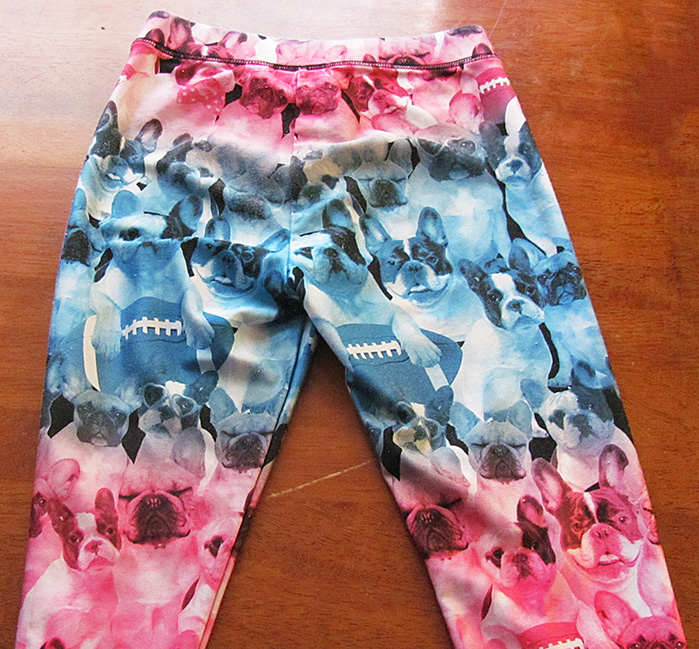
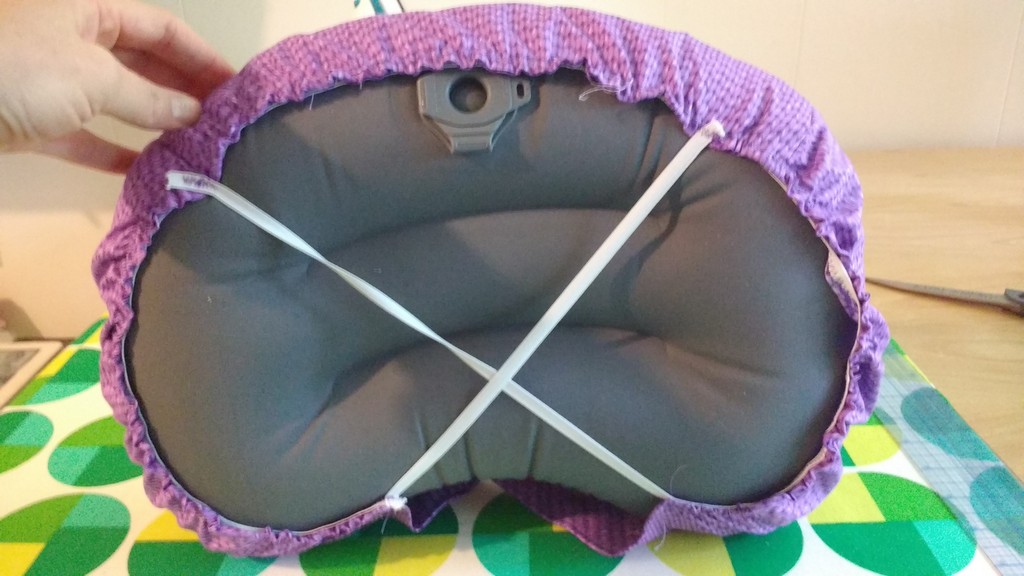
I then repeated on the opposite side with a separate piece of elastic, creating a crisscross pattern on the bottom of the pillow.

20

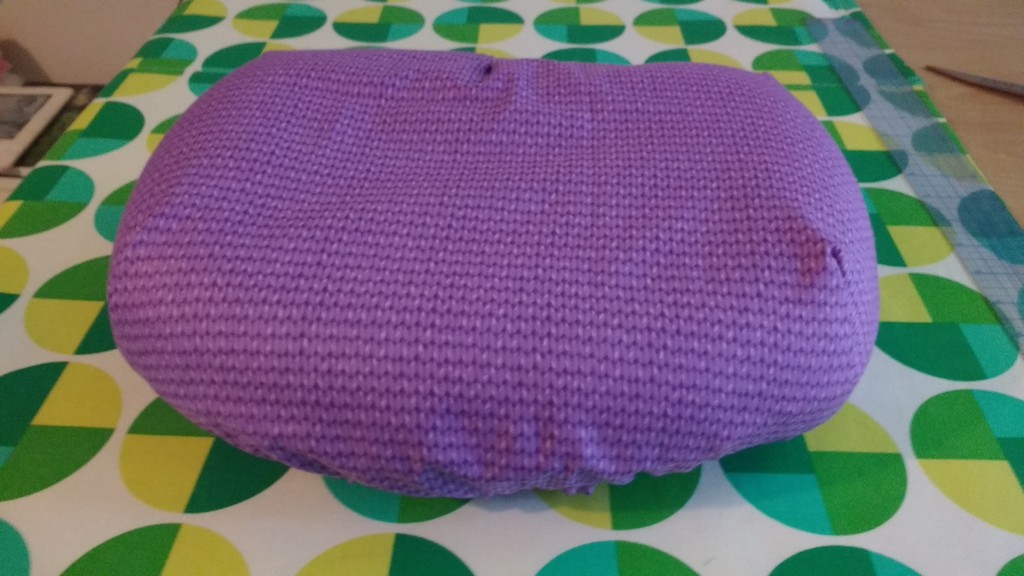
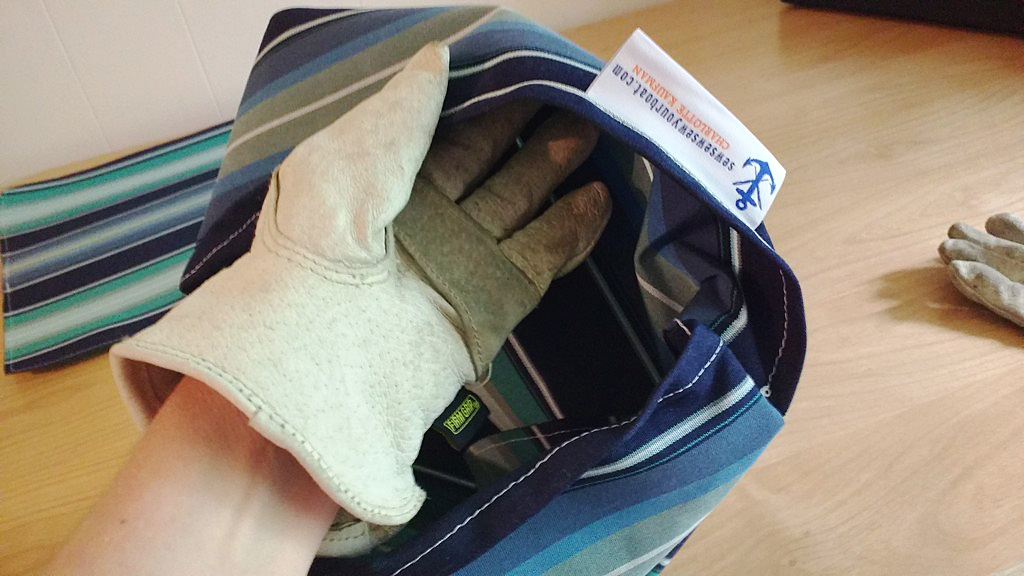
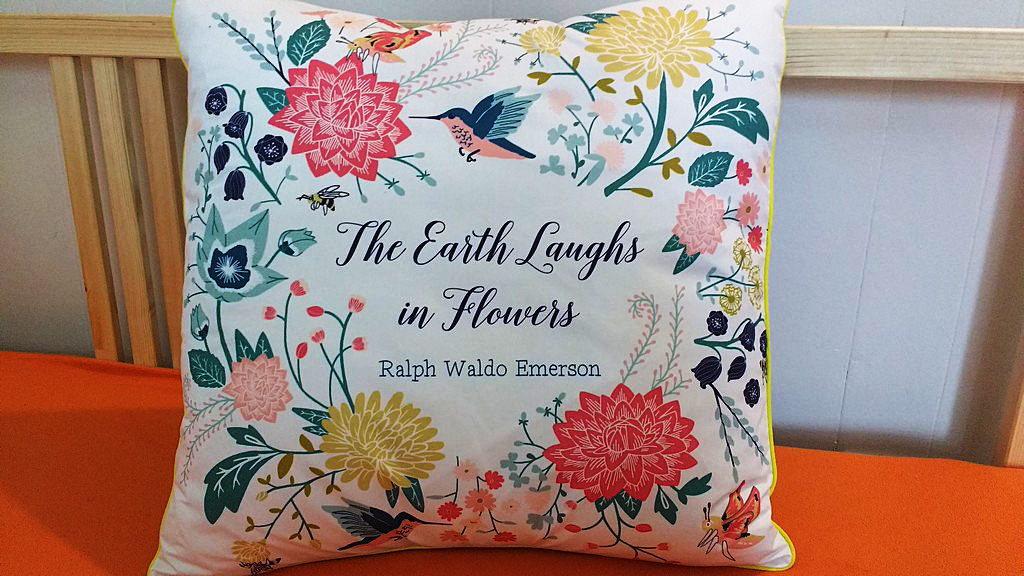
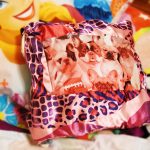
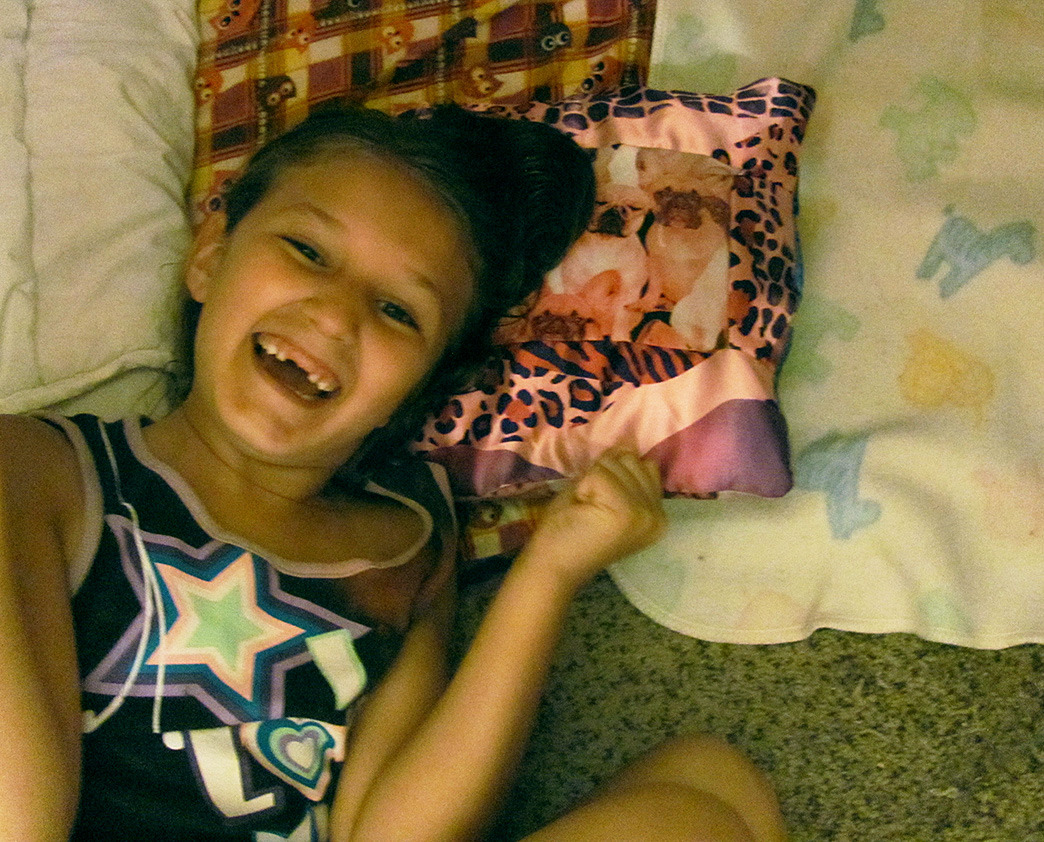
As long as you don’t sew the elastic too taught, you can absolutely slip the inflated pillow into the case. Take a few moments to work the case into the shape you’ve sewn and then flip it over to enjoy your handiwork.

21

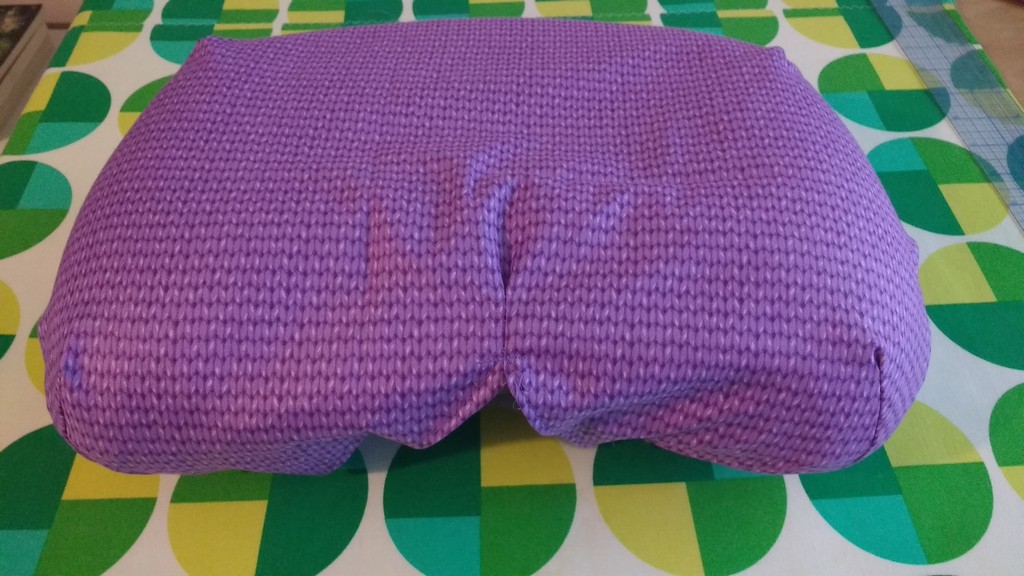
For backpackers who weigh everything that goes in their pack, this pillowcase weighs 1.4 oz. Happy backpacking!

22

———————————————————————————–
Charlotte Kaufman is a writer and sewist in Mammoth Lakes, California. She specializes in marine and home interiors and continues to fall more and more in love with quilting. You can follow her at charlottekaufman.com.
How to Sew Sunbrella Fabric Outdoor Pillows

How to Sew Sunbrella Fabric Outdoor Pillows

How to sew Sunbrella fabric outdoor pillows.

How to sew Sunbrella fabric outdoor pillows.

After a record amount of snowfall this year and the ensuing snow melt and run off, my new home town of Mammoth Lakes, California is in full summer swing. We live at 8,000ft elevation. This means that while we’re high up amongst mountains and the trees, we’re also closer to the sun. UV exposure increases about 4% for every 1000 ft. (305 m) gain in elevation (source). So at my house, we are 32% more exposed to UV rays than at sea level.

I mention this because I recently made some outdoor pillows for our patio furniture. I immediately chose Sunbrella fabric as my go-to because of its incredible sun resistance and durability (among many, many other factors. Seriously, read up on Glen Raven’s Sunbrella fabric and see why it’s the number one choice in marine environments).

Sunbrella

I dug through my stash of Sunbrella which is currently three yards of fabric. I settled on Sunbrella Saxon Cascade, both because I liked the pop of turquoise and how it matched with my welcome door mat, and because the other two pieces’ stripes were too big for the 18″ x 18″ pillow forms I planned to use.

Sunbrella is an acrylic fabric & hot knives cut through it like butter.

Sunbrella is an acrylic fabric & hot knives cut through it like butter.

Sunbrella is an acrylic fabric and hot knives cut through it like butter. I love to use hot knives when I cut out my pieces because the knife seals the edges to prevent unraveling.

I love to use hot knives when I cut out my pieces because the knife seals the edges to prevent unraveling.

I love to use hot knives when I cut out my pieces because the knife seals the edges to prevent unraveling.

Clover Chaco Liner pen

I planned to do envelope closes for these pillows so I marked out my two front pieces and four back panel pieces. For navy or black-colored fabric I use my Clover Chaco Liner pen in Yellow which is available from SewingMachinesPlus.com.

For navy or black-colored fabric I use my Clover Chaco Liner pen in Yellow.

For navy or black-colored fabric I use my Clover Chaco Liner pen in Yellow.

It’s super important that you put metal or ceramic, or something safe under the marked lines you’ll be using the hot knife on. I flip my 48” Starrett ruler over and cut on that.

It’s super important that you put something safe under the marked lines you’ll be using the hot knife on.

It’s super important that you put something safe under the marked lines you’ll be using the hot knife on.

Rounded corners

Next, I like to slightly round the corners of the pillow fronts (I’ll do it to the back pieces too once everything is sewn together.) I went over this method in my post here on how to sew square pillows with piping.

I like to slightly round the corners of the pillow fronts.

I like to slightly round the corners of the pillow fronts.

Now it’s time to finish the seams on your back panels. Sunbrella is great for finger folding over, plus working with stripes often makes marking your seams easy.

Tip: when you use a hot knife it can make the finished edges of Sunbrella fabric a little sharp. Be careful when finger folding that you don’t hurt your fingers!

Now is the time to sew in a tag if you have one.

Now is the time to sew in a tag if you have one.

Now is the time to sew in a tag if you have one.

Wonder Clips

Putting a regular sewing pin through Sunbrella is almost impossible. I use Wonder Clips on projects this small to hold my pieces together. SewingMachinesPlus.com has them available here.

I use Wonder Clips on projects this small to hold my pieces together.

I use Wonder Clips on projects this small to hold my pieces together.

Once sewn, I use the hot knife to round the corners of the back panels to match the top panels.

I use the hot knife to round the corners of the back panels to match the top panels.

I use the hot knife to round the corners of the back panels to match the top panels.

Now it’s time to turn. This will be crinkly!

Tip: use leather gloves or gardening gloves while turning your fabric to avoid getting your skin cut or scratched from the hot-knifed edges of fabric.

Use leather gloves or gardening gloves while turning your fabric.

Use leather gloves or gardening gloves while turning your fabric.

Fluff time!

Slip in your pillow forms and enjoy!

Slip in your pillow forms and enjoy!

Slip in your pillow forms and enjoy!

How gorgeous is that fabric? Truly!

How gorgeous is that fabric? Truly!

How gorgeous is that fabric? Truly!

And an outside view.

And an outside view.

And an outside view.

Do you make your own outdoor furniture accessories? Tell us about it in comments!

Do you make your own outdoor furniture accessories?

Do you make your own outdoor furniture accessories?

———————————————————————————–
Charlotte Kaufman is a writer and sewist in Mammoth Lakes, California. She specializes in marine and home interiors and continues to fall more and more in love with quilting. You can follow her at charlottekaufman.com.
Gifts to Sew for Mom

Gifts to Sew for Mom

Are you looking for ideas to sew for Mom?

Moms come in all types. But most appreciate handmade gifts, especially the ones you make. Whether your mom is glitzy or sporty, a homebody or a world traveler, we’ve got you covered.

For Mother’s Day, her birthday, holiday gifts, or just because you love her, here are lots of fun project ideas you can sew for mom.

Zip bags

There are so many uses for these that zippered cases are always a good gift idea. She can use one for a cosmetics bag for her purse or travel, to hold pencils or art supplies, or anything else. I once made a matching set of these in several sizes for a gift for my mom.

She can use these to hold anything.

She can use these to hold anything.

Quilt

Whether she likes to get comfy in her favorite chair or she babysits grand-babies, a lap quilt is a perfect choice to sew for mom. Make one in her favorite colors, to match her décor, or choose a special pattern.

The blocks in these quilts were pieced by my mother's and my husband's grandmothers. I found them in their sewing boxes & put them together with borders to make these lap quilts for our moms to share with their grand babies.

The blocks in these quilts were pieced by my mother’s and my husband’s grandmothers. I found them in their sewing boxes & put them together with borders to make these lap quilts for our moms to share with their grand babies.

And speaking of grand kids and special quilt patterns, you could get the kids involved and make a handprint quilt for their grandmother.  You can make a handprint quilt using washable fabric paint and the kids’ hands as stamps. Or you can have them trace and then cut out their hands and use these as appliqué patterns.

Handbag

Most ladies will appreciate a beautiful new handbag. Depending on your mom’s style, you could make her a clutch, a wristlet, a structured bag, or a casual cross-body purse or messenger bag.

The possibilities are endless here. Choose suede, an elegant stamped faux leather or other fancy fabric, a distinctive or wildly patterned print, or build her a bag based on a small piece of patchwork created just for her.

Totes

She can’t have too many tote bags since these are endlessly useful.

She can’t have too many tote bags since these are endlessly useful.

She can’t have too many tote bags since these are endlessly useful. Make her a stylish and sturdy tote bag for her library books, groceries, or other shopping and she will appreciate it endlessly.

Make a gorgeous XL tote in a special fabric and she will be thrilled to use it as a stylish everyday bag. Especially if you add in ample pockets and/or smaller zip bags for organizing contents.

You can make a reversible tote bag in any size and give her two bags in one.  Make a canvas tote with ample pockets inside and out to create a custom beach bag she will love. Or make her a few of these cute shopping bags that collapse into their own pocket.

And consider smaller totes, too. Here is one as pretty as a purse meant for toting her tablet.

Pillowcases

You can’t buy pillowcases as pretty as the ones you can sew. Make her a luxe pair trimmed in vintage lace. Choose a colorful patterned fabric to dress up her bed or a special motif she adores. Whether she loves owls,  Star Trek, or her favorite sports team, you can make her a pillowcase from a yard of any novelty print.

You could make a pillowcase covered in hearts to remind her how much she is loved.

You could make a pillowcase covered in hearts to remind her how much she is loved.

Sew a bouquet

A bouquet of flowers is a standard Mother’s day gift. You can sew her a bouquet of flowers that will never wilt and fade away.

Here are a lot of different ways to make fabric flowers.

Rice Pack

Whether she suffers from pains in the neck, back, tummy, or general monthly pains, an oversized microwavable rice pack heating pad will be a welcomed gift of comfort.

Slippers

There are lots of ways to sew slippers, here are some slipper sewing tutorials to choose from.

Pajamas

You can sew cozy pajamas from silk, cotton, flannel, or fleece. Make them ultra feminine with batiste and lace, or pure fun in a funky print. Start with an easy pattern from Simplicity, McCall’s, or Butterick, or use one of these tutorials.

Easy robe

Like pajamas, you can sew a robe from a lightweight or dressy fabric or from something heavier and more cozy. Robes are easy to sew. You can buy an easy robe sewing pattern or here’s a great tutorial showing how to make your own pattern using rectangles.

Apron

There are so many ways to sew aprons.  You can make her a pretty half apron from just a fat quarter of fabric plus trim, a full coverage bbq style apron from a yard, a reversible apron, or a garden or craft apron.

  • Oven mitts/ pot holders
  • Table runner
  • Placemats
  • Napkins

Travel bags

If your mom travels a lot, there are a lot of great gifts you could sew to help her

Project link at Positively Splendid.

Project link at Positively Splendid.

Pareu

I got this idea from the book Travel Gear and Gifts to Make, by Mary Mulari. She says that a pareu (pa-ray’-oo) is actually a colorful Polynesian wrap skirt. But it can also be used as a shawl, head cover, scarf, swimsuit cover up, light blanket, picnic blanket, or even a knapsack for carrying stuff.

This is probably the most used and loved gift I have ever made for my mom, and it is also the simplest. She travels a lot as a car passenger, and she likes to nap with a light blanket while riding.

A pretty pareau works perfectly for that plus more.

To make one, you just hem a square or rectangle. You can make one from a 44″ or a 60″ square. Since I knew she would use it as a blanket, I made my mom’s in the larger size. And I sewed a small matching tote with a strap, for storing the pareau rolled up while not in use. I bet it has been over ten years since I made it for her, and she still raves about and uses this gift all the time.

Needlebook

If your mom sews a lot or even just a little, she will certainly treasure a needle book you make with love just for her. You can make a simple one from felt or create a patchwork cover and include a zippered “page” for holding small scissors and other supplies.

I like to make needle books with a zippered page inside.

I like to make needle books with a zippered page inside.

Fabric necklace or bracelets

Jewelry is another go-to gift for moms, but have you ever sewn jewelry? Here are some ideas you could try:

I hope this list gave you some good ideas. What will you sew for mom?

How to Sew a Square Pillow with Piping

How to Sew a Square Pillow with Piping

While conceptually the idea of sewing a square pillow case sounds easy, there are several things to consider when you undertake this task.

While conceptually the idea of sewing a square pillow case sounds easy, there are several things to consider when you undertake this task.

Go smaller

The cardinal rule of making your own pillow cases is to make them approximately an inch smaller than the pillow form you want them to cover. If you have a 22” x 22” pillow, you need to make the case 21” x 21”. Of course, don’t forget your seam allowances. If you use ¼” seam allowances, than you would cut a piece of fabric that is 21.5” x 21.5”.

The cardinal rule of making your own pillow cases is to make them approximately an inch smaller than the pillow form you want them to cover.

The cardinal rule of making your own pillow cases is to make them approximately an inch smaller than the pillow form you want them to cover.

Fussy cut

I normally wouldn’t advocate for drawing your lines on the front of your fabric, but this fabric by Hawthorne Threads needs to be cut to the size of the panel you want for your pillow case. When fussy cutting, sometimes drawing on the front of the fabric is necessary to ensure correct sizing. Haven’t heard of the term ‘to fussy cut?” It means to carefully cut out a piece of fabric for a specific purpose.

It means to carefully cut out a piece of fabric for a specific purpose.

It means to carefully cut out a piece of fabric for a specific purpose.

See the center pieces of these quilt blocks by Amy Gibson of The Cookbook Quilt Along? These are prime example of taking the time to fussy cut your fabric.

These are prime example of taking the time to fussy cut your fabric.

These are prime example of taking the time to fussy cut your fabric.

Choose your pillow back

Once you’ve cut your front panel, you’ll need to cut your back. You can finish pillows many ways. Check out my post from last fall on different options for pillows. I chose to do an envelope close, so I made cut two panels the same height as my pillow, but each was 13.5” wide. That allows for a folded, sewn hem on each of the ‘opening’ portions of the back panel.

That allows for a folded, sewn hem on each of the ‘opening’ portions of the back panel.

That allows for a folded, sewn hem on each of the ‘opening’ portions of the back panel.

Consider interfacing

For added pop, I fuse lightweight interfacing to the front panel fabric. It has such a gorgeous design that I want it to stay crisp and firm while it sits on my bed looking fabulous.

Curve your corners

This step is so important!! I have a small piece of cardstock that I’ve cut to help me round the corners of my square. Why would I do this, you ask? Because pillows are 2-3. They are big and fluffy and when you attempt to sew straight sides of a square you often end up with starfish points instead of nice, square corners.

I have a small piece of cardstock that I’ve cut to help me round the corners of my square.

I have a small piece of cardstock that I’ve cut to help me round the corners of my square.

This is an example of a pillow cover that didn’t have rounded corners before it was sewn. Trust me on this, it makes all the difference!

This is an example of a pillow cover that didn’t have rounded corners before it was sewn.

This is an example of a pillow cover that didn’t have rounded corners before it was sewn.

To pipe or not to pipe?

That is indeed the question. I love the contrast that piping gives pillows. If your machine has a piping foot, now is the time to install it.

If you are new to this step, consider pinning the piping in place. This is not my first rodeo, so I just sew and go.

Consider pinning the piping in place.

Consider pinning the piping in place.

Make sure your piping follows those slightly rounded corners. Don’t forget to snip the piping edge just up to the seam so that if folds nicely around each corner.

Don’t forget to snip the piping edge just up to the seam so that if folds nicely around each corner.

Don’t forget to snip the piping edge just up to the seam so that if folds nicely around each corner.

Now place your two backing pieces on top of the front panel, right sides together. Pin, and sew.

Now place your two backing pieces on top of the front panel, right sides together.

Now place your two backing pieces on top of the front panel, right sides together.

Not so fast

Once you’re done, YOU ARE NOT ACTUALLY DONE. No. Unpin everything and flip the cover right sides out. Carefully inspect all along the seams and make sure no thread is showing from the piping like you see here. If you find anything that needs to be tightened up, flip the pillowcase inside out again and resew the hem, making sure to sew just to the edge of the piping for a nice clean finish.

Carefully inspect all along the seams and make sure no thread is showing from the piping like you see here.

Carefully inspect all along the seams and make sure no thread is showing from the piping like you see here.

Flip the pillow right sides out and again carefully inspect it. If all looks good, turn it inside out AGAIN and then then trim the edges, especially around the corners so that the corners will fully turn out when you flip the pillow cover to the front again.

If all looks good, turn it inside out AGAIN and then then trim the edges.

If all looks good, turn it inside out AGAIN and then then trim the edges.

Finishing touches

Once you’ve turned your pillow case right sides out, run your fingers along the inside of the seams and fully push out the piping and corners, then iron to get out any wrinkles from the sewing process. Slip it onto your pillow form and voilà, you’ll have a wonderfully plush and SQUARE pillow case.

See the difference rounding those corners made?

See the difference rounding those corners made?

See the difference rounding those corners made?

Do you have any secrets for making the perfect pillowcase? If so, share them in comments!

———————————————————————————–
Charlotte Kaufman is a writer and sewist in Mammoth Lakes, California. She specializes in marine and home interiors and continues to fall more and more in love with quilting. You can follow her at charlottekaufman.com.
How to Sew Valentines: 33 Project Ideas to Show Your Loved Ones How Much You Care

How to Sew Valentines: 33 Project Ideas to Show Your Loved Ones How Much You Care

Sew valentines this year

I challenge you to sew valentines this year to show your love.

I challenge you to sew valentines this year to show your love.

I challenge you to sew valentines this year to show your love. Anyone can buy trinkets, but making something with love infuses more meaning into even simple gifts. Heartfelt gifts don’t need to be elaborate to mean a great deal.

From simple sewn hearts to labor of love quilts, the web is full of fun ideas that you could use to sew valentines this year. You can make a little something for every person you love. And there is nothing wrong with sharing a little love with people you just like, too. From your sweetheart to your grandma to your neighbor or teacher, everyone who you bless with a handmade gift will appreciate that you spent time making something just for them.

Sew valentines: my simple ideas

I’ll start by sharing three simple ideas of my own that I’m using this year to sew valentines for my family and friends, including an easy way to add a homemade touch to candy I’ll pick up at the store.

Felt or fleece hearts

These couldn’t be simpler to make. Just draw a heart pattern on paper, cut out, and pin to two layers of fleece or felt. Cut these out, then sew them with right sides together, leaving an opening for turning. Stuff, and then sew the opening closed. I’m stuffing them with dried lavender flowers to make simple sachets for my friends. I once made a pair of these and filled them with baking soda to stuff in my gym shoes, and this worked well to eliminate odor. You could also use lentils and make a set of heart bean bags for a game for your kids.

You could also use lentils & make a set of heart bean bags for a game for your kids.

You could also use lentils & make a set of heart bean bags for a game for your kids.

Valentine novelty fabric pillowcases

There is nothing easier to make from a yard of cute fabric than a pillowcase. To make one, hem across one long side. Then fold the fabric widthwise, with right sides together, and sew or serge the other two sides. Turn right side out. That’s it! Of course, you can dress these up with decorative trim. But choose a cute enough fabric and there’s no need to dress it up further.

Attach trim after hemming, before sewing together.

Attach trim after hemming, before sewing together.

Simple gift bags

Use the pillowcase instructions above in miniature form to create simple gift bags to fill with chocolates or other candy from the store. Or for children, include dollar store trinkets such as small toys. Tie with a ribbon. You could amend the directions slightly to make drawstring bags instead.

Use the pillowcase instructions above in miniature form to create simple gift bags.

Use the pillowcase instructions above in miniature form to create simple gift bags.

I’ll also be making some projects that I have collected from all over the web. Follow these links to find the perfect projects to sew valentines for everyone that you love:

Sew valentines: more easy ideas

I might make one for myself!

I might make one for myself!

  • Fabric Heart Bookmarks: Here is another project so easy that you can whip up several in mere minutes. This is the kind of sweet gift that most anyone could use. I might make one for myself!
  • Felt Heart Ornament and Garland: I plan to make a couple of these ornaments to share as gifts, and the garland for my house.
  • Warm Heart Coffee Cozy: Here is another simple idea that makes a nice gift for most anyone.
Warm heart coffee cozy.

Warm heart coffee cozy.

Sew valentines: cards

Here’s how to incorporate your love for sewing by hand while making paper cards.

Here’s how to incorporate your love for sewing by hand while making paper cards.

Sew valentines: a game and a toy

There are lots of ideas for softies to sew, but none are as cute as this sweetie.

There are lots of ideas for softies to sew, but none are as cute as this sweetie.

Sew valentines: bags and purses

This change purse includes a key ring.

This change purse includes a key ring.

Sew valentines: pillows

This pattern features reverse appliqué.

This pattern features reverse appliqué.

Sew valentines: quilts

Valentine quilt roundup.

Valentine quilt roundup.

Whichever projects you choose, I hope you have a happy Valentine’s Day!

Types of Pillow Closures

Types of Pillow Closures

There are several methods of finishing the back, or ends of a pillow, depending on what kind of cover you are making.

There are several methods of finishing the back, or ends of a pillow, depending on what kind of cover you are making.

Sewing your own pillow covers is a quick way to bring a personal touch to your home. There are several methods of finishing the back, or ends of a pillow, depending on what kind of cover you are making. Knowing the best way to close a pillow can mean the difference between a project that looks just okay to a project that looks professionally magnificent.

Envelope closure.

Envelope closure.

1. Envelope Closure

An envelope close looks just like it sounds. Your pillow backing will have two panels of fabric that overlap, leaving an envelope style closure in which you slip your pillow form.

You can also embellish envelope closes with ties and buttons to add interest and whimsy.

You can also embellish envelope closes with ties and buttons to add interest and whimsy.

This style is excellent if you aren’t ready to take on zippers, if you know you will frequently be washing the cover, or you want to use a method that is quick and still looks beautiful. You can also embellish envelope closes with ties and buttons to add interest and whimsy.

Zipper closure.

Zipper closure.

2. Zipper Closure

With a zipper close you can either finish your cover with an invisible zipper or use an exposed zipper. I like to use zippers for pillows that are not standard sizes, like this custom Ghostbuster pillow I made for a friend’s son.


Zippers are especially well suited for large pillows like these floor cushions.

Zippers are especially well suited for large pillows like these floor cushions.

Zippers are especially well suited for large pillows like these floor cushions.

3. Drawstring Closure


Drawstring closures are common on tube pillows. There is nothing tricky about a drawstring close on a pillowcase. If you have made a pair of pajama pants or a tote bag with a drawstring close, you can create a pillowcase that closes the same.

4. Pillowcases for bedding – to add a hidden flap or not?


A pillowcase for bedding classically closes one of two ways. The first is with an open end. If you go this route, make sure to allow for enough room at the end to fully cover the inner pillow form.

A second option is to add a hidden flap on the open end.

A second option is to add a hidden flap on the open end.

A second option is to add a hidden flap on the open end. This flap allows you to tuck the pillow form inside and keep it from showing.

This flap allows you to tuck the pillow form inside and keep it from showing.

This flap allows you to tuck the pillow form inside and keep it from showing.

Do you have a favorite method for pillow case closures? I think my favorite may be drawstring but envelope comes a close second. Tell us yours!

Charlotte Kaufman is a writer and sewist in Mammoth Lakes, California. She specializes in marine and home interiors and continues to fall more and more in love with quilting. You can follow her at charlottekaufman.com.
Doggie Leggings Pillowcase

Doggie Leggings Pillowcase

Awesome doggie leggings!

Awesome doggie leggings!

“Mom, my doggie leggings don’t fit anymore!! I love them, Mom, don’t throw them away!” To save these precious doggies for eternity, my daughter’s distress signal turned into the Doggie Leggings Pillowcase.

Leggings are a very popular fashion trend today. I’ve seen hundreds of unique, bright designs on websites, in stores, and worn by passers-by. I’ve admired many of the designs and agreed with my daughter that creating something with them would preserve their awesomeness 🙂

Fair warning, everything except the zipper was measured, cut, and sewn by my 7 yr old daughter. The pieces aren’t straight, the stitching is all off, the corners look funny. But that’s ok, it’s awesome the way it is because she made it. It turned out to be a great learning project for her. She’s super proud of it, and so am I.

Level: Beginner

Time to Complete: In An Evening

Sewn By Machine: 1/4 in. straight stitch

**Tip: Wash all new materials prior to use to avoid shrinkage when you wash it.

**ProTip: Iron cut pieces before sewing and in between each step. This helps in the sewing process as well as setting the stitches to lessen unraveling with age. Often, the end results tend to look more professional.

**All measurements based on a craft pillow I already had. Measurements should be adjusted to fit the size of the pillow you are working with. I typically add an extra 1/2″ to measurements when I do a zippered pillowcase to allow for the extra bulk of the pillow.

Materials:

1 – 13″ L x 13″ W  Leggings (side 2)

1 – 5″ L x 8″ W Leggings (side 1)

2 – 4″ L x 13″ W Pink/Purple Material (side 1)

2 – 6″ L x 3″ W Pink/Purple Material (side 1)

1 Zipper, Cut to Fit After Pillowcase is Finished – measuring for zipper after pillowcase is assembled helps ensure the zipper isn’t too short

1 Zipper Foot – to use when sewing on zipper

  1. Sew top strip to top of side 2 Leggings, right sides together. Repeat for bottom strip.

    Step 1

    Step 1

  2. Sew right side strip to right side 2 Leggings, right sides together.
  3. Sew top of side strip to bottom of top strip. Make sure corner with Legging is sewed shut.

    Attaching sides.

    Attaching sides.

  4. Sew bottom of side strip to top of bottom strip. Make sure corner with Legging is sewed shut.
  5. Repeat steps 2-4 for left side strip.

    Zipper foot.

    Zipper foot.

  6. Sew side 1 and side 2 right sides together on three sides only. Leave one side open for zipper.
  7. Trim corners. Turn right side out.
  8. Place open side of zipper on one open end of pillowcase and extend zipper to other end. Cut zipper about 3/8″ – 1/2″ past end of pillowcase. In this case, my zipper measured 12″. I usually buy longer zippers and keep several on hand so I can cut to fit for any project.
    Finished zipper.

    Finished zipper.

    Attaching the zipper.

    Attaching the zipper.

  9. Sew across zipper end several times to make sure the bottom of the zipper never unzips all the way.
  10. Switch to zipper foot on sewing machine.
  11. Unzip zipper.
  12. Place under side of zipper to right side of pillowcase, teeth side outside. Non-tooth side should be end to end with right side of pillowcase. Zipper will be upside down. Pin and sew.

    Naptime!

    Naptime!

  13. Do the same for the other side of the zipper. The placement will be the same, with the underside of zipper to right side of pillowcase, non-tooth side matching end of pillowcase.
  14. Stuff pillow inside the pillowcase, zip up, pop on the bed and take a nap!
Hi all! I’m Stacey Martinez 🙂
I love to design imaginative custom items for my active, crazy family. Bright colors and beautiful fabrics sing “Stacey, Stitch Me!” Let your imagination inspires you to breathe personality into every stitch!

Please leave comments, questions, helpful tips, or pictures of your pillowcase creations. I can’t wait to see what you come up with!