Cleaning Your Sewing Machine

Cleaning Your Sewing Machine

Clean Machine Lead

Keeping your sewing machine clean is an important part of producing beautiful things with fabric and thread. After enough projects, there will be an accumulation of fluff from thread and fabric in the inner workings of your machine. If you leave that to accumulate for too long, your machine will start to perform poorly.

Anytime I start to get skipped stitches or a sluggish machine I think back and ask myself when the last time was I cleaned it; it was usually too long ago.

Read the manual

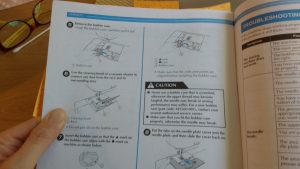
I talk a lot about getting to know your manual. I’ve put little sticky notes all over mine so I can quickly find what I’m looking for. Get your out manual (or locate a PDF online) and go to the section on ‘How to clean your machine.’

1

Some machines will tell you to oil certain parts. Others won’t. My top advice is to always follow the manufacturer’s recommendations on cleaning.

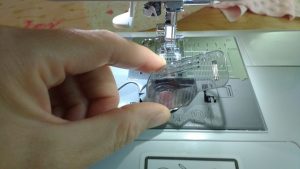
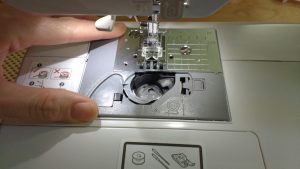
For my Brother cs6000i I need to remove the bobbin cover on the needle plate cover.

2

Then I follow the instructions to remove the needle plate cover itself.

3

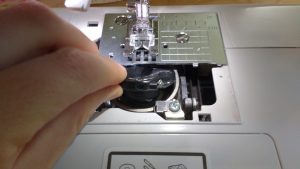
Next I remove the bobbin case.

4

Vacuums and cotton swabs

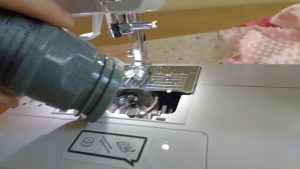
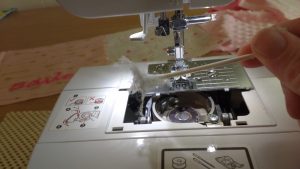
Now I have unfettered access and can get to cleaning. Step one, vacuum!

5

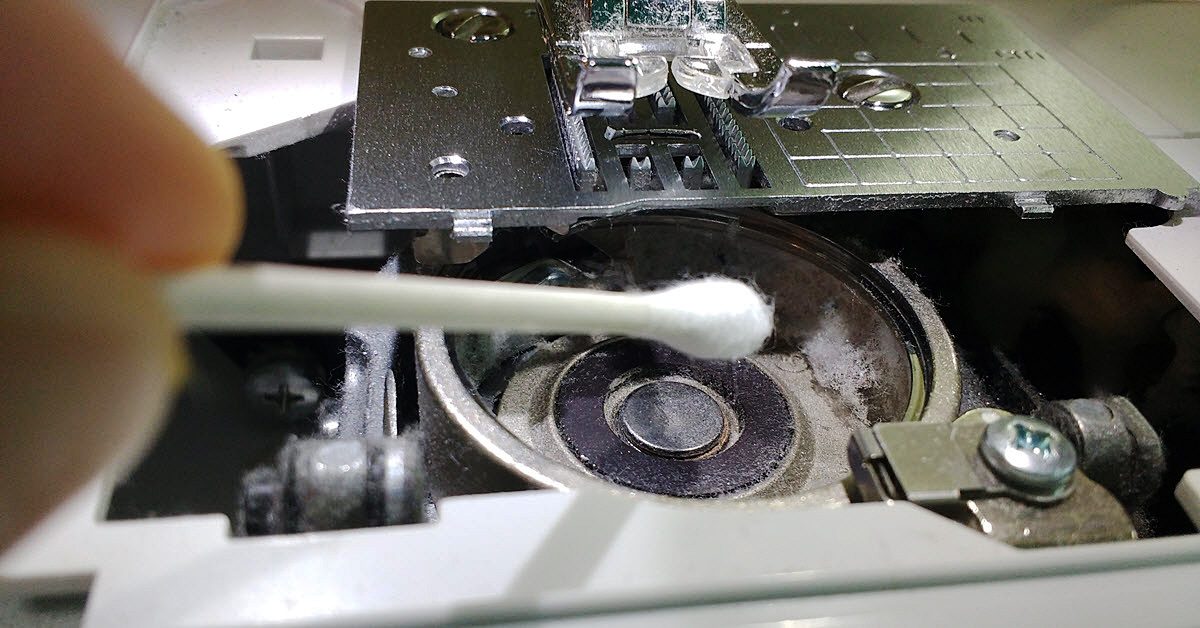
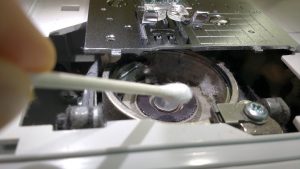
I also use cotton swabs to gather up the fuzz that my vacuum can’t reach.

6

Look at all that fabric and thread fuzz!

7

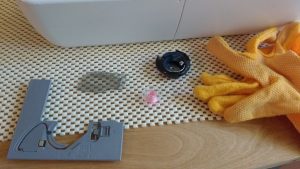
Once the inside of the machine is clean, you need to also clean the parts you removed.

8

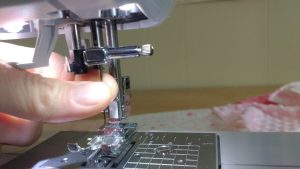
After you’ve reassembled the parts you’ve removed, I also suggest changing out to a new needle. It’s better to start fresh and new after a cleaning.

9

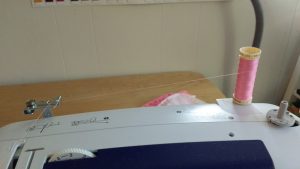
Re-thread in your desired color.

10

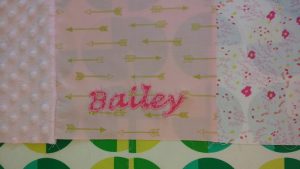
Now do some practice stitches. Here you can see how clean my embroidery stitch looks after cleaning my machine and switching out to a new needle.

11

With a clean machine I was able to do some beautiful embroidery for a friendship quilt I’m making.

12

Happy cleaning and happy sewing!

———————————————————————————–
Charlotte Kaufman is a writer and sewist in Mammoth Lakes, California. She specializes in marine and home interiors and continues to fall more and more in love with quilting. You can follow her at charlottekaufman.com.

Basics of Quilt Maintenance

Maintenance. It can be a big deal in home, car and… quilt upkeep. That’s right. Just like letting your car go well beyond its oil change moment can snowball into a vehicle that isn’t budging without a major repair bill, not maintaining a quilt in the proper way could result in a sentimental treasure that’s good for little else than — maybe — scrap material. Sure, your quilt might not cost as much as, say, an engine to replace, but there’s more value in something handmade than a dollar sign. Maybe it was a wedding gift from a relative or a crib accessory that your mother started making before you slept your first night in said crib. Those types of belongings can have a lot of worth, so preserving them might be a big deal.

Wear, tear & time

Don’t break your own heart by letting this kind of damage happen to something close to it!

Don’t break your own heart by letting this kind of damage happen to something close to it!

One of the most important details about this preservation is to keep an eye on the products on a regular basis since smaller complications that come from wear, tear and time could be much easier to repair than those that have been expanding for some time. Other important details are to know how to fix the damage and determining if the damage is even fixable. As an example for these aspects, I’ll use a quilt that has some sentimental value to me, but a lack of maintenance has taken its toll. Don’t break your own heart by letting this kind of damage happen to something close to it!

Damage control

Let’s examine this first spot of damage, shall we?

Let’s examine this first spot of damage, shall we?

Let’s examine this first spot of damage, shall we? It looks fairly simple with just two simple holes in the top layer of fabric, so if I begin this examination with the basic question of whether or not it’s fixable, the answer would be yes! The smaller sizes here would allow a little bit of embellishment — maybe a patch — to be placed directly over the damaged area. Since this is a quilt that has a floral design, I could add something like a butterfly there so that it looks like it’s landing on the flower. Sure, it changes the design a bit, but it fits and is corrective. This issue, it seems, was detected in time!

Do away with the fray
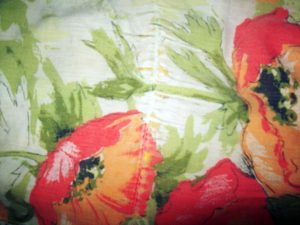
The material is showing wear & tear around the seams and that’s not very surprising!

The material is showing wear & tear around the seams and that’s not very surprising!

Now, let’s try this one. The material is showing wear and tear around the seams and that’s not very surprising! The damage does extend a bit beyond the immediate area surrounding the seam, but it still seems to stem from that one line where the thread is running through. So, is it fixable? Yes! All I would need to do is add a border around the block to cover the issue, and if I did that for every block, the strategy would be replicated throughout so that this block wouldn’t look out of place. Again, it would change the design of the quilt, but not in a way that would necessarily make it look odd. I could match the border to the colors already present, and the addition could actually create a popping look for each block.

To fix or not to fix
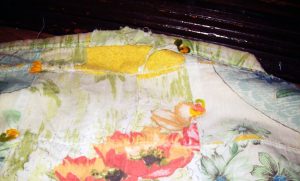
This one is shredded, & the top layer isn’t covering as much material as it did in the prior pictures. But is it fixable? Believe it or not, yes!

This one is shredded, & the top layer isn’t covering as much material as it did in the prior pictures. But is it fixable? Believe it or not, yes!

How about this one? Well, the damage here is much more drastic than a simple tearing from stitching or tiny holes in the fabric. Instead, this looks more shredded, and the top layer isn’t covering as much material as it did in the prior pictures. But is it fixable? Believe it or not, yes! Since this area is at the end of the quilt, changing the size of the quilt could work. I would need to cut off enough material on this side of the quilt so that the damaged territory is done away with and redo the border work. It’s not as easy of a fix as sewing on a butterfly embellishment, and the appearance of the quilt would definitely be altered by the smaller territory. But, if pressed, this would be a fix!

Too far gone?
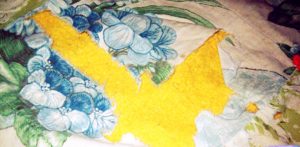
The fabric became too worn, whether from use, washing, time, or some other variable, & without the proper methods to fix the problem, it spread.

The fabric became too worn, whether from use, washing, time, or some other variable, & without the proper methods to fix the problem, it spread.

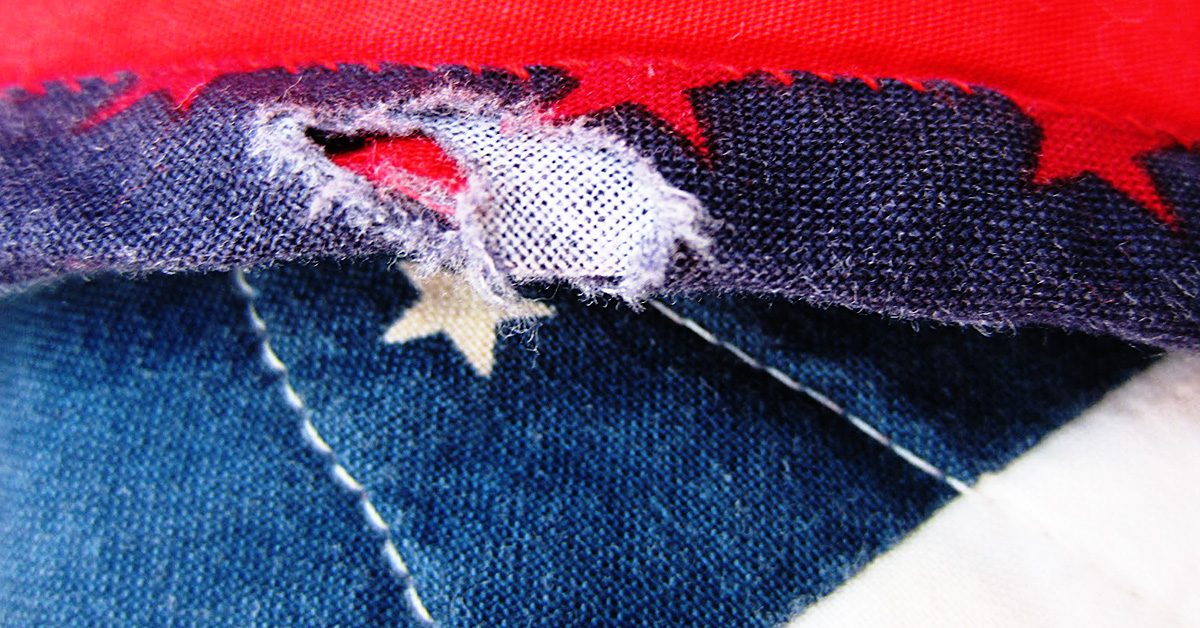
Now, we get to this one. Here, this looks as if the fabric became too worn, whether from use, washing, time, or some other variable, and without the proper methods to fix the problem, it spread. Of course, there could be another explanation for it. Perhaps someone ripped it, and the damage grew. Whatever the reason, the faulted block is in the midst of the quilt, and this fabric probably won’t go together at this point. This one, dear readers, doesn’t seem to be strategically fixable. In my defense, this damage could have happened before I got into sewing, but if I’d paid attention and caught a small hole in the fabric, I could have embellished it. If there was a tiny rip, I could’ve stitched it. As it stands though, the only ways I can see to fix this would be to add on an embellishment that would be too large to look natural or change the entire block — which would throw off the pattern of the quilt. This one, it seems, has gone too far.

And this is precisely why you should keep an eye out for damage! If you catch the smaller problems, you can fix them. If you let them escalate, you could be looking at a ruined quilt. So to preserve your works, keep tabs on them and — through borders, embellishments, and adjustments — tend to those issues as they show up!

Sharpen Your Scissors and Rotary Cutters

Sharpen Your Scissors and Rotary Cutters

I keep my blades wicked sharp with my favorite technique: cutting aluminum foil.

I keep my blades wicked sharp with my favorite technique: cutting aluminum foil.

There is a man who comes to my local grocery store once a month and offers his services to sharpen your scissors and kitchen knives. I have never managed to make it to the store when he is there. When I kept missing his dates, I looked up ways to sharpen scissors myself. There are some surprising methods that are quite easy to do at home. Maybe one day I’ll get a professional to get these babies sharpened but until I do, I keep my blades wicked sharp with my favorite technique: cutting aluminum foil.

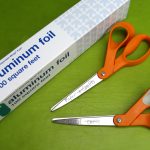
All you need is a piece of aluminum (tin) foil.

All you need is a piece of aluminum (tin) foil.

Cutting Aluminum Foil

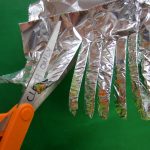
Cut thin strips with the scissors, making sure to cut from the tip of the blade all the way to the pivot points.

Cut thin strips with the scissors.

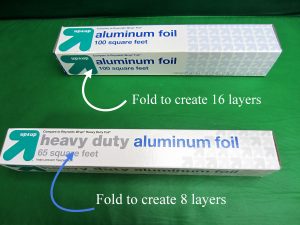
All you need is a piece of aluminum (tin) foil. Fold the foil up into 8 layers for heavy duty tin foil and 16 layers if you have regular weight.

Next, cut thin strips with the scissors, making sure to cut from the tip of the blade all the way to the pivot points. Use nice, open, broad cuts. This method also works for rotary cutters. Just run the blades over folded tin foil.

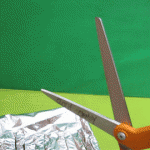
When you’ve finished cutting the tin foil, open your scissors all the way and then swiftly snap them shut.

When you’ve finished, open your scissors all the way and then swiftly snap them shut.

When you’ve finished cutting the tin foil, open your scissors all the way and then swiftly snap them shut. This will help to smooth out any tiny burs. I’ve been using the tin foil method for years now and my scissors are razor sharp after I do this.Keep your precious fabric scissors far away from children and partners who don’t understand how serious you are about your scissors.

Pro Tip: Always keep one pair of scissors reserved for paper only (so your fabric scissors don’t go dull too quickly.) Second pro tip: Keep your precious fabric scissors far away from children and partners who don’t understand how serious you are about your scissors.

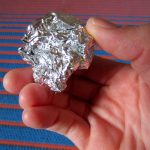
Roll the foil into a ball and you now have a perfect scrubber for pots and pans.

Roll the foil into a ball and you now have a perfect scrubber for pots and pans.

Waste Not, Want Not: What to do with the tin foil you have just chopped into strips? Roll it up into a ball and you now have a perfect scrubber for pots and pans (not your non-stick, of course). You can also bring these along on camping trips for scouring out cast iron or other camping dishes.

Alternate Methods

Have a different method of scissor sharpening? Let us know your techniques.

Have a different method of scissor sharpening? Let us know!

Out of tin foil but still need to sharpen your scissors? You can use the same method with sand paper (the finer the grit, the smoother the blades). Or, you can cut up steel wool, though it will be considerably messier than the tin foil or sand paper methods.

Do you have a different method of scissor sharpening? Let us know your techniques in the comments below.

Charlotte Kaufman is a writer and sewist in San Diego, California. She specializes in marine and home interiors and continues to fall more and more in love with quilting. You can follow her at charlottekaufman.com