Its finally autumn in New York City. The temperature dropped this past week and people broke out their jackets and sweaters and knit caps. The kids are back to school and if you’re out and about around three or four in the afternoon, you’ll likely encounter gaggles of uniform clad youngsters walking home from school and stopping into the corner bodegas for gum, nail polish, or comic books.
I was one of those super nerdy kids who always liked going back to school. I especially enjoyed getting new clothes for the occasion. When I was of elementary school age, my mom still made a lot of my clothing (and that of my three brothers). We were those kids who had matching plaid pants and skirts because Mom would buy a couple or three yards of a fabric and use it to make something for each of us. I didn’t mind so much. I thought my two little brothers were super annoying but, my big brother, who is 18 months older than me; well, I thought he was the best. I didn’t care that my red and white plaid skirt was made from the same fabric as his pants. It showed we were related and I was ok with that.
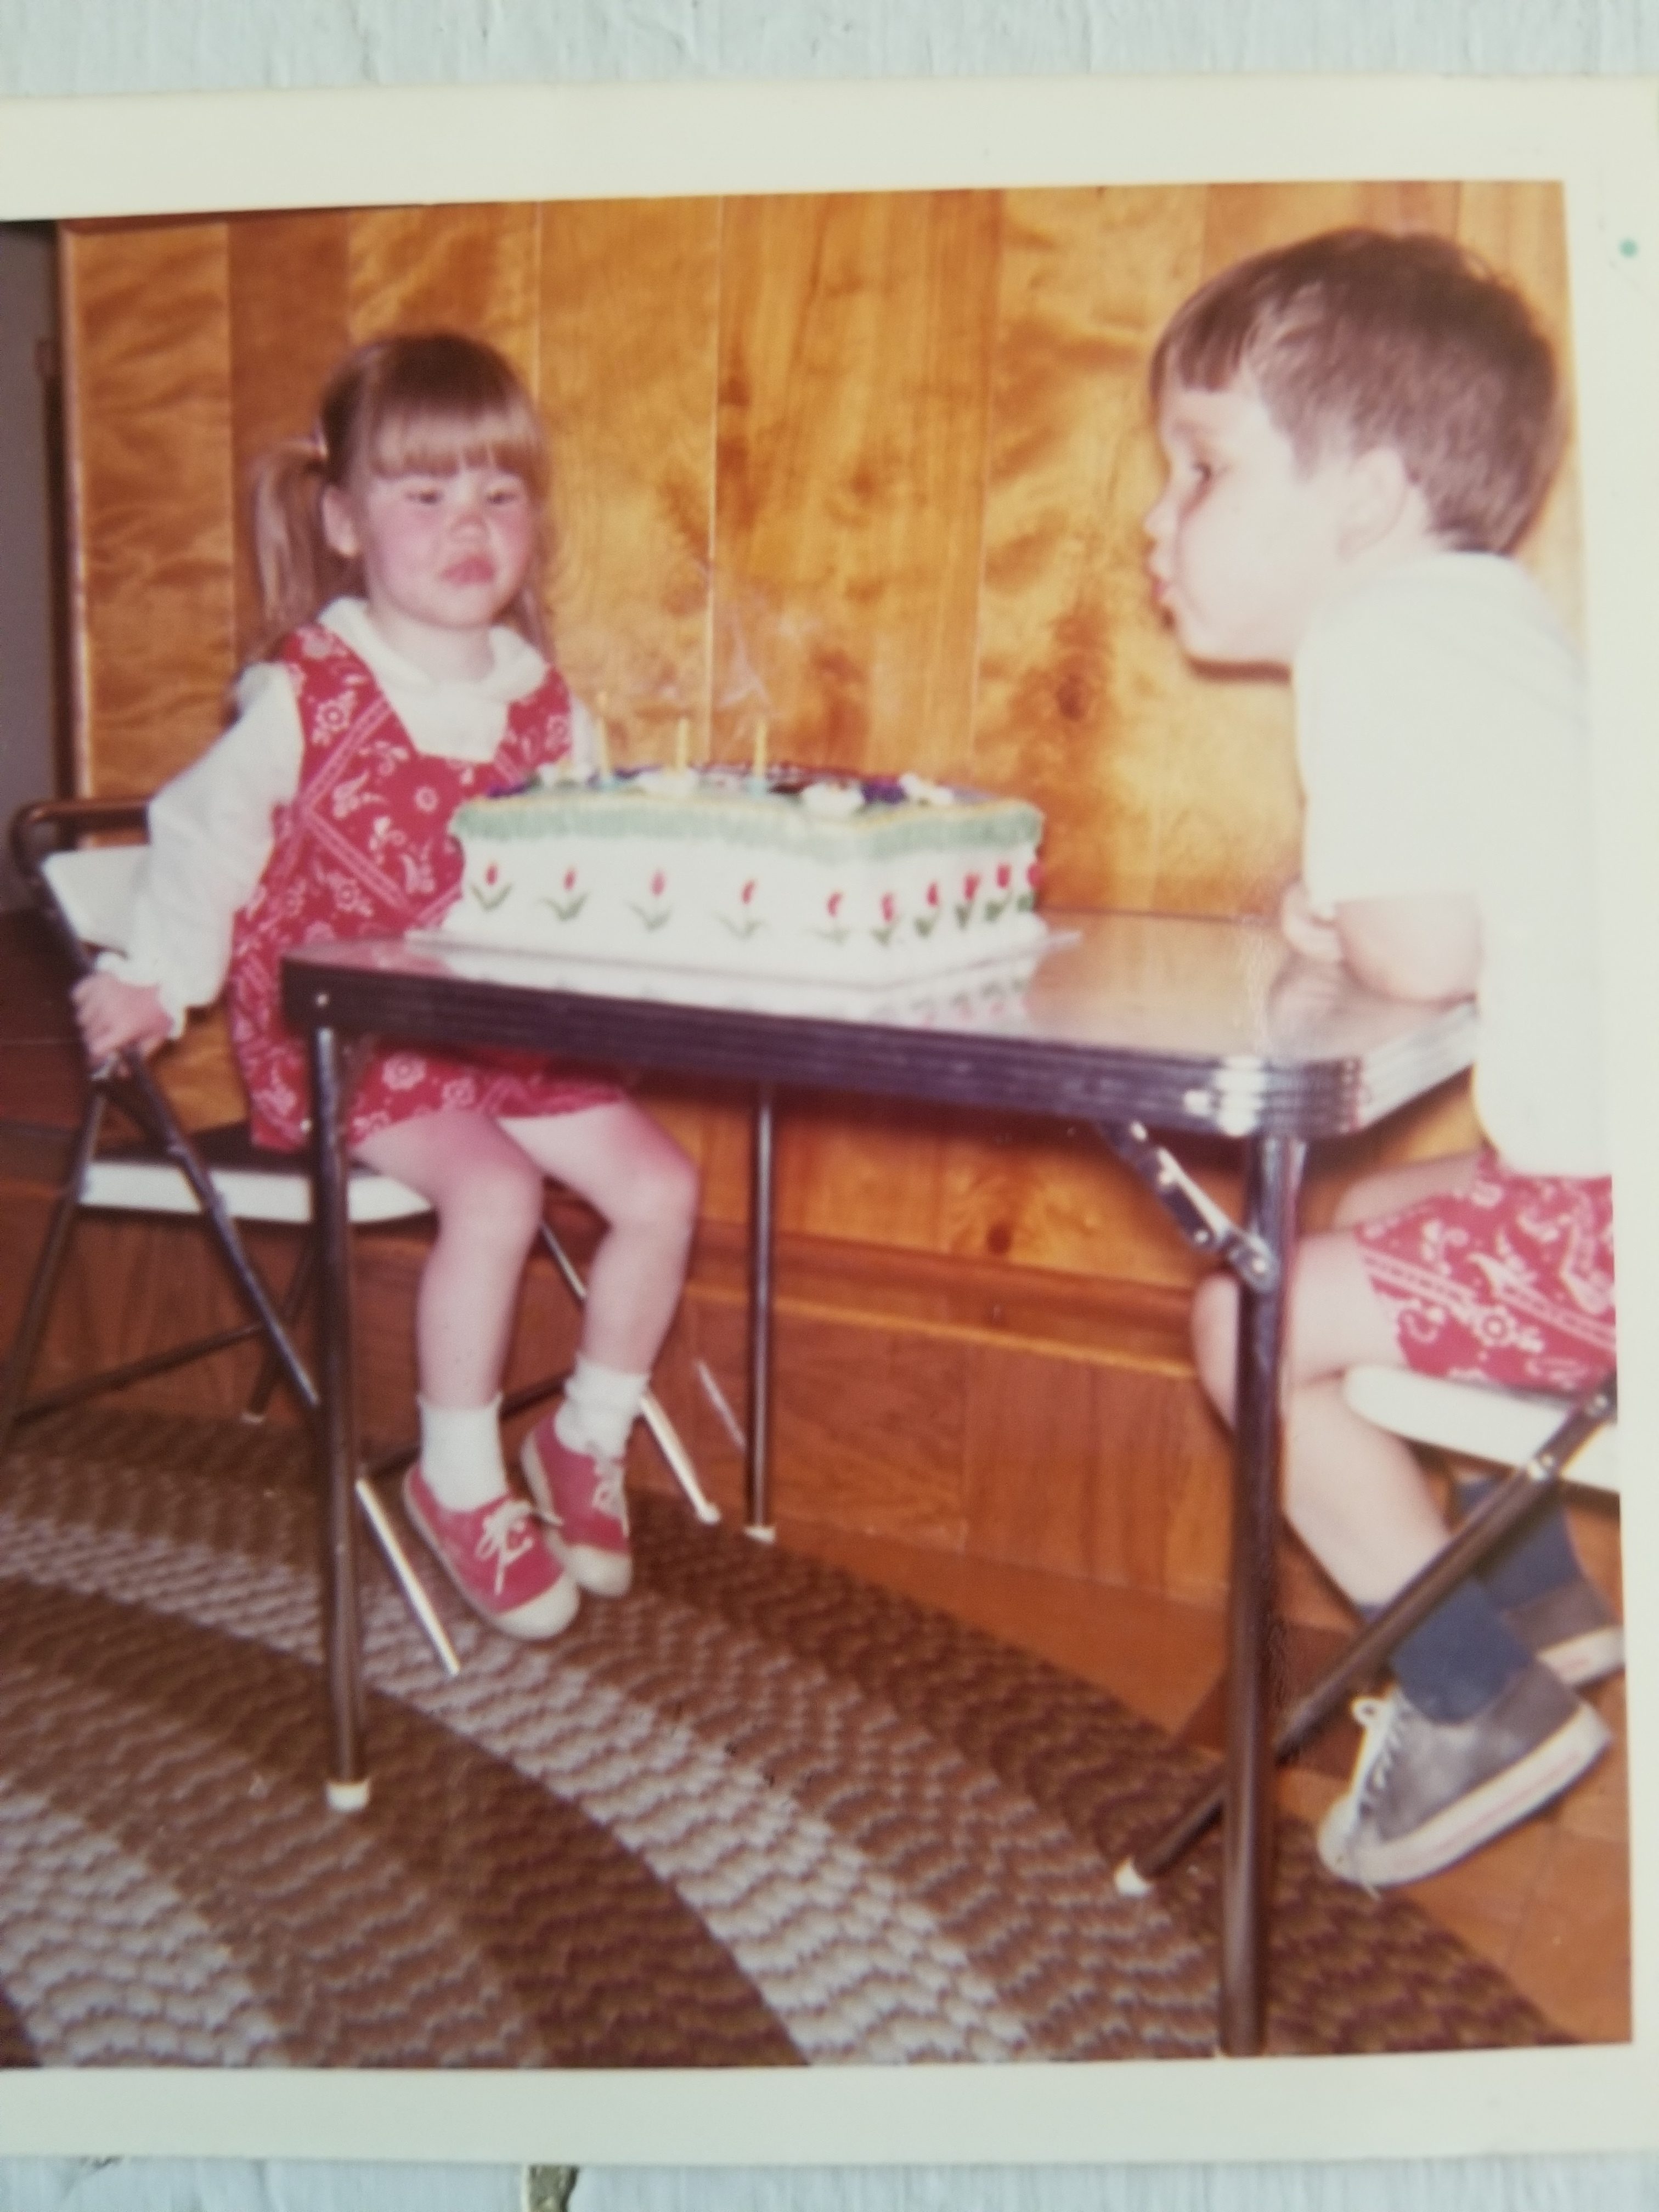
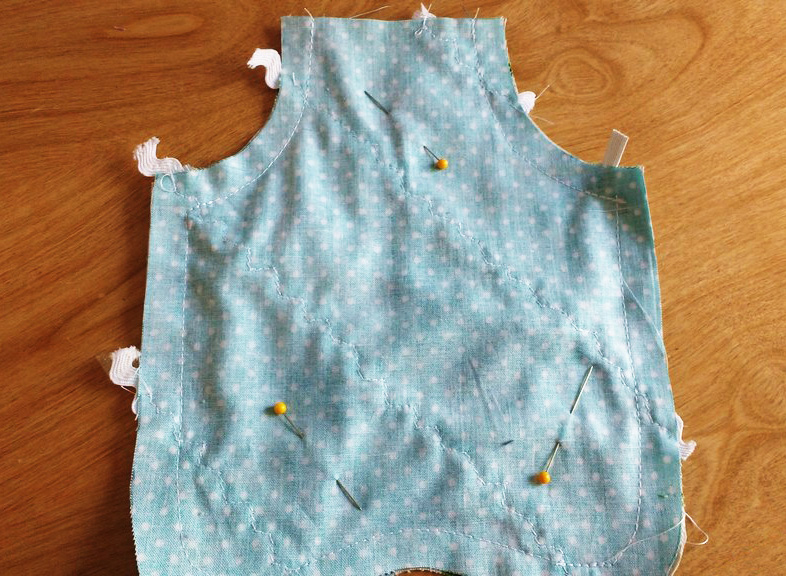
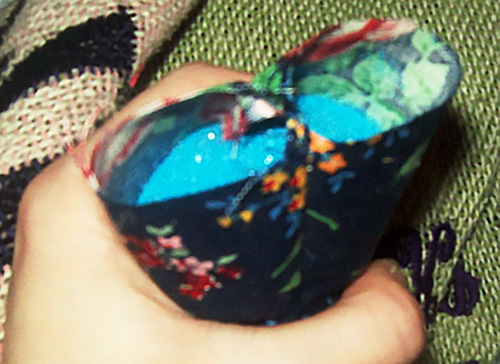
matching shorts and jumper for my birthday
Mother knows best
Mom also went through this phase of embroidering designs on the fronts of plain cotton long sleeve turtlenecks for me. I have no idea where she found the time to do this. I remember having a red one with a Christmas tree on it and a brown one with flowers. I was a true child of the 70s and my Mom, always hip, dressed me like one, even when she couldn’t afford to buy me brand new clothes.
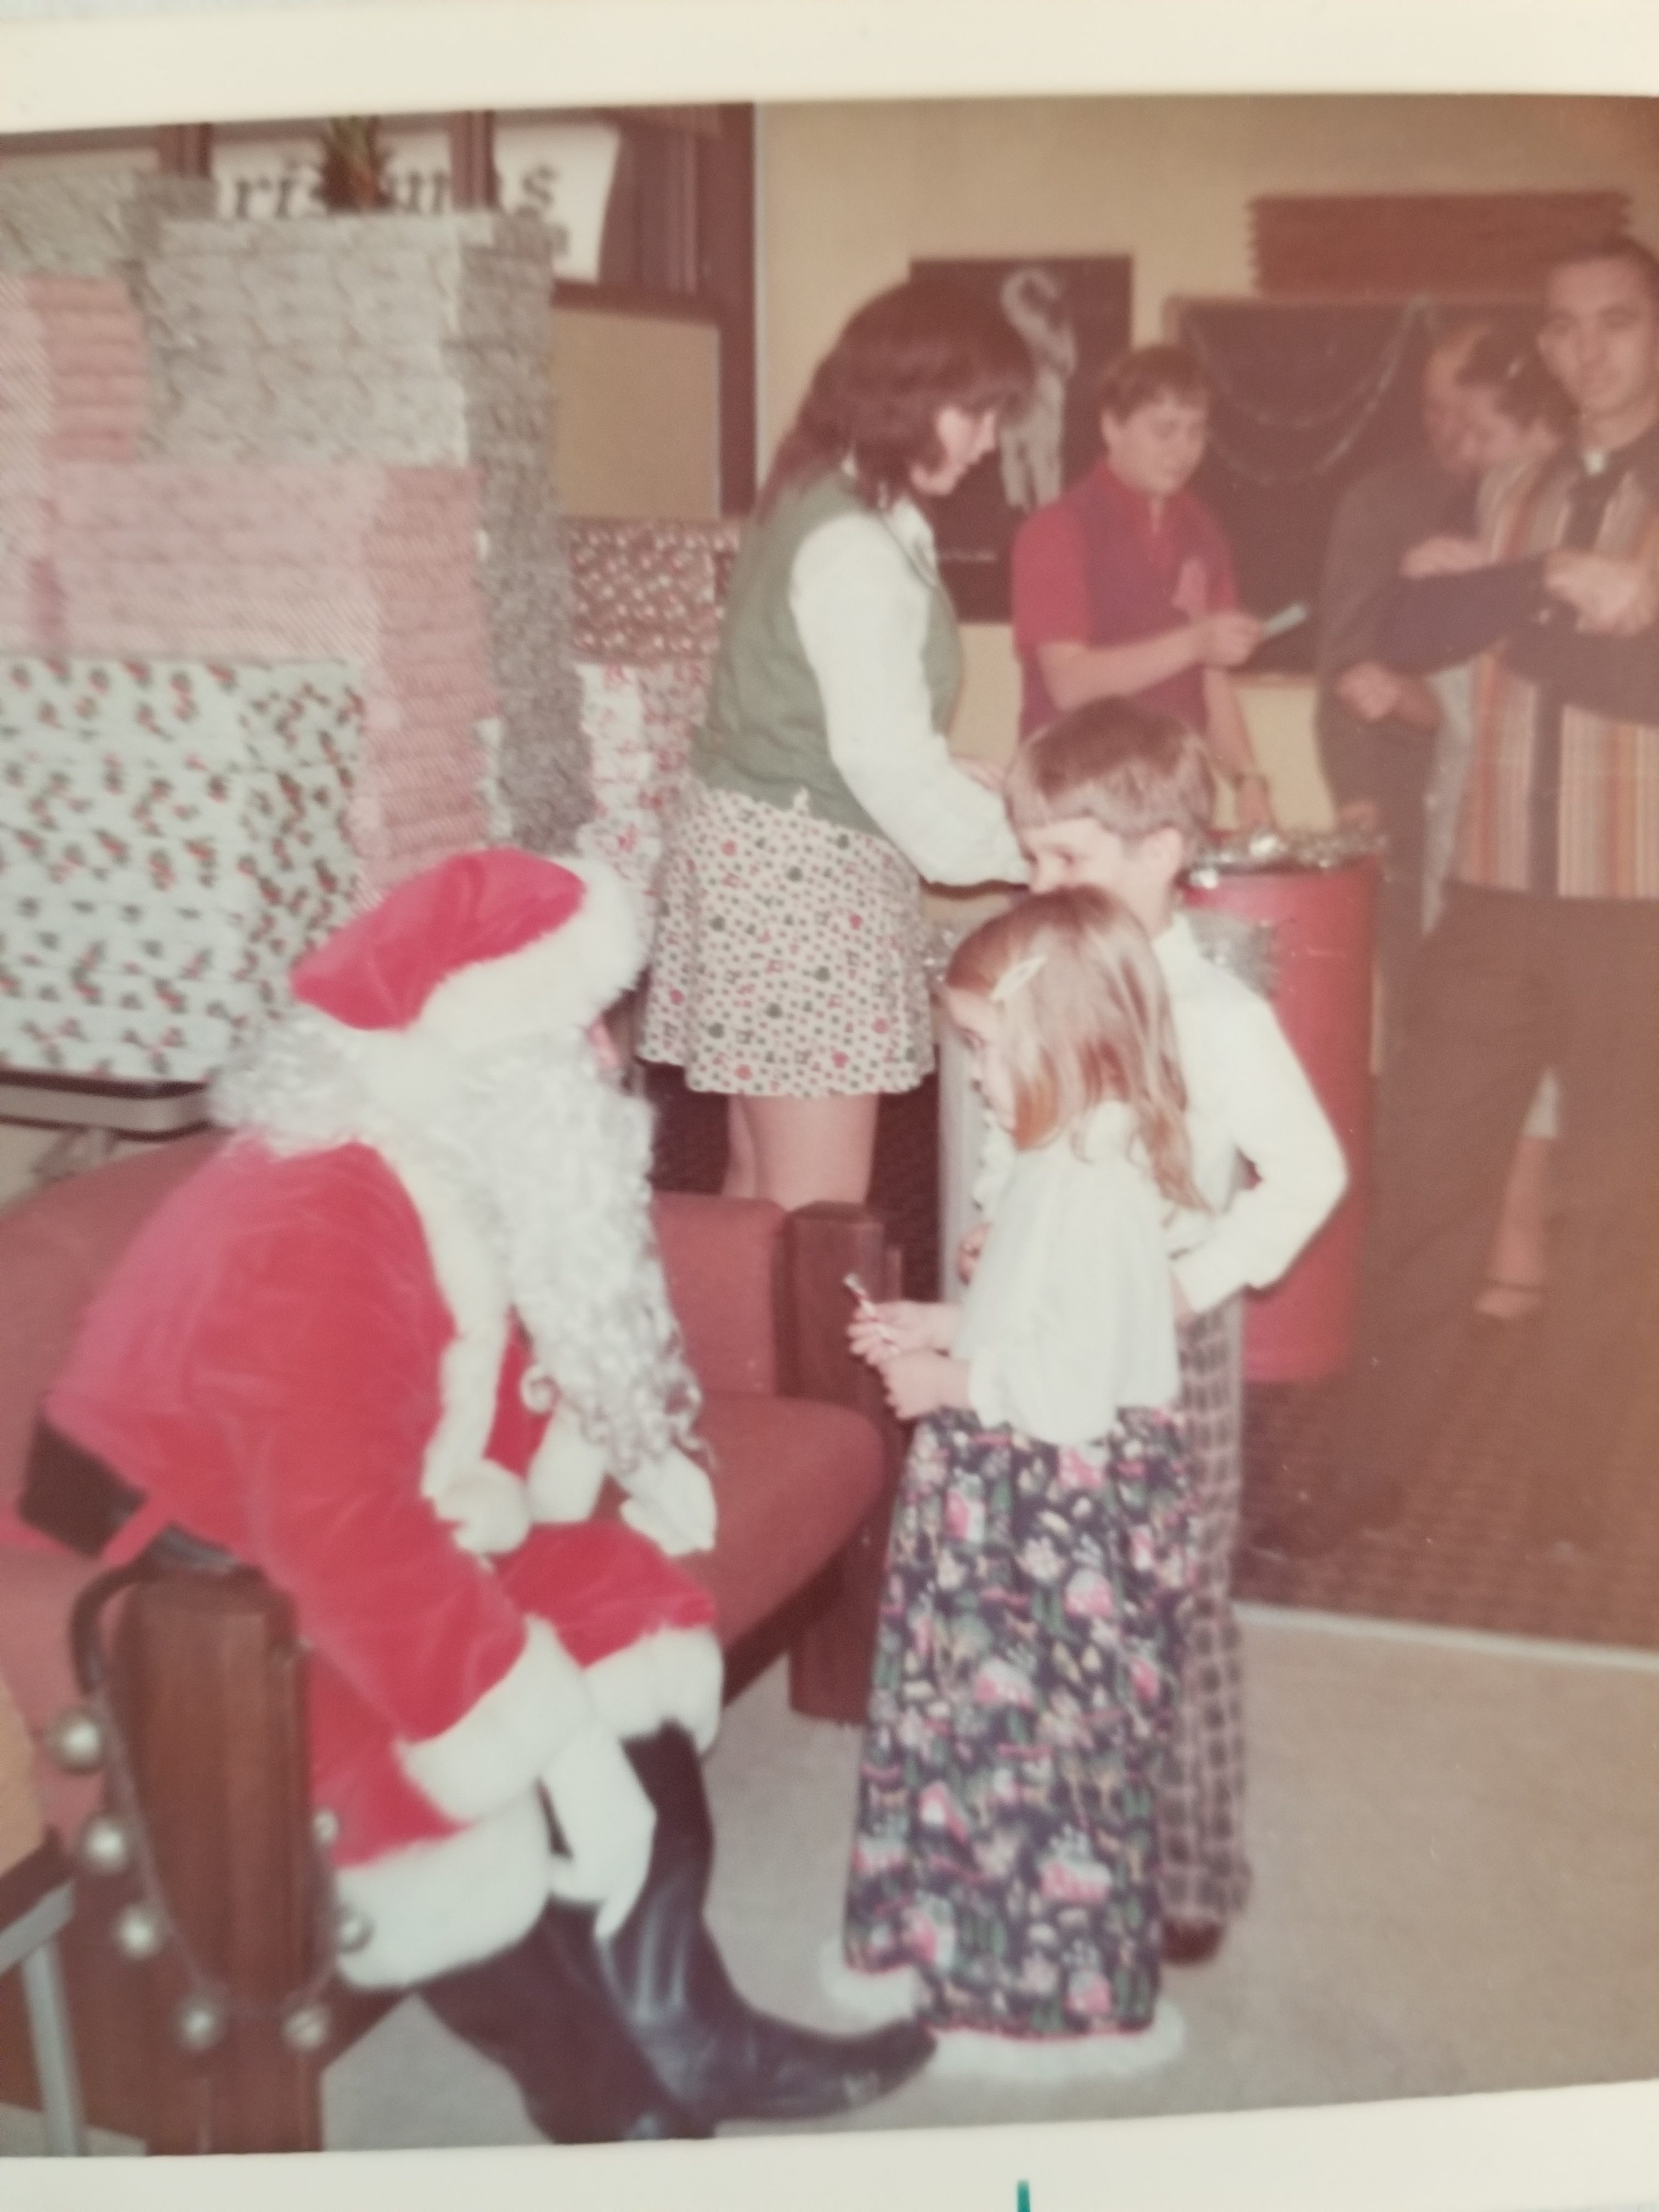
Mom made long skirt and plaid pants for Santa visit. My brother and I were very stylish.
I also remember the huge JC Penny, Sears, and Montgomery Ward fall and Christmas catalogues. I would spend hours going through them, turning down the corners of the pages with items I hoped maybe Mom could buy for me. My parents were pretty good budget makers and keepers and somehow managed, even with four kids on a high school principal’s salary, to still be able to buy all of us some new clothes for the every year for back to school.
To Black Friday or to not Black Friday
We never actually ordered from the catalogues. I’d pick out what I wanted and then we’d all pile into Mom’s van and head to the mall where the JC Penny store was. Then, I’d spend hours searching the store for the pieces I’d ear marked in the catalogue. I thought that whole thing incredibly fun – which is rather ironic because nowadays I abhor shopping in actual stores for clothes and, on the rare occasions that I purchase new wardrobe items, buy most everything online.
Somehow, in my old(er) age, I’ve grown to dislike mass produced apparel of any kind, and shopping in general.
Unless, that is, I’m buying something cycling related. I go hang out in my preferred local bike shop even when I don’t necessarily need something. I’ve spent time thinking about the why of this and have come to the (fairly obvious) conclusion that the reason I’ll go to the bike shop in person and am completely fine with paying a bit more for things I could get at a slightly discounted rate at an online super store, is for the free, excellent cycling (and local food and bar) advice and recommendations from the bike shop owner and employees.
No flavor to savor
Everything in the stores these days looks the same to me and nothing looks like me anymore. Perhaps this is just a common occurrence, or realization, that manifests as you get older. I never wanted to look like everyone else, not even way back when I picked outfits from the JC Penny catalogue. Before everyone could buy anything they wanted from anywhere online, I used to beg Mom to take us to the mall the next county over because the stores carried different things than the stores in our local county mall. Then I was able to get things that no one else at school would have.
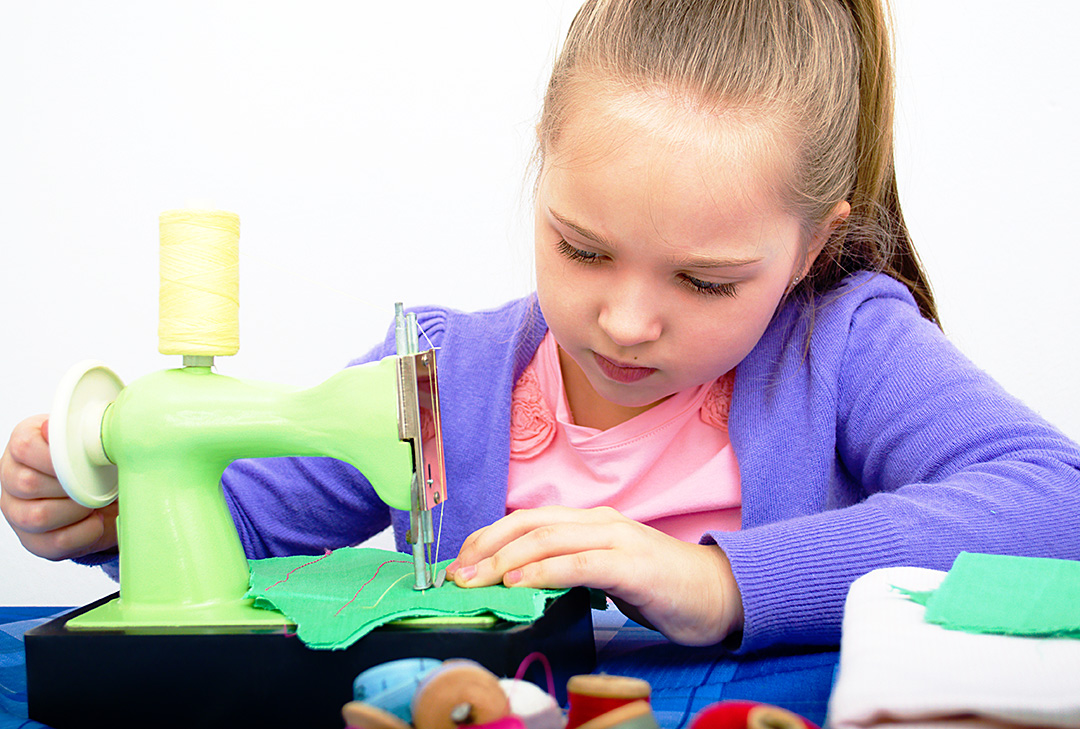
I think that’s probably why I loved those embroidered turtlenecks my Mom used to make me so much. Nobody else at school had a shirt just like mine. And I could even claim to have helped pick out the design. Guess I was indeed destined to end up sewing and creating for a living.
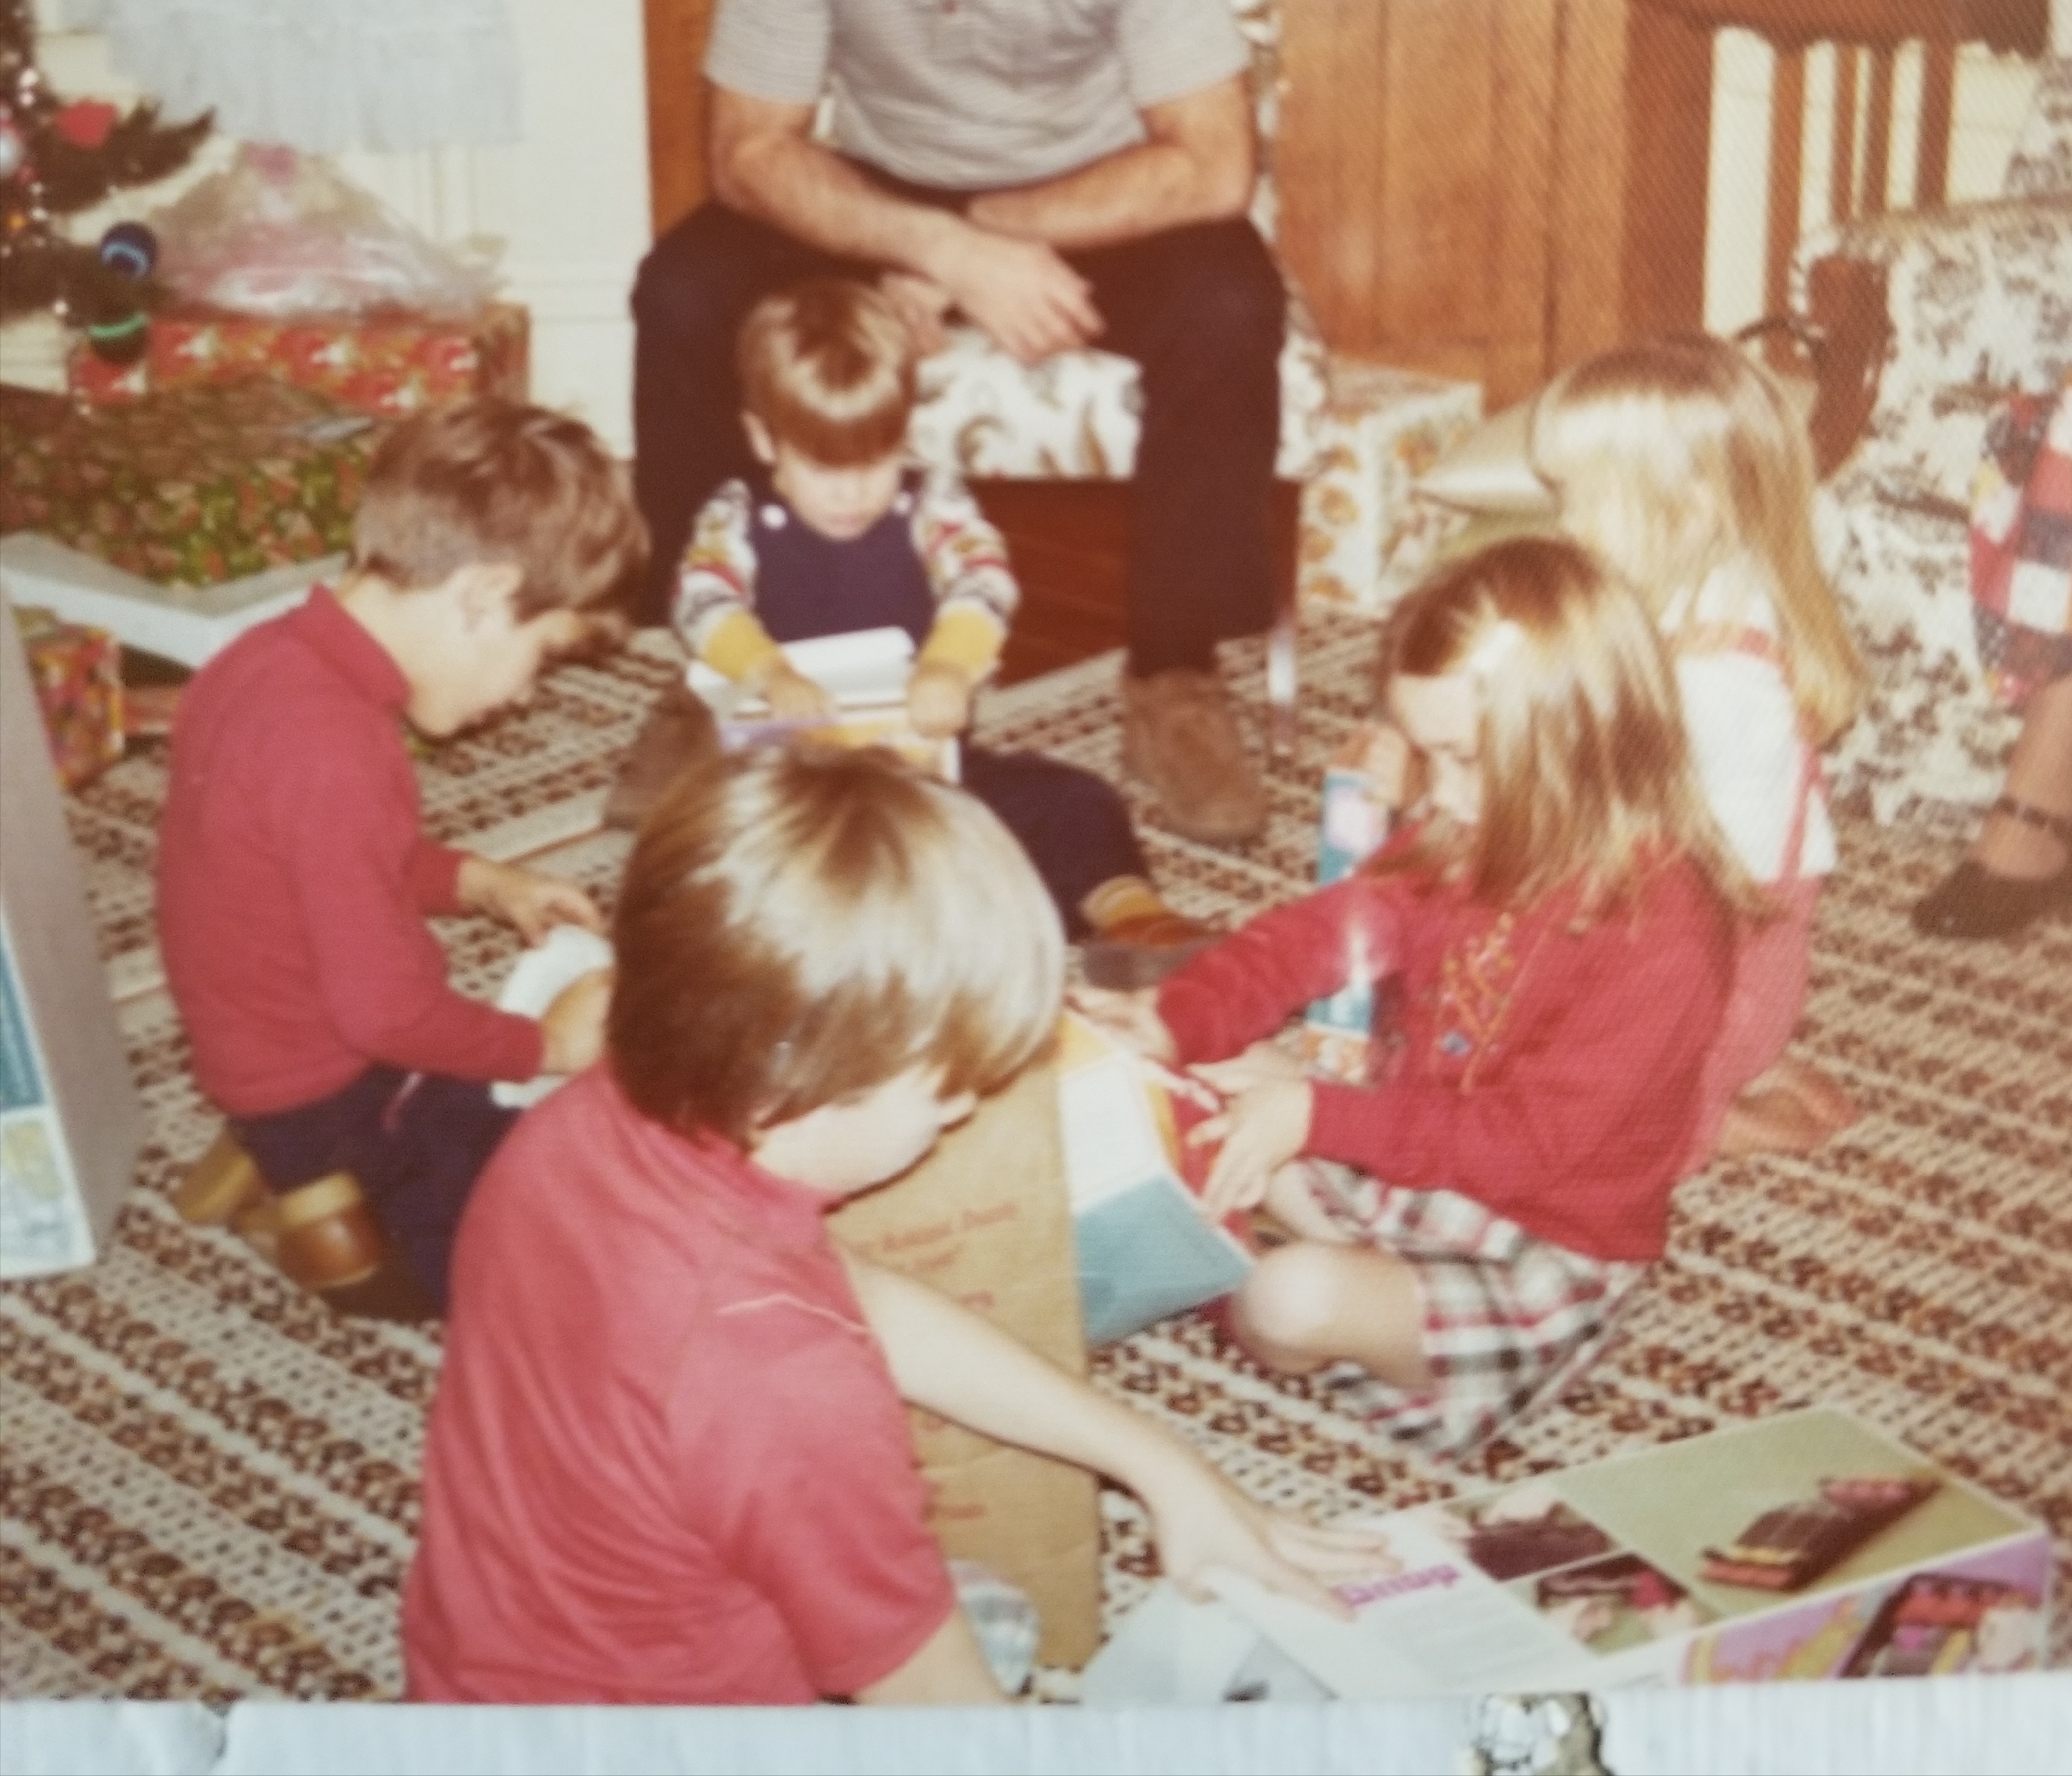
The Christmas Tree Turtleneck. Not a great photo of it but the only one I could find. Note that my brother (sitting across from me) is wearing a turtleneck in the same color.
Be true to yourself
In this world of factory mass-produced disposable goods, individual style is truly a wondrous thing to have. So cultivate yours and that of others as much as you can. Make something for a child in your life, even if its as simple as embroidering a cheesy design on a cotton turtleneck.