Some of the beautiful silk & cotton rugs can take up to 14 to 16 months to make.
I visited a carpet making school while I was in Egypt.
The school, on Sakkara Road in Giza, was called ‘New Egypt for Oriental Carpets’. The building was a vast stone structure, wide stone steps leading up to the second floor showroom and into the main entrance on the ground floor.
Back to school
The front wood doors opened into a vast, high ceilinged, airy room. Looms of varying widths, reaching from floor to ceiling lined the walls. On two sides, children manned the looms. They were of all different ages, the youngest appearing to be around 7 – all the way up to 16 or 18.
Each child sat a wood bench in a front a loom longer and wider than at least three or four of himself. They were all boys.
The children, along with learning how to make hand tied rugs from wool and silk and cotton, also study reading and writing. Acquiring the skill of carpet making allows them the opportunity to stay in their hometowns and earn a good wage for a trade. They can also continue their education elsewhere if they desire.
My guide and I stopped behind one of the youngest boys. He turned with a toothy grin to wave at me, then turned back to his loom. The speed and dexterity of his fingers as he tied the long strands of wool into knots was mesmerizing.
The oldest group of carpet makers at the school were no longer pupils but artists. They didn’t work from a preconceived mapped out design but from pictures in their own heads.
The youngest pupils work on the simpler designs made predominately of wool. They have long sheets of paper that show the colors required to complete a specific design – kind of like the directions that come with any rug latch-hook kit you can buy at a craft store. But much more complicated and a lot more extensive.
Snatch the pebble from my hand, Grasshopper
Another young man of about 13 years of age was working on a rug made of cotton and silk.
“Slow down,” said my guide, “Slow down so she can see.”
He dutifully slowed his flying fingers. He worked across the loom width-wise, tying strands of silk to a sturdy cotton thread already inserted in the loom. When he finished a row, he used a wired brush to push the knotted strand down tight against its neighbor.
He demonstrated the trimming process that happens at the completion of a rug, using heavy scissors to trim the fuzz like you do to an old sweater when it’s balled and pilled up.
On the backside of the rug, I could see the long threads left where he changed colors of silk. After he’d woven in all the strands, he would go back and cut and tie all the ends so that the back of the rug looked as beautiful and clean as the front.
The student becomes the master
The oldest group of carpet makers at the school were no longer pupils but artists. They didn’t work from a preconceived mapped out design but from pictures in their own heads. They used smaller looms they could stand up at, manipulating the contraption up and down with a lever by their feet, tying and weaving the yarns with their hands.
Some of the rugs can take up to 14 to 16 months to make – truly astounding in this world of mass, quick consumerism. All of the students and artists I encountered at the school seemed to have a genuine pride for what they were doing, and a patience I suspect is increasingly rare in the instant gratification, selfie-taking, googling, internet shopping world of many western civilizations.
Works of art
As soon as I laid eyes on you, I knew that you’d be mine.
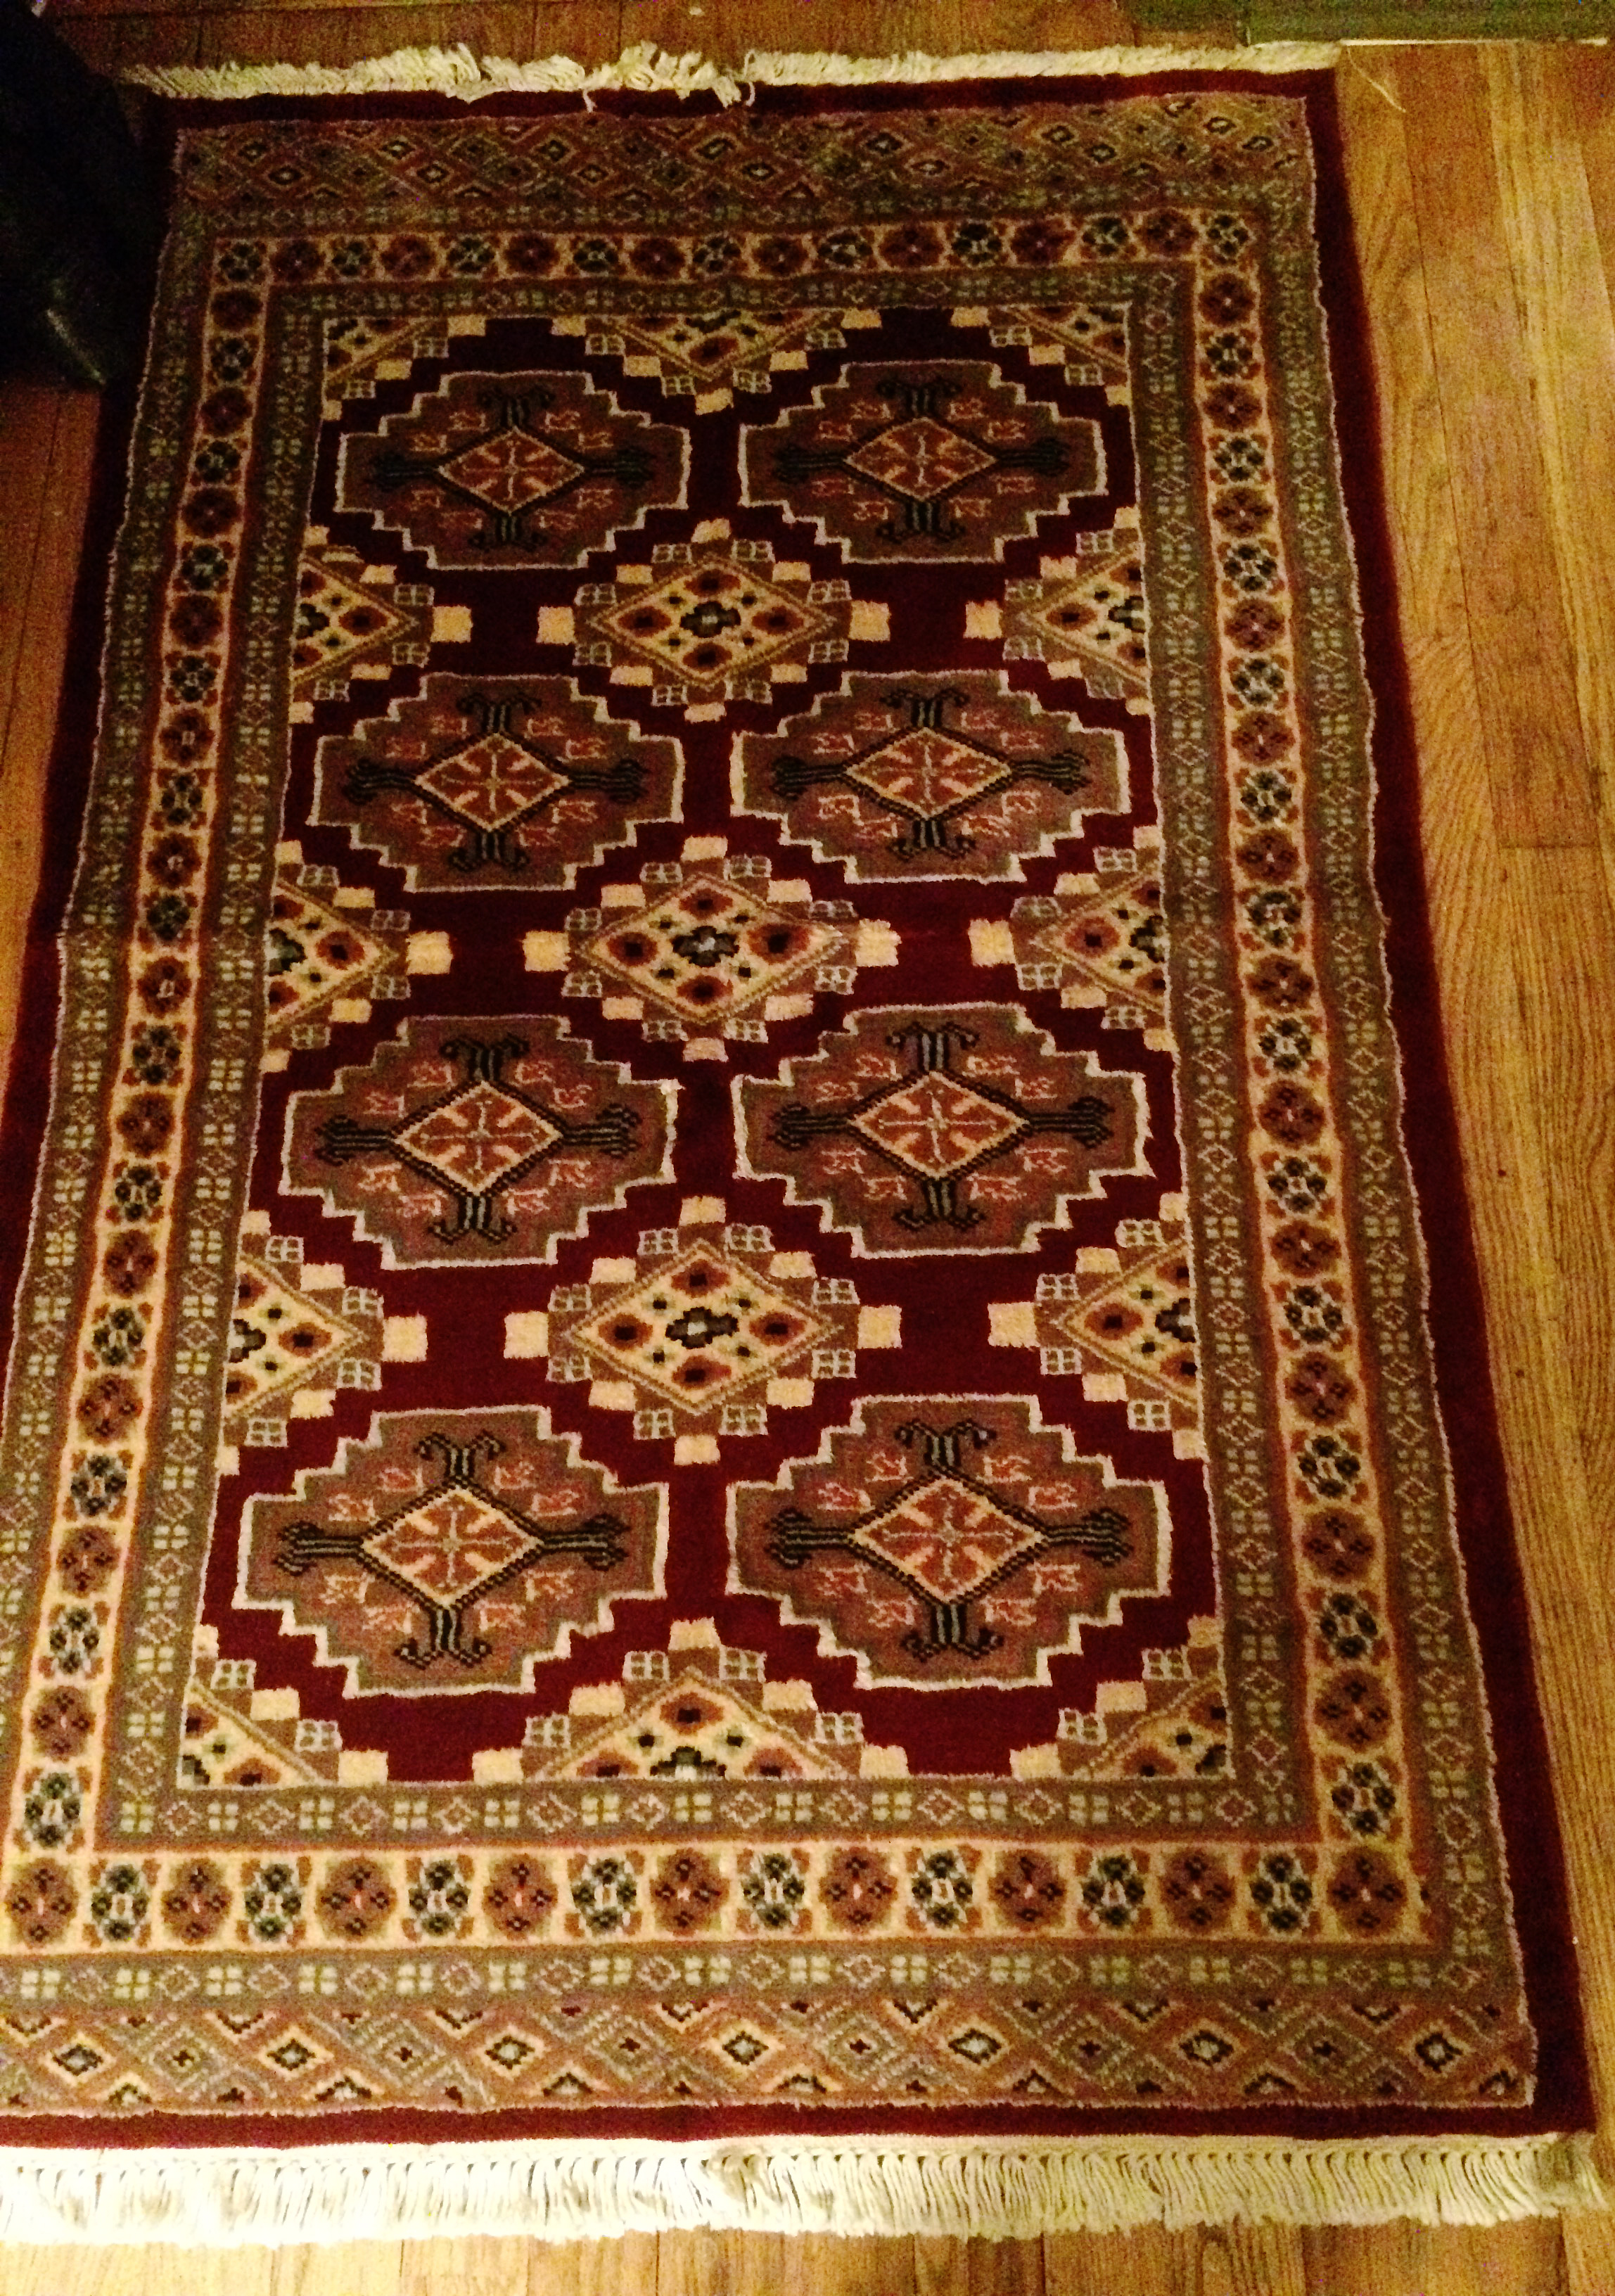
The second floor of the school was the showroom filled with all kinds of stunning rugs. Drinking a complimentary cup of tea, I wandered amongst the treasures for a good part of an hour (or maybe two). I finally decided on two carpets I wanted to purchase.
But, since I was in Egypt, the actual buying of things involved a thirty-minute bargaining session. I pretended I hadn’t already decided which rugs I liked the best and asked to see some more similar to my initial selection. I remained undecided for a significant amount of time, especially once price came into question, hemming and hawing and murmuring and looking around.
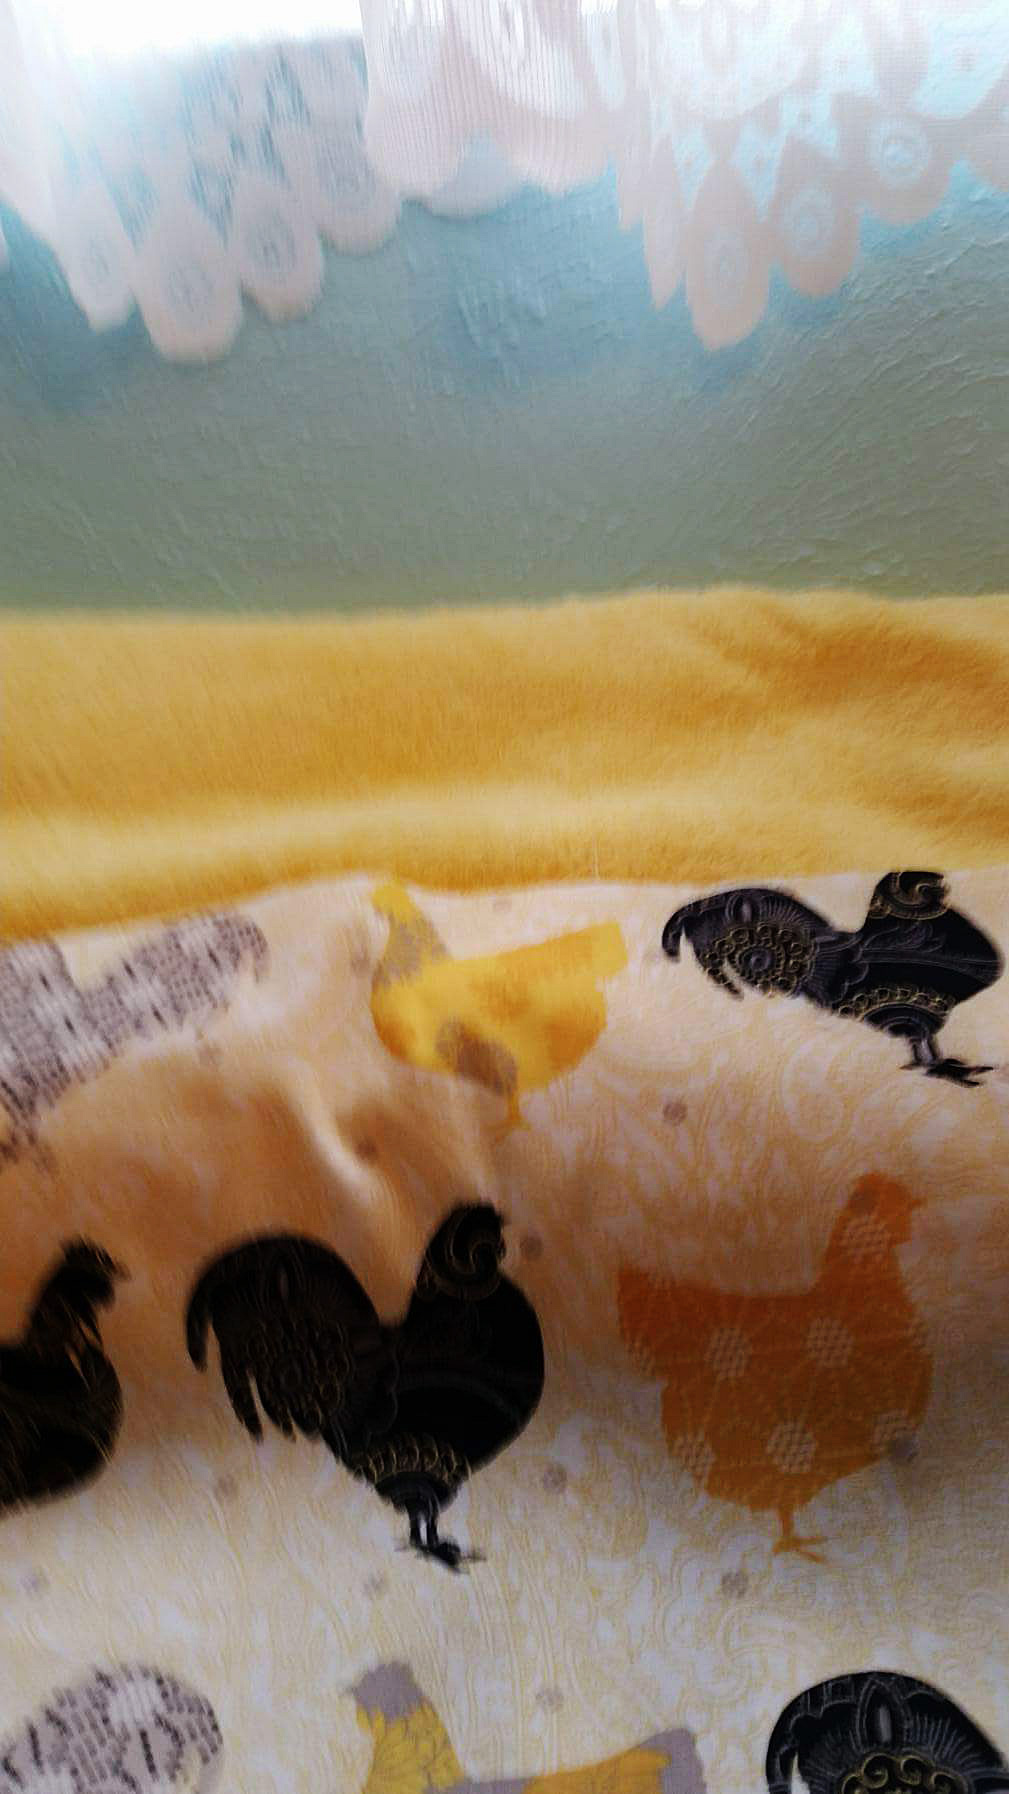
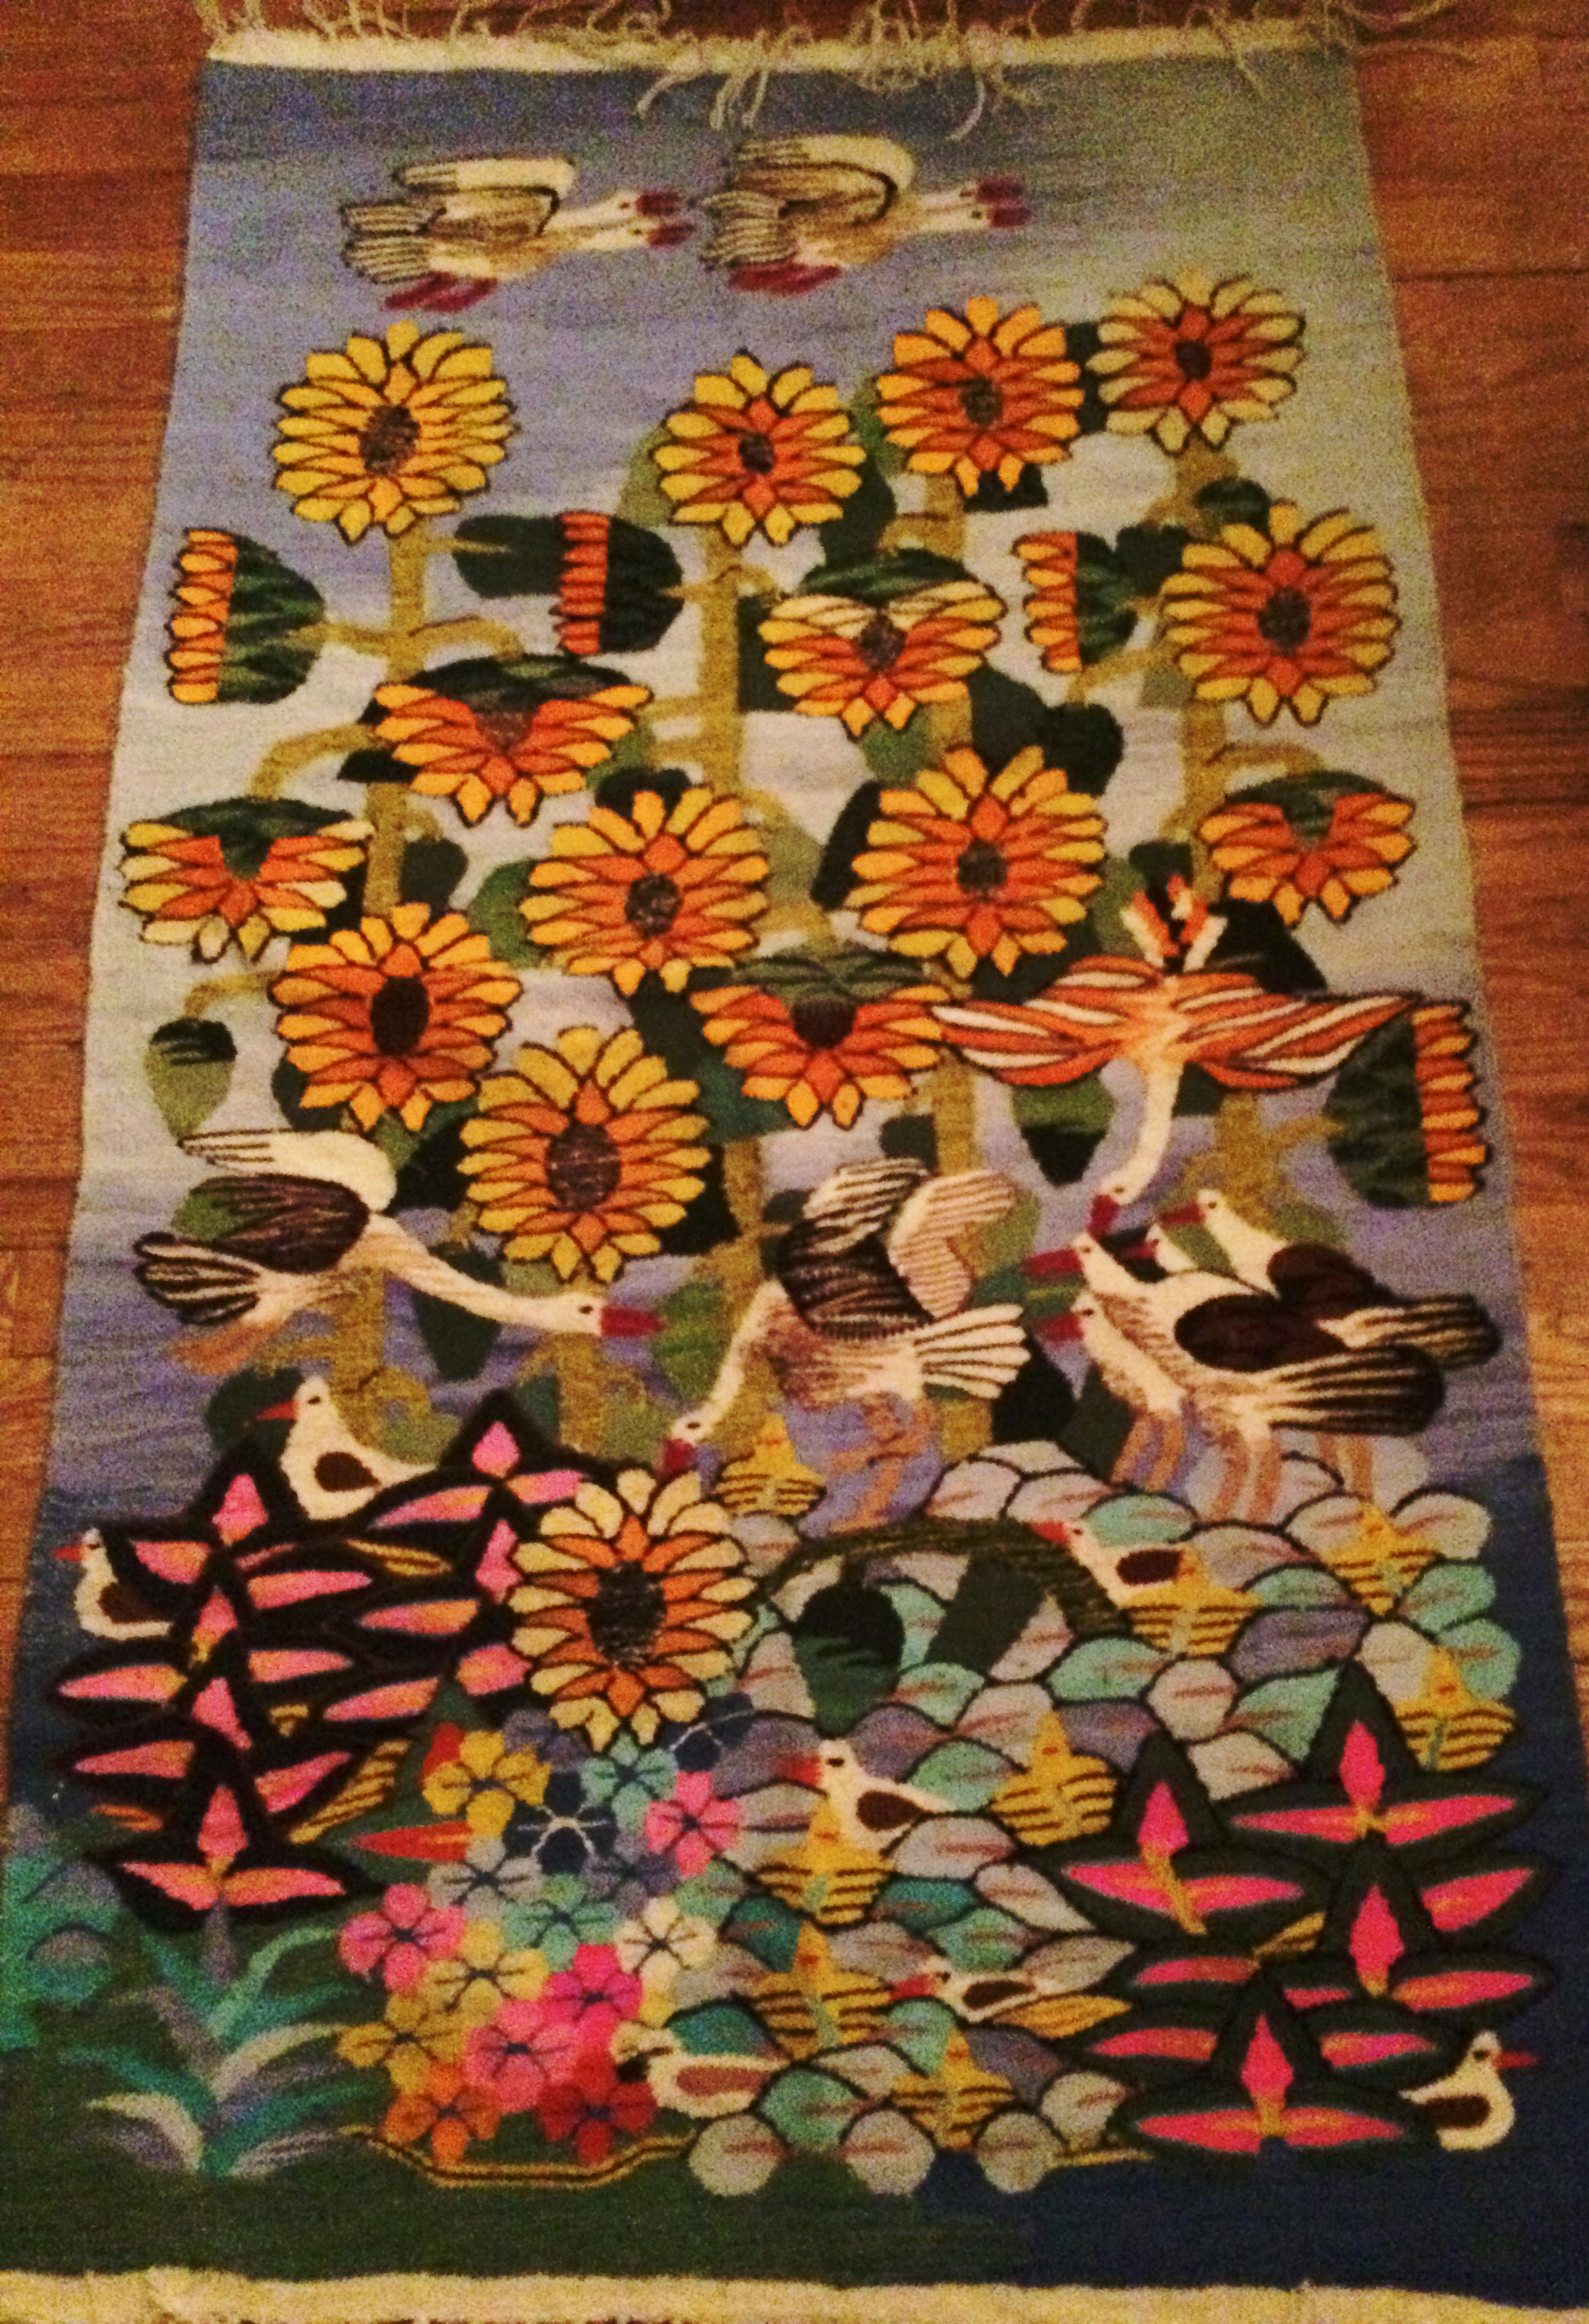
After settling on a cotton and silk rug, I then asked about the tapestries. I’d spotted the one I wanted quite some time ago. It was one of the artist done ones with yellow and orange flowers, swans, and blue sky and water with pink water lilies. After some more back and forth, we finally agreed upon a price for both the pieces I wanted.
The cherry on top
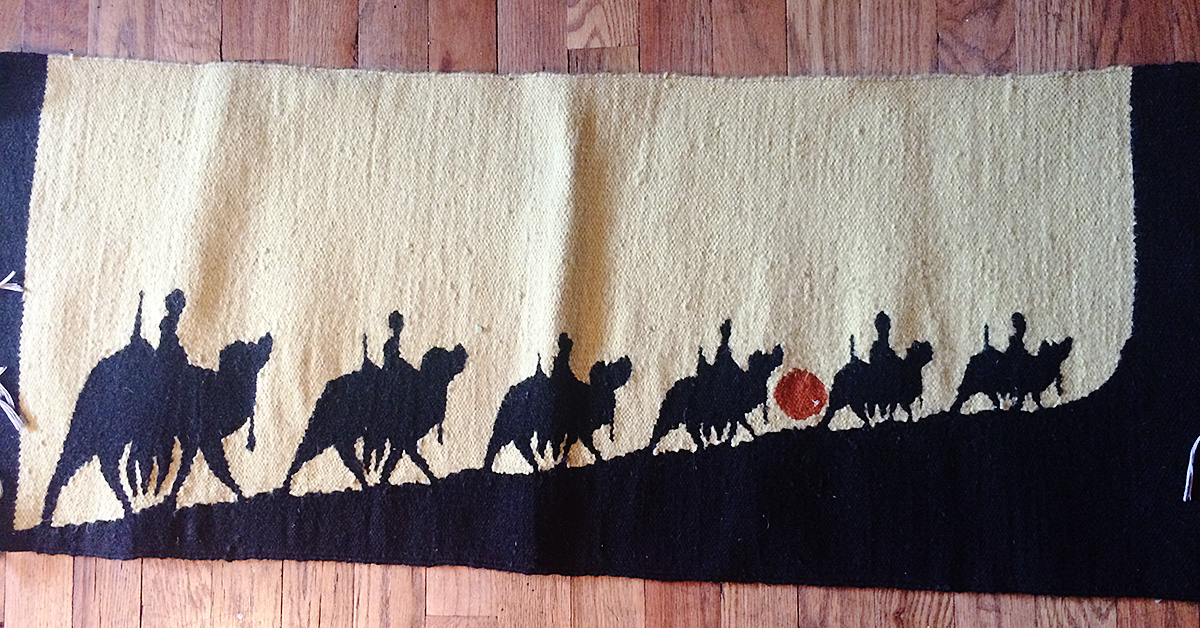
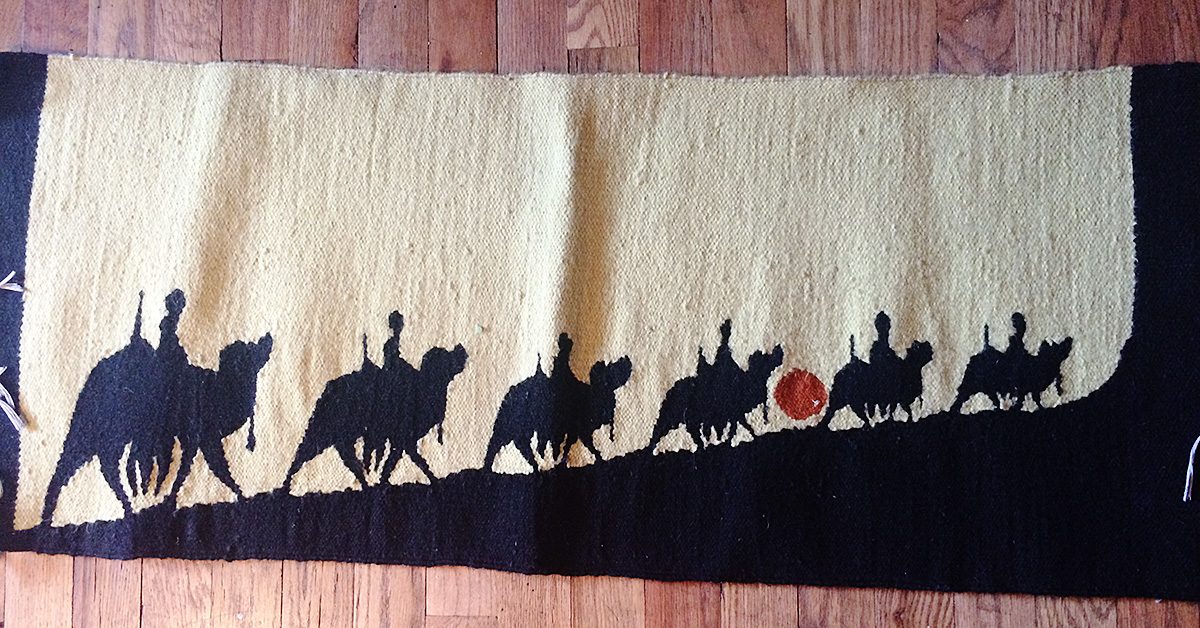
My freebie tapestry. A nice touch.
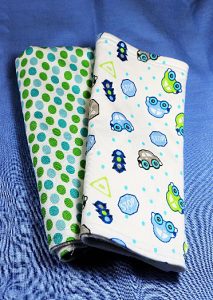
Then, in true Egyptian fashion, the salesman offered me one more tapestry I could choose from a pile as a gift. I suspect this pile consisted of the practice tapestries done by the younger students but they were all alluring in their own right and I choose a long narrow hanging of yellow with camel silhouettes.
I left the school quite happy with my purchases and the opportunity to have seen the young carpet makers at work – and to contribute to the Egyptian economy and the school.
Now, back at home in New York City, my Egyptian carpets have been happily integrated into my home carrying with them the legacy and craftsmanship of centuries.