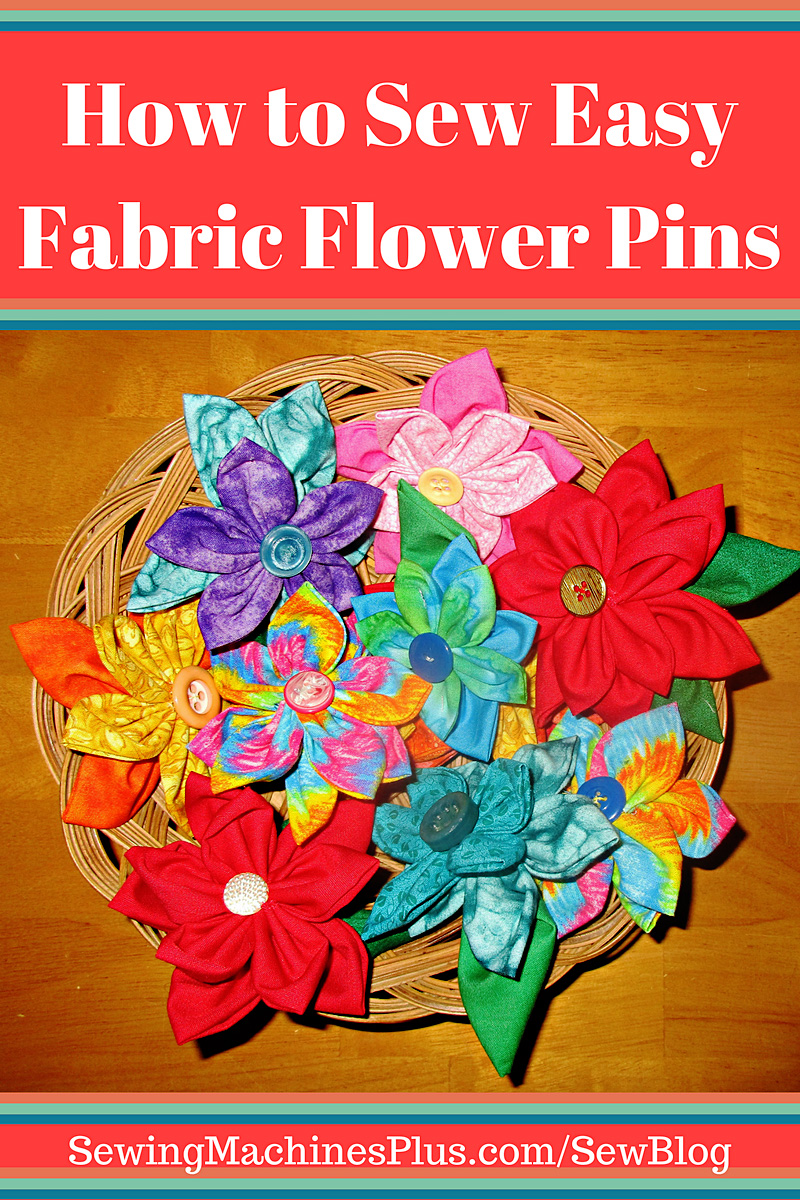
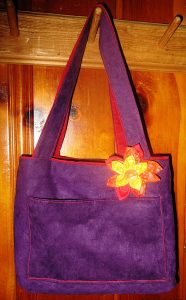
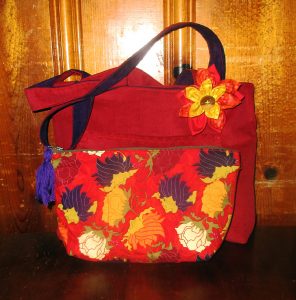
I wanted to make a fabric flower pin to dress up and bring together the complementary colors on a reversible tote bag I made for my mother-in-law’s Christmas gift.
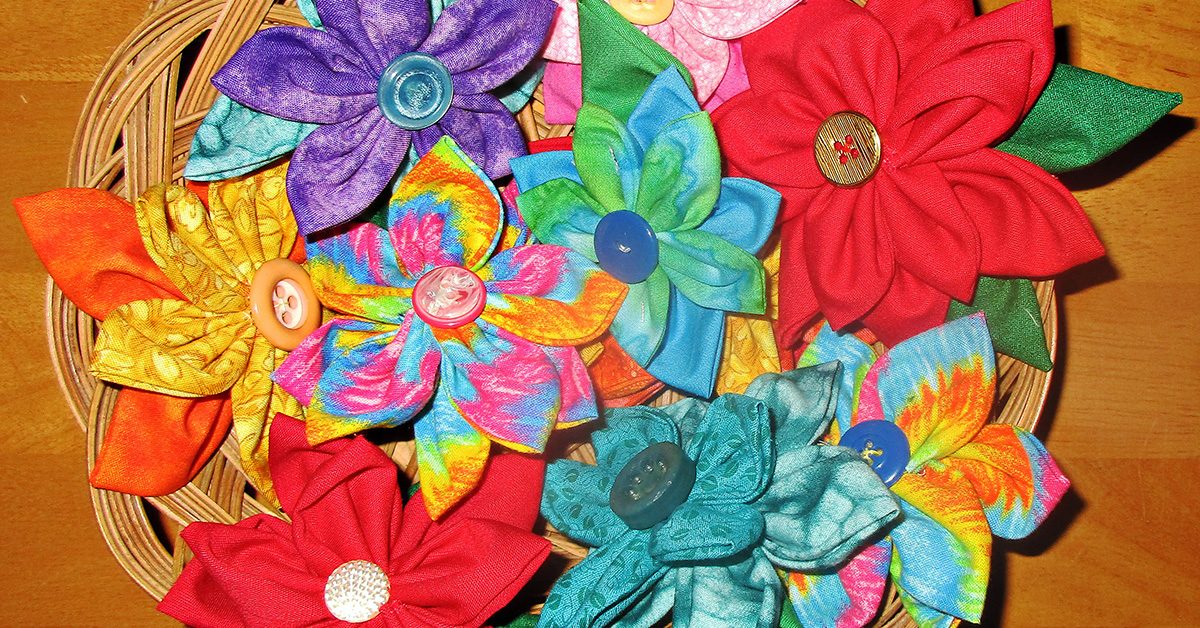
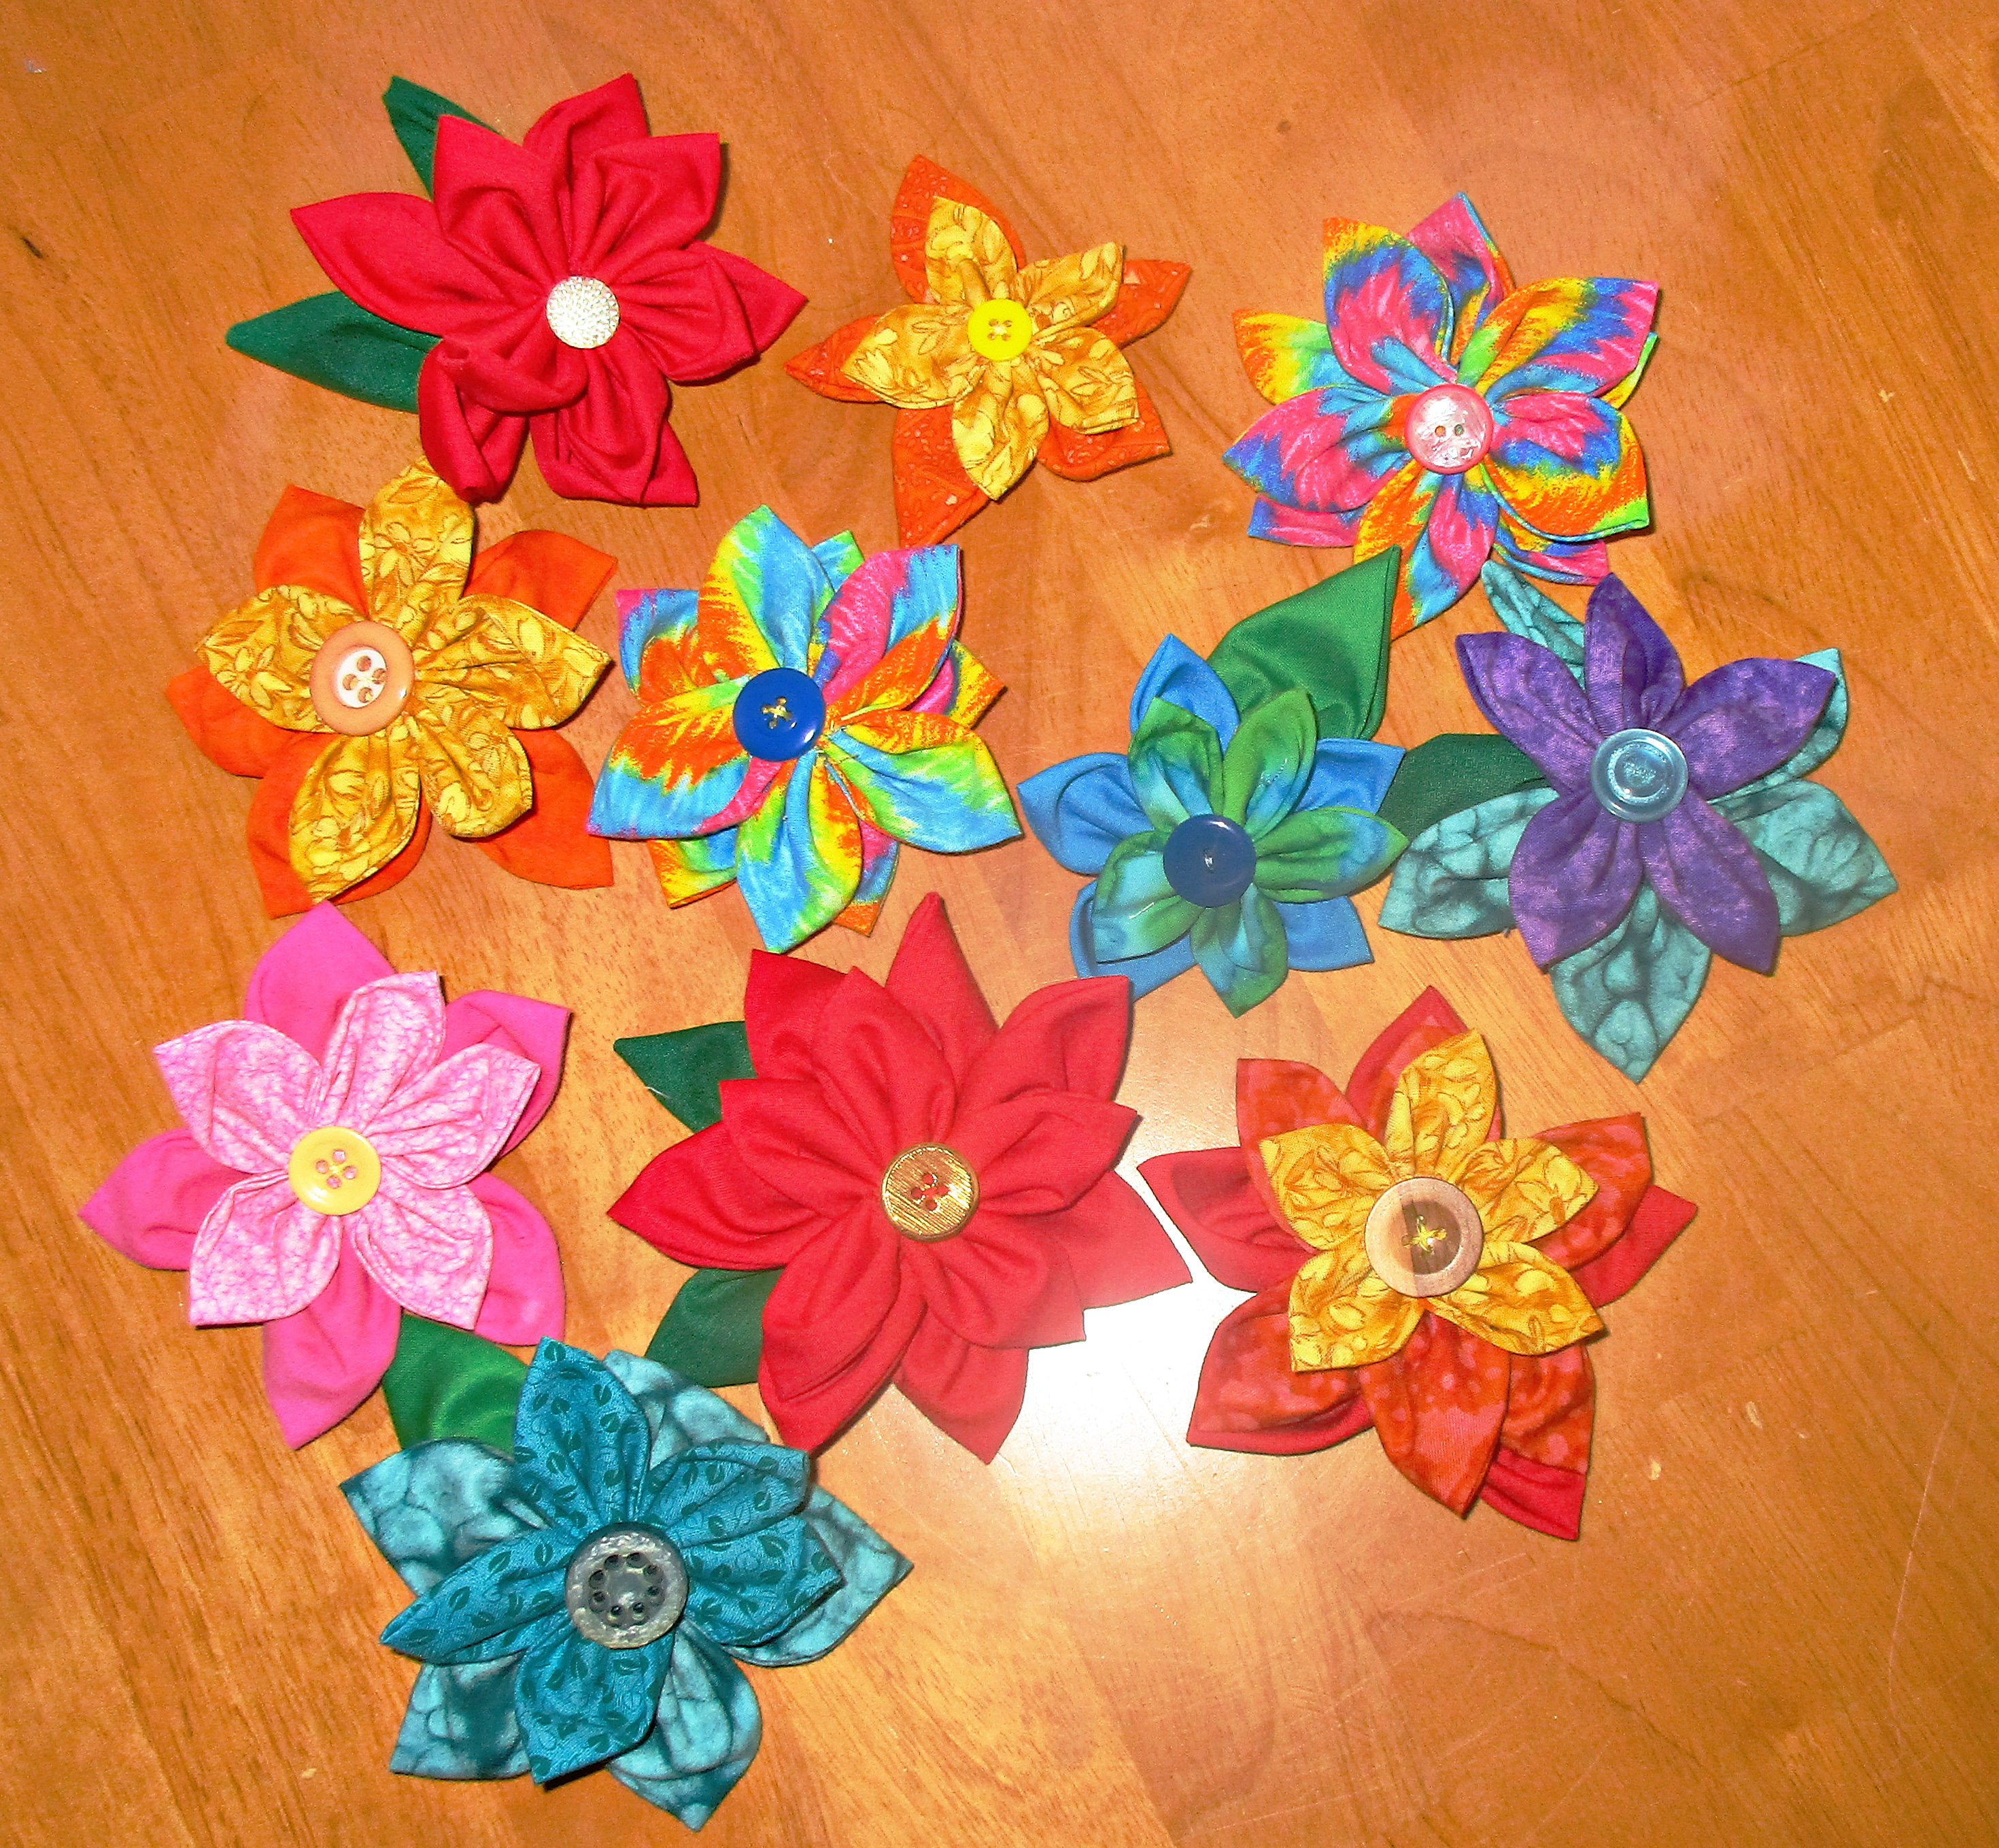
Yes, I’m getting a head start on my Christmas making now. And that’s why, when I loved the flower I made for her bag, I kept going and made a bunch of these pretty flowers. I kept my favorite of the bunch for my hair, and the rest are for gifts.
You could sew these directly onto a ponytail elastic, barrette, headband, clip, clothing, or bag, but I opted to make them more versatile by sewing them onto small brooch pins, which I can then pin on my hair elastic, hat, or bag.
Who can make a flower?
While making these, I had a sweet memory of my great grandmother, Lucy, who was a Sunday school teacher and loved nothing more than hearing children sing. Of all the songs she taught us, my favorite was always this one:
“Oh, who can make a flower?
I’m sure I can’t, can you?
Oh, who can make a flower?
Only God, it’s true.”
While these aren’t the real thing, I sure felt happy while creating these fabric flowers and thinking of this old song and Grandmother Lucy. I hope you enjoy making them, too.
How to sew fabric flower pins
To make these double flowers, you need ten or twelve circles of fabric, a strong hand needle, thread, and a button for the flower center. You may cut five circles each of two different sized circles, or you can use all same sized circles. You may choose to cut seven rather than five for the bottom layer; these will be the larger circles if you are using two sizes.
If you would like to make leaves, cut these from slightly larger circles than you used for your largest flower petals.
You can cut your circles using an Accuquilt Go, a compass, or with the help of an Olfa circle rotary cutter.
You can also make your circles by tracing around a glass or other round object. I traced and then cut my circles several layers at a time. I used several sizes of mug and glassware and made my flowers in a few different sizes.
Sew by hand
Once you have your circles cut out, you can sit and sew them. This little project is sewn entirely by hand, and so is a great opportunity to sit and watch TV, or to have something to do while sitting in a waiting room or traveling as a passenger.
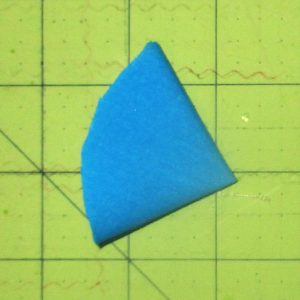
Thread a needle with a long, double length of thread. What I mean is, thread the needle and then tie the two thread ends together at the end. Then, take your first circle and fold it in half, wrong sides together, and then in half again, forming a quarter circle.
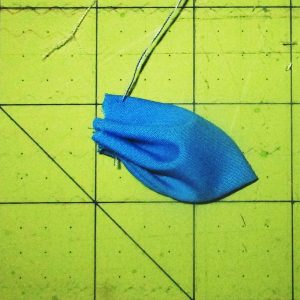
Sew a long running stitch through all four layers of the curved edge. Then pull the thread taut to gather the petal and repeat with the next petal. After you have sewn and gathered five petals, pull thread to tightly gather and sew the last petal you gathered to the first one of the five.
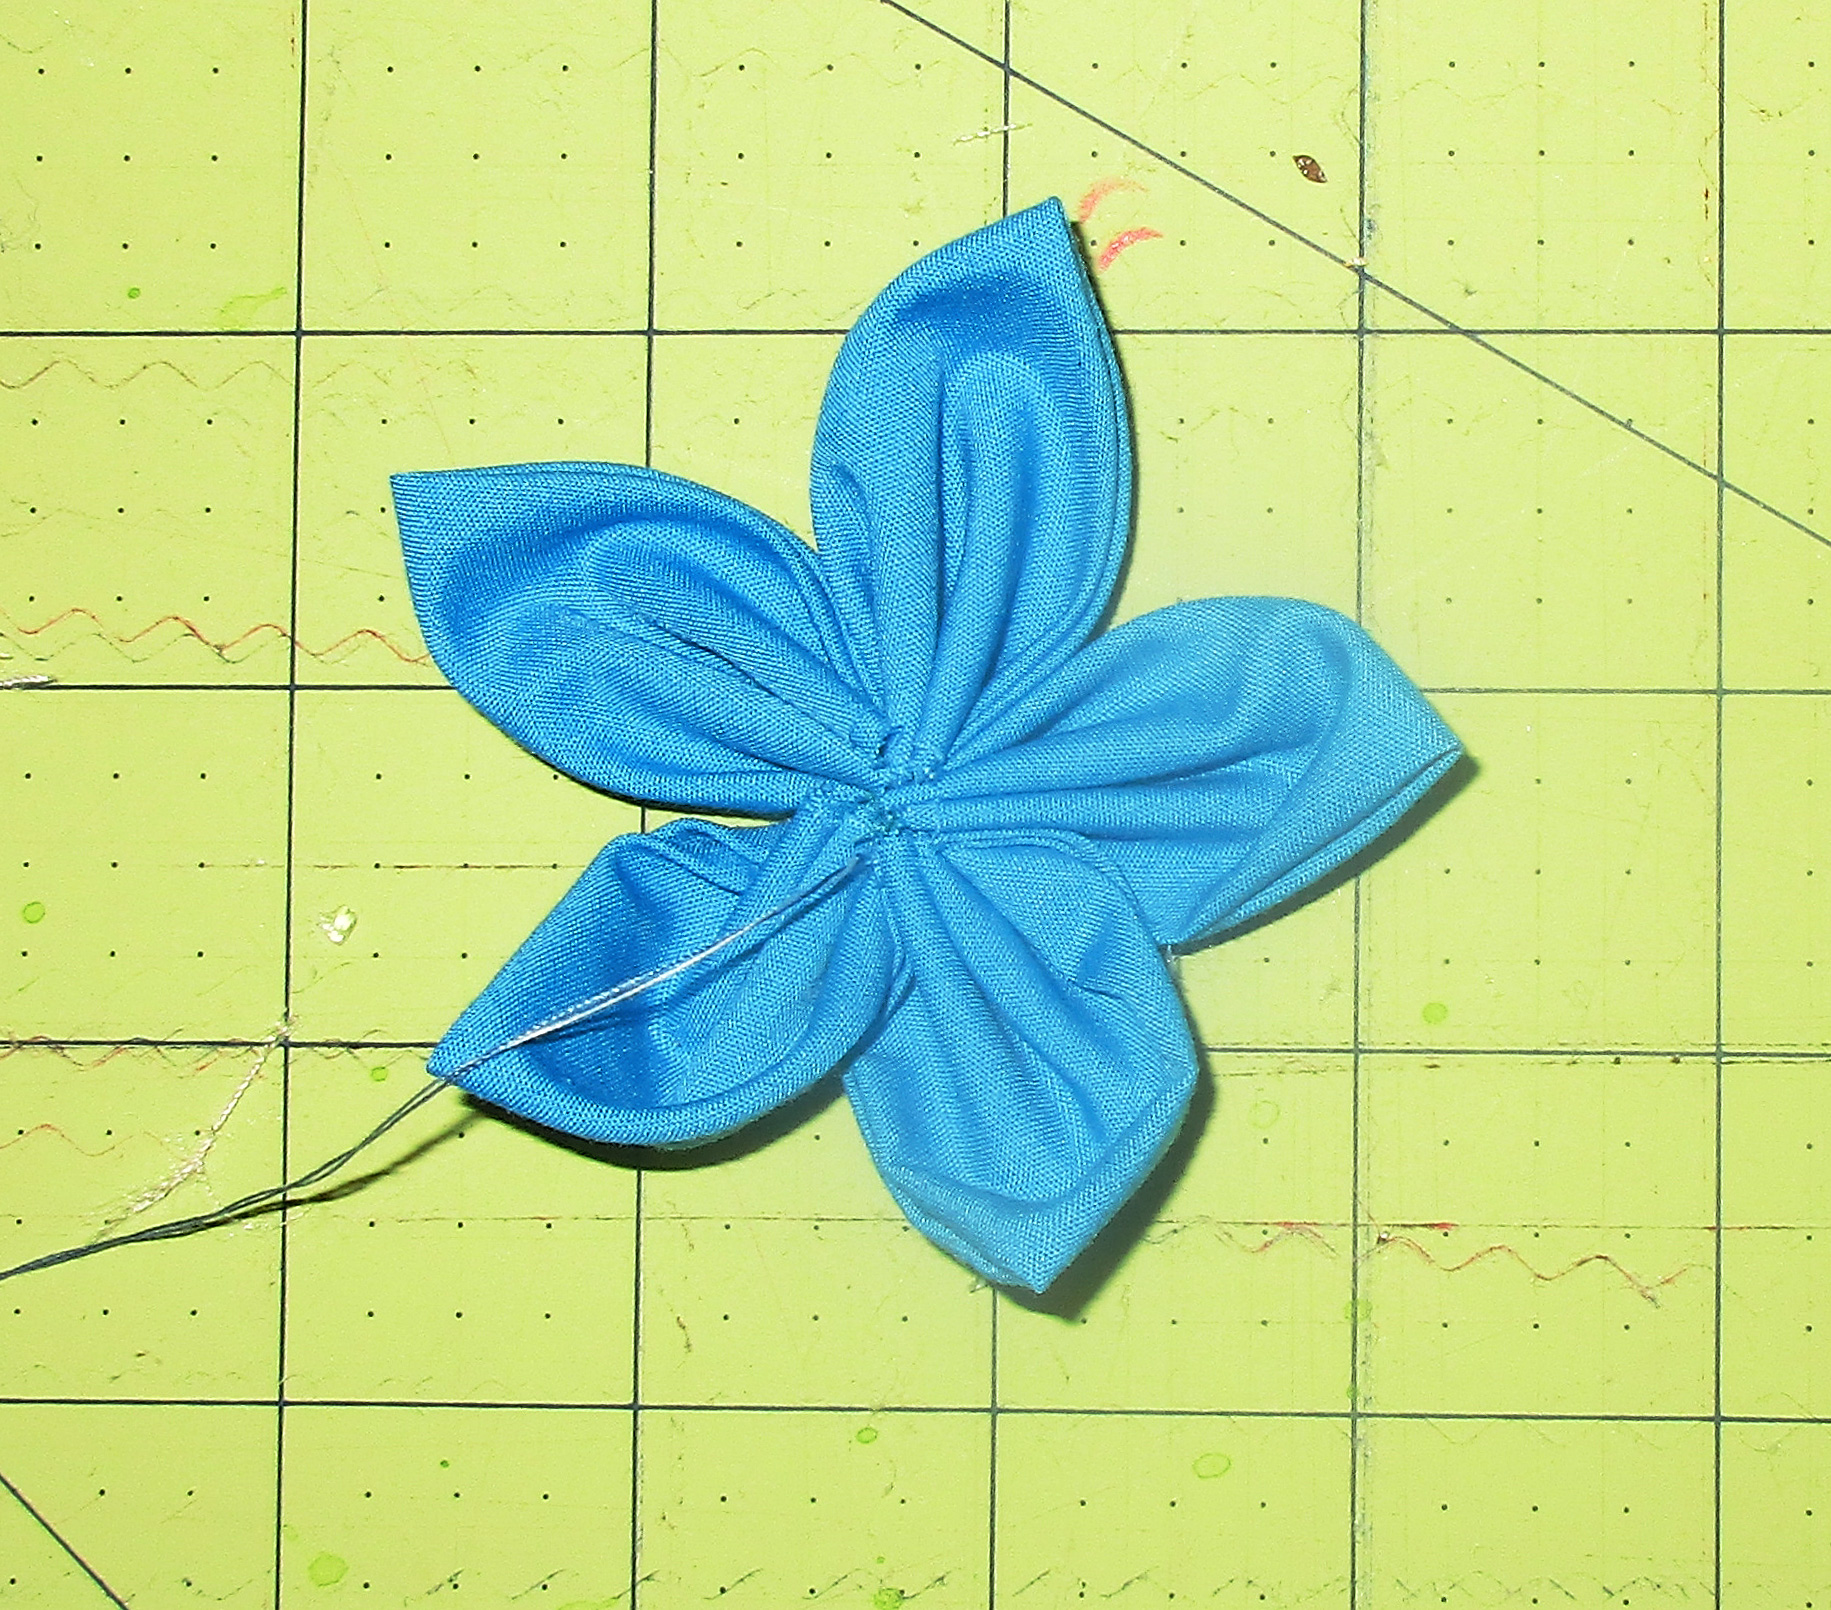
Sew the last petal to the first, then neaten center.
Continue to sew the raw centers of the petals tightly to each other, to tighten and neaten the inner edge of the flower center. Do this on both sides, then tie and cut your thread. You can set this flower aside for now.
Wash, rinse, repeat
Now sew another flower, perhaps using a different sized circle. Once you have both, sew them together with the smaller flower on top. If you’d like to add one or a couple leaves, do that now.
I made my leaves slightly differently than the flower petals. Instead of folding the green circles into quarter circles, I folded the circles in half, and then thirds. Then I sewed them with less gathers than the flower petals. Sew the leaves onto the back of the bottom flower layer.
Choose a matching or contrasting button or use a bit of embroidery for the flower center. Sew the button down through both layers of fabric flower.
Then sew the whole thing to a brooch pin, hair elastic, bag, or anything else. Small brooch pins work best, in my opinion, as these can then easily pin across a ponytail elastic or even a small barrette, not to mention on bags, lapels, hats, and etc.
Poinsettia pins
You can sew both flower layers from red fabric and make these into poinsettias. These will be useful during the holiday season. I plan to make small gifts of brooch pins at least, but I can think of lots of other ways to use these for holiday decorations and gifts, and I think I’ll be making a lot more of these fabric flowers in red.
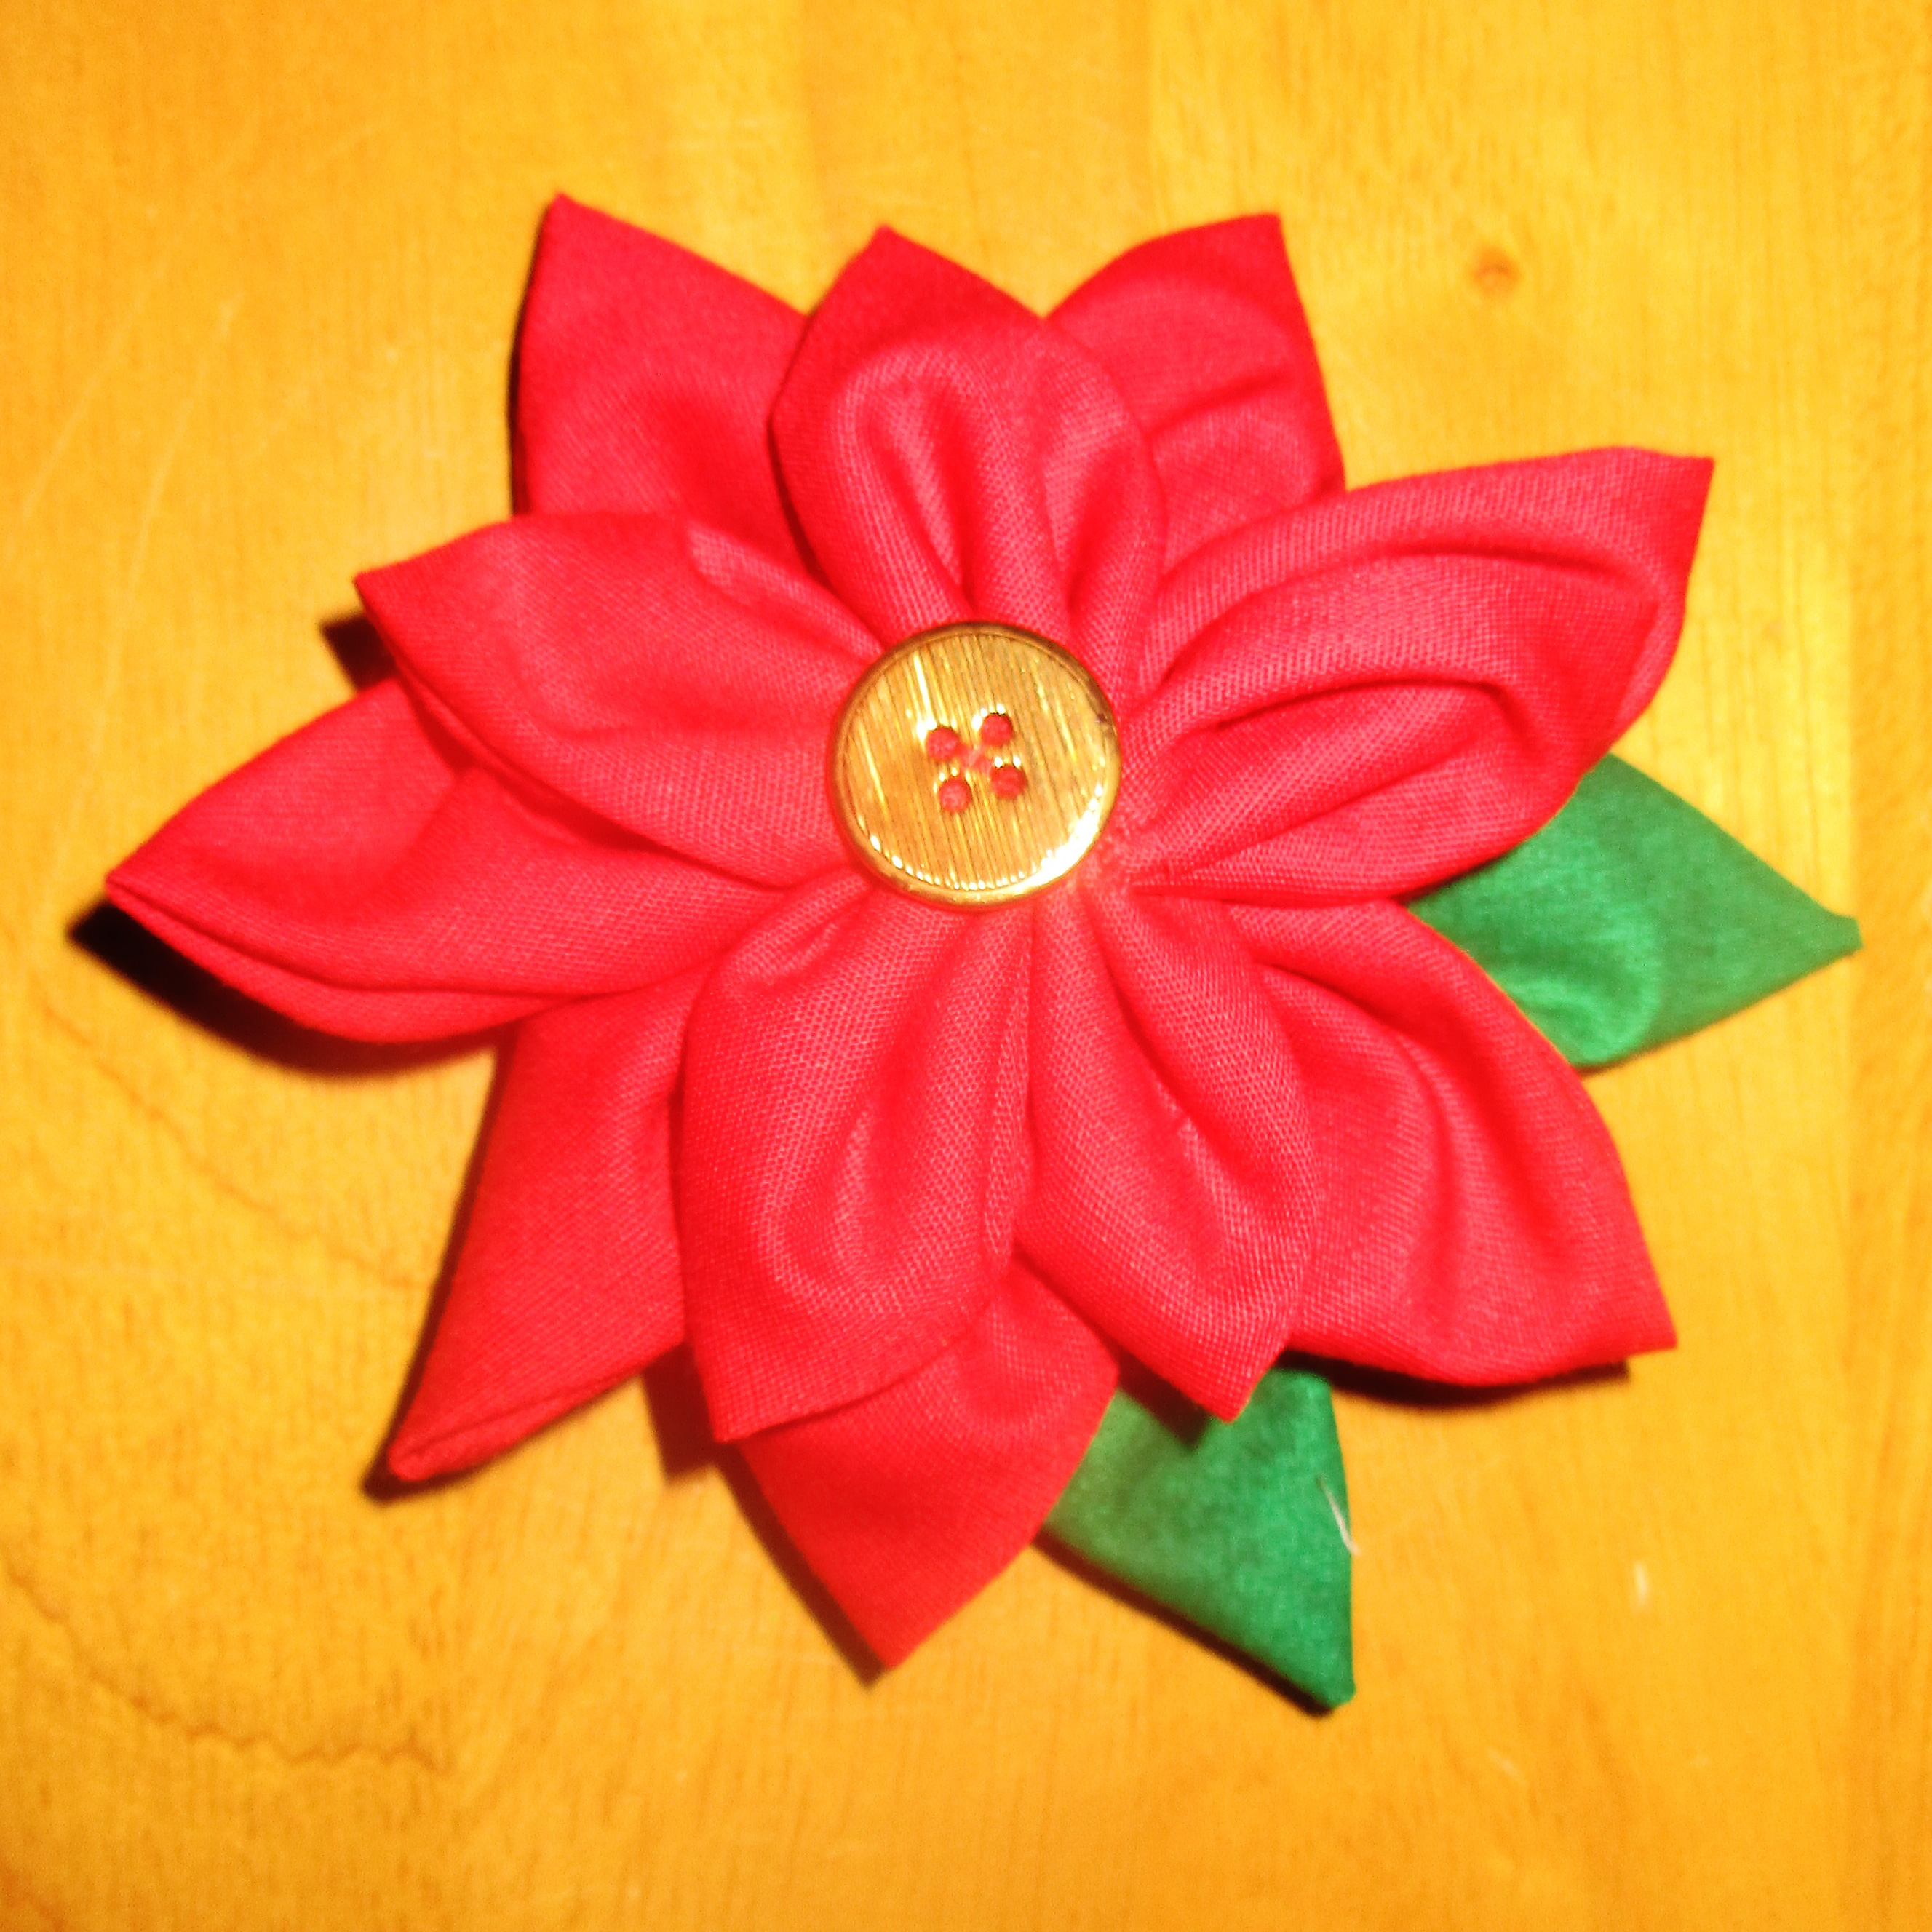
You can sew both flower layers from red fabric & make these into poinsettias.
Enjoy making them

I hope they will bring joy when I give them as gifts.
I felt joyful making these and I hope they will bring joy when I give them as gifts. Whether you make just one fabric flower or a basket full, I hope you will enjoy making these as much as I did. Happy sewing!