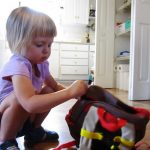
Have you seen these adorable little children’s backpacks that look like animals? They’re made by Skip Hop and retail for around $20. The only problem with them is that, like many children’s backpacks, they don’t come with a chest clip. Kids’ shoulders are tiny and their frames are narrow. This means they usually can’t keep backpack straps on when there is any weight added to their bags. For the most part I see Skip Hop backpacks slung over a parent’s shoulder, carrying the bag for their children.
Have you seen these adorable little children’s backpacks that look like animals?
I decided to make my own chest clips for these puppies and for my friends who have the bags too. The result is a backpack that children can truly wear on their own.
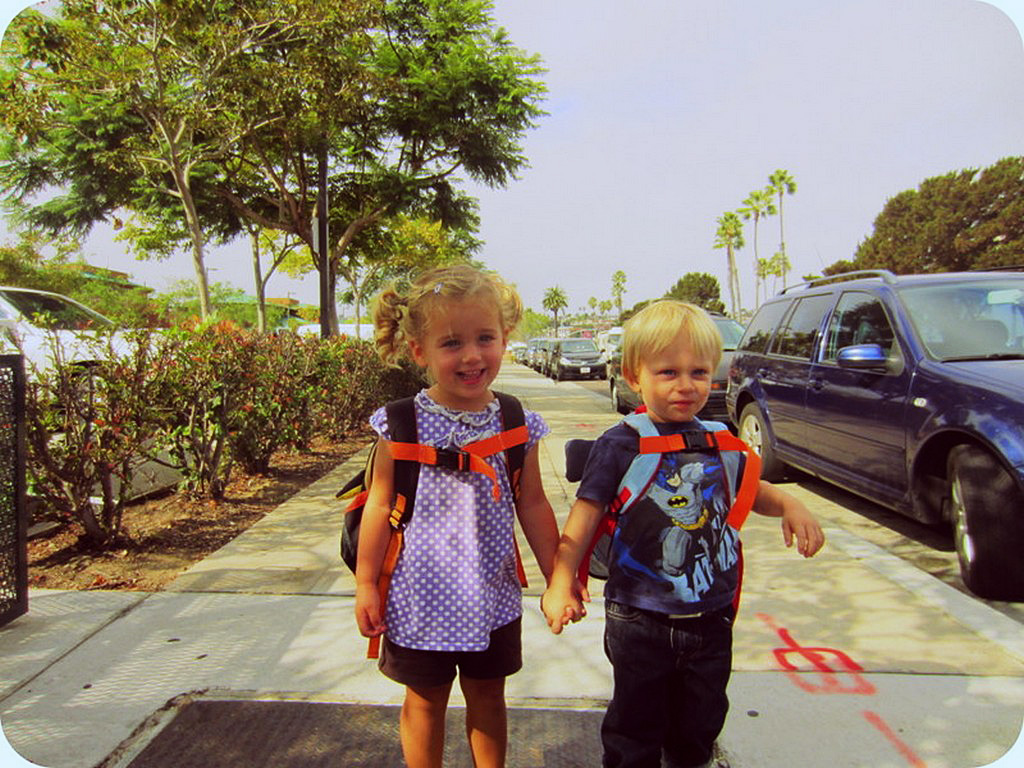
A backpack that children can truly wear on their own.
To make your own, you’ll need to unthread the backpack straps from the base of the bag.
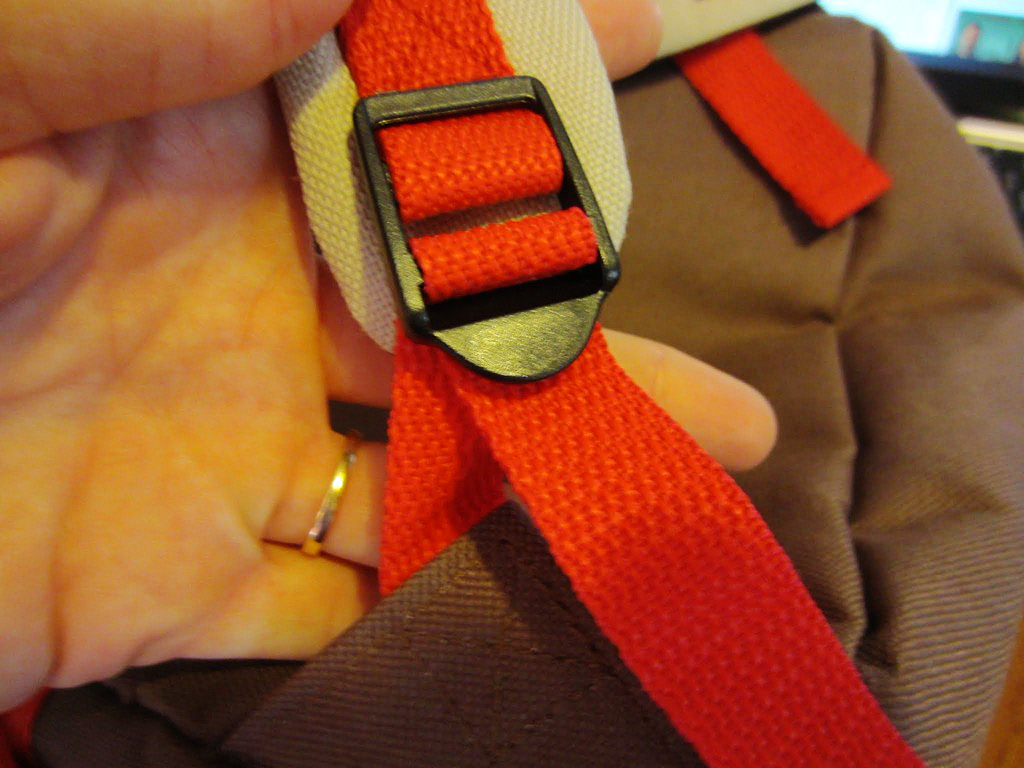
To make your own, you’ll need to unthread the backpack straps from the base of the bag.
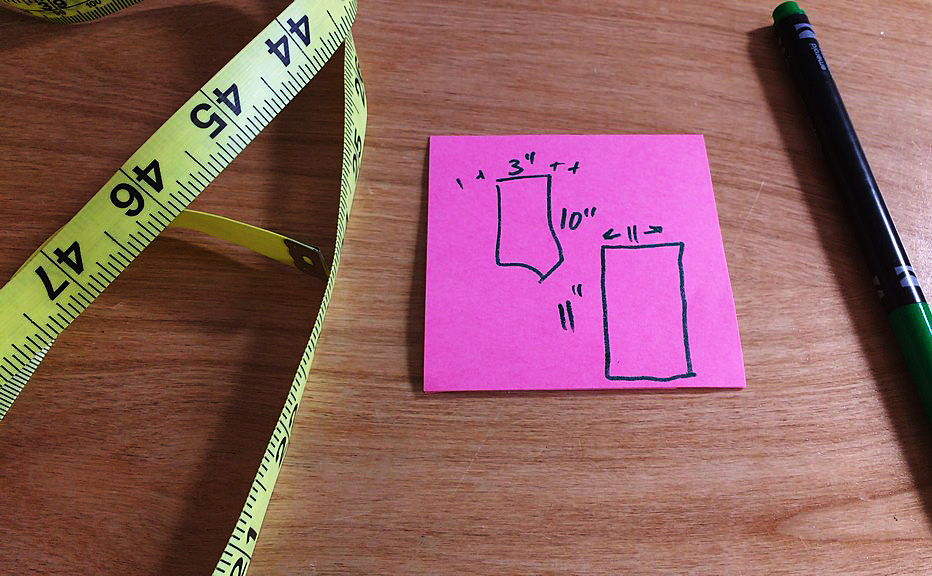
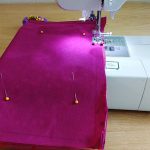
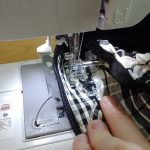
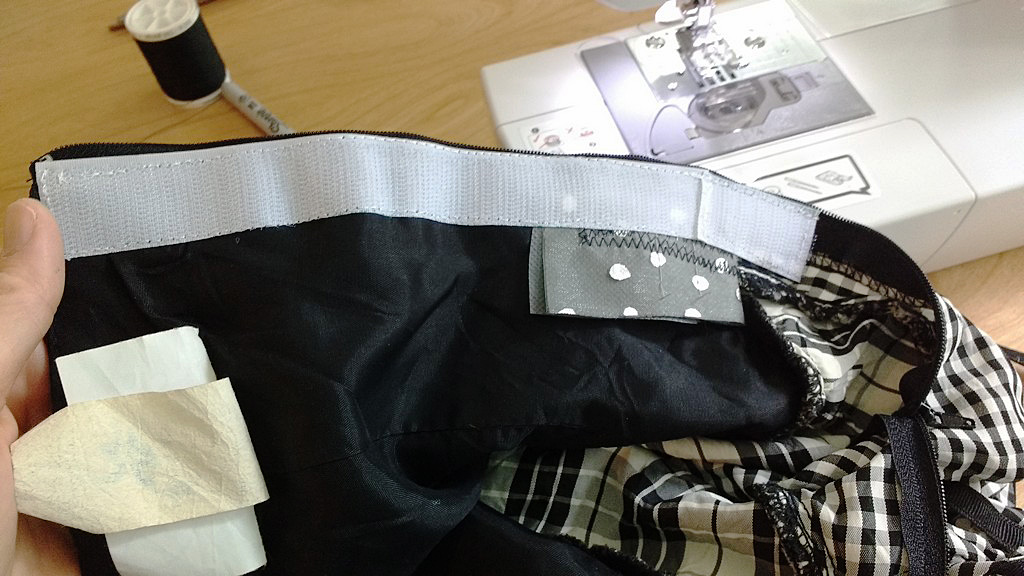
Once you’ve unthreaded the straps, you can sew a webbing piece for the right and the left strap that holds each end of your clasp. I used 1″ webbing and 1″ clasps. I got all of my supplies from StrapWorks.com.
I used 1″ webbing & 1″ clasps.
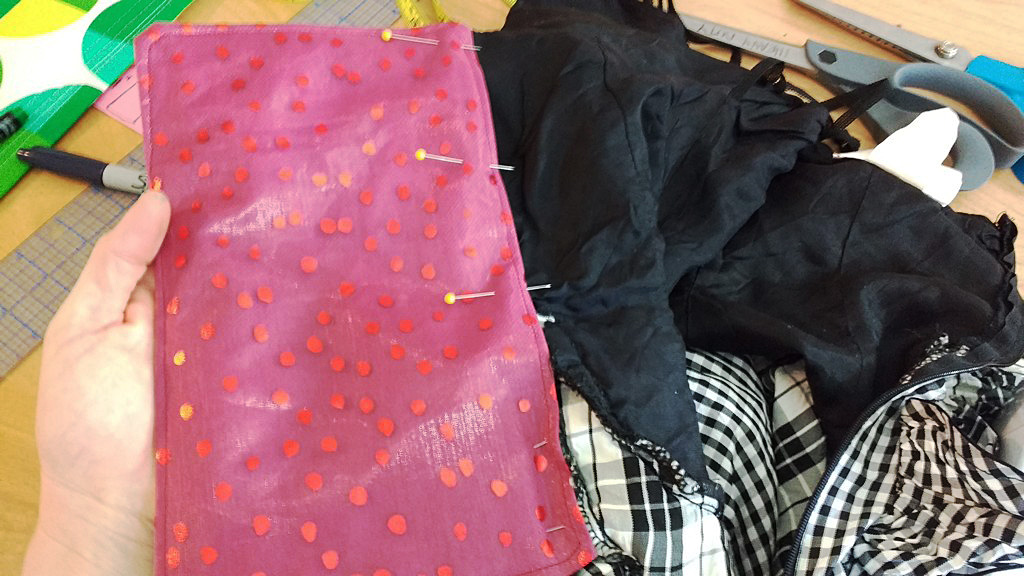
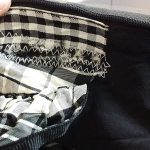
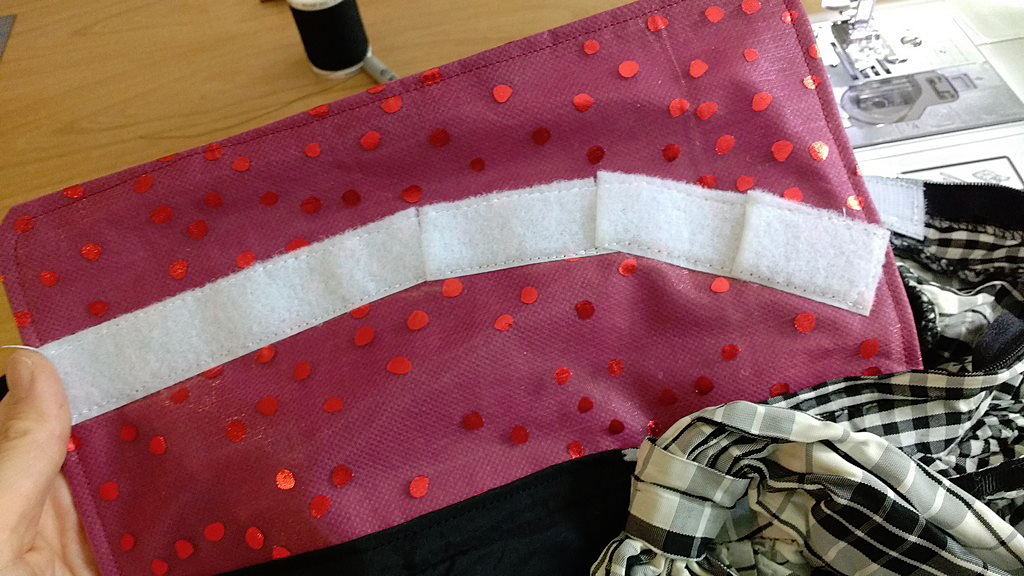
I sewed a small loop of 3/8″ black elastic on the end of the webbing so I could roll up the extra webbing and tuck it neatly into the loop. These are examples of clips I made for friends.
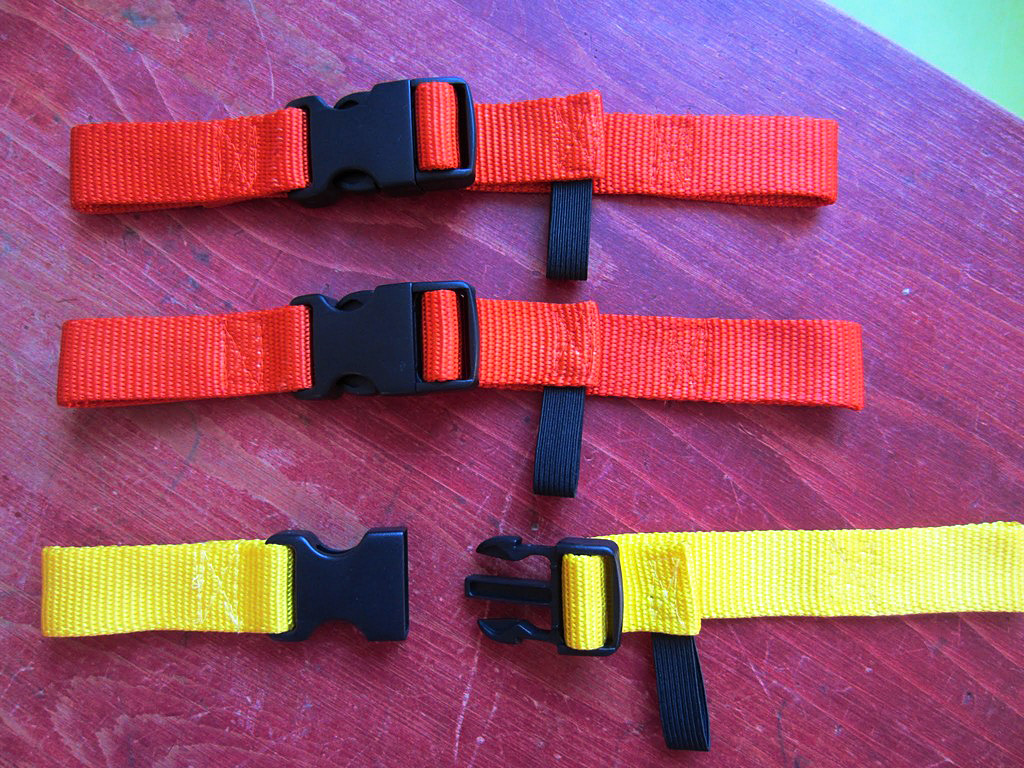
These are examples of clips I made for friends.
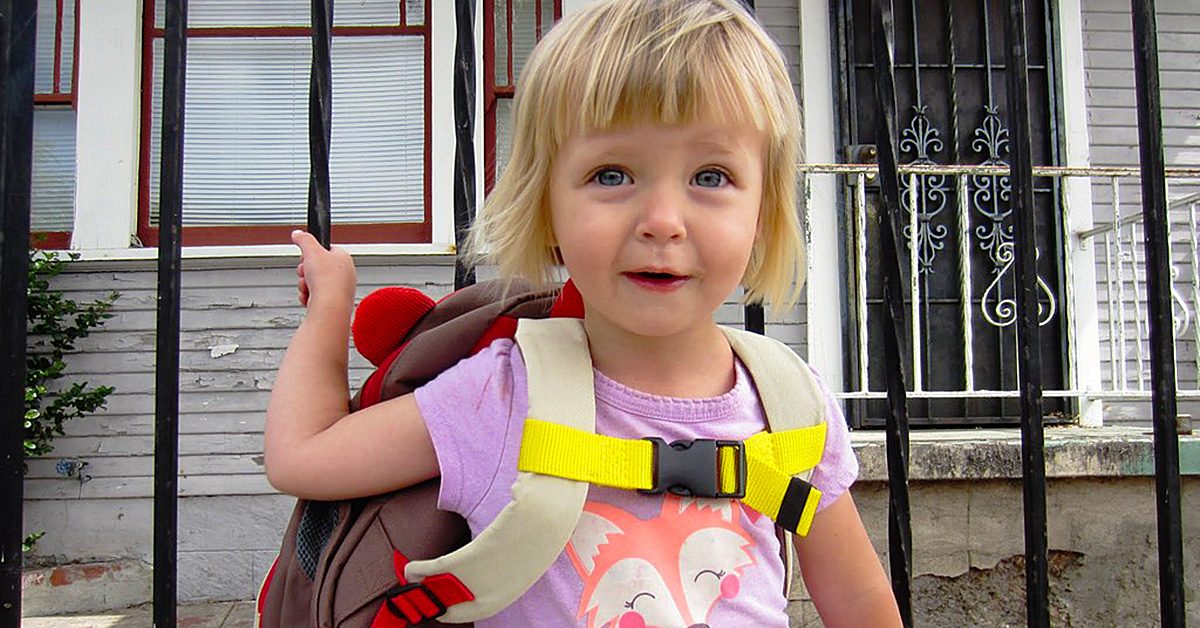
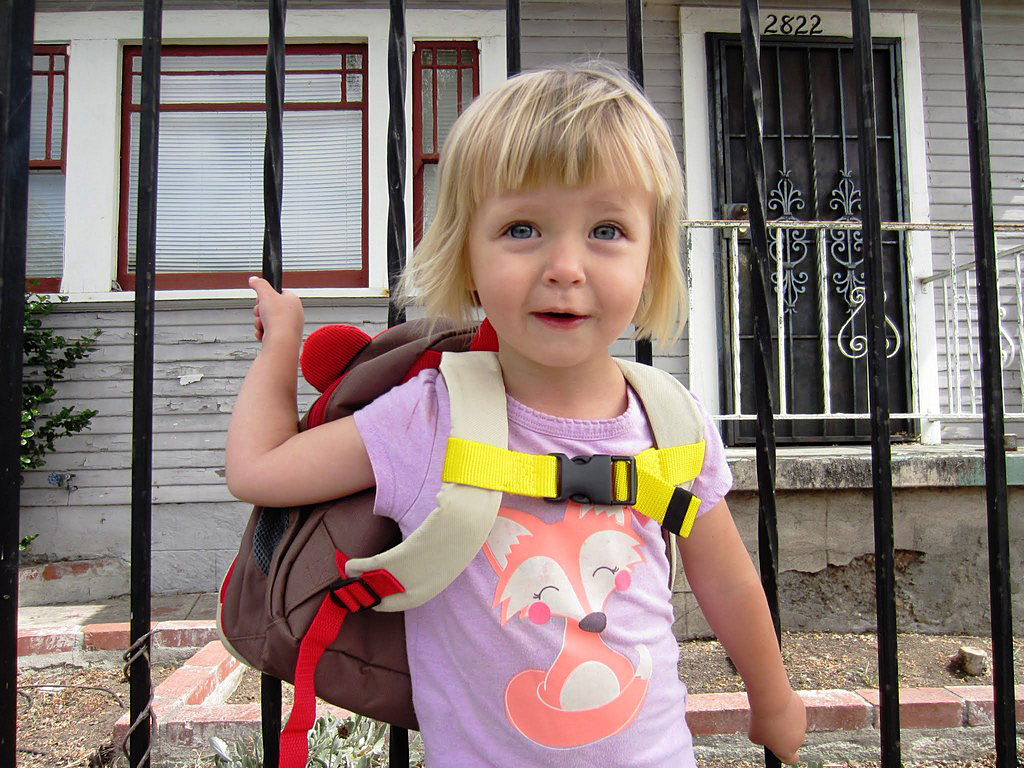
If your child is really little, they may not be able to manage the clasp on their own.
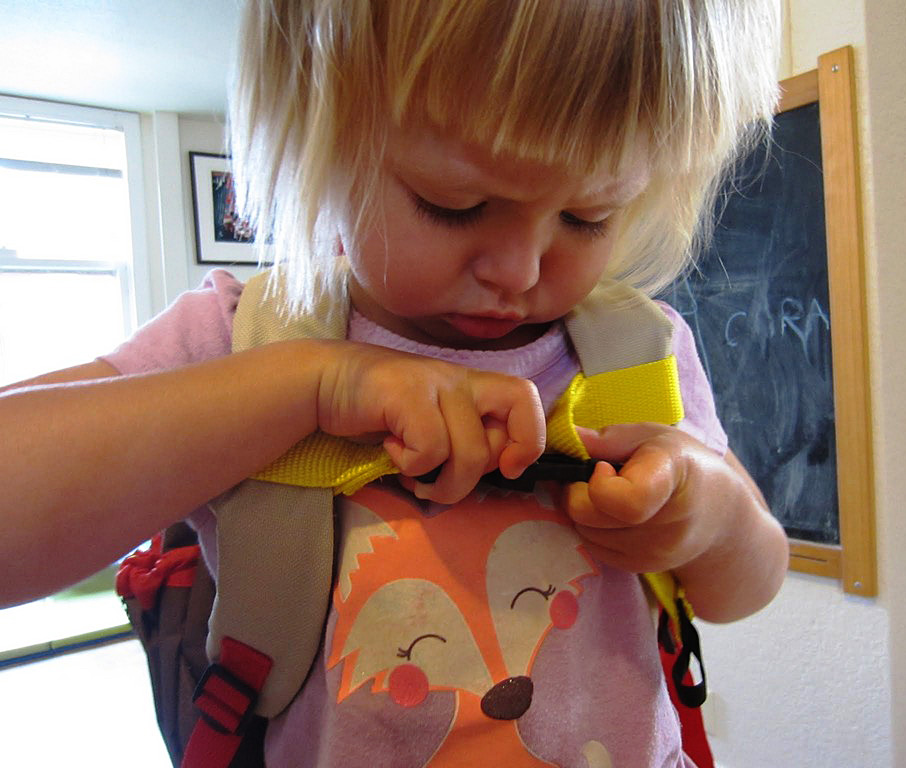
If your child is really little, they may not be able to manage the clasp on their own.
If you give them enough time to work at it though, they’ll eventually get it. It gives them a great sense of independence and freedom.

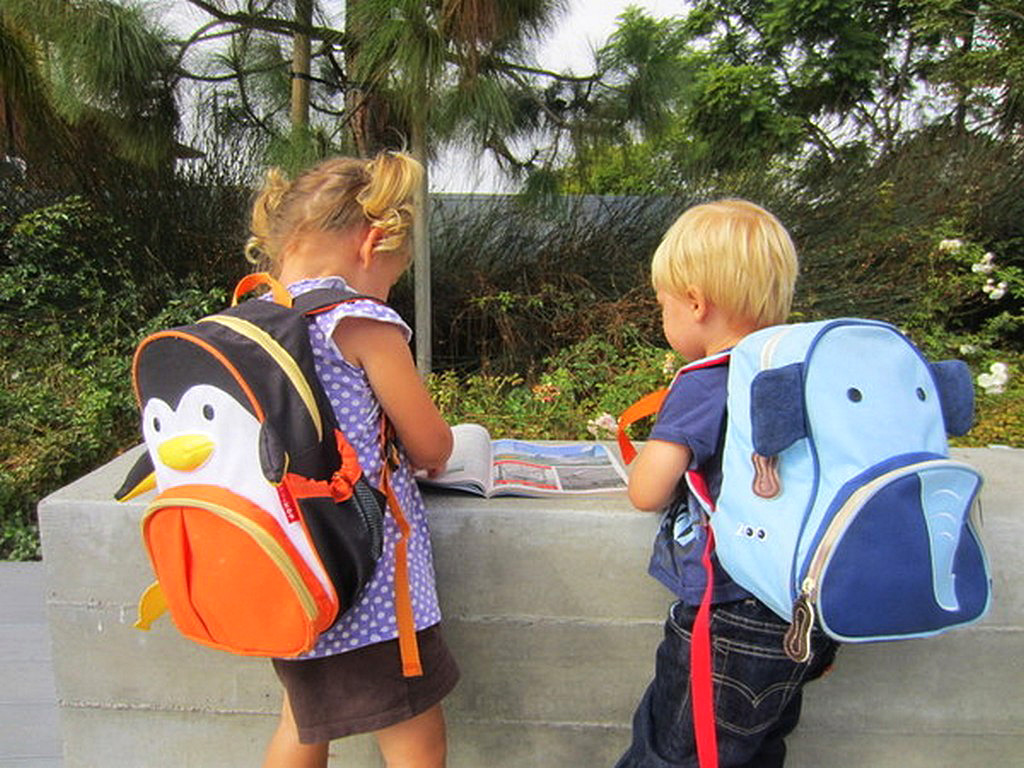
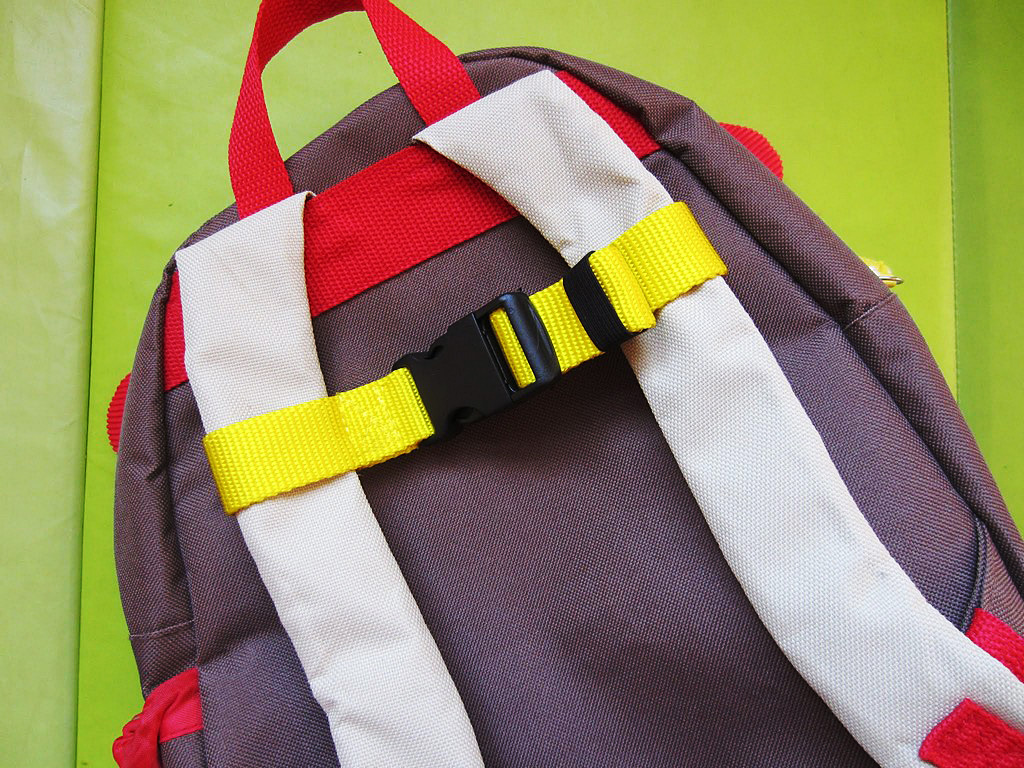
And really, how adorable is this bag with the added chest clip?
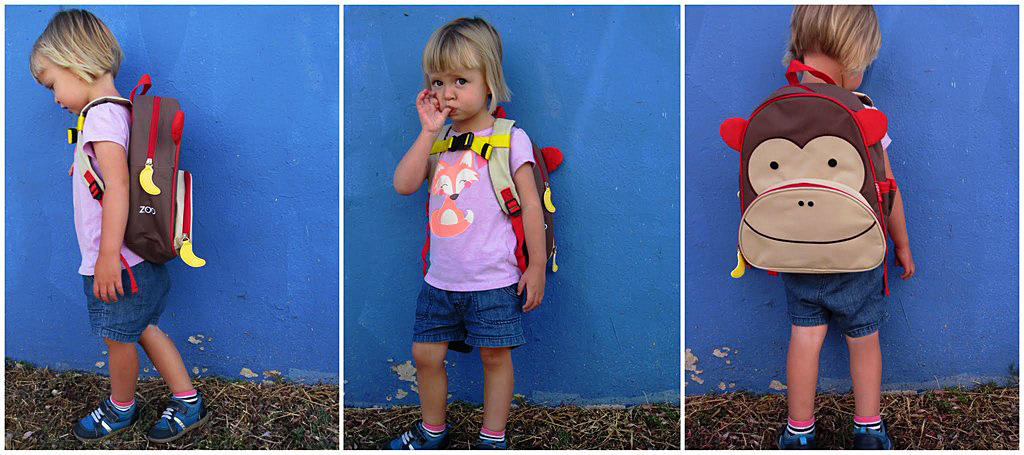
And really, how adorable is this bag with the added chest clip?
What type of sewing hacks have you done to children’s products in your life?
What type of sewing hacks have you done to children’s products in your life?