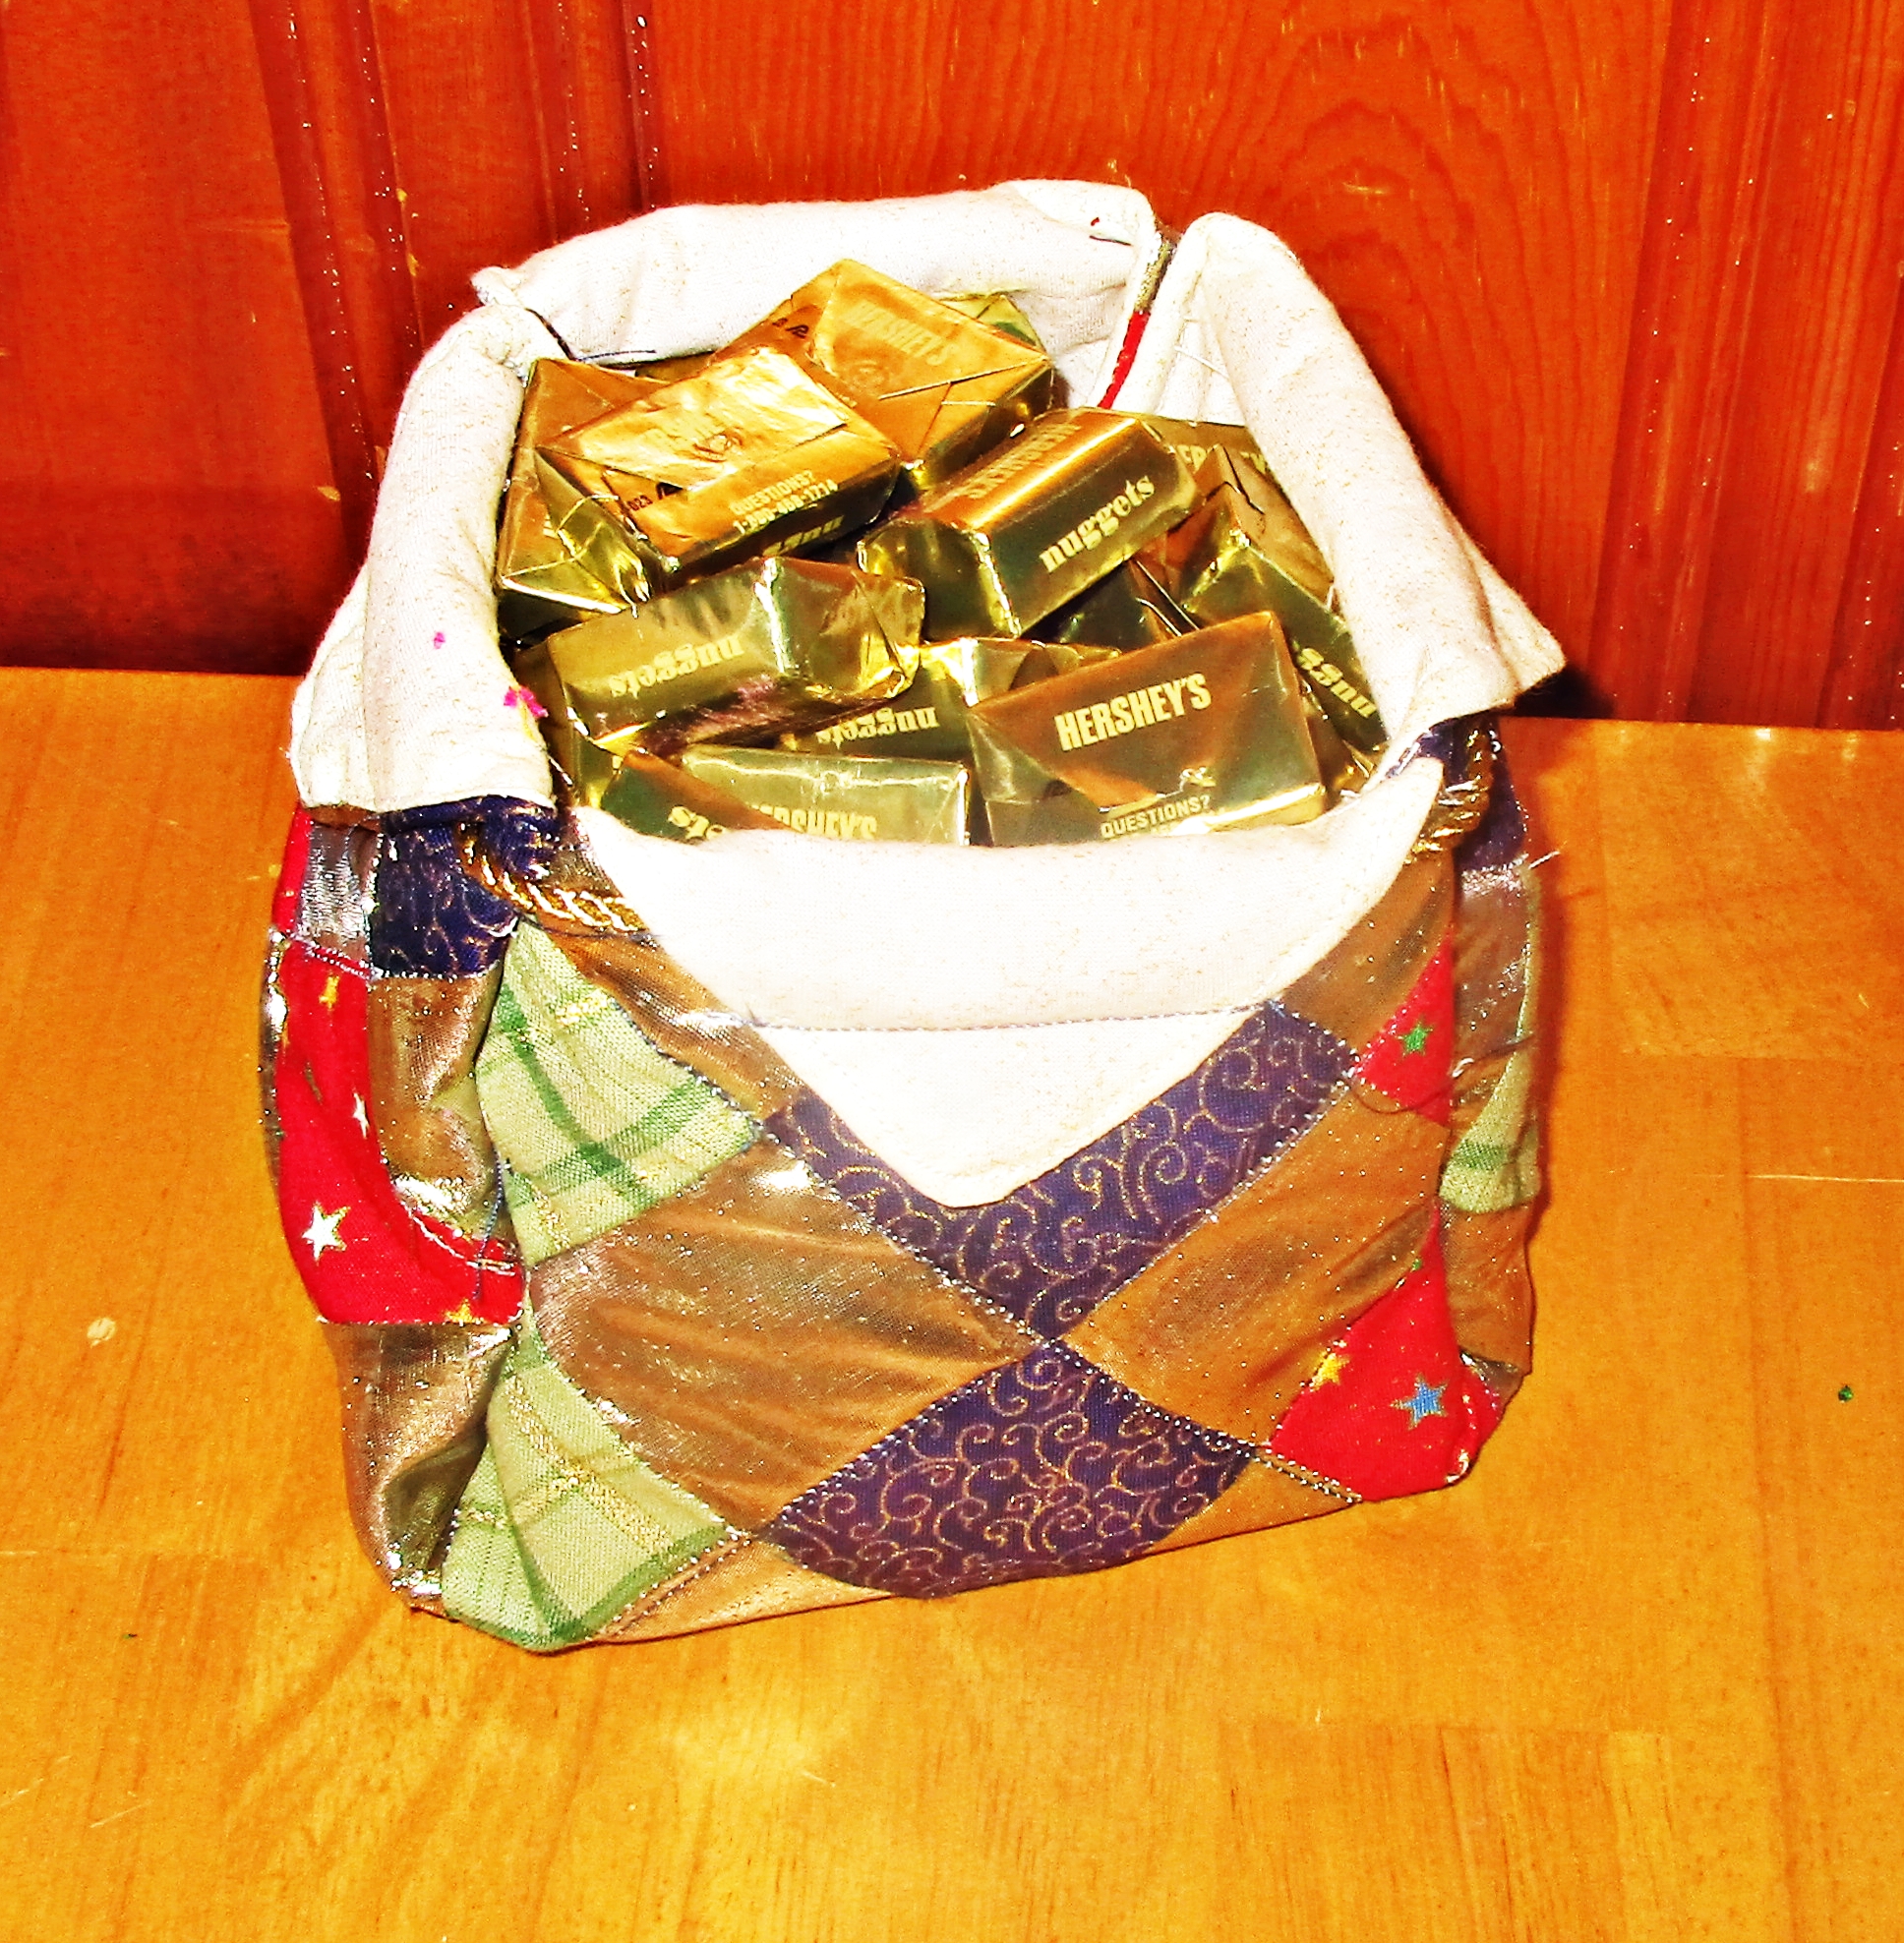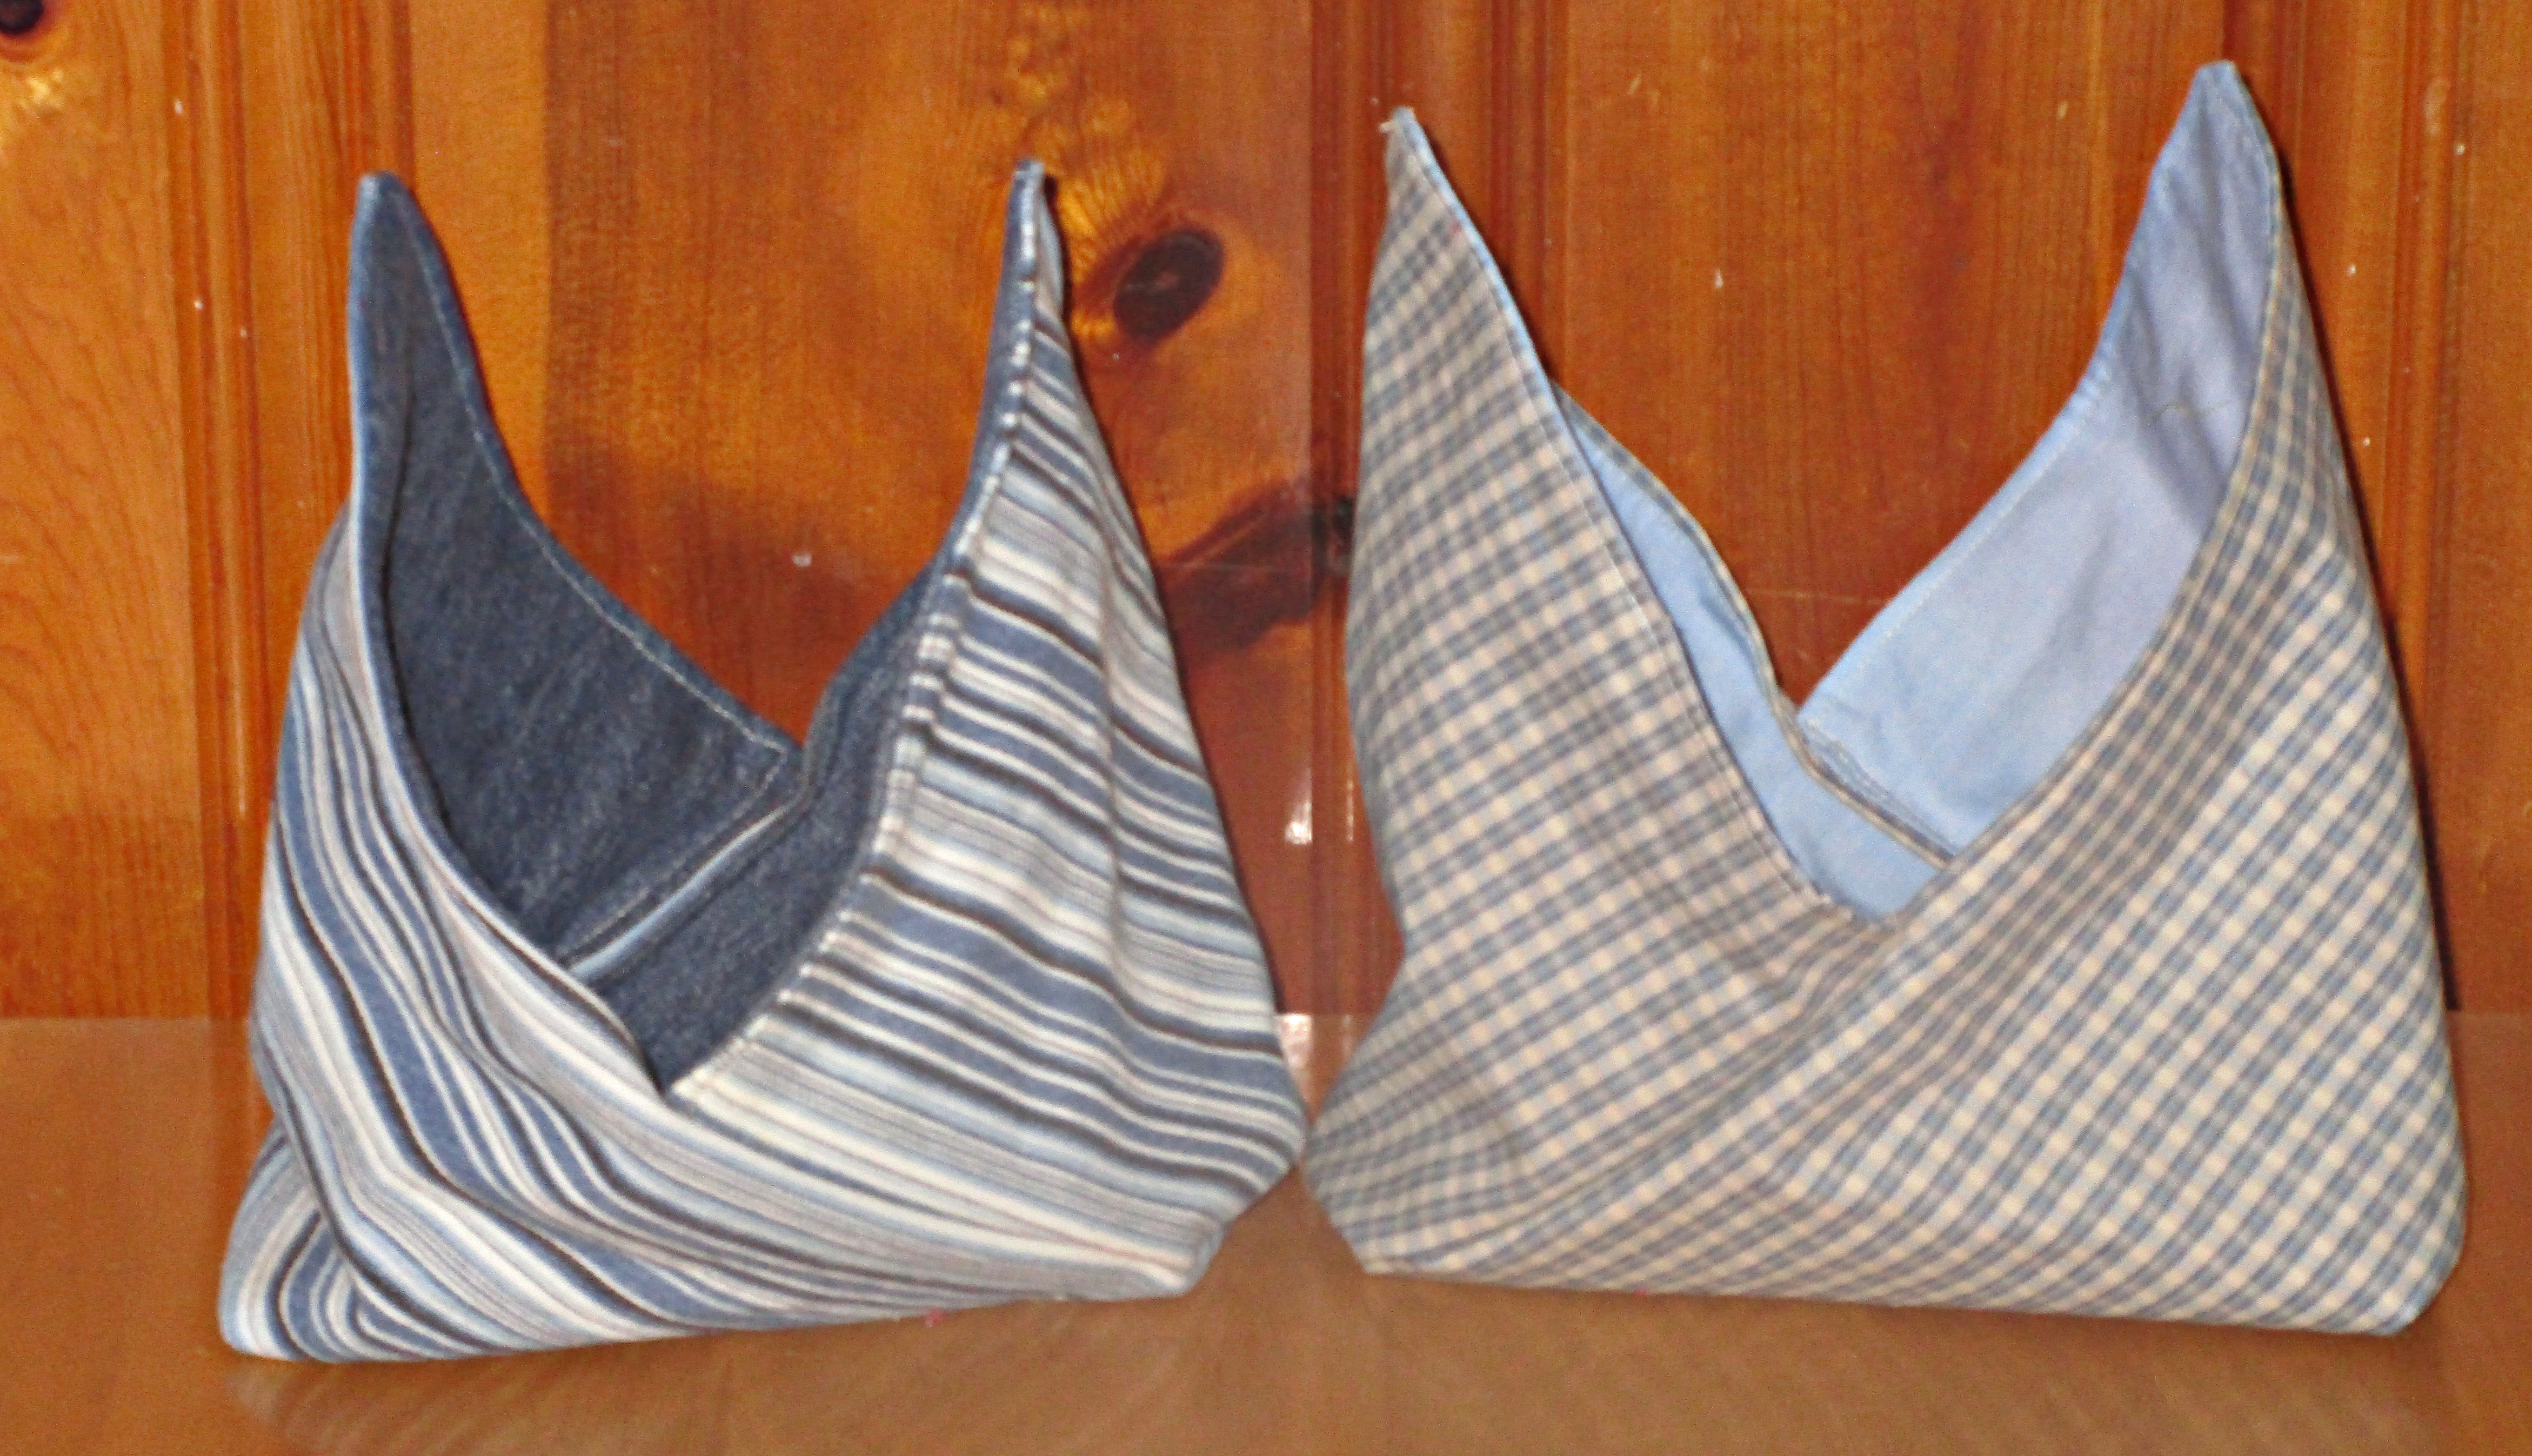
We made lotus shaped kinchaku drawstring bags here on the blog a couple of weeks ago. I told you then that there are other ways to make kinchaku, too. So let’s look at these now.
Kinchaku are purse or lunch sized drawstring pouches. They were traditionally made with chirimen, which are kimono fabrics. They are most often made with a round or square bottom.And they are and were extremely popular with ladies in Japan, both now and in history.
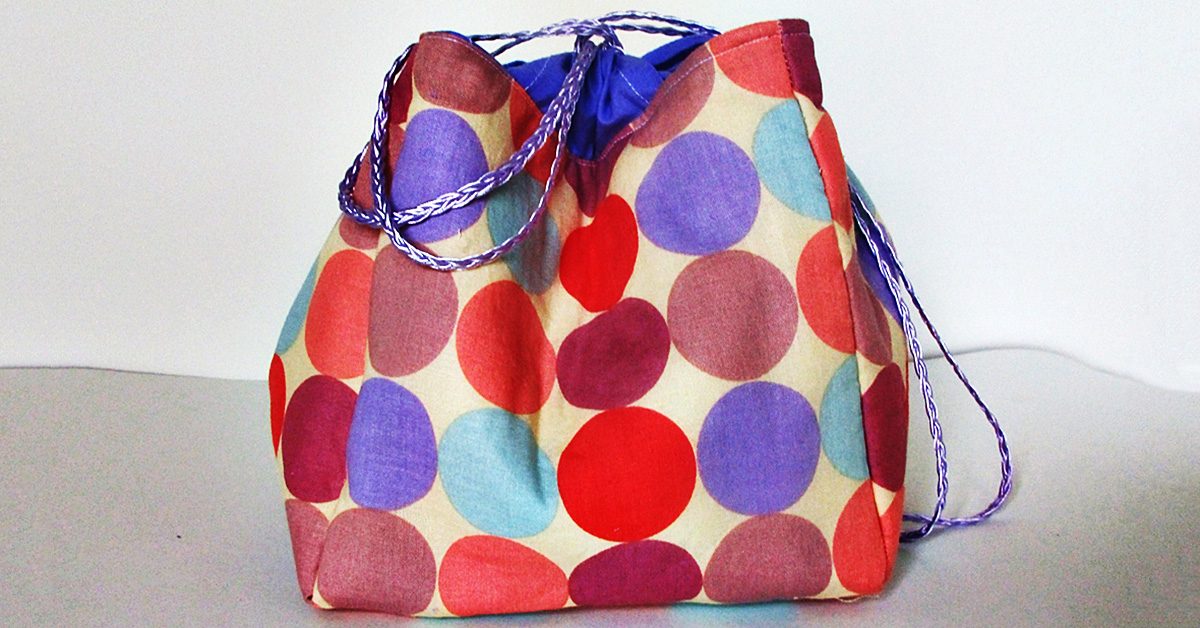
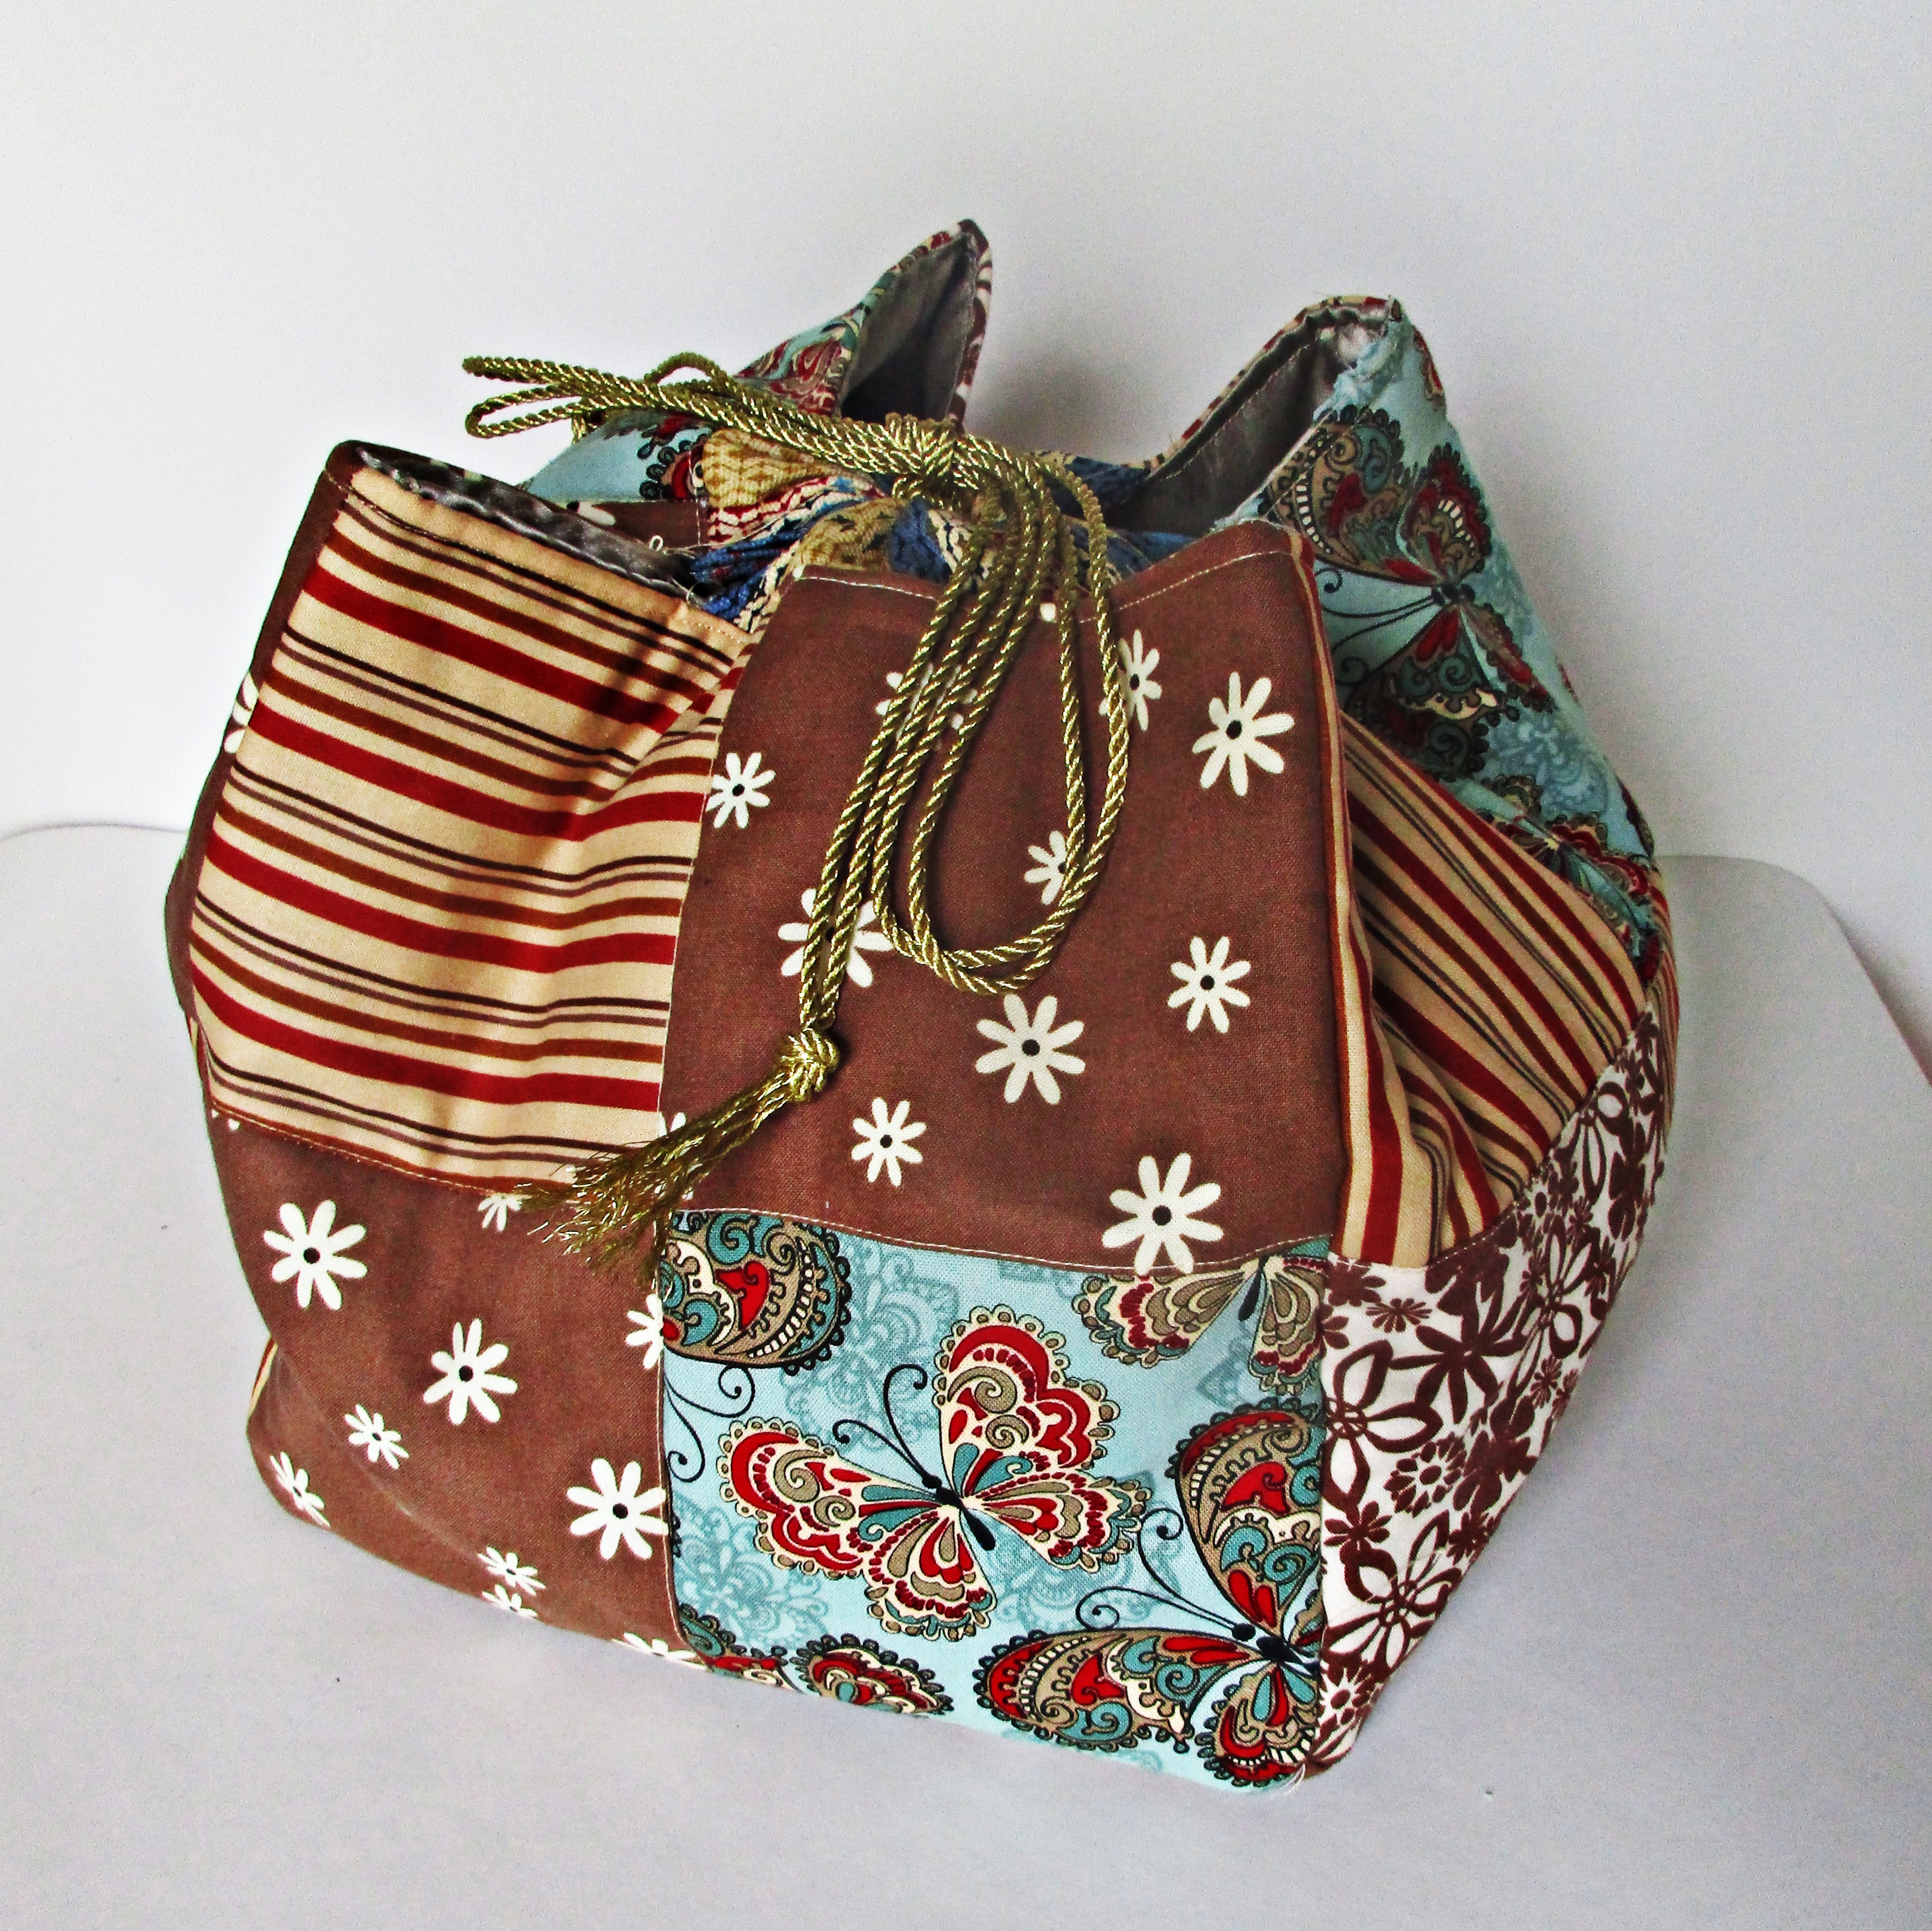
I didn’t have any chirimen fabric, but I did have a piece of Robert Kaufman Tranquility fabric with a crane motif and hints of gold shimmer.
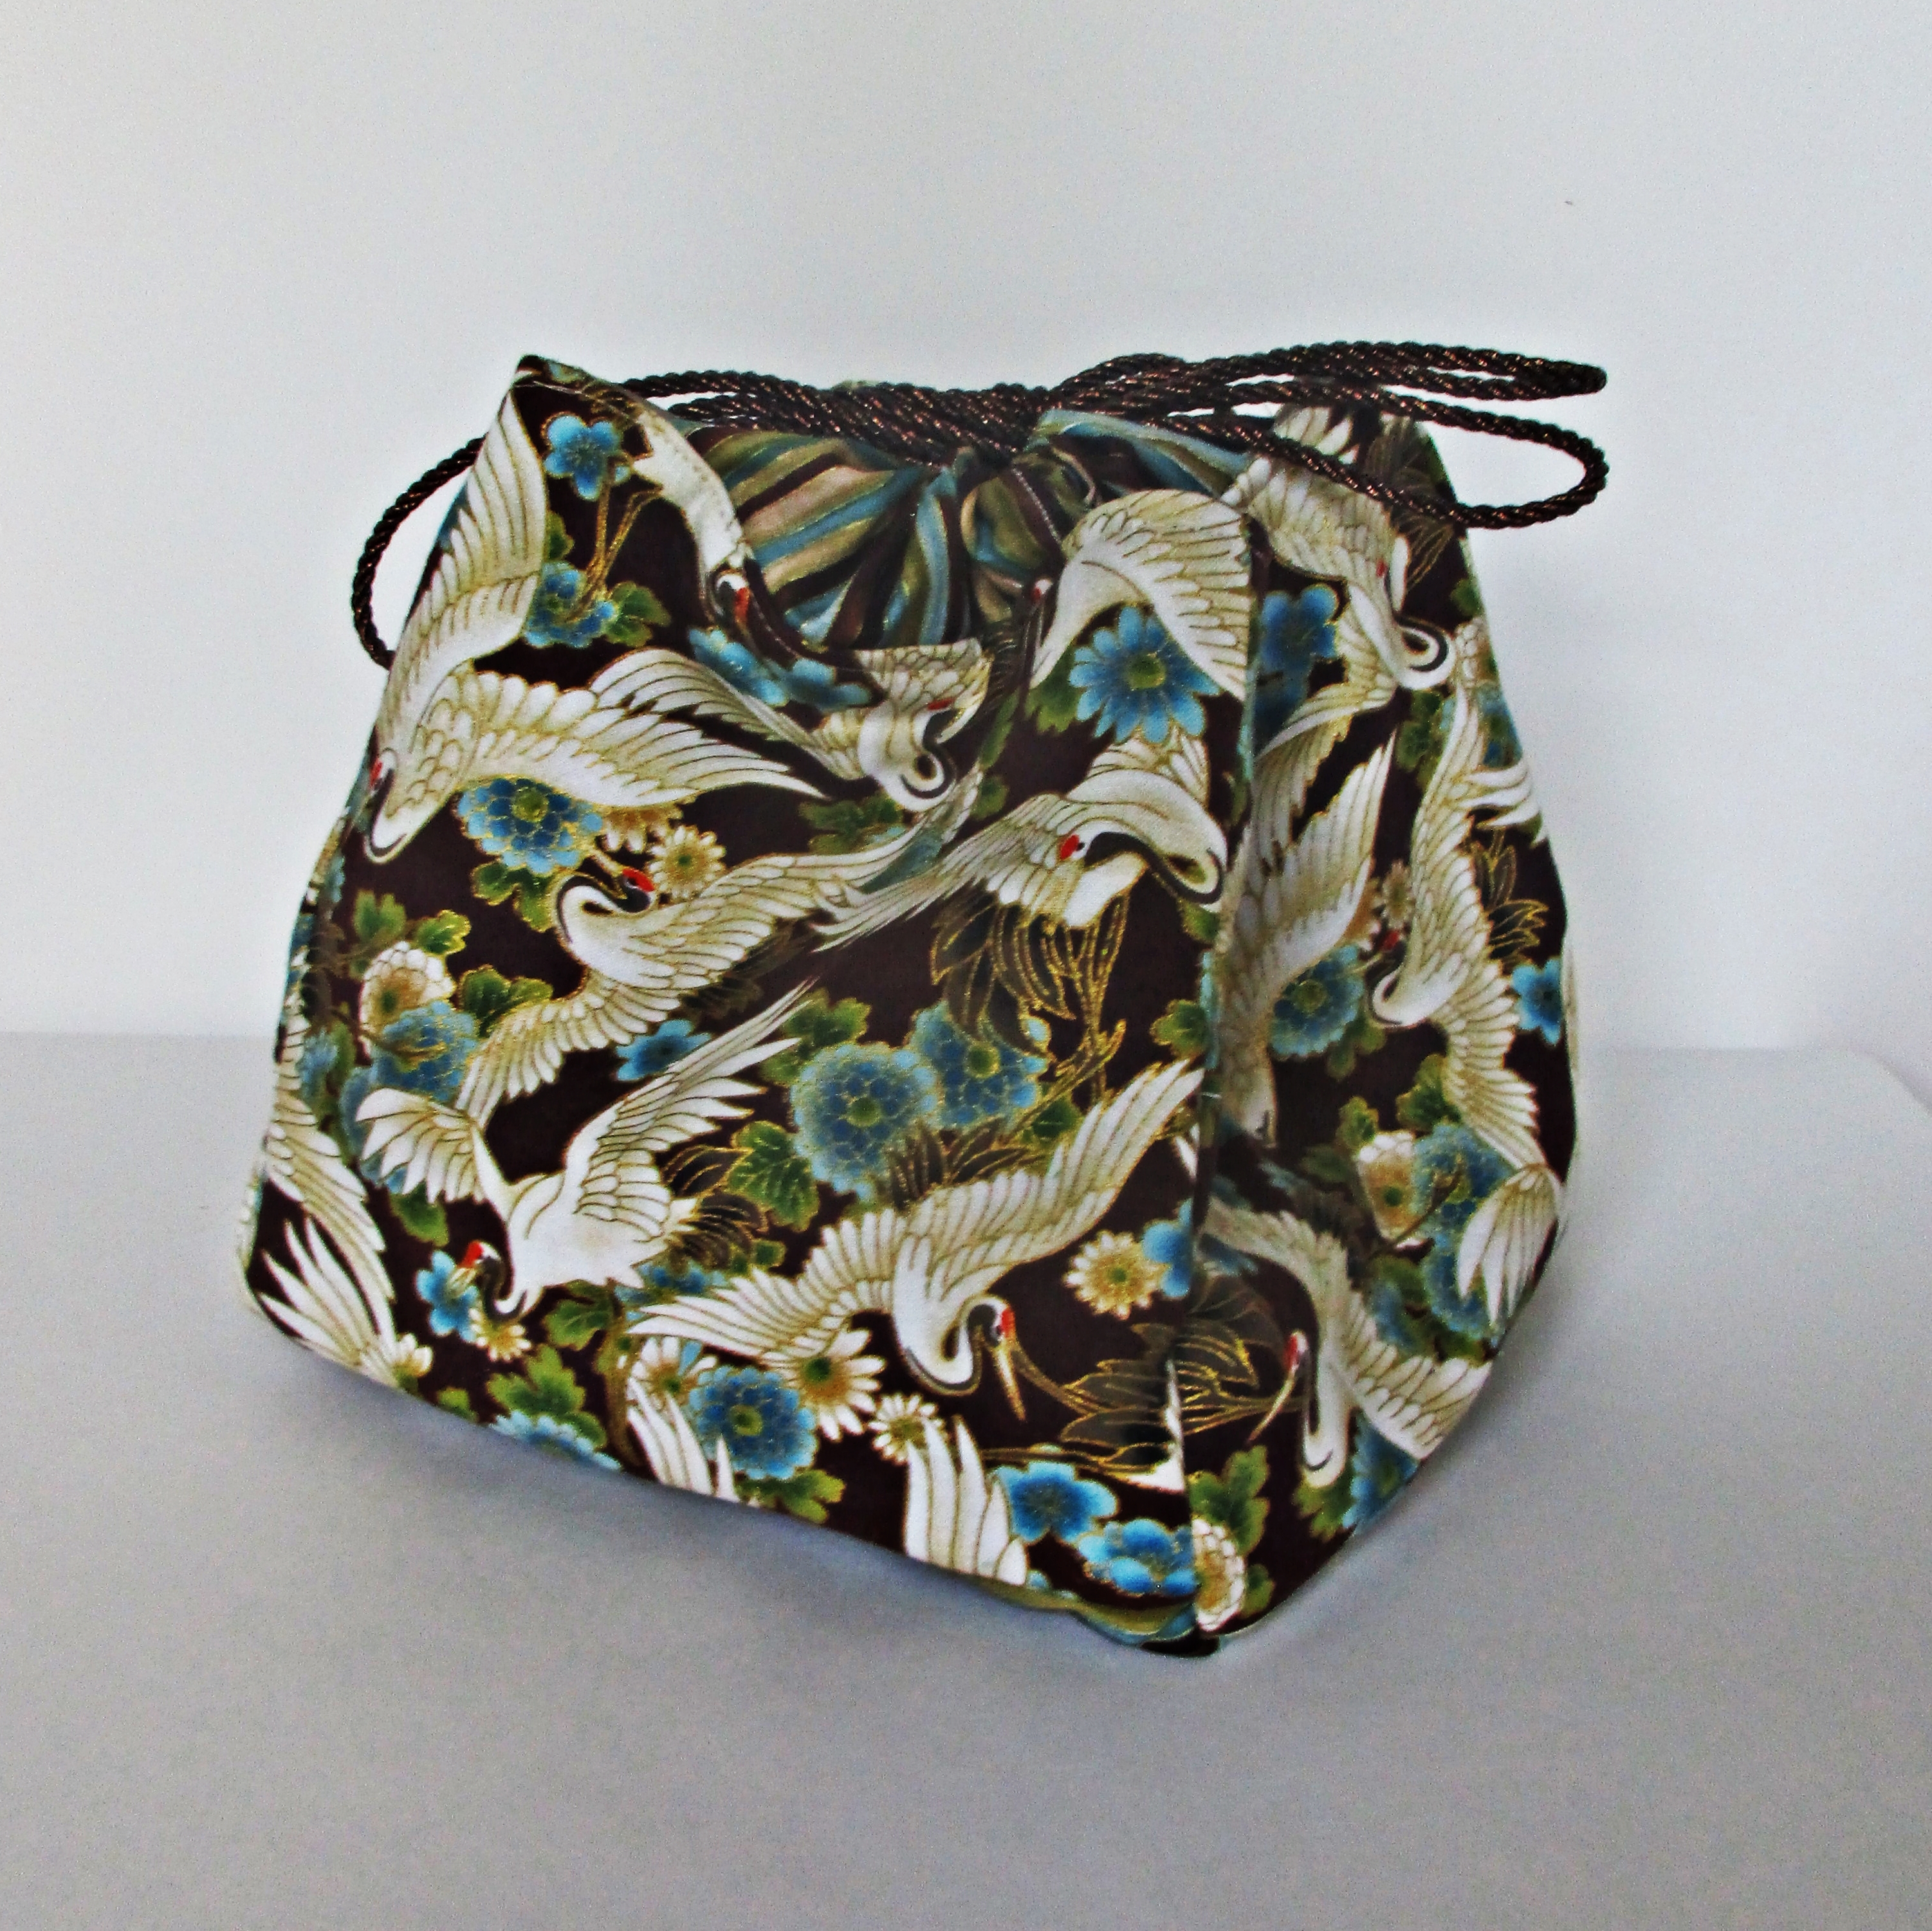
Square kinchaku, fabric by Robert Kaufman
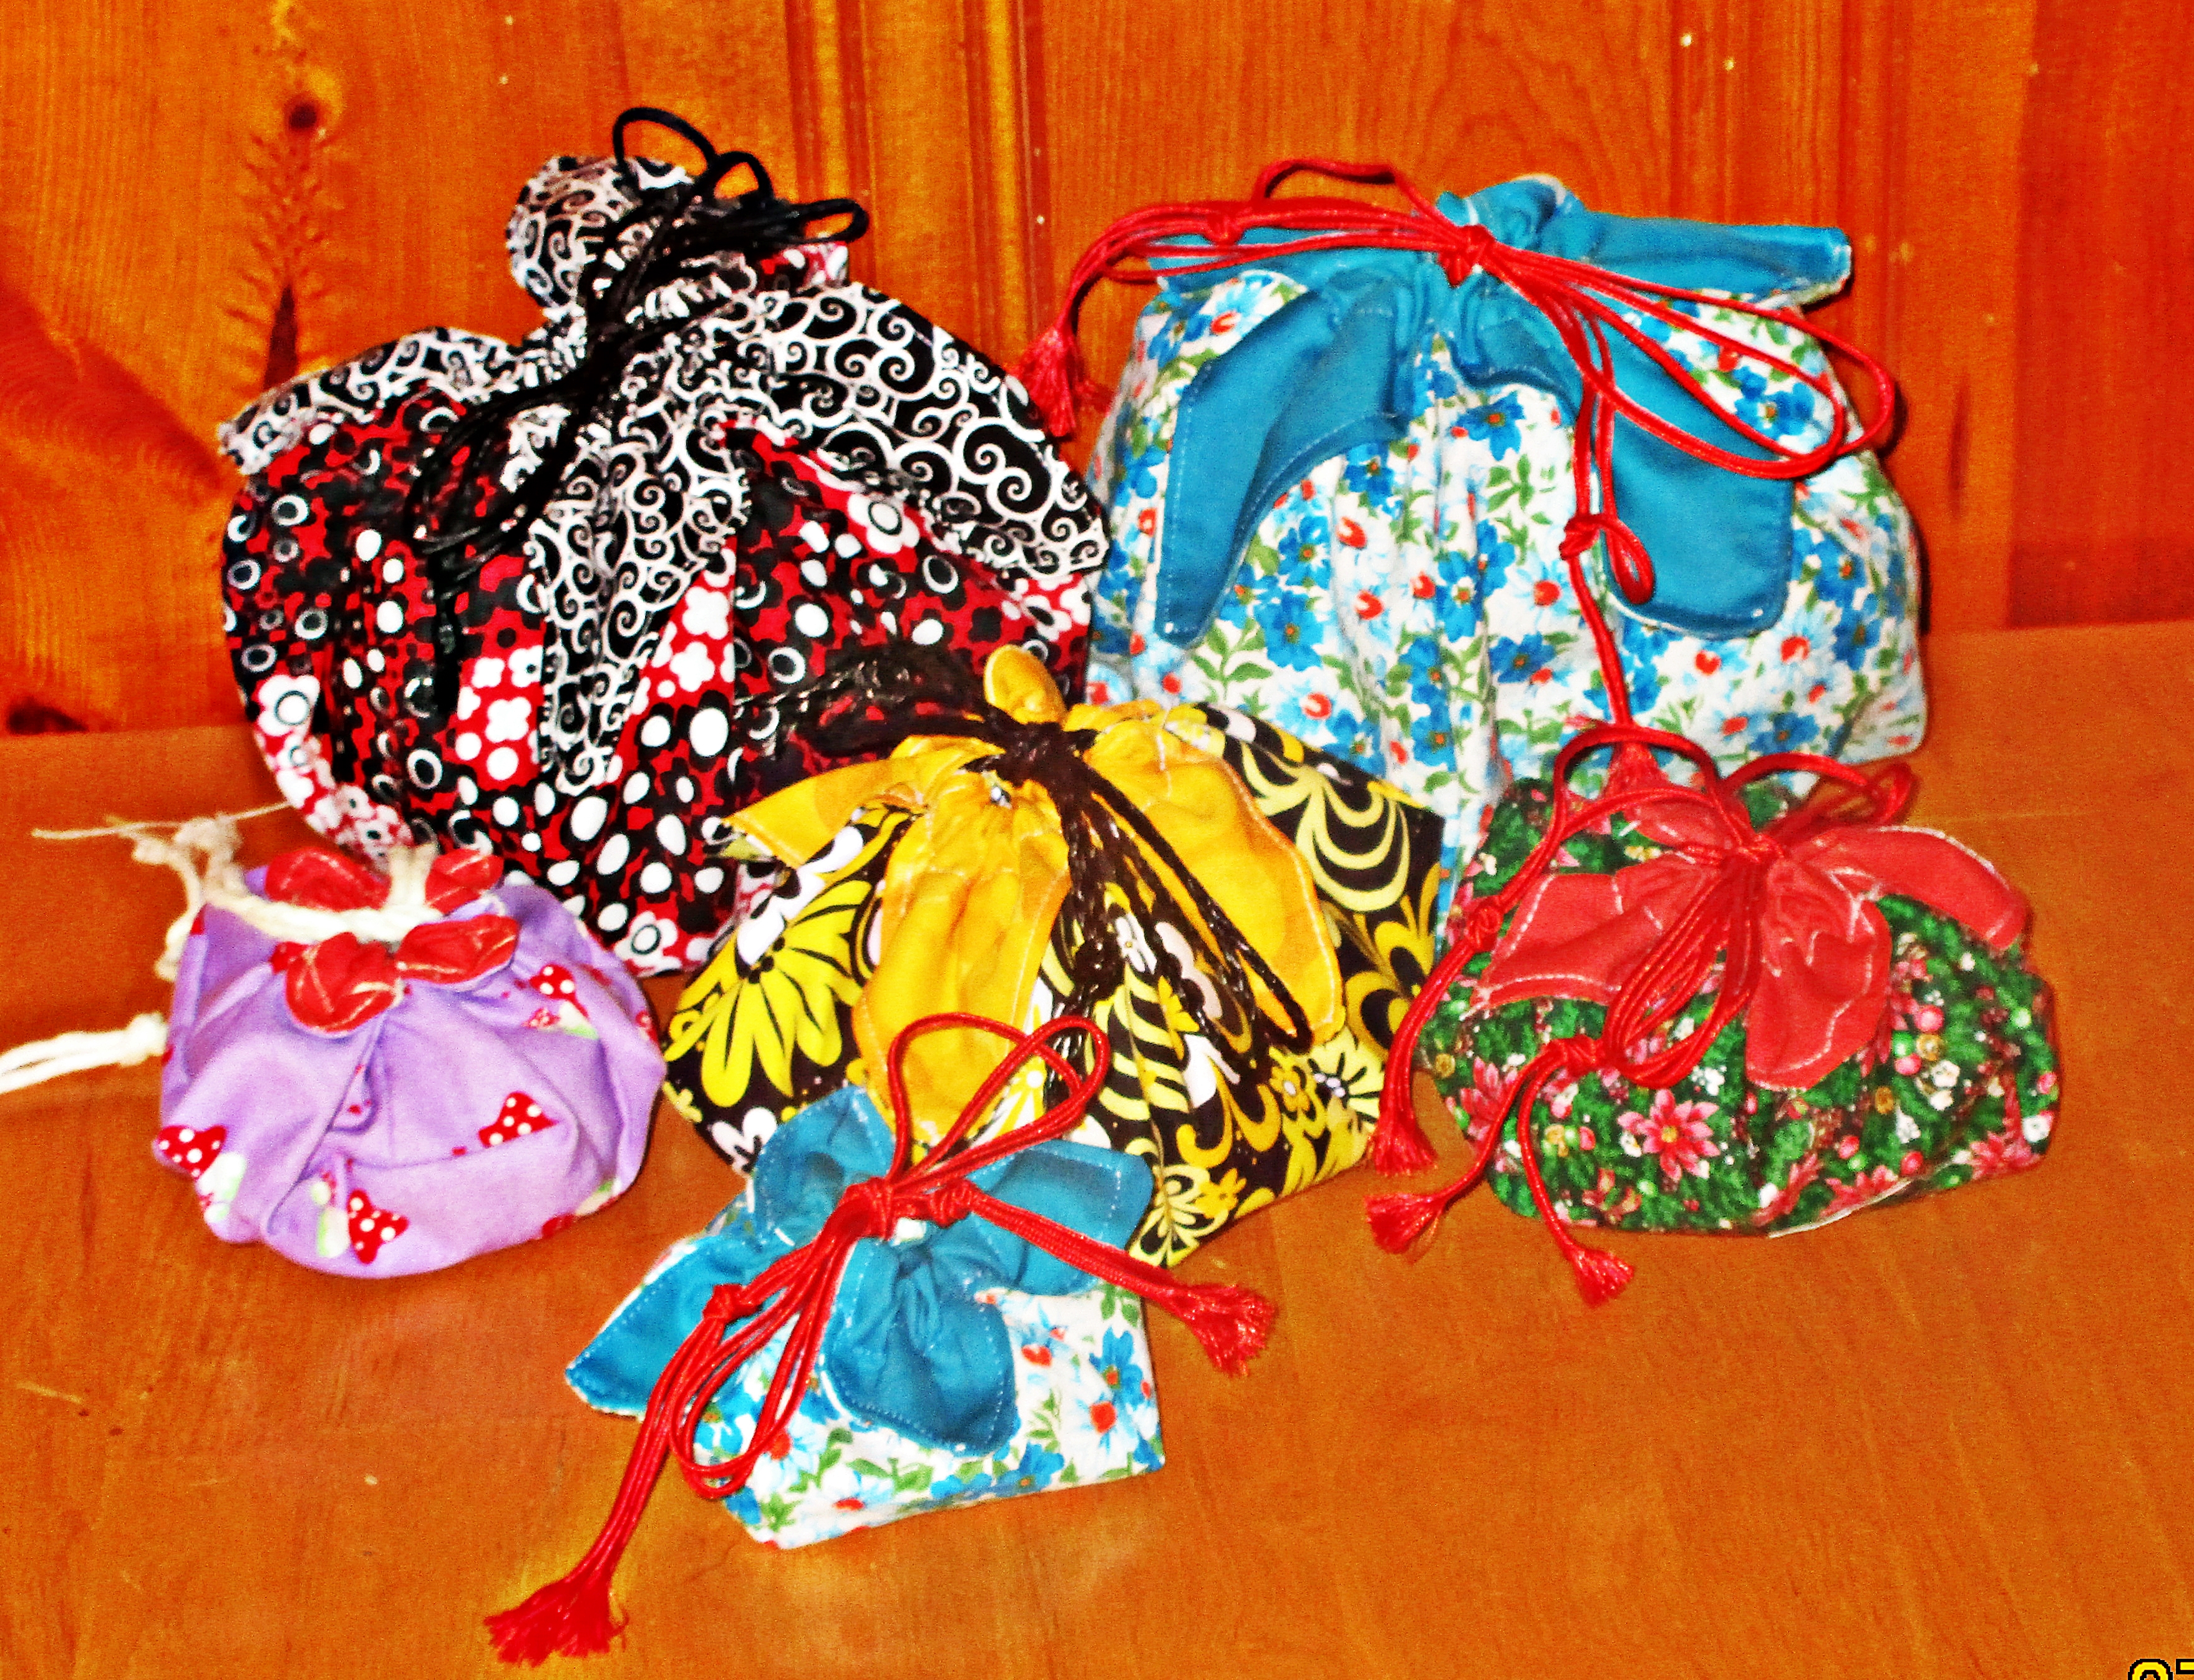
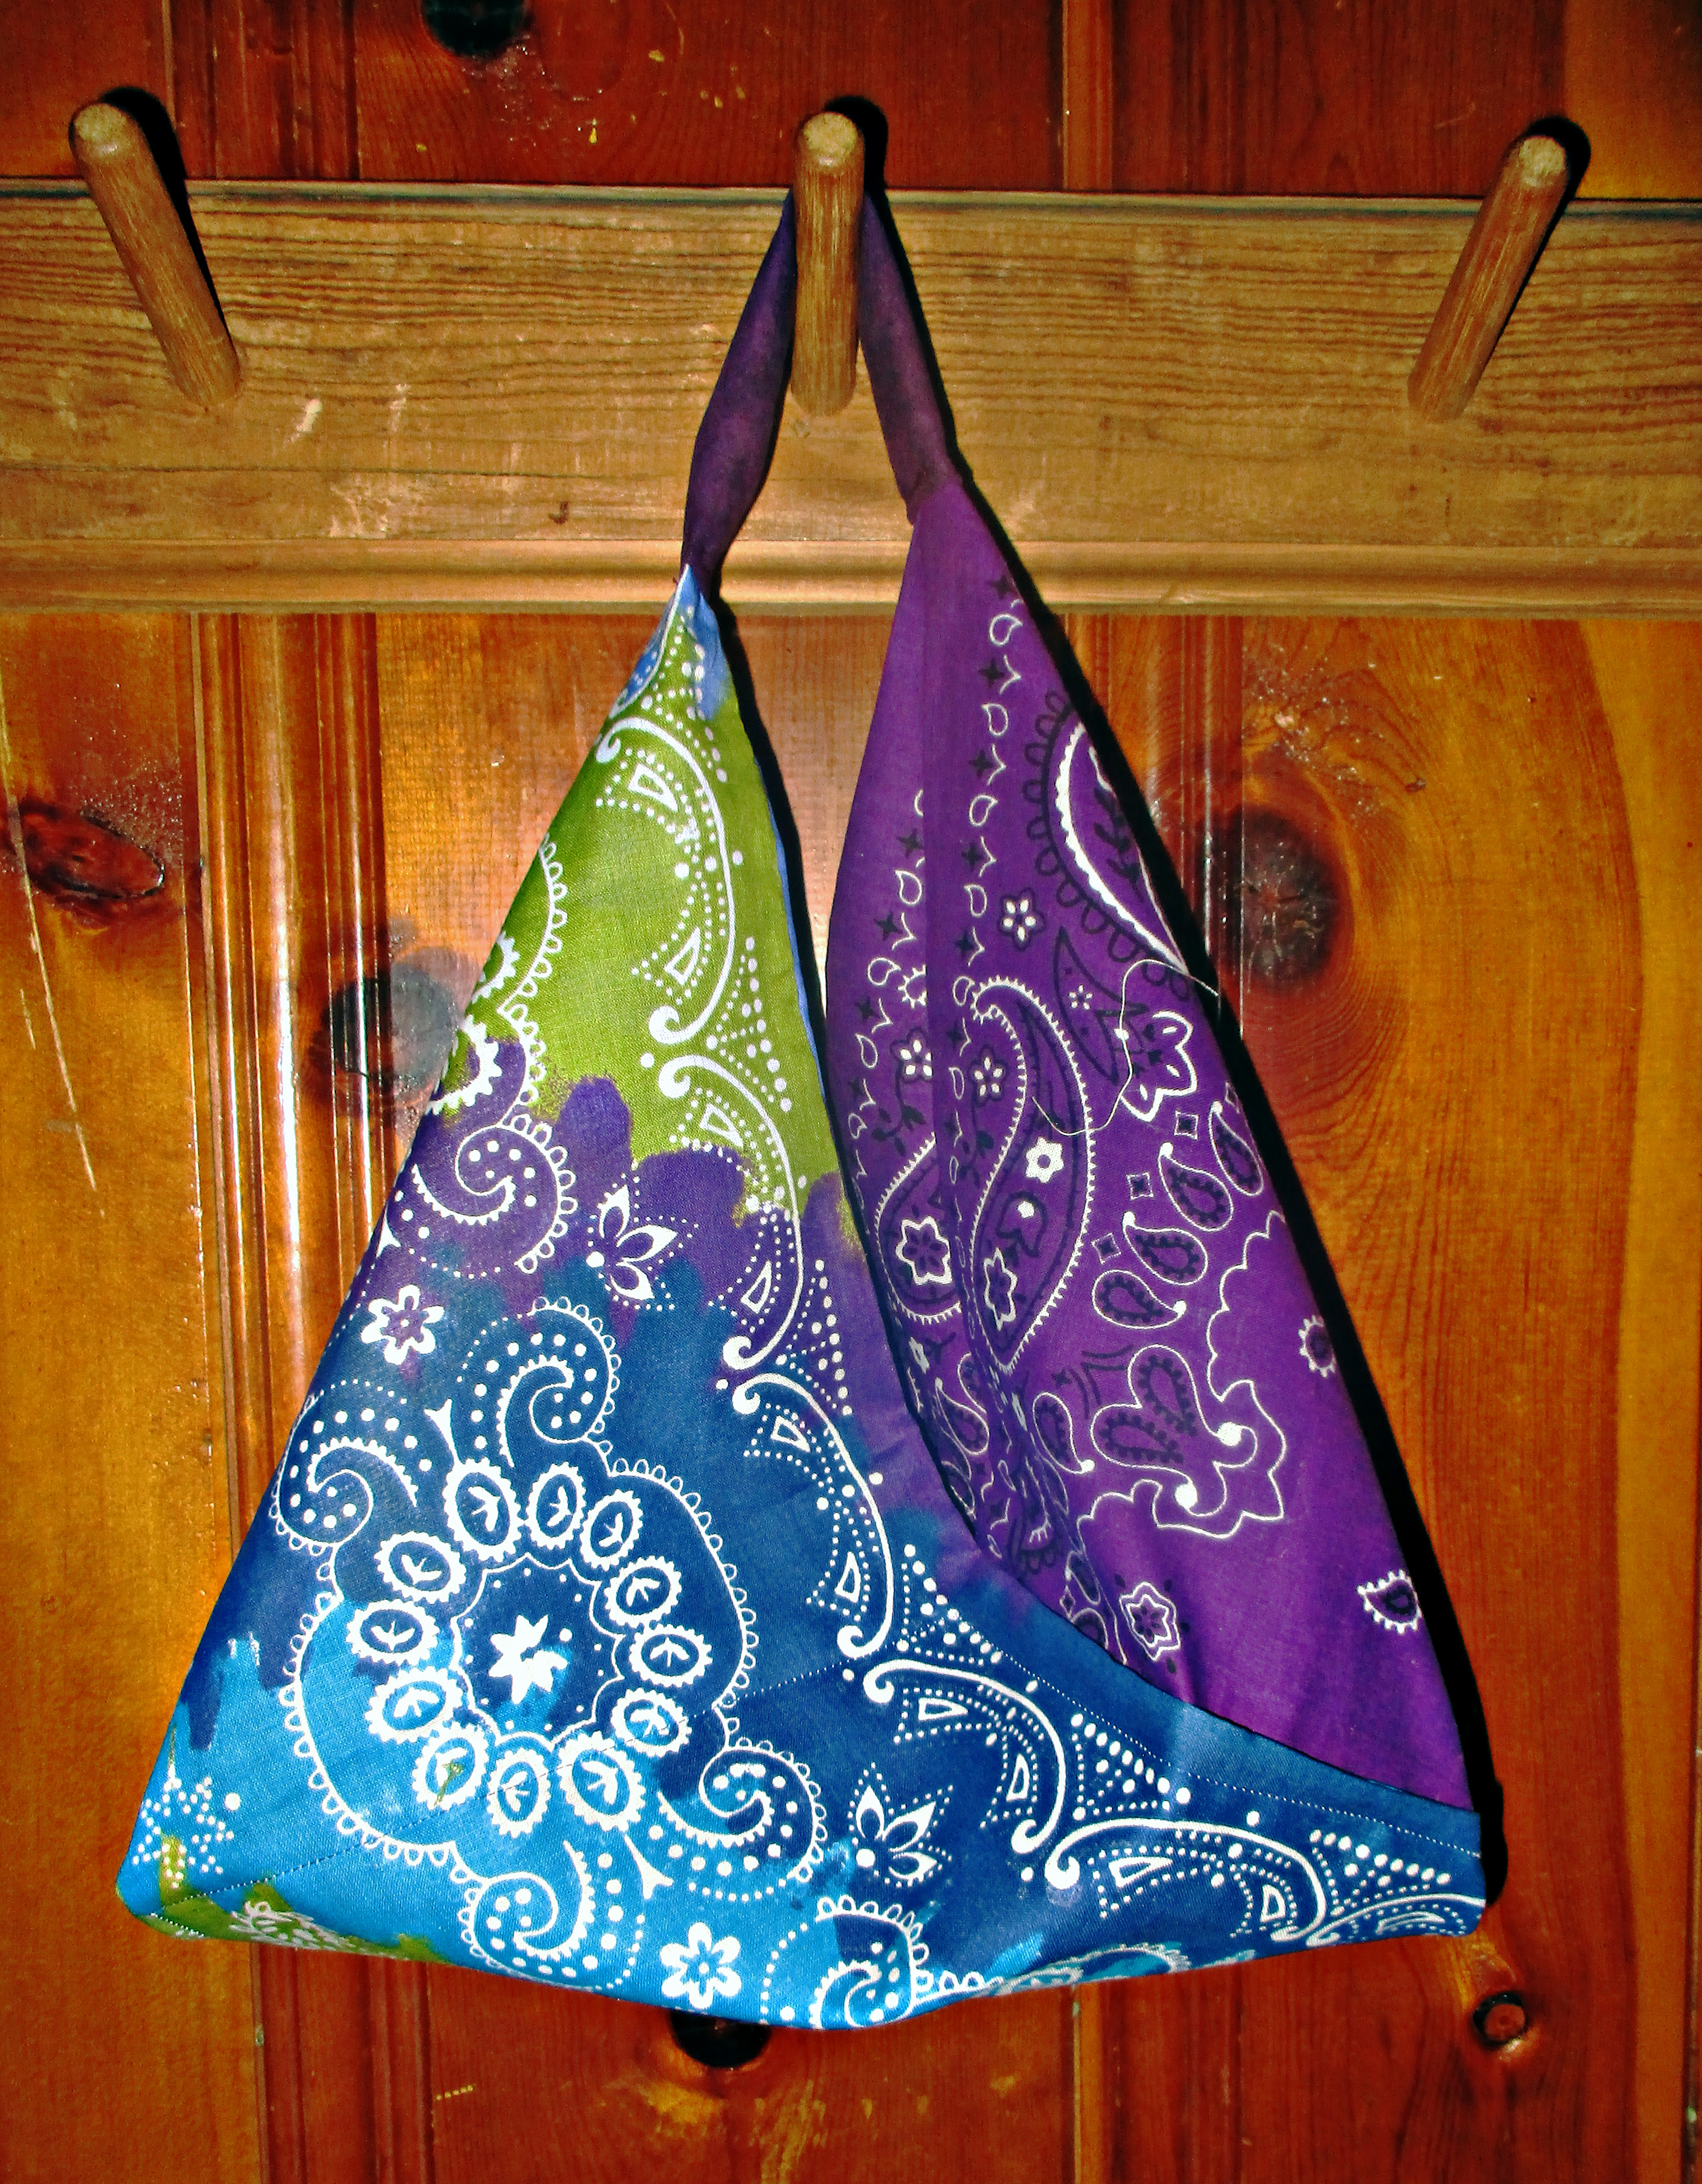
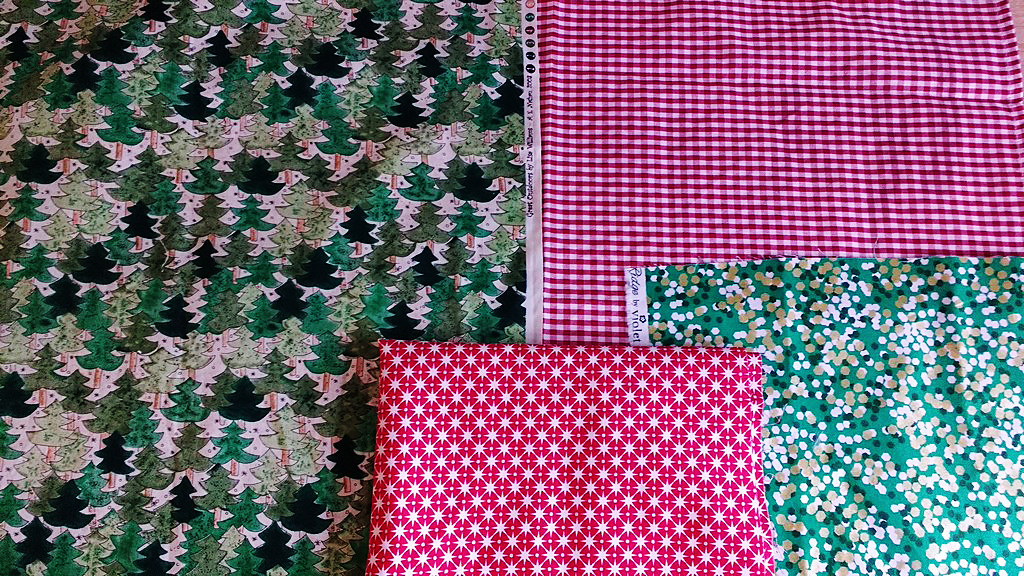
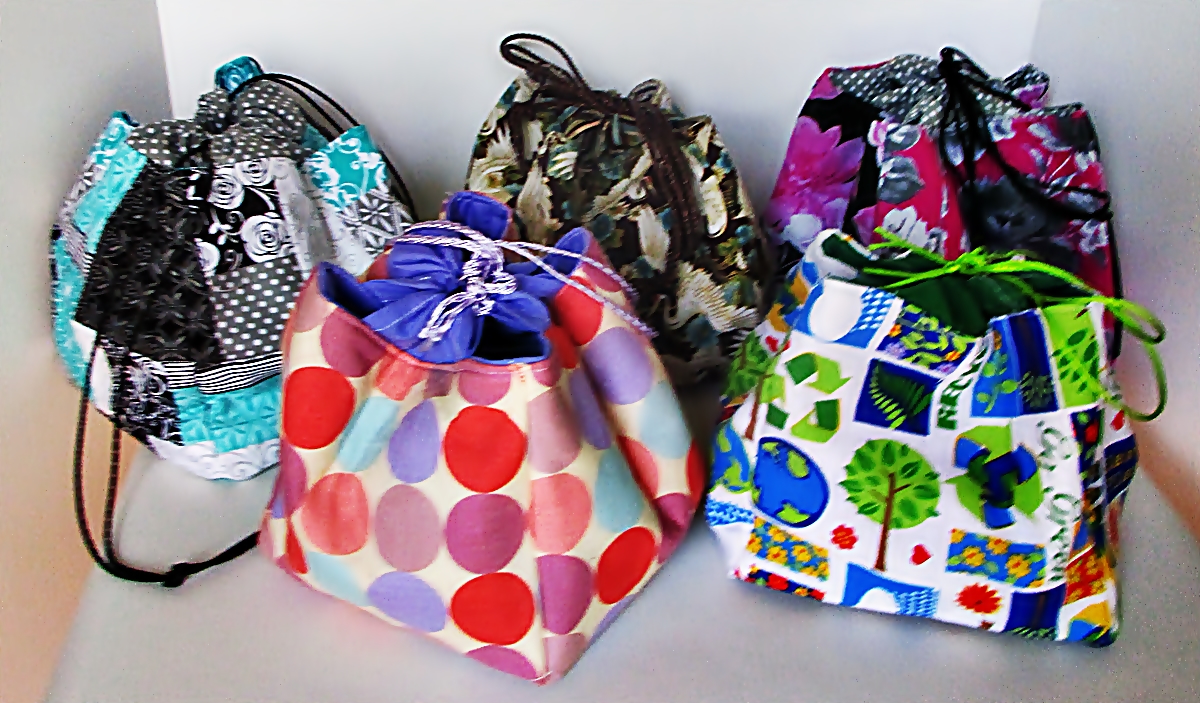
I started with this Japanese inspired print, and then I made these in all sorts of other prints, too.
These are reversible, by the way, when you make them the way I’m showing you.
How to sew kinchaku
You can make your kinchaku with a square or a round bottom.
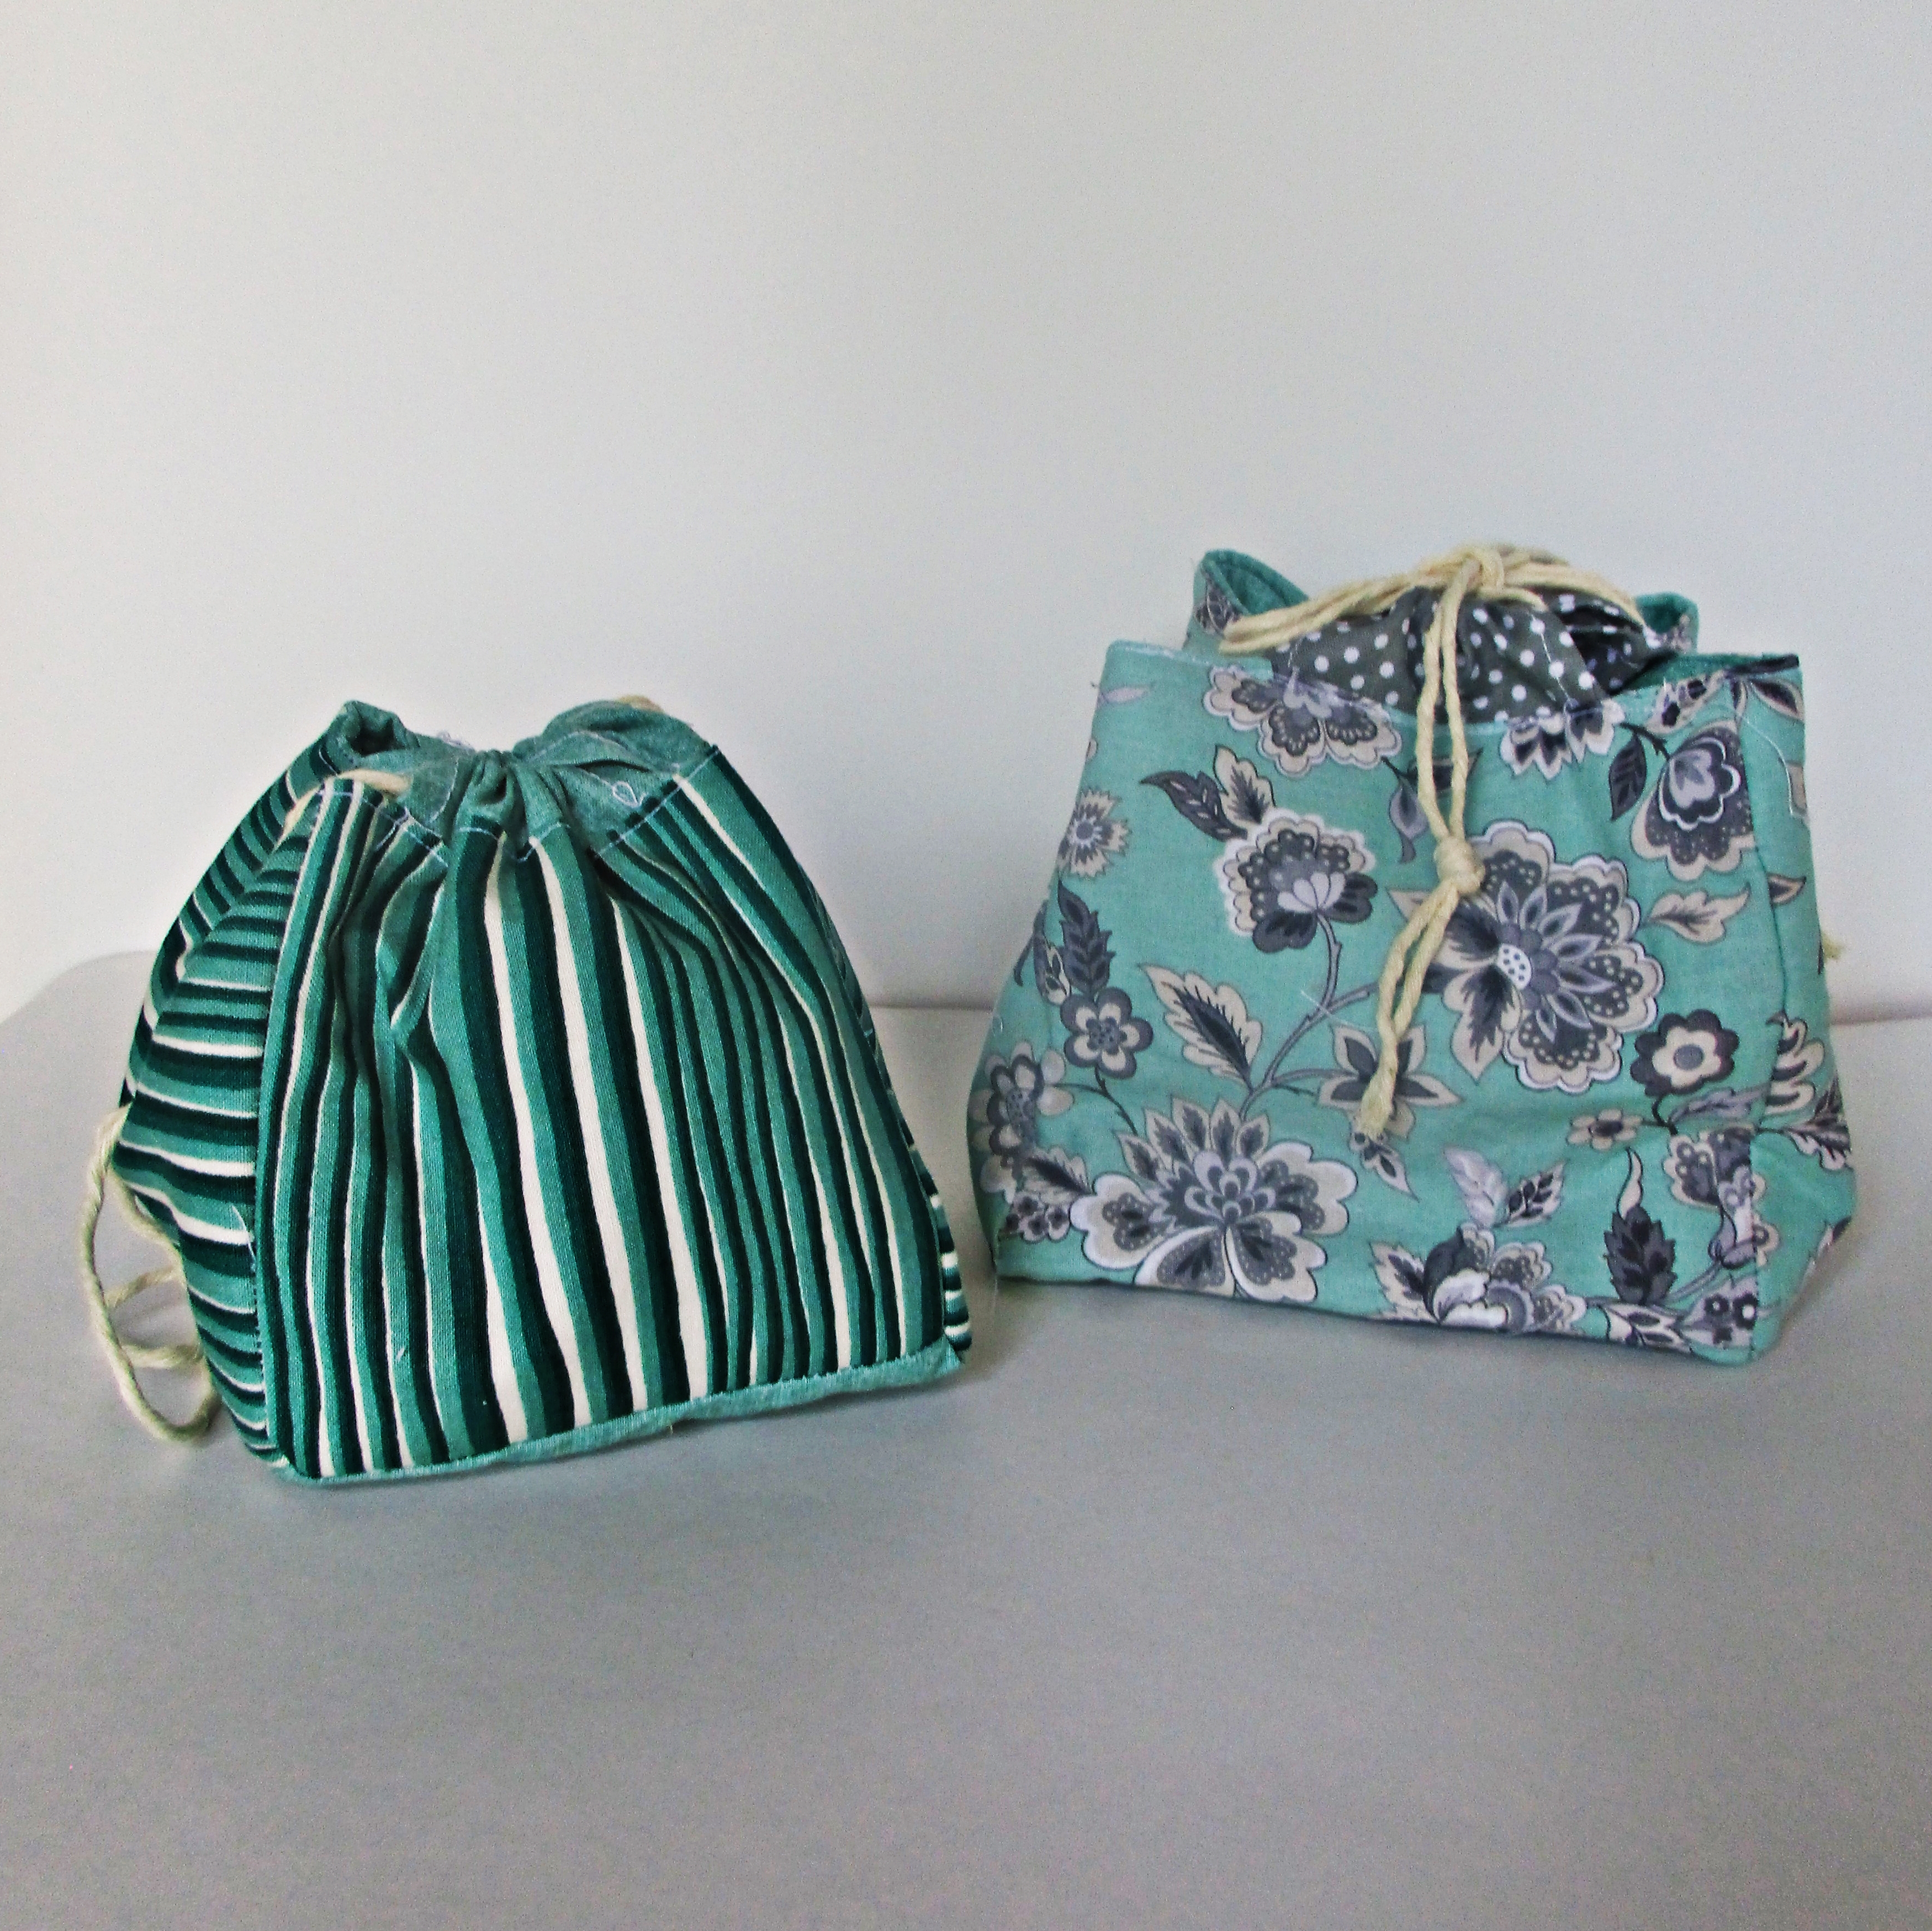
Small kinchaku made from five and six-inch squares
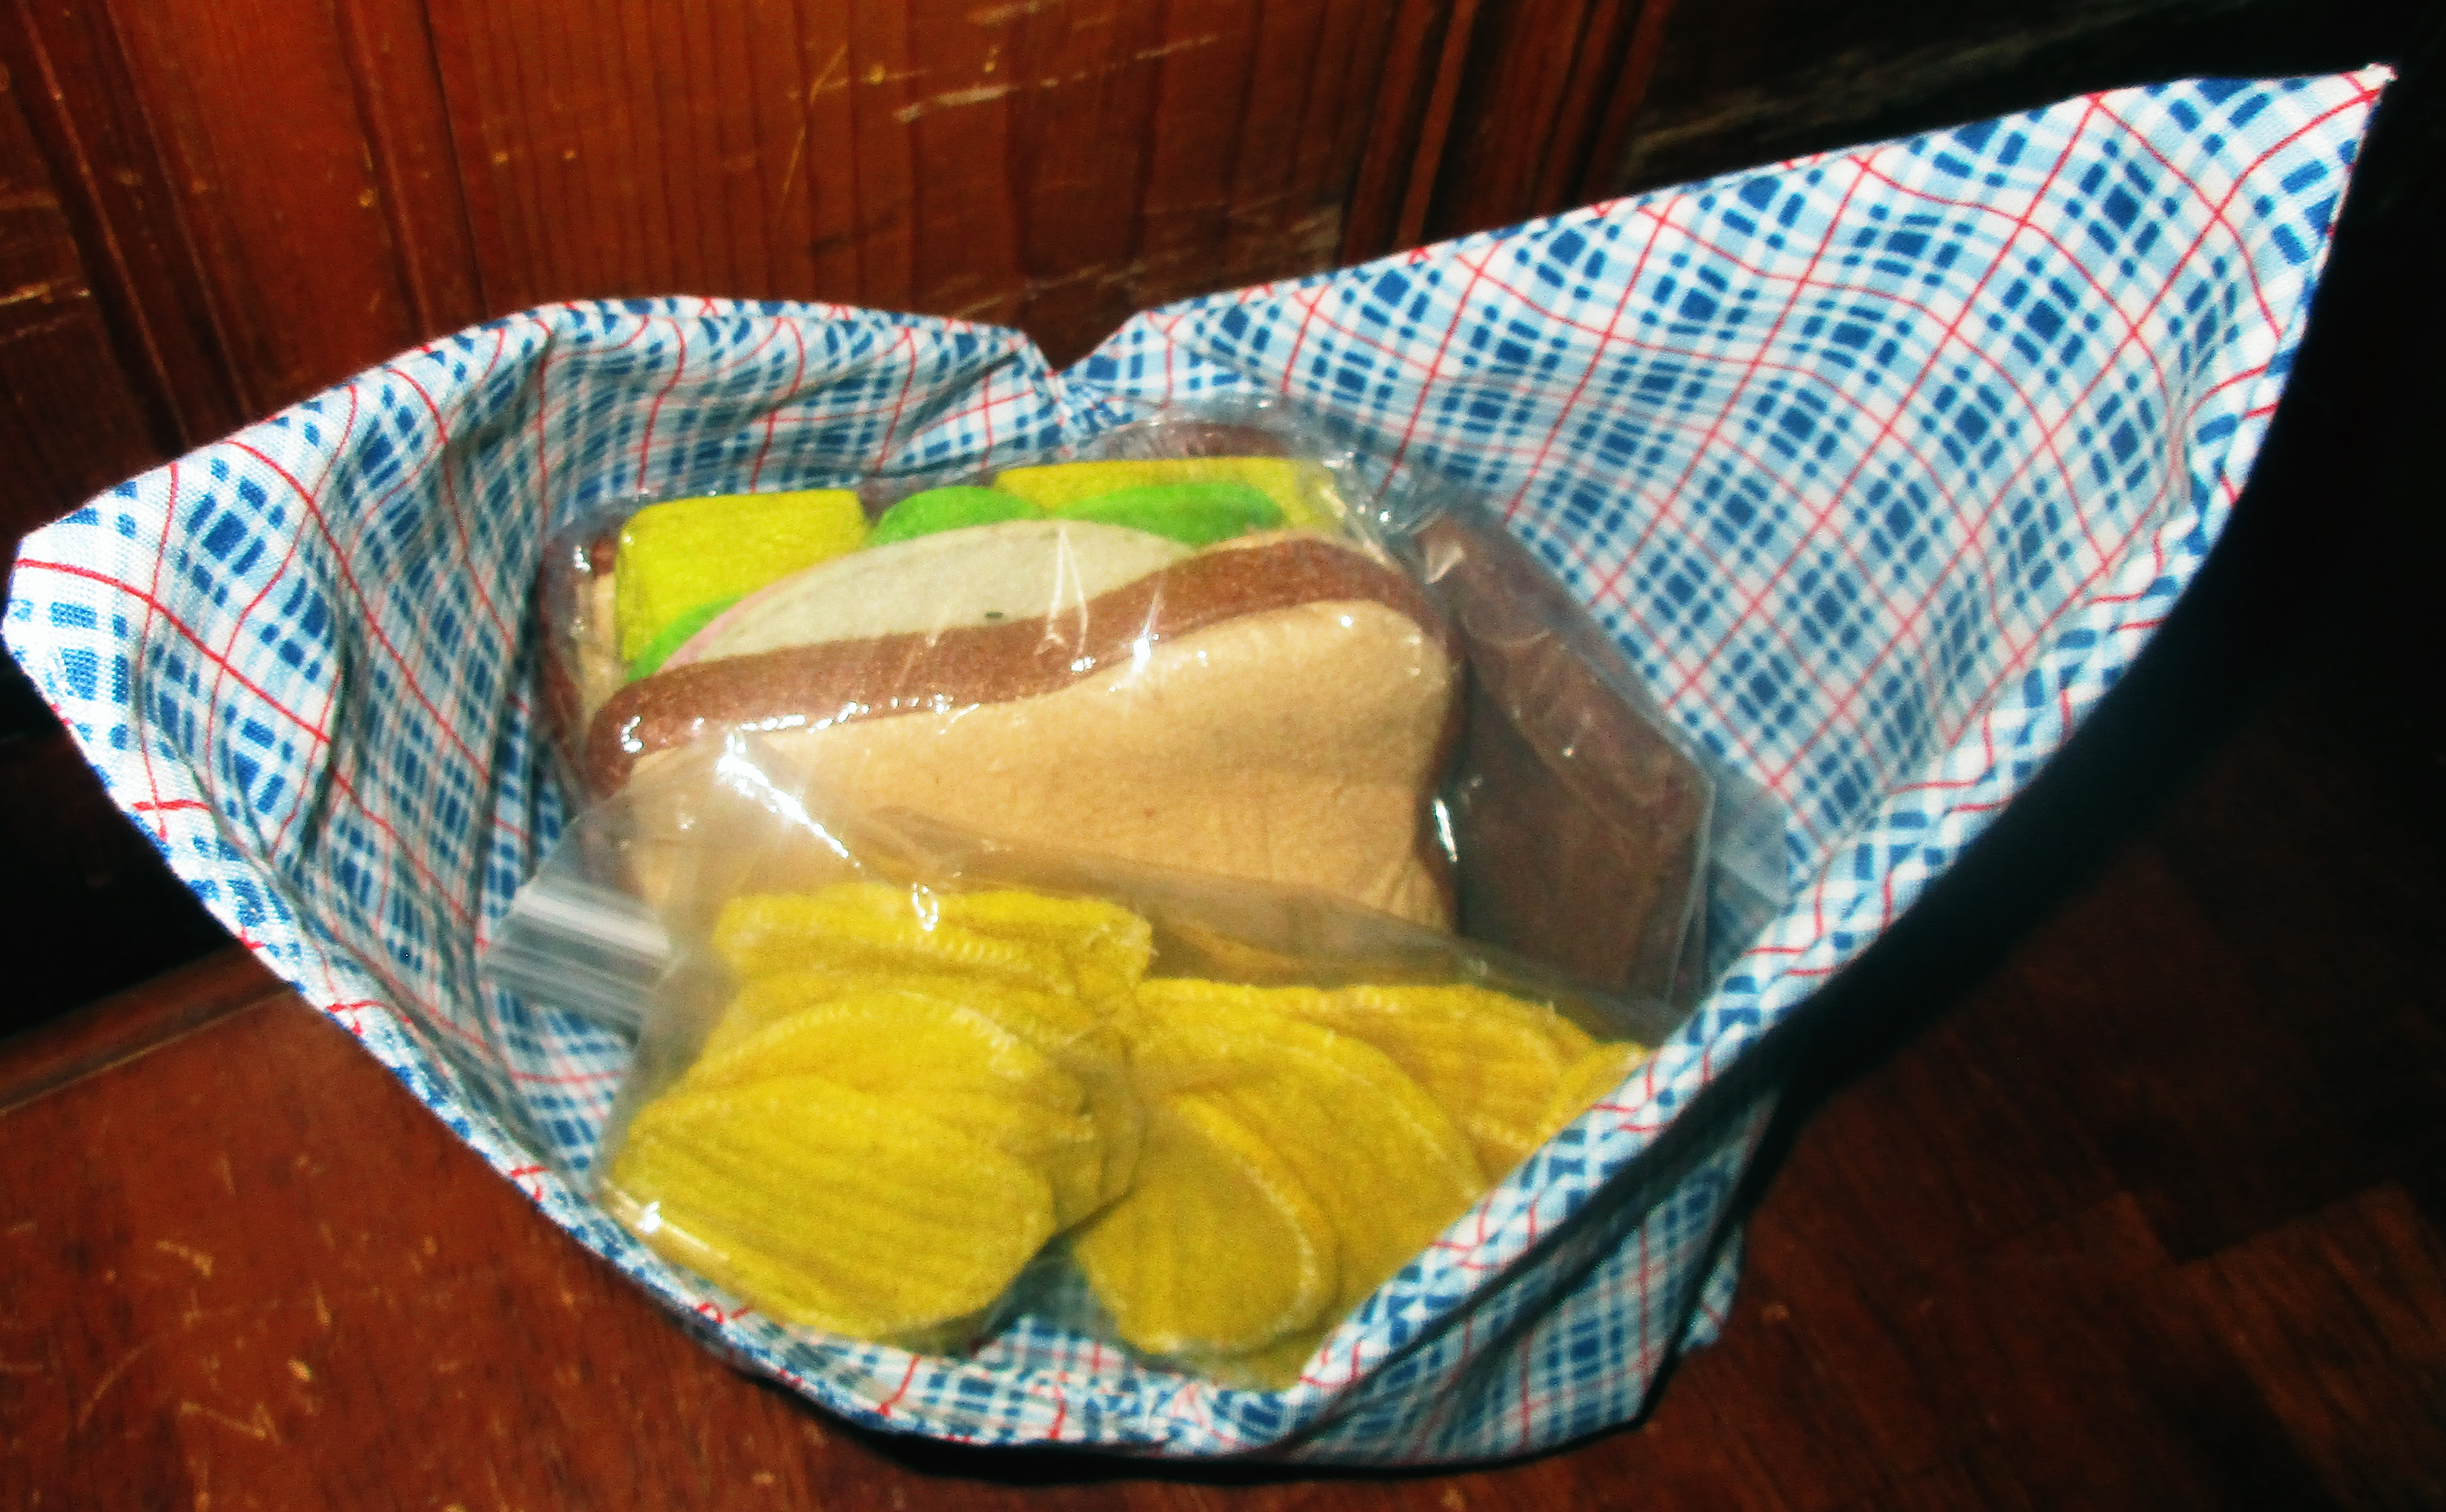
You can make them any size that you like. Use three or four inch squares and add pockets inside to make a small pouch for carrying jewelry. Or use eight or nine inch squares to make a large purse. I think seven and a half inch squares are the perfect size for lunch bags.
I made one that’s ten inches all around, but once you make these that large or bigger, then they become komebukuro. We’ll save those for another post.
Make them sturdy
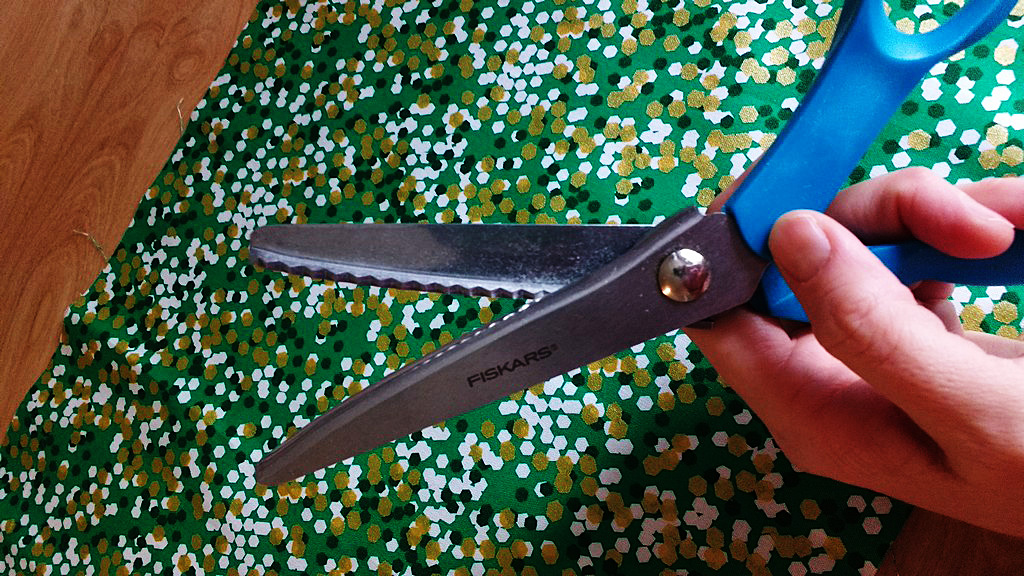
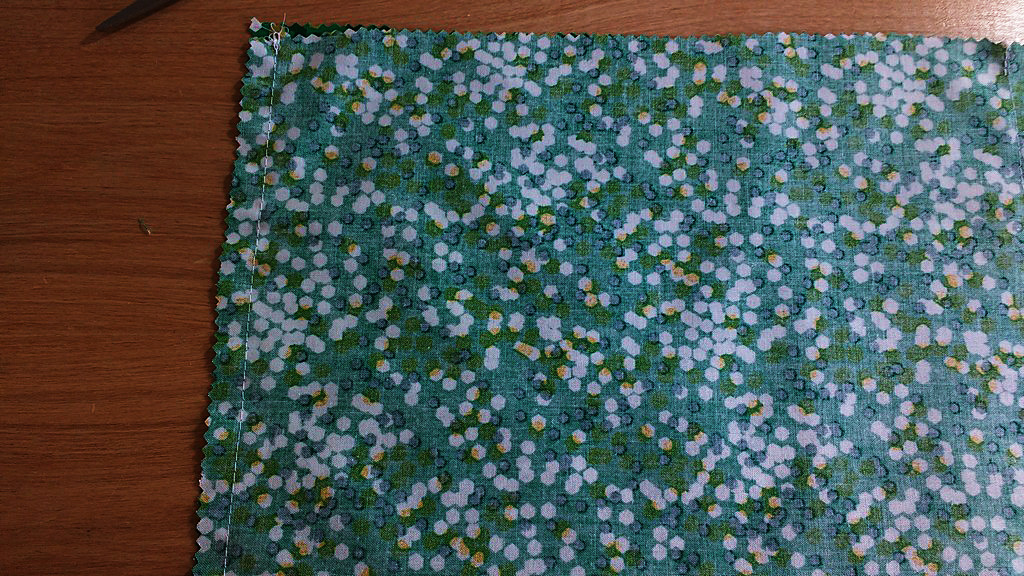
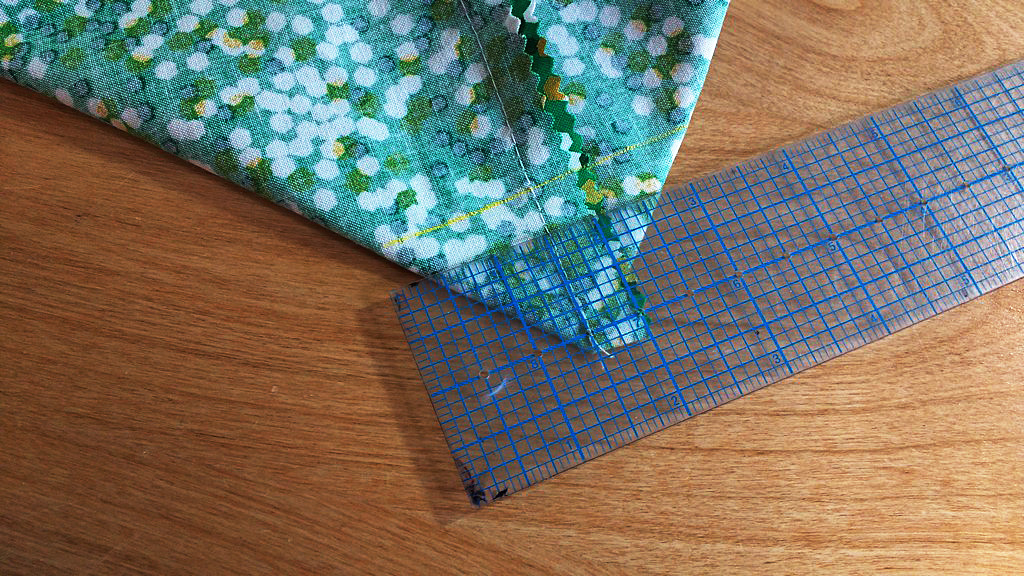
You will want to prepare your fabric squares before sewing these together in order to create a nice sturdy bag. You have choices here, and I recommend you make your choice based on the wise old principle of using what you have.
Prepare your squares using any combination of:
- Batting and backing
- Fusible fleece
- Midweight interfacing
- Heavyweight interfacing
- Felt
- Canvas
- Duck
- Denim
I like to use fusible fleece on five of the squares and midweight interfacing or sturdy duck or denim for the other five. Felt works nicely in place of fusible fleece.
For canvas, felt, or anything other than fusible type interfacing, you can baste the sturdier fabric to the back of a lighter weight cotton if you are using this for your outer fabric. To baste, just sew these together with a scant 1/8” inch allowance all around.
Or make a miniature “quilt sandwich” by layering your outer fabric over a layer of wadding (batting) and a backing square. Then quilt these together. You can have fun with this and do some fancy or decorative quilting. Or you can keep it simple.
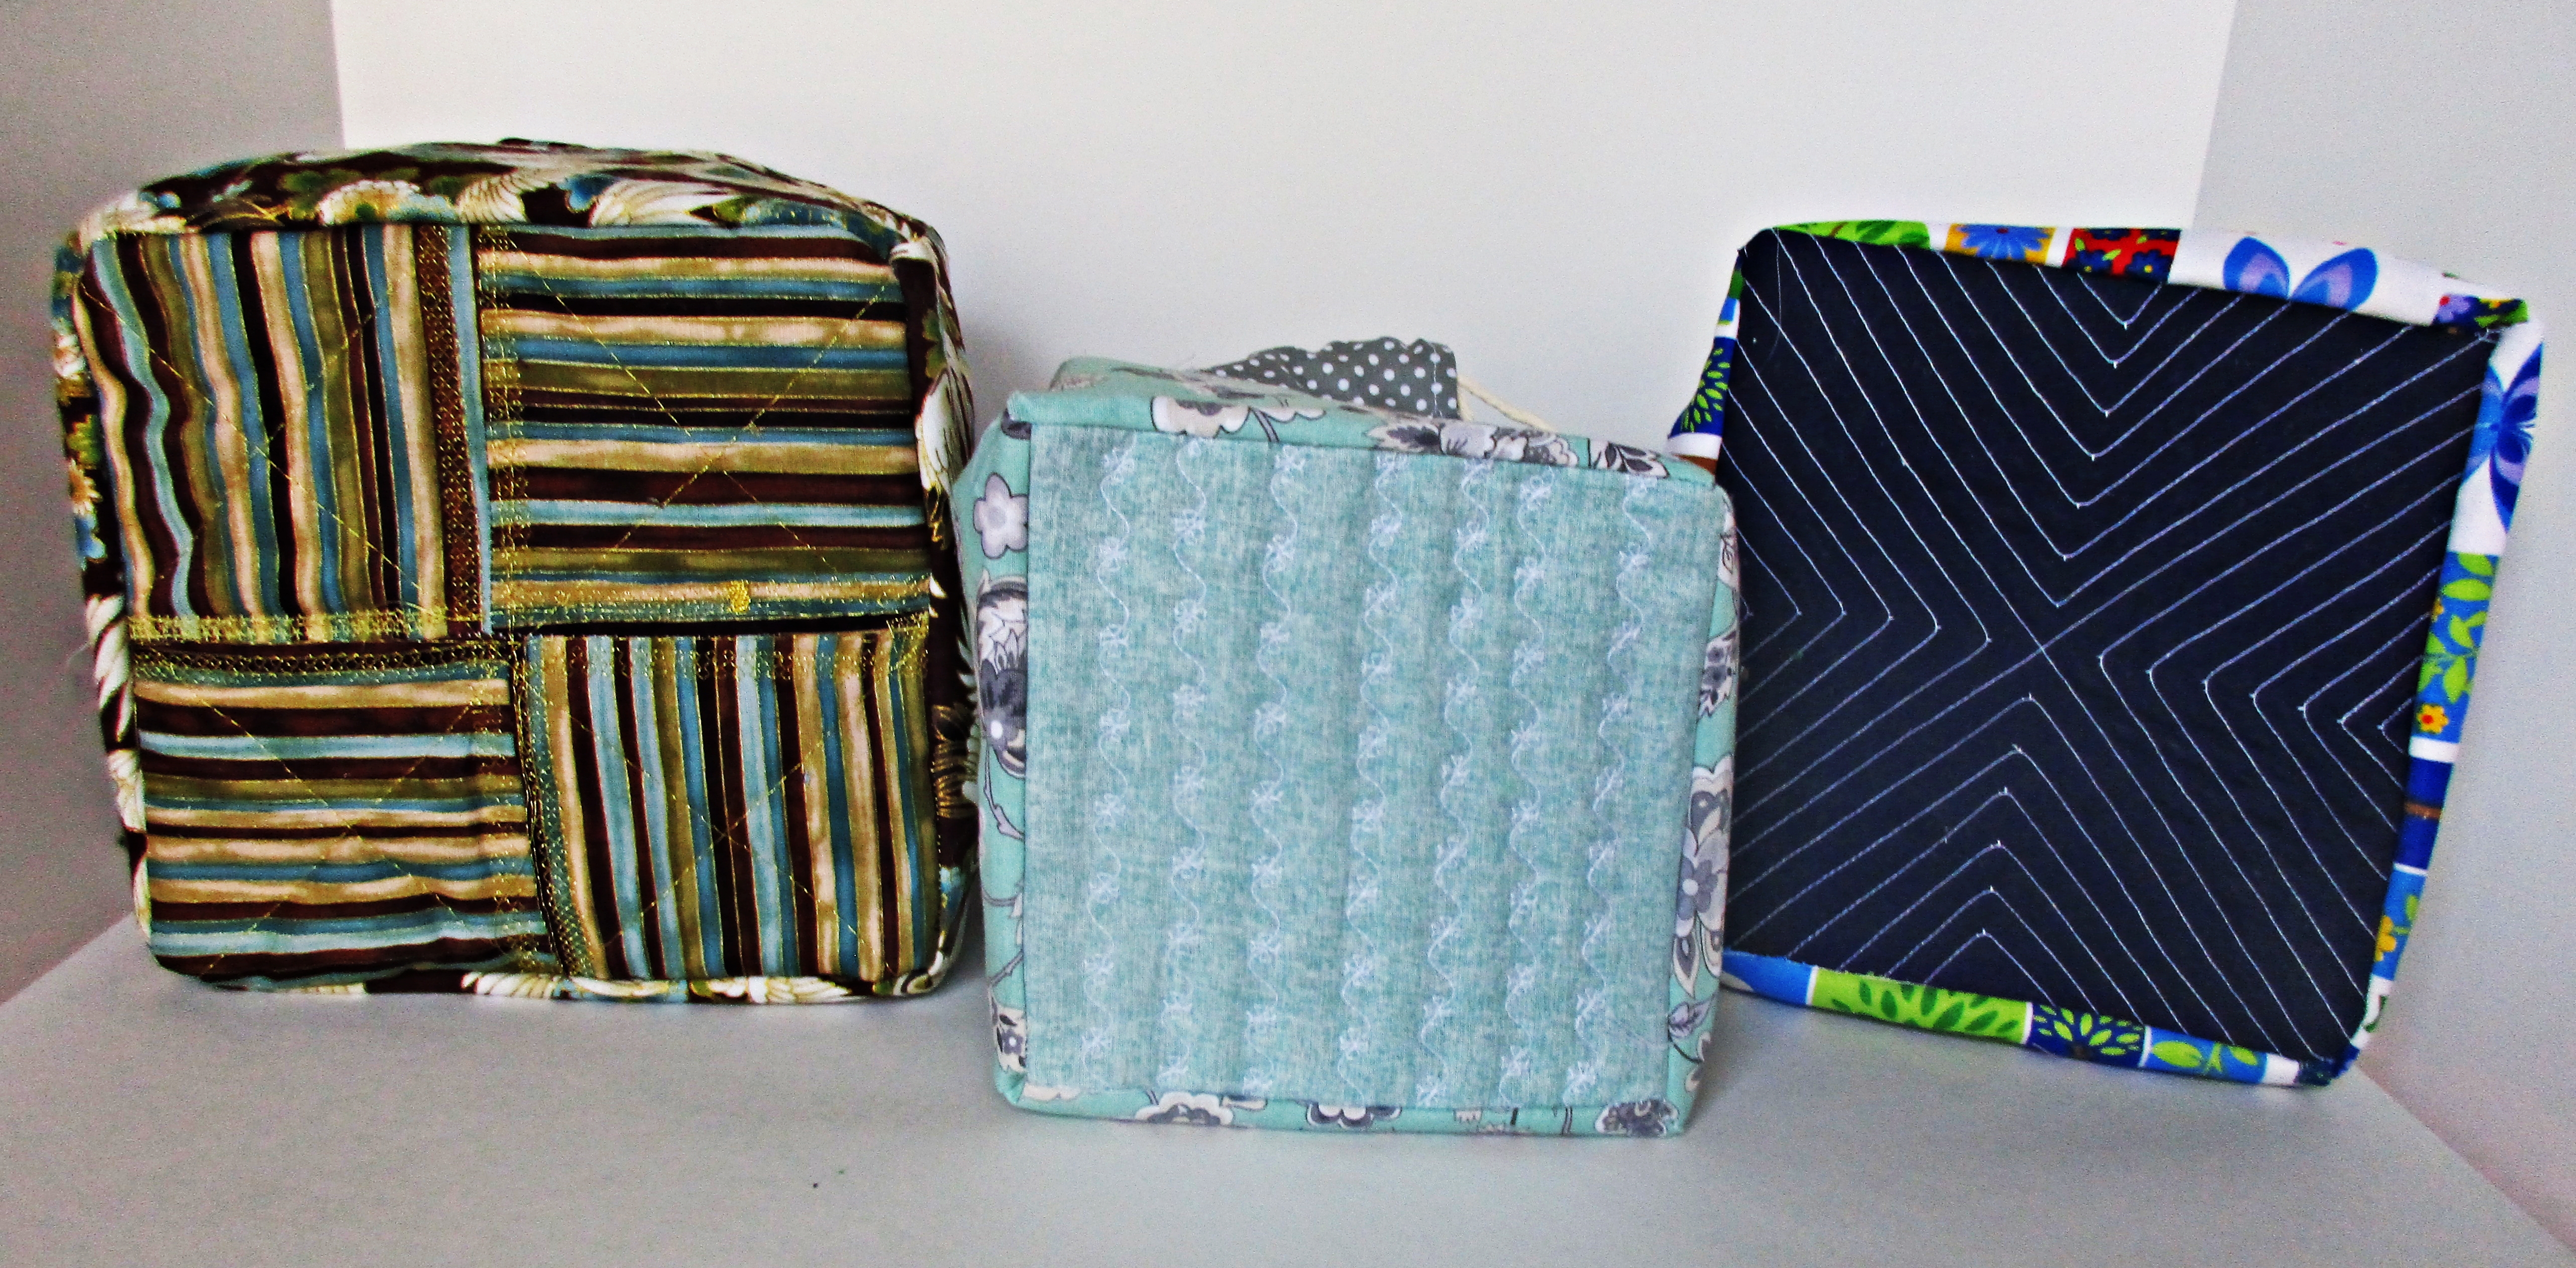
I had some fun quilting on the outer base square for these kinchaku.
You can add pockets to some or all of the lining squares, too. Do this now, after you interface the pieces and before you sew them together.
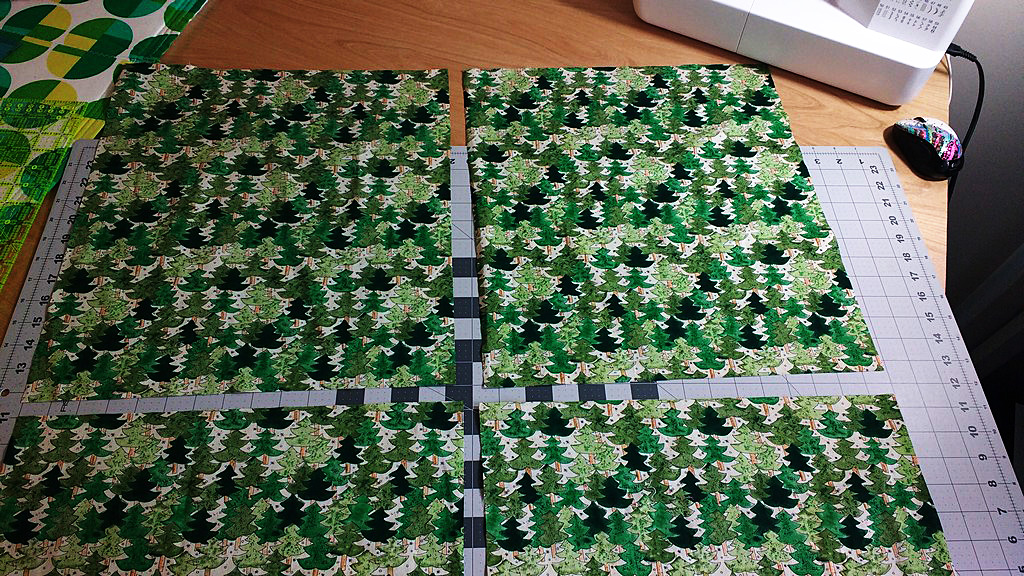
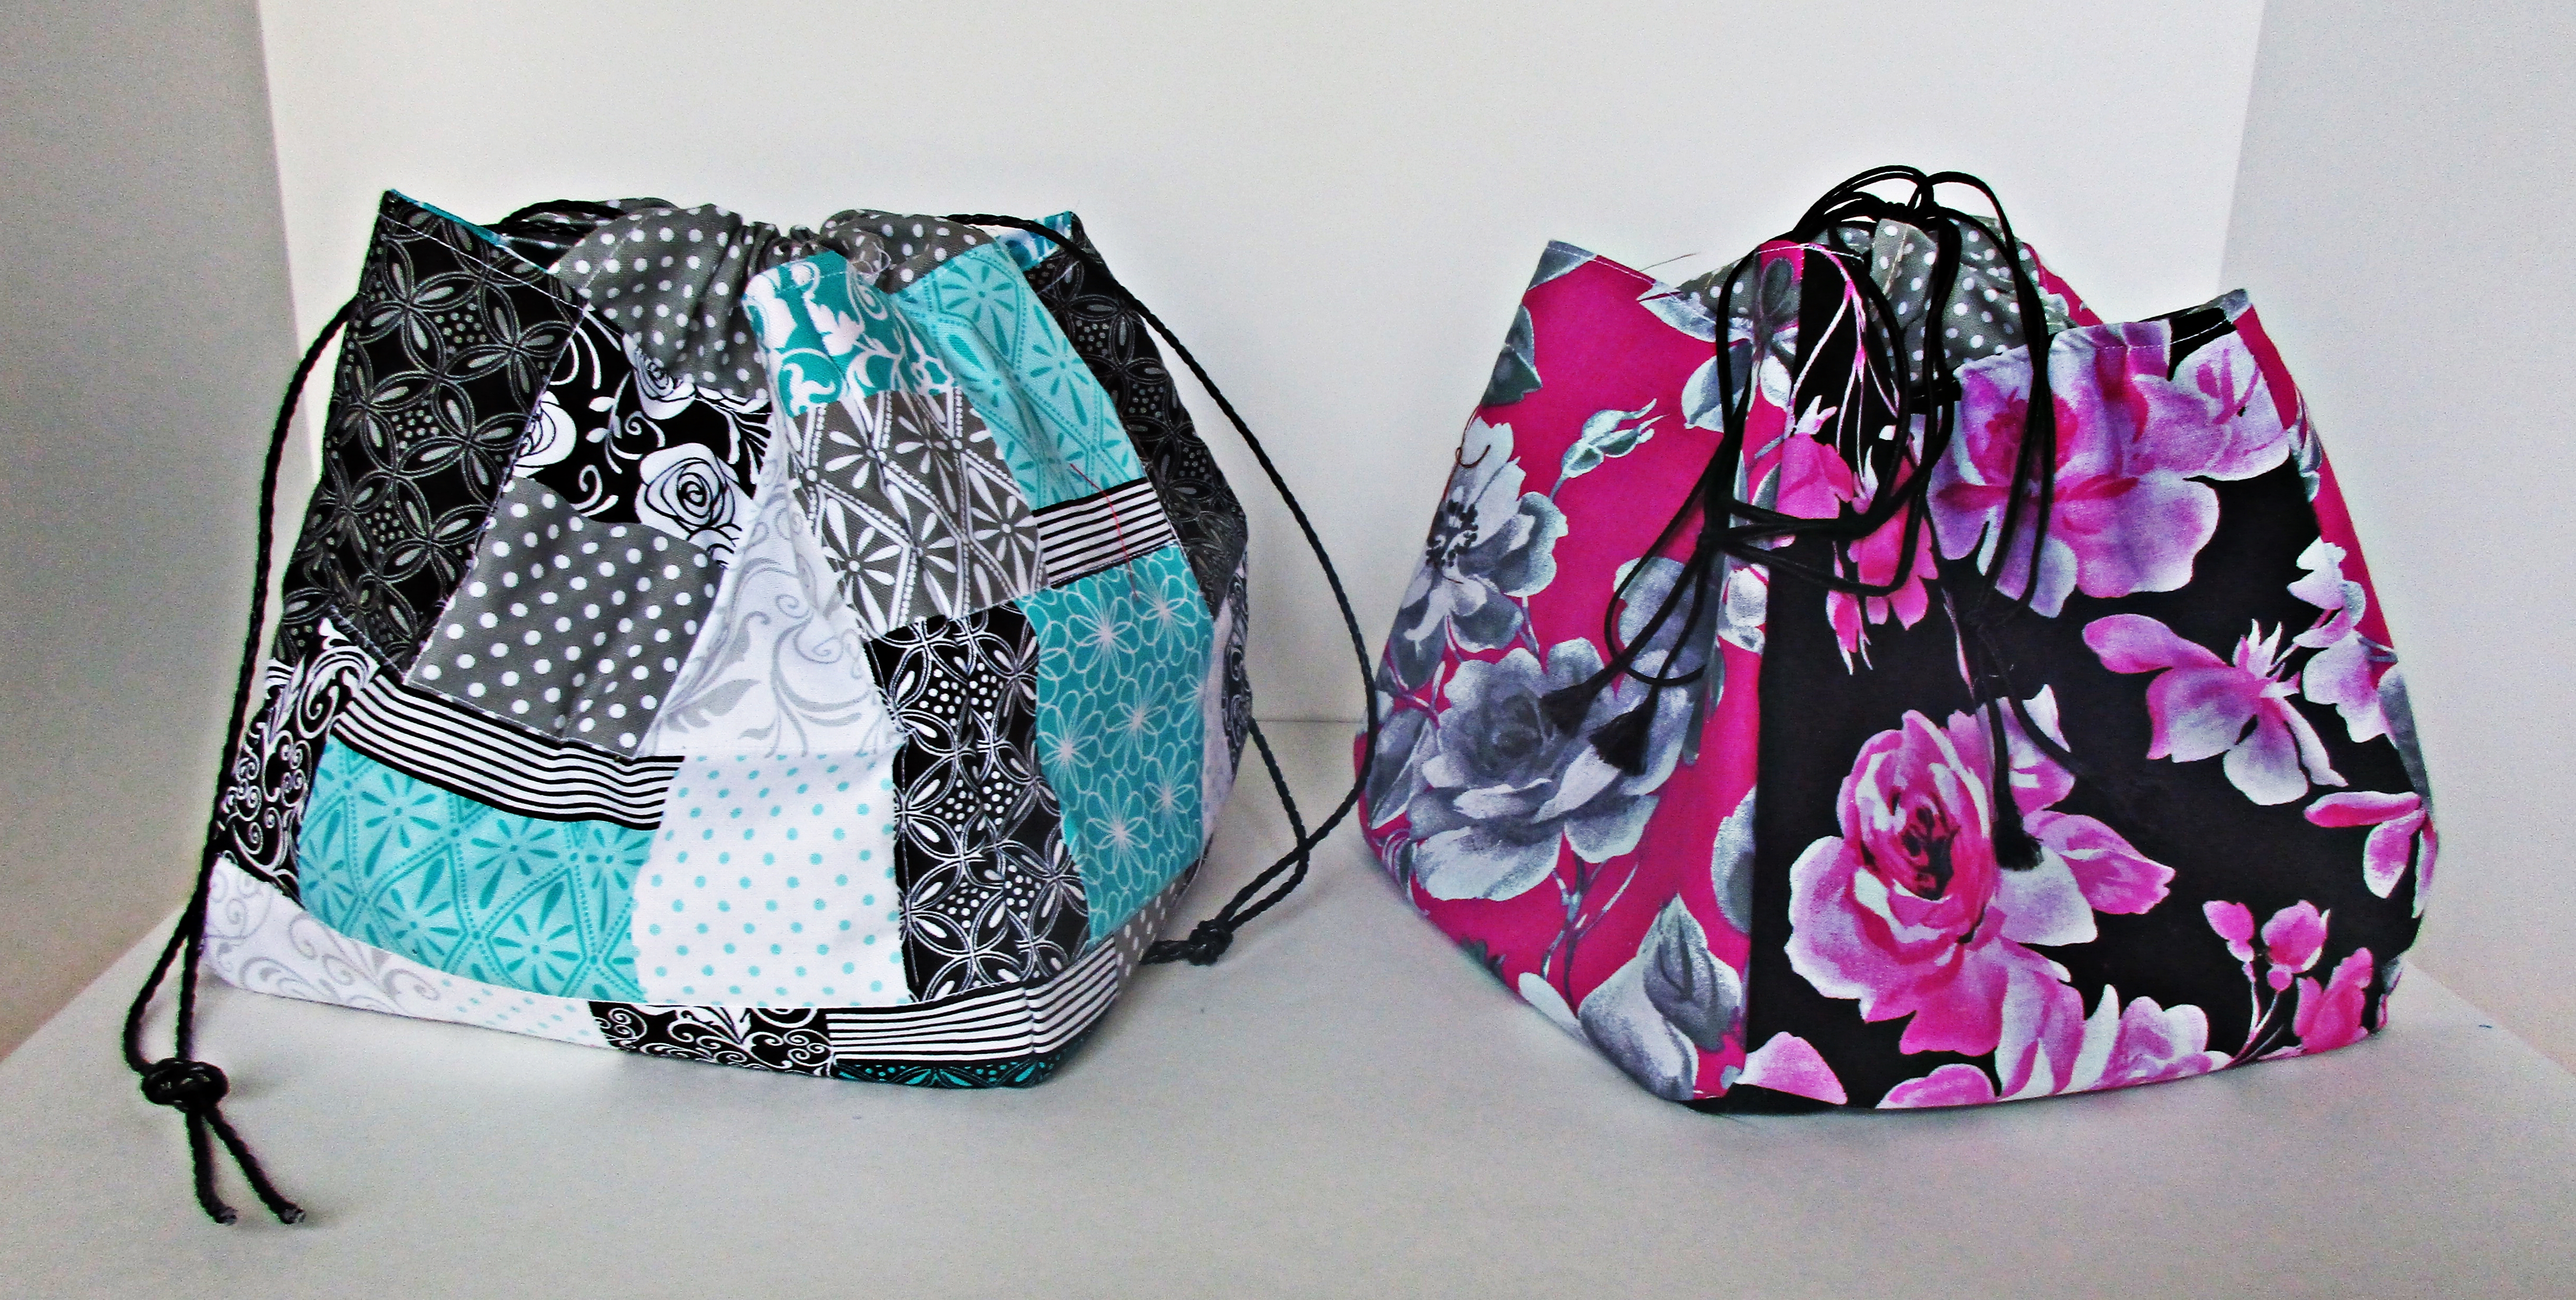
Of course you should feel free to construct your fabric pieces by patchwork. Simple four-patch works nicely here, or use your imagination and go wild.
Ten inch square bags (made here from four- patched five-and-a-half inch squares) are a great size for a project bag for knitting or other take-along crafts.
To make square kinchaku
You will need five squares of outer fabric and five lining fabric squares, prepared (as discussed above).
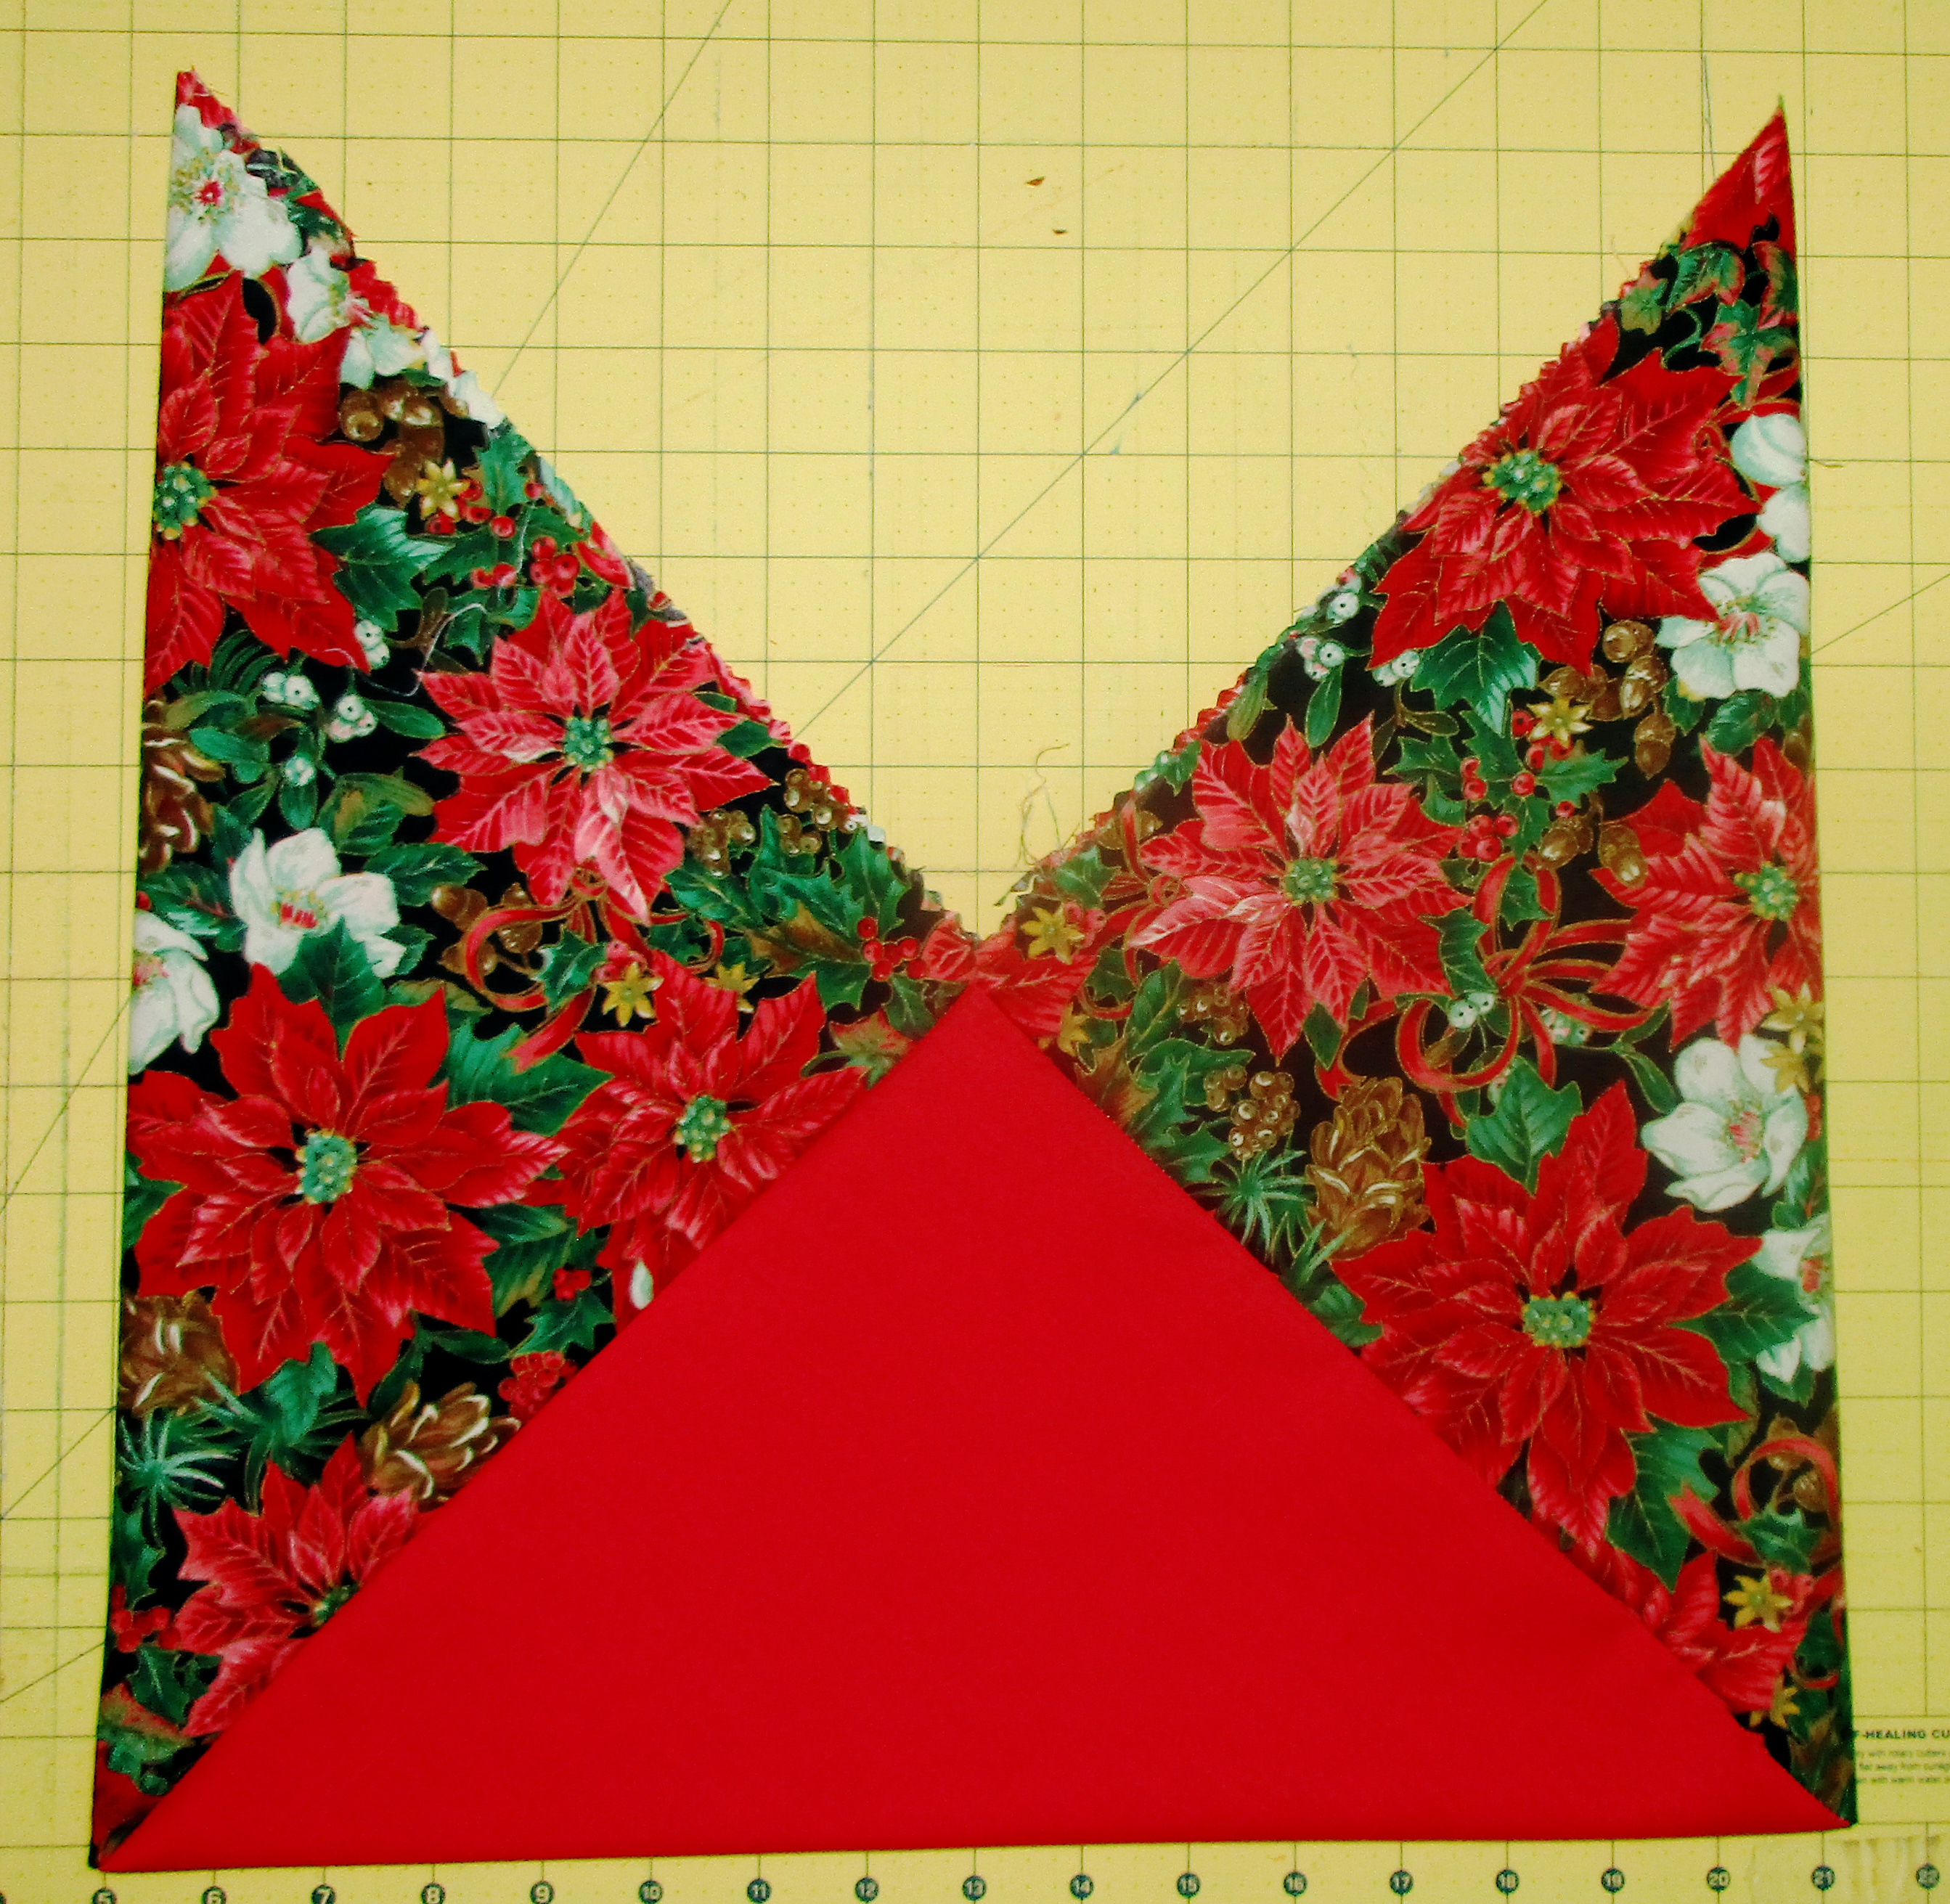
For the exterior, I like to use a contrasting square, possibly of the lining fabric, for the bottom piece. In this case, I cut four of the outer fabric and six of the lining.
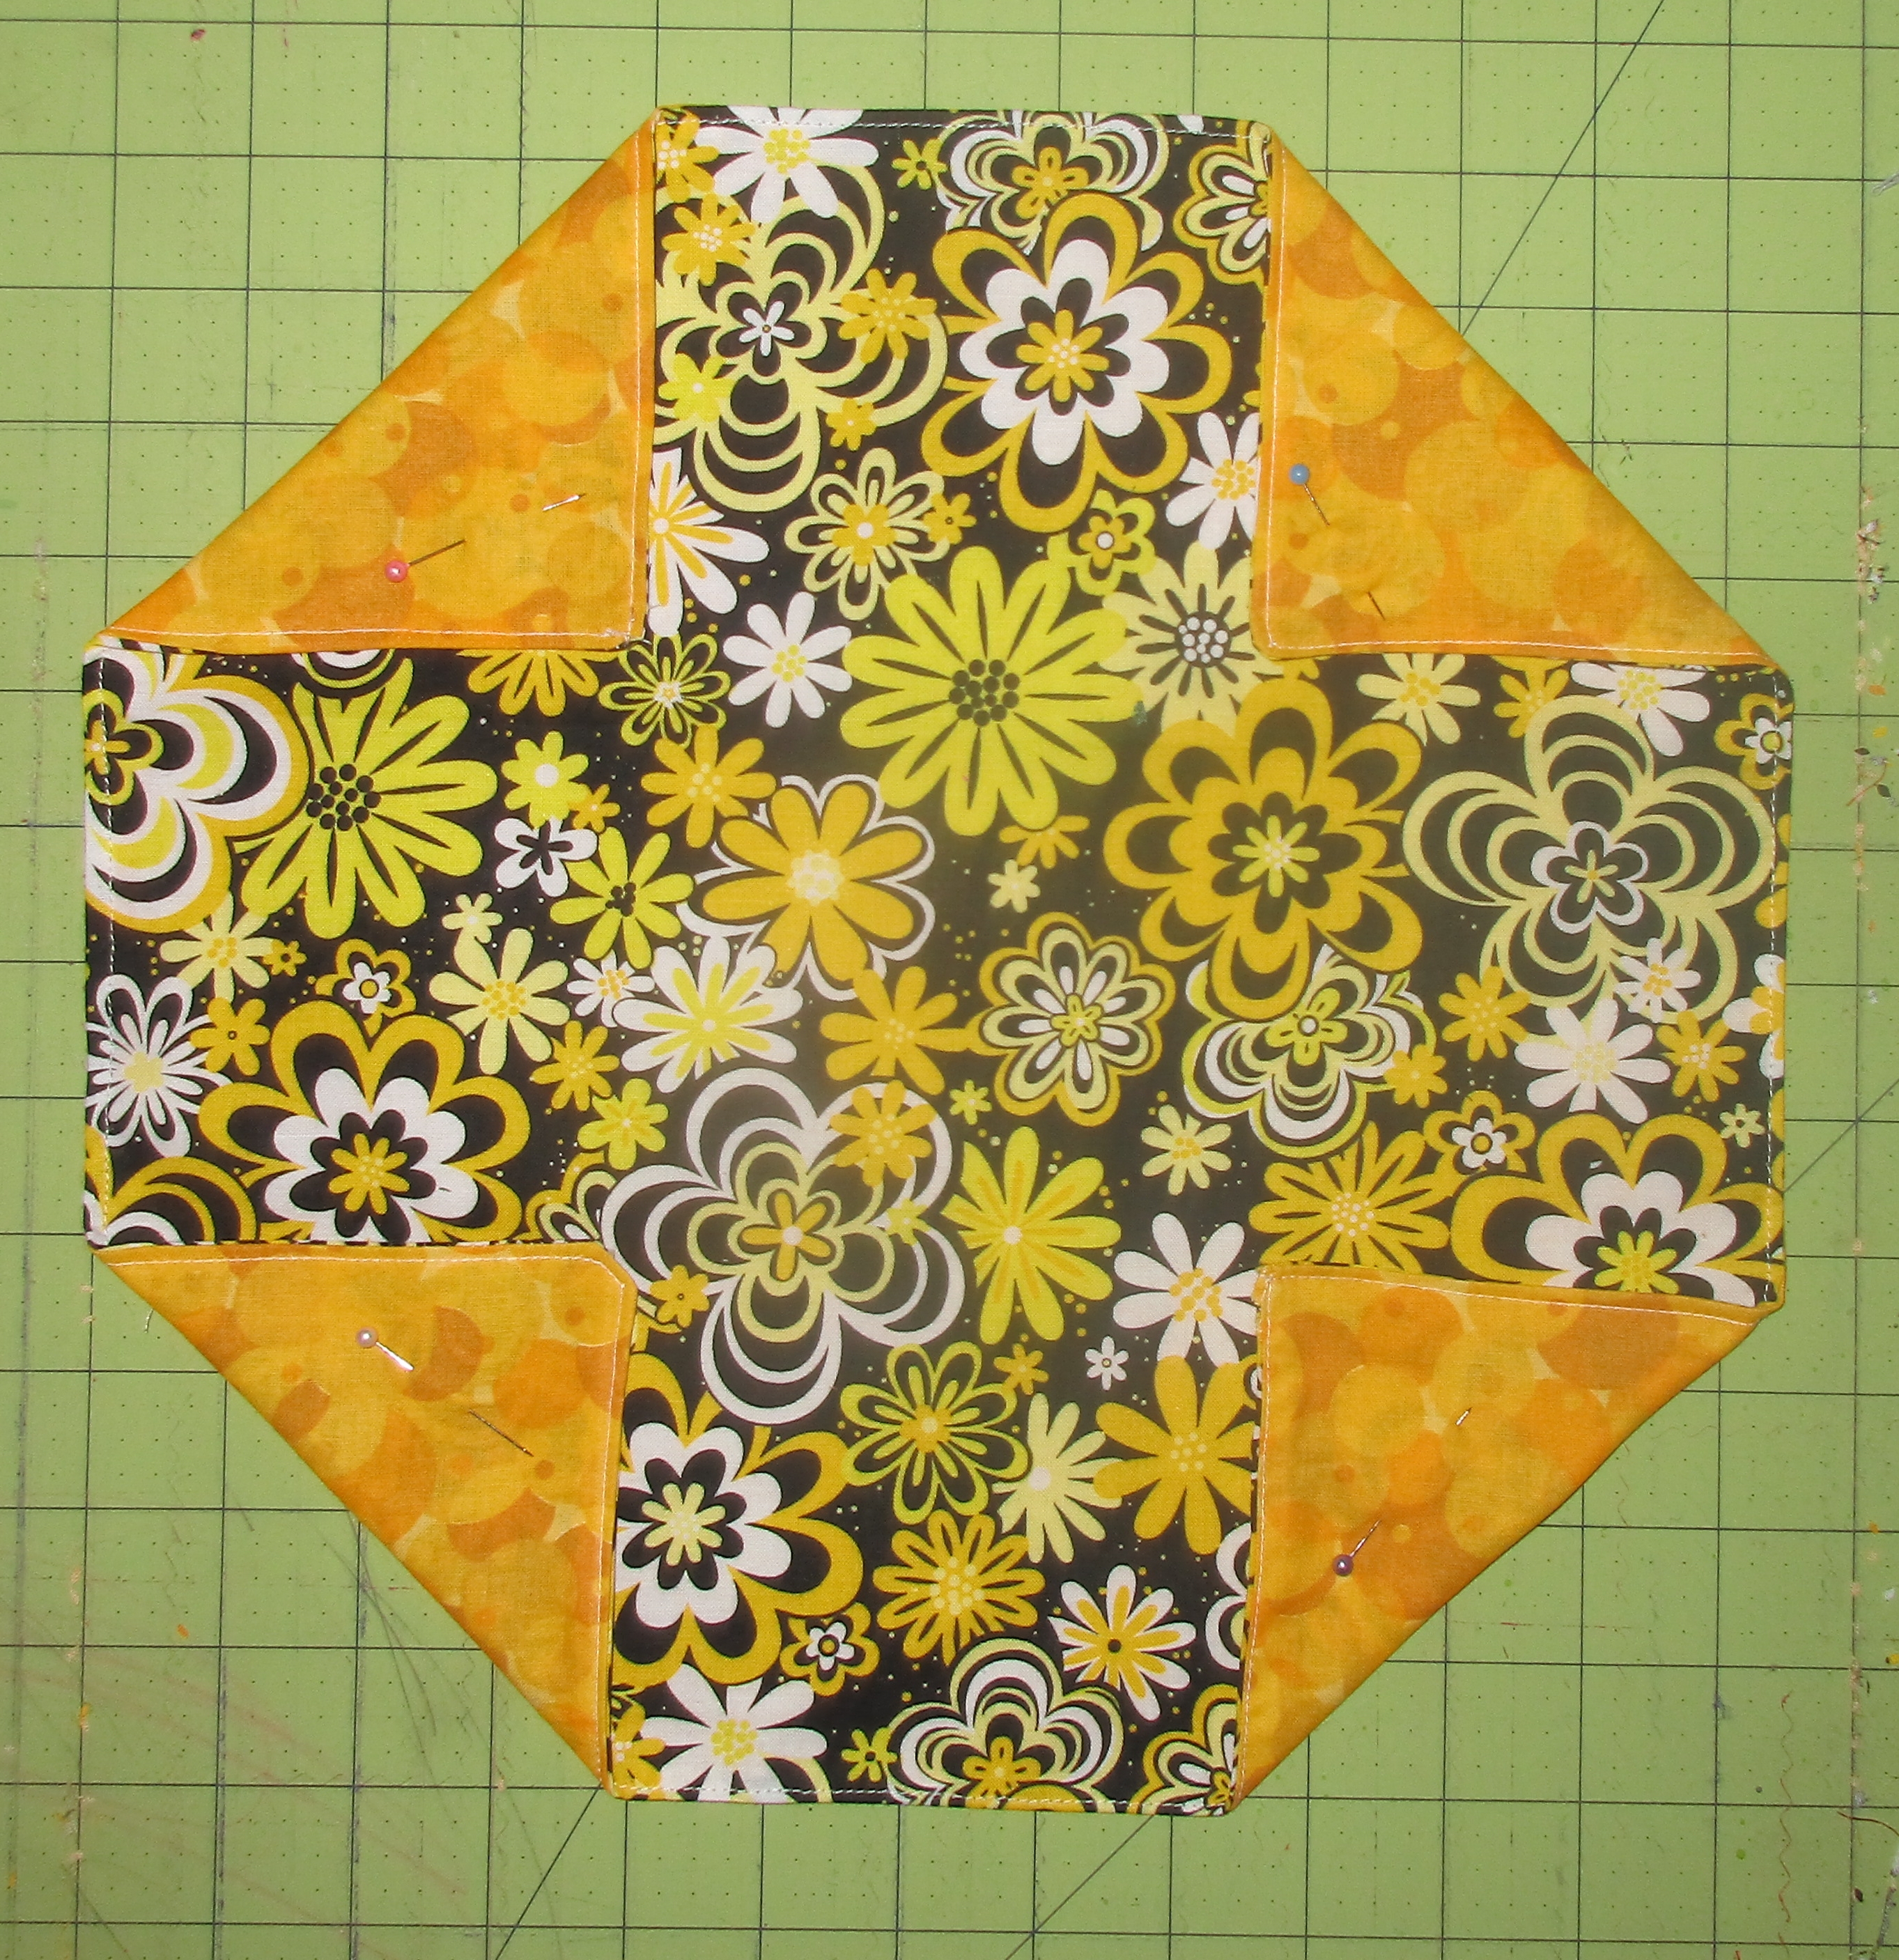
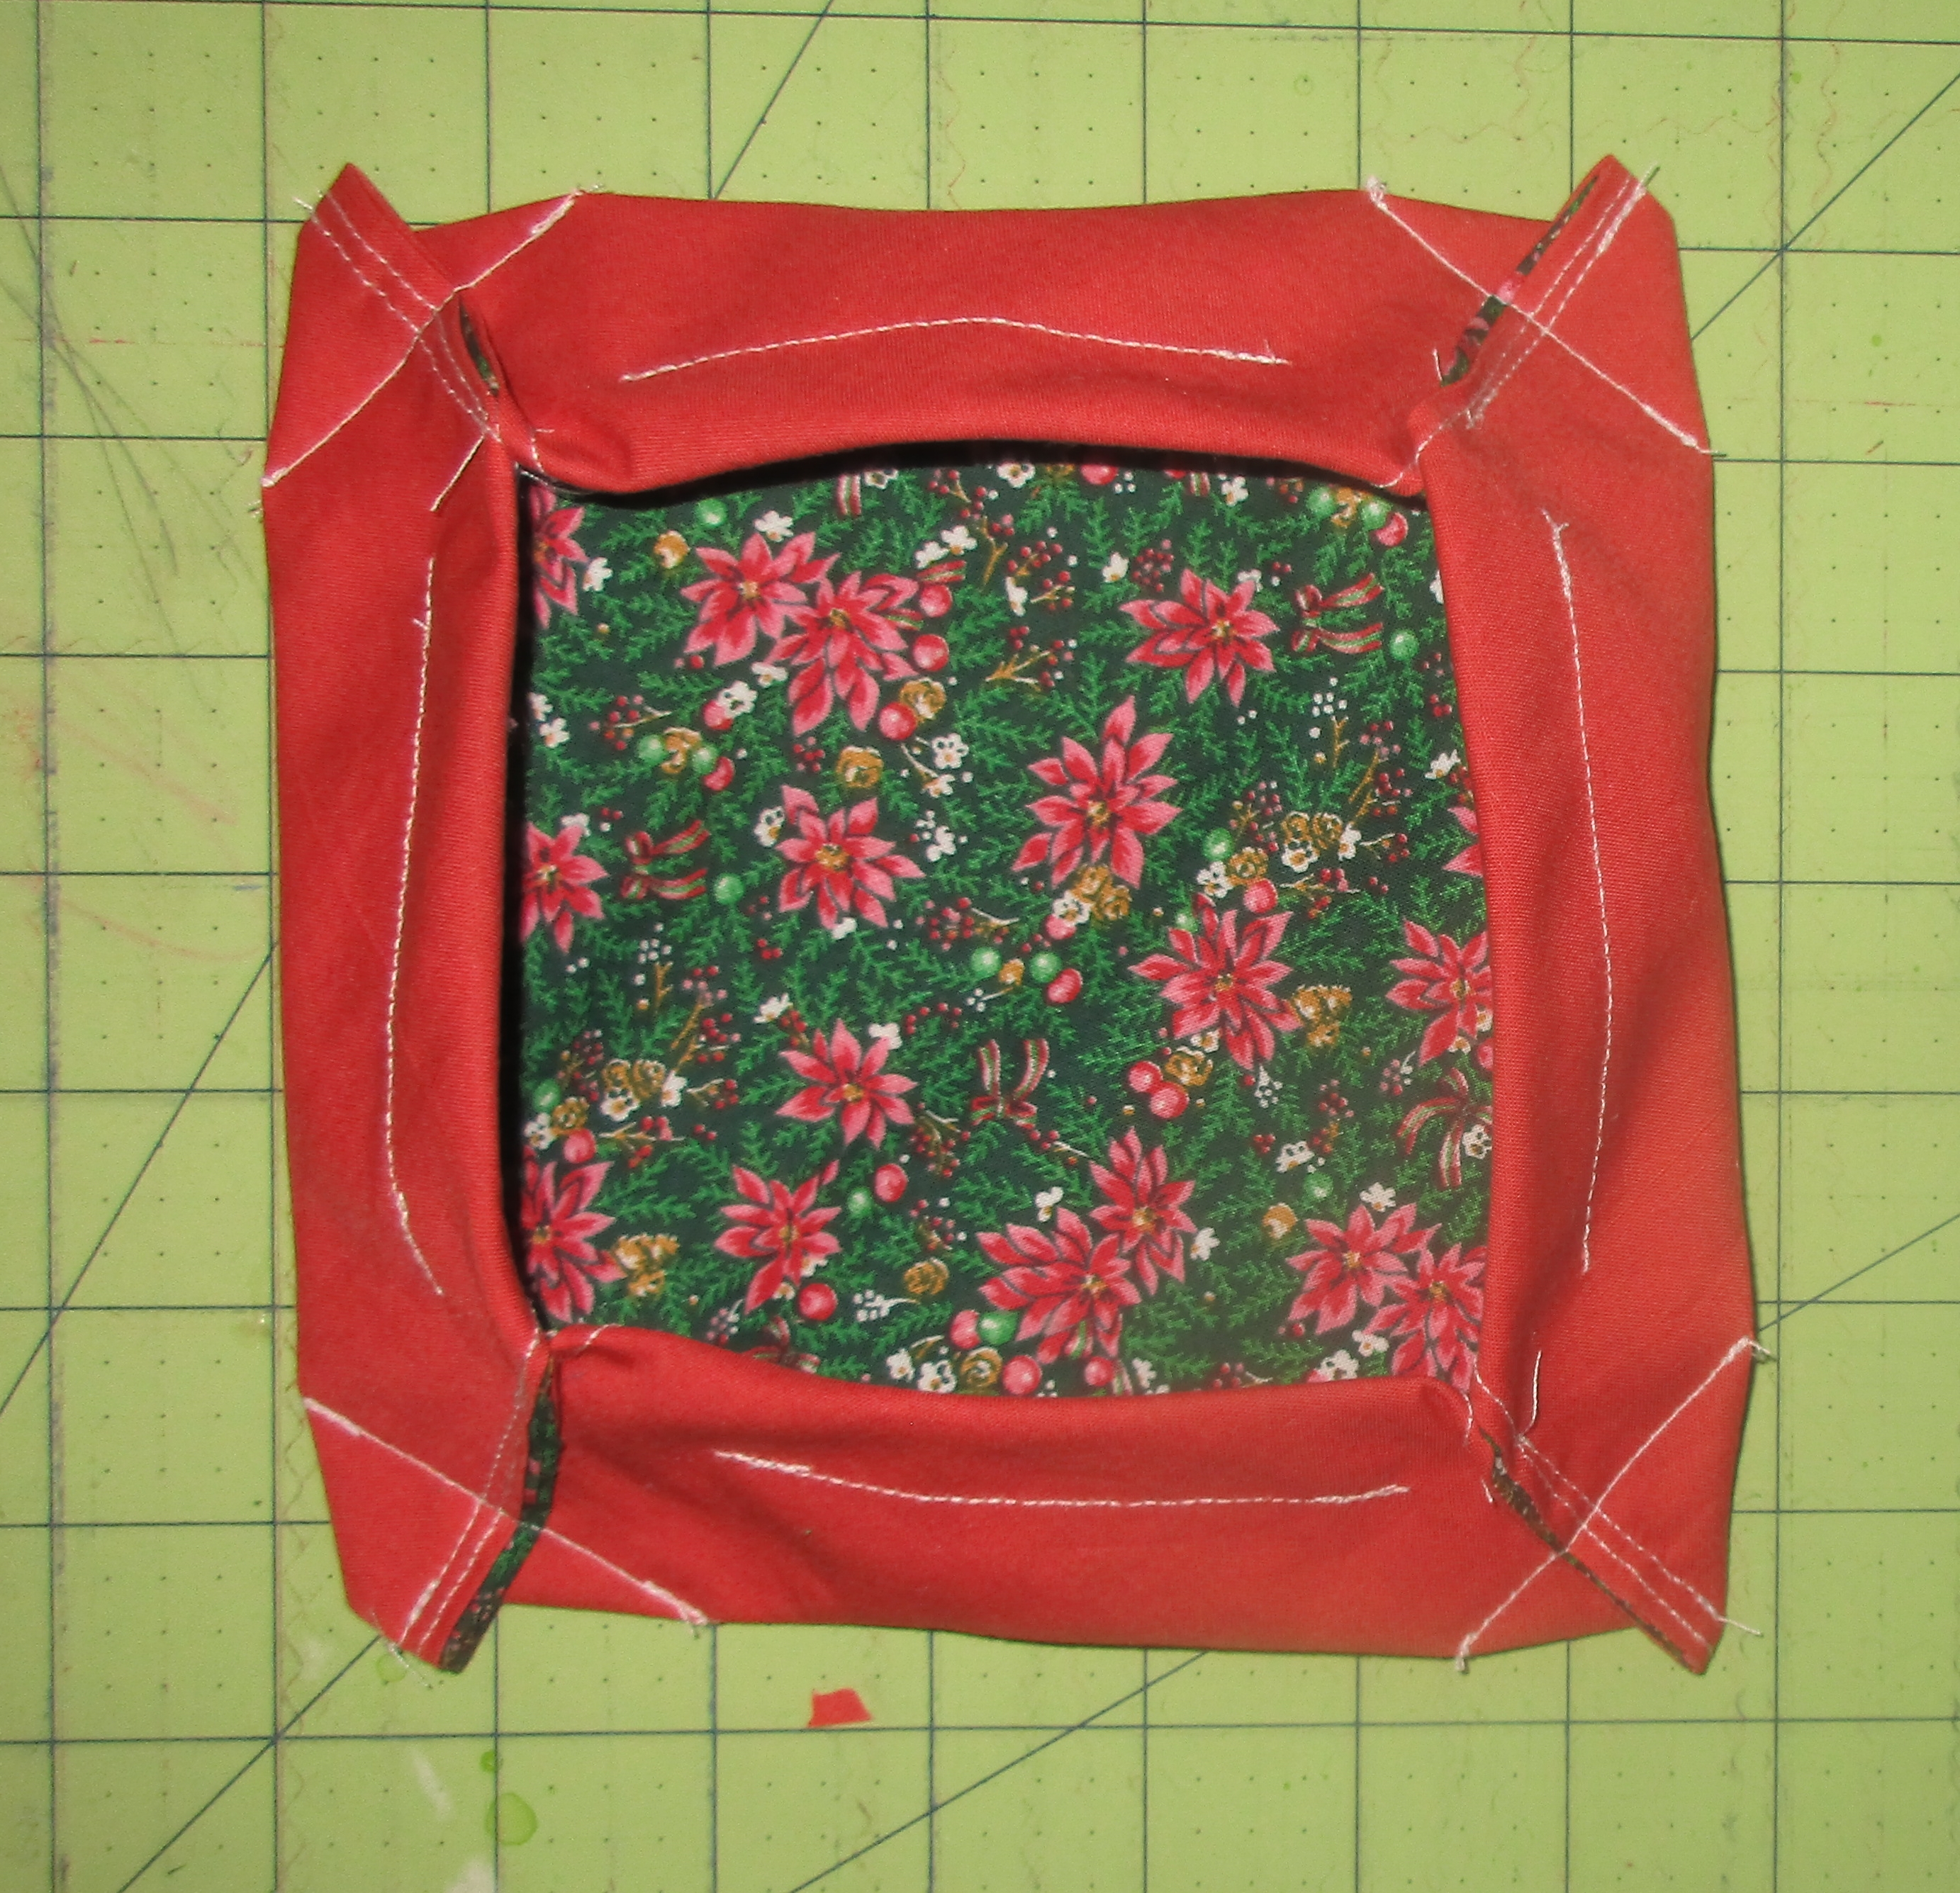
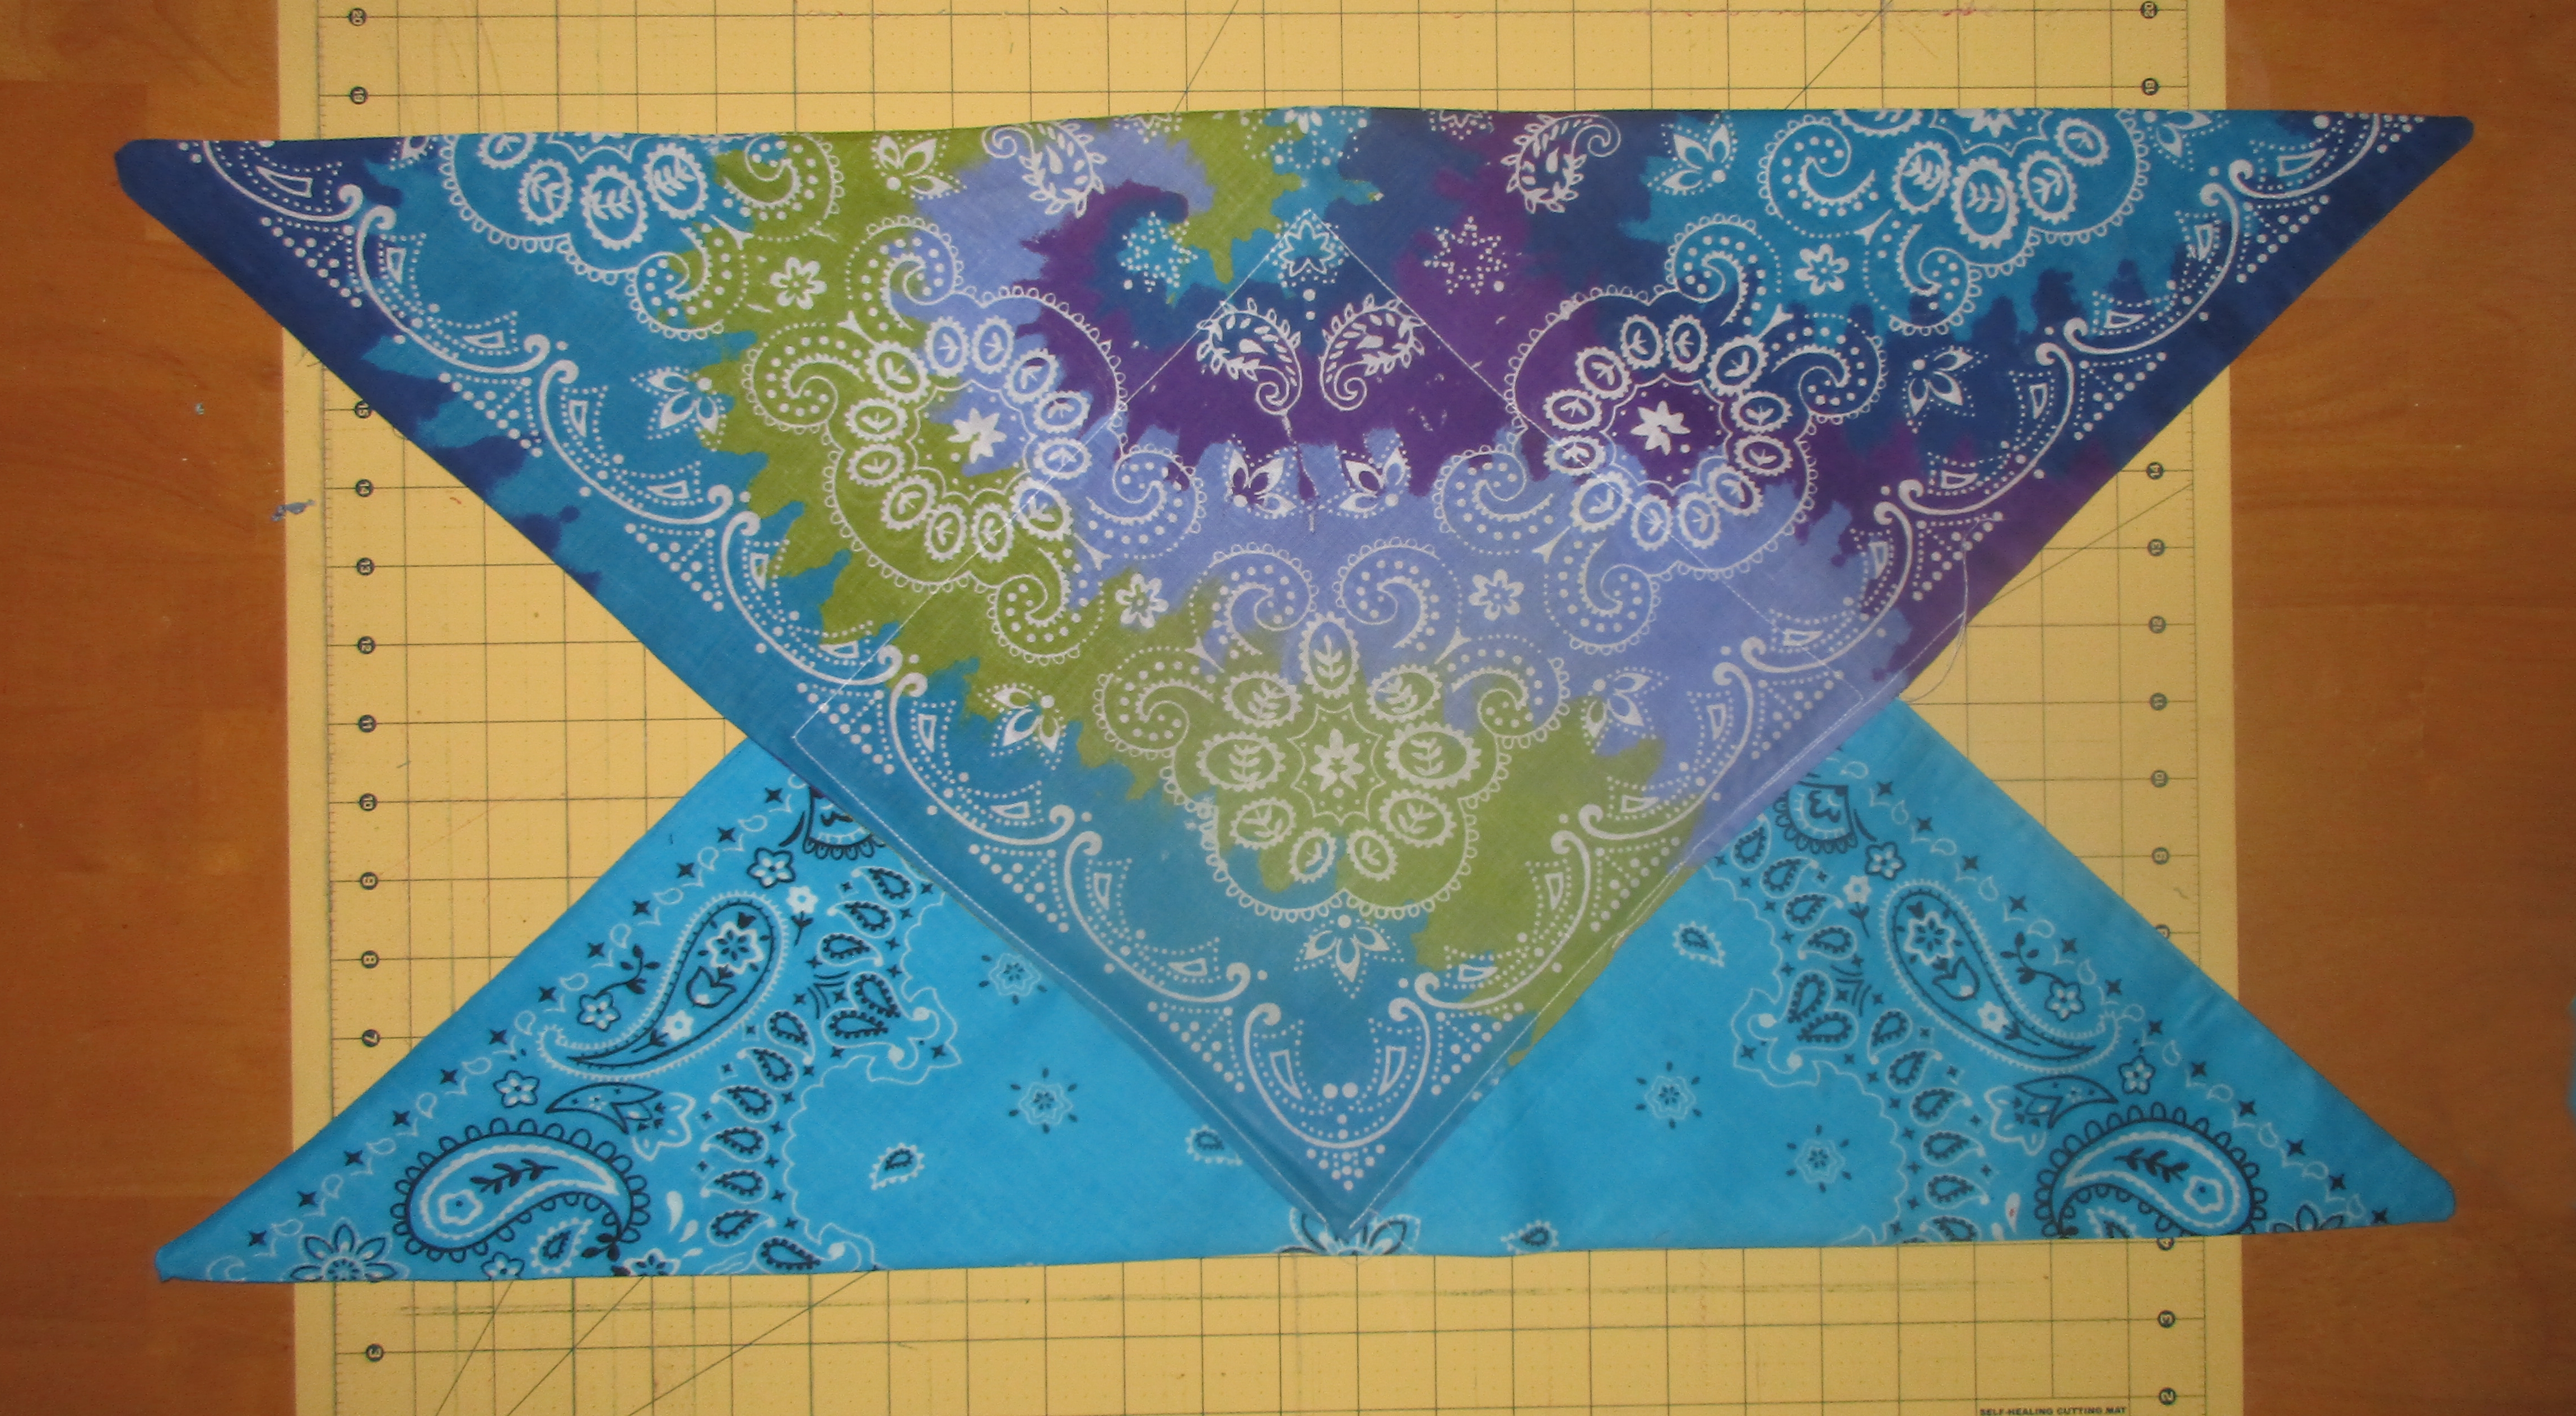
Take the bottom piece, and sew the other four pieces to the four sides of this bottom square,right sides together, starting and stopping a seam allowance width from the edges.
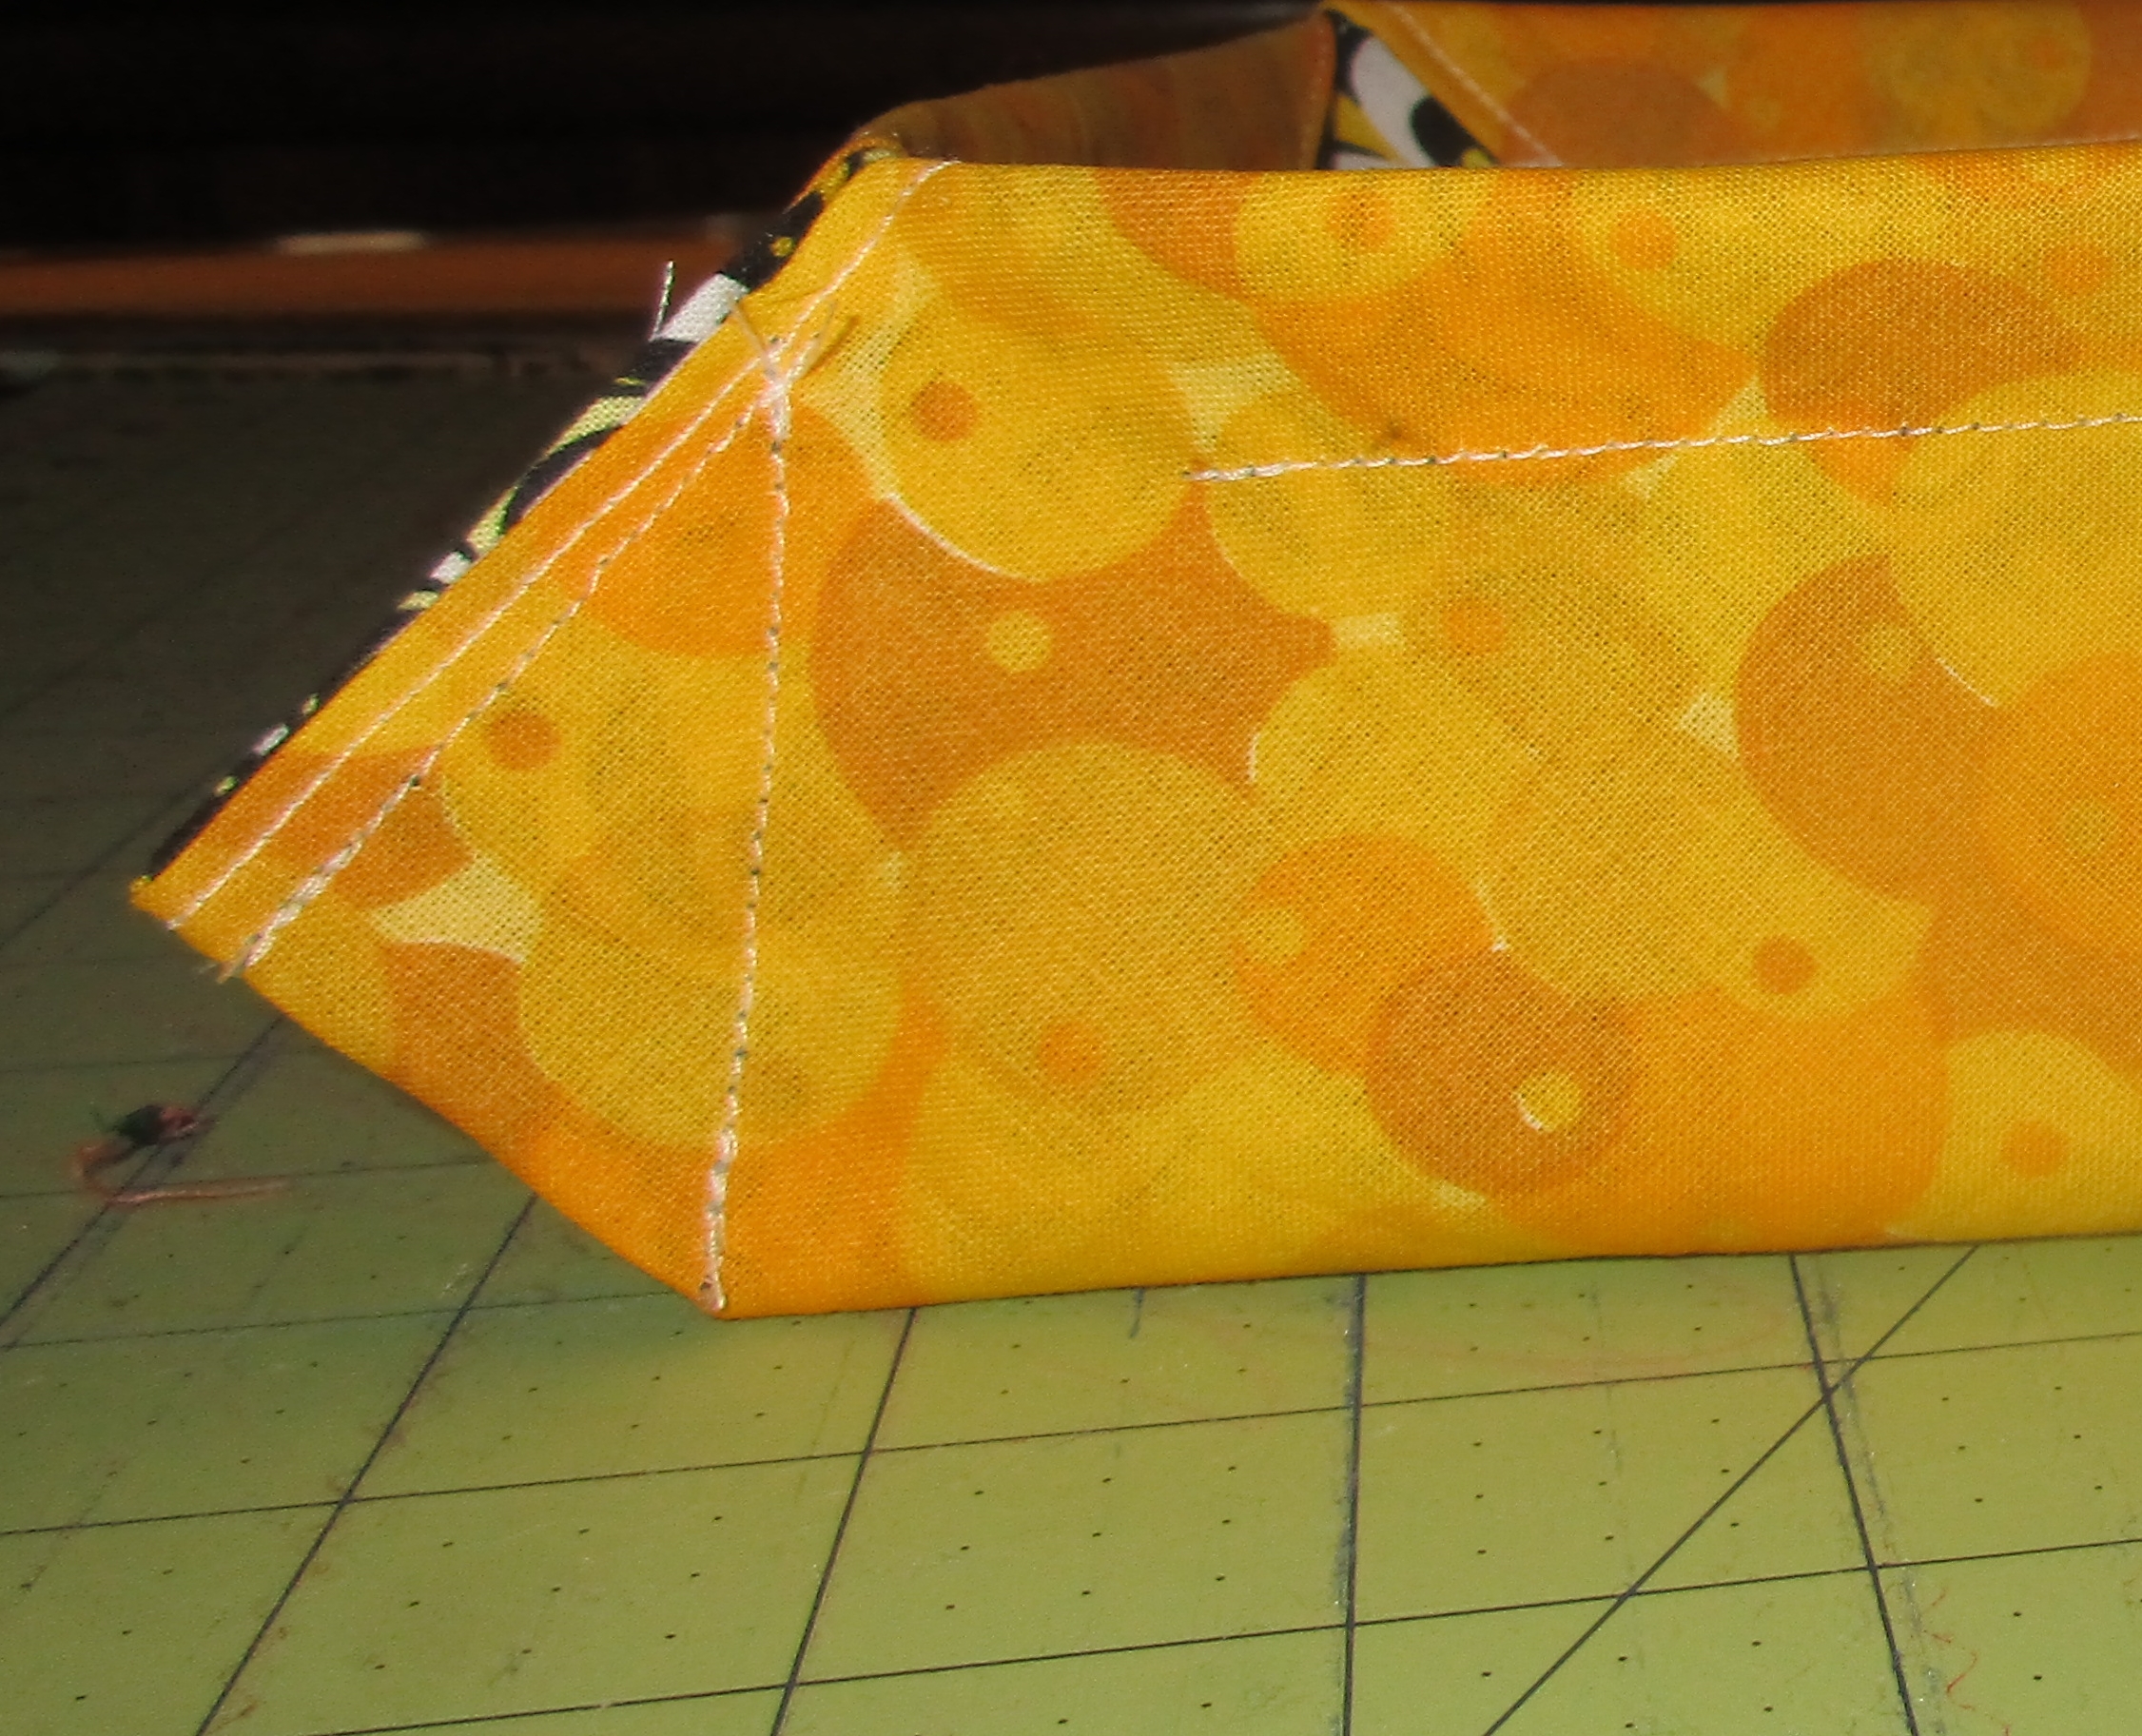
Then, sew these four squares to each other, creating the side seams. Now use your fingers and eyes to check and make sure there are no openings in these seams. Fix this now if you missed any spaces. You can turn it right sides out and look at it now if you want. Then repeat with the remaining five squares.
Skip to the next section to finish your square kinchaku.
To make round kinchaku
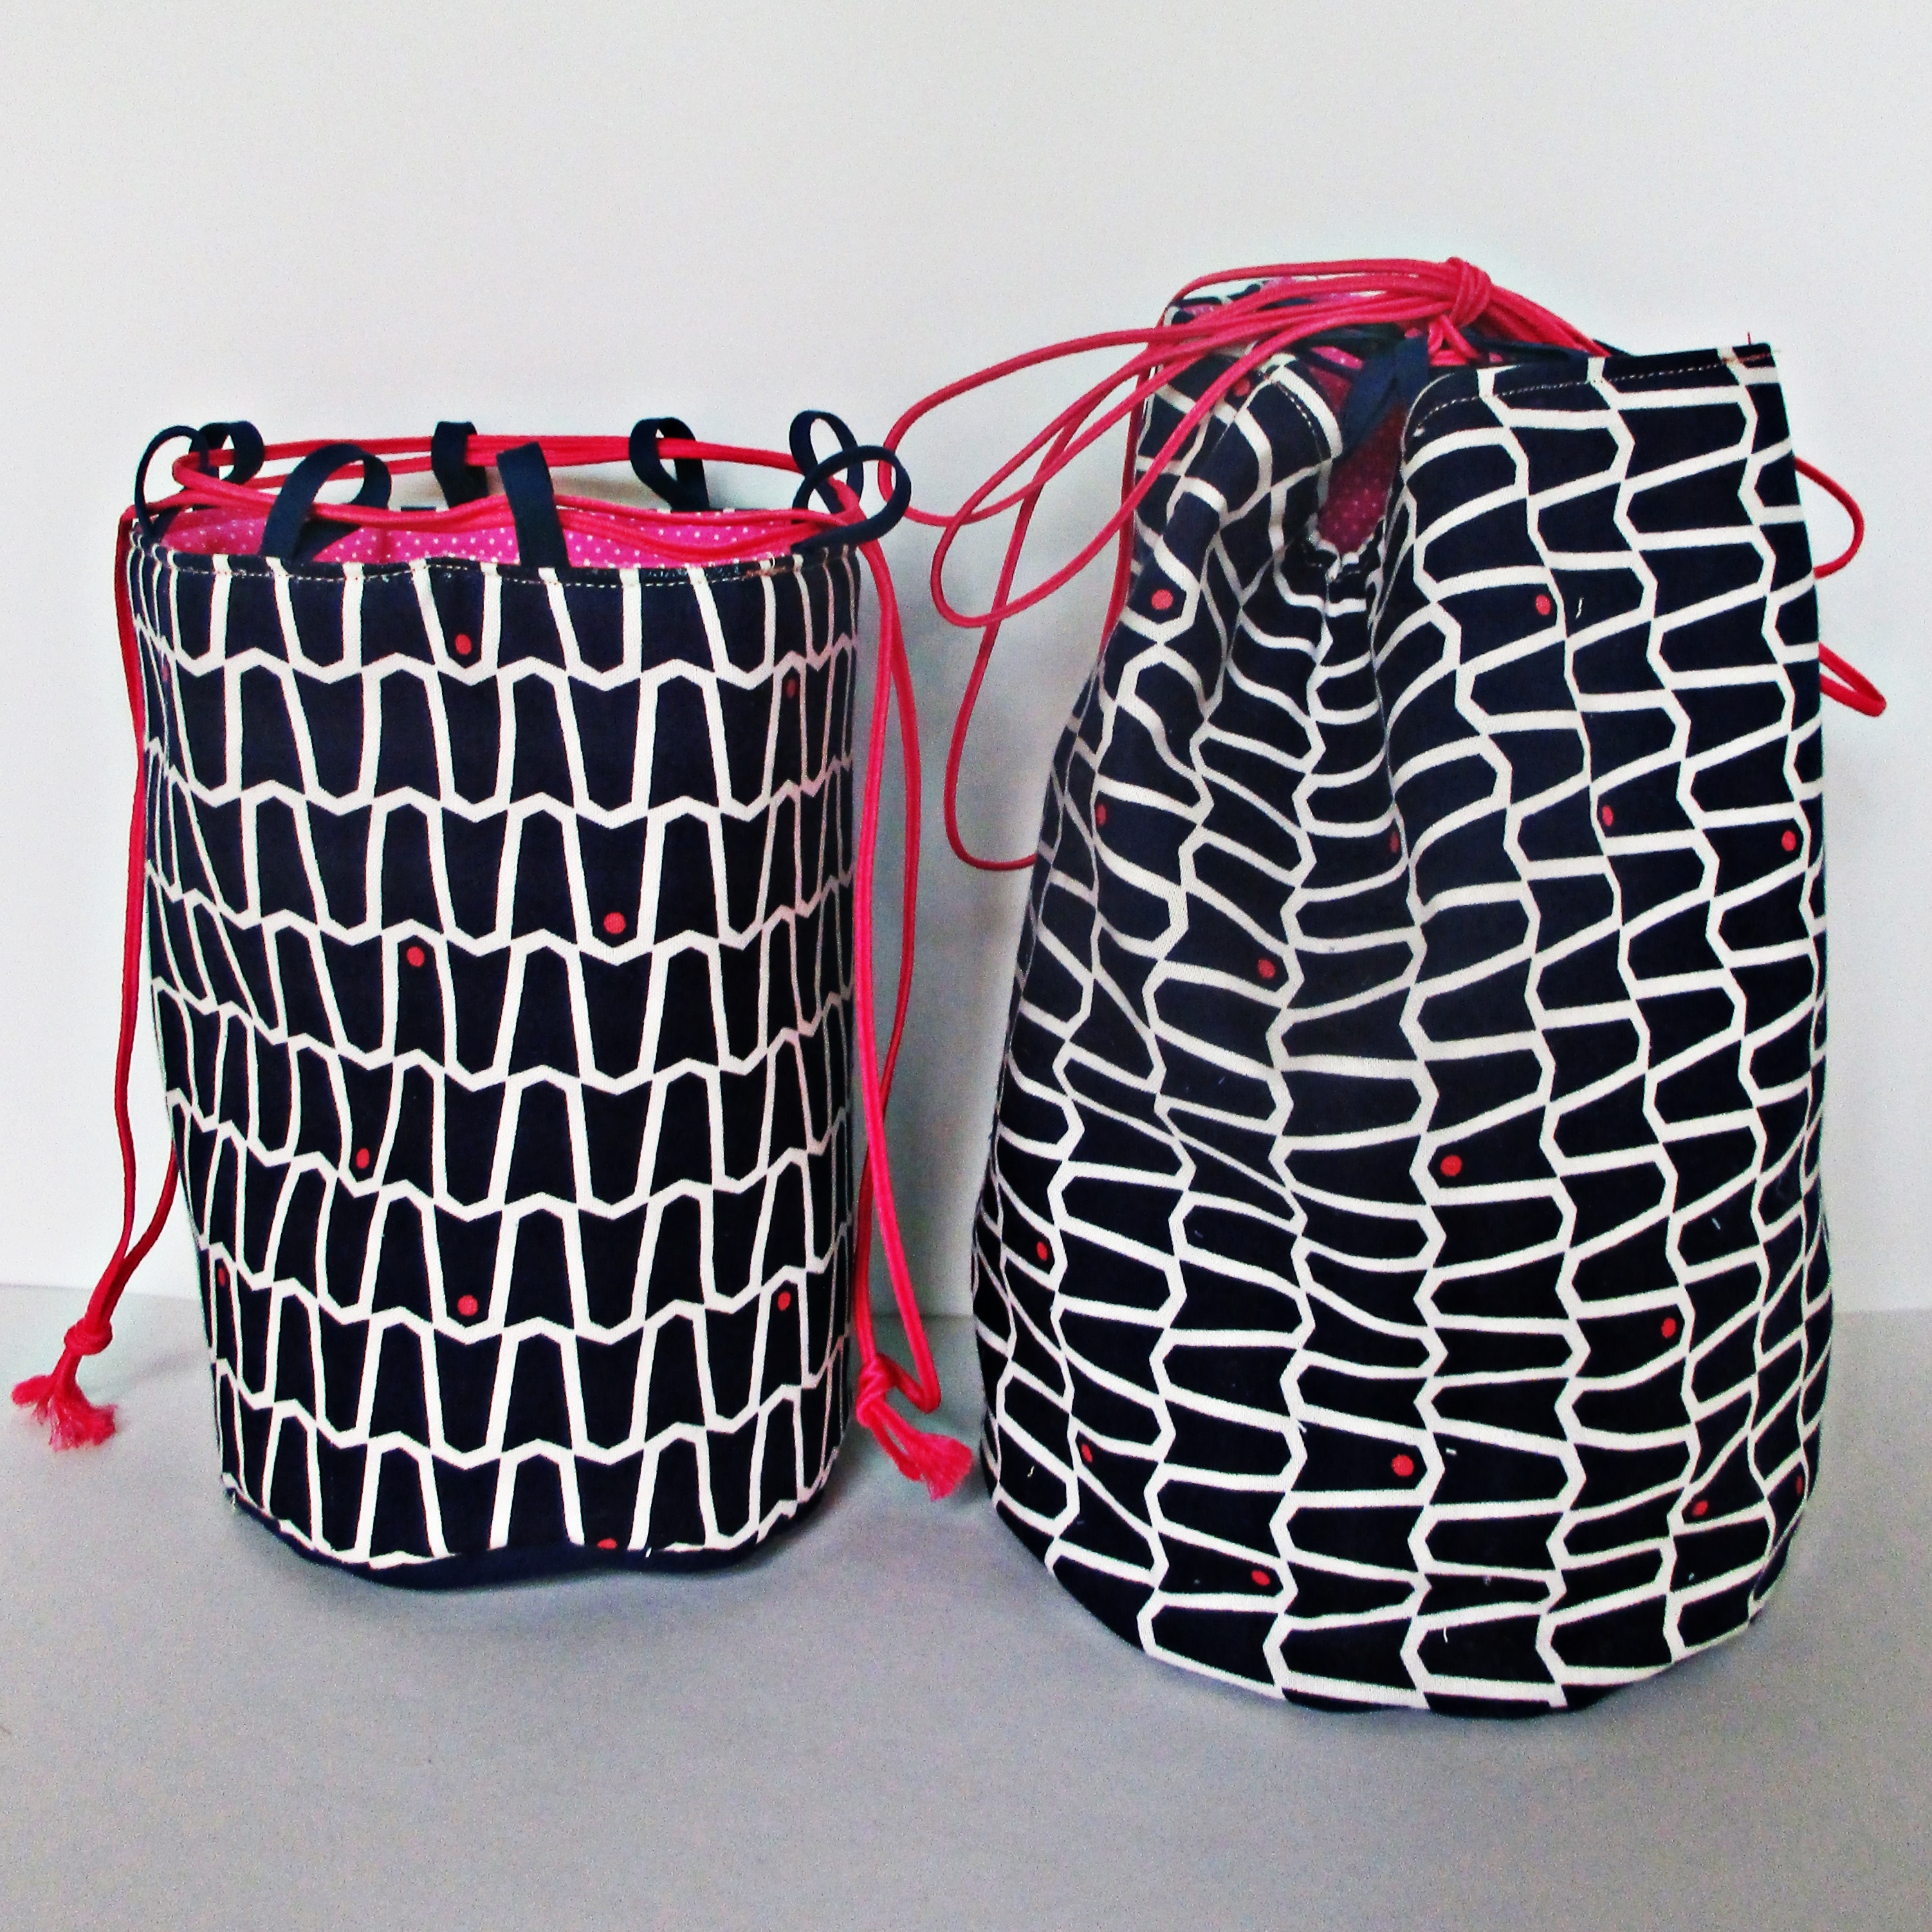
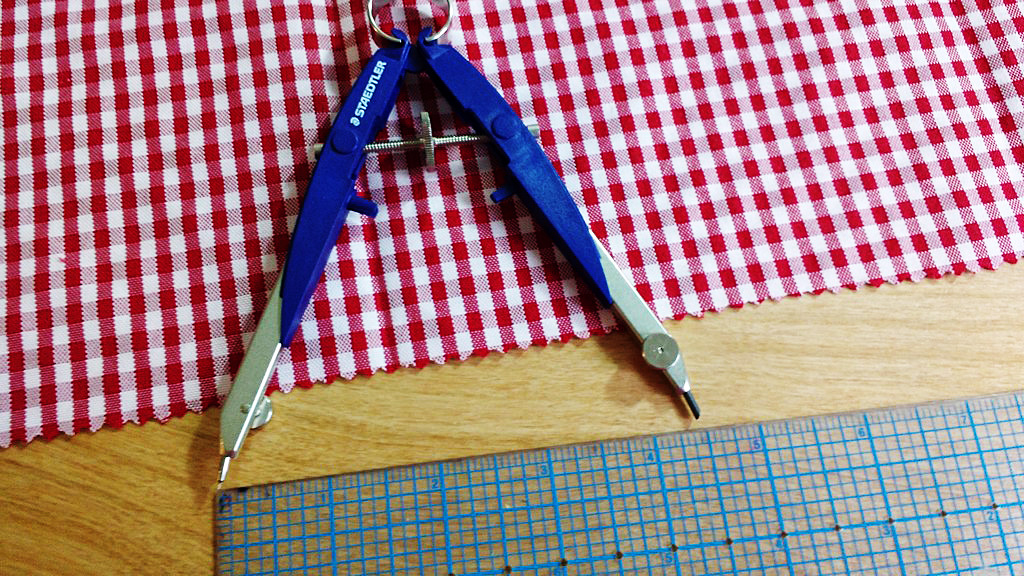
You need two circles for the outer and lining bottoms, and a piece of each fabric that is as tall as you’d like your round kinchaku to be by the circumference of your circle, plus seam allowance. You can use a compass or trace a dish or other round object to make your circles.
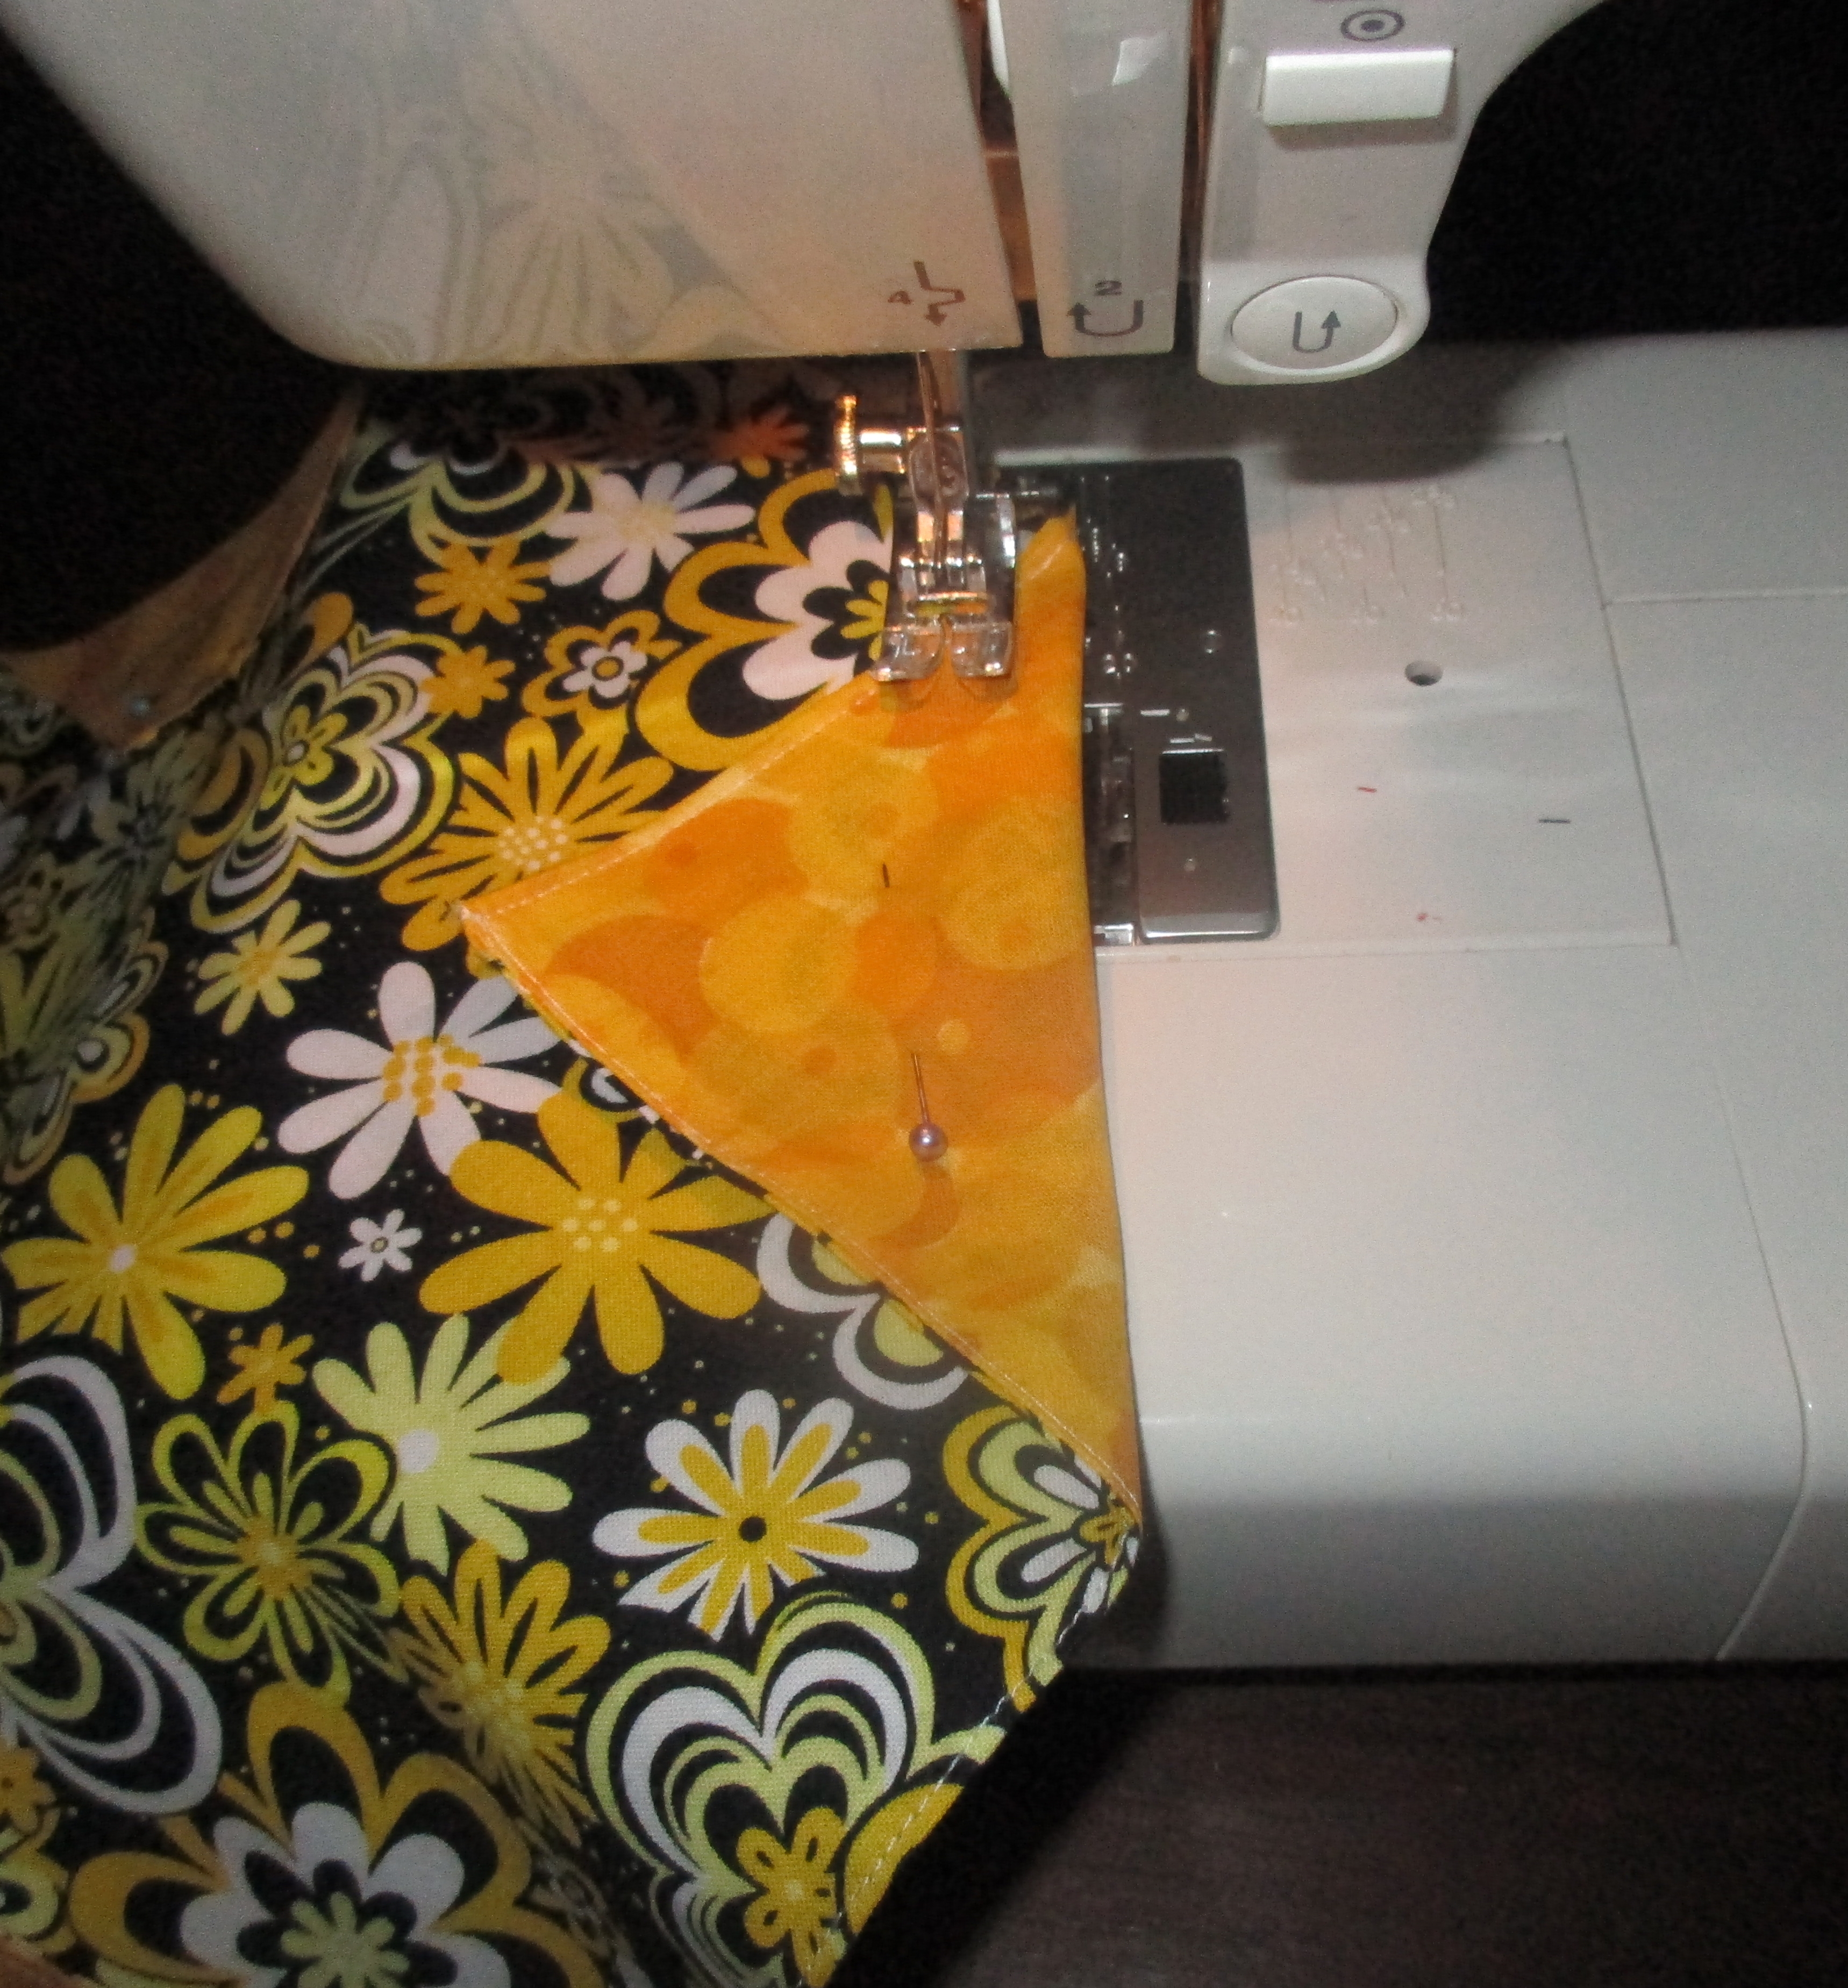
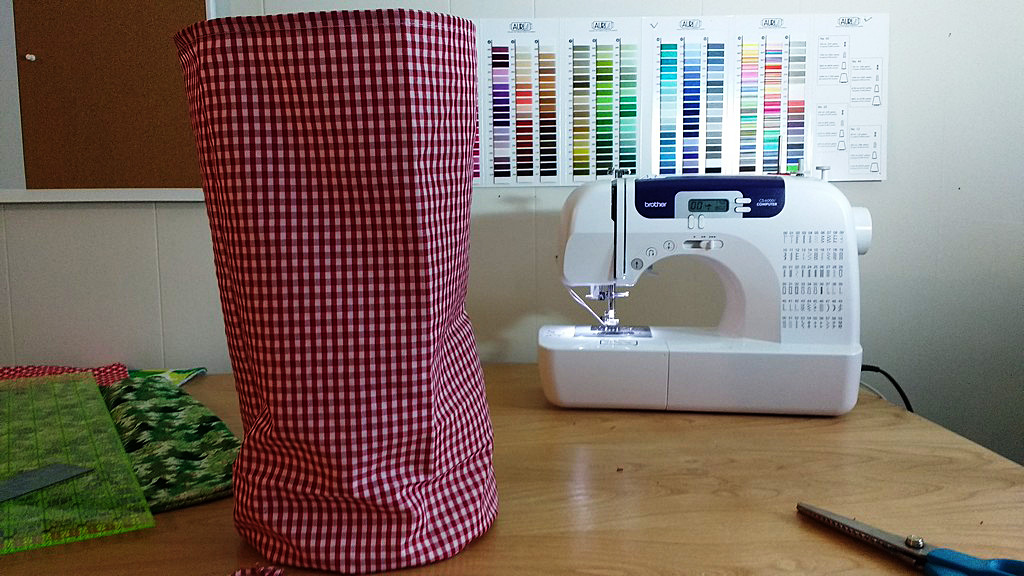
Prepare your fabrics as discussed above. Then, simply sew the other piece right sides together around the circle and then sew the side seam. It’s easy to sew the circle, just go slowly and carefully guide your fabric to keep your seam allowance uniform.
You can clip little slits in the seam allowance all around if you like, but if your seam allowance is narrow you won’t need to clip much if at all. Check the bottom and side seam with your eyes and fingers to make sure everything is connected and you didn’t accidentally miss a spot. It is easy to fix these mistakes now. Turn right sides out, if you like. Then repeat for the lining piece and base.
To make the drawstring casing
For either square or round kinchaku, you have options in constructing your drawstring casing.
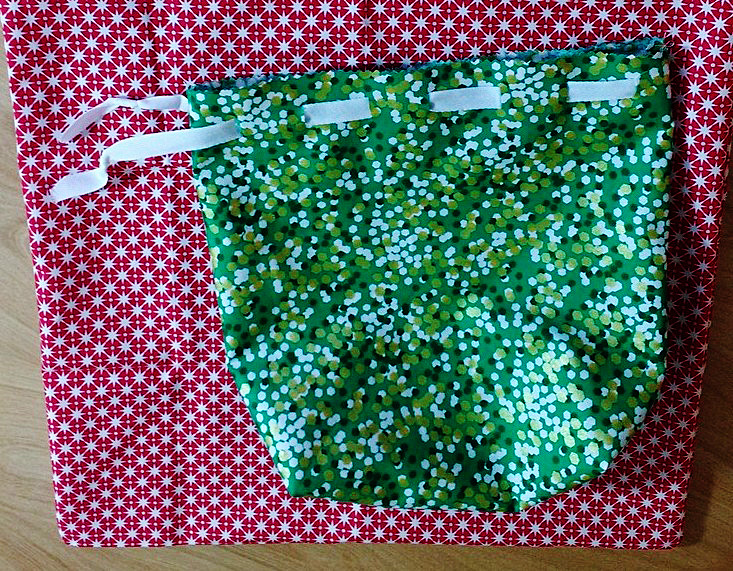
You can make tabs from matching or contrasting fabric, grosgrain or other ribbon, or bias binding. You can make several evenly spaced tabs or just choose one wide tab centered on each of the four sides.
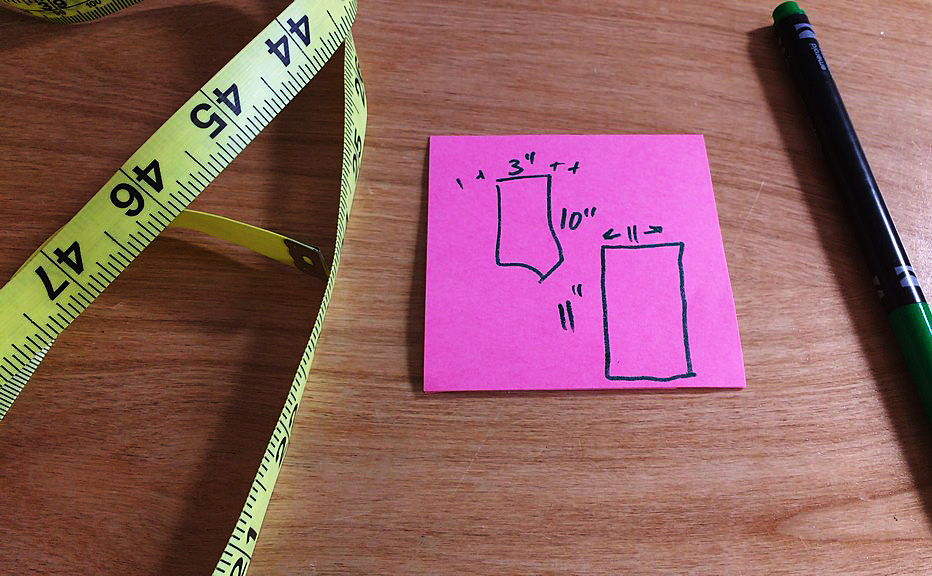
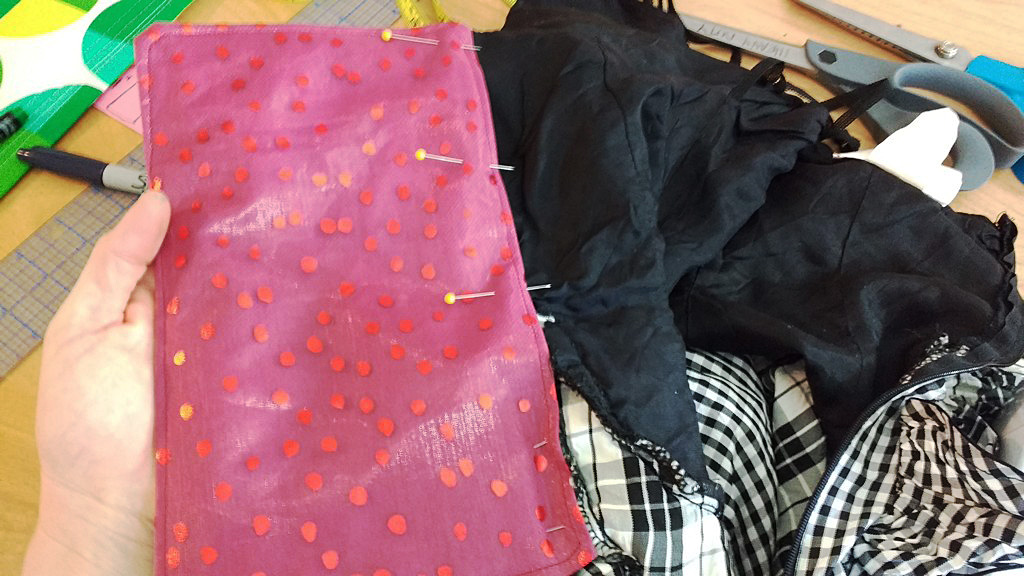
I like to use contrasting fabric. To make the tabs like I have done for most of the kinchaku pictured here, cut four same sized rectangles. Cut them between three and four inches wide by a length that is anywhere between one-third and five-sixths of the width of your squares. Turn and press a narrow hem on all the short sides, then sew these down. Now fold along the long edge, and center it along the top edge of one of the squares with the raw edges of the folded rectangle aligned with the raw edges of the square. Baste down with a one-eighth inch seam allowance. Repeat for the other three tabs.
You could do the same thing with shorter squares rather than rectangles and space two or three tabs along each square. If you use narrow bias binding, cord, or ribbon, you will want to use more tabs.
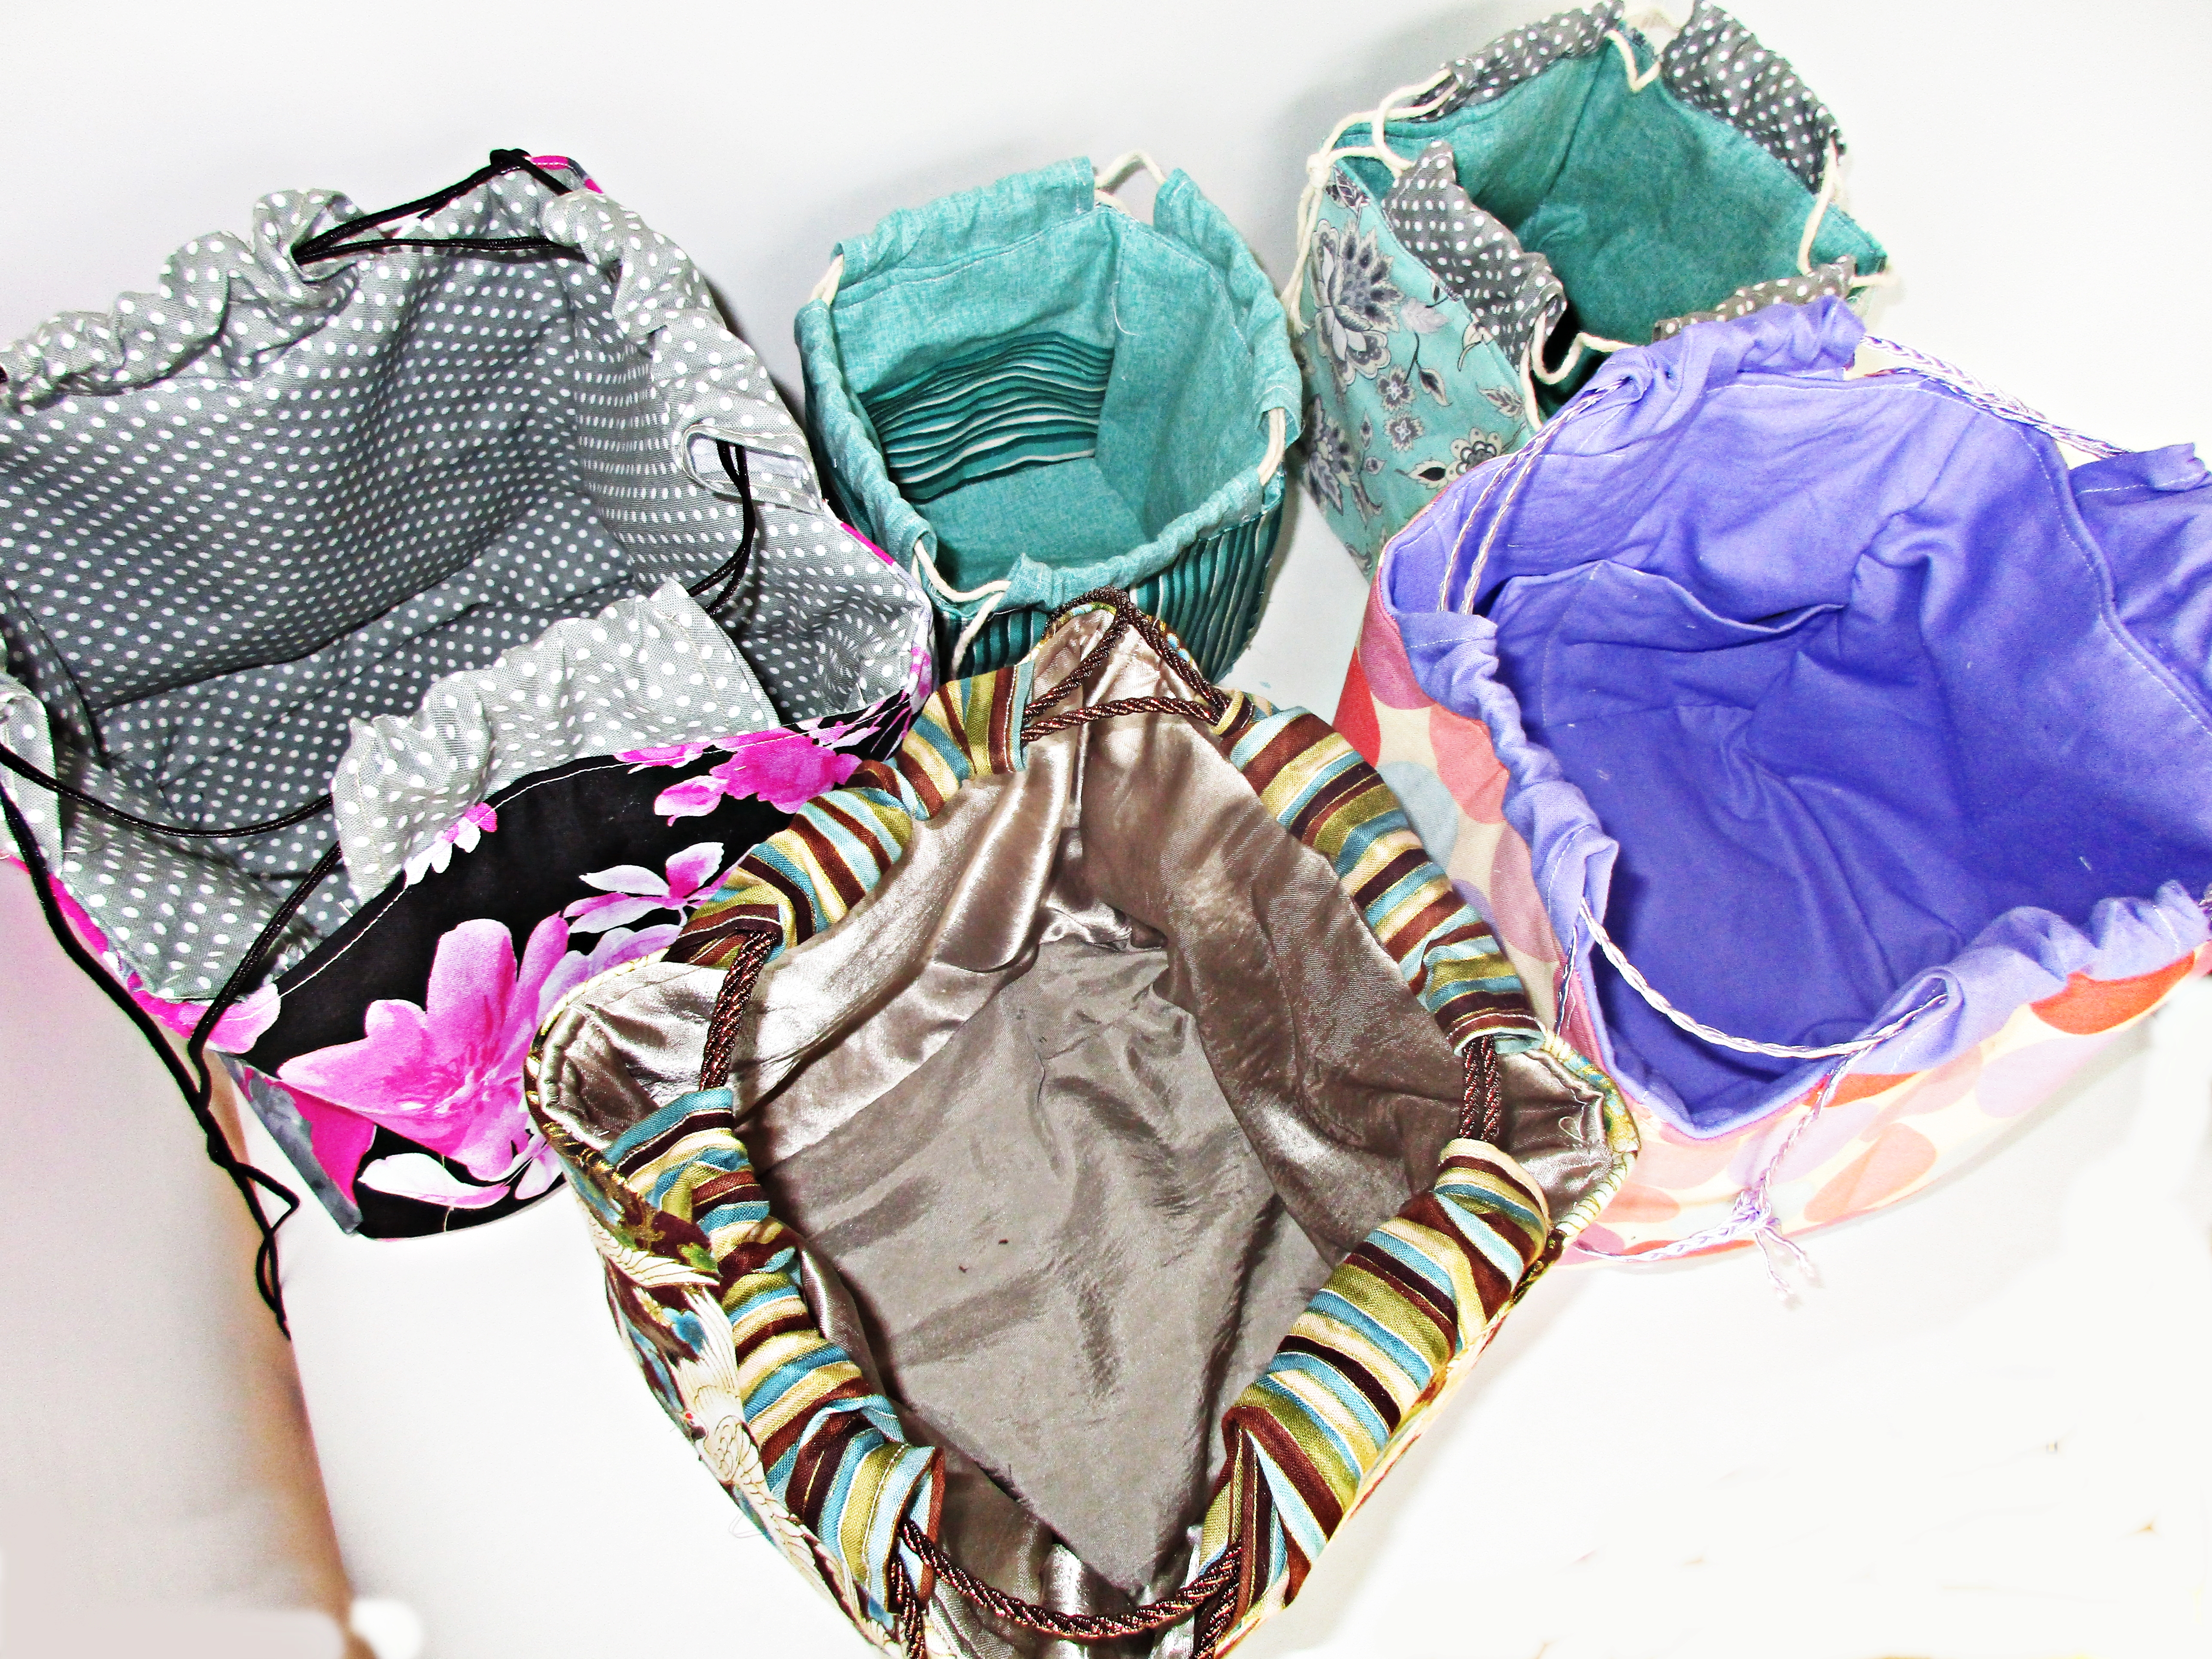
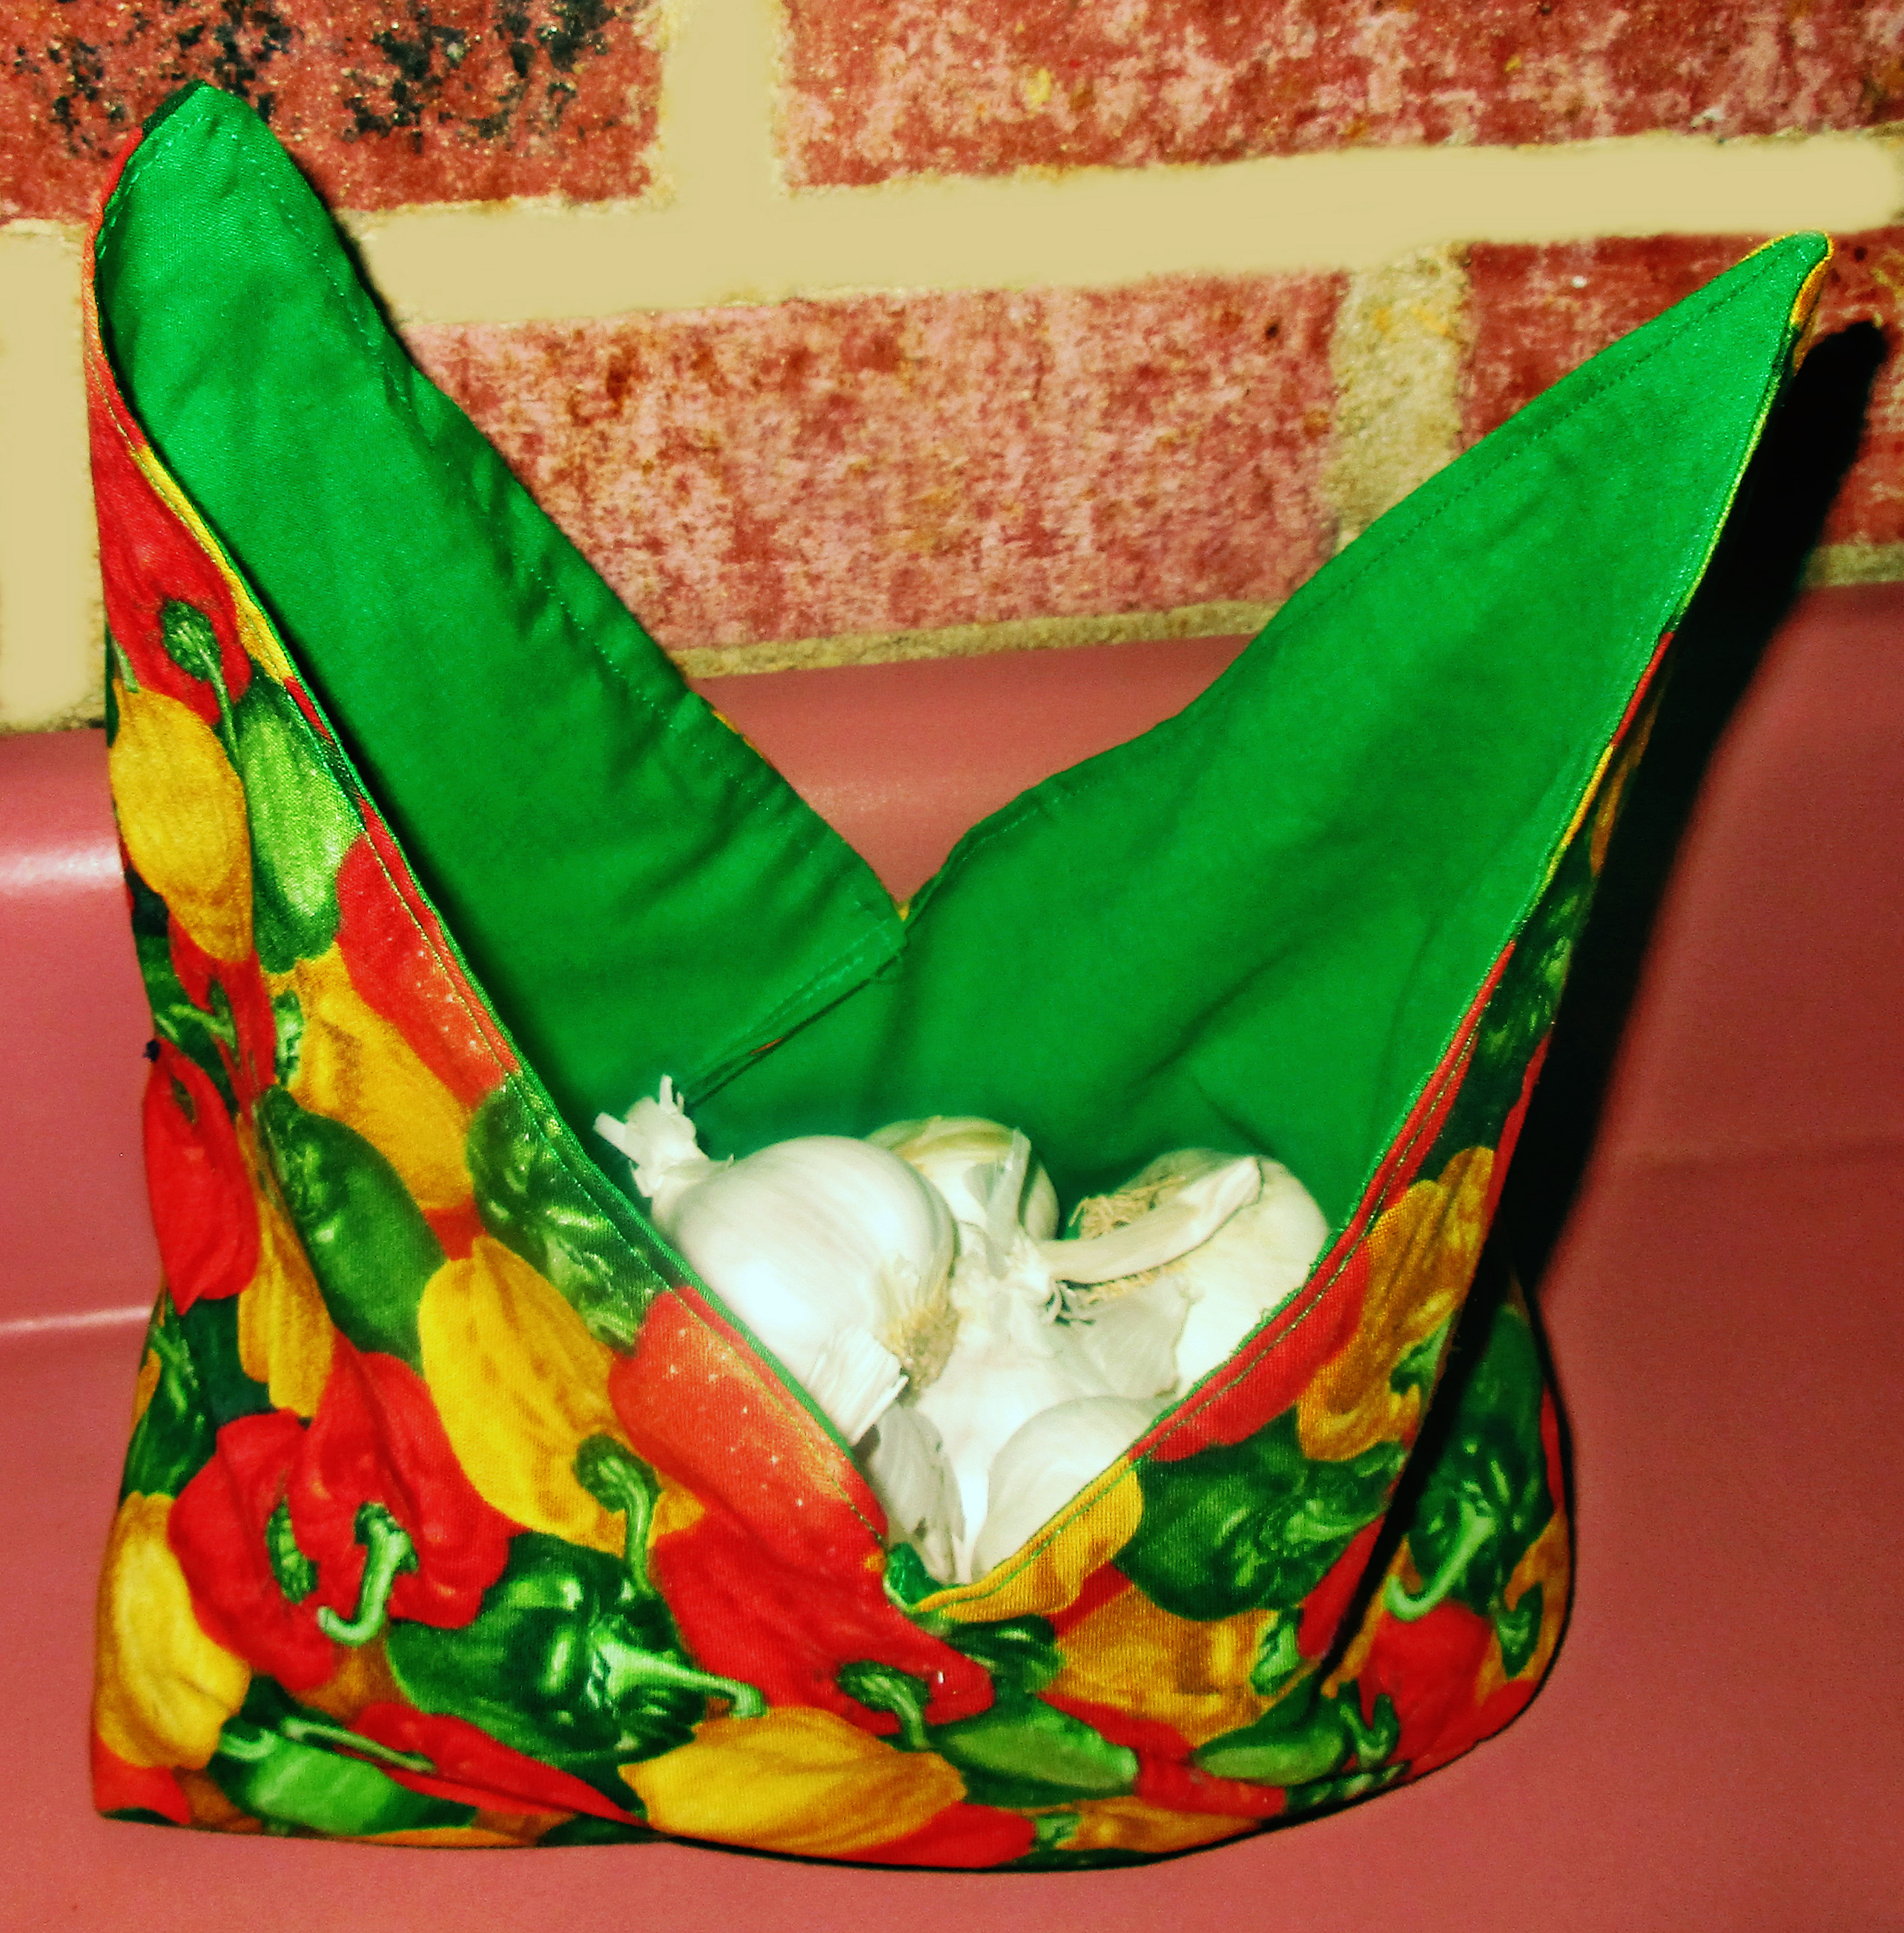
You can use contrasting fabric, even satin for the lining, and add pockets if you choose.
To finish your kinchaku
Place the inside and outside bag pieces right sides together, with the casing or tabs sandwiched between the two layers. Sew together, leaving an opening big enough to turn. Turn right sides out. Pull the tabs and push the lining down into the bag.
Sew the opening closed and continue top-stitching all the way around the top of the bag. Pull down on the lining and straighten the top seam as you sew.
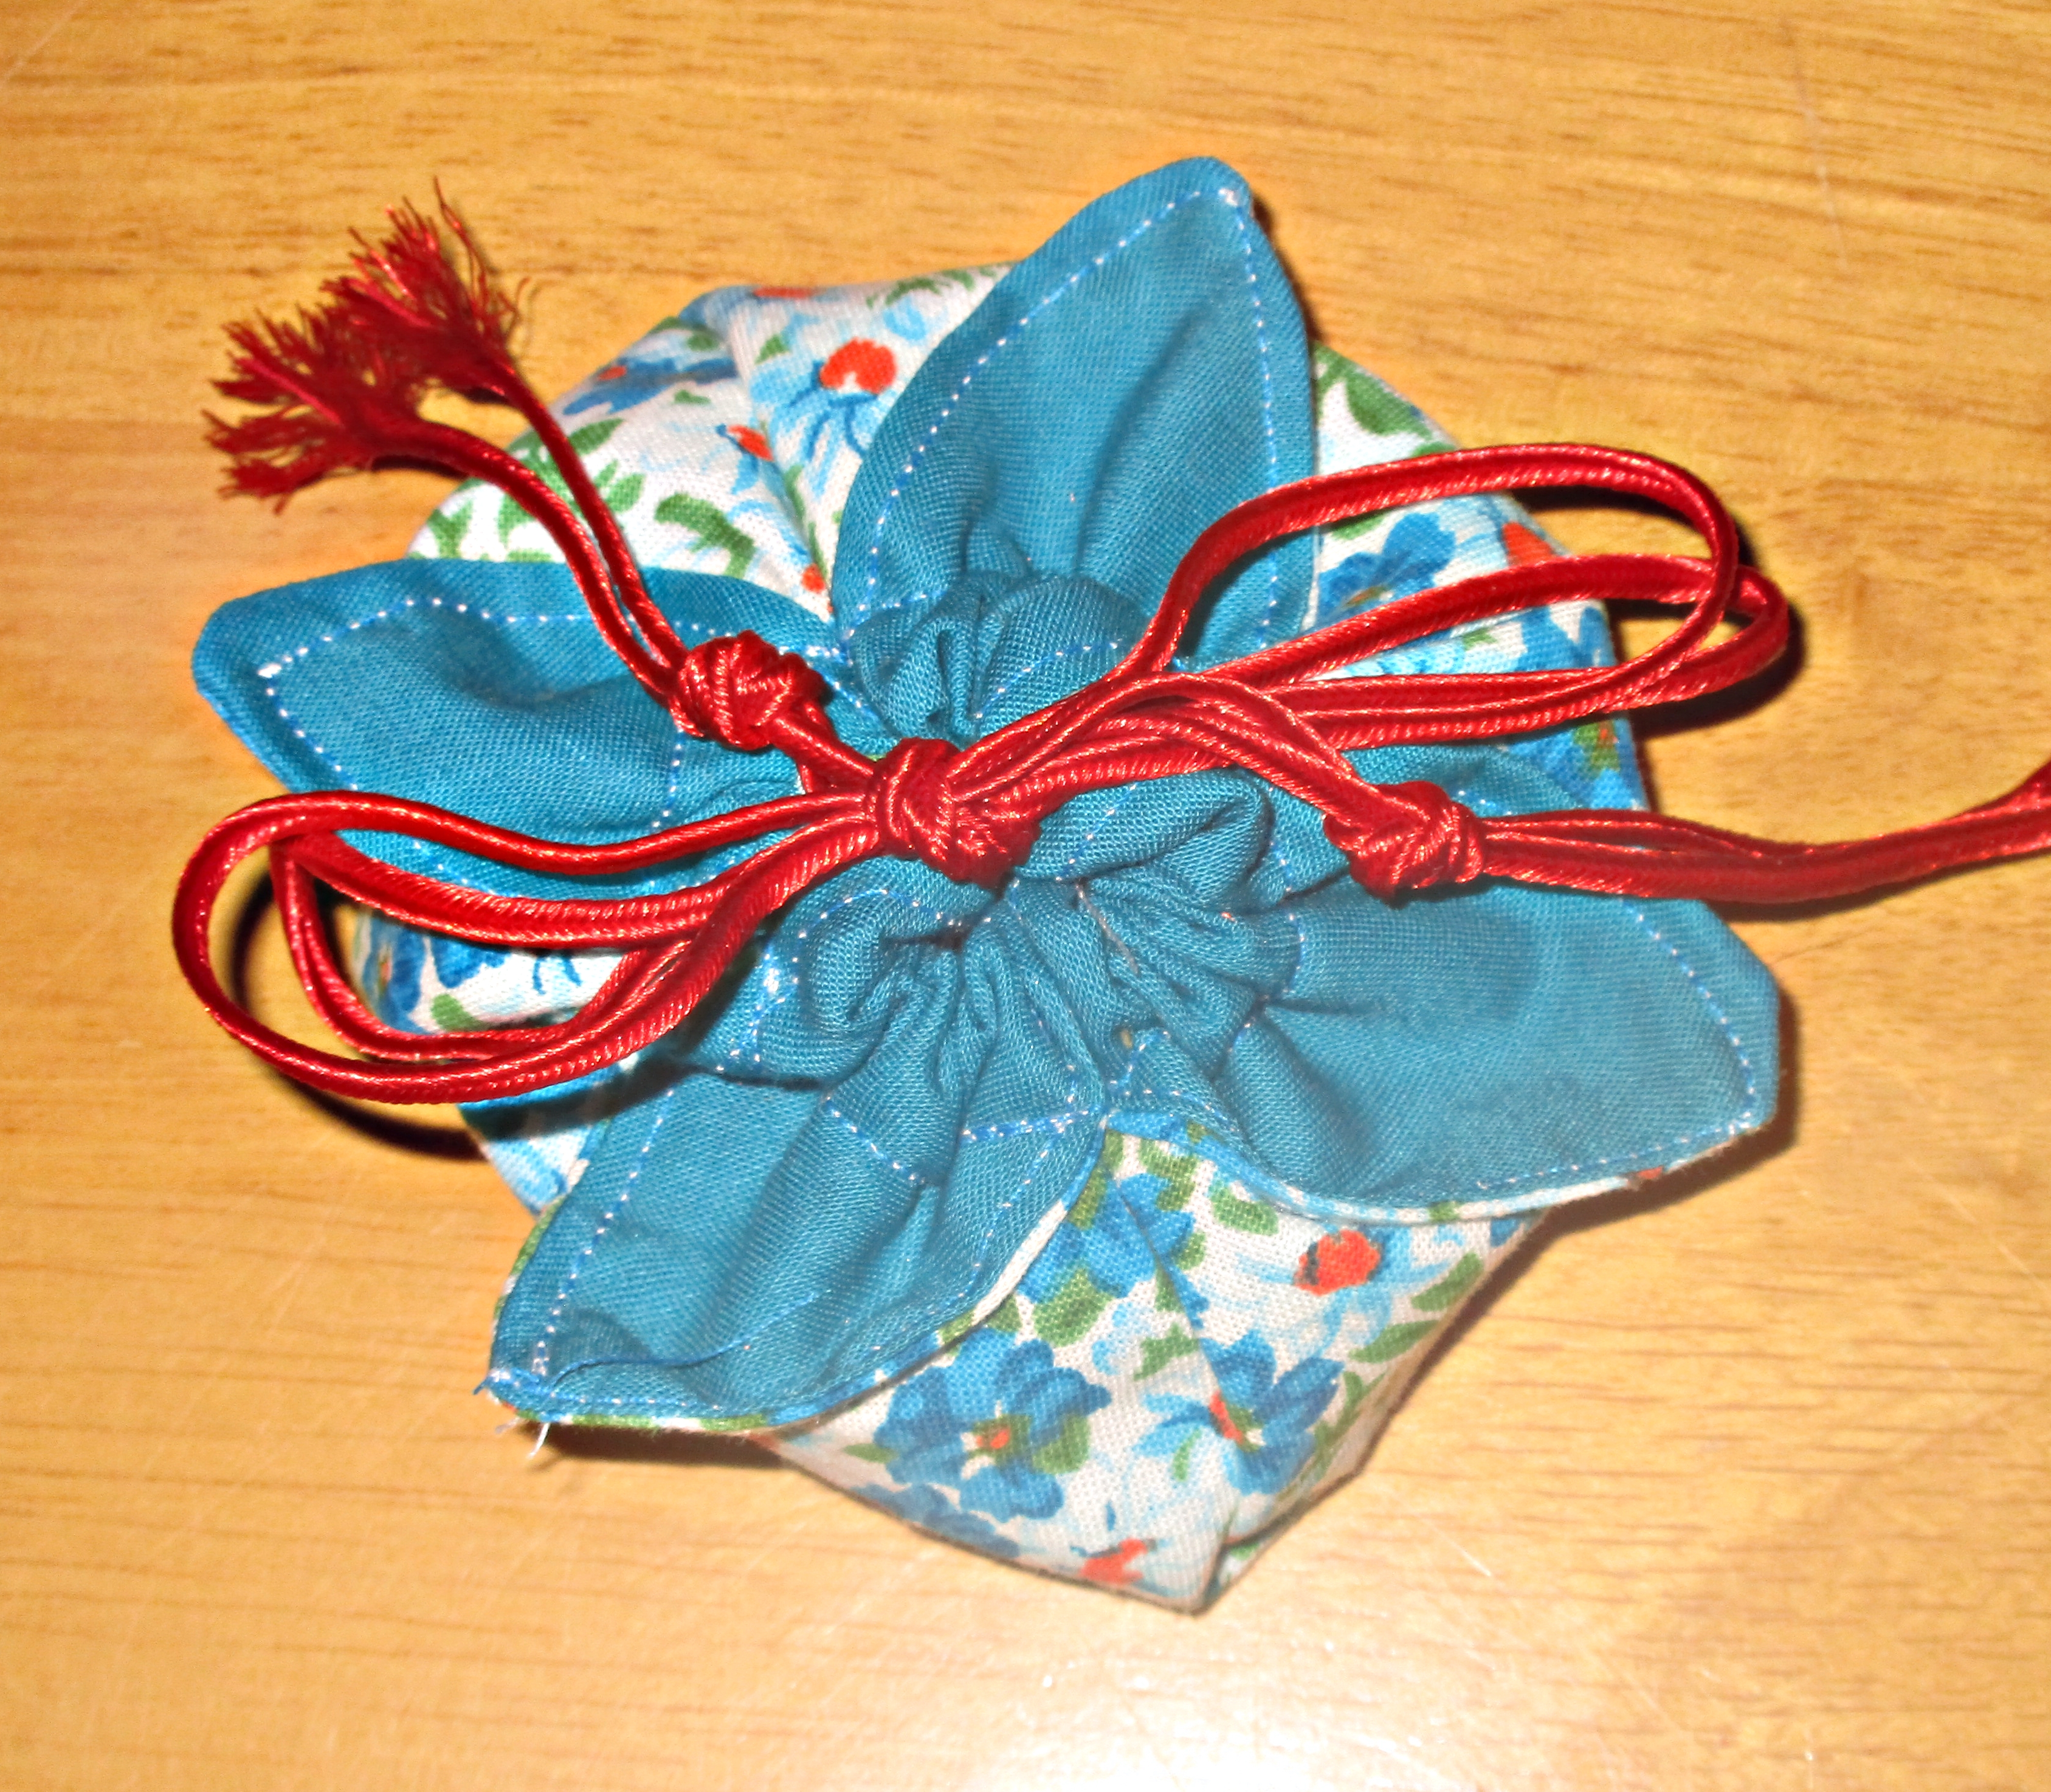
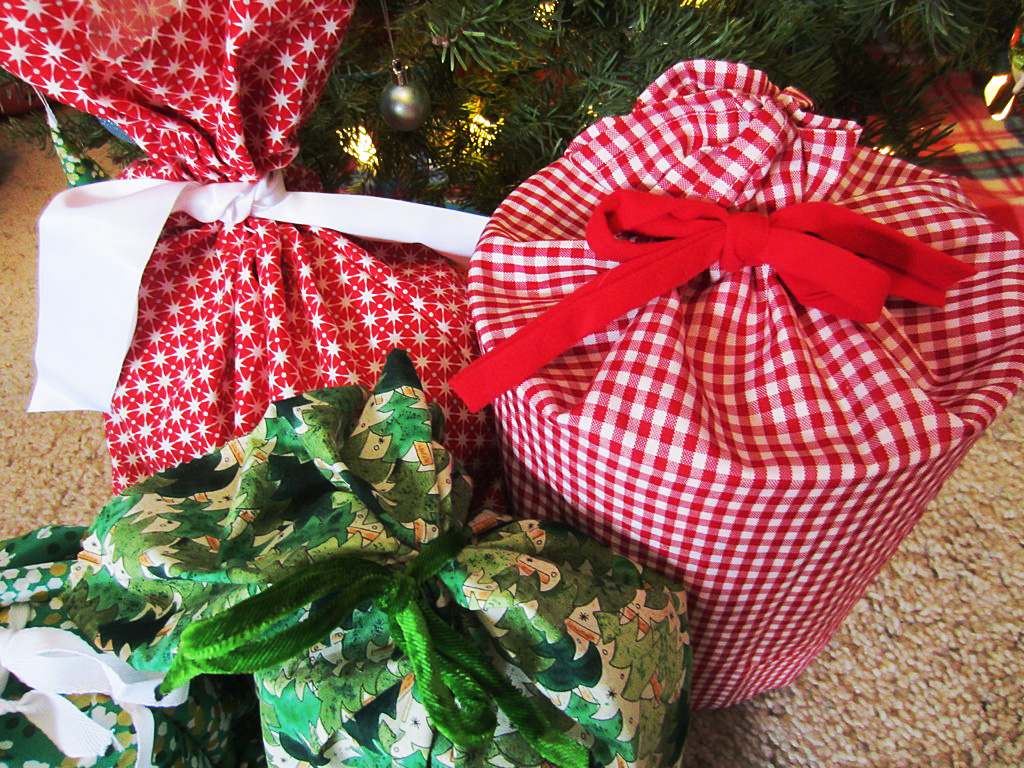
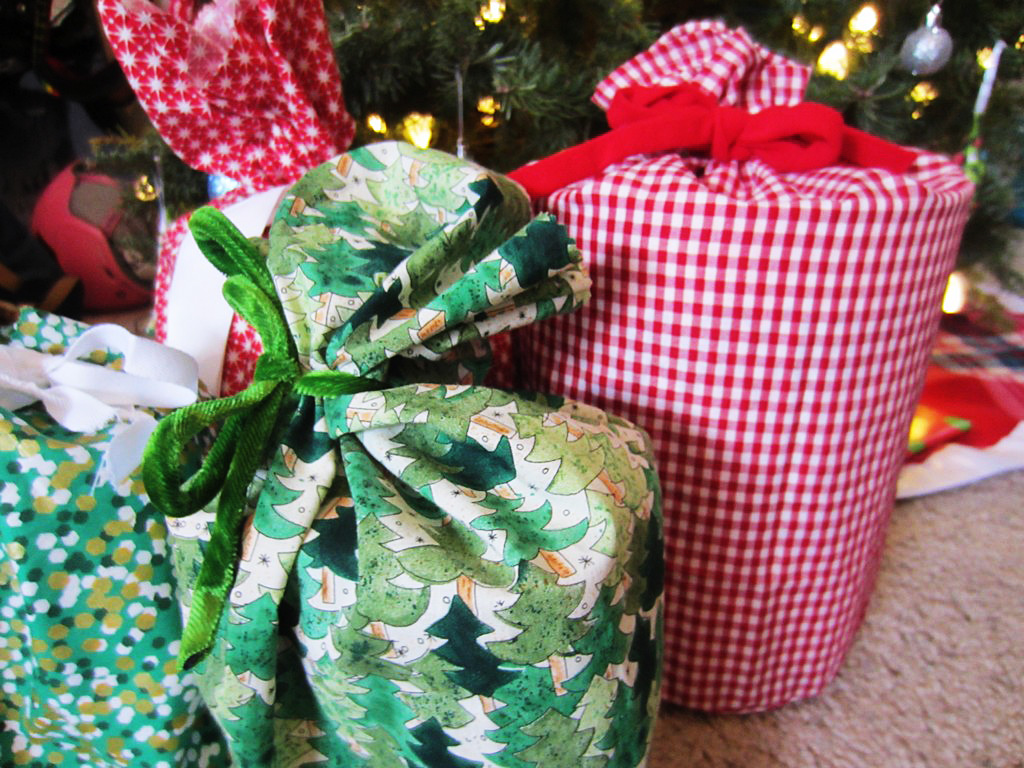
Now thread a cord or ribbon through all tabs and tie the ends together. Then thread another cord of the same length starting and ending on the opposite side of where you started and ended the first cord. Tie the second drawstring and your bag is complete. You can tie the cords in a bow or use them as handles to carry your bag.
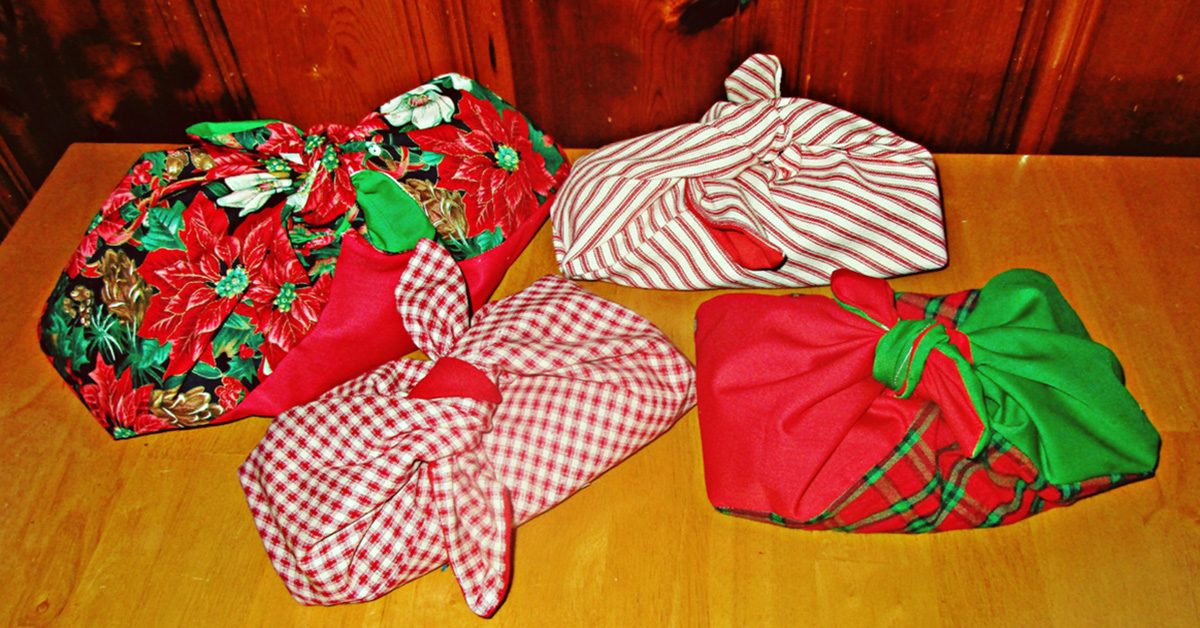
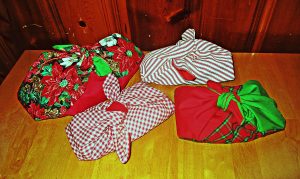
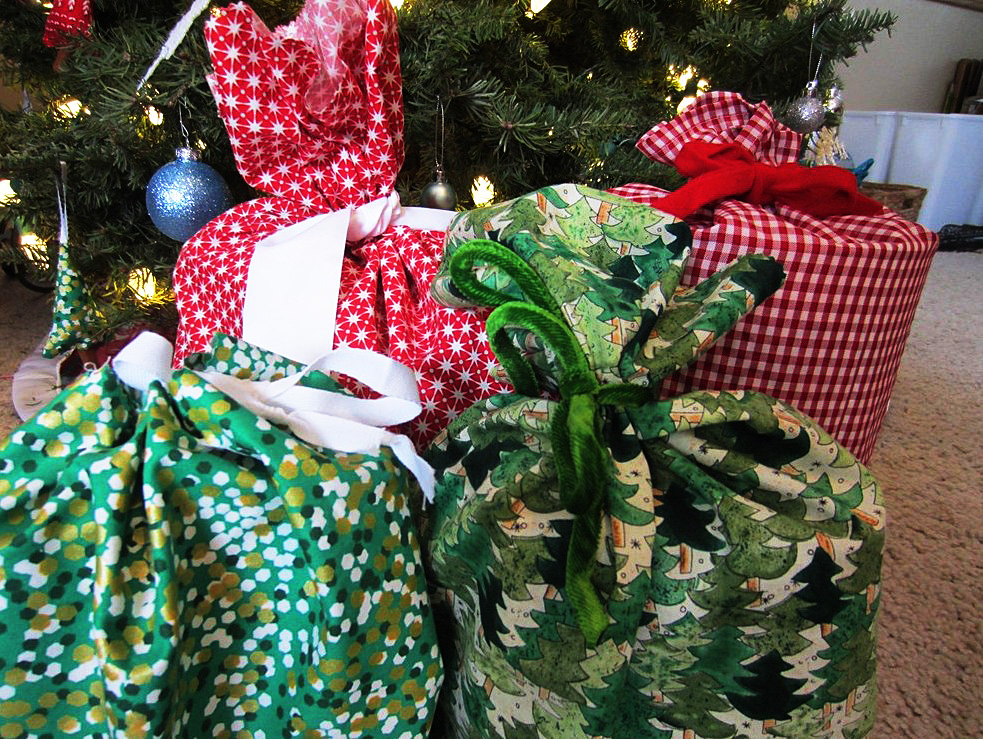
These are addictive
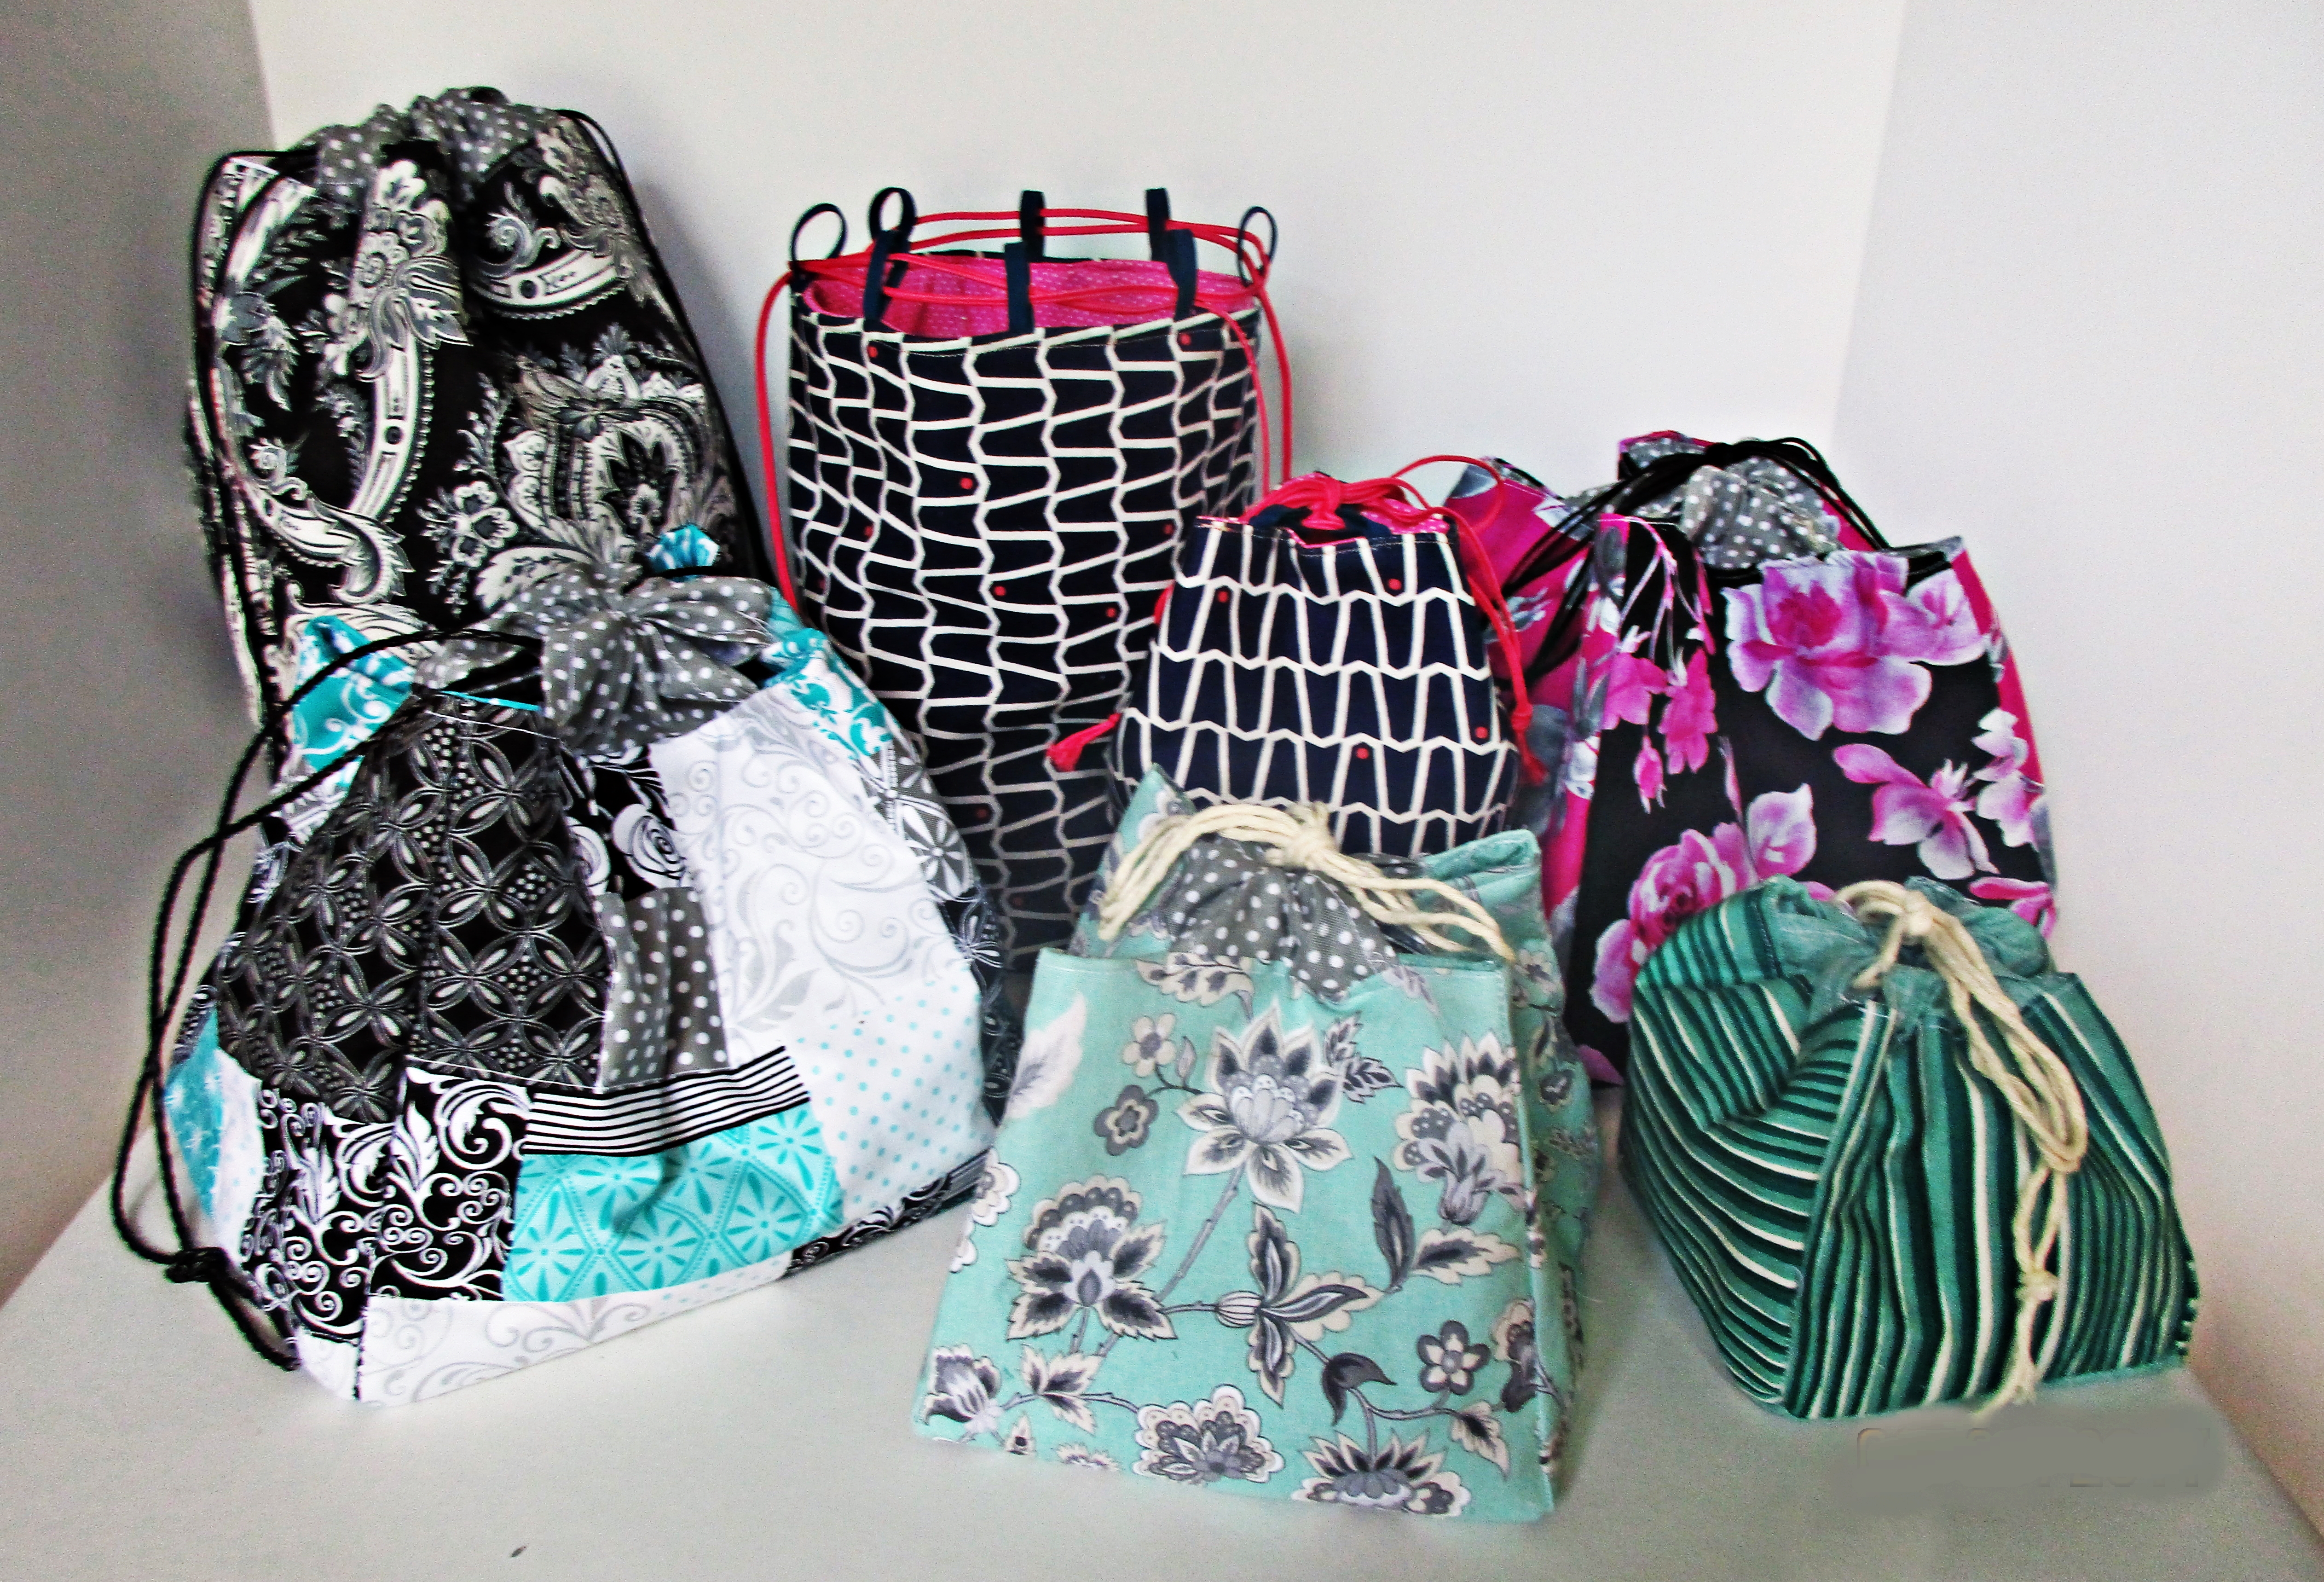
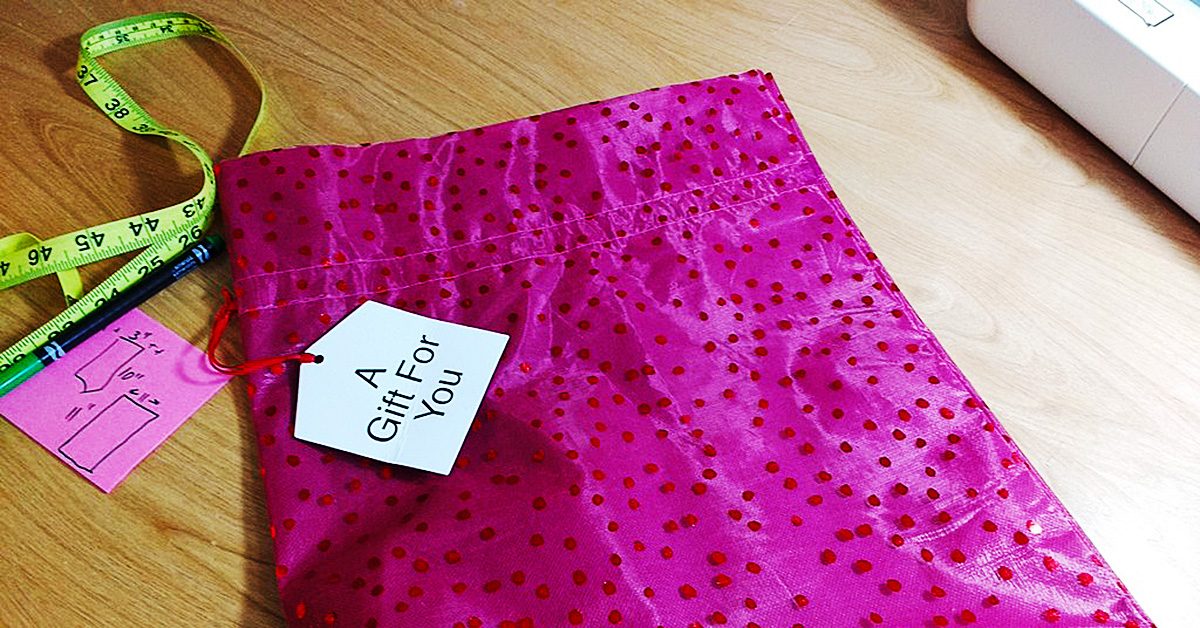
I can’t stop making these bags! They go together so quickly and are so cute and sturdy; sewing them is addictive. That’s good because these will make great gifts. Try this quick easy project and I bet you can’t make just one either.