Buying a beginner sewing machine is an exciting decision that will impact your future in wonderful ways, but only if you choose a good beginner machine.
There is a huge difference between a great sewing machine and a not-so-great machine
The difference a well designed machine makes to a sewing beginner’s journey will save an enormous amount of frustration. With a good machine, you will enjoy the process and learn to sew without trouble. With a poorly designed nightmare of a machine, your progress will not be near as fast. That is, if you progress at all; many beginners have thrown up their hands and given up on learning to sew thanks to an overly complicated or inferior beginner sewing machine, and this is a shame.
I’m speaking from experience here. If someone had told me these things I could have been spared an awful lot of trouble and tears. I’m not exaggerating to say tears, either; I not only cried but also screamed and wanted to tear out my hair in frustration when I was learning to sew. Learning to sew seemed so hard to do, but this was only because I was trying to teach myself on a terrible machine. I bought it at the same store where I shopped for groceries and it was, to put it mildly, a piece of junk!
If I had only known that I could have bought a much better machine for about the same amount of money, I could have enjoyed my beginner sewing experiences so much more. I’d love to save someone else that same trouble.
Start with a mechanical model sewing machine
My first recommendation is to start with a mechanical-only model. There are awesome computerized and electrical sewing machines available, and soon you will definitely want to add one of these to your collection, too. But I recommend you start with a mechanical model for two reasons.
First of all, you don’t want to confuse yourself with too many options and features when you first start sewing. I think it is best to focus on learning the basics of sewing on a good, basic machine.
And perhaps more importantly, you need to have a mechanical back-up machine in your collection before you buy an electronic or computerized machine. That’s because computerized machines require regular maintenance that you cannot do yourself. Nor can you repair any problem that might arise on a computerized machine at home.
When your machine is away, sometimes for as long as a few weeks, you cannot sew—unless you have a mechanical backup. So I think this needs to be the first sewing machine you buy.
I’d think I was sewing and then realize that I was sewing without thread! Argh, this is what made me scream and want to tear out my hair when using that machine!
Don’t buy a beginner sewing machine without these features:
Built-in needle threader
You’ll be threading your machine every time you sew. With an easy machine, you are going to love sewing and want to make lots of things, so you will thread your machine thousands or even ten-thousands of times.
Save yourself a lot of time and trouble by getting a machine with a handy dandy built-in needle threader. Even if you are young with great eyesight and steady hands, this will still make needle threading go a lot faster for you. I wouldn’t buy a machine without this feature.
Top loading drop-in bobbin
The poorly designed bobbin system was the thing that caused me the most frustration on my first sewing machine. On that thing, the bobbin was concealed inside the front of the machine. To change it, I had to take the case off the front and then remove the bobbin casing to get to the bobbin which was held vertically inside.
Besides all those extra steps, the problem with this system was that there was no way to see that my bobbin was running low on thread. So what would happen is that my bobbin would run out without me knowing it. I’d think I was sewing and then realize that I was sewing without thread! Argh, this is what made me scream and want to tear out my hair when using that machine! I’d have to remove my project from the machine, rewind and replace the bobbin, and then start all over again. NOT fun!
A top loading bobbin system is so much better. With this system, the bobbin just pops out and drops into place without your having to disassemble a bobbin casing to get to it. Even better, this kind of system is accompanied by a see through cover plate. So you can see at a glance when your bobbin thread is low. Believe me, you want to get a machine with this feature.
Free arm capability
With a free arm, you can sew narrow, round garment pieces such as sleeves and pant hems. If a sewing machine won’t convert to free arm sewing you can’t sew these things easily, if at all.
As a beginner sewist, you will want to make many small projects. That’s because they are easy and satisfying, not to mention useful. Not having the ability for free arm sewing is unnecessarily limiting. There are basic beginner sewing machines that do limit you in this way. Be sure the machine you buy includes this important feature.
My recommendations for your beginner sewing machine:
I always recommend Janome brand machines. That is because I have seen for myself that Janome offers the best quality and the best value, by far. From my experiences with my own nightmare first machine to my experiences helping others with frustrating machines when I teach sewing classes, I have seen clearly that there is a big difference in user friendliness between different makes of machines. I can’t imagine buying any other brand and I recommend them as being the best choice for beginners and experienced sewists alike.
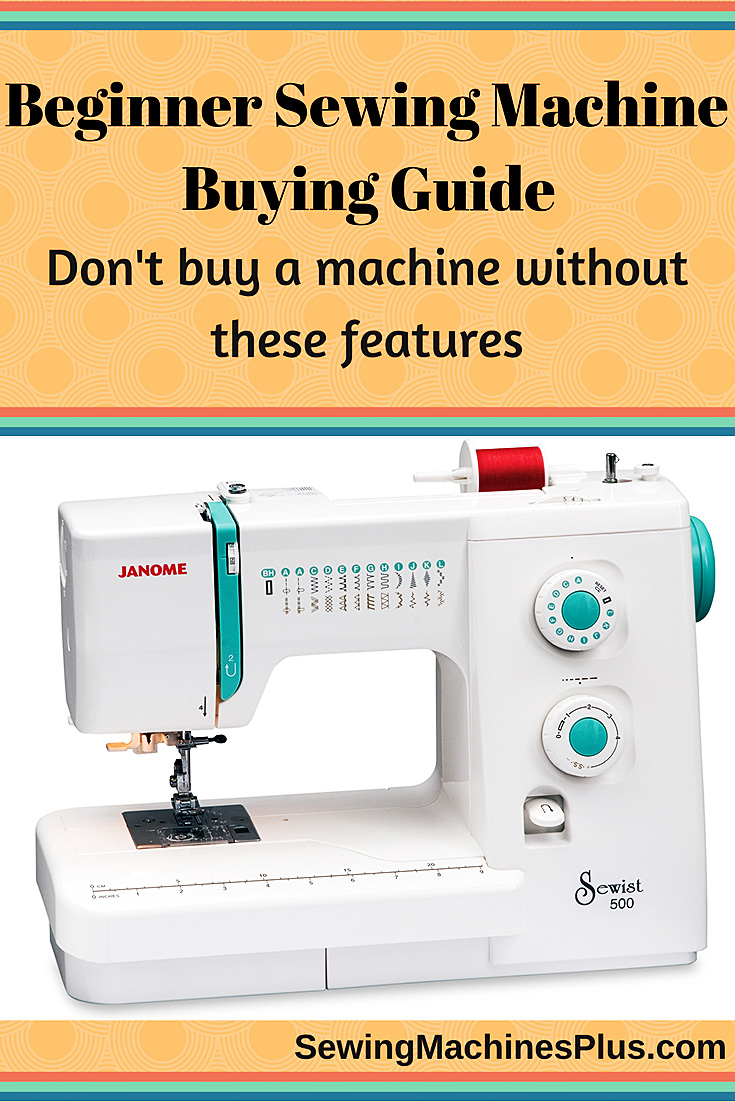
Janome Sewist 500
If I were buying a beginner machine, I would buy the Janome Sewist 500. I like this one because, besides offering my must-have features listed above, it goes beyond being a basic machine and offers a lot of options without being overly complicated. It has 25 different stitches, including some decorative stitches, and a one step buttonholer. I love this option on Janome machines, it makes sewing buttonholes as easy as pie.
Janome Jem Gold 660
I would also recommend this machine as being a great choice for a beginner sewing machine. It too includes all the features I would demand. And besides the fact that the price is nice, this machine is also lightweight. This makes it easy to grab and go to class or wherever else you’d like to take it. While it only has eight stitches to choose from, these include everything you need. Almost all sewing uses either a stretch or a zigzag stitch. This machine performs both, and with adjustable stitch length and width. It also has two different useful stretch stitches and a buttonhole stitch.
With either of these as your beginner sewing machine, you will be sure to enjoy learning to sew and you won’t have to suffer needless frustration. Either of these high-quality Janome machines will continue to serve you well long beyond your brief time as a beginner.
To save yourself another easily avoided frustration, be sure to read my guide to machine needle selection, too. Besides using a poorly designed beginner sewing machine, nothing else can cause you as much trouble as using the wrong size or type of needle. You won’t have to suffer this problem when you clearly understand which needle to use when.