One Day Sewing Projects

One Day Sewing Projects

one-day-sewing

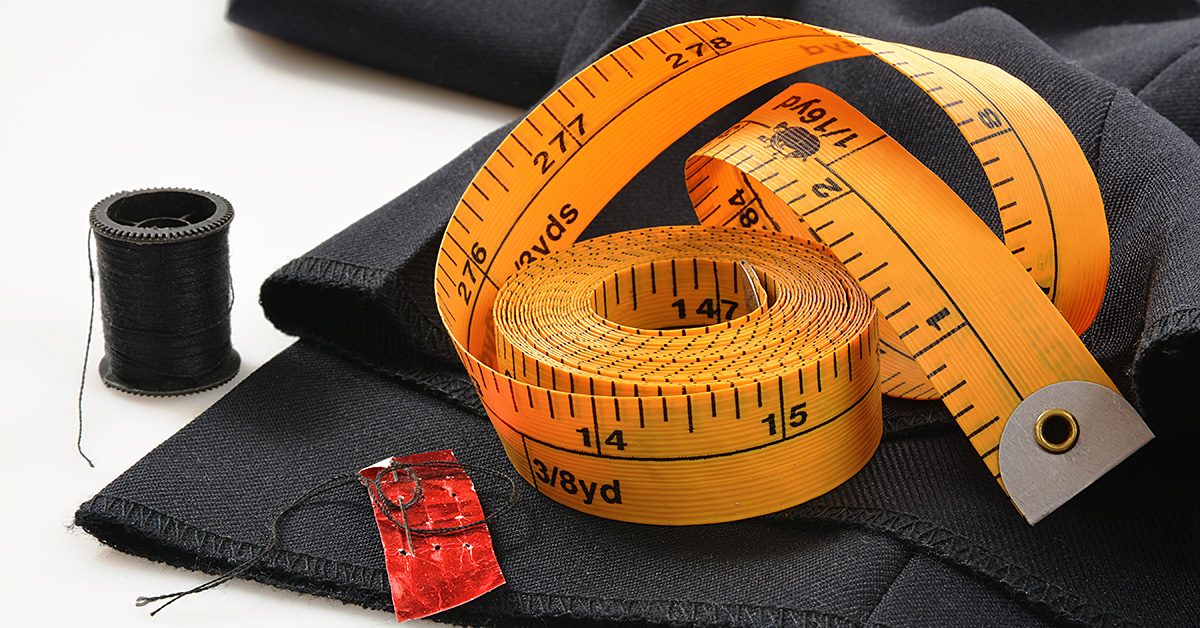
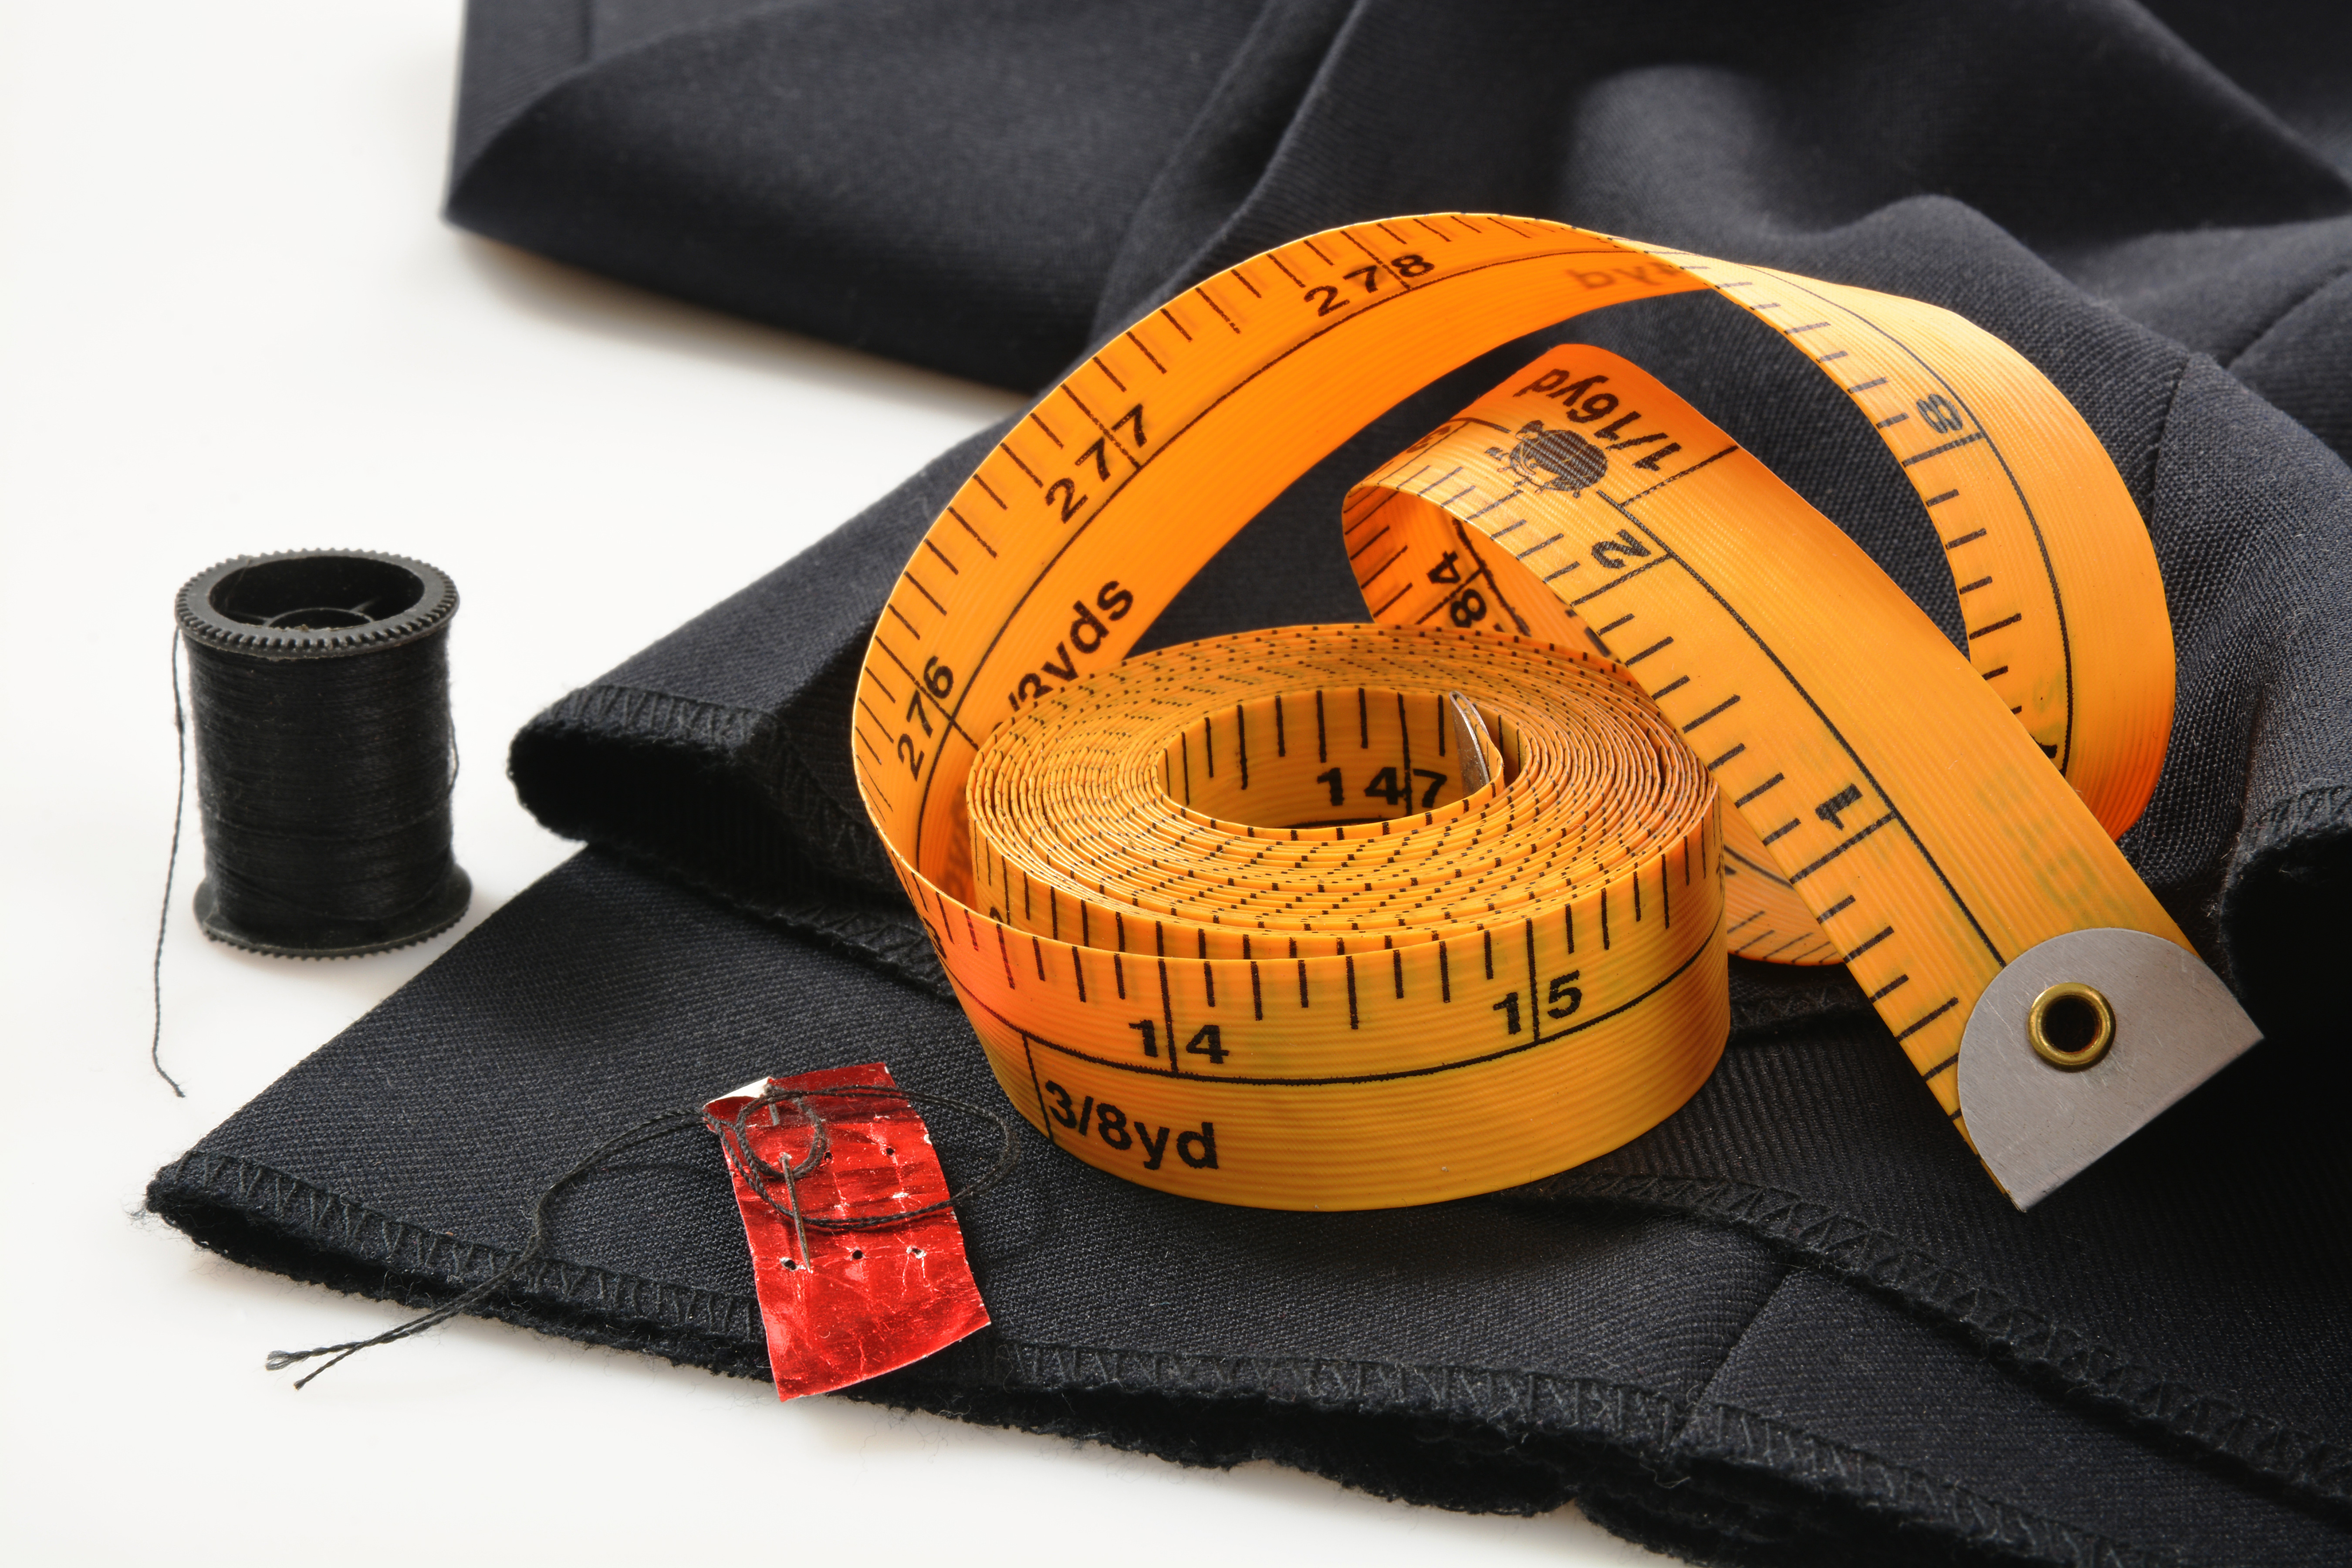
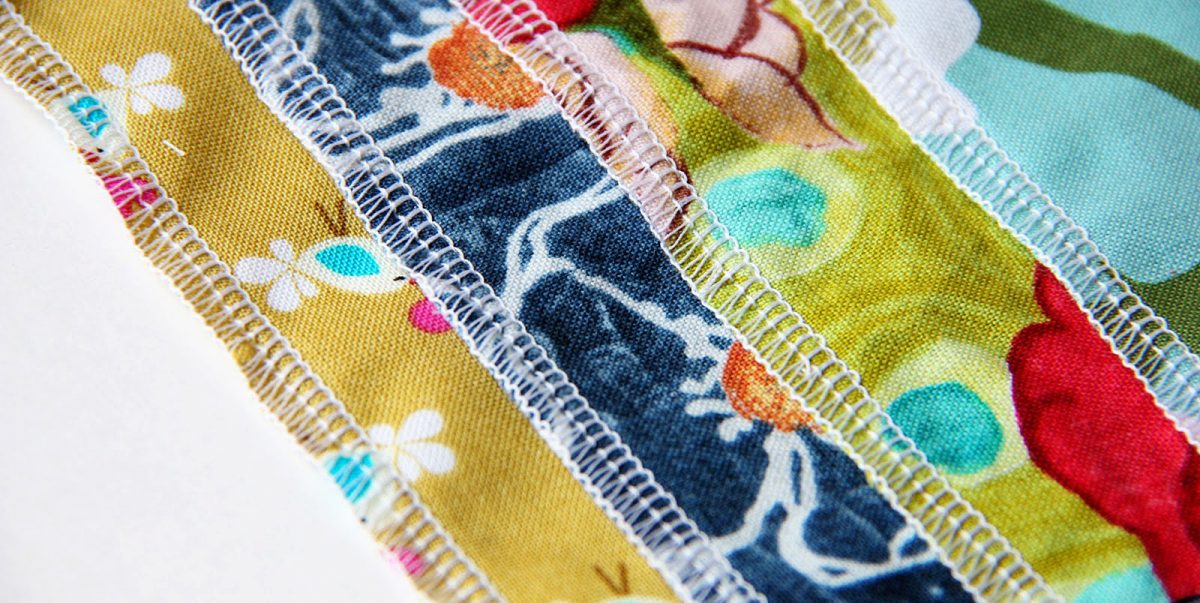
Sometimes I don’t want a big sewing project. If I’m pressed for time or simply need to fill an afternoon or one day out of the weekend, I don’t necessarily want to start a project that will take days, weeks, or months to complete. Nor do I want the hassle and expense of shopping for supplies for a larger project. I just want to sew for a couple of hours and have something to show for it. If that’s ever happened to you, these sewing projects you can do in a day are the perfect solution.

Circle Skirt

Make this for yourself or your daughter…or making a matching mother/daughter pair. This circle skirt can be done in just a couple of hours and it’s perfect for whirling and twirling when it’s done. Unless you have large amounts of the same fabric on hand (cause you just buy fabrics you like when you see them, maybe?) you’ll need to hit the store for material. If you’ve got enough fabric on hand, you’re good to go.

Vendor Apron

Are you the one they ask to help out with bake sales, garage sales, and other school fund raisers? You need this vendor apron to keep your notepads, pens, and other supplies close at hand. It’s super simple to make with an old pillowcase or one you fell in love with at the thrift store and now need a use for. Make a bunch so the whole PTA will have one.

Trendy Fashion Tank

With this awesome pattern there’s no need to spend your hard earned money on brand name t-shirts and tanks. The trendy fashion tank is patterned after a popular JCrew top, but made by you. You’ll need jersey sheets or another source of that same material to make this pattern. Flat jersey sheets can be bought at discount stores for around $7, so it’s well worth the investment to make this shirt yourself.
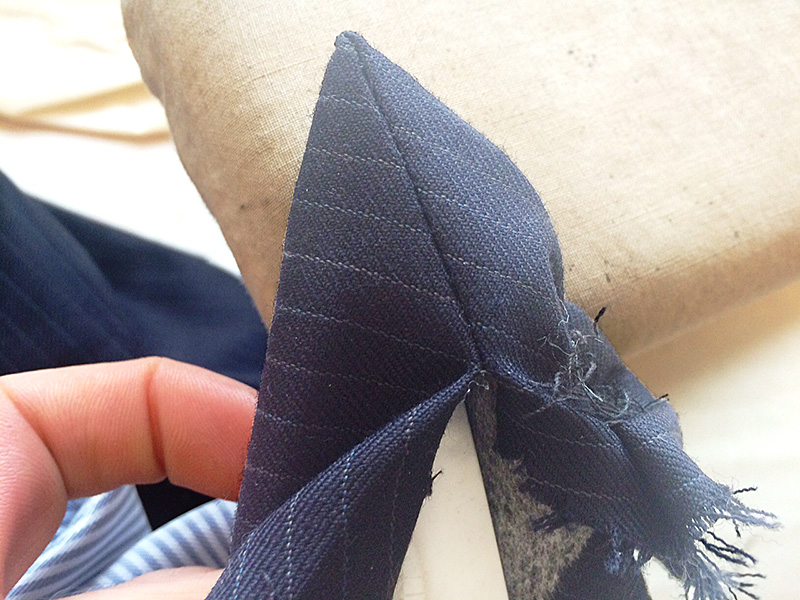
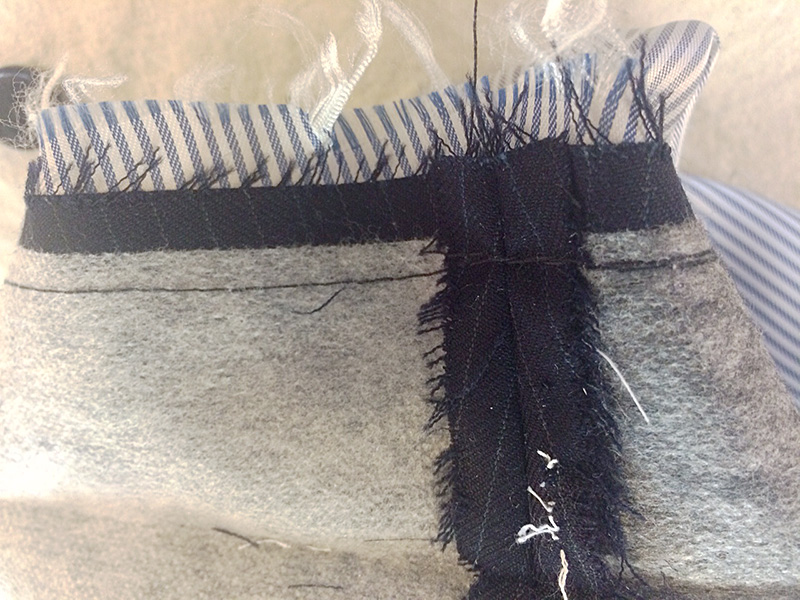
Hair Bows

Not only do these work up fast, they’re a great way to use up your scraps. Hair bows never really go out of style, so make a bunch. Give them as gifts or sell them at craft fairs. Depending on the material you choose they can be vintage, modern, or anything in between. No matter what, they’re sure to be a hit!

The next time you’re looking for a quick project, try one of these projects. They take a day (or less in most cases) and leave you with a great finished piece, a feeling of accomplishment, and instant gratification. Many of these projects are also great for sew sewers since they can quickly see the results of their efforts.

Fast and Easy Way to Hem Pants

Fast and Easy Way to Hem Pants

My fast and easy way to hem jeans & pants.

My fast and easy way to hem jeans & pants.

I’m barely over 5’ tall. It used to be that clothing companies made pants in “short” lengths to accommodate people of my stature. More and more often now, though, I’m finding that clothing companies, particularly jeans producers, make pants in “regular” and “tall.” I’m not sure why they think all the short (or as I prefer to call it, concentrated awesome) people no longer need pants, but there you have it. As you can imagine, this leaves me with the choice of either patching jeans and pants until there’s nothing left to them, or buying clothes that are too long and hemming them. Hemming something I’ve paid money for ticks me off, so I want to get it done and over with quickly. I developed a fast and easy way to hem jeans and pants.

First

Find a pair of pants that are a length you like. These will act as your template or guide. Lay them flat and smooth. If possible, I suggest pinning them down to keep them flat. Next, turn the pair of pants you’re going to hem inside out. Lay them on top of the pants that are the correct length.

Let’s begin

Choose a place on the leg of the pants where you’ll be okay with seeing a line. I often opt for the upper thigh. In that spot, pull the leg of the pants that are too long up, gathering the extra fabric in a straight fold that goes around the entire leg as you go. When the pants are the right length, pin this fold so that it comes directly out from the leg itself. Do this on both legs.

Almost done…

Sew around the fold to create your shortened pants, then cut off the extra fabric. Whip stitch around the cut edge for extra strength in the seam and reassurance that it won’t split apart while you’re wearing your new pants. Again, do the same thing on both legs.

Viola!

Hemmed pants, perfect for your height – no measuring or marking required. This is one of my favorite “sewing cheats” because it’s so quick and helps me buy pants and jeans affordably, even clothing companies no longer feel the need to cater to people my size. Give it a try next time you need to hem pants and let me know what you think!

What I Do At Work All Day (Part 2)

What I Do At Work All Day (Part 1)

Just a view of my shop.

Just a view of my shop.

I’m currently the Key Tailor on a New York City based major network crime-procedural drama television show (Blindspot on NBC). I work mainly out of one of the Brooklyn studios with occasional on-set last minute fittings. Most of the work I do each day is for things that need to be ready for the actors to wear the next day on camera. What this means is that, over the years, I’ve become pretty fast at doing a variety of alterations (as well as patterning and constructing from thin air). In my industry, there are certainly a lot of excellent tailors but there aren’t all that many excellent and fast tailors. Here are a few of the tricks I’ve discovered along tQuhe way that help speed up some common alterations.

Shortening the Sleeves of a Men’s Suit Jacket (without fancy functioning buttonholes)

Topstitching on sleeve lining.

Topstitching on sleeve lining.

First, just go ahead and remove all the buttons. They’ll just be in your way. Turn the sleeve inside out and find the topstitching along the sleeve-lining seam. This is how the sleeve was originally put together. Open up that seam and turn your sleeve inside out. Take apart the mitered and straight corners but do not undo the lining from the rest of the hem. (Go ahead and release any stitching holding the actual hem up though.) Undo any fake buttonhole stitching that you need to. These should be on a chain stitch and easy to undo.

Press miter corner with point turner inside out.

Press miter corner with point turner inside out.

Measure up or down the distance you want to shorten or lengthen at your corners and redraw your miter line if you need it.

Re-stitch all corners at new hem marks. I flip everything back right side out at this time and press my corners and the new hemline. Use a handy point turner

Don’t undo original stitching at hem.

Don’t undo original stitching at hem.

and please don’t trim anything away from the mitered corner. If you press inside out first with the point turner inserted the fabric will go where it needs to. No need for trimming. One of the most annoying things is to go and alter a jacket sleeve only to find that someone has trimmed the miter corner, meaning I can’t lengthen the sleeve properly.

(Still don’t unattach the lining)

Redraw miter line.

Redraw miter line.

After pressing, turn inside out again. Then simply measure up or down (I use an old fashioned metal seam gauge) from the current stitching line the desired amount and sew along that line. If you are shortening, there is no need to undo the original stitching line. If you are lengthening, you will need to. Machine tack the seam allowances together at the seam to keep the hem up.

Sew new stitching line shortening hem.

Sew new stitching line shortening hem.

Turn everything back right side out and topstitch the seam of the sleeve lining closed, put your buttons back on and you’re done!

There are of course a few situations that will make this alteration a bit more challenging – such as functioning buttonholes or having to add fabric to the hem seam allowance because of lengthening. If I’m having a good day and nothing strange is going on inside the sleeve, I can usually do this alteration in 30 minutes.

Center Back or Side Back Alterations on a Suit Jacket

The time saving trick on this one is pretty simple. Open up the under vent seam and turn everything inside out through there. When done, just topstitch the vent closed again, no opening up the lining and sewing it back by hand.

Men’s Vest Alterations – Center Back or Side Seams

I’m a huge fan of bagging things out. Men’s vests are one of my favorite things because you can bag everything out through a mere 2 inches on one of the side seam linings. First, find the opening where the vest was bagged out originally, probably a small hand stitched couple inches on one of the inside side seams. If its not there (if the vest was bagged through the neck, make your own. Then pull the entire vest inside out through those two inches. It will fit.

Vest side seams are most usually put together with one stitching line through all 4 layers (fronts and backs with linings). On the side without the opening just stitch a new line taking in (or out, though most commercial vests don’t have a lot of seam allowance to let out) the desired amount. If the amount is significant, you may need to re-stitch the arms eye curve so that everything lines up properly under the arm.

If you need to take in the center back seams, undo at the neck and bottom hem, alter as desired, the re-sew what you released.

On the side with the opening, stitch in two sections, above and below the opening. In the 2 inch gap, sew through all layers except the back inside lining.

Pull everything back through your opening, press and voila!

I just topstitch my opening from the right side of the vest, hiding the stitches in the seam line.

Check out Part 2 here!

My next post will tell you about the one of the sneakier men’s suit alteration tricks – the old dart and drop! So keep a look out for the follow up and as always – keep sewing!

Boost Your Sewing Skills To Professional Quality In One Quick Step

How To Boost Your Sewing Skills To Professional Quality In One Quick Step

After learning to use a sewing machine, the best thing you can do to produce more perfect and professional projects is to use a serger. The serger is the sewing machine’s best friend and it will be yours too.

Sergers are fast! Save time in production & cut down your fitting time. Not only that! A serger will create professional finishes & immaculate seams.

Sergers are fast! Save time in production & cut down your fitting time. Not only that! A serger will create professional finishes & immaculate seams.

What is a Serger?

A serger, which is also known as an overlock machine, produces professional finishes on garments and other projects. It does this by a process of knitting, rather than sewing.

A Serger is Fast!

The serger accomplishes all its tasks quickly and easily. It is the real workhorse of the sewing room and will speed a great many tasks immensely.

While most regular sewing machines can stitch between 700-1100 stitches per minute, a serger beats this by a lot, and can make up to 1700 stitches per minute.

What Can a Serger Do?

Serge your way to becoming a sewing pro with a serger in your sewing room.

Serge your way to becoming a sewing pro with a serger in your sewing room.

In a nutshell, a serger can:

  • Neatly bind and finish seams, and cut excess fabric from seams at the same time
  • Professionally finish unlined garments
  • Perform rolled edge finished hems
  • Make beautiful, delicate narrow, pucker-free seams
  • Make decorative edgings such as ruffled edges and scalloped trims
  • Flawlessly hem ruffles with rolled edging
  • Neatly and easily attach lace and other trims
  • Automatically gather
  • Sew stretchy knit fabrics with ease, including finishing sweater knits
  • Add strength with stretch seams
  • Decoratively and functionally seam fabrics by flatlocking
  • Create reversible items
  • Finish garments without facings
  • Feed 2 layers of fabric perfectly (the serger’s secret to handling knits)

The serger, with its rolled hem option, hems skirts beautifully in just a couple minutes!

With an overlock machine, you will have no more unraveling messy edges, either when you pre-wash your fabric or inside your finished garments or projects.

You can sew knits with ease with a serger.  If this were the only thing that a serger could do it would be well worth it to get one right now! But lucky for us the serger can do lots more!

Serging is Easy!

There is a myth that the serger is complicated or hard to learn to use. This may have been true long ago. But today many well-designed, user-friendly, high-quality sergers are available. There are features that make some sergers literally a breeze to use.

The Janome 634d, with its Jet Threading, is truly a breeze to use!

You Can Do It!

I was scared myself and hesitated to buy my first serger. I was reluctant to take on the task of learning something new which I feared as difficult.

As is often the case, all this procrastination and worry was silly; I was serging projects the very first day I got my serger! It was not complicated to learn: it was easy and straightforward. There was no learning curve to get started and I only regretted not buying one sooner.

I had never sewn on knit fabric successfully before– I tried but made a mess using my sewing machine! But I followed a pattern and made my first t-shirt pretty much immediately after I got my serger.

I learned more and more as I serged on, and I was continually amazed by how many new things my overlocker enabled me to do.

Having a Serger Offers and Opens Options Galore!

  • thick thread coverage for decorative edgings
  • sparsely covered seams for less bulk in seaming
  • narrow width and
  • wide width seam choices
  • flat or
  • rolled hems

Your skills and finished products will increase in quality and you will be able to make these nicer, better professional quality projects more quickly than you’ve made things before.

If you don’t have your serger yet there is no better or more important investment to make. No sewing room is complete without a serger, and having one more than doubles your production capability.

Janome’s 7034d Magnolia model is an easy-to-use entry level serger at a very affordable price!

Buy Yours Now!

If you want to create more professional quality projects in less time, you need a serger. And if you want to, you can do it, I promise!

Get your serger now and your skills will soar.

We have the best sergers on the market here at Sewing Machines Plus, from easy-to-use, quality entry level models to the jet threaded deluxe models that literally thread themselves.

Don’t put it off anymore, buy yours today. You’ll be so glad you did!